Have you ever wanted to make a quilt out of old t-shirts? Wondering how many t-shirts you need to make a quilt that looks beautiful? If so, you’ve come to the right place! In this article, we’ll discuss the process of determining how many t-shirts you need to make a quilt that is both visually appealing and comfortable to use. So, if you’re wondering “how many shirts do I need to make a quilt”, read on to find out!
Materials Needed
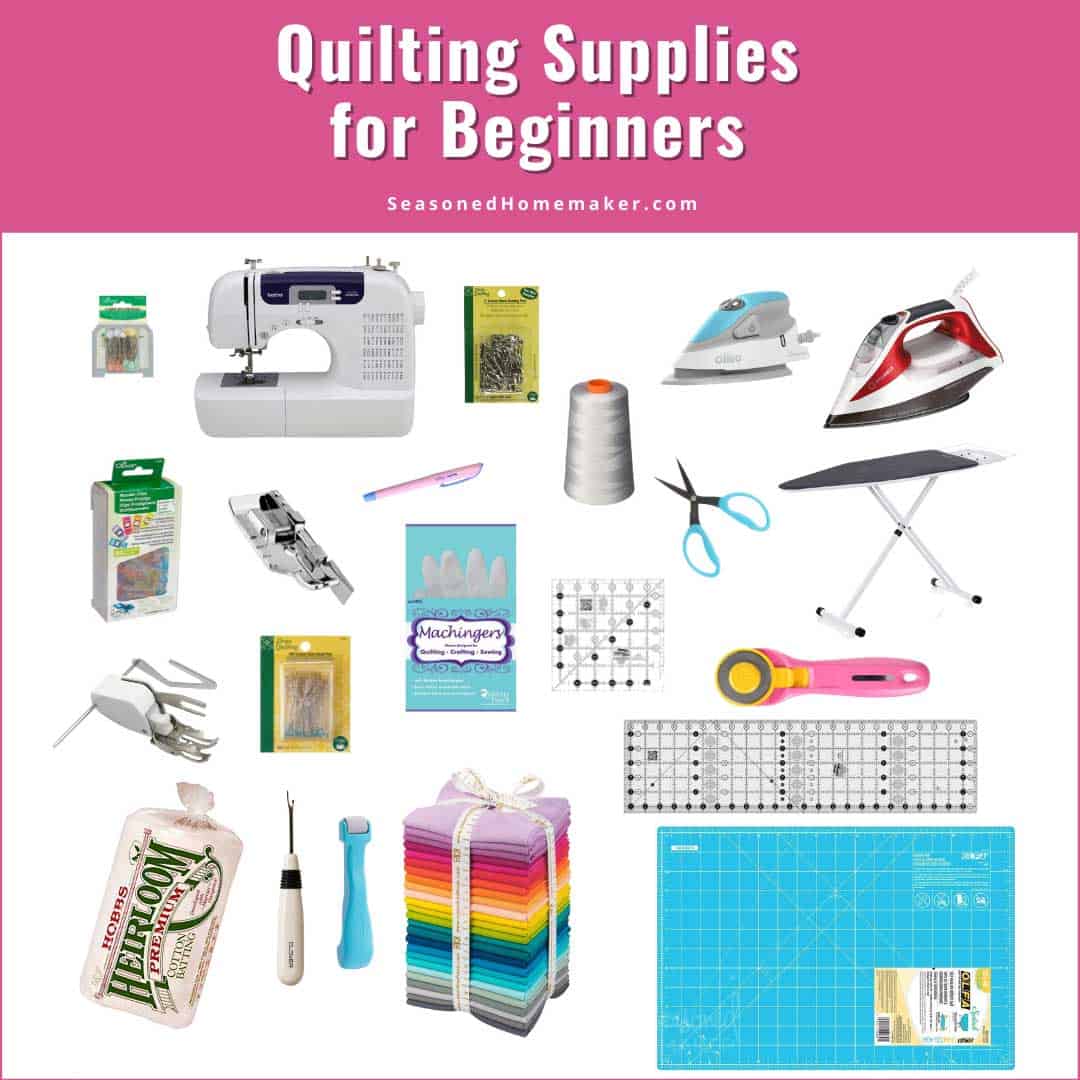
To make a quilt, you’ll need a variety of fabric, depending on the size and design you choose. In general, you’ll need about twenty-five to thirty shirts, a yard or two of fabric for backing and additional pieces for the quilt top, batting, a quilting hoop, needles, thread, and scissors.
You may also need a sewing machine to make the quilt, depending on the complexity of the design and the quality of the materials. If you don’t have a sewing machine, you can still make a quilt using hand-stitching techniques.
Determining the Size of Quilt
To determine how many t-shirts are necessary to make a quilt, you must first calculate the size of the quilt. Measure the length and width of the quilt to be made, then multiply the two numbers together to get the total area of fabric needed. For example, if the quilt is to be 3 feet wide and 5 feet long, the total area of fabric needed is 15 square feet.
Calculating the Area of Fabric Needed
Once the area of the quilt is known, calculate the area of one t-shirt. Measure the length and width of the t-shirt, then multiply the two numbers together. For example, if the t-shirt is 2 feet wide and 2.5 feet long, the total area of one t-shirt is 5 square feet.
To determine how many t-shirts are needed for the quilt, divide the total area of the quilt by the total area of one t-shirt. In this example, divide 15 square feet by 5 square feet to get 3. This means that 3 t-shirts are needed to make the quilt.
To make sure there is enough fabric, it is recommended to add at least 1 extra t-shirt to the total. This will ensure that there is enough fabric to complete the quilt. In this example, 4 t-shirts would be needed to make the quilt.
The number of t-shirts needed to make a quilt will vary depending on the size of the quilt and the size of the t-shirts. To make a quilt from t-shirts, measure the area of the quilt and the area of the t-shirts, then divide the total area of the quilt by the total area of one t-shirt to get the number of t-shirts needed. Don’t forget to add an extra t-shirt to the total to make sure there is enough fabric.
Calculating the Number of T-shirts Needed

When making a quilt out of t-shirts, the amount of t-shirts you need depends on the size and shape of the quilt you plan to make. Generally, you will need a minimum of 16 shirts for a small quilt, up to 36 shirts for a larger quilt.
Choosing the Size and Shape of T-shirts
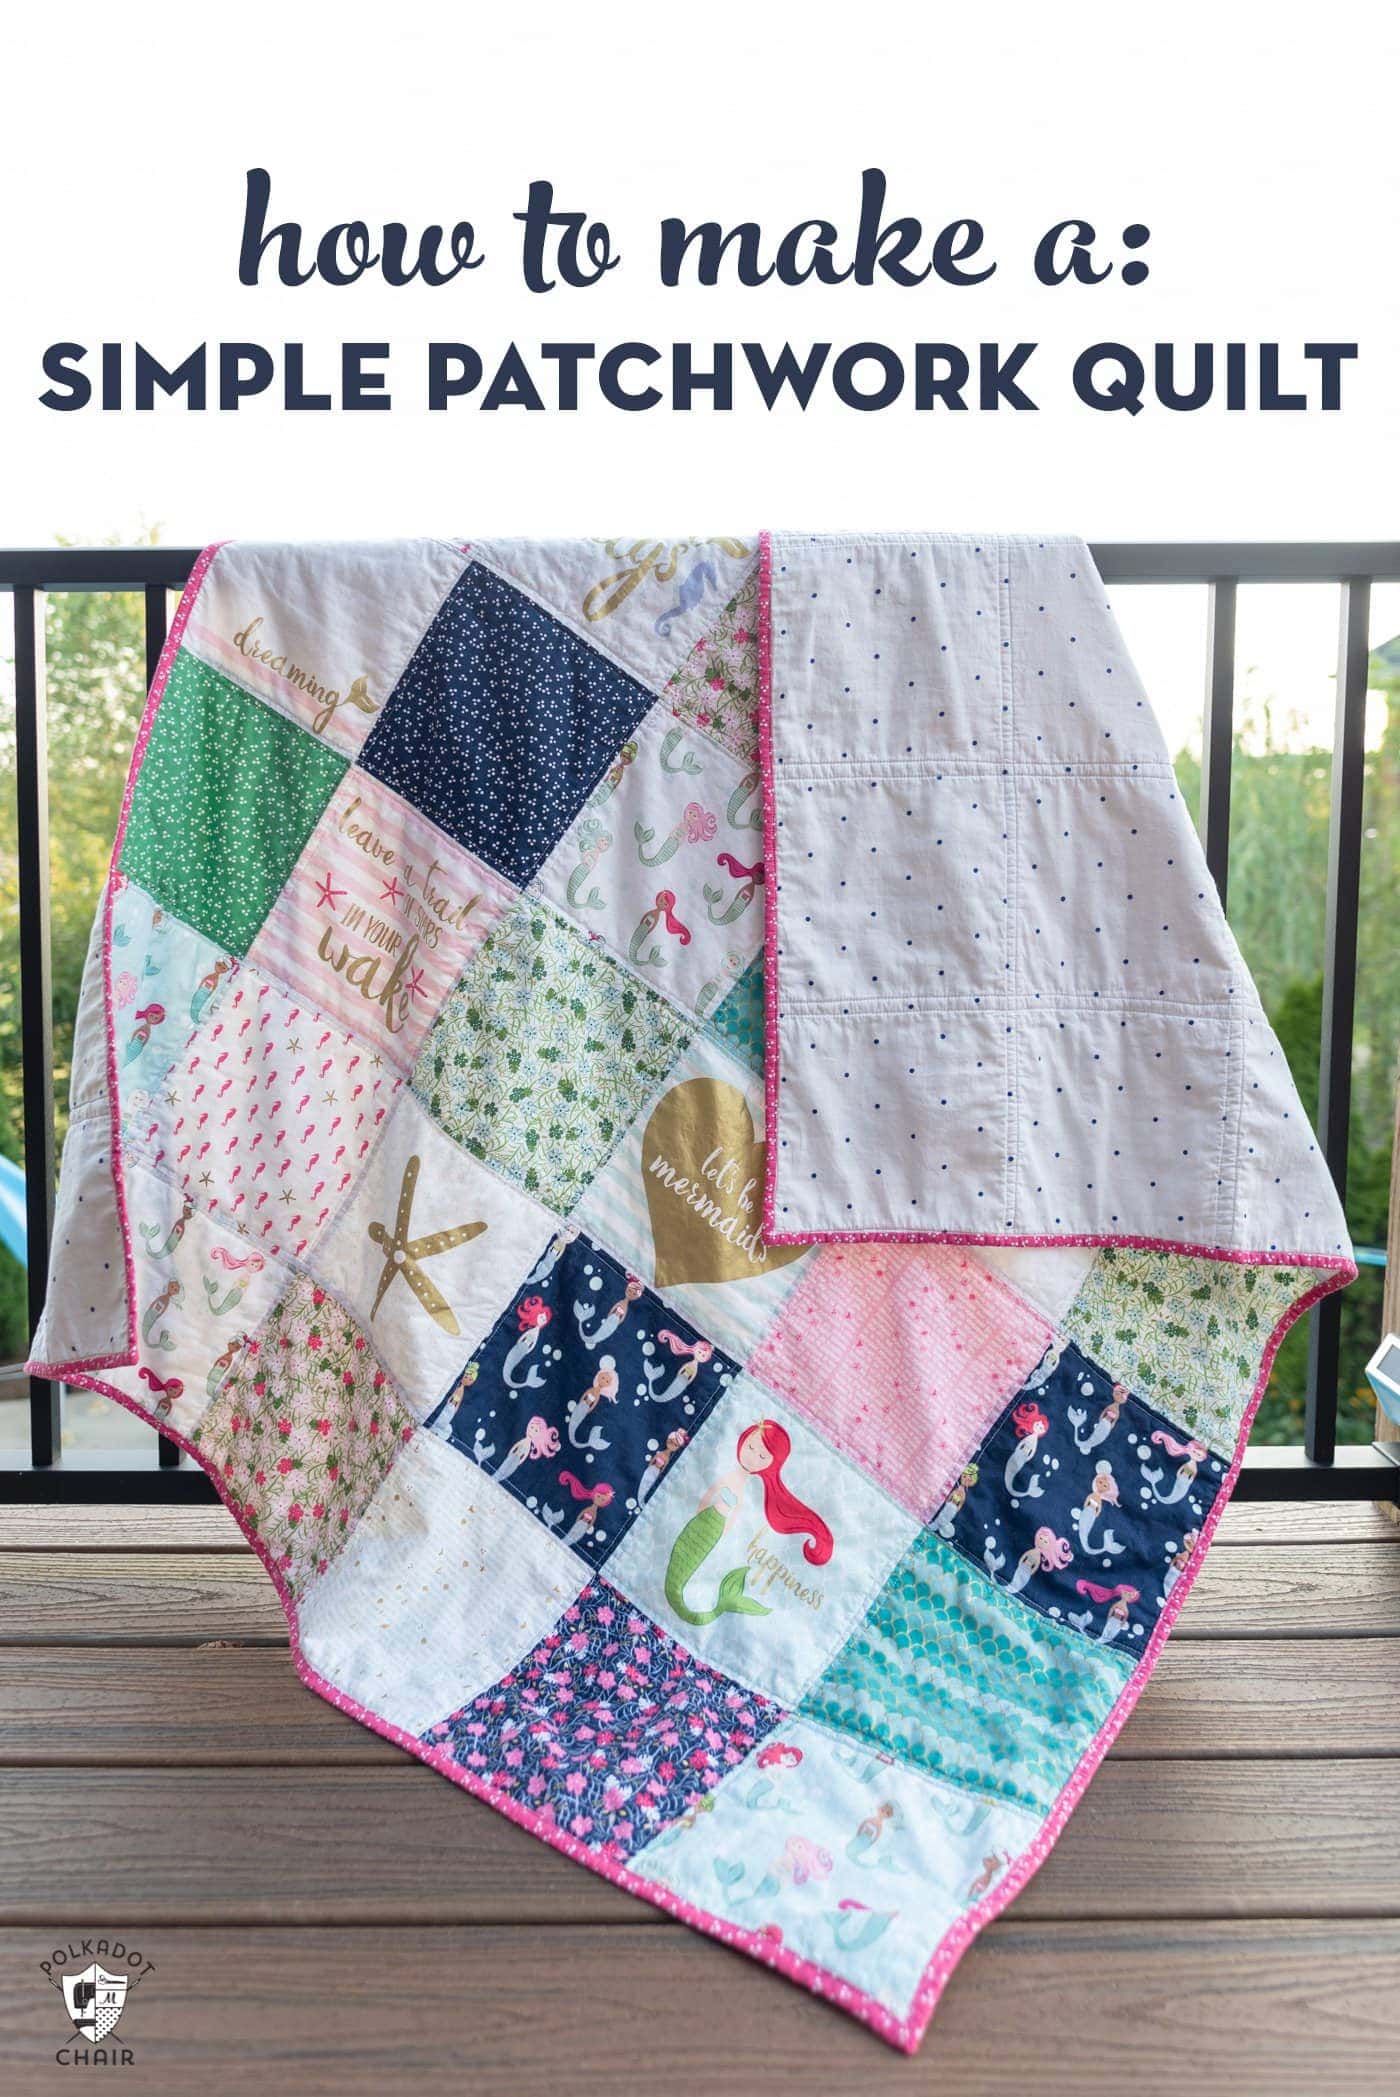
A standard t-shirt quilt is a great way to preserve memories, as it is made up of t-shirts from special events or occasions. To make a standard t-shirt quilt, you need to choose the size and shape of the quilt, as well as the size and shape of the t-shirts. For a smaller quilt, you can use standard t-shirts or small baby t-shirts. For a larger quilt, you will need to use larger t-shirts, such as adult-sized or XXL t-shirts. The size and shape of the t-shirts will determine the size and shape of the quilt, so choose carefully.
Once you have chosen the size and shape of the t-shirts, you can begin calculating how many t-shirts you need. The number of t-shirts you need to make a t-shirt quilt will depend on the size of the quilt and the size and shape of the t-shirts. Generally, you will need a minimum of 16 shirts for a small quilt, up to 36 shirts for a larger quilt.
To make a larger quilt, you will need to use more t-shirts and adjust the size and shape accordingly. You can also add extra fabric for borders or backing, depending on the look you are going for. With careful planning, you can make a t-shirt quilt that is unique and special to you.
Preparing the T-shirts
Wash and dry all T-shirts to be used for the quilt. This will help prevent the material from shrinking after it has been sewn together. Iron each T-shirt on a low setting to remove wrinkles and to ensure the fabric is flat.
Arranging the T-shirts
Lay out all of the T-shirts on a large surface. Arrange them in a pattern that is pleasing to the eye. When choosing a pattern, consider how the colors and designs of each T-shirt will work together. Once the pattern is decided, use a fabric marker or tailor’s chalk to mark the front and back of each T-shirt.
Cutting and Fusing the T-shirts
Cut off the sleeves and neckline of each T-shirt. Cut each T-shirt into squares or rectangles of the same size. Fuse the fabric of each T-shirt with an iron-on interfacing. This will help to keep the shape of the fabric when it is sewn together. Place the interfacing on the wrong side of the fabric and iron it in place. Follow the manufacturer’s instructions for proper application. You will now have a series of fabric squares that can be used to make a quilt.
Backing and Layering
Choosing the Backing Material
When making a t-shirt quilt, the backing material is an important factor to consider as it serves as the foundation for your quilt. The backing material should be made from a fabric that is durable, yet lightweight. Cotton is an ideal choice, as it is strong and breathable. It is also important to choose a backing that is large enough for your t-shirt quilt. A typical quilt will require at least 1.5 yards of backing fabric.
Fusing the Backing and T-shirts
To create the quilt top, you will need to fuse the backing layer to the t-shirts. Before fusing, make sure that the t-shirts are free of any wrinkles or creases. You can use a pressing cloth, such as a cotton pillowcase, to help smooth out any wrinkles. Once the fabric is wrinkle-free, use a fabric adhesive to fuse the backing to the t-shirts. Once the adhesive has completely dried, you can begin to assemble the quilt top. Depending on the size of your quilt, you will need anywhere from 8-20 t-shirts to make a quilt.
Quilting
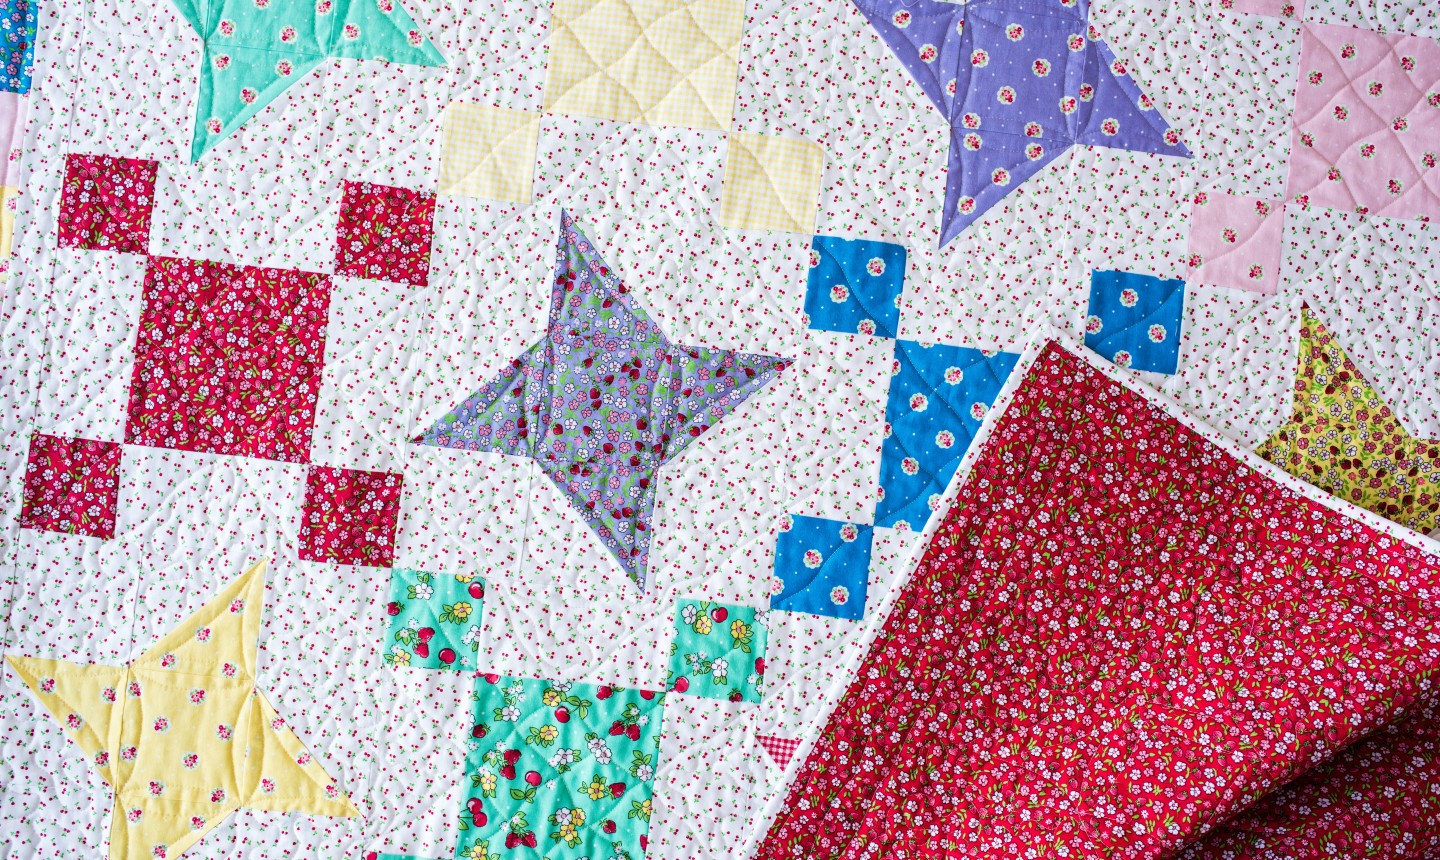
Quilting is a popular craft in which layers of fabric are sewn together, typically with a decorative pattern of stitches. It can be used to make bed covers, wall hangings, and many other items, including quilts made from t-shirts.
Types of Quilting Patterns
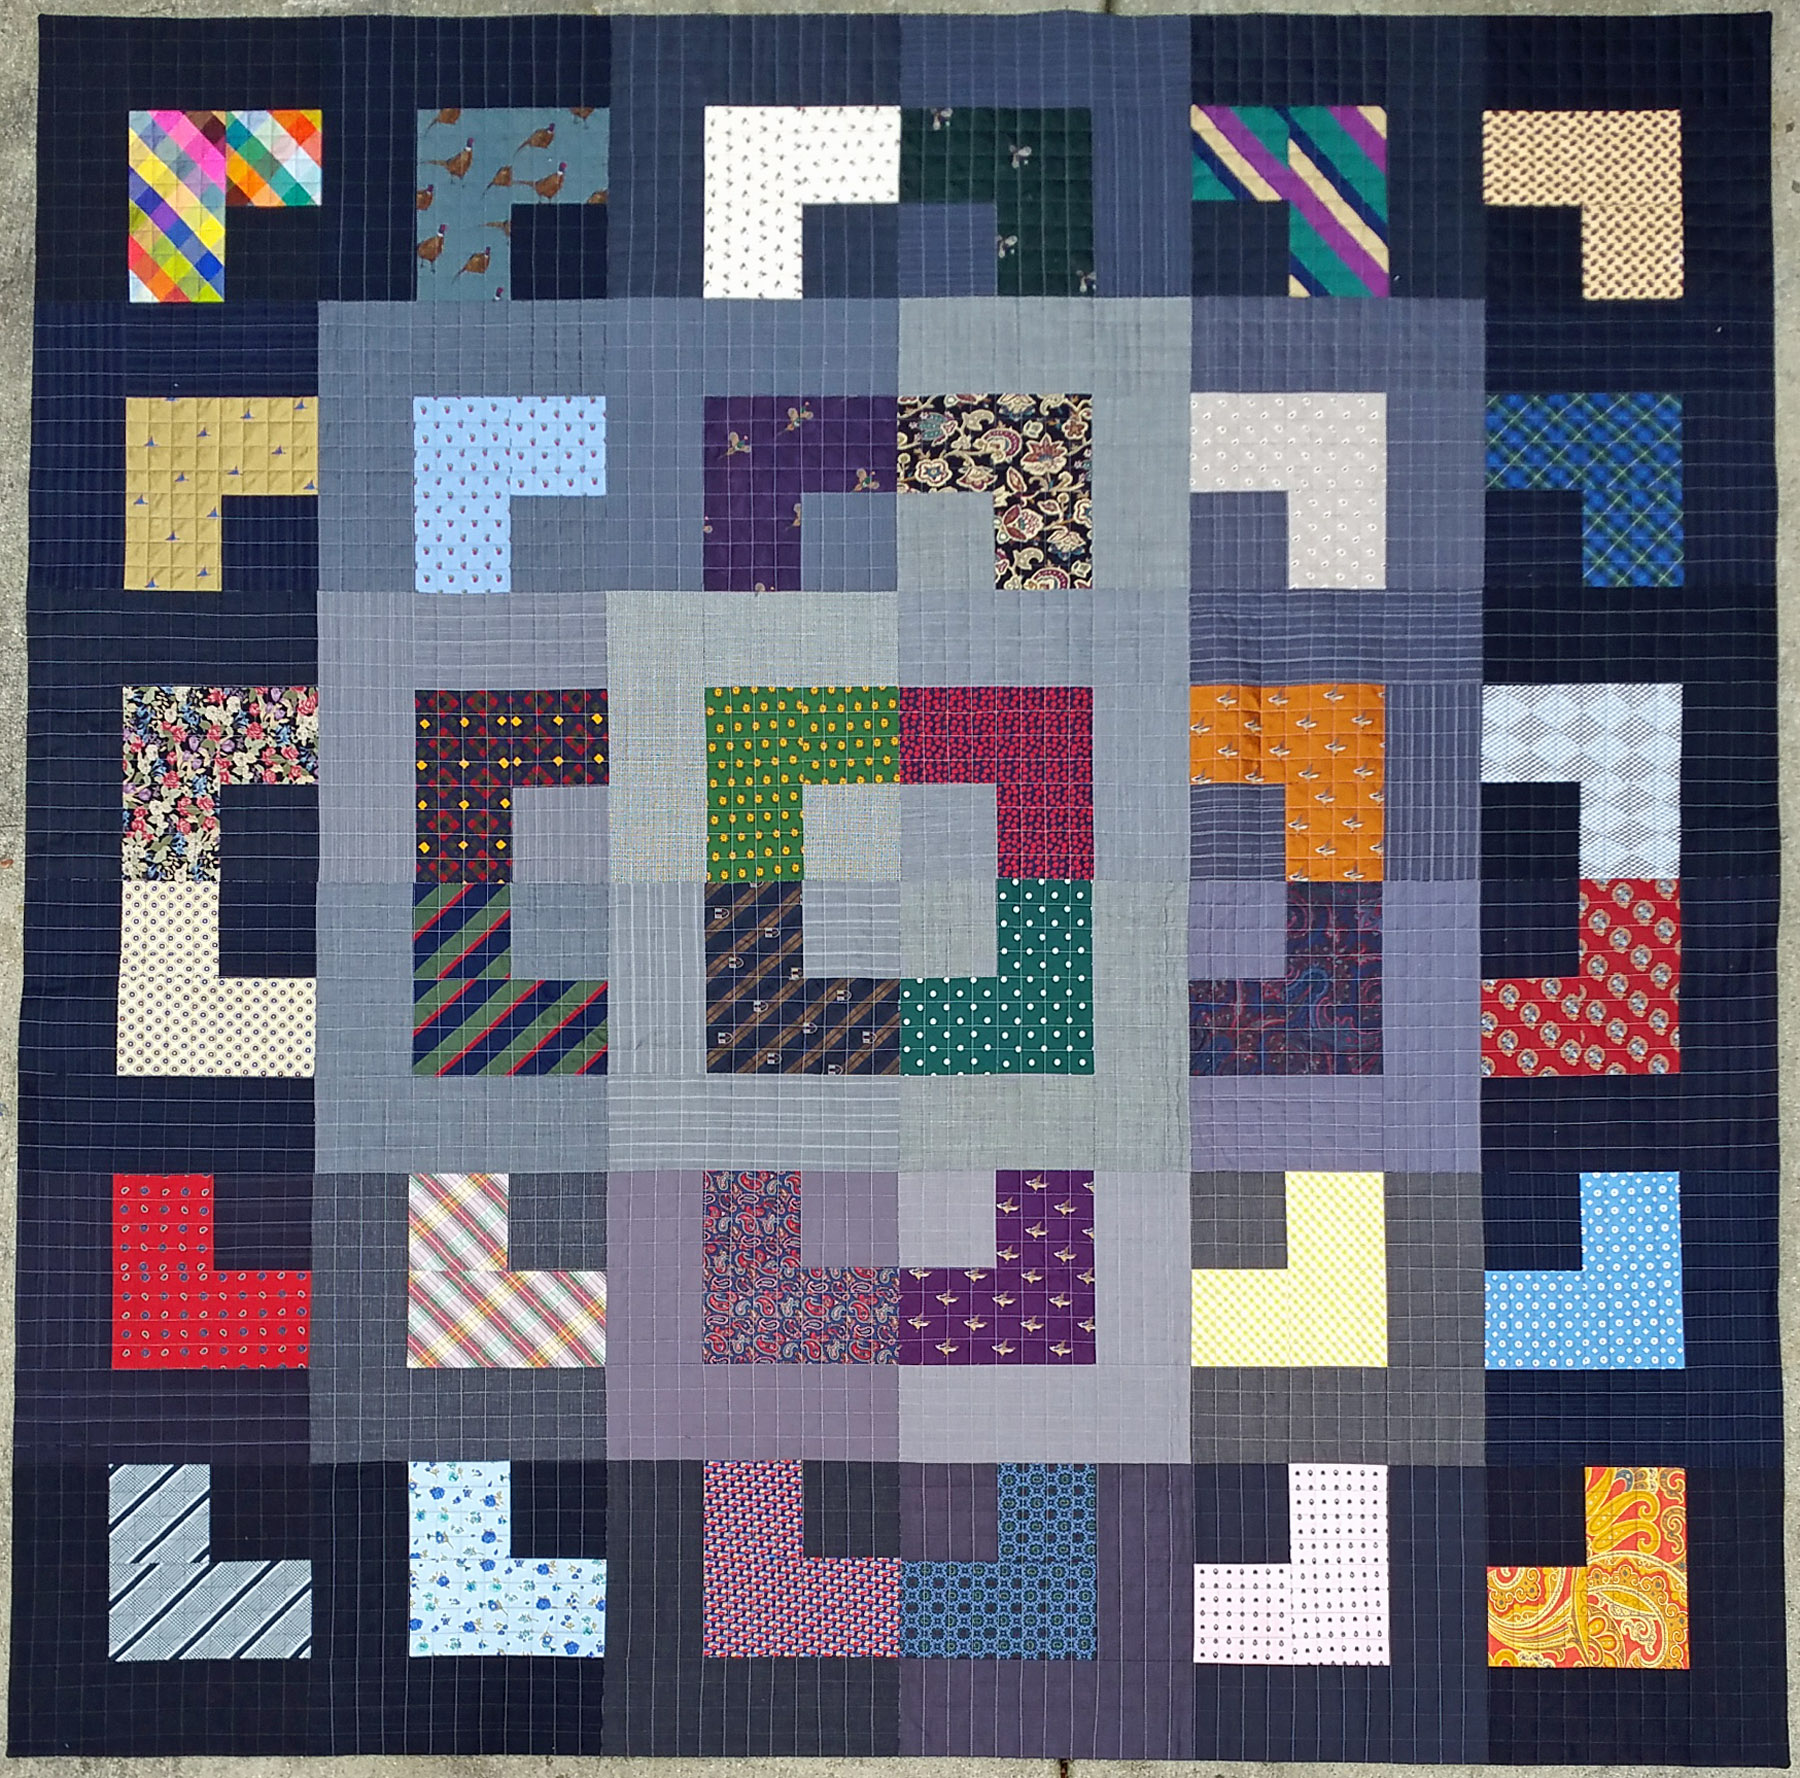
There are many different types of quilting patterns that can be used to make a t-shirt quilt. The most popular patterns are the traditional patchwork quilt, the Log Cabin quilt, the Double Wedding Ring quilt, the Rail Fence quilt, and the Ohio Star quilt. Each of these patterns requires a different number of t-shirts, depending on the size of the quilt.
The size of the quilt will depend on how many shirts are needed. Generally, a quilt needs between 12 and 20 t-shirts to make a large quilt. Smaller quilts can be made with fewer shirts, while larger quilts will require more. The number of shirts also depends on the pattern chosen, as some patterns require more fabric than others.
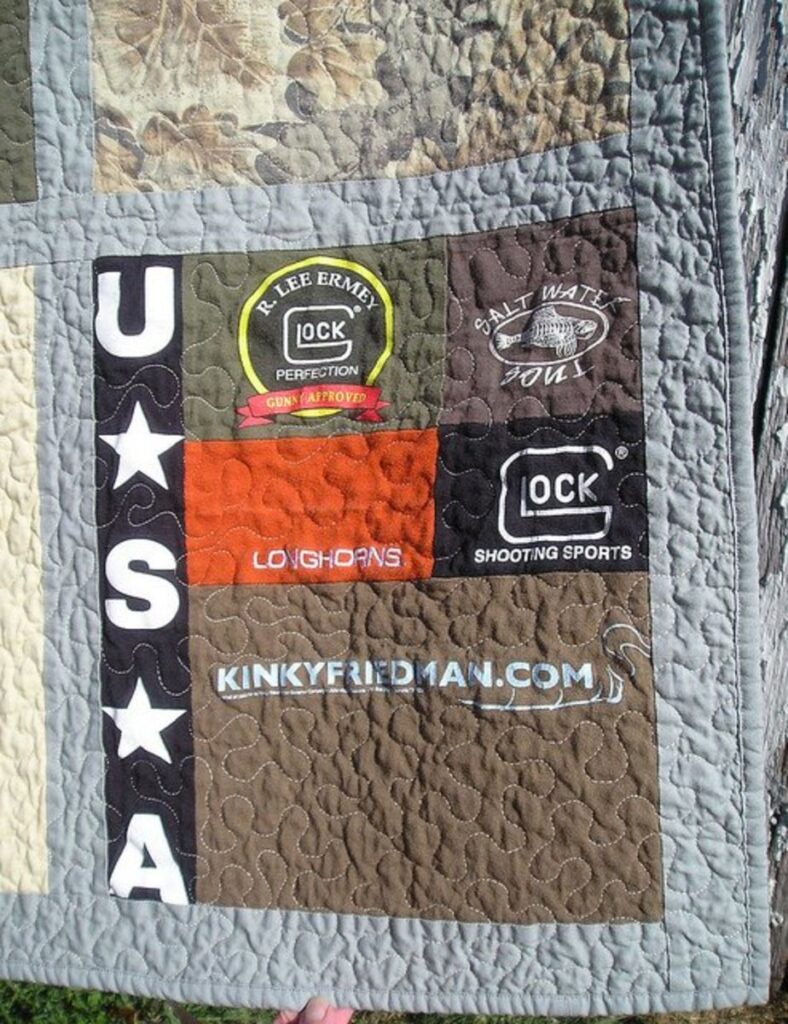
When making a quilt from t-shirts, it is important to use a variety of colors and patterns to make the quilt interesting. Some quilters like to use t-shirts that have a story, such as a concert t-shirt or a shirt from a favorite team. This can add a personal touch to the quilt.
In conclusion, there is no set number of shirts needed to make a quilt. It all depends on the size and pattern of the quilt, and the quilter’s own personal style. With a variety of colors and patterns, it is possible to create a unique and beautiful quilt from just a few t-shirts. So, if you’re looking to make a huge quilt from t-shirts, the answer is simple – it all depends on how many shirts you have!
Binding the Quilt
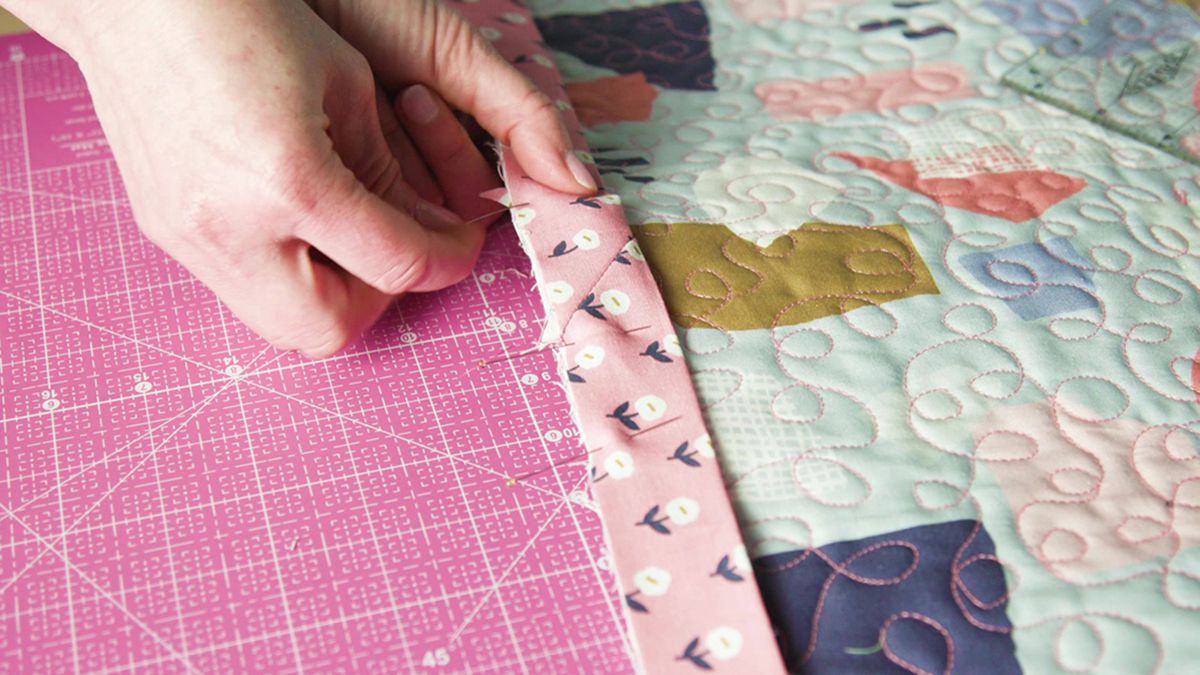
Once you have all the shirts sewn together and you have your quilt top ready, you can begin binding the quilt. Binding your quilt is the process of finishing off the edges of the quilt so that it looks neat and tidy. The quilt binding should be made from the same fabric that you are using for the back of the quilt.
Cutting your Quilt Binding Strips
To begin, cut your binding strips from the fabric you are using for the back of the quilt. You will need to cut strips that are 2.5 inches wide (6.4 cm). The length of the strips will depend on the size of the quilt. It is best to add an extra foot (30 cm) to the total length of the quilt when calculating the total length of the binding strips.
Sewing the Binding Strips Together
Once you have cut the binding strips, you will need to sew them together. Place two strips right sides together at a right angle and sew them together with a ¼ inch (6mm) seam allowance. Continue sewing the strips together until you have one long strip. Press the seams open.
Attaching the Binding Strips to the Quilt
Now it’s time to attach the binding strips to the quilt. Start in the middle of one side of the quilt and pin the binding strip to the wrong side of the quilt, leaving an extra 6 inches (15 cm) of the binding strip at the beginning. Sew the binding strip to the quilt using a ¼ inch (6 mm) seam allowance.
Folding and Sewing the Binding
When you get to the corner of the quilt, fold the binding strip at a 45 degree angle and pin in place. Continue sewing along the next side, continuing to fold the binding strip at each corner. Stop sewing when you get back to the starting point.
Finishing the Quilt
The last step is to join the two ends of the binding strip together. Trim the excess fabric and join the two ends of the binding together with a ¼ inch (6 mm) seam allowance. Turn the binding to the front of the quilt and hand stitch the binding in place.
Your quilt is now finished and ready to use!
Finishing Touches
Once you have chosen the design and layout of your quilt, it is time to add the finishing touches. You should pay attention to the details of the quilt such as the backing fabric, quilting stitches, and binding.
Backing: The backing of the quilt needs to be a fabric that is large enough to cover the entirety of the quilt. You should also make sure that the fabric is strong and durable enough.
Quilting Stitches: Quilting stitches help to hold the layers of the quilt together. You can use a sewing machine to make the quilting stitches or you can hand stitch them.
Binding: Binding is the last step in making a quilt. You can use a variety of fabrics to bind the edges of the quilt.
| Design | No. of Shirts |
|---|---|
| Sashing | 4-6 |
| Block | 9-12 |
| Strip | 9-12 |
| Border | 4-6 |
The number of shirts you need to make a quilt depends on the design and layout you choose. A sashing design requires 4-6 shirts, while a block or strip design requires 9-12 shirts. If you want to add a border to your quilt, you will need an additional 4-6 shirts.
Frequently Asked Questions
What type of fabric should I use for my t-shirt quilt?
For a quilt made from t-shirts, it is recommended to use a lightweight cotton fabric for the backing. This type of fabric will provide a smooth surface and will be easy to quilt. A flannel or a fleece fabric can also be used as backing, but it will add extra weight and thickness to the quilt. Additionally, a lightweight batting should be used to keep the quilt light and fluffy.
What size should my t-shirt squares be for my quilt?
- Consider the size of your quilt: Your t-shirt squares should be smaller than the finished size of your quilt. If you are making a full-sized quilt, for example, the squares should be around 12-14 inches in size.
- Choose t-shirts of the same size: Make sure that all the t-shirts you are using for your quilt are approximately the same size, or else your quilt will look uneven.
- Trim the squares to size: Once you have cut out the t-shirt squares, you may need to trim them down to the exact size you need.
- Leave a seam allowance: When you trim the t-shirt squares, be sure to leave a small seam allowance of around ¼ inch so that they will fit together in the quilt.
How Much Batting Do I Need for My T-Shirt Quilt?
The amount of batting needed for a t-shirt quilt depends on the size of the quilt and the thickness of the batting. Generally, a quilt that is 60″ x 80″ and uses a batting with a medium loft will require 6 yards of batting. However, it is important to check the manufacturer’s recommendations for the specific batting you are using, as this can vary. Additionally, if you are using a thicker batting, you may need more than 6 yards.
What type of backing fabric should I use for my t-shirt quilt?
- Cotton – Cotton is the most popular choice for backing a t-shirt quilt due to its durability, thickness and breathability.
- Flannel – Flannel is often used as a backing fabric because it is soft and lightweight.
- Fleece – Fleece is a great option for backing a t-shirt quilt because of its warmth and thickness.
- Polyester – Polyester is a good choice for backing a t-shirt quilt because it is inexpensive and comes in a variety of colors and patterns.
How do I quilt my t-shirt quilt?
Quilting a t-shirt quilt requires a few extra steps in comparison to a traditional quilt. Firstly, layer the quilt top, batting and backing fabric, and secure with pins. Then, baste the quilt together, either by hand or machine. Quilt the top together, either by hand or machine, using a walking foot or free motion quilting. Finally, bind the edges and enjoy your finished quilt!
Conclusion
Creating a beautiful quilt using t-shirts is an easy and fun way to make a unique quilt. To get started, you need to decide on a quilt design, choose the right fabric, and determine how many t-shirts you need for the project. Once you have all the materials and supplies, you can start cutting, piecing, and sewing your quilt together. With a little bit of patience and creativity, you will soon have a beautiful quilt made from t-shirts to enjoy for many years.


