
Quilting is a popular hobby for many, as it allows for an array of creative possibilities. However, it can be difficult to manage large projects when quilting by hand. A quilt frame can be a great tool for any quilter looking to simplify the process. This article will provide a step-by-step guide on how to use a quilt frame, detailing the easy-to-follow steps in setting up a quilt frame, as well as the benefits of using one.
What is a Quilt Frame?
A quilt frame is a device used to hold fabric in place while quilting. It consists of a frame made out of wood, metal, or plastic, which is covered with a thick foam pad to provide support for the quilt top and batting. The frame also includes two bars or rods that can be adjusted to keep the quilt taut and even while quilting.
Interesting Facts about Quilt Frames
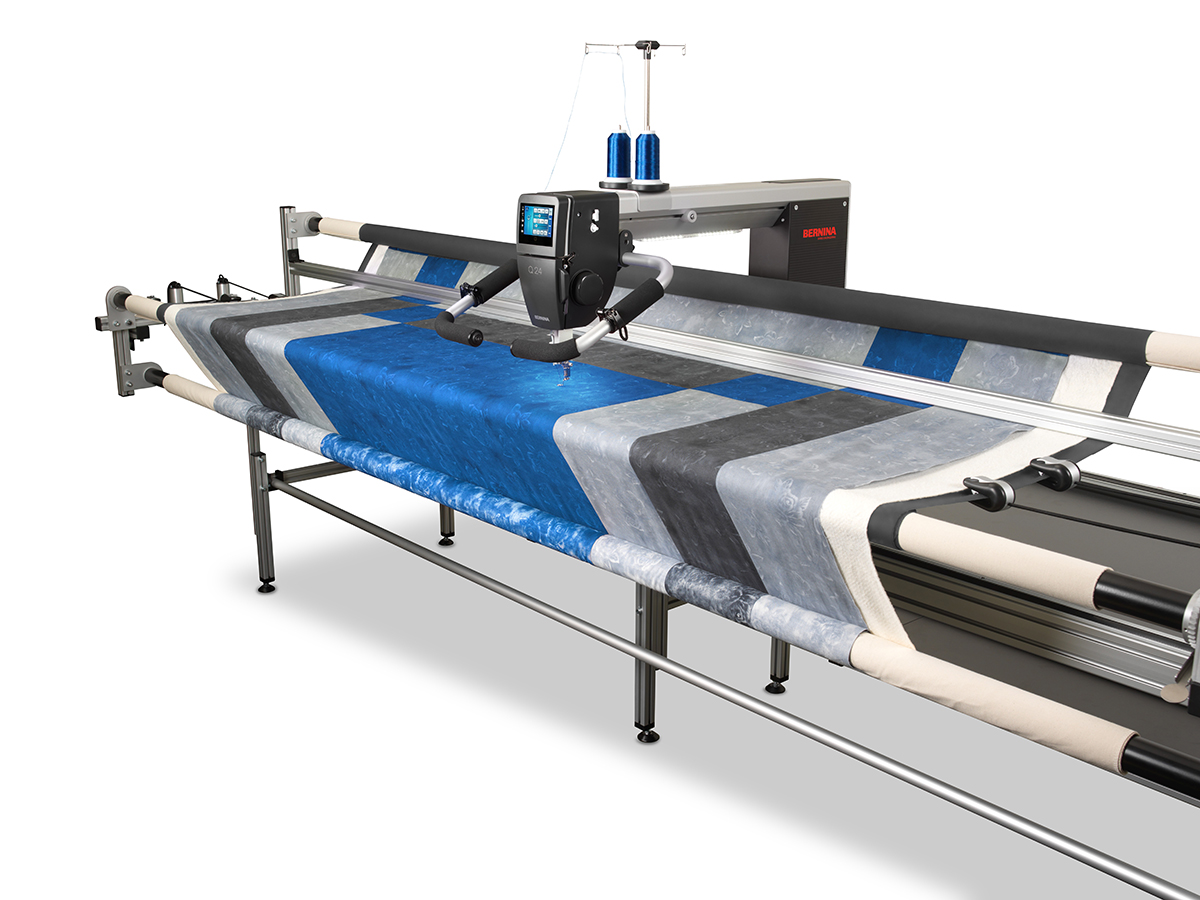
- Versatile: Quilt frames are very versatile; they can be used for both hand quilting and machine quilting.
- Adjustable: Quilt frames are adjustable; the two bars or rods can be adjusted to keep the quilt taut and even while quilting.
- Portable: Quilt frames are designed to be portable; they are lightweight, and can easily be transported to a quilt show or quilt retreat.
- Affordable: Quilt frames are an affordable way to start quilting; they are usually less expensive than purchasing a sewing machine.
- Easy to Assemble: Quilt frames are easy to assemble, and can be put together quickly and easily, making them a great choice for quilters of all skill levels.
Quilt frames are an essential tool for any quilter. They provide support for the quilt top and batting, and can be adjusted to keep the quilt taut and even while quilting. Assembling a quilt frame is easy and requires no special tools or skills; anyone can do it!
What Materials are Needed to Assemble a Quilt Frame?
Before you can begin quilting with a quilt frame, you need to have all the materials necessary for assembly. This includes the quilt frame, quilting clamps, and any additional tools needed to put it together.
Quilt Frame
The quilt frame is the most important part of the setup. Depending on the frame you have purchased, it may be made of either wood or plastic. The frame should come with instructions for assembly.
Quilting Clamps
Quilting clamps are needed to secure the quilt fabric to the frame. Clamps are available in a variety of styles, sizes, and materials. Make sure you choose the right size clamps for the size of your quilt.
Tools
You will need tools to assemble the frame and attach the clamps. It is recommended that you use a cordless drill for the assembly. If you don’t have one, you can use a screwdriver or a hammer for the job.
Additional Supplies
In addition to the quilt frame, quilting clamps, and tools, you may need some additional supplies to complete the setup. This includes a quilt batt, quilt batting, and quilt backing.
How to Load Wooden Quilt Frame
Once you have all the materials needed to assemble the quilt frame, you can begin loading your quilt. To do this, start by laying the quilt batting on the frame. Make sure it is centered and secured with the quilting clamps. Next, place the quilt backing on top of the batting. Finally, use the quilting clamps to secure the quilt backing to the frame.
Now you are ready to start quilting!
How to Assemble a Quilt Frame
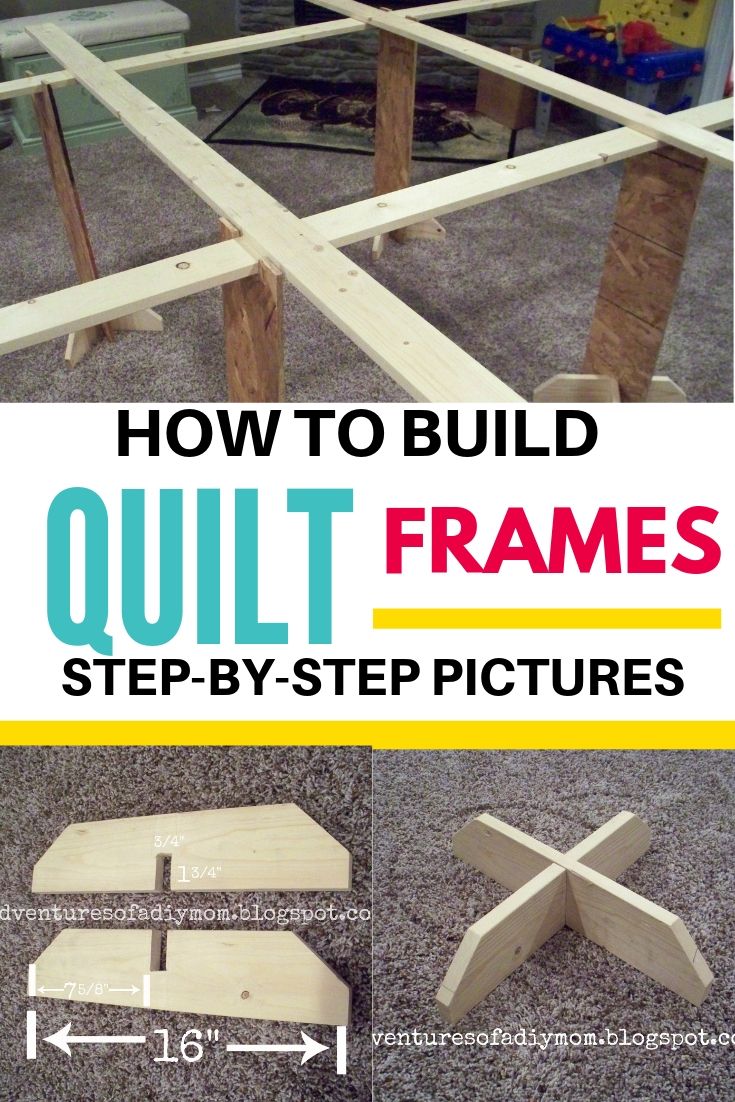
Setting Up the Base Frame
Start by attaching the four pieces that make up the base frame. Then, use the provided screws to attach them securely. Be sure to check that the frame is square and level.
Assembling the Rails
Next, assemble the four rails that will hold the quilt taut. Securely attach each rail to the frame using the provided screws. Once the rails have been firmly attached, the quilt frame is almost ready for use.
Attaching the Clamps
Finally, attach the clamps to the frame. This will hold the quilt securely in place while you work. Use the screws provided to attach the clamps to the frame. Make sure that the clamps are firmly attached and that the quilt will not slip.
Once the frame is assembled, it is ready for use. Enjoy quilting with your new quilt frame!
How to Load Wooden Quilt Frame?

Preparing the Quilt
Before loading the quilt onto the wooden frame, the quilt must be prepared. The quilt should be pressed flat and squared, with any wrinkles and seams eliminated. The edges of the quilt should be trimmed, and the backing should be squared and trimmed to match the dimensions of the quilt.
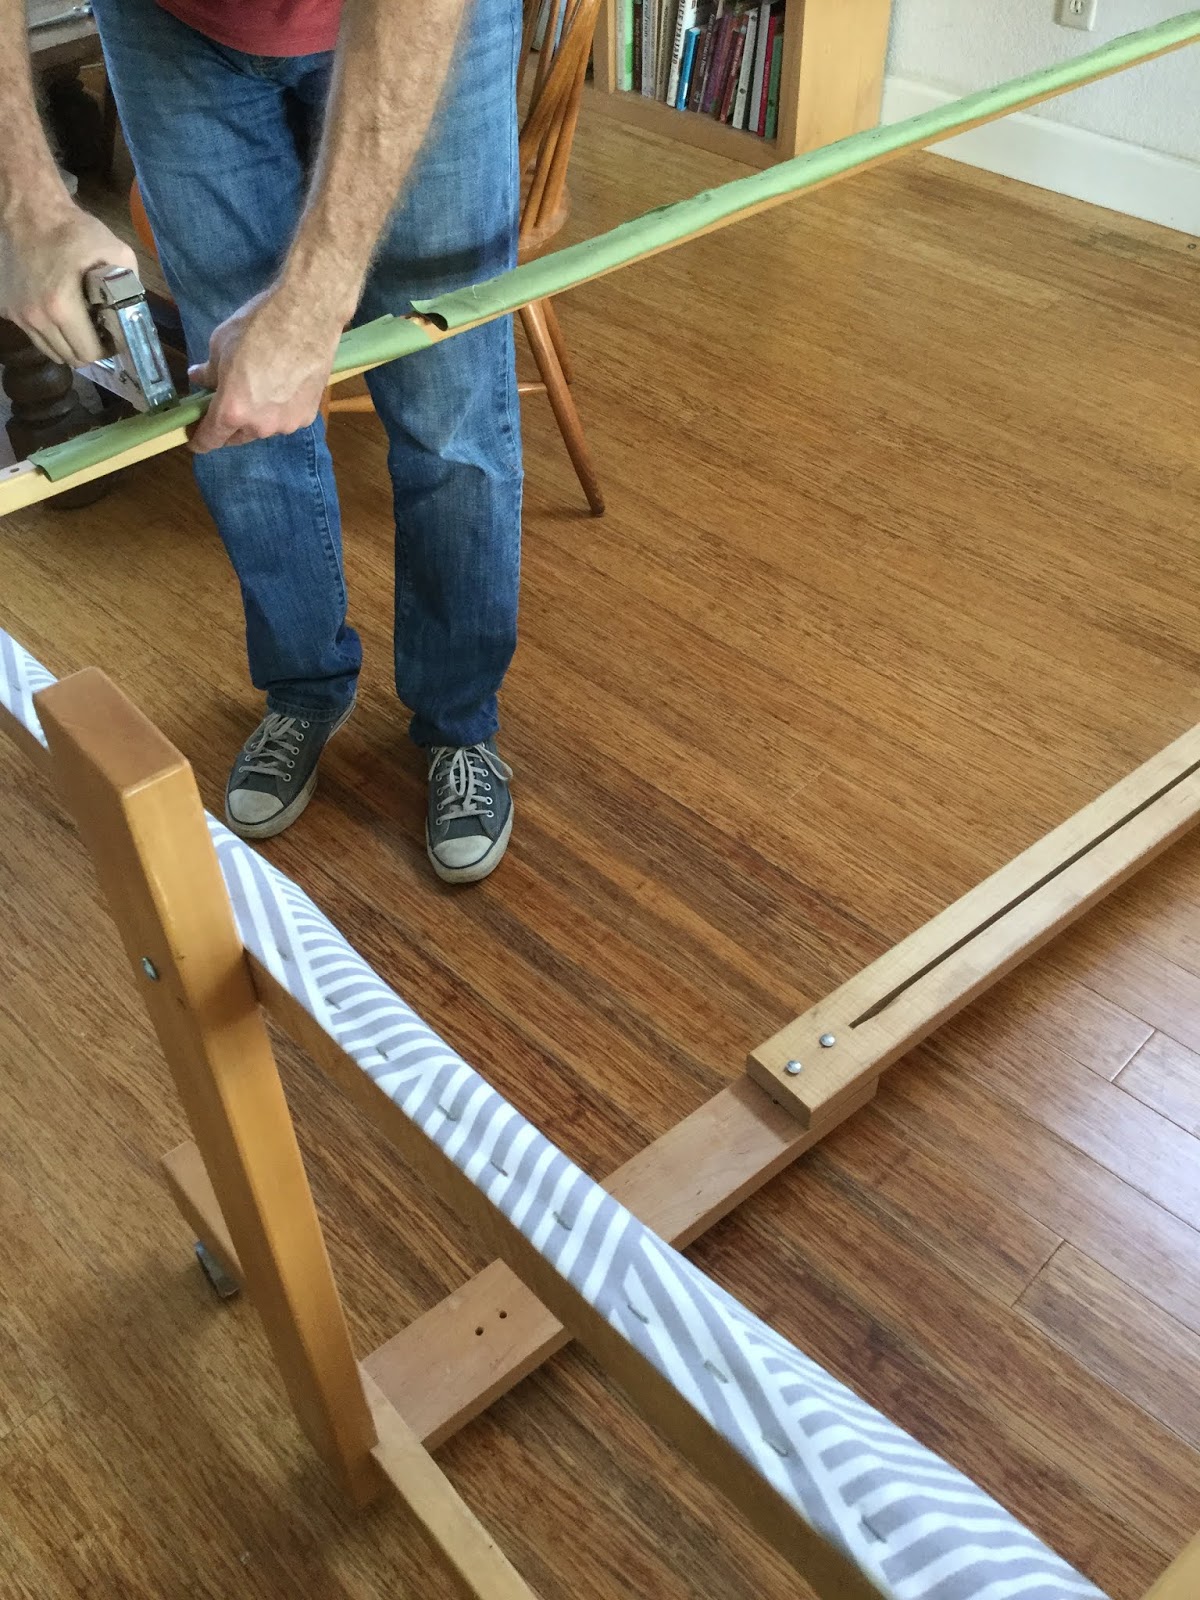
Attaching the Quilt to the Frame
When attaching the quilt to the frame, the quilt should be face up and the backing should be face down, with the right sides of the fabrics together. The backing should be stretched and pinned, then the corners should be folded in and the edges of the backing should be tucked under.
Securing the Quilt to the Frame
Once the quilt is attached to the frame, it should be secured with pins or clips. The pins should be placed in the seam allowances, and the clips should be placed along the edges. For best results, clips should be placed every 3 to 4 inches along the edges. When the quilt is secured, it is ready for quilting.
Tips for Using a Quilt Frame
- Start by Preparing the Frame: Before you begin quilting, make sure that your frame is properly secured, leveled and tightened. Be sure to attach all the clamps and other components securely, as this will ensure that your quilt is held in place while you work.
- Apply the Backing Fabric: When preparing the backing fabric for your quilt, make sure that it is at least 6 inches larger than the top fabric on all sides. This will help to keep the quilt taut and secure when mounted on the frame.
- Mount the Quilt: After the backing fabric is in place, attach the quilt top to the backing using safety pins. Make sure that the pins are evenly spaced throughout the quilt to ensure that the fabric is held securely in place. Pinning the quilt may take some time, but it is well worth the effort.
- Check the Tension: Once the quilt is pinned, it is important to check the tension on the frame before you begin quilting. Make sure that the quilt is pulled taut on the frame and that all the edges are straight and even. If needed, adjust the clamps or fabric to make sure that the quilt is properly aligned.
- Adjust the Height: Depending on the type of quilt frame you are using, it may be necessary to adjust the height of the frame. This will allow you to sit comfortably while quilting and will help to reduce fatigue in your arms and shoulders.
- Choose the Right Thread: Selecting the right type of thread for your quilt is essential in order to achieve the desired results. Depending on the size of your quilt, you may need to use different types of thread such as quilting thread, embroidery thread, or hand-quilting thread.
- Practice Quilting Stitches: Before starting on your quilt, practice some of the quilting stitches you plan to use. This will help to ensure that your stitches are even and consistent throughout the quilt. It is also a good idea to practice on a piece of scrap fabric to get a feel for each stitch before you begin.
- Secure the Edges: After you have completed quilting the quilt, it is essential to secure the edges properly. This can be done by hand stitching the edge of the quilt or by using a binding machine. Whichever method you choose, make sure that the edges are properly secured to ensure that the quilt will last for years to come.
Frequently Asked Questions
What type of needle should I use with the quilt frame?
For best results, use a size 14/90 sharp point needle when quilting on a frame. This type of needle works well with the quilting fabric and should reduce the risk of skipped stitches. Be sure to change your needle after approximately 8 hours of use to ensure consistent stitching.
Are There Any Safety Tips to Keep in Mind When Using a Quilt Frame?
Always use the frame in a well-lit, ventilated area. This will help you to avoid any accidents that may occur due to poor lighting or inadequate ventilation. Secure the quilt in the frame. Make sure to use the clamps or pins to secure the quilt in the frame to avoid it from slipping out of the frame. Keep your hands away from the needle. Always keep your hands away from the needle while quilting to avoid any needle-related injuries. Store the frame properly. When not in use, store the frame in a dry and safe place to avoid any damage.
What is the best way to secure the quilt fabric to the frame?
-
1. Clamps: Clamps are the most common way to secure quilt fabric to the frame. The fabric can be clamped at the edges of the frame, or around the frame.
2. Tacks: Tacks can be used to secure the fabric to the frame, but care should be taken to not pull the fabric too tight or too loose.
3. Tape: Tape can be used to secure the fabric to the frame, but it is not as secure as clamps or tacks.
4. Hooks: Hooks can be used to secure the fabric to the frame, but they are not as secure as clamps or tacks.
5. Magnets: Magnets can be used to secure the fabric to the frame, but they are not as secure as clamps or tacks.
The best way to secure the quilt fabric to the frame is to use clamps, tacks, or hooks. Clamps are the most secure and tacks and hooks are also effective. Tape and magnets are less secure and should be used with caution.
Is a Quilt Frame Suitable for All Quilting Projects?
A quilt frame is a great tool for quilting projects. It can help you keep your fabric taut, straighten seams, and make sure your project is turning out the way you want. However, there are limits to what a quilt frame can do, and it may not be suitable for all quilting projects. Projects with large pieces of fabric, such as queen-sized quilts, may be too large for a quilt frame. Additionally, projects that require a lot of intricate detail may be better done without a frame. Ultimately, it is up to the quilter to decide if a quilt frame is the right tool for their project.
What other tools may be necessary to complete a quilting project with a quilt frame?
- Quilting Thread: High-quality quilting thread is necessary to ensure a strong stitch that will last. It is also important to choose a thread that is suitable for the fabric.
- Quilting Needles: Quilting needles come in various sizes and types. It is important to choose a needle that is suitable for the chosen quilting thread.
- Quilting Ruler: A quilting ruler is used to measure and cut fabric accurately. It is also used to mark fabric for quilting.
- Rotary Cutter: A rotary cutter is used to quickly and accurately cut fabric for quilting. It is important to use the correct blade for the fabric.
- Quilting Pin: Quilting pins are used to hold fabric in place for quilting. It is important to choose pins that are suitable for the fabric.
- Quilting Glue: Quilting glue is used to temporarily hold fabric in place for quilting. It is important to choose a glue that is suitable for the fabric.
- Quilting Hoop: A quilting hoop is used to keep fabric taut and even while quilting. It is important to choose a hoop that is suitable for the fabric.
Conclusion
Using a quilt frame is a great way to ensure your quilting project is finished in a professional manner. When using a quilt frame, ensure that the basting process is done properly and that the fabric is properly secured. If the basting is done correctly, the quilt frame will provide even tension throughout the quilting process. With a few simple steps, you can use a quilt frame and create a professional-looking quilt.


