Are you looking for a guide on how to baste quilt? Basting a quilt is an important step in creating a perfect quilt. This guide will walk you through the process of basting a quilt, providing step-by-step instructions on how to do it correctly. With this guide, you can learn how to baste a quilt so it’s flat, secure, and ready to be quilted.
What is Basting a Quilt?
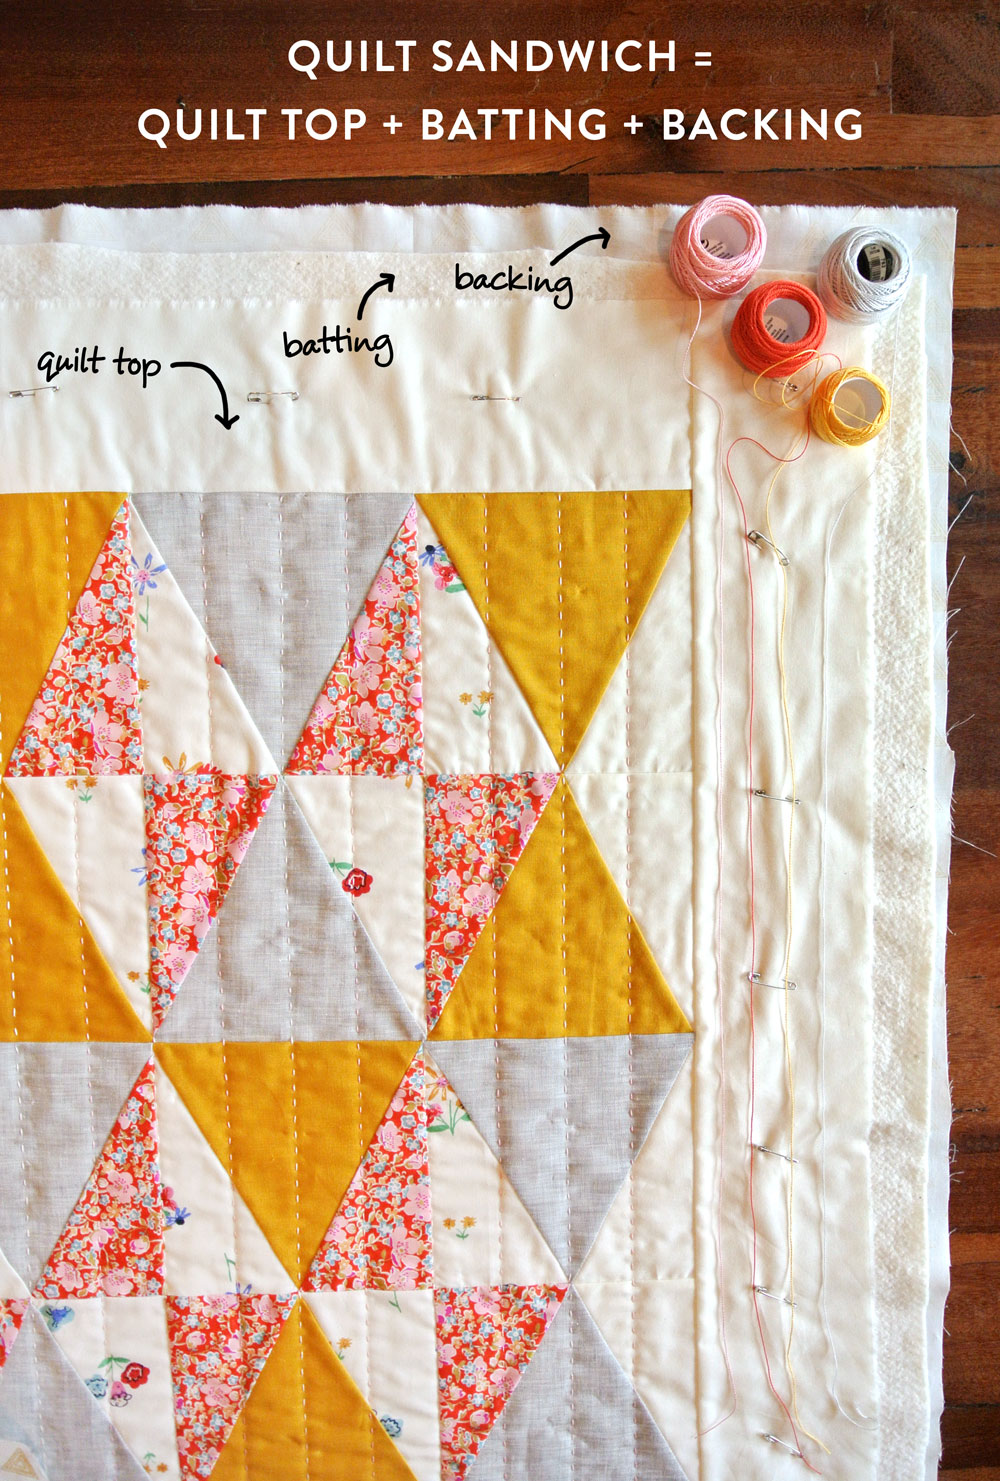
Basting a quilt is the process of temporarily attaching the quilt layers together before quilting. It involves tacking the quilt layers together with pins, hand basting, or spray basting. This process helps to keep the layers of quilt fabric in place while the quilting stitches are added to the quilt top. It also helps to prevent shifting and puckering of the quilt top when it is being quilted.
How to Pin Baste a Large Quilt on a Table:
- Lay the backing fabric flat on the table.
- Smooth out any wrinkles and make sure it is taut.
- Lay the batting layer on top of the backing fabric.
- Smooth out any wrinkles or folds and make sure it is taut.
- Lay the quilt top layer on top of the batting layer.
- Smooth out any wrinkles or folds and make sure it is taut.
- Pin the layers together at the edges of the quilt.
- Start in the center of the quilt and work your way outward, pinning all of the layers together.
- Continue pinning until the layers are securely held together.
- Remove the pins when the quilting is complete.
Types of Basting for a Quilt
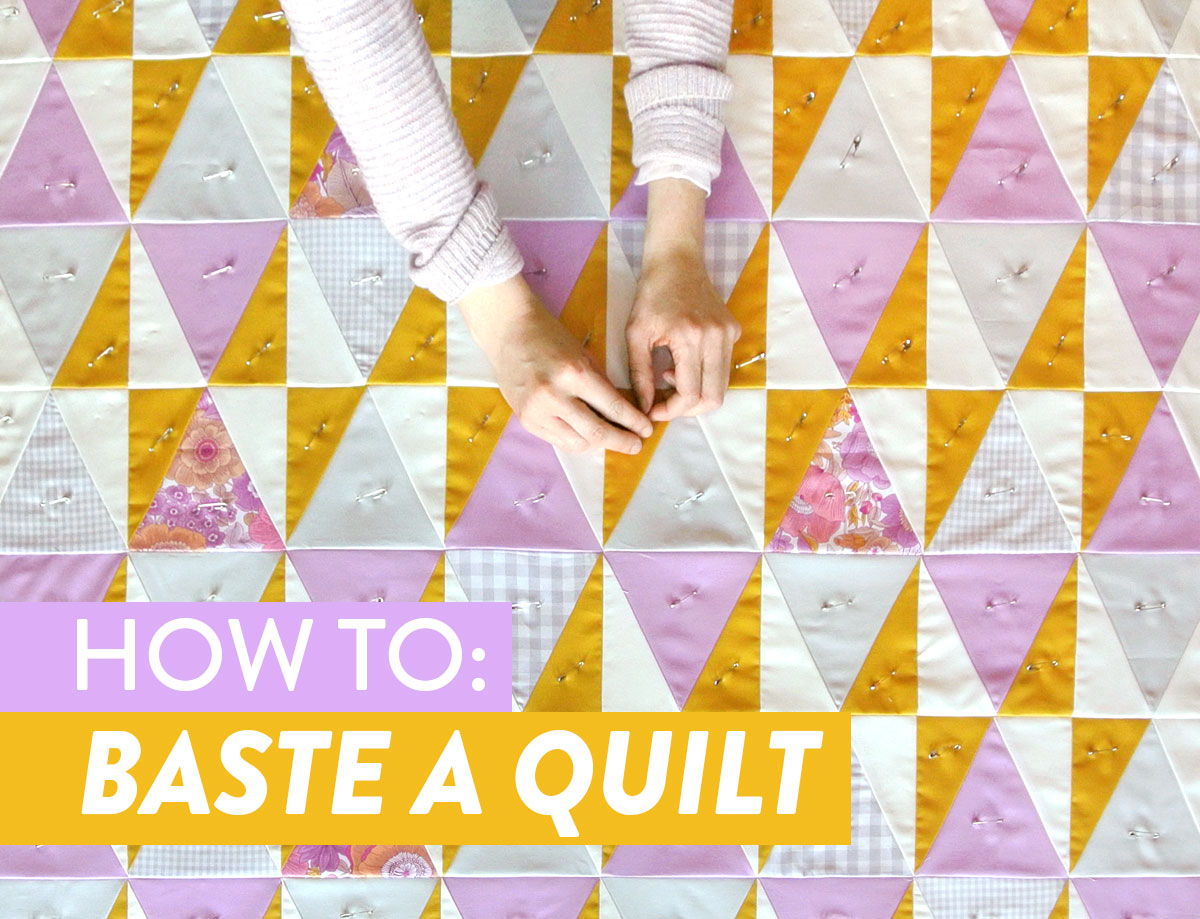
- Pin Basting – A traditional method of basting a quilt is pin basting. This involves hand-pinning the quilt layers together. At each pin, the quilt layers are secured to prevent shifting during the quilting process. This is a time-consuming method of basting, but it is the easiest one to use if you are a beginner. To pin baste, start by laying out the backing fabric on a flat surface, and then lay the batting on top. Smooth out the batting to remove any wrinkles. Place the quilt top on the batting, and then start to pin the three layers together with quilt pins. Make sure to place the pins at least every four to six inches across the quilt. Once all the pins are in place, your quilt is ready for quilting.
- Spray Basting – Spray basting is a quicker basting method than pin basting. This method involves using a spray adhesive to temporarily hold the quilt layers together. Start by laying the backing fabric in a large flat space. Place the batting on top and smooth out any wrinkles. Next, spray the batting with the adhesive and let it sit for a few minutes. Lay the quilt top on top of the batting and smooth out any wrinkles. Finally, spray the quilt top with the adhesive, and use your hands to lightly press the fabric together. Once the adhesive is dry, your quilt is ready for quilting.
- Thread Basting – Another basting method is thread basting. This method involves stitching the quilt layers together with a running stitch. Start by laying the backing fabric in a flat space. Place the batting on top and smooth out any wrinkles. Lay the quilt top on top of the batting and smooth out any wrinkles. To thread baste, use a contrasting thread and a large needle to stitch the quilt layers together with a running stitch. Make sure to stitch at least every four to six inches across the quilt. Once all the stitching is complete, your quilt is ready for quilting.
No matter which basting method you choose, it is important that you baste your quilt properly to ensure that the quilt layers stay in place while you are quilting. Pin basting, spray basting, and thread basting are all great options for how to pin baste a quilt.
How to Pin Baste a Large Quilt on a Table
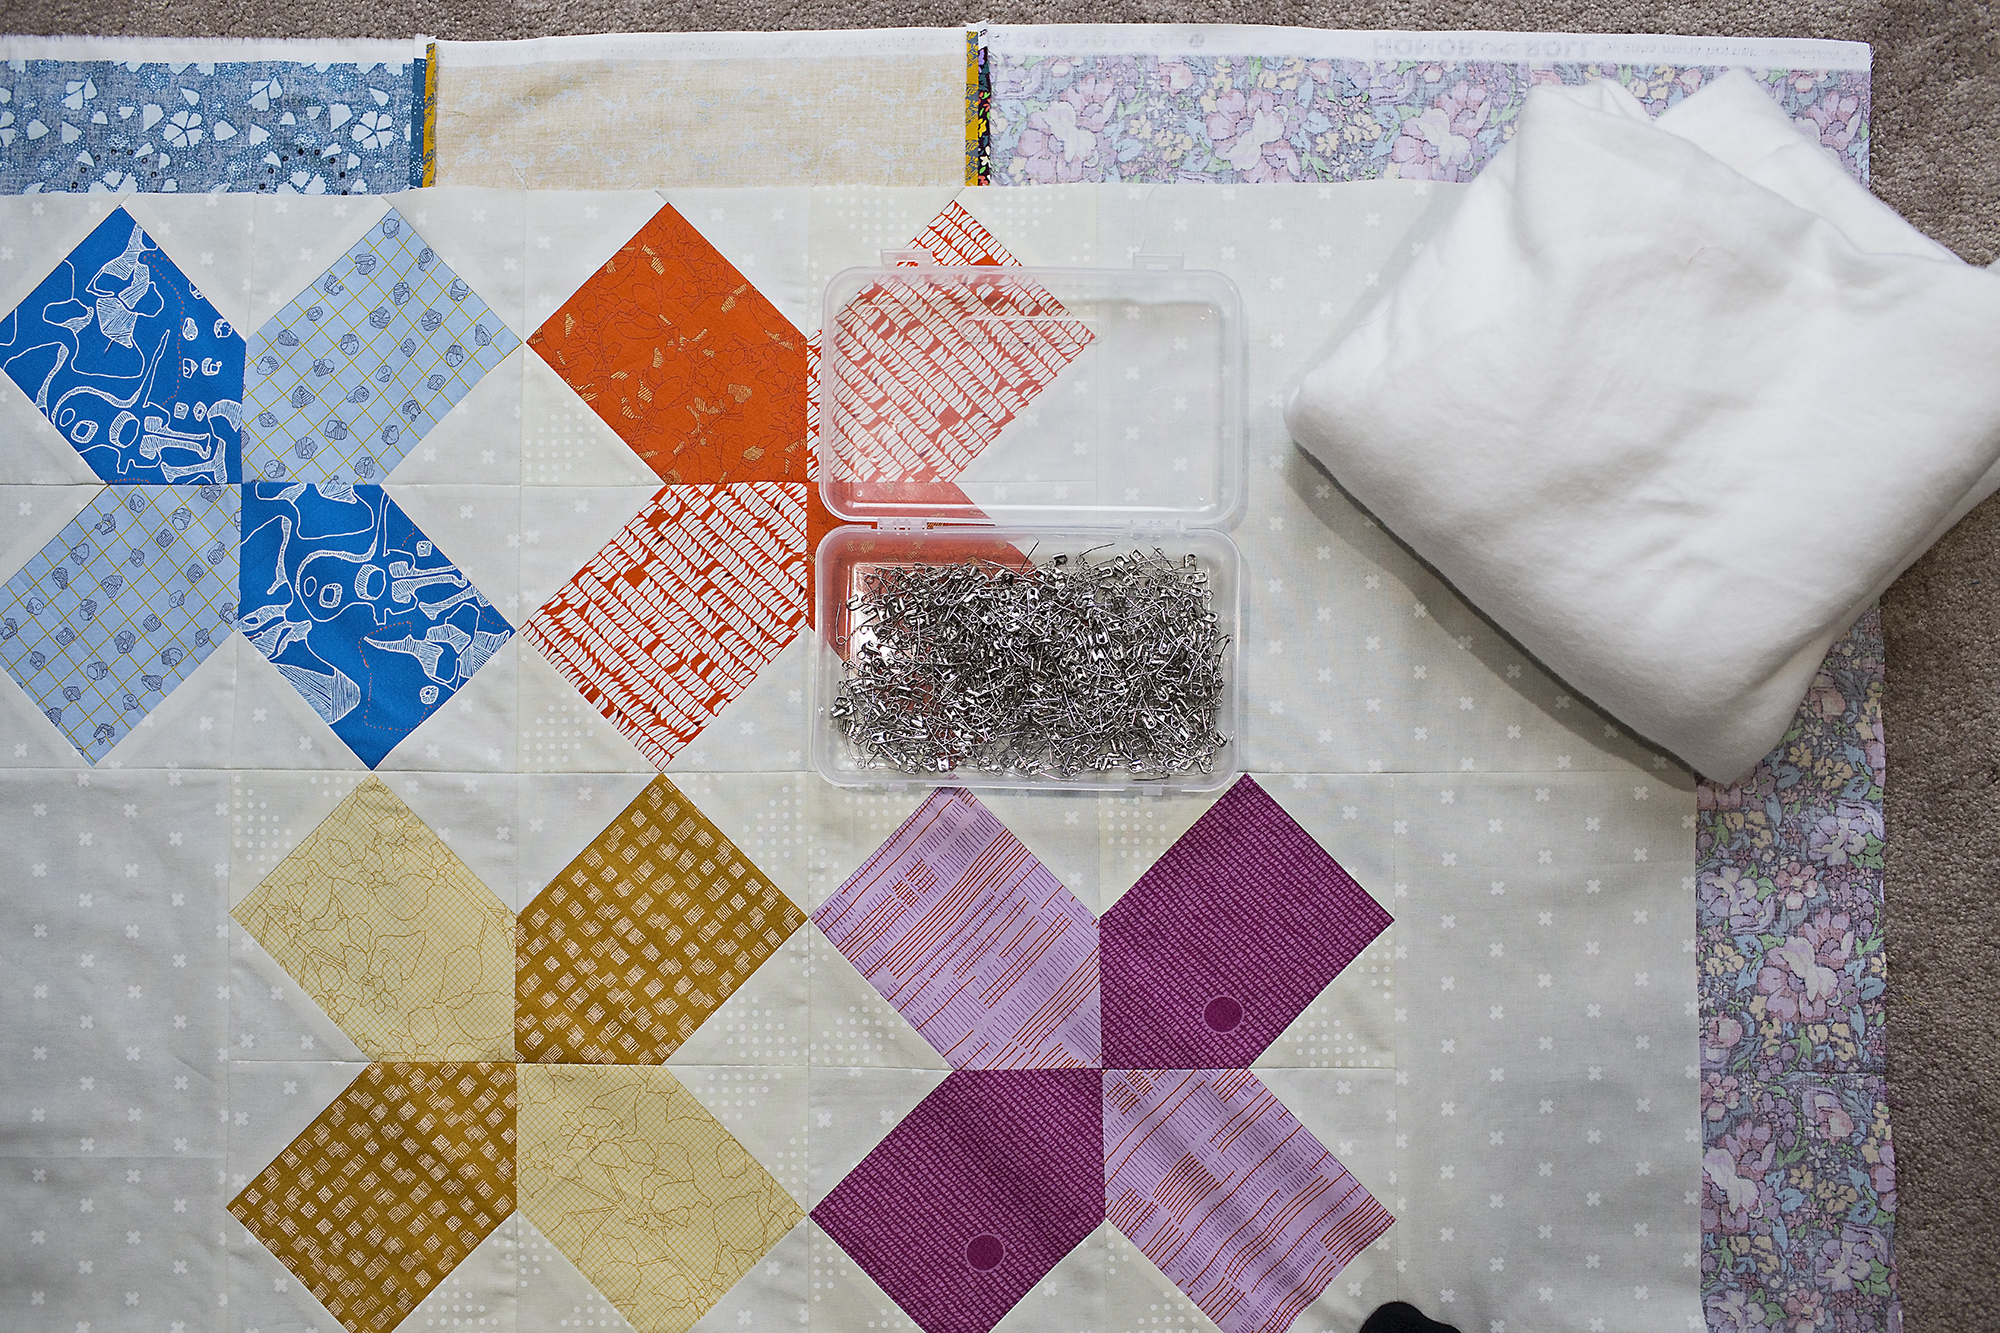
Pin basting is a reliable and popular method for basting large quilts that are too large to baste on the floor. To begin, you will need:
- Large table
- Pins
- Quilt top
- Batting and backing
Step 1: Place the backing fabric on the table. Make sure that the backing is smooth and wrinkle-free.
Step 2: Place the batting on top of the backing fabric. Smooth out the batting, making sure there are no bumps or lumps.
Step 3: Place the quilt top on the batting. Use your hands to smooth out any wrinkles in the quilt top.
Step 4: Start pinning the quilt. Begin in the center of the quilt and work your way outwards. Pin around the perimeter of the quilt, spacing the pins about 8-10 inches apart.
Step 5: Once the quilt is pinned, use your hands to smooth out any wrinkles. Then, double check that all the layers are securely attached with the pins.
Step 6: Once the quilt is basted, it’s ready to be quilted.
Pin basting is a great way to baste a large quilt on a table. It’s fast and easy, and the quilt will be securely attached to the batting and backing.
How to Pin Baste a Quilt
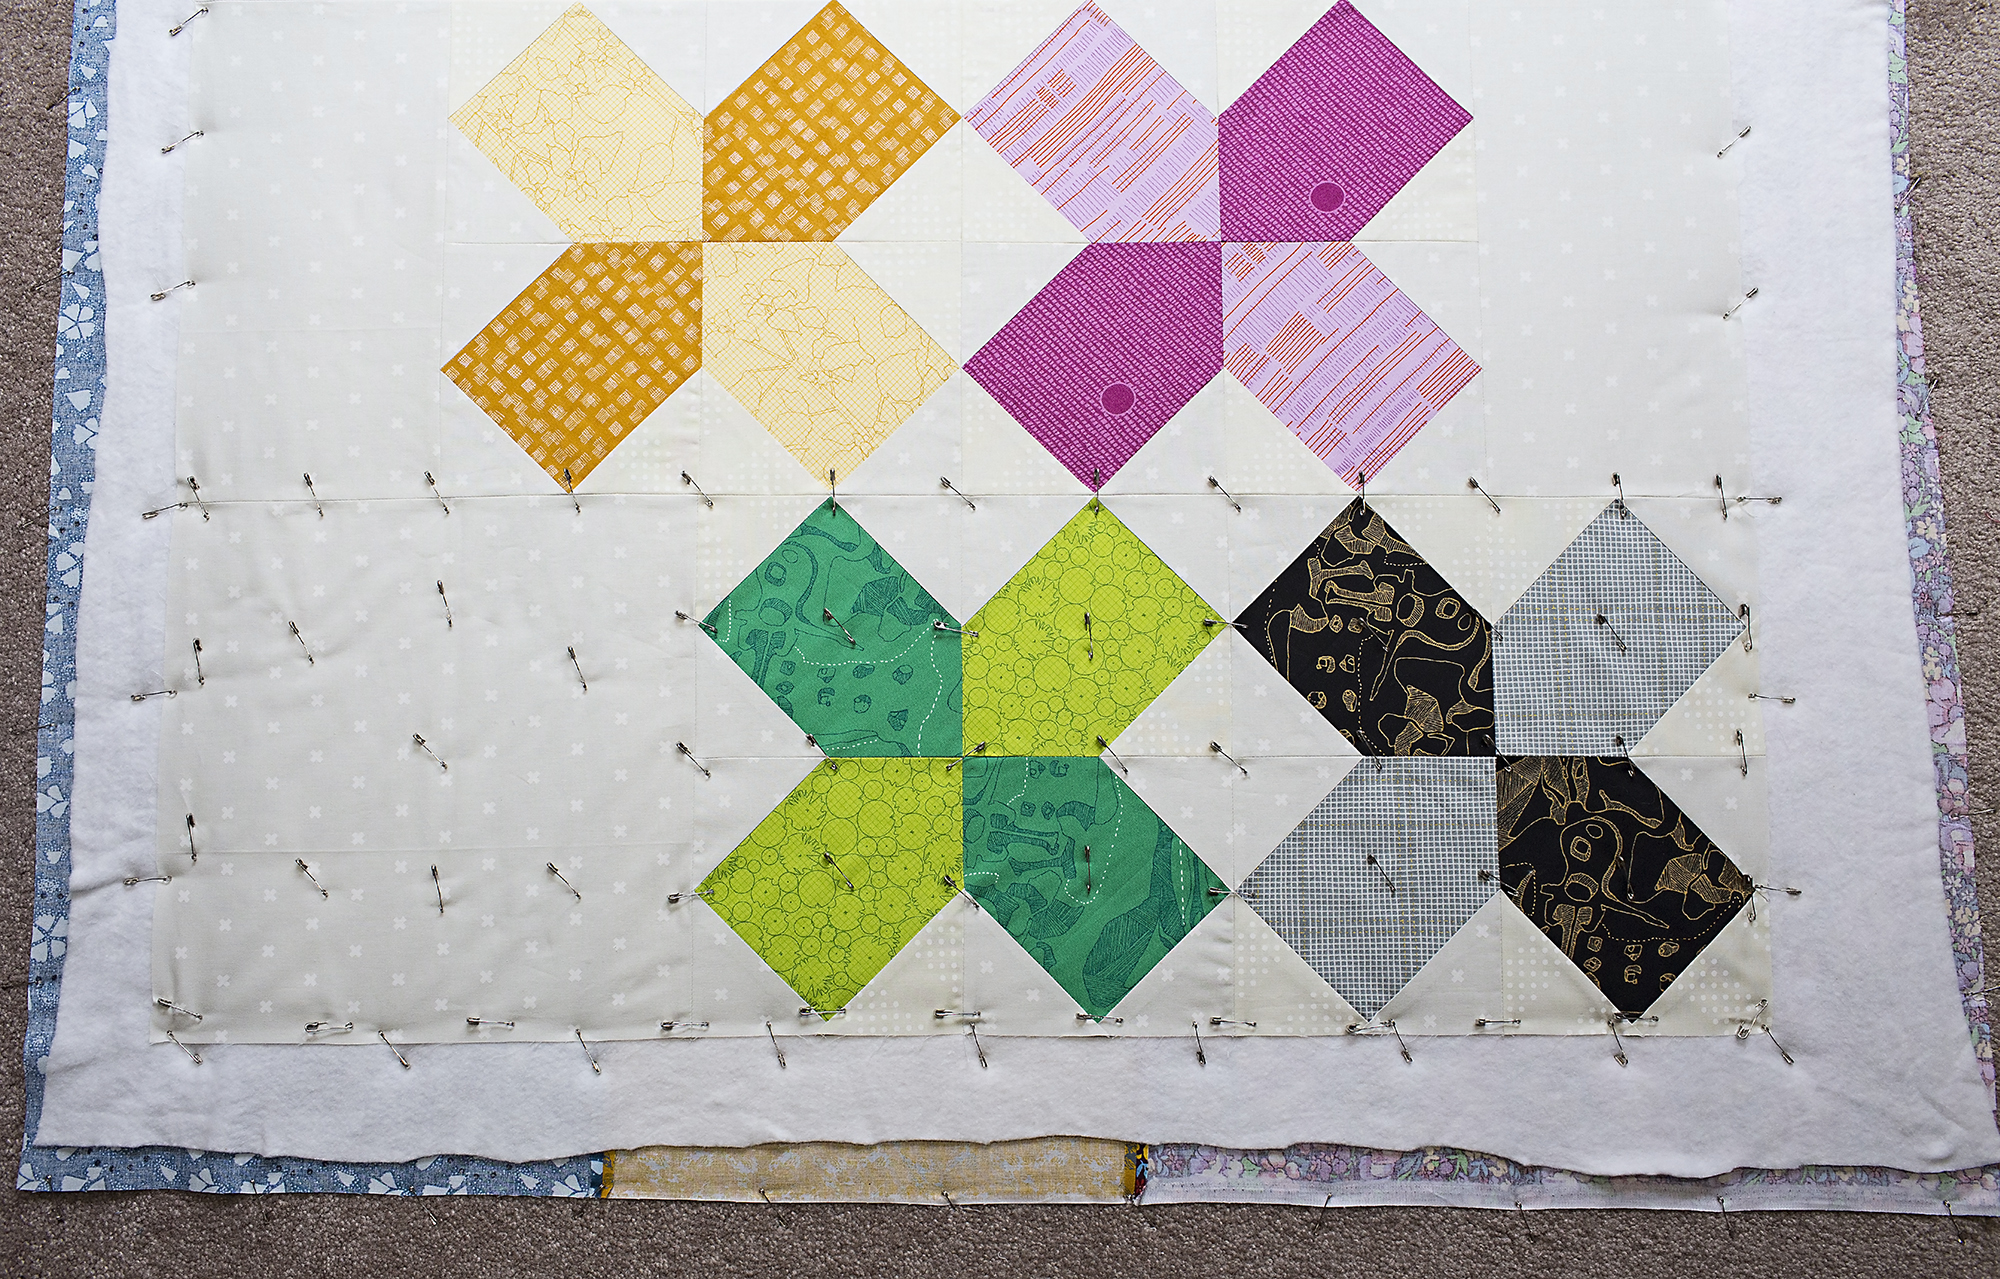
Pin basting is an easy and reliable way of basting a quilt. It involves using straight pins to attach the quilt layers together. It is also a great option for machine quilting as it holds the layers securely in place.
Here are the steps to pin baste a quilt:
| Steps | Instructions |
|---|---|
| 1 | Lay the backing fabric on a large flat surface, right side down. Smooth out any wrinkles. |
| 2 | Lay the batting on the backing fabric, centering it. |
| 3 | Place the quilt top on top of the batting and backing fabric, centering it. |
| 4 | Starting in the center, use straight pins to secure the three layers together. Make sure the pins enter all three layers. |
| 5 | Secure the remaining layers together by working your way outwards from the middle of the quilt, using pins at 8-inch intervals. |
| 6 | Once all the layers have been pinned together, check for any wrinkles in the quilt top and smooth them out. |
Pin basting is a great way to keep the quilt layers from shifting while machine quilting. It is also an inexpensive and easy basting method – all you need are straight pins and you’re ready to go!
How to Baste a Large Quilt
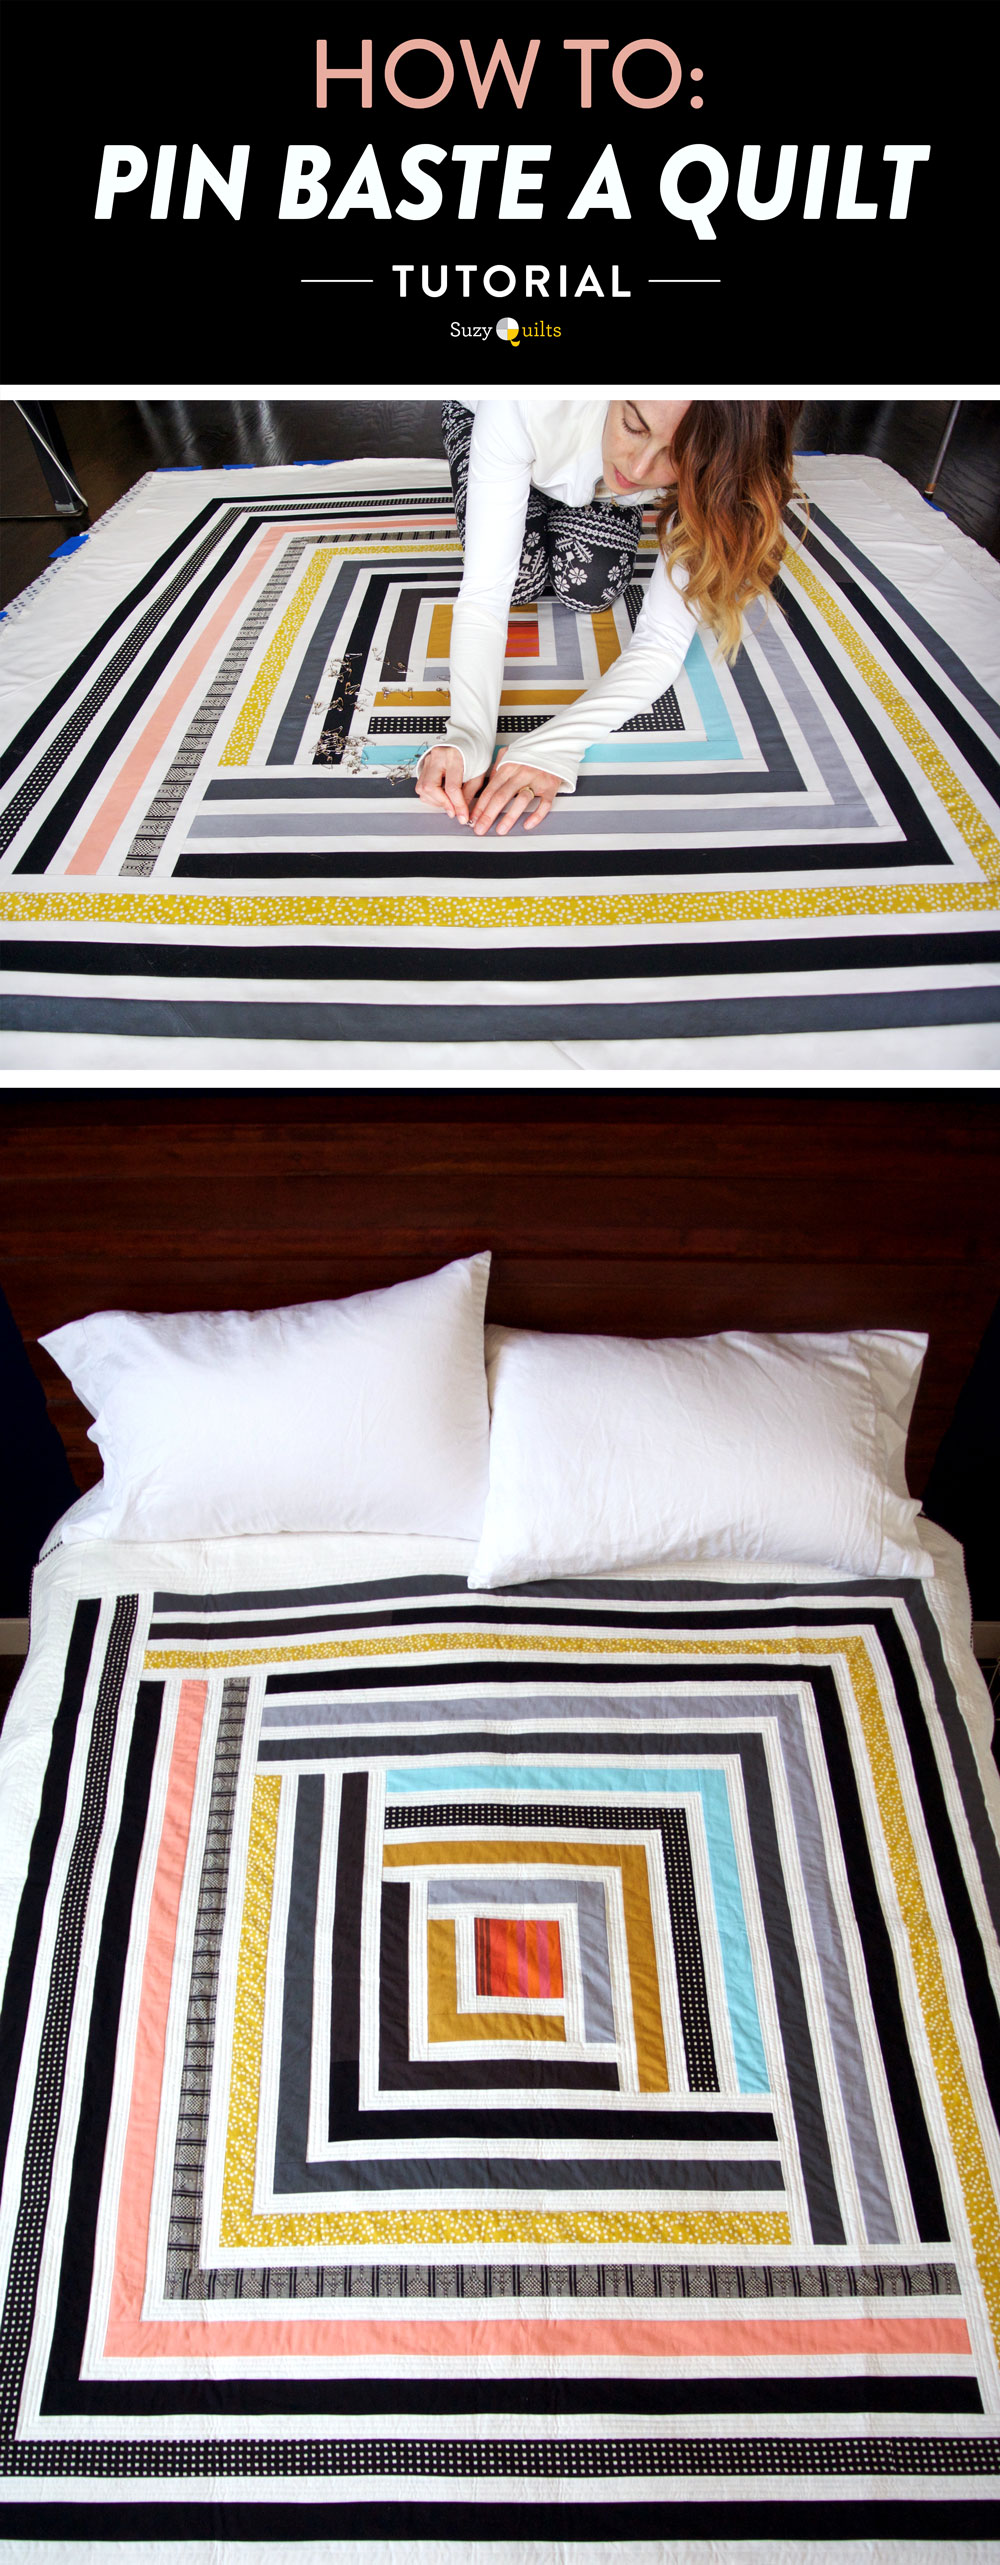
Materials
- Quilt top
- Quilt batting
- Quilt backing
- Tape measure
- Chalk pencil
- Safety pins
Instructions
- Lay out the quilt top on a flat surface.
- Fold the quilt batting in half and place it on top of the quilt top. Make sure to center the batting.
- Fold the quilt backing in half and place it on top of the batting. Make sure to center the backing.
- Smooth out the layers of the quilt and ensure they are even.
- Using a tape measure, measure the quilt and then mark the borders with a chalk pencil.
- Starting with the top of the quilt, pin the layers together using safety pins, spacing the pins about 8-10 inches apart.
- Repeat the same process for the middle and bottom of the quilt, making sure to line up the borders marked with the chalk pencils.
- Smooth the layers with your hands to ensure the quilt is even.
- To baste a quilt without pins, use a spray adhesive.
Tips
- Make sure to use a lot of pins when basting a large quilt to ensure the layers stay in place.
- Be sure to smooth out the fabric layers as you go to avoid puckering.
- If using spray adhesive, use a respirator mask to avoid breathing in the fumes.
How to Pin a Quilt for Machine Quilting
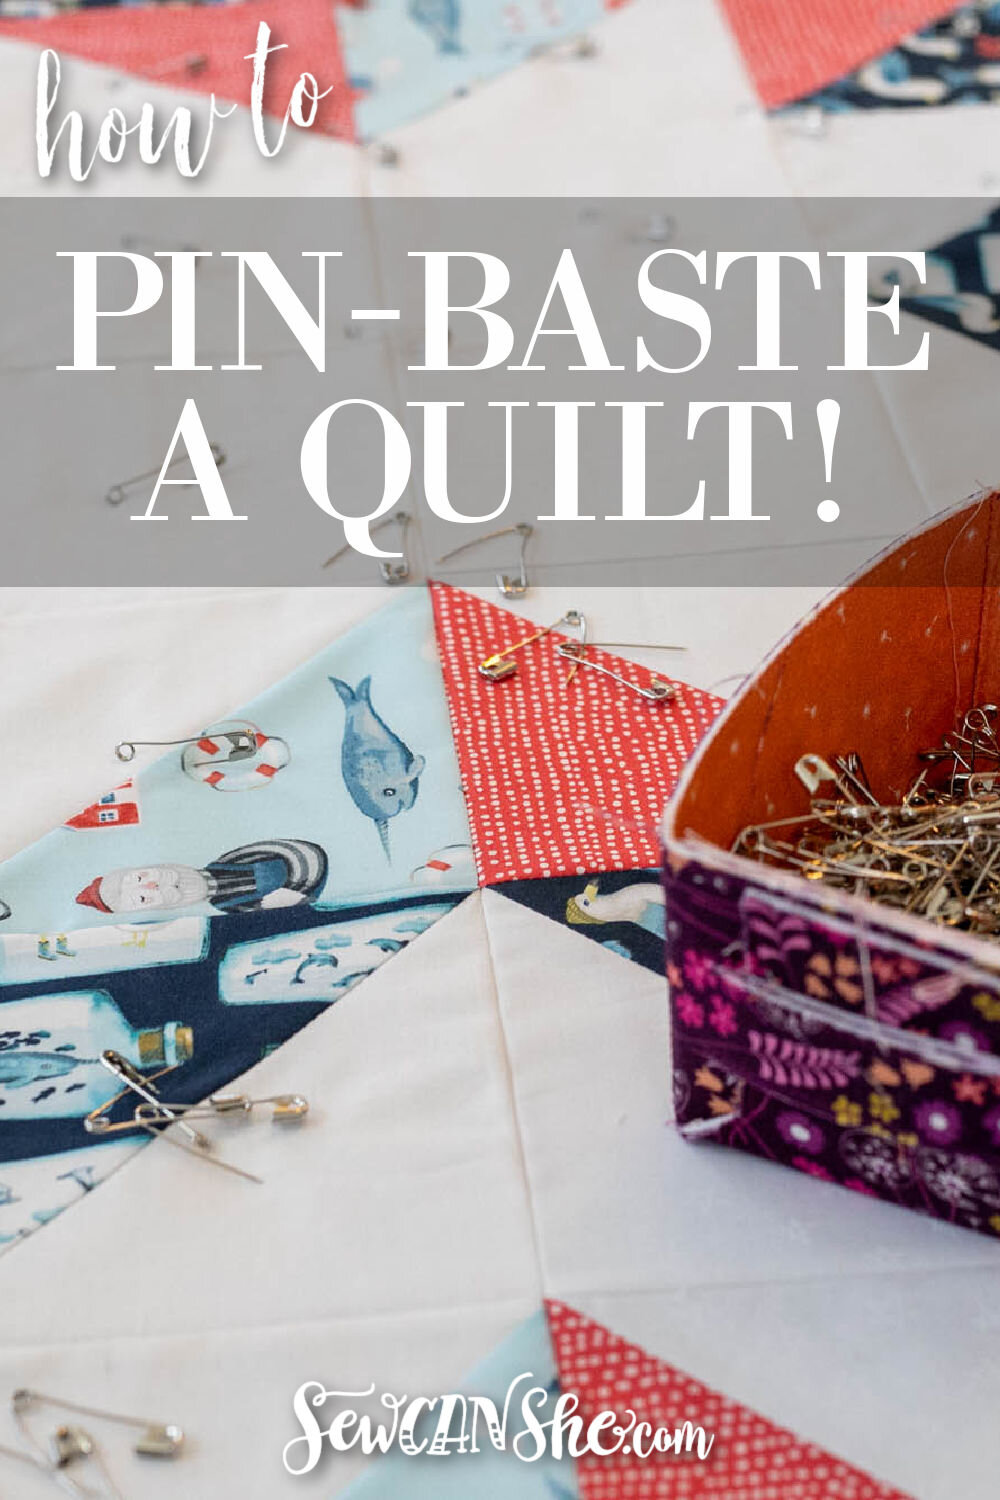
- Choose Your Pins: Use quilting pins that are slightly longer than a standard pin, as they will be more secure and will not become loose through the quilting process.
- Lay the Quilt Top: Lay the quilt top on your work surface. Make sure that it is flat and smooth.
- Lay the Batting: Lay the batting on top of the quilt top. Make sure that it is smooth and free from wrinkles.
- Lay the Backing: Lay the backing on top of the batting. Make sure that it is smooth and free from wrinkles.
- Pin the Quilt: Start in the middle of the quilt and pin the layers together. Make sure to use enough pins that the quilt won’t shift during the quilting process. Work your way out to the edges. For a baby quilt, use more pins.
- Check the Quilt: When you have finished pinning the quilt, check it to make sure that it is smooth and free from wrinkles.
How to Baste a Quilt Without Pins
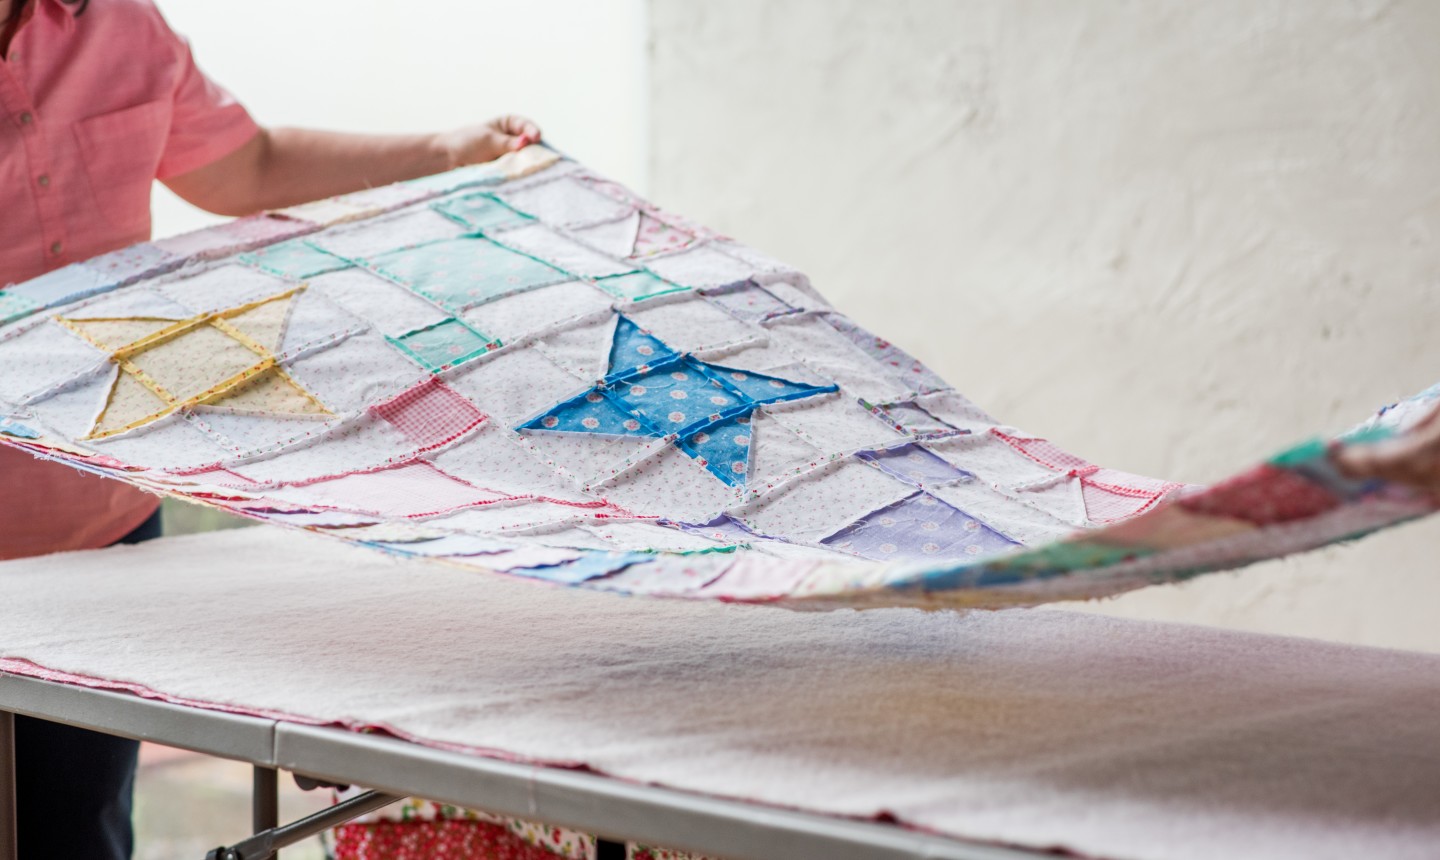
Tape Method: Start by laying the backing fabric on the floor. Smooth out any wrinkles, and then lay the batting on top. Smooth out any wrinkles as well. Then, take clear double-sided tape and place it at the edges of the backing fabric. Place the quilt top onto the batting and backing fabric, making sure to match the edges of the quilt. Smooth out any wrinkles. Then, take the remaining tape and place it along the edges of the quilt top. Finally, starting from the middle and working your way out, press down on the quilt to make sure that all the layers are bonded together.
Spray Adhesive Method: Start by laying the backing fabric on the floor. Smooth out any wrinkles, and then lay the batting on top. Smooth out any wrinkles as well. Then, take a spray adhesive and spray the backing fabric, making sure to cover the entire area. Place the quilt top onto the batting and backing fabric, making sure to match the edges of the quilt. Smooth out any wrinkles. Finally, starting from the middle and working your way out, press down on the quilt to make sure that all the layers are bonded together.
Stitch Method: Start by laying the backing fabric on the floor. Smooth out any wrinkles, and then lay the batting on top. Smooth out any wrinkles as well. Then, take the quilt top and place it onto the batting and backing fabric, making sure to match the edges of the quilt. Smooth out any wrinkles. Finally, starting from the middle and working your way out, use a basting stitch or a running stitch to baste the quilt together. This will make sure that all the layers are bonded together.
The above mentioned methods of basting a quilt without pins are easy and quick. They can be used to pin baste a quilt on floor and save you time and effort.
How to Baste a Baby Quilt
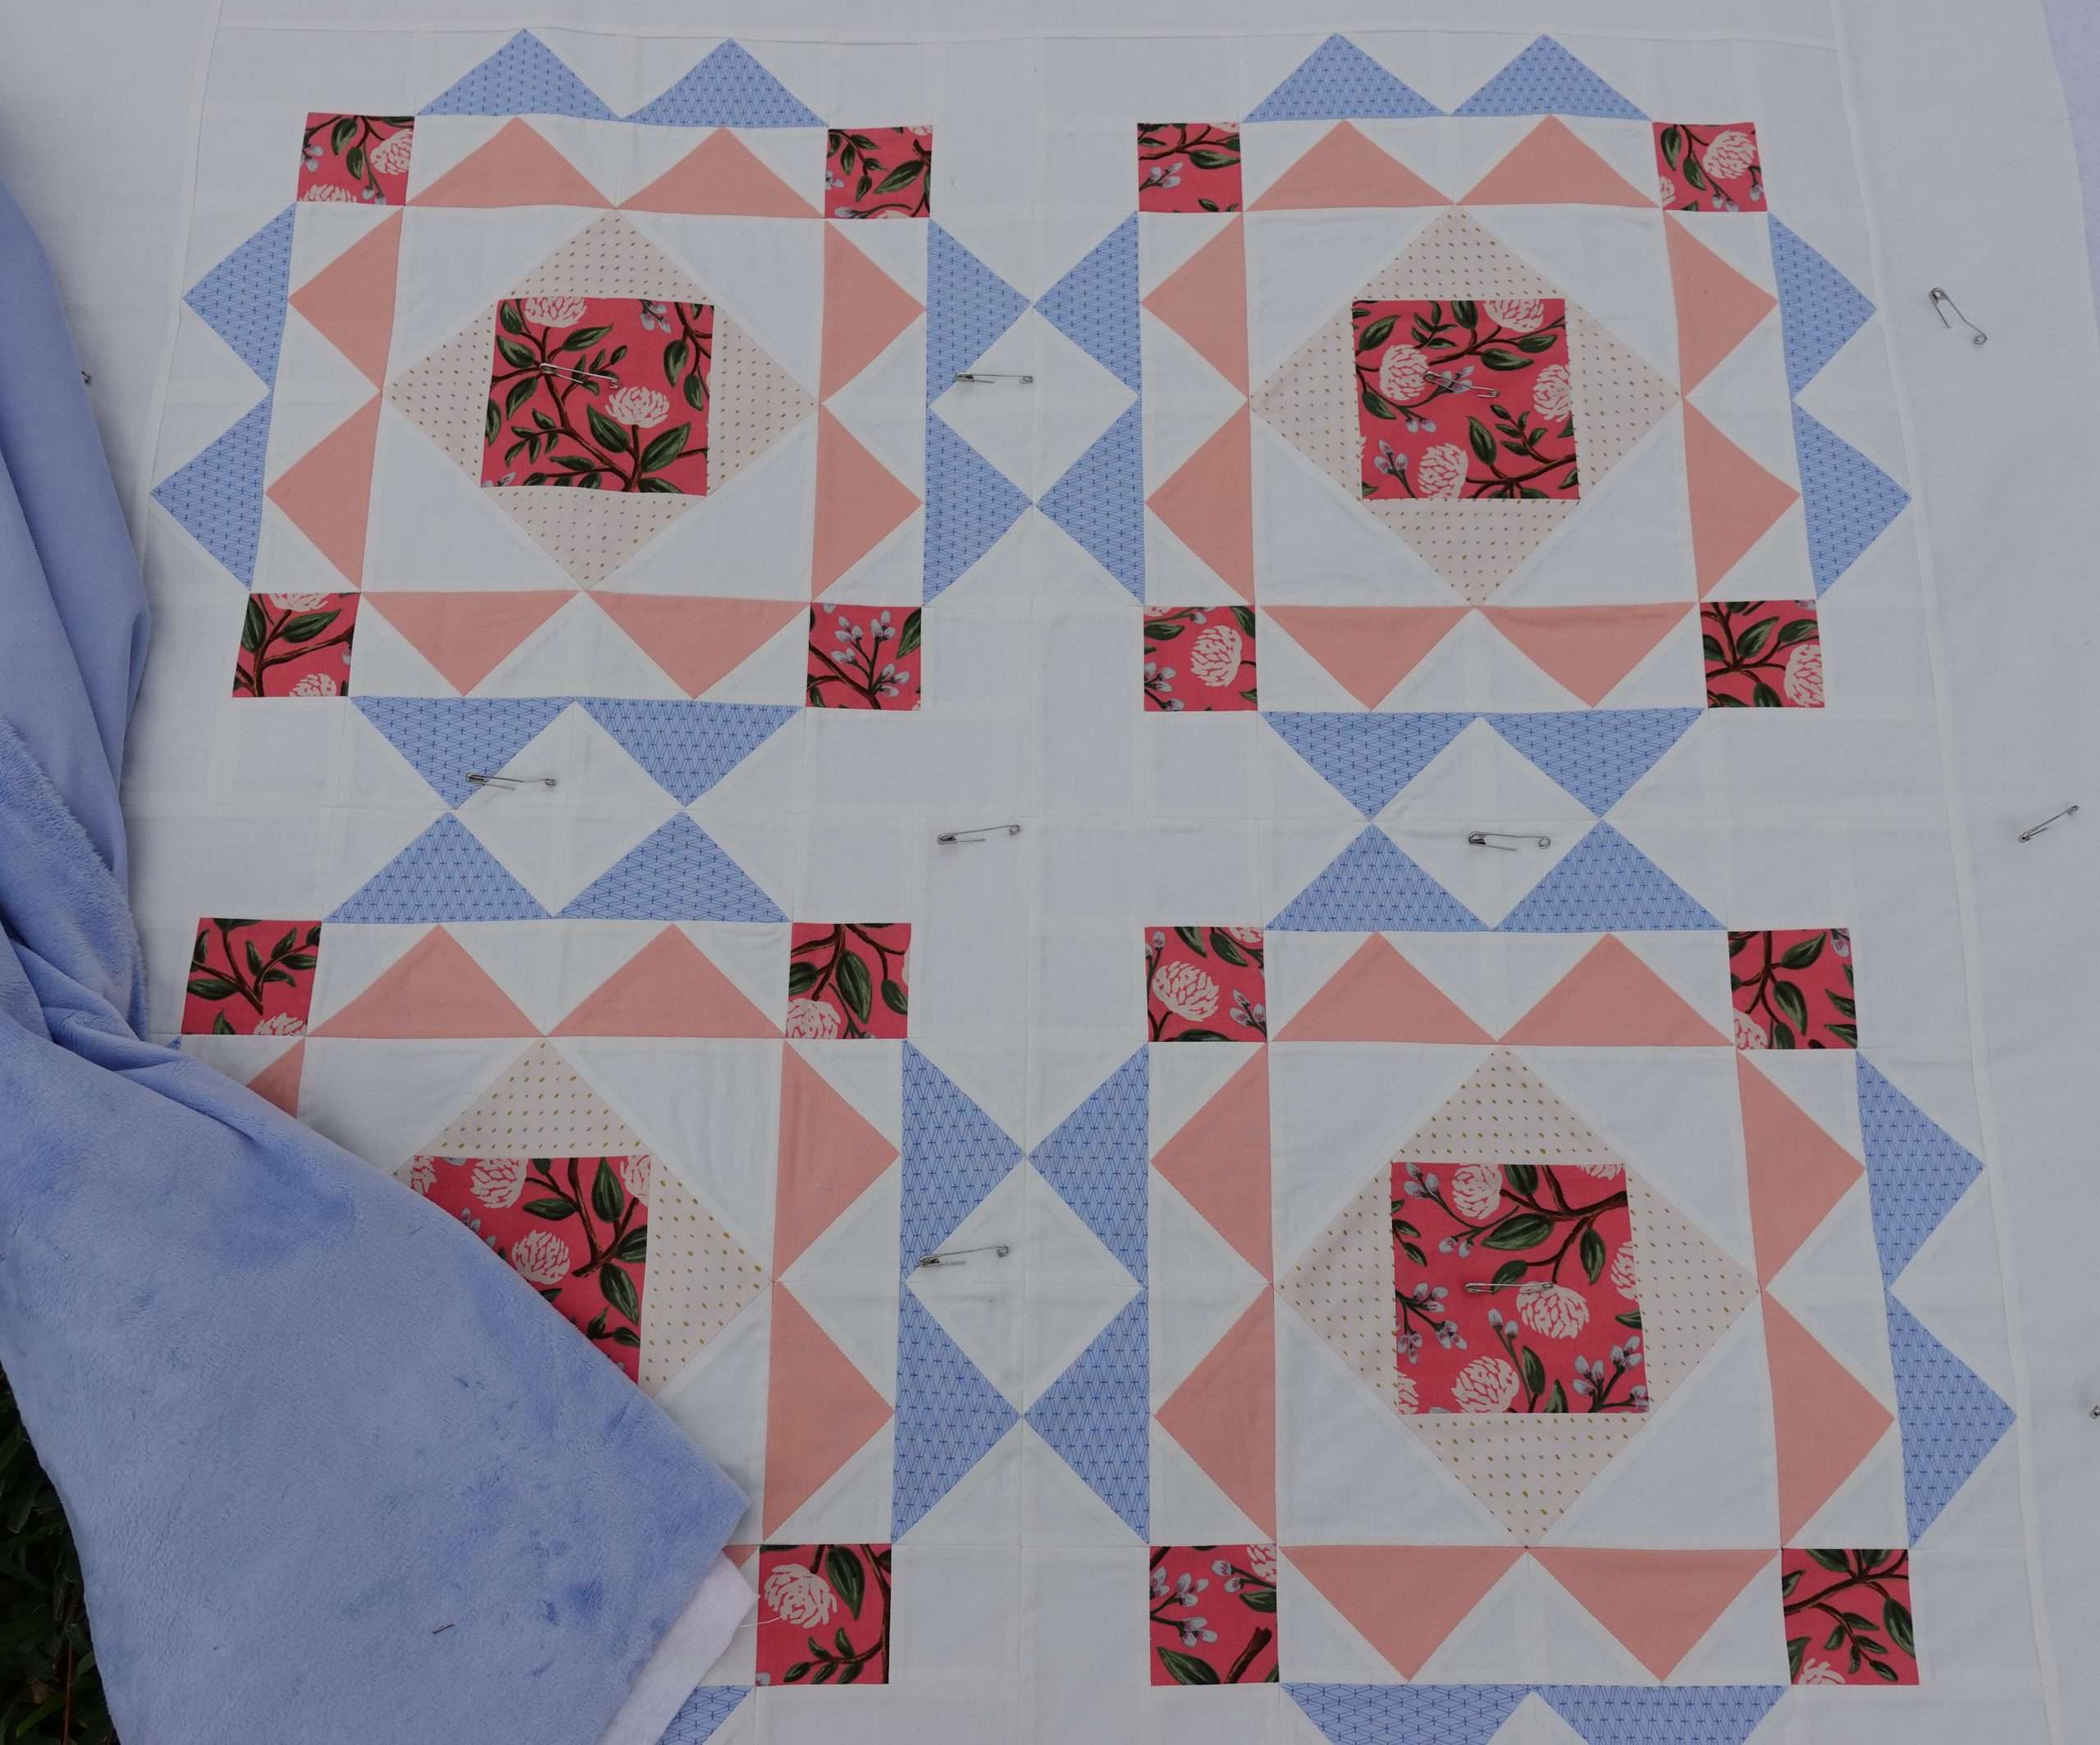
Materials:
- Baby quilt top
- Batting
- Quilt back
- Safety pins
- Fabric pen or chalk
Instructions:
- Lay the quilt top right side up on a flat surface.
- Place the batting on top of the quilt top. Make sure the batting is slightly larger than the quilt top.
- Layer the quilt back on top of the batting. Make sure the quilt back is slightly larger than the quilt top.
- Smooth out any wrinkles in the quilt layers.
- Using a fabric pen or chalk, draw a quilting line between the quilt top and the quilt back.
- Starting at the middle of the quilt, begin to pin baste the layers together using safety pins.
- Pin the layers together in a grid-like pattern, making sure to secure the quilt layers together every few inches.
- Once the quilt layers are pinned together, smooth out any wrinkles and make sure the edges of the quilt layers are lined up.
- Your quilt is now ready for quilting!
How to Pin Baste a Quilt on Floor
Pin Basting is a common way to baste a quilt and is often used for larger quilts. Pin basting requires a flat, clean surface such as the floor.
Steps:
| Steps | Description |
|---|---|
| 1 | Lay the batting on the floor. Make sure the batting is smooth and flat. |
| 2 | Lay the backing fabric right side down on top of the batting. |
| 3 | Lay the quilt top right side up on top of the backing fabric. |
| 4 | Smooth out the quilt top and make sure it is laying flat. |
| 5 | Pin the three layers together. Start in the middle of the quilt and work your way out. Place pins about every 4-6 inches. |
| 6 | Smooth out the layers and make sure there are no bunching or wrinkles. |
Once all the layers are pinned together, your quilt can be quilted as desired. Pin basting is a great way to baste a quilt on the floor and is especially useful when basting a large quilt.
Frequently Asked Questions
What type of basting should I use for my quilt?
- Hand basting: Hand basting is a traditional method of basting quilts that involves pinning the quilt layers together with pins or hand stitching. This is the most time consuming method, but also the most secure.
- Spray basting: Spray basting is a quick and easy method of basting. The quilt layers are sprayed with an adhesive and then pressed together. This method is simple and fast, but may not be as secure as hand basting.
- Safety pin basting: Safety pin basting is a popular method of basting quilts. Safety pins are used to attach the quilt layers together. This method is relatively fast and secure, but can be tedious.
- Fusible web basting: Fusible web basting is a method of basting quilts in which a fusible webbing is used to hold the quilt layers together. This is a quick and secure method, but can be expensive.
The type of basting that should be used for a quilt will depend on the size of the quilt and the level of security desired. Hand basting is the most secure, but also the most time consuming. Spray basting is quick and easy, but may not be as secure. Safety pin basting is relatively fast and secure, but can be tedious. Fusible web basting is a quick and secure method, but can be expensive.
How do I make sure I am basting my quilt correctly?
Step 1: Set up a large flat surface to lay out your quilt, such as the floor, a table, or an ironing board.
Step 2: Place the backing fabric right side down on the surface. Smooth it out and make sure it is wrinkle-free.
Step 3: Place the batting on top of the backing fabric. Smooth out any wrinkles.
Step 4: Lay the quilt top fabric, right side up, on top of the batting and backing. Make sure the edges of the quilt top match the edges of the backing and batting.
Step 5: Secure all three layers together with pins, safety pins, or quilting clips. Pin all the way around the edges of the quilt and in the middle, spacing the pins about 4-6 inches apart.
Step 6: Start quilting the quilt. Use a walking foot if available. Work from the middle of the quilt outwards.
Step 7: Once the quilt is quilted, check the backing, batting, and quilt top to make sure they are still aligned and secure. Remove any pins that are no longer needed.
Step 8: Trim the batting and backing to fit the quilt top.
Step 9: Bind the edges of the quilt.
Step 10: Check the quilt thoroughly to make sure that the backing, batting, and quilt top are all secure and aligned correctly. If any adjustments need to be made, make them now.
What Tools Do I Need to Baste a Quilt?
To baste a quilt, you will need a large work surface, quilting pins or curved safety pins, a quilting ruler, and a rotary cutter. Quilting pins are ideal for basting a quilt because they hold the layers together securely, but curved safety pins can also be used. A rotary cutter is necessary for cutting the backing fabric to the correct size and for trimming excess batting. A quilting ruler is important for measuring and marking the quilt for accurate basting.
How do I ensure my basting stitches are secure?
To secure the basting stitches, use a small, tight stitch, such as a whip stitch or blanket stitch, and pull the thread taut as you go. It is important to use the same length of stitch for consistency. The stitches should be close together, but not so close that the fabric puckers. To make sure the basting stitches are extra secure, add an extra row of stitching in the opposite direction.
Is there an Easier Way to Baste a Quilt than the Traditional Method?
Yes, there are several alternative methods to the traditional basting technique, such as using spray adhesive, safety pins, or quilt clips. Spray adhesive is the quickest and least labor intensive, but it can be messy and more expensive than other methods. Safety pins are easy to use and inexpensive, but they can be time consuming and require more effort. Quilt clips are quick and easy to use, but they can leave permanent impressions on your quilt if used incorrectly. Ultimately, it is up to you to decide which method works best for your project.
Conclusion
The basting process is essential in quilting and can take some time and patience. With the correct tools and materials, you can easily baste a quilt. Using the right techniques, you can ensure the quilt is securely held together even after many washes. Practice and perseverance can create a perfect quilt that will last for years.


