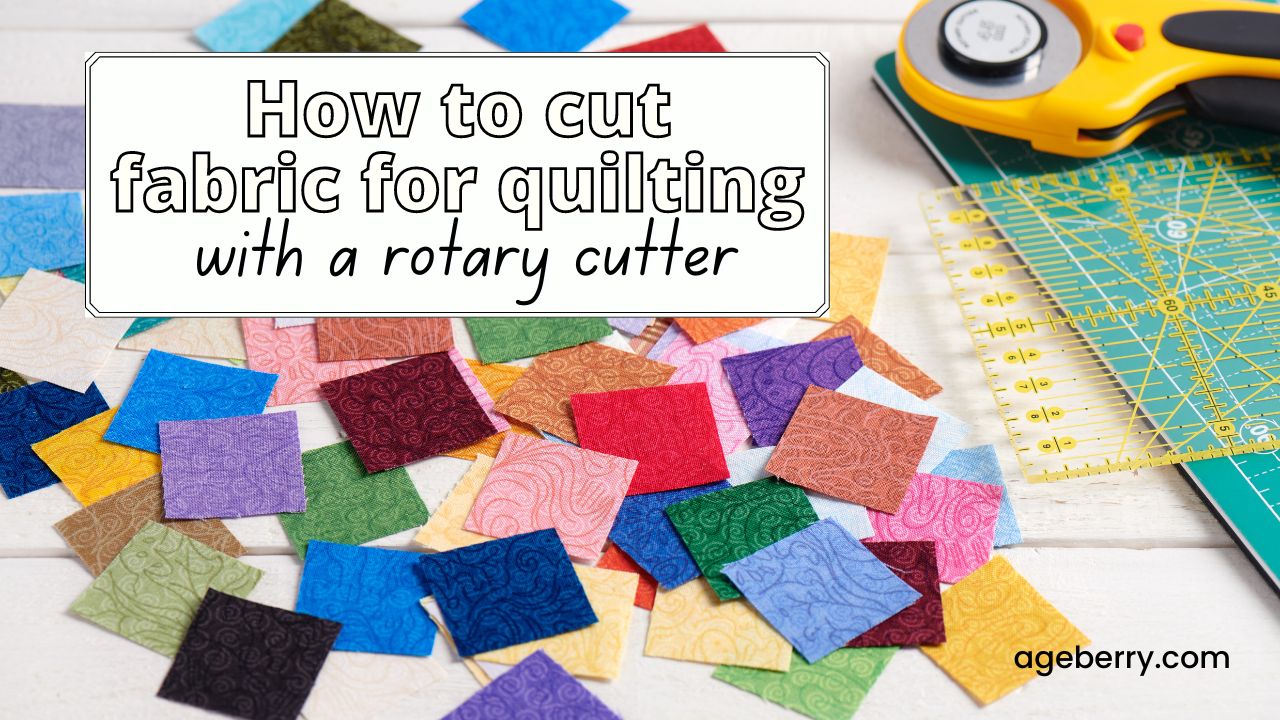
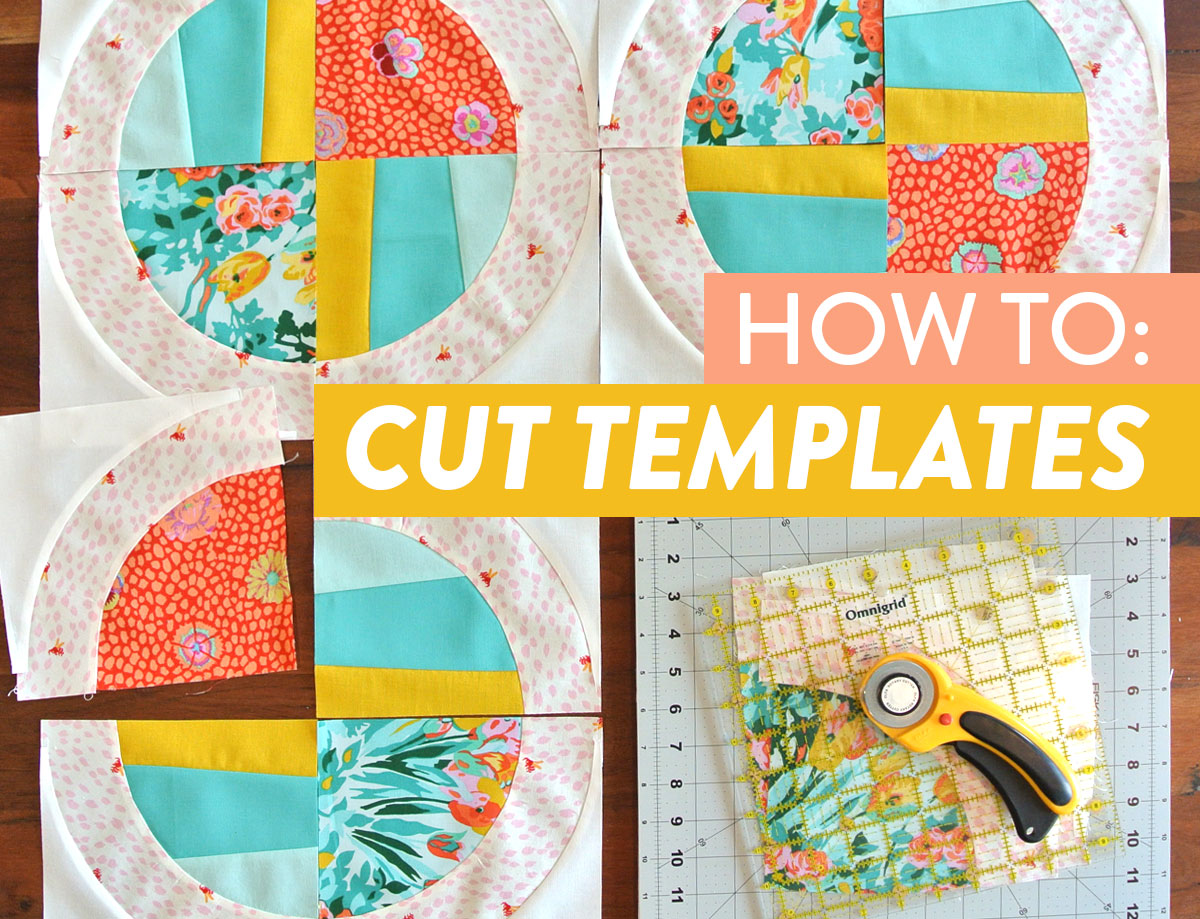
Do you want to cut quilt squares with precision? If so, a rotary cutter is the perfect tool for the job! In this article, we’ll show you how to cut quilt squares using a rotary cutter, so you can create perfect quilt blocks with ease. We’ll provide step-by-step instructions, plus tips and tricks to help you get the most out of your rotary cutter. With our guidance, you’ll be able to make quilt blocks that are precise and accurate.
Benefits of Using a Rotary Cutter for Cutting Quilt Squares
Using a rotary cutter to cut quilt squares has multiple advantages over traditional scissors. It is one of the most efficient and cost-effective ways to cut quilt squares. Here are some of the benefits of using a rotary cutter:
Time-saving: Rotary cutters are designed to cut through several layers of fabric at once. This saves considerable time with larger projects that require cutting multiple quilt squares.
Accuracy: Rotary cutters provide precise cuts that are very difficult to achieve with scissors. They can also be used with rulers and templates for extra accuracy.
Safety: Rotary cutters come with safety features such as blade guards and lockable handles, making them safer to use than scissors.
Cost: Rotary cutters are relatively inexpensive and can last for a long time.
Versatility: Rotary cutters can be used to cut different shapes and sizes of quilt squares. They can also be used to cut through several layers of fabric at once.
Ease of use: Rotary cutters are easy to use and require minimal setup time. They also require less pressure than scissors, making them easier on your hands.
Overall, using a rotary cutter is a great way to cut quilt squares quickly and accurately. With its multiple benefits, it is easy to see why this tool is a must-have for any quilting project.
Preparing to Cut Quilt Squares with a Rotary Cutter
- Gather the necessary materials. You will need a quilt fabric, a rotary cutter, a ruler, and a cutting mat.
- Iron the fabric. Before you start cutting, make sure that you iron out any wrinkles in the fabric.
- Position the fabric. Place the fabric on top of the cutting mat and position it so that you can easily move the ruler and the rotary cutter to get the desired shape.
- Position the ruler. Place the ruler on the fabric and make sure it is lined up in the direction you want your cut to go.
- Secure the ruler. Once the ruler is in place, use your non-dominant hand to hold it securely in place.
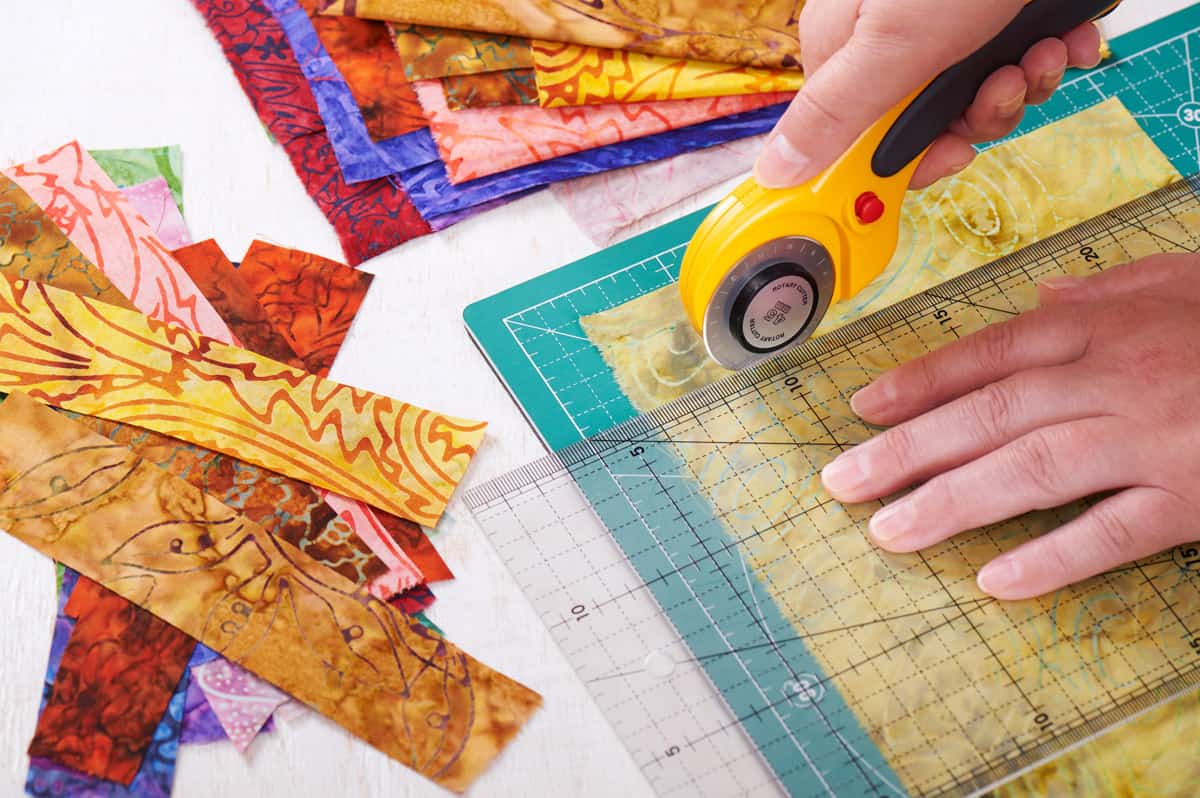
- Cut the fabric. Position the rotary cutter on the ruler and, using your dominant hand, make a cutting motion to cut the fabric.
- Check your cut. Measure your cut to ensure it is the desired size, and make any adjustments if necessary.
- Be precise. To get the most precise cuts when cutting quilt squares, use a ruler with a 1/4-inch seam allowance, and make sure to keep the blades of the rotary cutter sharp for better accuracy.
Making Cut Guidelines

To ensure accurate, consistent cuts when using a rotary cutter, it is important to keep the blade moving in a continuous motion. Make sure to keep the fabric taut by using one hand to hold it while the other hand is cutting. This will help prevent the fabric from shifting or bunching up as you cut. Be sure to always place the ruler on the fabric with the right side of the blade against the ruler. The ruler should also be placed on the fabric before each cut. Additionally, it is important to keep the blade of the rotary cutter sharp for accurate cutting.
Tips for Cutting Quilt Squares with a Rotary Cutter
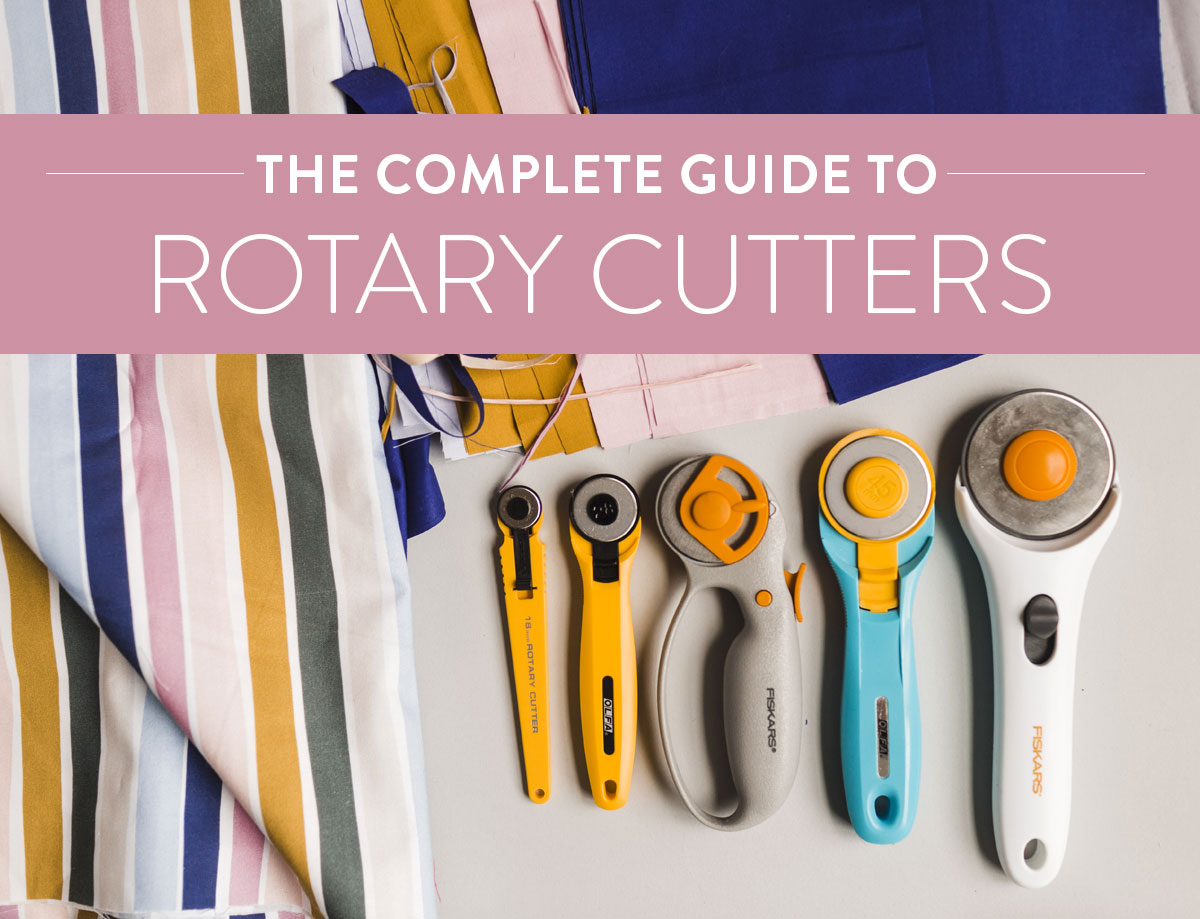
- Choose the Right Cutter – Select a rotary cutter that is comfortable in your hand. Choose a blade size that is best suited for the size of the quilt square you are cutting.
- Use the Right Mat – Use a self-healing mat that is large enough for the quilt square. Make sure the mat is well-maintained and does not have any tears or holes.
- Prepare the Fabric – Place the fabric on the mat, making sure it is smooth and flat. Place the cutting template on top of the fabric and secure it with pins. Make sure the pins are not too close to the cutting line.
- Make the Cut – Hold the blade at a 45-degree angle and press firmly against the fabric. Keep the blade moving steadily in a straight line. Cut through the entire template and fabric in one pass.
- Clean the Cutter – After each cut, wipe the blade with a damp cloth to remove any lint or fabric particles. This will keep the blade sharp and prevent it from becoming dull.
- Store the Cutter Safely – When not in use, store the rotary cutter in a safe place away from children. Keep the blade covered at all times.
Ways to Make More Precise Cuts
- Secure the Fabric. Secure the fabric to the cutting surface with tape, pins, or weights to prevent slipping and ensure accuracy.
- Position the Rotary Cutter. Position the blade of the rotary cutter as close to the fabric edge as possible. Using a ruler will help you to keep a consistent distance.
- Cutting Direction. When cutting, roll the rotary cutter forward, away from the body, in a smooth motion.
- Use a Sharp Blade. Replace blades often to ensure clean, precise cuts.
- Practice. Practice makes perfect! With regular practice, you’ll be able to make neat, precise cuts in no time.
Safety Tips When Using a Rotary Cutter
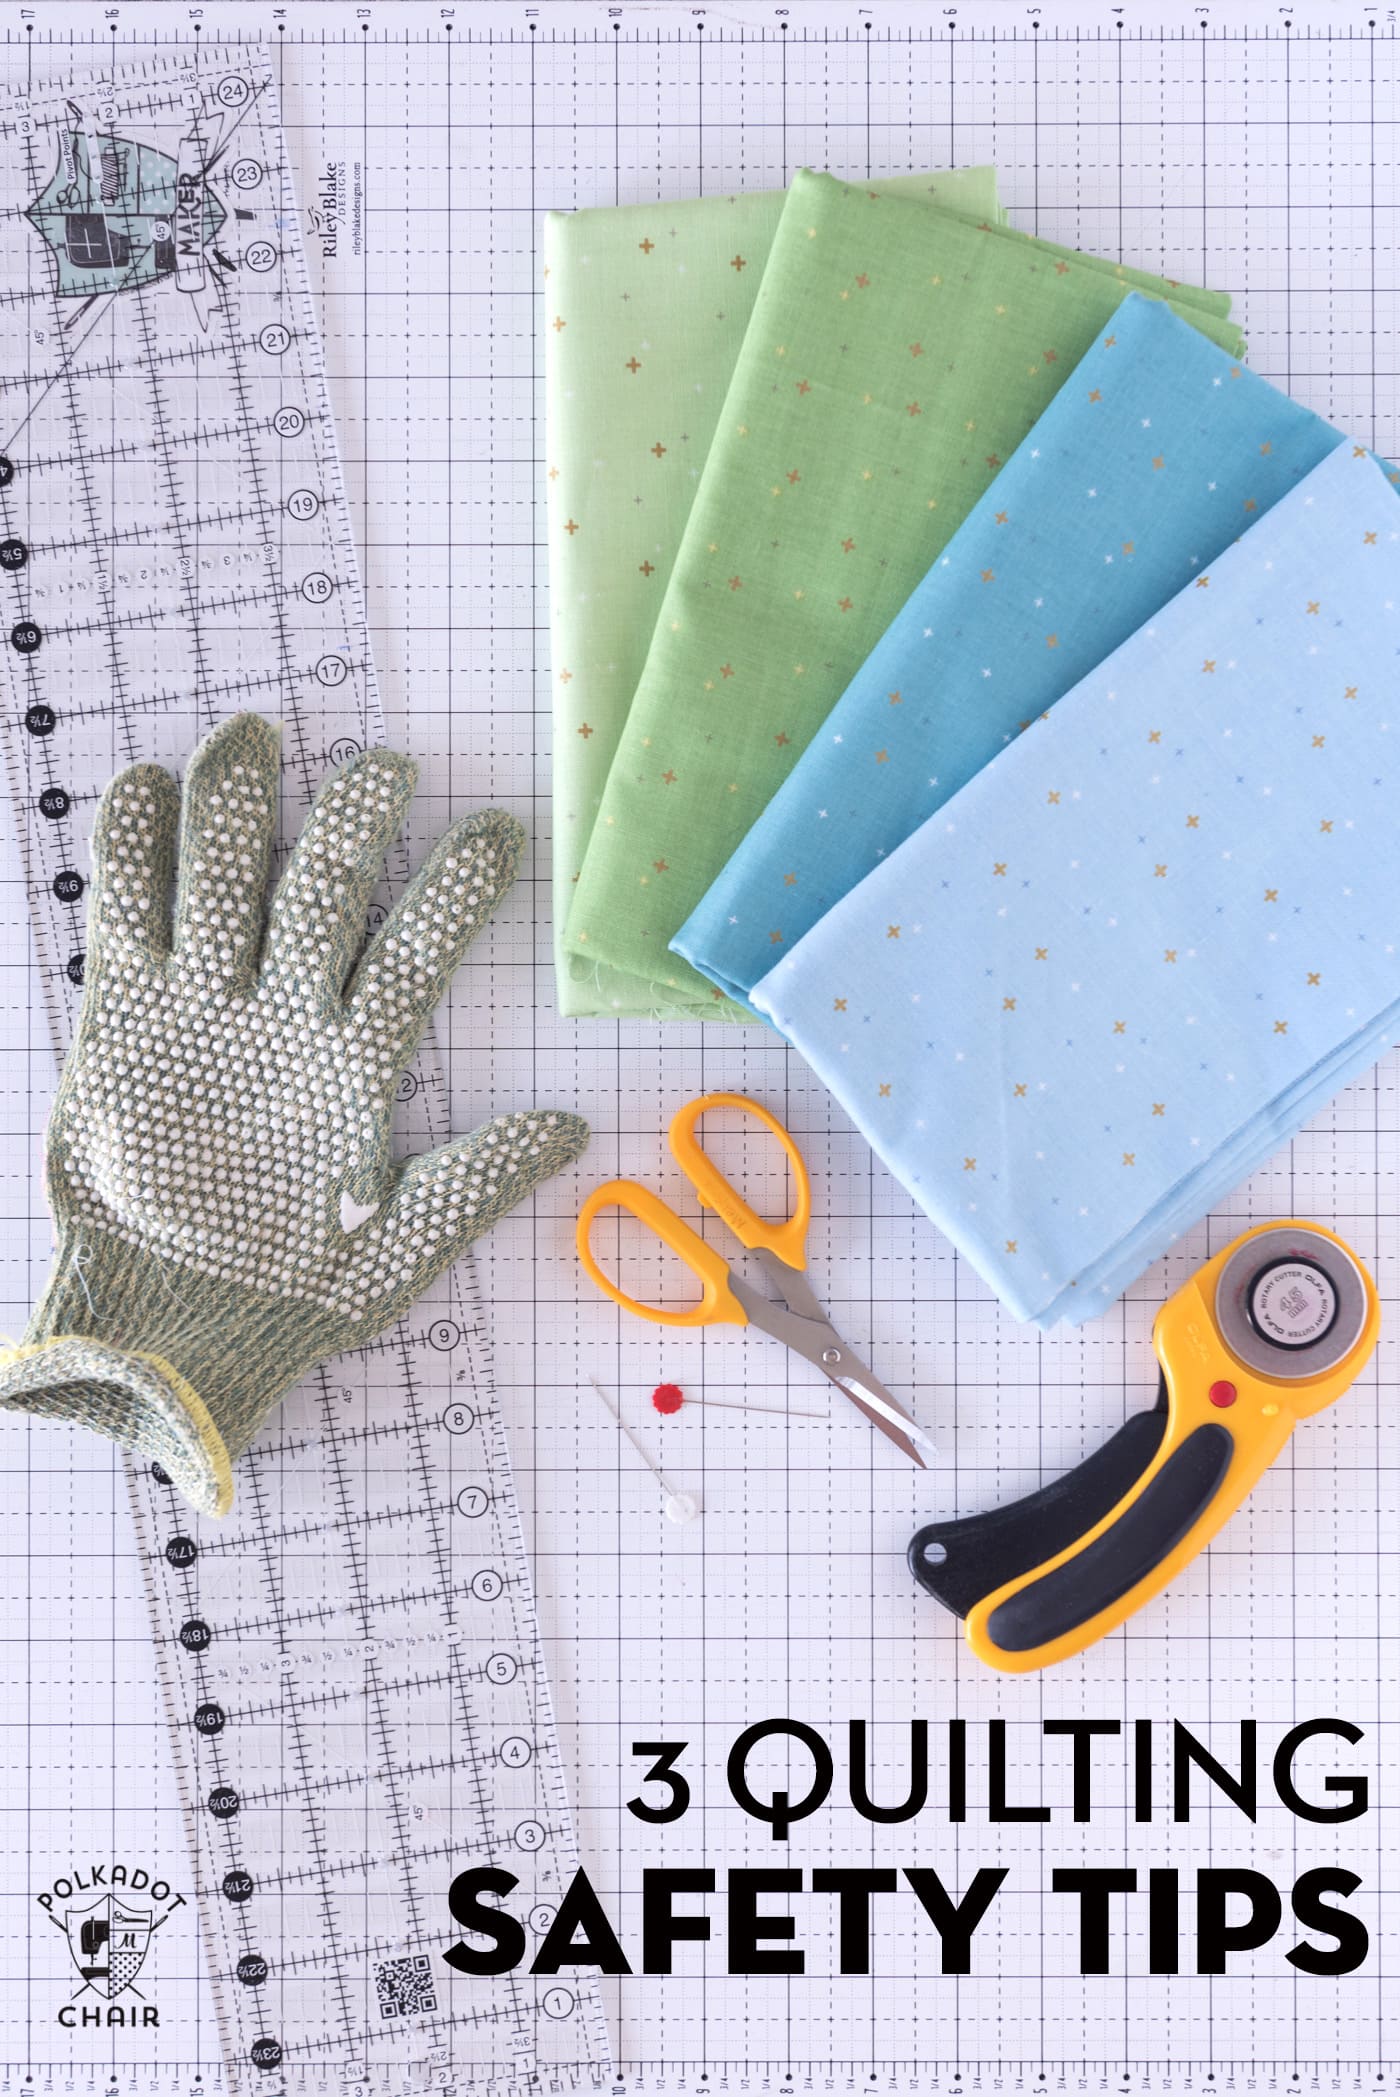
- Always use a sharp blade. Dull blades require more effort and can cause injury.
- Keep the blade covered when not in use. The blade is extremely sharp and can cause injury even when not in use.
- Wear protective gloves when using the cutter. This will help protect your hands from the sharp blade.
- Keep your hands and fingers away from the blade. Even when wearing gloves, it is important to keep your fingers away from the blade.
- Cut away from your body. Make sure to always cut away from your body as this will help prevent any accidental cuts.
- Be aware of the fabric you are cutting. Make sure that you are aware of the fabric you are cutting and that it is properly secured so that it does not move while you are cutting.
Troubleshooting Rotary Cutters
Rotary Cutter Not Cutting
- Check that blade is sharp.
- Check that blade is sliding freely in the handle.
- Check that handle and blade are securely connected.
- Check that blade is properly aligned in handle.
Rotary Cutter Not Rolling Properly
- Check that blade is securely fastened to the handle.
- Check that blade is sliding freely in the handle.
- Check that handle and blade are properly aligned.
- Check that blade is not damaged.
- Check that blade is clean and free of residue.
Rotary Cutter Leaving Gaps
- Check that blade is sharp and clean.
- Check that blade is securely fastened to the handle.
- Check that blade is properly aligned in handle.
- Check that blade is sliding freely in the handle.
Frequently Asked Questions
What is a Rotary Cutter and How Does It Work?
- Rotary Cutter: A rotary cutter is a handheld circular blade used for cutting fabric, paper, or other materials.
- How Does It Work?: The rotary cutter works by rolling the circular blade across the material that needs to be cut. The user needs to apply pressure to the top of the rotary cutter as it is rolled across the material. This will cut through the material, creating a clean, straight line.
How do I keep track of the measurements for each quilt square?
It is important to keep track of the measurements for each quilt square, as cutting squares of the wrong size can cause problems when assembling the quilt later. To ensure accuracy, mark the measurements clearly on the fabric before cutting the squares. Alternatively, use a ruler to measure each square as it is cut.
What type of cutting surface should I use for quilt squares?
A self-healing cutting mat is the best surface for cutting quilt squares as it provides a smooth, even surface that is durable and won’t dull your rotary blade. Avoid using a hard surface such as glass or acrylic as it will dull the blade quickly. Additionally, use a ruler with a 1/4-inch grid for accuracy when cutting.
Is it Possible to Cut Multiple Quilt Squares at Once?
Yes, it is possible to cut multiple quilt squares at once using a rotary cutter. Depending on the size of the rotary cutter and the quilt square, multiple layers of fabric can be cut at the same time. This technique can save valuable time and effort when making a quilt. It is important to ensure that the rotary cutter is sharp and the cutting mat is used to protect the surface underneath.
Are There Any Safety Precautions I Should Take When Using a Rotary Cutter?
When using a rotary cutter, it is important to take safety precautions to protect yourself and those around you. Make sure the blade is sharp, and always use the blade guard when not in use. Never touch the blade while it is in use and keep it away from children and pets. Wear protective gloves when cutting, as the blade is very sharp and can cause serious injury. Always cut away from your body and use a ruler or cutting mat to protect your work surface. If possible, use a self-healing cutting mat to reduce the chances of the blade becoming dull or damaged.
Conclusion
Using a rotary cutter gives you the precision needed to cut quilt squares quickly and accurately. It is a great tool to have in your sewing arsenal, allowing you to make cuts that are precise and even. Follow the tips outlined in this article and you will be able to cut quilt squares with ease and accuracy.


