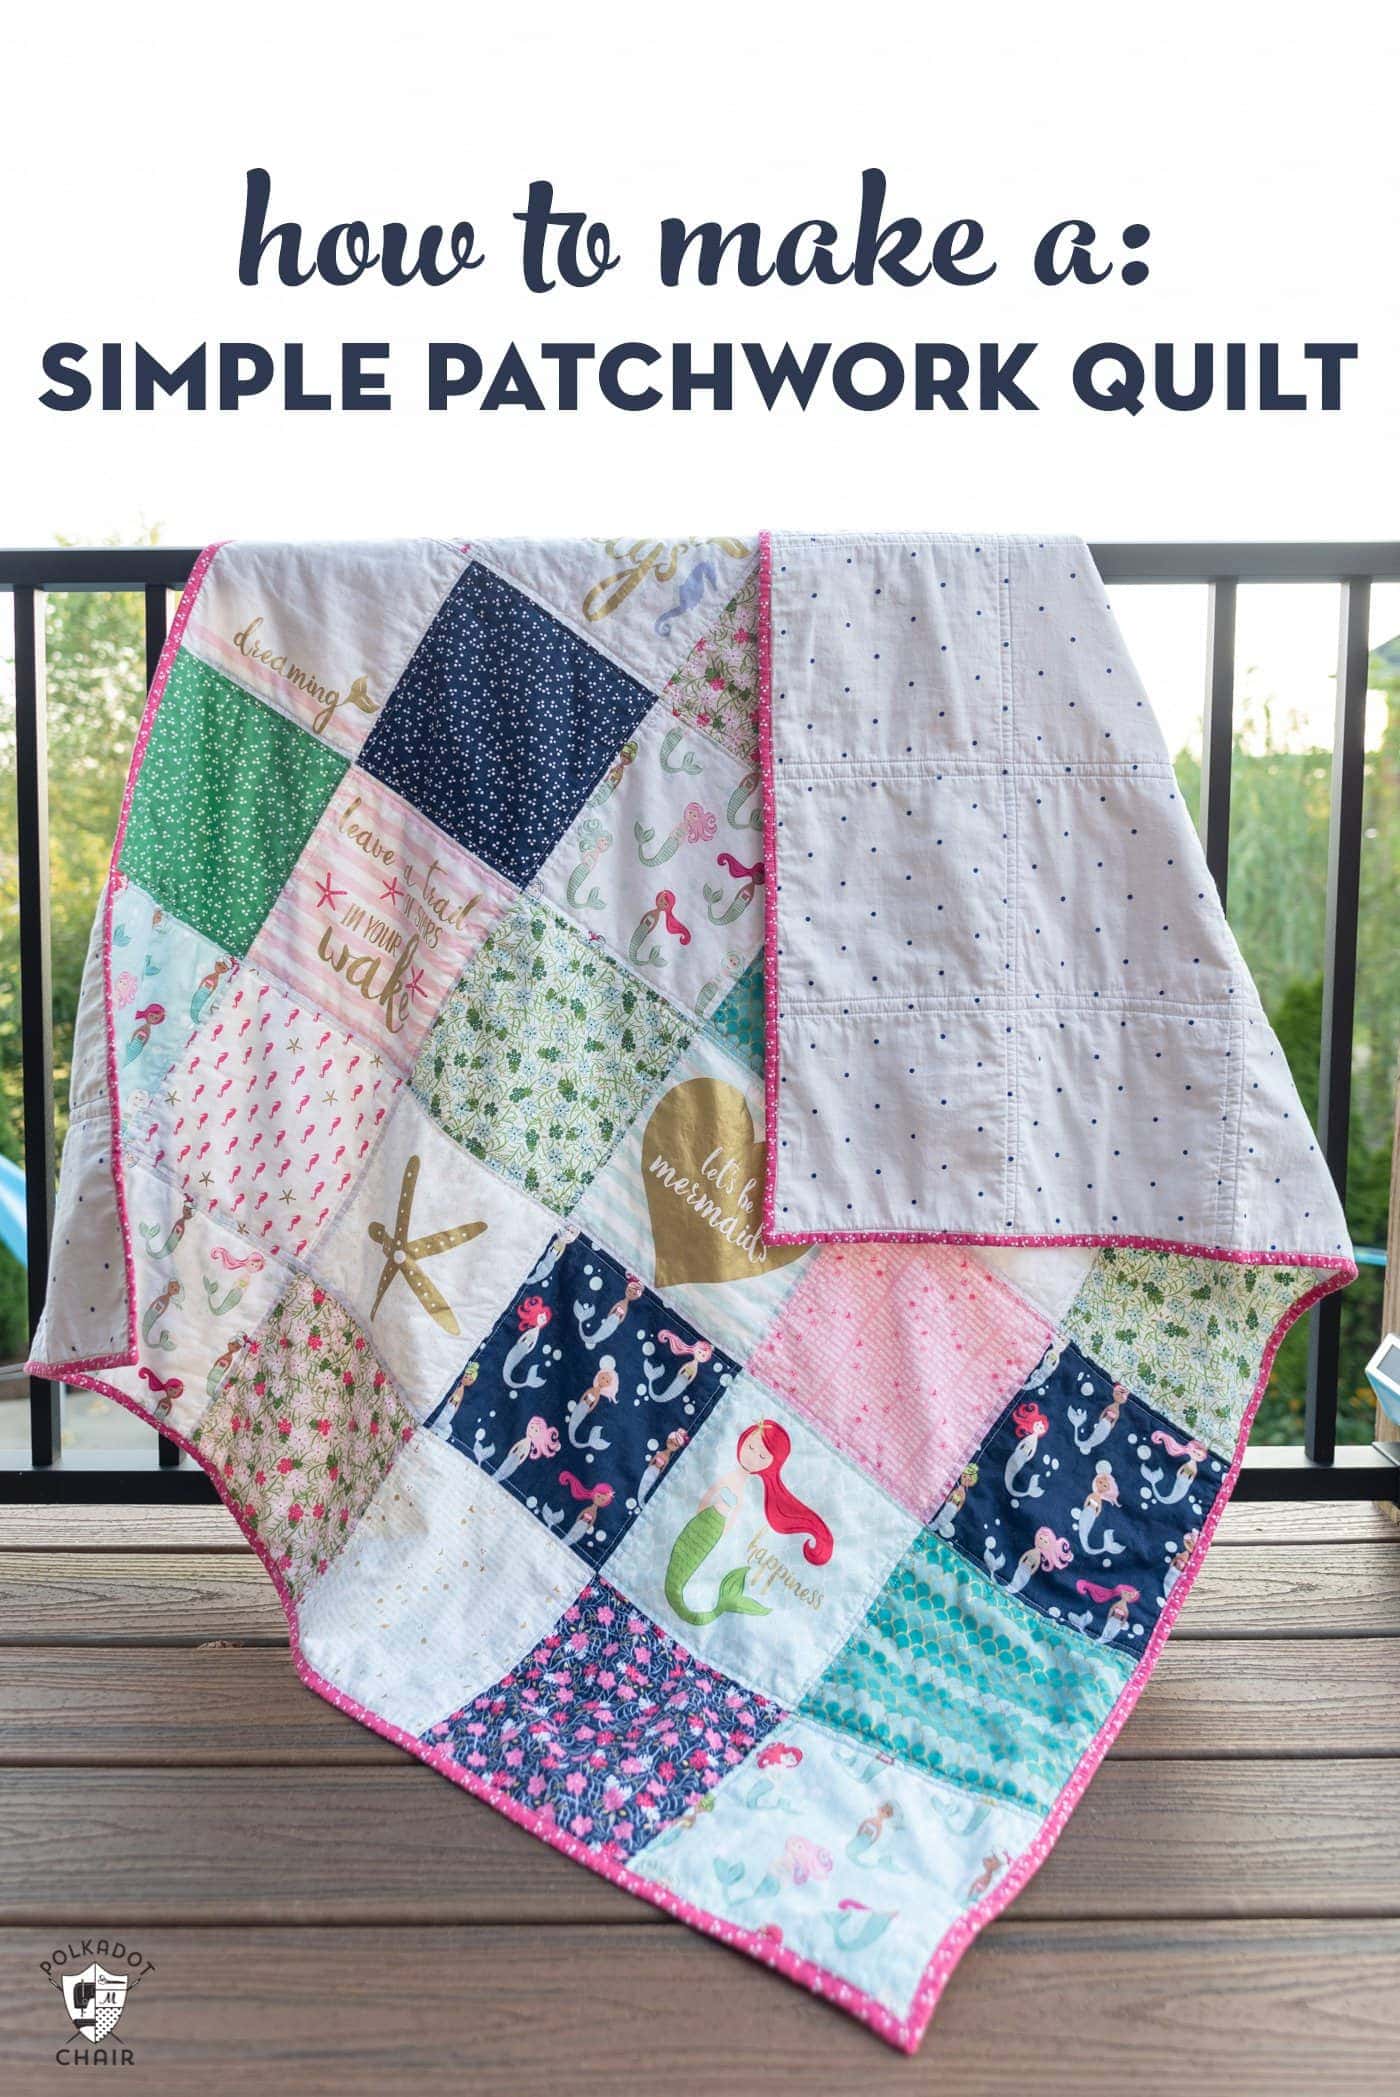
Are you looking for a step-by-step guide on how to make a 4 patch quilt block? Quilting is a fun and creative way to make beautiful projects. Whether you are a beginner or an experienced quilter, learning how to make a 4 patch quilt block is an easy and rewarding project. This guide will provide you with all the necessary steps to create a gorgeous and colorful quilt block. So let’s get started!
What is a 4 Patch Quilt Block?
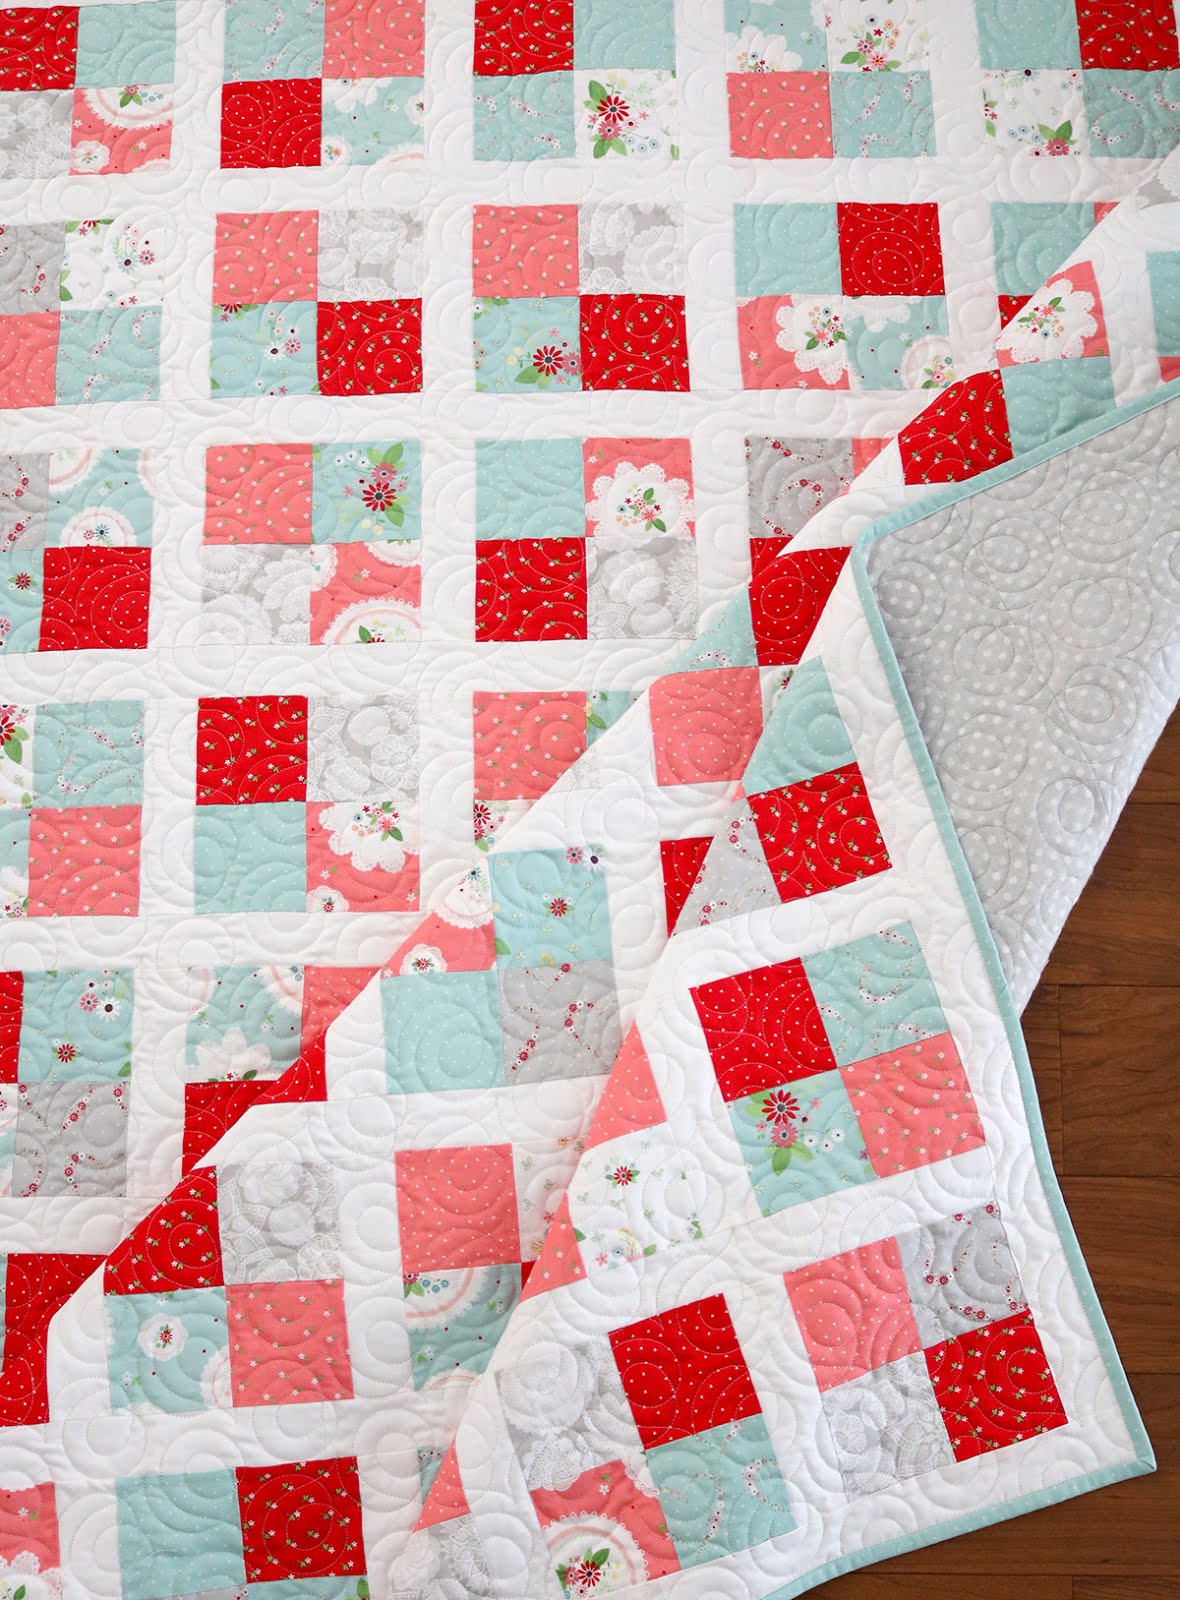
A 4 Patch Quilt Block is a traditional quilt block that consists of four equal-sized squares arranged in a 2×2 grid. It is one of the most common quilt designs used in quilting and is often combined with other quilt blocks to create unique patterns and designs. The 4 Patch Quilt Block is a great way to showcase fabric prints and colors, as it allows for the quilter to play around with different combinations.
Materials:
| Description | Quantity |
|---|---|
| Fabric | 4 (same or different prints) |
| Thread | 1 |
| Scissors | 1 |
| Sewing Machine | 1 |
The 4 Patch Quilt Block is an ideal quilt design for beginners, as it is easy to assemble and can be adapted to suit different fabrics and styles. It is also a great way to use up scraps of fabric, as it only requires four different squares of fabric and can be made in any size.
Designing a 4 Patch Baby Quilt
Making a 4 patch quilt block is not as difficult as it might seem. It is the perfect quilt block to use when designing a 4 patch baby quilt. Here are the steps to create a quilt block for your 4 patch baby quilt:
- Gather the materials needed for your 4 patch quilt block:
- Fabric for the quilt top
- Batting or wadding
- Back fabric
- Thread
- Sewing machine
- Cut four squares of fabric, each measuring 5″ x 5″.
- Arrange the squares in two rows, with two squares in each row.
- Sew the two squares in each row together, right sides facing each other.
- Press the seams open.
- Lay the rows right sides together, and sew along the long side.
- Press the seam open.
- Layer the quilt top, batting and back fabric together, and pin in place.
- Start from the middle of the quilt block, and sew around the edges of the quilt block.
- Trim the excess fabric and batting from around the edges of the quilt.
- Repeat the steps until you have the desired number of quilt blocks for your 4 patch baby quilt.
- Lay out the quilt blocks in the desired pattern, and sew the quilt blocks together.
- Layer the quilt top, batting and back fabric together, and pin in place.
- Start from the middle of the quilt, and sew around the edges of the quilt.
- Trim the excess fabric and batting from around the edges of the quilt.
- Bind the edges of the quilt with binding fabric.
- Stitch in the ditch around the quilt blocks to further secure the binding.
- Enjoy your beautiful 4 patch baby quilt!
Materials Needed for a 4 Patch Quilt Block
Fabric: You will need two different fabrics for the 4-patch quilt block. The amount of fabric needed depends on the size of the block you want to make.
Rotary Cutter: A rotary cutter is an essential tool for cutting fabric into straight, even pieces.
Rotary Ruler: A rotary ruler is used in combination with a rotary cutter to measure and cut fabric accurately.
Iron and Ironing Board: You will need an iron and an ironing board to press the seams of your quilt block.
Thread: You will need a coordinating thread to sew the pieces of the quilt block together.
Sewing Machine: A sewing machine is necessary to sew the pieces of the quilt block together.
Pins: Pins are used to hold the pieces of fabric together while sewing.
Scissors: You will need a pair of scissors for trimming and snipping threads.
Seam Ripper: A seam ripper is used to remove stitching if any mistakes are made.
Quilter’s Ruler: A quilter’s ruler is used to measure the pieces for the quilt block and to ensure accuracy when cutting.
Quilting Cotton: Quilting cotton is a lightweight fabric that is ideal for quilting projects.
Batting: Batting is a layer of material that adds warmth and cushioning to a quilt.
Backing Fabric: Backing fabric is the fabric that is used on the back of the quilt block.
By gathering all these materials, you will be one step closer to making the perfect 4 patch quilt block.
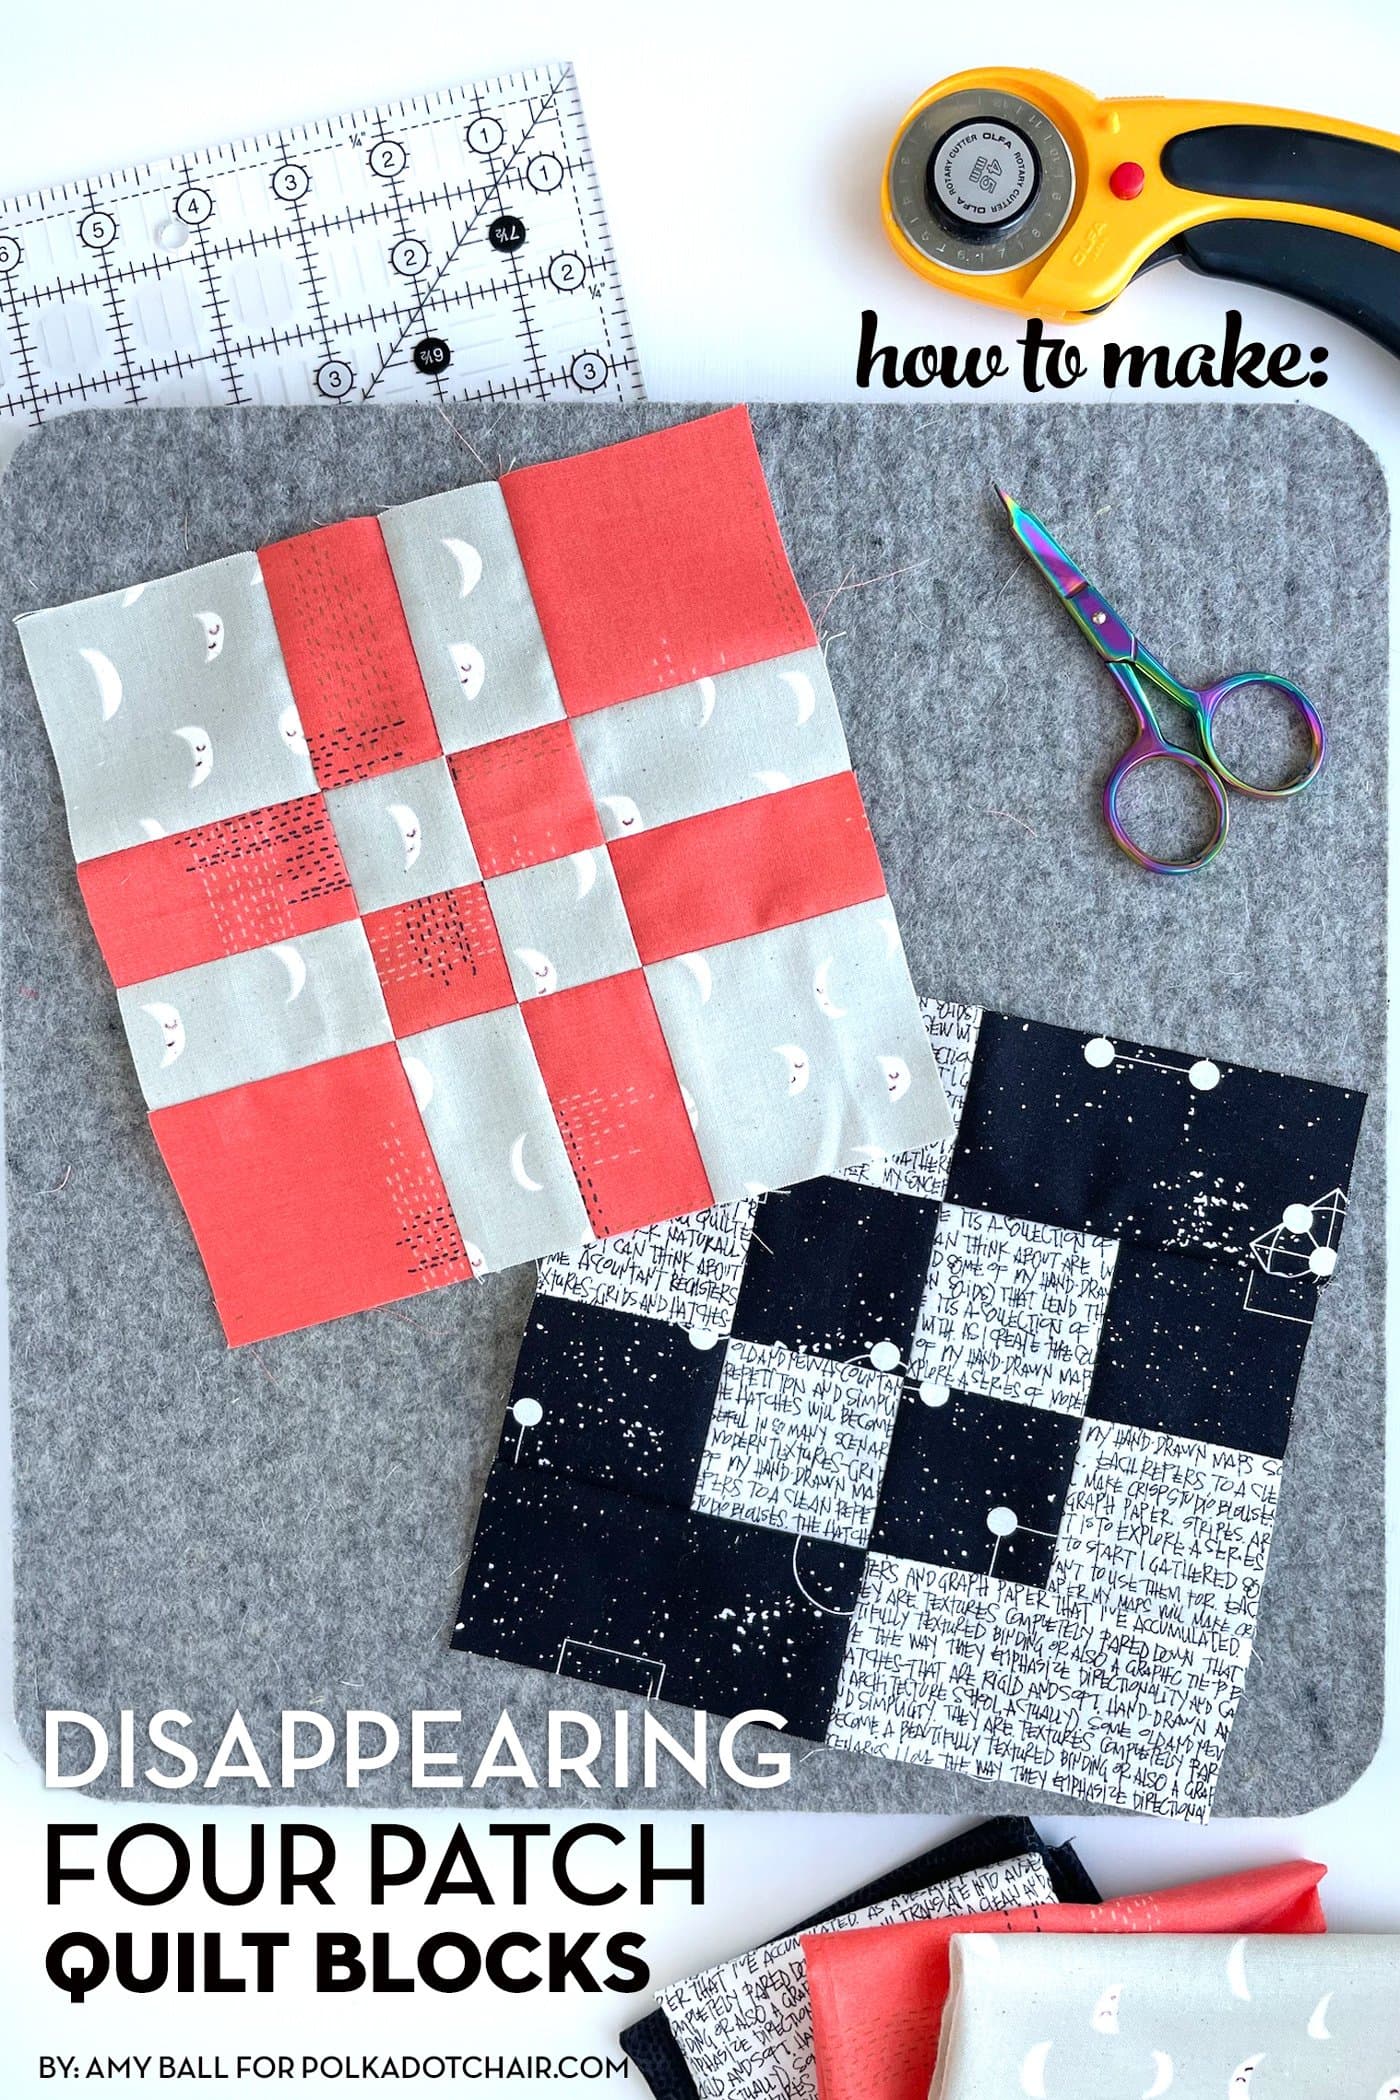
Step-by-Step Guide to Make a 4 Patch Quilt Block
1. Cut Four Squares
Cut four squares of fabric of the same size. For example, you can cut 4 squares of 6”x6”.
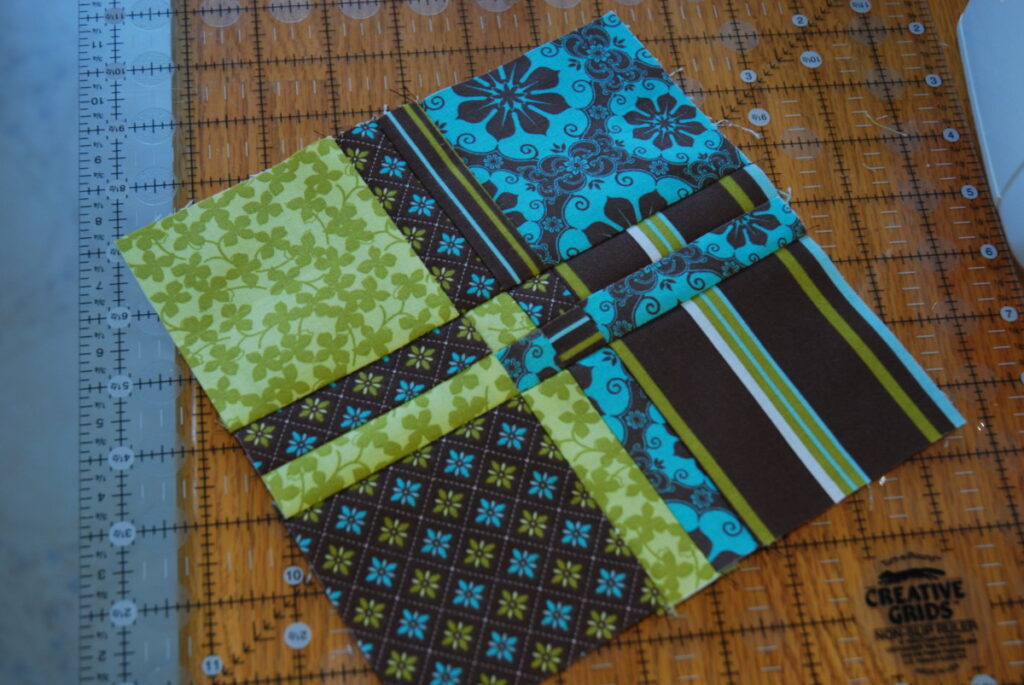
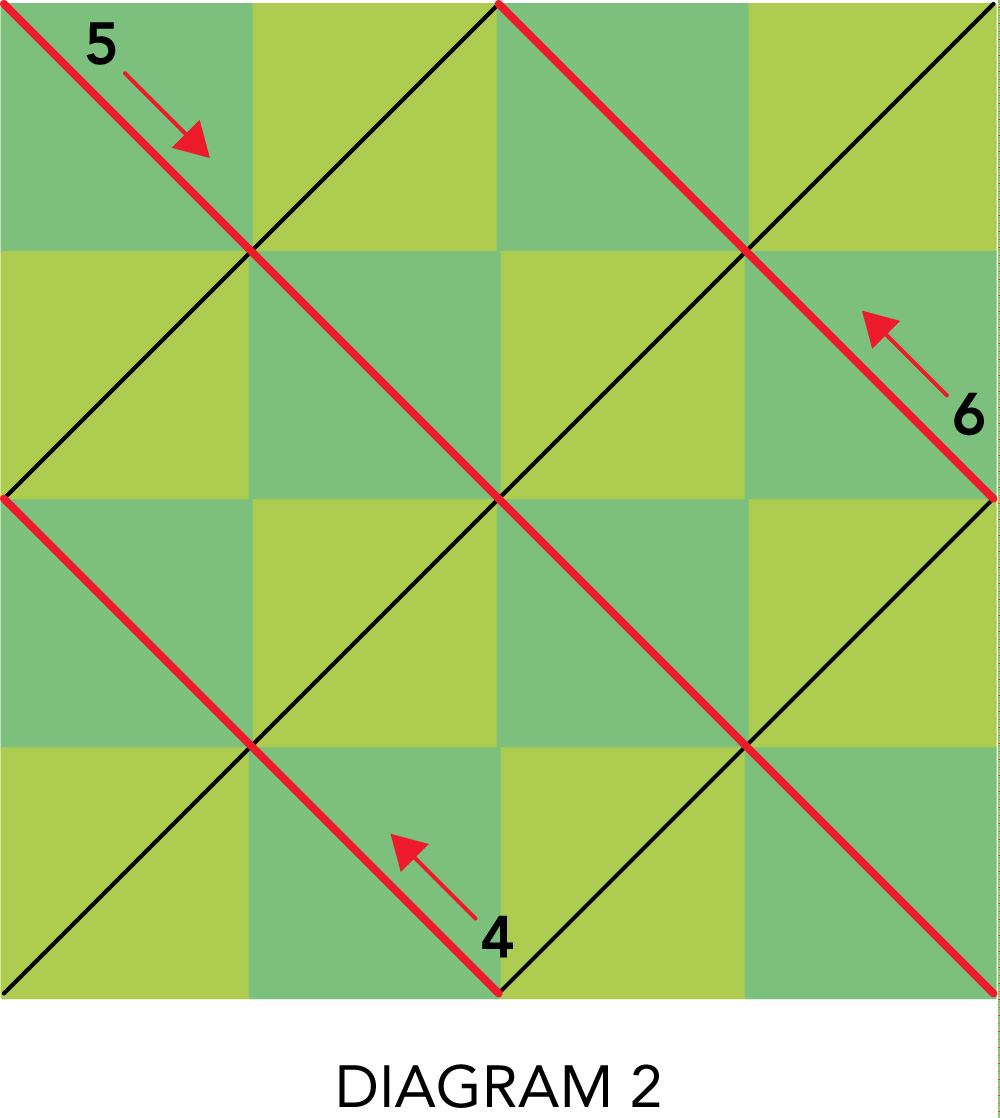
2. Lay the Squares in a Four-patch Pattern
Lay the four squares in a four-patch pattern. Place two squares together in a vertical line and two squares together in a horizontal line, overlapping the two lines in the middle.
3. Pin the Squares Together
Pin the four squares together through all four layers along the vertical and horizontal lines.
4. Sew the Squares Together
Sew through all four layers along the vertical and horizontal lines. Use a quarter-inch seam allowance.
5. Press the Seams
Press the seams open.
6. Trim the Block
Trim the block to the desired size.
7. Enjoy Your 4 Patch Quilt Block
Your 4 patch quilt block is complete and ready to be used in your quilt!
Tips for Making a Perfectly Square 4 Patch Quilt Block
- Start by cutting your fabric into four equal sized squares.
- Sew the squares together with a quarter inch seam allowance.
- Press the seams in one direction.
- Nest the seams of the two seams that are perpendicular to each other to reduce bulk.
- If your block is not square, use a square ruler to square up the block.
- Cut two strips of fabric the same width as the block.
- Sew one strip to the top and one strip to the bottom of the block.
- Press the seams of the strips open.
- Cut the block apart along the seam line between the strips.
- Press the strips away from the center of the block.
- Voila! Your perfectly square 4 patch quilt block is complete!
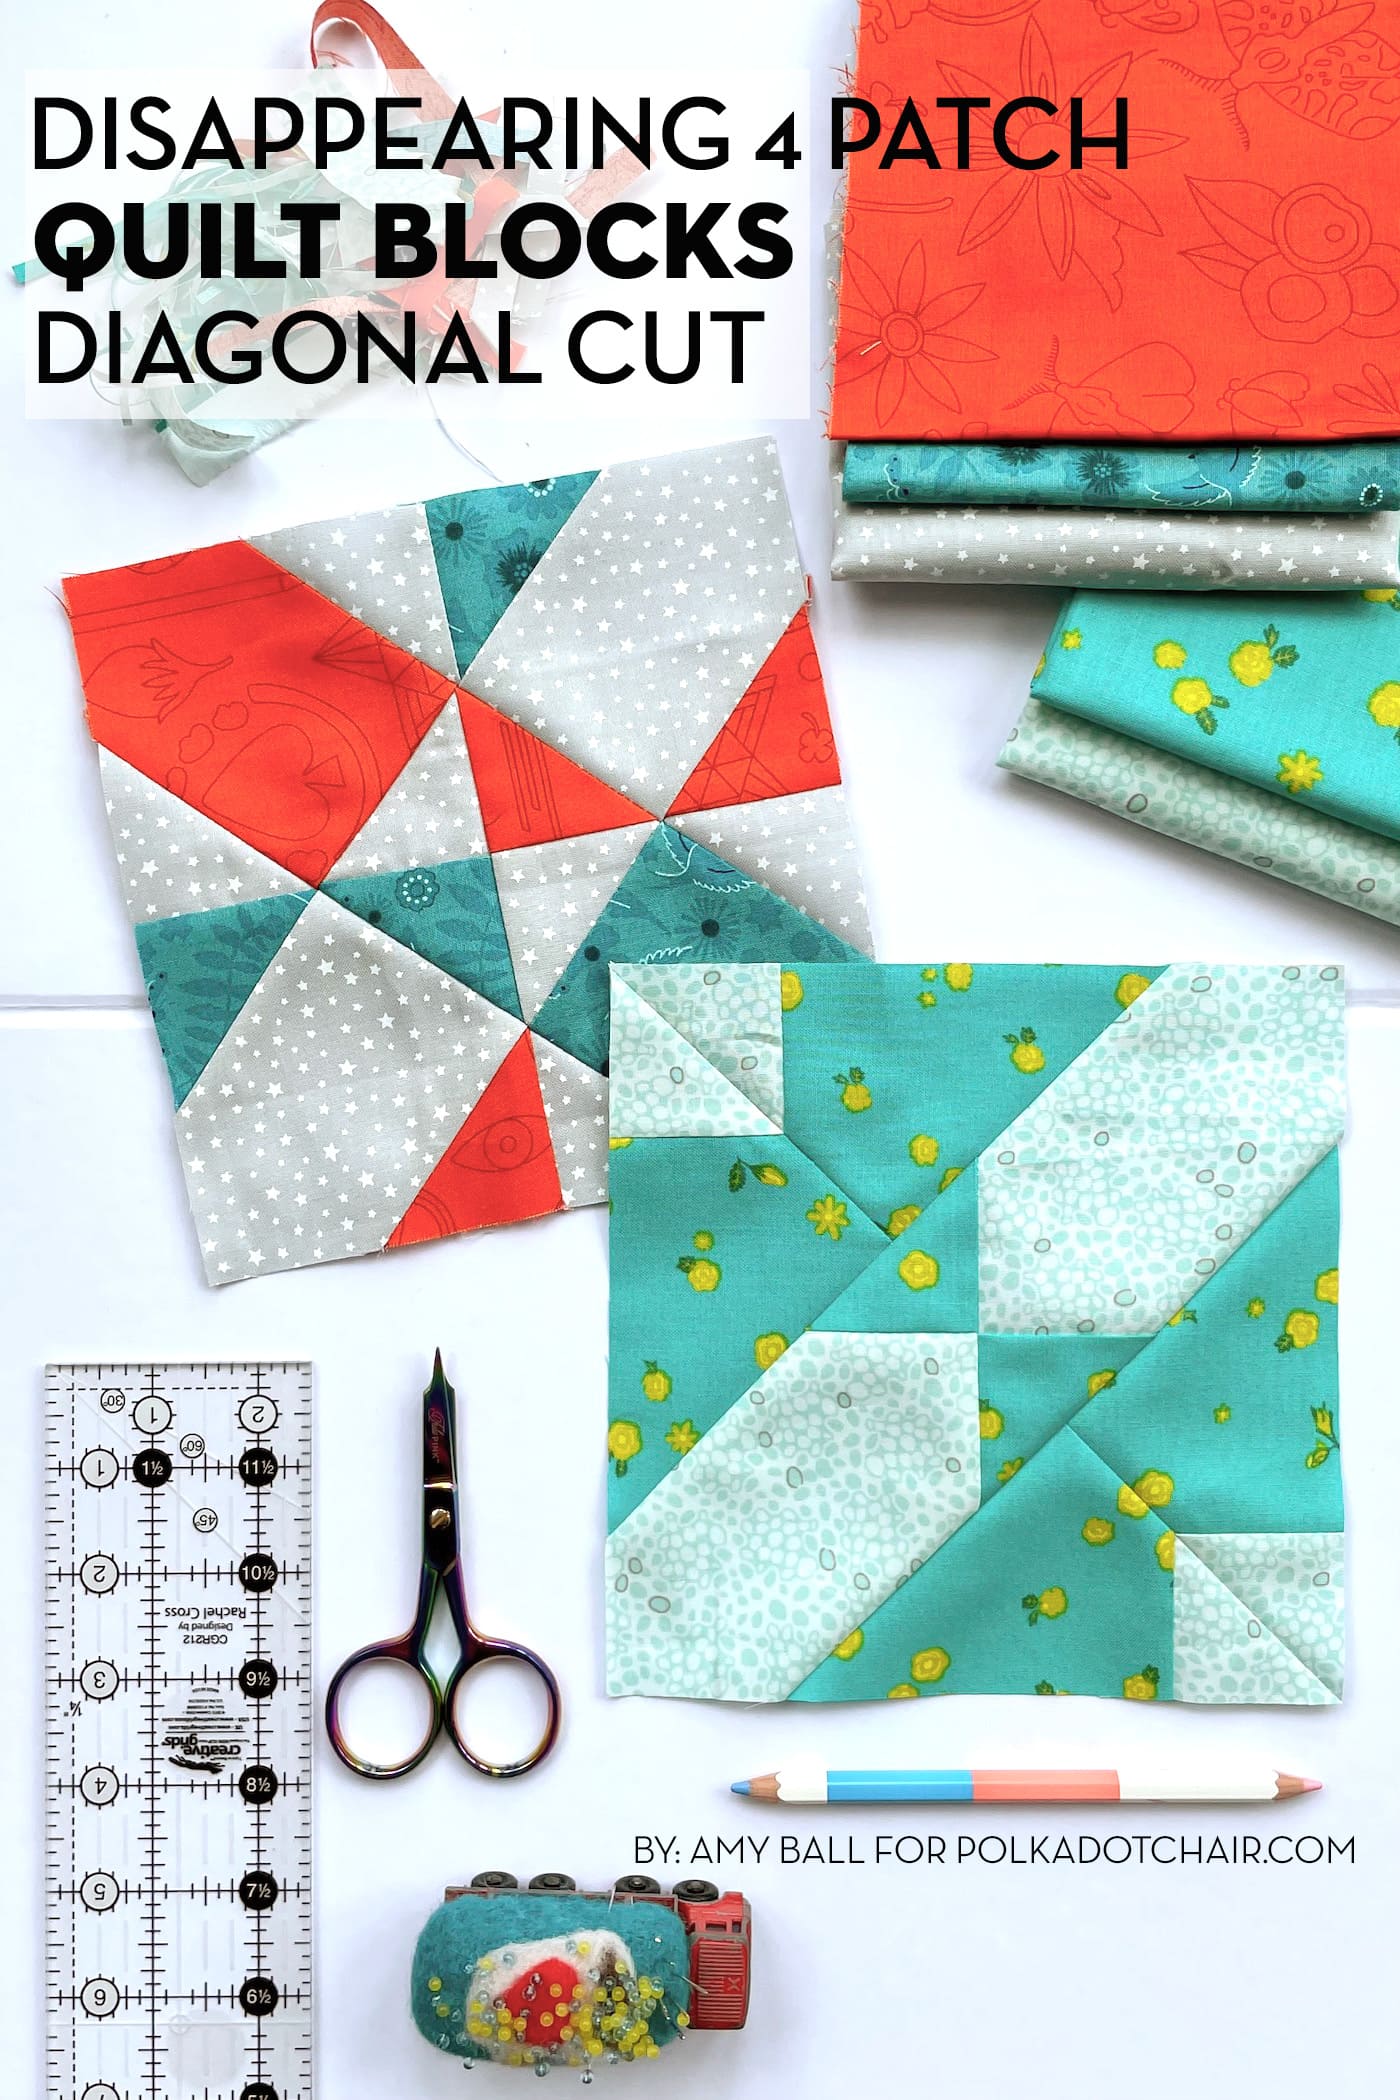
Finishing Touches to Create a Colorful 4 Patch Quilt Block
| Step | Instructions |
|---|---|
| 1 | Press the seams of the joined 4 patch quilt block with a hot, dry iron. |
| 2 | Fold the quilt block in half, matching the long edges, so the seams are facing out. |
| 3 | Pin the quilt block together, using plenty of pins to hold the seams in place. |
| 4 | Sew the quilt block together along the pinned seams, backstitching at both ends for extra strength. |
| 5 | Press the quilt block again with a hot, dry iron and trim off any excess fabric. |
Your 4 patch quilt block is now complete. You can use it alone or incorporate it into a larger quilt.
Frequently Asked Questions
What Size Quilt Block Should I Make?
The size of quilt block for a 4-patch quilt block depends on the size of the quilt. For a quilt with large blocks, make a 12-inch quilt block; for a quilt with smaller blocks, make a 6-inch quilt block. To ensure accuracy and consistency, use a ¼-inch seam allowance when piecing the blocks.
What Materials Do I Need for a 4 Patch Quilt Block?
You will need fabric of your choice in at least two colors, quilting ruler, rotary cutter, cutting mat, sewing machine, thread and pins.
What type of fabrics work best for a 4 patch quilt block?
Cotton fabrics are the best choice for a 4 patch quilt block. They are soft, durable, and come in a variety of colours and patterns, making it easy to create a unique quilt. Cotton also takes dyes well and is easy to manipulate, making it an ideal fabric for quilting. Other fabrics such as wool and fleece can be used, but may be more difficult to work with.
How long does it take to complete a 4 patch quilt block?
- Cutting the Pieces: Depending on the size of the quilt block, cutting fabric into squares can take anywhere from 10 minutes to an hour.
- Sewing the Pieces Together: Sewing the pieces together can take anywhere from 10 to 15 minutes.
- Pressing: Pressing the seams will take an additional 5 minutes.
- Trimming: Trimming the block to the correct size will take another 5 minutes.
- Total: All in all, it will take approximately 30-45 minutes to complete a 4 patch quilt block.
Are There Any Special Tools Needed to Make a 4 Patch Quilt Block?
Making a 4 patch quilt block requires basic quilting tools and supplies. No special tools are needed, however, the right tool can make the job easier and more efficient. Here are the basic supplies to have on hand:
- Fabric
- Rotary cutter, ruler and mat
- Thread
- Sewing machine
- Iron and pressing surface
- Scissors
Optional tools that can make the job easier include:
- Quilting ruler
- Marking pen
- Quilting clips
- Seam ripper
- Stiletto
- Design wall
Having the right tools and supplies can make quilting a much smoother and enjoyable experience.
Conclusion
Creating a 4 Patch quilt block is a great way to bring color and texture to a quilt. The simple steps provided in this guide make it easy to create a beautiful quilt block that can be incorporated into a variety of projects. With a few basic supplies and a bit of time, anyone can make a 4 Patch quilt block for their next quilting project.


