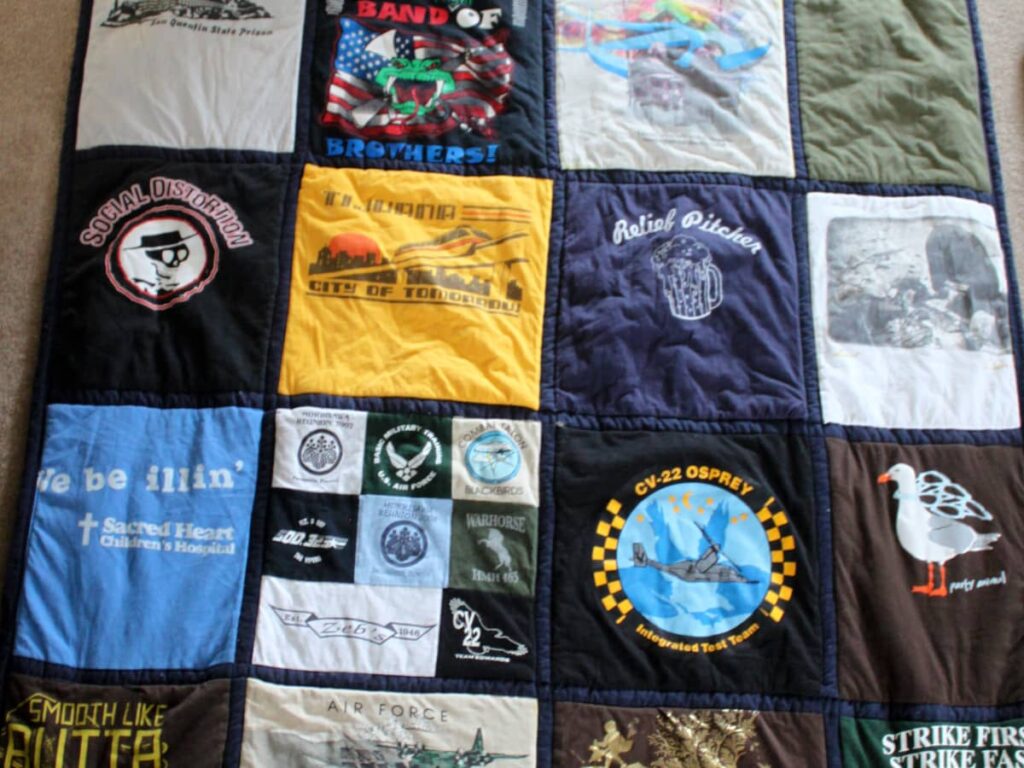
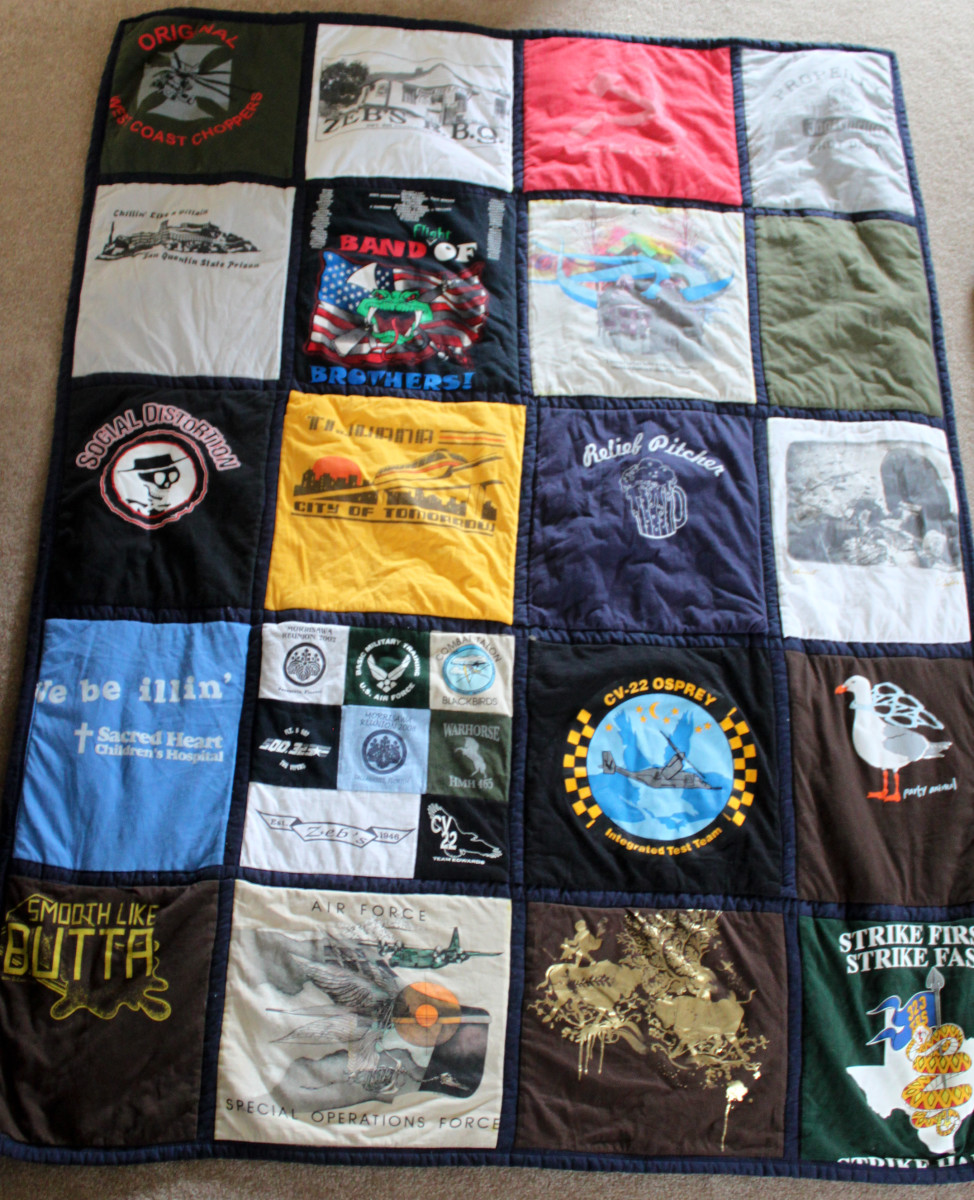
Are you looking for a creative way to keep your memories alive? A t-shirt quilt is the perfect way to do just that! In this article, we will provide a step-by-step guide on how to tie a t-shirt quilt. With our instructions, you can create the perfect memory quilt that will last a lifetime.
Materials Needed
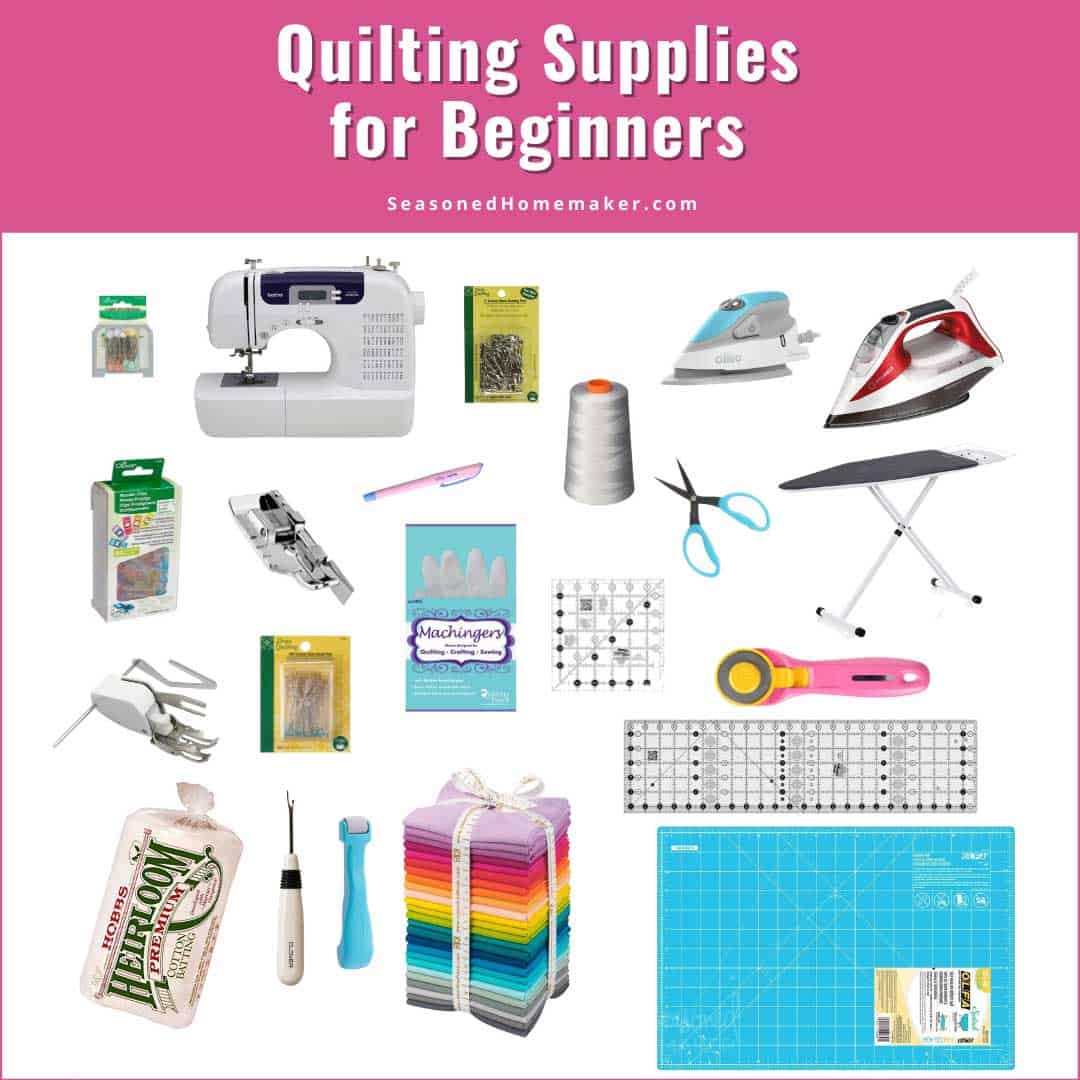
- T-shirts
- Fabric for the backing and binding
- Batting
- Thread
- Scissors
- A sewing machine
- Iron and ironing board
For knotting a t-shirt quilt, you will need the above materials. Ensure that you have all the items ready before you start.
Preparing the T-Shirts
- Gather your t-shirts. Gather all the t-shirts you wish to use to make the quilt, preferably in the same color scheme. It is also important to choose fabrics that do not stretch too much when cut.
- Wash the t-shirts. It is important to wash all the t-shirts to remove any dirt, dust, and other particles that might have been collected while in storage. This will also help in preventing any shrinkage of the material when it is used in the quilt.
- Iron the t-shirts. Ironing the t-shirts will help ensure that the print does not wrinkle or fade during the quilting process.
- Trim the t-shirts. Trim the t-shirts so that the design on each shirt is centered. Make sure to leave at least 1/2 inch on each side of the t-shirt to ensure that the design does not become distorted.
- Cut the t-shirts. Cut the t-shirts into 6 inch squares, making sure that the design on each square is centered. These 6 inch squares will be the blocks of the quilt.
Making a shirt and tie quilt requires a lot of preparation. Preparing the T-Shirts is an important step in the process. Gather the t-shirts you wish to use, wash them, iron them and then trim and cut them into 6 inch squares. This will ensure that the design on each t-shirt is centered, and that the fabric does not stretch or shrink during the quilting process.
Laying Out the Quilt
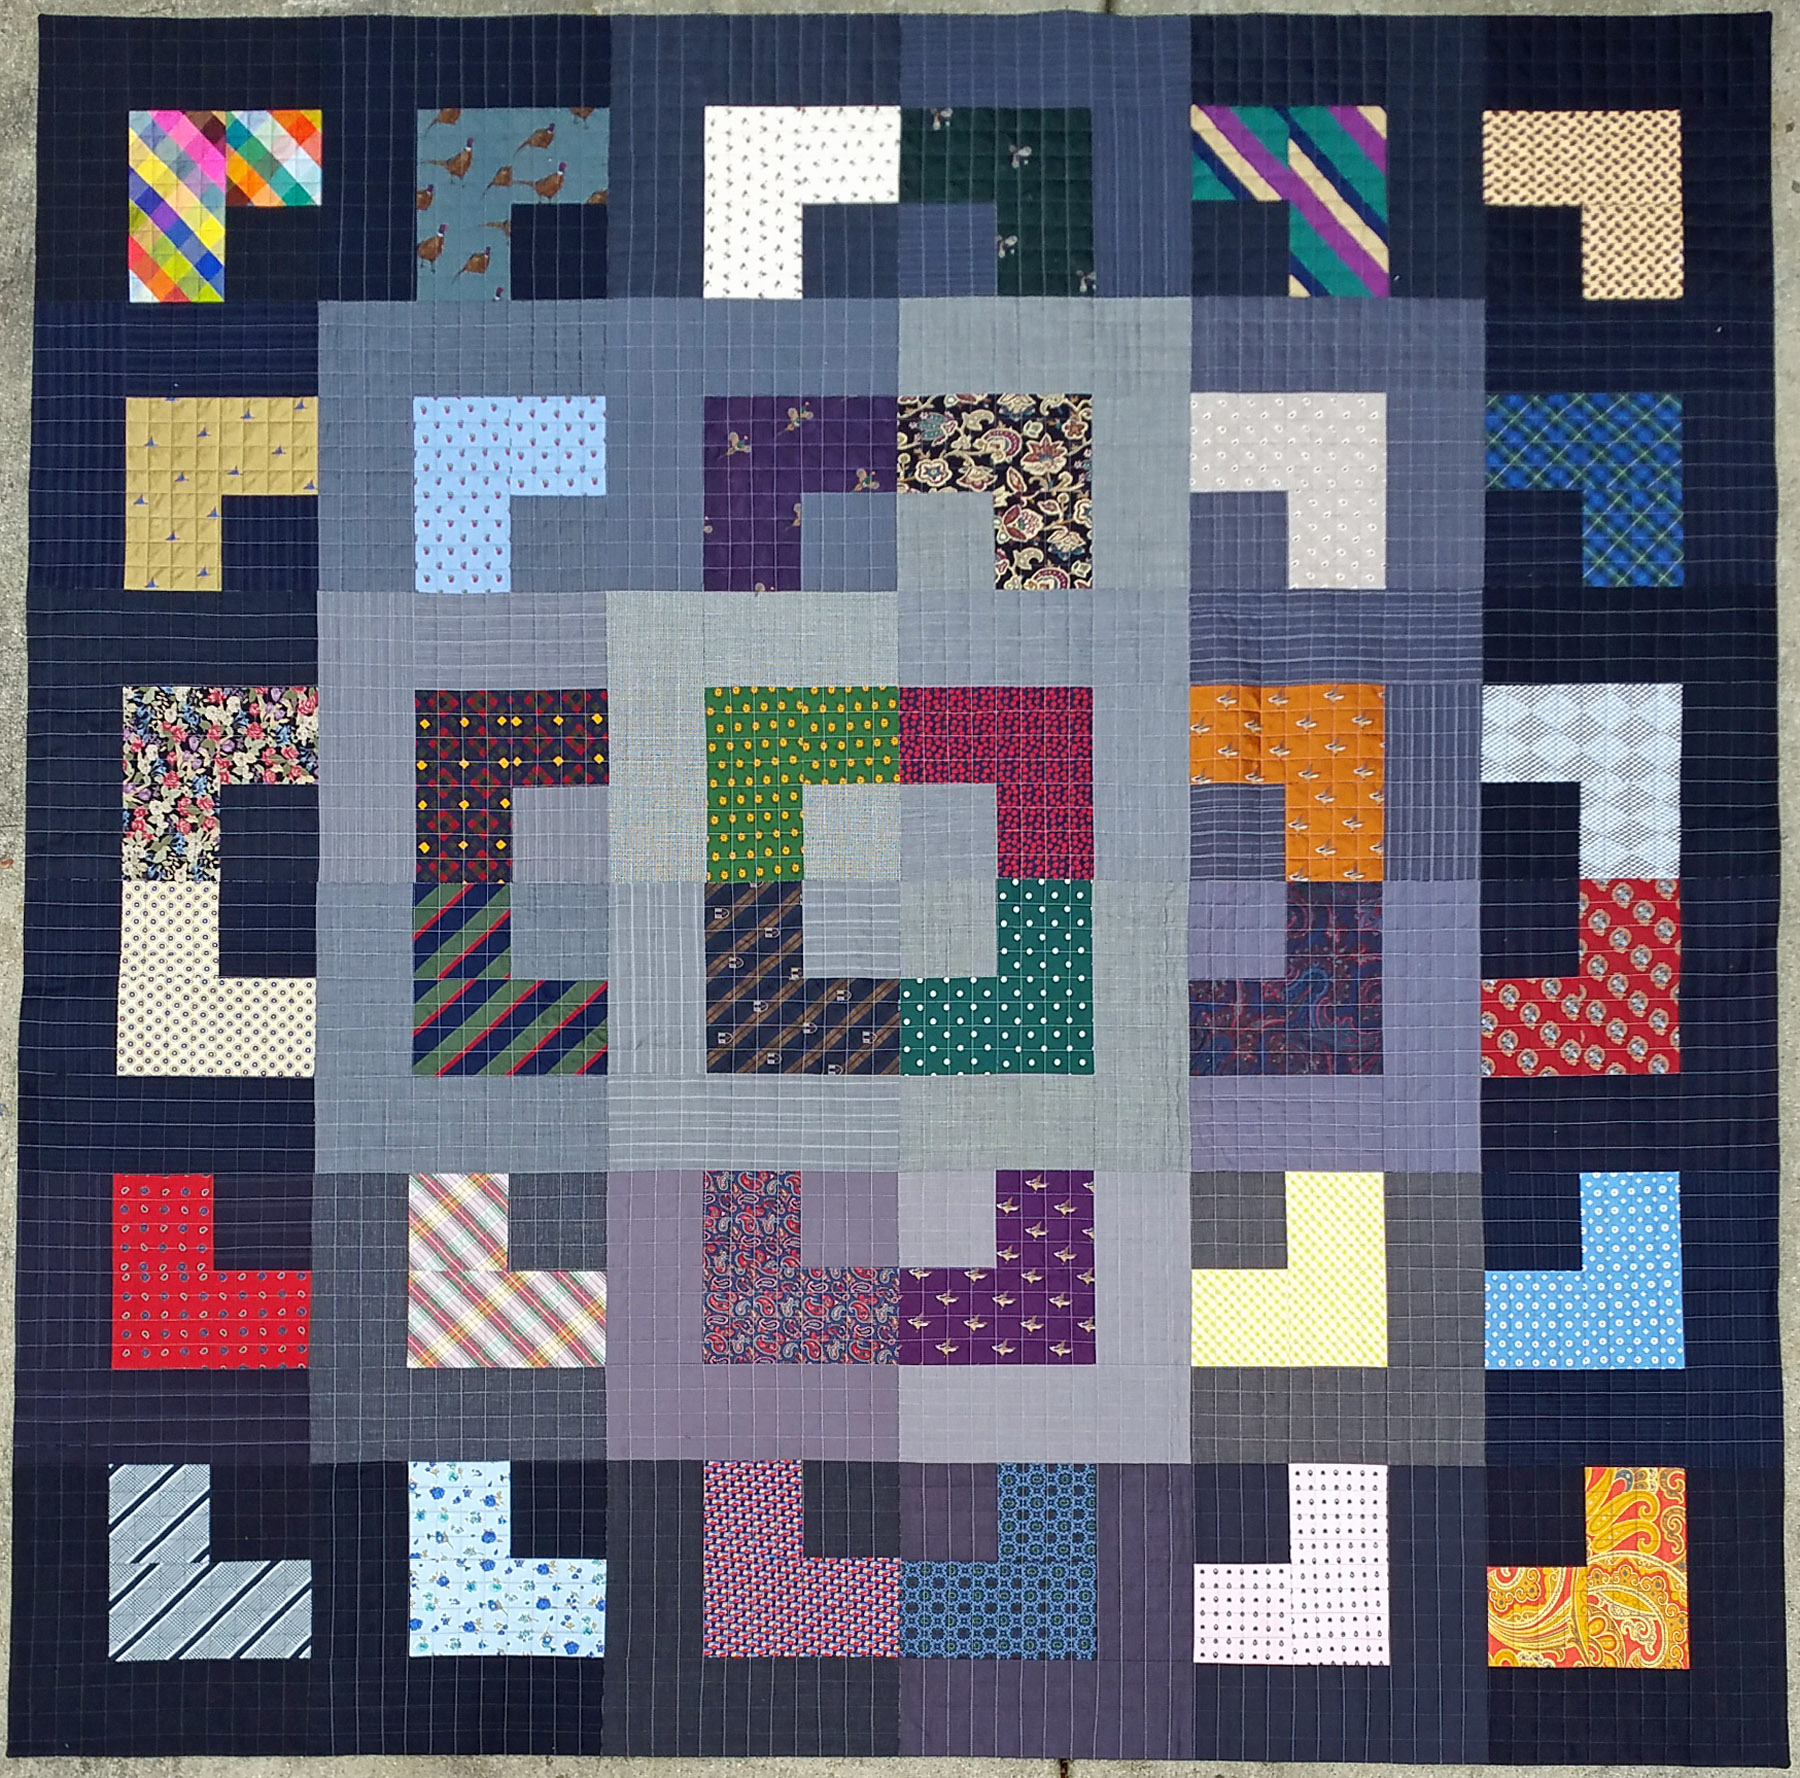
- 1. Decide on a design: Before laying out the quilt, decide on the design that you would like to create. This could be a traditional patchwork quilt, a modern quilt, or something completely unique.
- 2. Arrange the t-shirts: Once you’ve decided on a design, start arranging the t-shirts on the quilt backing. Be creative and consider how you want the shirts to fit together when deciding on a layout.
- 3. Measure and cut: Measure the t-shirts and cut them to the desired size. If you want the t-shirts to be the same size, use a ruler and cut the fabric along a straight line.
- 4. Pin and sew: Pin the t-shirts in place on the quilt backing and sew them together. Make sure to use a strong and durable thread that can withstand the weight of the quilt.
- 5. Add batting and backing: Once the t-shirts are sewn together, add the batting and the quilt backing. Use a ruler to measure and cut the batting and backing to the desired size.
- 6. Add the binding: Once the quilt is finished, add the binding. Use a strong thread and sew the binding onto the edges of the quilt.
Sewing the T-Shirts Together
- Lay out the t-shirts on a flat surface in the order you want them to be sewn together. Make sure the sides you want to be visible are facing up.
- Pin the t-shirts together at the edges where you want to sew them. Pins should be placed about a quarter inch away from the edge.
- Sew the t-shirts together. Use a straight stitch on a sewing machine or a small running stitch if sewing by hand. Be sure to remove any pins before sewing.
- Trim off the excess fabric from the seams. This will help the quilt look cleaner and make it easier to turn right side out.
- Press the seams open with an iron. This will make the quilt look neater and help it lay flat.
Sewing the Backing to the Front
- Lay the backing fabric on a large, flat surface. Place the quilt top on top of the backing, wrong side up.
- Pin the two layers together. Work from the center of the quilt outward, using large safety pins to keep the two layers together.
- Sew the two layers together. Use a 1/4 inch seam allowance. If you are using a sewing machine, use the walking foot attachment.
- Trim the excess backing fabric. Use sharp scissors to trim the edges of the backing fabric.
Finishing the Quilt
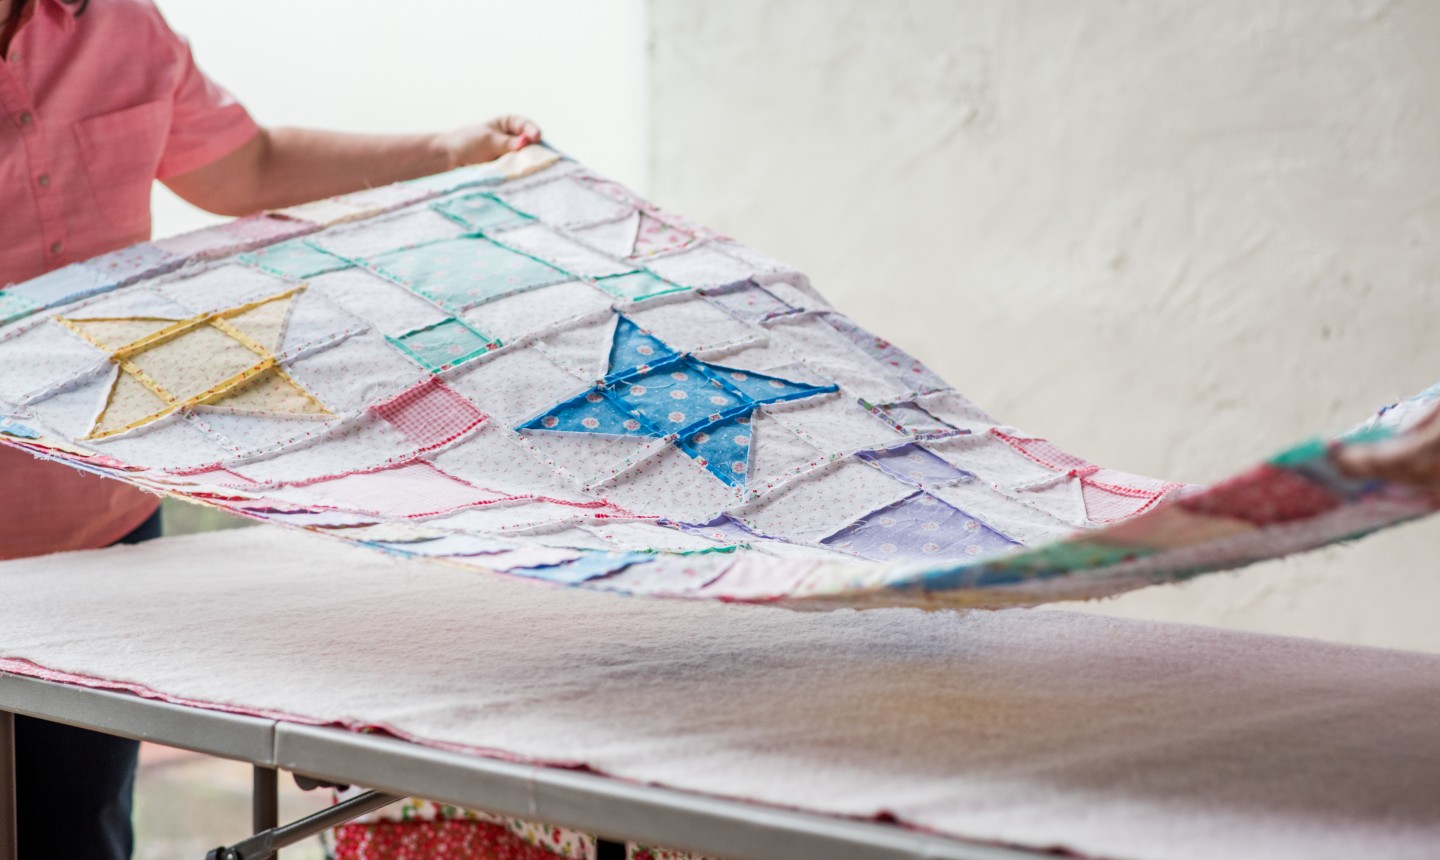
- Basting the Quilt: Basting the quilt helps to keep the fabric and batting in place as you start to stitch. Secure the fabric layers by pinning or basting them with a spray adhesive.
- Quilting the Quilt: Quilting is the process of stitching the top fabric and batting layers together. You can use a variety of quilting techniques, such as hand-stitching, machine-stitching, or long-arm quilting.
- Adding the Binding: The binding is the edge of the quilt that gives it a finished look. Cut strips of fabric in the desired width and attach them to the edges of the quilt. You can hand-stitch the binding or use a sewing machine.
- Labeling the Quilt: Labeling the quilt is a great way to remember who made it and the date it was completed. You can use fabric markers, fabric paint, or iron-on transfers to create the label.
Tying the Quilt
Once the quilt is completely sewn together, it needs to be tied. This step will secure the quilt and make sure the batting stays in place.
Materials Needed:
| Material | Quantity |
|---|---|
| String | 3-4 yards |
| Embroidery needle | 1 |
Instructions:
- Thread the needle with the string. Double knot it.
- Start at the middle of the quilt and tie a knot around the quilt.
- Insert the needle through the back of the quilt and pull it through to the front. Make sure the knot is tight.
- Insert the needle in the quilt about 6 inches away from the first knot and tie a knot around the quilt.
- Repeat Steps 3-4 until the entire quilt is tied.
- When finished, tie a knot and cut the string.
Finishing the Tying
Once all the knots are tied, it’s time to trim the excess thread. Using a pair of scissors, trim the ends of the thread so that they are no longer than half an inch. To secure the knots, tug gently on each one to make sure they are tight.
To complete the quilt, a backing material such as cotton batting or fleece should be added. If using batting, simply layer it underneath the quilt and baste together using a large needle and a thread. If using fleece, sew it onto the back of the quilt using a sewing machine.
Once the backing is secure, the quilt is ready to be used or gifted to someone special. This simple technique of tying a t-shirt quilt is a great way to preserve memories and upcycle old t-shirts.
Tip: When creating a t-shirt quilt, be sure to pre-wash all the t-shirts to prevent shrinkage.
Frequently Asked Questions
What kind of fabric is best to use for a t-shirt quilt?
-
Cotton: Cotton is the most popular choice for t-shirt quilts as it is durable, lightweight, and easy to sew. The material also holds up well in the wash.
Fleece: Fleece is great for a comfy, warm quilt. It is also relatively easy to sew and is machine washable.
Silk: Silk is a luxurious fabric that makes a beautiful quilt. It is a bit more difficult to sew, so it is not recommended for beginners.
Linen: Linen is a great choice for a light and airy quilt. It is also easy to sew and machine washable.
Denim: Denim is a great choice for a sturdy quilt. It is also machine washable and easy to sew.
How Many T-Shirts Do I Need To Make A T-Shirt Quilt?
Minimum Number of T-Shirts:
- Small quilt: 12-15 t-shirts
- Medium quilt: 16-20 t-shirts
- Large quilt: 21-25 t-shirts
Maximum Number of T-Shirts:
- Small quilt: 25 t-shirts
- Medium quilt: 36 t-shirts
- Large quilt: 50 t-shirts
The number of t-shirts required for a t-shirt quilt depends on the size of the quilt. Generally, a small quilt requires 12-15 t-shirts, a medium quilt requires 16-20 t-shirts, and a large quilt requires 21-25 t-shirts. The maximum number of t-shirts for a small quilt is 25, for a medium quilt is 36, and for a large quilt is 50.
What Kind of Batting Should I Use for a T-Shirt Quilt?
When it comes to selecting batting for a t-shirt quilt, the most important thing to consider is the weight and type of fabric used for the quilt top. Generally, a lightweight batting such as cotton or polyester is best for light-weight fabrics, while a heavier batting such as wool or bamboo is better for heavier fabrics. It’s also important to choose a batting that is compatible with your quilt top fabric. For example, if your quilt top is made of cotton, choose a batting that is also made of cotton. Additionally, consider the finished look of your quilt; if you want a soft and drapey quilt, you may want to choose a lighter batting, while a firmer batting will give your quilt a stiffer look.
How Much Thread Do I Need For A T-Shirt Quilt?
The amount of thread needed for a t-shirt quilt will depend on the size of the quilt and the type of fabric being used. Generally, a spool of polyester thread is sufficient for a quilt of up to 60” x 80”. For larger quilts, more thread may be needed. A good rule of thumb is to purchase two spools of thread for a quilt larger than 60” x 80”. For quilts with a lot of detail, such as appliques or embroidered patches, a heavier thread may be needed.
What Kind of Quilting Stitch Should I Use for a T-Shirt Quilt?
When creating a t-shirt quilt, the type of quilting stitch used is important for ensuring a strong and durable quilt. A straight stitch is usually the best choice for quilting t-shirts because it will hold the quilt together without puncturing the fabric of the t-shirts. A stitch width of 3.5 to 4 mm is recommended. This will provide enough strength without being too bulky or making the quilt too heavy. It is also important to use a needle that is suitable for the fabric of the t-shirts. A universal needle size of 90/14 is recommended.
Conclusion
Creating a T-shirt quilt is a rewarding experience and is a great way to make a memorable keepsake. With a few simple steps, you can transform your old T-shirts into a beautiful quilt that will last for years. By following the instructions outlined in this article, you will be able to make a quilt that you can treasure forever.


