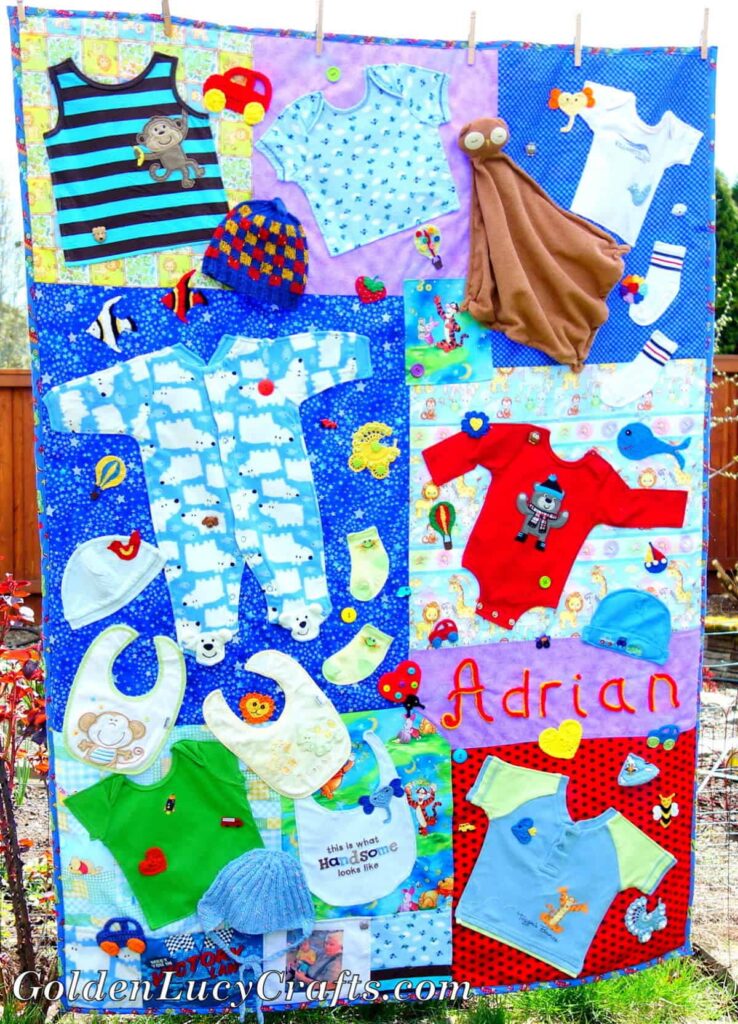
Are you looking for a creative way to make a quilt for your little one? If so, learning how to applique baby clothes on a quilt is a great way to create something unique and special. With a few tips and tricks, you can easily add appliqued baby clothes to a quilt and create a beautiful, one-of-a-kind piece. This article will provide you with the necessary steps to learn how to applique baby clothes on a quilt.
Materials Needed
- Baby clothes – sweaters, dresses, pants, etc.
- Quilt batting
- Quilting fabric for the quilt top
- Thread – matching colors for the baby clothes and the quilt top fabric
- Scissors
- Pins
- Sewing machine
Optional:
- Iron and ironing board
- Fabric glue – to secure the baby clothes and the quilt top fabric in place
Preparing the Fabric
Choose the Fabric
When selecting fabric for an applique quilt, choose a lightweight cotton fabric, such as quilting cotton, muslin, or linen. Select several coordinating fabrics to create different shapes. Avoid using thick or stretchy fabrics, which can be difficult to work with.
Cut the Fabric
Use scissors or a rotary cutter and mat to cut the applique shapes. For simple shapes, use scissors. For intricate shapes, use a rotary cutter and mat. Trace the desired pattern onto the back of the fabric and carefully cut out the shape.
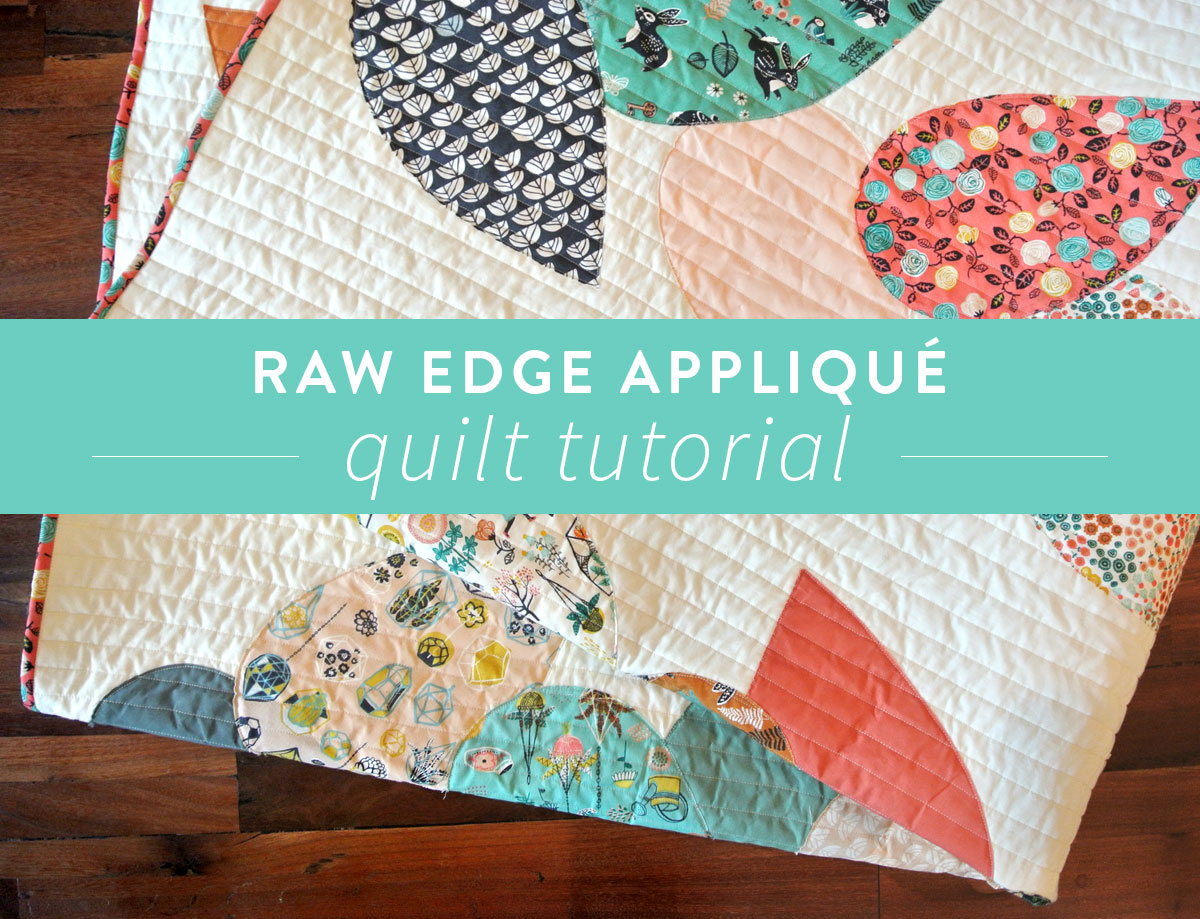
Making the Appliques
Choose the Design
When creating an applique for a quilt, the first step is to decide on the design. Consider the size and complexity of the design, as well as the color and texture of the fabric, to ensure that the end result is aesthetically pleasing.
Trace the Design
Once you have decided on the design, trace it onto the backside of the fabric. If you are using a pattern, transfer the pattern from the paper to the fabric using a tracing wheel. Alternatively, you can use a fabric pen or pencil to trace the design directly onto the fabric.
Cut Out the Design
After you have traced the design onto the fabric, cut it out. Use sharp scissors to make precise cuts, and try to stay as close to the traced lines as possible.
Iron the Applique
Place the applique on the quilt and iron it, using a low heat setting. This will help to secure the applique and make it easier to sew.
Sew the Applique
Using a sewing machine or a needle and thread, sew the applique to the quilt. Use a straight stitch, a zigzag stitch, or a decorative stitch to attach the applique.
Making a Small Lap Quilt Out of a Sweater
Cut the Sweater
First, choose a soft, stretchy sweater to use for the quilt. Cut the sweater into small pieces, the size of the pieces will depend on the size of the quilt you want to make. Make sure to cut out any stains or areas of the sweater that have worn out.
Sew the Pieces Together
Once the pieces have been cut, sew them together to form the lap quilt. A simple, straight stitch is all that is needed. Be sure to sew the pieces close together, but not too tight, to create a snug fit. You can also use a zig-zag stitch to add a decorative touch.
Add the Appliques
To complete the quilt, add appliques to the quilt top. Choose baby-themed fabric pieces, such as animals, flowers, or characters, to create a fun and whimsical look. Place the pieces onto the quilt top and stitch in place using a zig-zag stitch. Once complete, your quilt is ready to cuddle up in.
Finishing the Quilt
Add the Backing
Before adding the backing to the quilt, make sure to trim any excess batting and fabric from the edges. Once everything is trimmed and ready, lay the backing fabric right side down on a flat surface. Place the quilt batting on top of the backing fabric, then top with the quilt top, right side up. Pin the layers together, then use a walking foot to quilt the layers together.
Add the Binding
For the binding, cut 2½-inch wide strips from the fabric. Sew the strips together end to end to create one long strip. Fold the strip in half lengthwise, wrong sides together. Starting in the middle of one side, pin the binding to the quilt, right sides together. Begin sewing the binding with a ¼-inch seam allowance and backstitch at the beginning and end. When you reach a corner, stop stitching ¼ inch from the edge, then fold the binding up and away from the quilt. Sew the next side of binding, overlapping the first side by about ¼ inch. Continue until all sides are bound.
Trim the excess binding and hand-stitch the binding to the back of the quilt.
Frequently Asked Questions
What type of fabric is best to use when appliqueing baby clothes on a quilt?
Cotton: The best type of fabric to use when appliqueing baby clothes on a quilt is cotton. Cotton is lightweight, durable and can easily be sewn onto the quilt. It is also absorbent and soft, making it ideal for a baby’s delicate skin.
Flannel: Flannel is another popular fabric for appliquing baby clothes on a quilt. It is thick and durable and can easily be sewn onto the quilt. Flannel is also lightweight, soft and absorbent, making it perfect for babies.
Fleece: Fleece is a synthetic fabric that is lightweight, warm and soft. It is also durable and can be sewn easily onto the quilt. Fleece is perfect for appliquing baby clothes on a quilt as it is lightweight, warm and soft.
Organic Cotton: Organic cotton is a great fabric to use when appliquing baby clothes on a quilt. It is soft, lightweight and durable, and can be sewn easily onto the quilt. Organic cotton is also free from chemicals and pesticides, making it safe for babies’ delicate skin.
Silk: Silk is a luxurious fabric that is soft and lightweight. It is also durable and can be sewn easily onto the quilt. Silk is perfect for appliquing baby clothes on a quilt as it is luxurious and gentle on the skin.
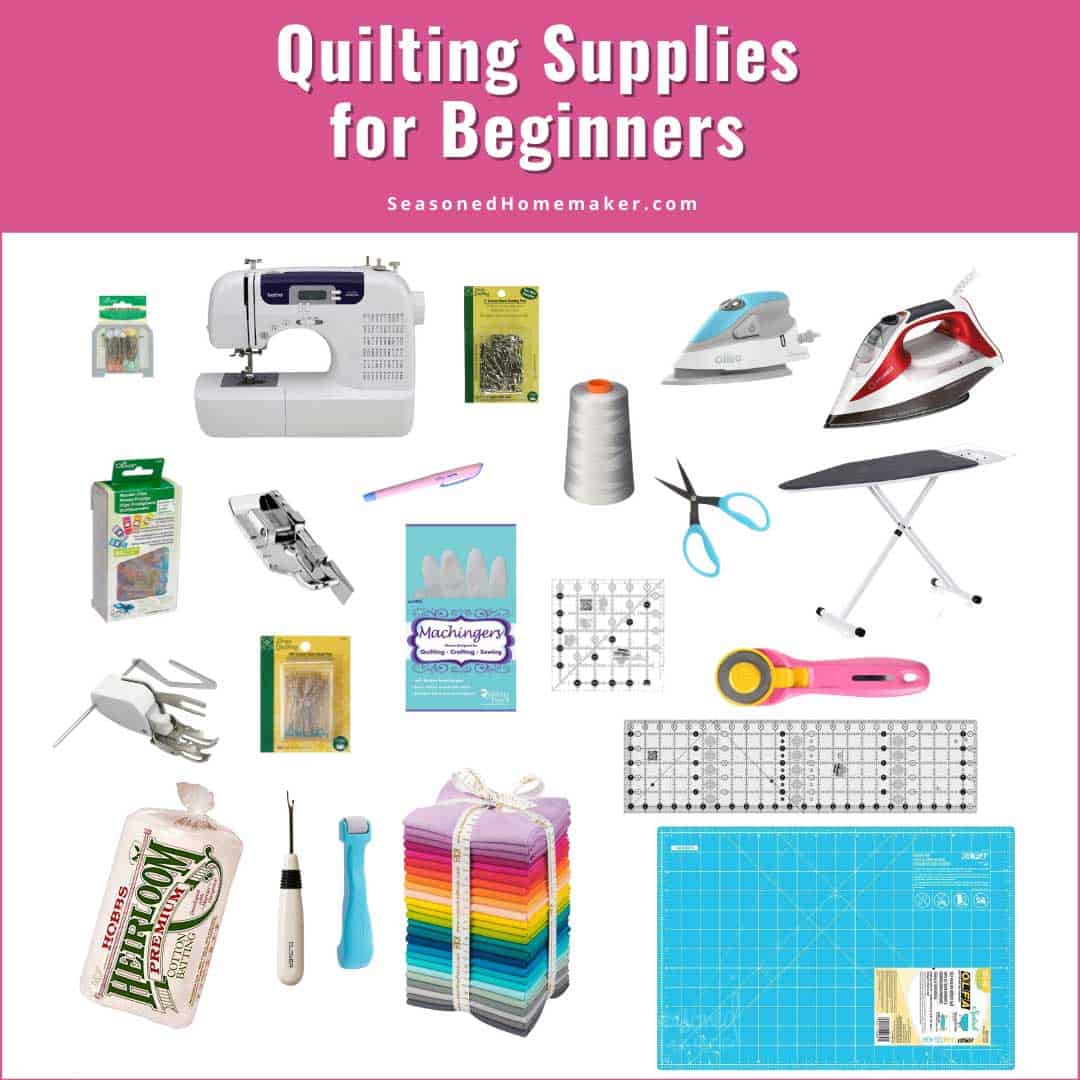
What Tools are Necessary for Appliquéing Baby Clothes on a Quilt?
Fabric: Applying baby clothes on a quilt requires fabric pieces to be cut.
Scissors: The fabric pieces need to be cut into the desired shape and size, hence, a pair of sharp scissors is necessary.
Pins: Pins are used to hold the fabric pieces in place while sewing.
Iron: An iron is necessary to press the fabric pieces in place.
Sewing Machine: A sewing machine is necessary for stitching the fabric pieces in place.
Thread: Threads are necessary to stitch the fabric pieces onto the quilt.
Needles: A variety of needles can be used for different purposes, such as hand stitching, topstitching, etc.
Embroidery Floss: Embroidery floss can be used to add texture and color to the quilt.
How do you ensure the applique pieces stay in place on the quilt?
For a secure hold, use fusible adhesive web or any heat-activated adhesive when appliqueing fabric onto a quilt. Before applying the adhesive, be sure to pre-wash and dry the quilt and fabric to prevent shrinkage. Once the adhesive is applied, press the fabric onto the quilt using a hot, dry iron. After the fabric is pressed, secure the edges with a zigzag or blanket stitch.
What Types of Stitches are Best for Appliqueing Baby Clothes on a Quilt?
When appliqueing baby clothes on a quilt, a straight stitch is generally best for attaching the applique to the fabric. This type of stitch is also recommended for appliqueing small pieces of fabric onto a quilt, as it is less likely to distort the fabric. Other types of stitches such as a zigzag or blanket stitch can also be used, but they may be more difficult to work with and more time consuming. It is important to use a strong thread that will hold the applique firmly to the quilt; a strong polyester thread is recommended.
What are the Best Tips for Creating a Neat and Professional Looking Applique on a Quilt?
- Choose the Right Fabric: Select a fabric that is lightweight and won’t fray easily. This will make it easier to applique onto the quilt.
- Starch or Fuse the Fabric: Starching or fusing the fabric will make it easier to manipulated and ensure that it stays in place while you are appliquing.
- Prepare Your Template: Cut out a template of the design you are going to applique onto the quilt. Make sure it is the right size and shape for your project.
- Trace Your Template onto the Fabric: Use a water-soluble pen to trace the template onto the fabric. This will give you an accurate and neat design.
- Cut Out the Applique: Cut out the applique from the fabric, following the traced lines. Use scissors or a rotary cutter for a cleaner edge.
- Position the Applique: Place the applique in the desired position on the quilt and pin it in place. Make sure to use pins that are small enough so they won’t be seen in the finished product.
- Stitch: Sew the applique onto the quilt using a small zigzag stitch. If you want a more professional look, use a blanket stitch instead.
- Press: Press the applique with an iron to ensure that it is firmly attached to the quilt.
Conclusion
Appliqueing baby clothes onto a quilt is a great way to create a unique and heartfelt gift that will be treasured for years to come. With the right tools and materials, and following the steps provided in this article, you can easily learn how to applique baby clothes on a quilt. With a bit of patience and practice, you’ll be an expert at appliqueing baby clothes in no time!


