
Are you wondering how to bind a quilt with double fold bias tape? Binding a quilt with double fold bias tape is a great way to finish the edges of your quilt and keep it looking neat and tidy. This step-by-step guide will show you how to bind a quilt with double fold bias tape, providing you with the tools you need for a successful quilt-finishing project.
What is Double Fold Bias Tape?
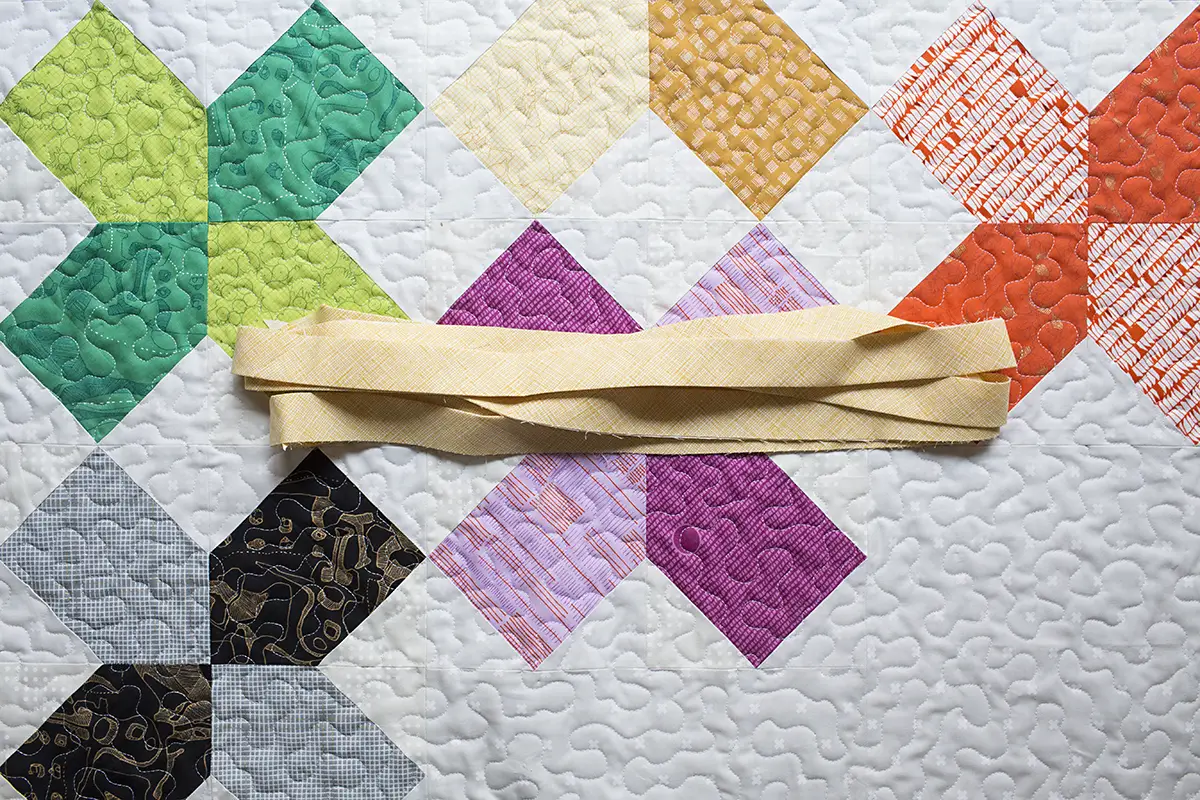
Double fold bias tape is a thin, narrow ribbon made of fabric that is folded around the edges of a quilt, to give it a neat, finished look. It is typically used to join two pieces of fabric together and is one of the most popular methods of binding quilts.
- Made from Fabric: Double fold bias tape is made from cotton, polyester, or other fabrics. It is designed to be easy to sew and is available in a wide variety of colors and patterns.
- Versatile: Double fold bias tape can be used for a variety of home decor projects, such as quilts, curtains, pillows, and apparel.
- Easy to Sew: Double fold bias tape is easy to sew on, making it a great choice for beginner quilters. It can also be used to cover raw edges, making it a great way to finish off quilts.
- Affordable: Double fold bias tape is an affordable way to add a decorative touch to your quilt. It is available in a variety of widths and colors, making it easy to find the perfect match for your quilt.
- Durability: Double fold bias tape is designed to hold up to years of use, ensuring that your quilt will look great for a long time.
Double fold bias tape is a great way to bind a quilt and give it a neat, finished look. To use it, simply cut the bias tape to the desired length, press it flat and pin it in place. Then, sew it to the edges of the quilt, using a straight stitch along the edge. For a more durable finish, use Wrights Quilt Binding to secure the bias tape in place. This will help ensure that your quilt will last for years to come.
Materials Needed
| Material | Quantity |
|---|---|
| Bias tape | Enough to cover quilt’s perimeter |
| Thread | As required |
| Pins | As required |
| Sewing machine | 1 |
| Iron | 1 |
| Ironing board | 1 |
| Scissors | 1 |
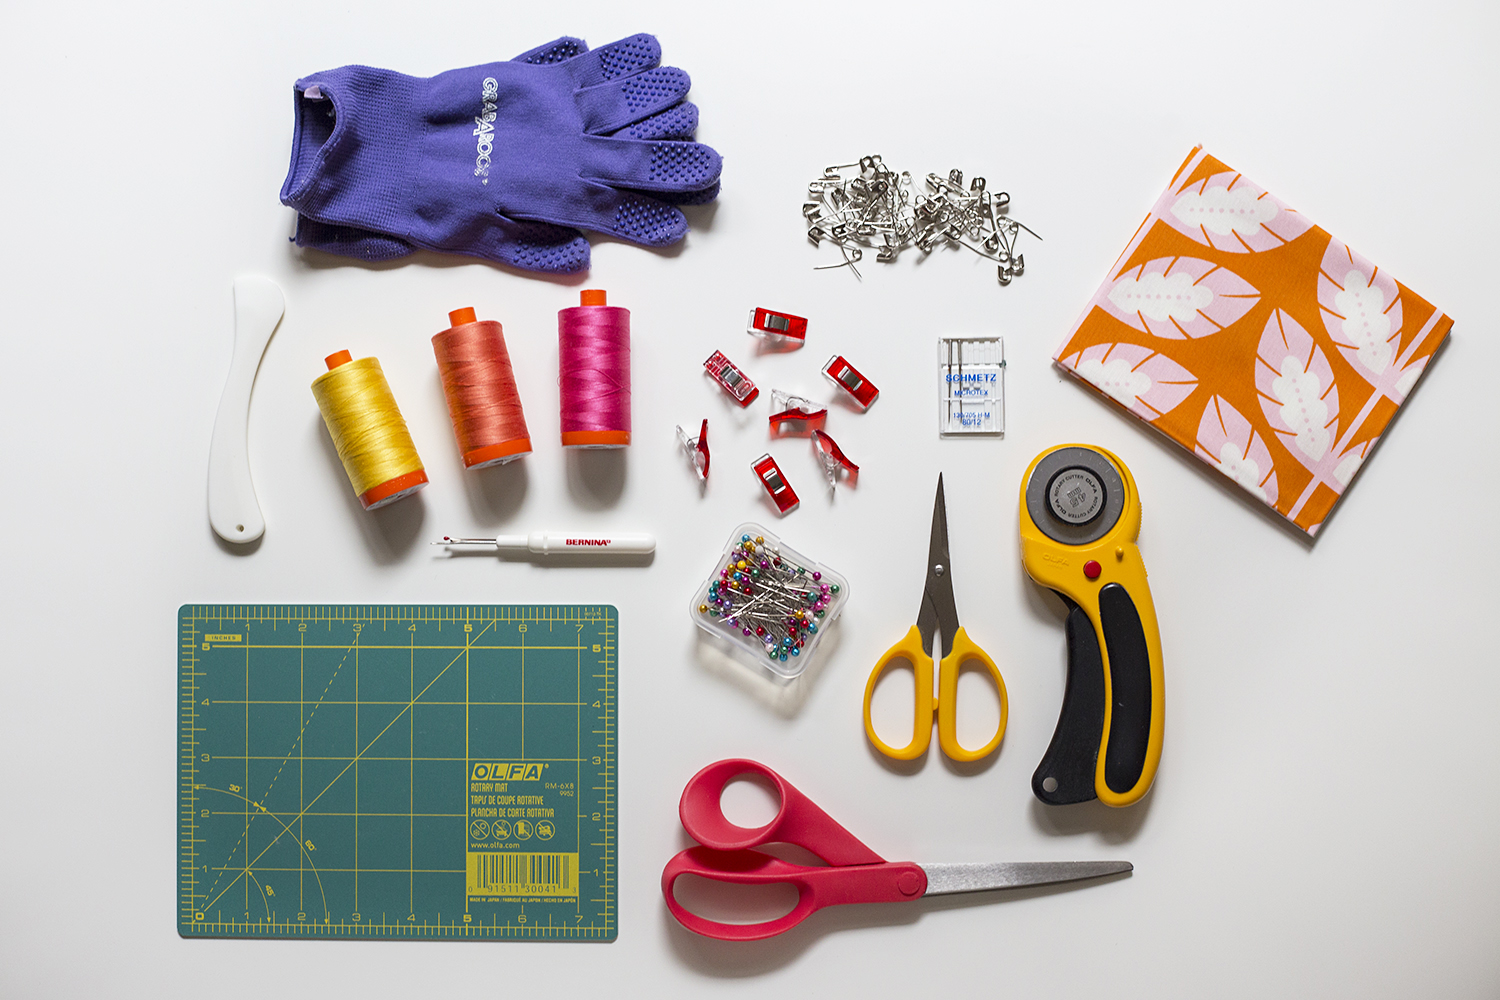
To bind a quilt with double fold bias tape, these materials are needed. The bias tape should be purchased in enough quantity to cover the quilt’s perimeter. Thread, pins, a sewing machine, iron, ironing board, and scissors are also required. This article will guide you through how to sew purchased bias tape quilt binding.
Preparing the Quilt
- Cutting the Fabric: Depending on the size of the quilt, the fabric will need to be cut into strips. The strips should be 1/2 to 5/8 inch wide and long enough to fit the length and width of the quilt.
- Preparing the Binding: The bias tape will need to be cut into strips that are twice the size of the strips of fabric. The strips should be long enough to cover the edge of the quilt.
- Ironing the Bias Tape: Using an iron, each strip of bias tape should be ironed in half lengthwise. This will create a double sided binding for the quilt.
- Attaching the Bias Tape: Begin by pinning the bias tape to the front side of the quilt. Make sure to evenly space the pins and to start at the corner of the quilt.
- Sewing on the Bias Tape: Using a sewing machine, carefully sew the bias tape onto the quilt. Make sure to start in the corner and to use a straight stitch. For a professional looking finish, use a zigzag stitch on the edges of the bias tape.
- Finishing the Quilt: Once the bias tape is attached to the quilt, it will be ready to be used. To complete the quilt, the edges of the bias tape may be hand stitched or machine stitched for a more polished look.
When learning how to sew on double sided binding on quilt, the first step is to prepare the quilt, which involves cutting the fabric and preparing the bias tape. To ensure a secure binding, it’s important to use an iron to create a double sided binding and to sew the binding on with a sewing machine for a professional finish. Finally, the edges of the bias tape may be hand stitched or machine stitched for a more polished look.
Preparing the Bias Tape
The first step in how to double quilt using bias tape is to prepare the tape. To do this, you will need your fabric of choice and a bias tape maker. Cut the fabric into strips that are 1.5-2 inches wide and long enough to wrap around the bias tape maker. Feed the fabric strips into the bias tape maker and press the handle to turn the fabric into bias tape. Unfold the bias tape and press it flat. Cut the bias tape into the desired length for your quilt.
Sewing the Bias Tape to the Quilt
| Step | Instructions |
|---|---|
| 1 | Open the bias tape and press flat. |
| 2 | Place the bias tape around the edge of the quilt, aligning the raw edges of the tape with the raw edge of the quilt. |
| 3 | Pin the bias tape in place. Make sure the folded side of the bias tape is facing out. |
| 4 | Sew the bias tape to the quilt using a straight stitch, and a ¼” seam allowance. |
| 5 | Remove the pins. |
| 6 | Press the bias tape flat. |
Finishing the Quilt with Double Fold Bias Tape
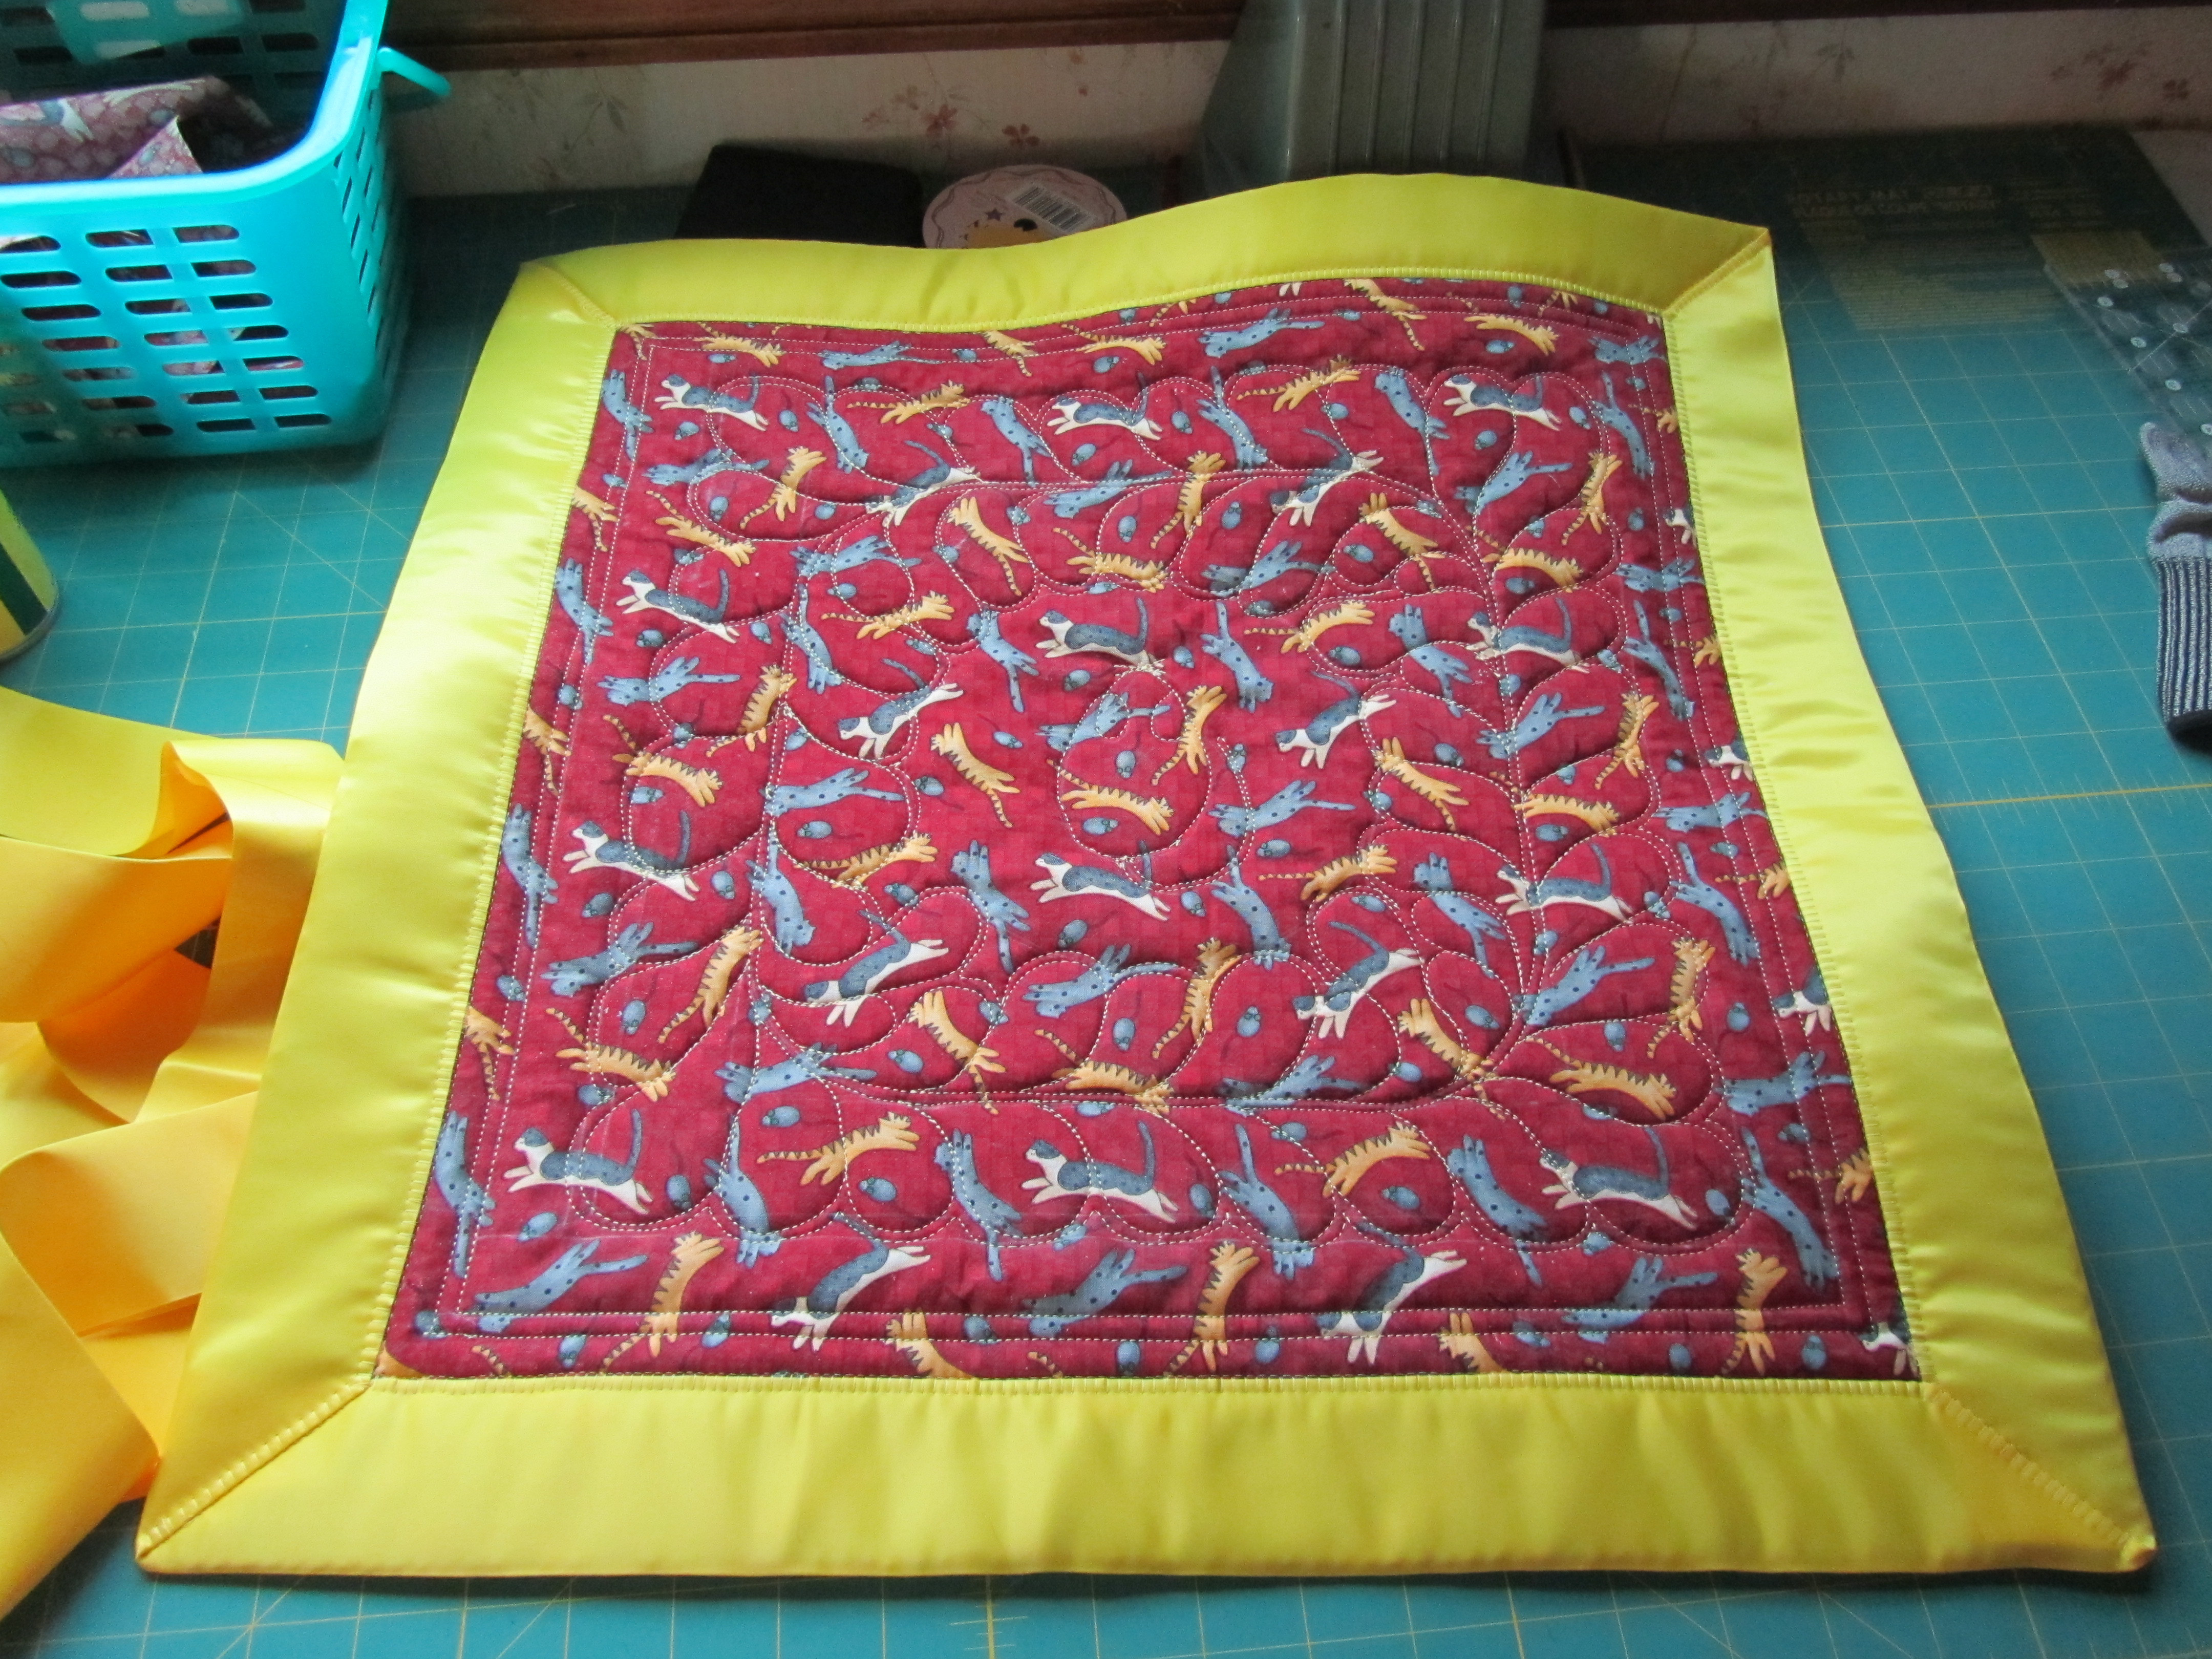
Measure the bias tape: Measure the perimeter of the quilt and then cut the bias tape accordingly, making sure to add extra to the length for the corners. Fold the bias tape in half lengthwise and press with an iron.
Attach the bias tape: Beginning with one side, pin the bias tape in place, lining up the raw edges with the edge of the quilt. Sew the bias tape in place with a ¼” seam allowance. Stop and start your stitches at the corners.
Fold towards the quilt: Fold the bias tape away from the quilt and press. Pin in place.
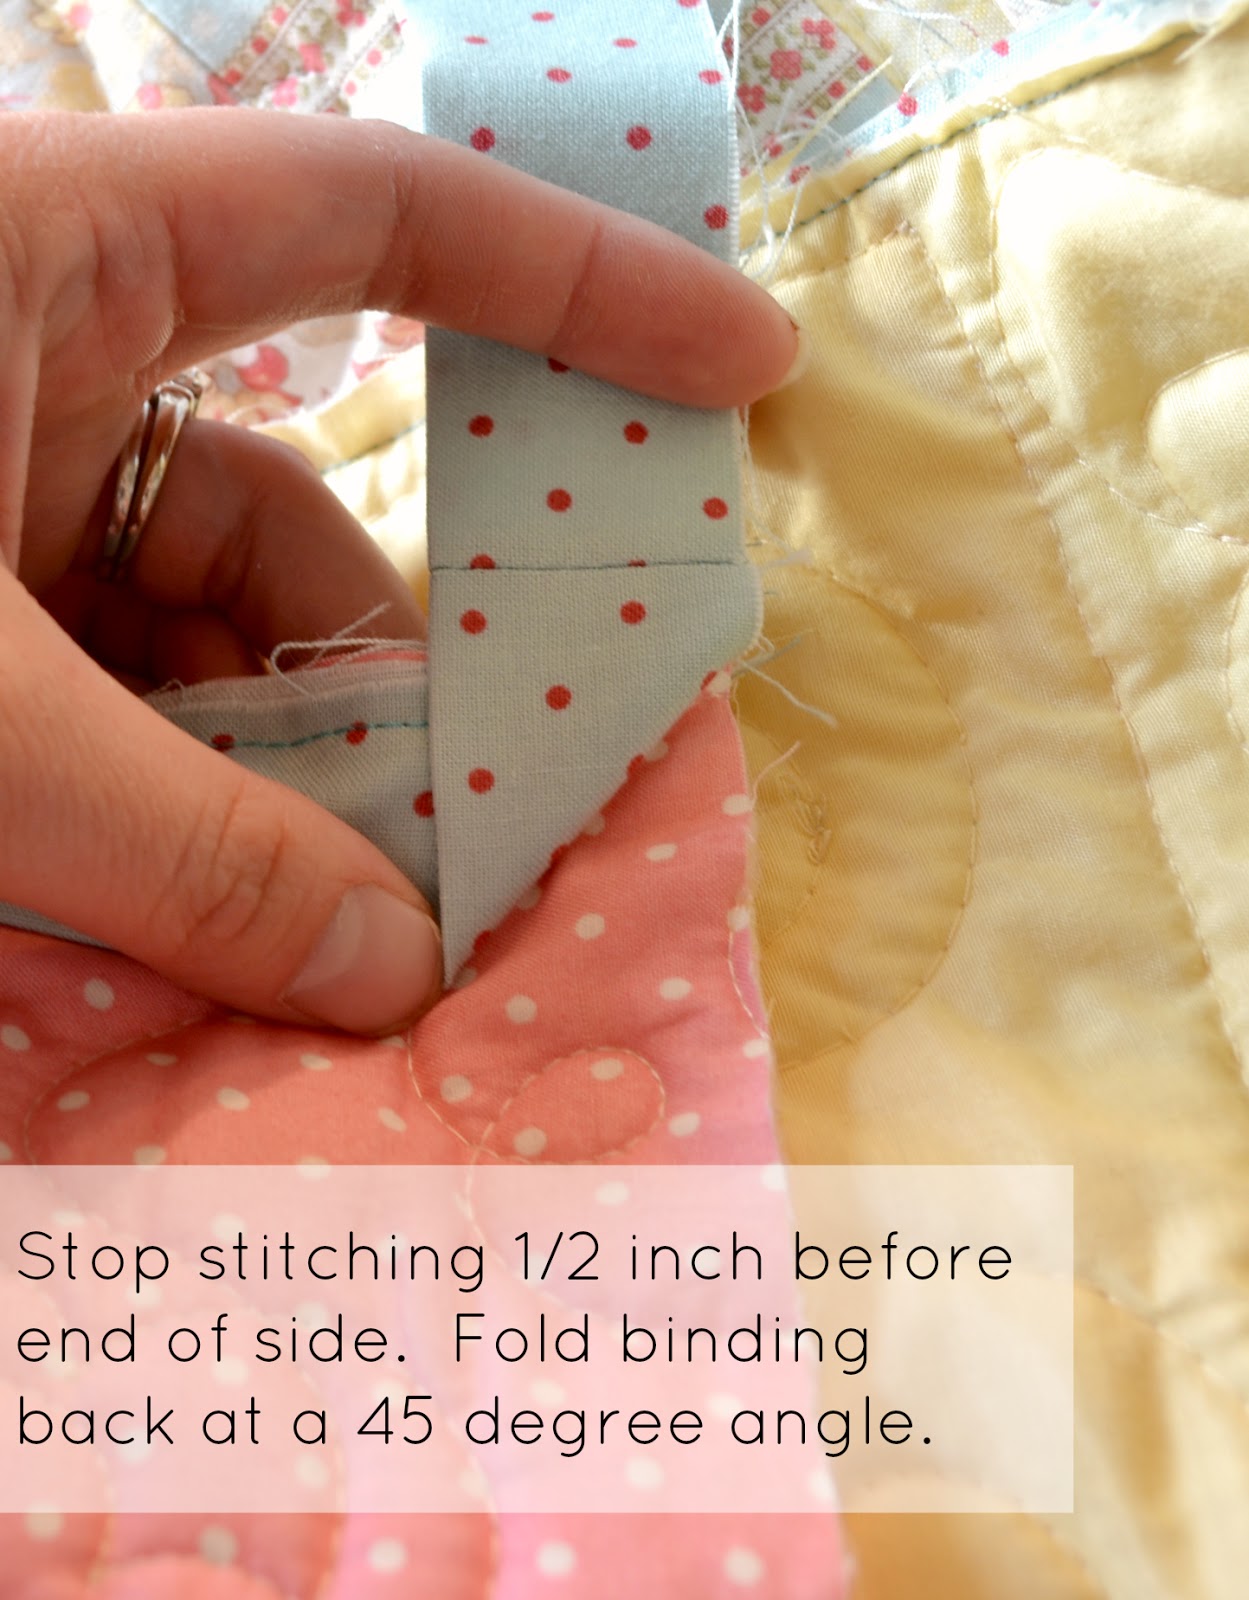
Fold and press the corners: Fold the bias tape at the corners to form mitered corners and press.
Sew the bias tape in place: Sew the bias tape in place using a ¼” seam allowance. Backstitch at the beginning and end of the seam.
Finish the bias tape: Turn the edge of the bias tape up and pin in place. Sew the edge of the bias tape down to finish.
Using Wright’s Quilt Binding
| Step | Instructions |
|---|---|
| 1 | Cut double fold bias tape to desired length. |
| 2 | Open the tape and press the raw edges to the center. |
| 3 | Place the bias tape on the quilt, with the folded edges toward the raw edges of the quilt. |
| 4 | Pin the bias tape to the quilt. |
| 5 | Sew the bias tape to the quilt, using a 1/4 inch seam allowance. |
| 6 | Fold the bias tape to the back of the quilt and press in place. |
| 7 | Sew the bias tape to the back of the quilt, using a 1/4 inch seam allowance. |
Using Wright’s Quilt Binding is an easy and efficient way to bind a quilt. Begin by cutting the double fold bias tape to the desired length. Open the tape and press the raw edges to the center. Place the bias tape on the quilt, with the folded edges toward the raw edges of the quilt. Pin the bias tape to the quilt, then sew it to the quilt, using a 1/4 inch seam allowance. Fold the bias tape to the back of the quilt and press it in place, then sew it to the back of the quilt, also using a 1/4 inch seam allowance.
Sewing on Double-Sided Binding on Quilt
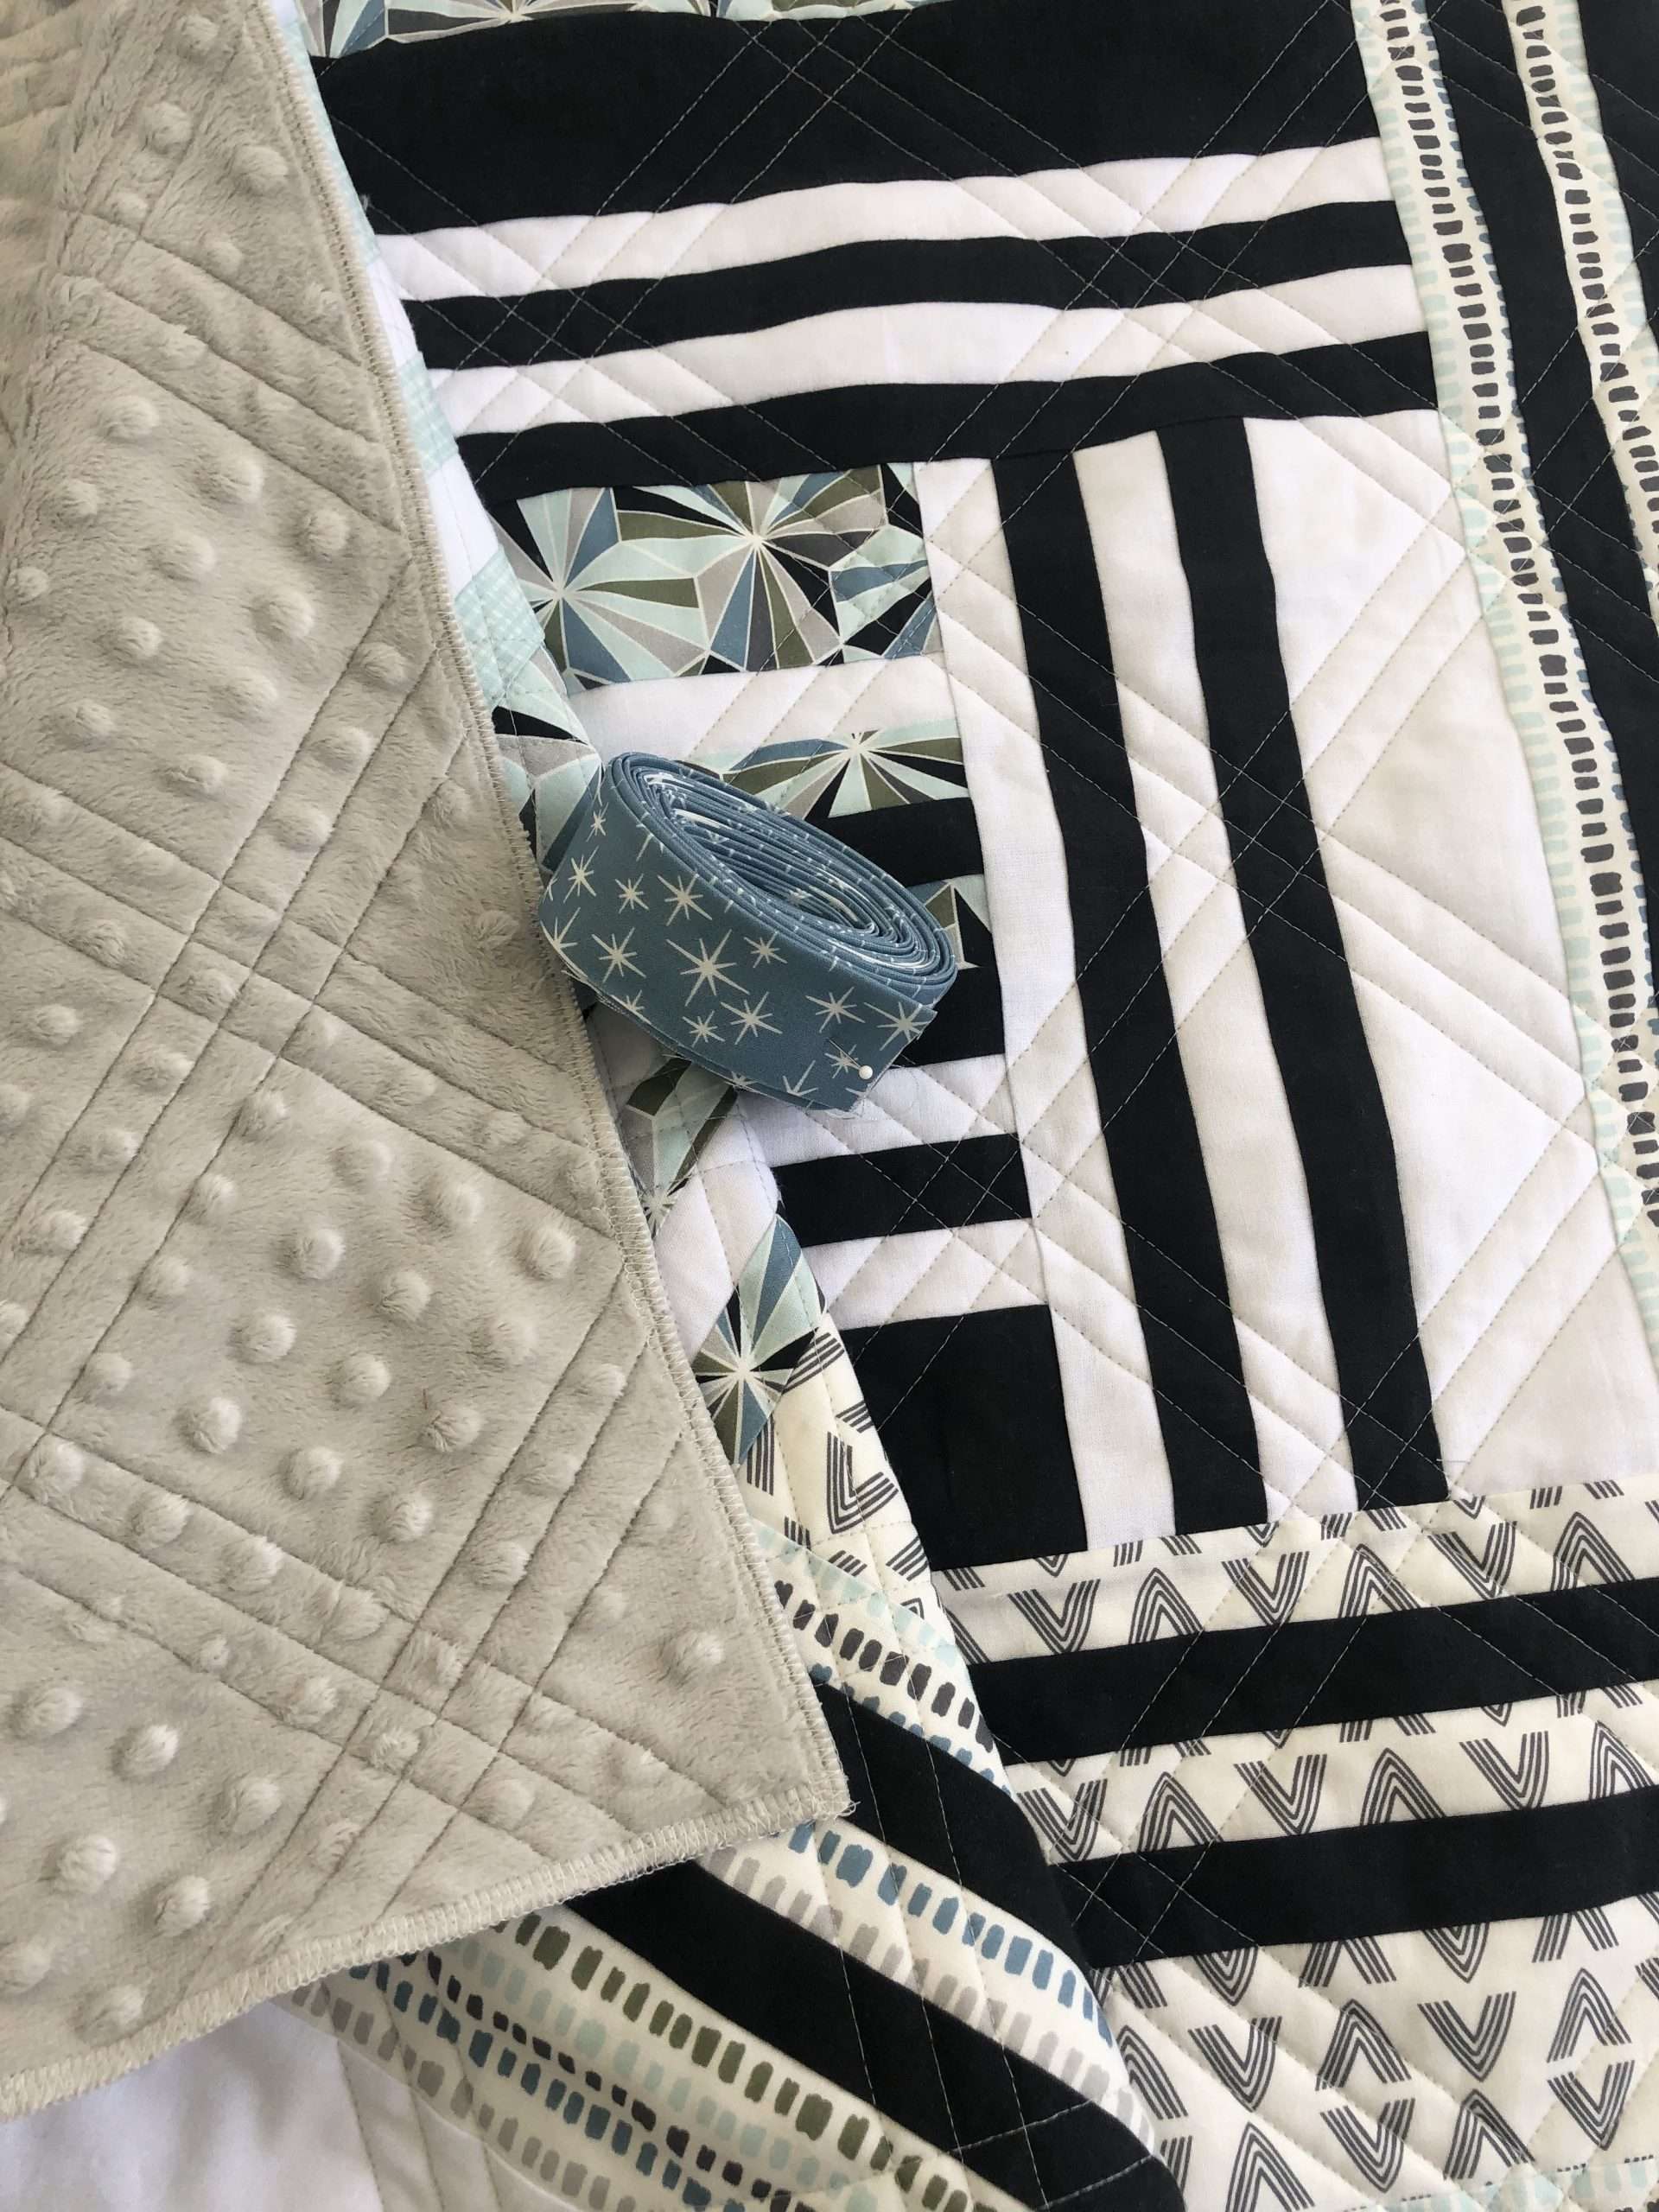
Double-sided binding is a great way to finish a quilt, as it gives the quilt a finished edge and creates a strong bond between the fabric layers. To bind a quilt with double fold bias tape, you will need the following supplies: double fold bias tape, pins, quilt batting, and a sewing machine.
Begin by pinning the bias tape to the front of the quilt. Make sure the raw edges are aligned and use a few pins to secure it in place. Now, turn the quilt over and place the batting on the back. Secure the batting in place with pins.
Next, fold the bias tape over the batting and pin it in place. Make sure the raw edges are aligned and the bias tape is lying flat. Now, thread your sewing machine with the appropriate thread and begin sewing along the bias tape. Start at one end and stitch all the way to the other end.
Once you have finished sewing, trim the excess fabric and batting. Now, turn the quilt over and press the bias tape with a hot iron. This will help to secure the binding and help to create a strong bond between the fabric layers.
Finally, turn the quilt over and topstitch the bias tape. This will help to add strength and durability to the quilt. You have now successfully completed the process of binding a quilt with double fold bias tape.
Double Quilting
Double quilting is a technique used to bind a quilt with double fold bias tape. It involves folding a strip of bias tape in half lengthwise and sewing it onto the quilt. This creates a finished edge that is strong and durable, as well as providing a decorative finish.
| Step | Description |
|---|---|
| 1 | Measure your quilt and cut a length of bias tape equal to the length of the quilt plus a few inches. |
| 2 | Fold the bias tape in half lengthwise and press with an iron. |
| 3 | Pin the bias tape to the quilt, wrong sides together and starting at one corner. |
| 4 | Sew the bias tape to the quilt with a straight stitch, making sure to catch both sides of the bias tape. |
| 5 | When you reach the corner, turn the bias tape and continue sewing until you reach the starting point. |
| 6 | Fold the bias tape over to the back side of the quilt and sew it down with a zigzag stitch. |
This double quilting technique is a great way to finish your quilt with a strong, durable and decorative edge. It is also a great way to use up any leftover bias tape, as you can cut it to the desired length for your quilt. Additionally, this technique can be used for binding other quilting projects such as pillows, table runners and more.
Frequently Asked Questions
What type of fabric should I use for the double fold bias tape?
Cotton fabric: Cotton fabric is a popular choice for making bias tape as it is lightweight, durable and does not fray easily. It is also relatively inexpensive and comes in a variety of colors and patterns.
Polyester fabric: Polyester fabric is another popular choice for making bias tape. It is strong and durable, and comes in a wide range of colors and patterns.
Silk fabric: Silk fabric is a luxurious choice for making bias tape. It is lightweight and soft, and comes in a variety of colors and patterns.
Wool fabric: Wool fabric is a great choice for making bias tape as it is strong and durable. It has a natural texture and can be dyed in a variety of colors.
Linen fabric: Linen fabric is a great choice for making bias tape as it is lightweight and breathable. It has a natural texture and can be dyed in a variety of colors.
Are there any special tools needed to bind a quilt with double fold bias tape?
Yes, there are some special tools required for binding a quilt with double fold bias tape. These include:
- Bias tape maker
- Iron
- Quilting pins
- Sewing machine
- Scissors
- Measuring tape
The bias tape maker is used to create a continuous strip of bias tape. An iron is used to press the bias tape to the right side of the quilt. Quilting pins are used to hold the bias tape in place while sewing. A sewing machine is used to sew the bias tape onto the quilt. Scissors are used to trim the excess bias tape. Lastly, a measuring tape is used to measure and evenly space the bias tape around the quilt.
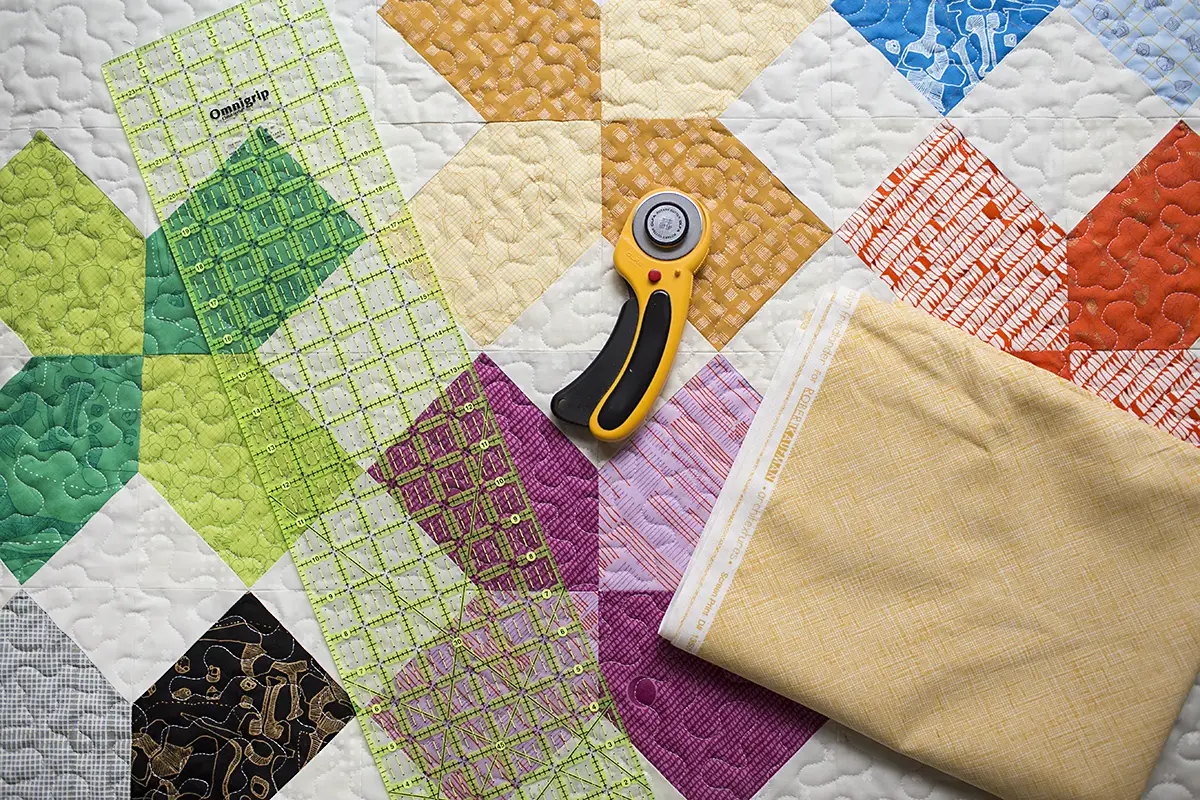
What is the Best Way to Cut the Double Fold Bias Tape for a Quilt?
Cutting the bias tape for a quilt is best done by using a rotary cutter. A rotary cutter will give you a clean and precise cut, ensuring the bias tape will fit perfectly along the edges of the quilt. When cutting the bias tape, it is important to fold it in half lengthwise, with the wrong sides together, and cut along the fold. This will ensure the bias tape is cut accurately and will fold easily when binding the quilt.
How do I ensure that the double fold bias tape stays in place when binding a quilt?
Ensure that the bias tape is securely pinned onto the quilt before stitching. Use long, fine pins and pin through both the quilt and the bias tape. Use a small stitch length, around 2mm, when sewing the bias tape onto the quilt to make sure it is securely attached. Trim the bias tape at the end of the quilt, and then tuck the end of the bias tape under the edge of the quilt before stitching down. This will help to ensure that the bias tape stays in place.
How do I finish off the ends of the double fold bias tape when binding a quilt?
When binding a quilt with double fold bias tape, you must finish off both ends of the tape to create a neat and secure finish. To do this, fold the end of the bias tape over itself, tucking the raw edges inside. Then, press the fold flat and stitch it into place with a sewing machine. Alternatively, you can hand stitch the fold to secure it.
Conclusion
Binding a quilt with double fold bias tape is a simple and effective way to finish your quilt. With patience and a few simple steps, you can create a neat, professional finish. Binding a quilt is a great way to add a decorative touch to any quilt and can give the quilt a polished look.


