
Are you looking for the best way to finish a quilt? If so, then you’re in luck! In this article, we’ll provide expert tips on how to complete your next masterpiece. We’ll cover everything from choosing the right batting, to binding, quilting, and more. With these tips, you’ll be able to create a quilt that will last for years to come. So let’s get started!
Preparation
Gather Materials
Gather your materials such as backing fabric, batting, quilting thread, and a needle. You will also need a quilting ruler, cutting mat, and rotary cutter.
Assemble the Quilt Top
Sew together the quilt blocks and form the quilt top. Press the seams open. Trim off the excess fabric from the edges of the quilt top.
Layer the quilt by laying the backing fabric on a flat surface, wrong side up. Place the batting on top, and then the quilt top, right side up. Pin all layers together.
Quilt the quilt by stitching the layers together. Use a quilting ruler and rotary cutter to create quilting lines to follow. Start at the center of the quilt and stitch outward.
Finish the quilt edge without binding by turning the edge of the quilt under and stitching. Trim off any excess fabric.
Finishing the Edge
Closing a quilt is the last step in the quilting process. It involves binding the edges of the quilt and basting it to keep the layers together. Additionally, you can add trims or try other edging options to give your quilt an extra touch of personality.
Binding
Binding is the most traditional way to finish the edges of a quilt. It involves applying a strip of fabric, called the binding, to the edges of the quilt top and backing. The binding is usually made from a single layer of fabric that is folded in half lengthwise and sewn onto the quilt.
Basting
Basting is the process of stitching the quilt top and batting together. This helps to hold the layers of the quilt in place before quilting. It can be done either by hand or with a machine. Hand basting is usually done with threads that are long enough to be easily removed after the quilting process.
Adding Trims
Adding trims is an easy way to add a decorative touch to your quilt. Trims can be anything from lace to ribbon and are usually applied to the edges of the quilt after the binding has been added. Trims can also be used to cover up any imperfections in the quilting process.
Other Edging Options
In addition to binding and trims, there are other options for finishing the edges of a quilt. You can use rickrack, bias tape, or even piping to give your quilt a unique look. Another option is to use a quilt binding tool to create a professional-looking finish.
No matter which method you use to close your quilt, it’s important to take your time and make sure the edges are even and secure. With a little patience and creativity, you can create a beautiful quilt that will last for years to come.
Quilting
Marking the Quilting Lines
Before starting to quilt, it’s important to mark the quilting lines. This gives you a guide for stitching in the quilting pattern. Marking can be done with a water-soluble marking pen, air-soluble marker, or an old-fashioned dressmaker’s wheel. If you’re making a complex quilt, it might be helpful to use a quilt stencil or pattern.
Choosing a Quilting Pattern
The quilting pattern you choose will depend on the type of quilt you’re making. For beginners, a simple all-over quilting pattern such as stippling or cross-hatching is a good option. These patterns are relatively easy to quilt, and they look great when finished. If you’re feeling more adventurous, you could try a more complex quilting pattern such as feathering or spirals.
Quilting the Quilt
Once you have marked the quilting lines and chosen a quilting pattern, it’s time to start quilting. Start by threading your quilting machine with the thread and bobbin of your choice. Then, lay the quilt sandwich on the quilting frame and begin stitching. Be sure to follow the marked quilting lines and keep the tension even.
Finishing the Quilting
When you have finished quilting the quilt, trim away any excess fabric and threads. The next step is to bind the quilt. You can use a ready-made quilt binding, or make your own. For a neat finish, it’s a good idea to hand-sew the binding to the back of the quilt. This is a great way to finish a quilt for beginners.
Finishing the Back
- Choose the right fabric: Select a fabric that is similar in weight, color and pattern to the quilt top. Avoid using fabrics with much stretch as it can cause the quilt to ripple.
- Calculate the dimensions: Measure the quilt top width and length and add 6 inches to each side for the backing. Make sure to account for any borders that may be added to the quilt top.
- Assemble the pieces: If the fabric is not wide enough to fit the quilt, cut the fabric into two or more pieces and sew them together. Make sure to use a 1/2-inch seam allowance and press the seams open.
- Prepare the batting: Cut the batting to the same size as the quilt top and back, and layer the batting between the quilt top and back. Baste the layers together with safety pins.
- Quilt the quilt: Hand- or machine-quilt the quilt layers together. Choose a stitch pattern to enhance the quilt design. Once finished, bind the edges of the quilt with a fabric binding.
Finishing a quilt top is a rewarding and necessary step in the quilting process. Whether hand quilting or machine quilting, the quilt back provides a smooth, even surface for stitching and helps to keep the batting in place. With the right fabric, accurate measurements, and careful assembly, a quilter can easily create a beautiful, professional-looking quilt top.
Adding Labels

- Once the quilt is finished, add the label.
- You can buy quilt labels online, or make your own with fabric paint.
- Include the name of the quilt, the date it was completed, and your name.
- Iron on the label to the back of the quilt.
- You can also hand-sew the label with a few stitches.
Adding labels is an important step to remember when finishing a quilt quickly. It adds a personal touch and will help you to remember the details of the quilt in the future.
Finishing
Washing and Drying
Washing your quilt helps to soften the fabric and bring out the colors. Use a gentle setting on your washing machine and a mild detergent. It is a good idea to pre-soak the quilt in a tub of cool water for a few hours before starting the wash cycle. This will help loosen any dirt or debris that may be embedded in the fabric. After washing, you should hang the quilt outside to dry. Avoid direct sunlight, as this can fade the colors in your quilt.
Pressing
Before you start quilting, it is important to press the fabric. This will help flatten any wrinkles and make it easier to work with. You should do this by pressing the wrong side of the fabric with a hot, steam iron. This should be done carefully, as too much heat can damage the fabric. Once you have pressed the fabric, you are ready to begin quilting.
Frequently Asked Questions
What materials do I need to finish a quilt?
- Fabric – Depending on the size of your quilt, you will need enough fabric to cover the top, bottom, and binding. The fabric should be pre-washed and ironed.
- Batting – The batting is the middle layer of the quilt and adds warmth and weight. It can be made of wool, cotton, or polyester.
- Thread – Choose a thread that matches the color of the fabric you are using. Cotton thread gives the best results.
- Pins – Straight pins are essential for basting the fabric together.
- Needles – You will need both a hand-sewing and a machine-sewing needle.
- Rotary Cutter and Mat – The rotary cutter and mat are used to cut the fabric into the correct size and shape.
- Quilting Ruler – The quilting ruler helps to ensure that the fabric is cut accurately.
- Iron – An iron and ironing board are necessary for pressing the fabric.
What is the Best Way to Quilt a Large Quilt?
The best way to quilt a large quilt is to use a long-arm quilting machine. This machine is designed to handle larger quilts with ease and precision. It has a large frame that holds the quilt as it is being stitched, and the quilting machine itself is mounted on a track that moves the quilt beneath the needle for even stitching. The long arm quilting machine also provides better tension control and consistent stitches, even on uneven or bulky quilts. Additionally, as the quilting is done from the top, there is no need to turn the quilt top over to quilt the back side.
What is the Best Way to Bind a Quilt?
- Gather Materials: Quilt batting, quilt backing fabric, binding fabric, scissors, and a sewing machine.
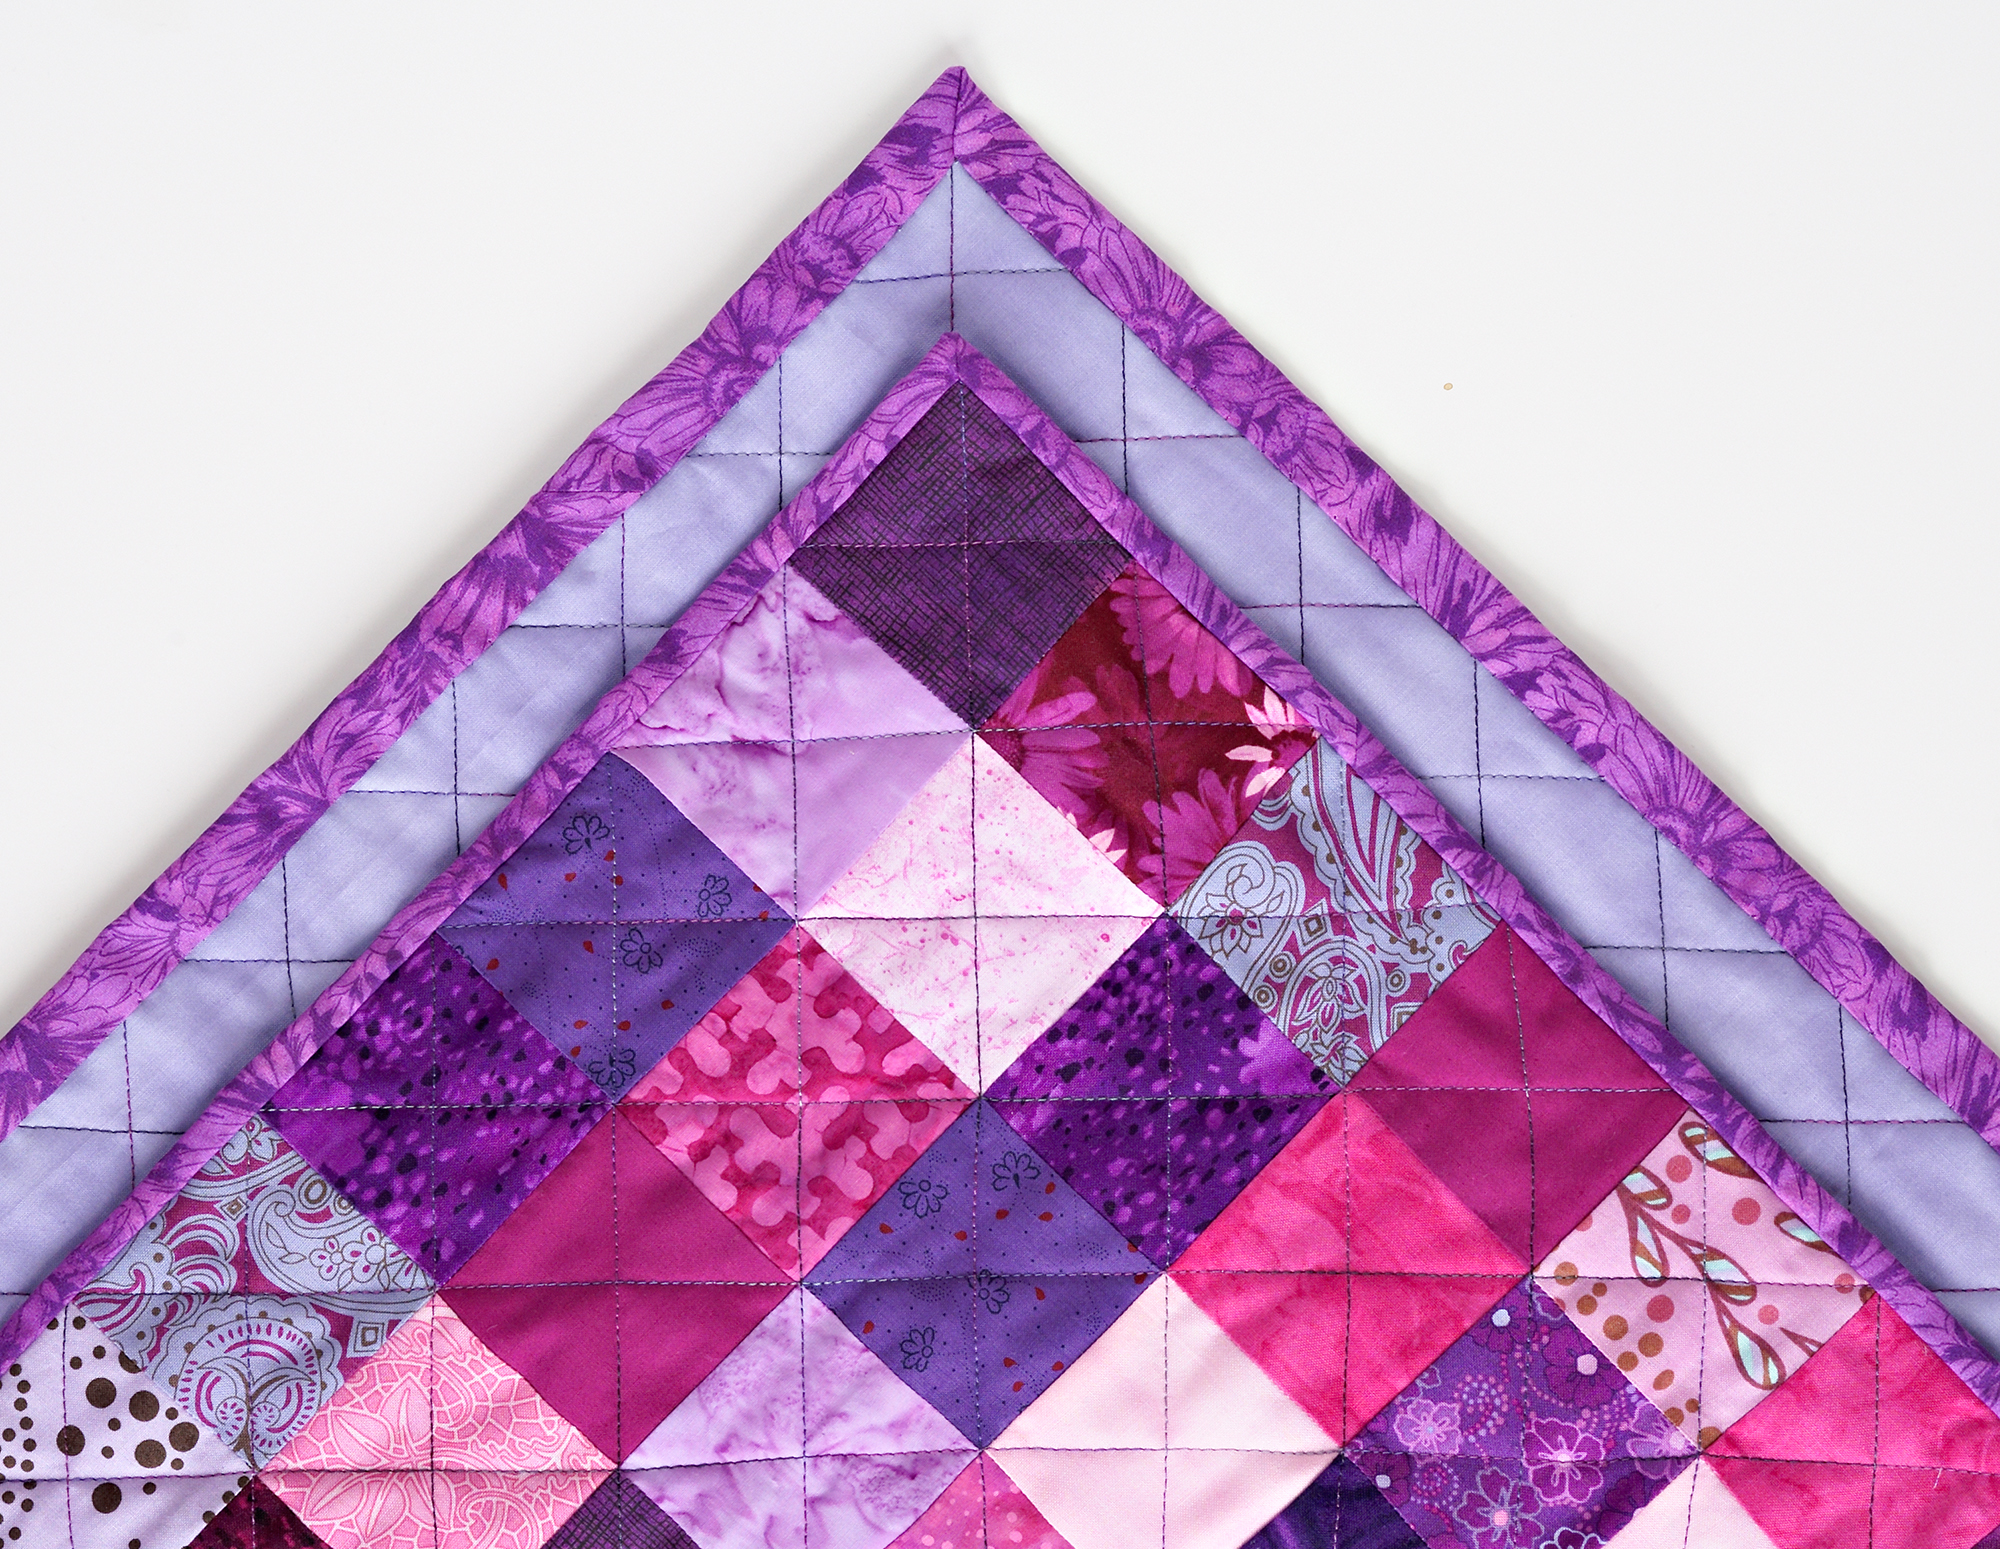
- Cut Binding Strips: Cut the binding fabric into 2.5” strips. Join the strips together by sewing them at a diagonal, creating one long strip.
- Iron Binding: Fold the binding strip in half lengthwise and press.
- Attach Binding: Pin the binding strip to the quilt top, with the raw edges along the outer edge of the quilt. Sew the binding to the quilt top using a ¼” seam allowance.
- Fold Binding: Fold the binding to the back of the quilt and hand sew it in place.
What are the Best Techniques for Adding Embellishments to a Quilt?
Adding embellishments to a quilt is a great way to give it a unique, personal touch. Techniques such as appliqué, embroidery, beading, and other decorative stitching can be used to enhance the appearance of a quilt. Appliqué is the process of cutting out fabric shapes and then securing them to the quilt top with fabric glue or sewing. Embroidery uses thread to create patterns, designs, or words on the quilt. Beading involves adding tiny glass, plastic, or metal beads to the quilt in patterns or along the edges. Other decorative stitching techniques include quilting, trapunto, and free-motion stitching. With these techniques, the quilt can be transformed into a beautiful and unique work of art.
What are the Best Tips for Taking Care of a Quilt After it is Finished?
Keep it Clean: Regularly remove dust and dirt from the quilt using a vacuum cleaner with a brush attachment. Wash the quilt periodically by hand or on a gentle cycle in cold water, and use a mild detergent.
Store Properly: Fold the quilt loosely and store it in a cool, dry, and dark location. Avoid plastic bags, and instead consider using a cotton sheet or muslin bag.
Prepare for Use: Before using a quilt, allow it to air out for a few hours, or gently steam it before use.
Quilt Bedding: Always use a quilt cover or bedding protector over the quilt to protect it from wear and tear.
Repairing Damage: When a quilt requires repair, consult a professional quilter for help.
Conclusion
Quilting is a rewarding process that allows you to create a unique and beautiful work of art. With these expert tips and tricks, you are on your way to finishing your next masterpiece. Take your time, be creative, and don’t be afraid to make mistakes – the finished result is always worth it.


