Are you looking for a creative and easy way to design a beautiful quilt? Look no further than graph paper! With this “How to Design a Quilt on Graph Paper” article, you’ll get all the information and tips you need to create a stunning quilt quickly and easily. Graph paper is a great way to plan out quilt patterns, allowing you to visualize your design before you begin stitching. We’ll take you through the basics of quilt design on graph paper, from choosing the right supplies to selecting the perfect pattern. With the help of this guide, you’ll be ready to create a one-of-a-kind quilt!
What You’ll Need
| Equipment | Description |
|---|---|
| Graph Paper | Available in a range of sizes and colors. |
| Pencil | For sketching quilt designs. |
| Eraser | For making corrections. |
| Ruler | For measuring and drawing straight lines. |
| Colored Pencils | For adding color to your design. |
You may also need a calculator to help with calculations when graphing a quilt.
Drawing the Quilt on Graph Paper
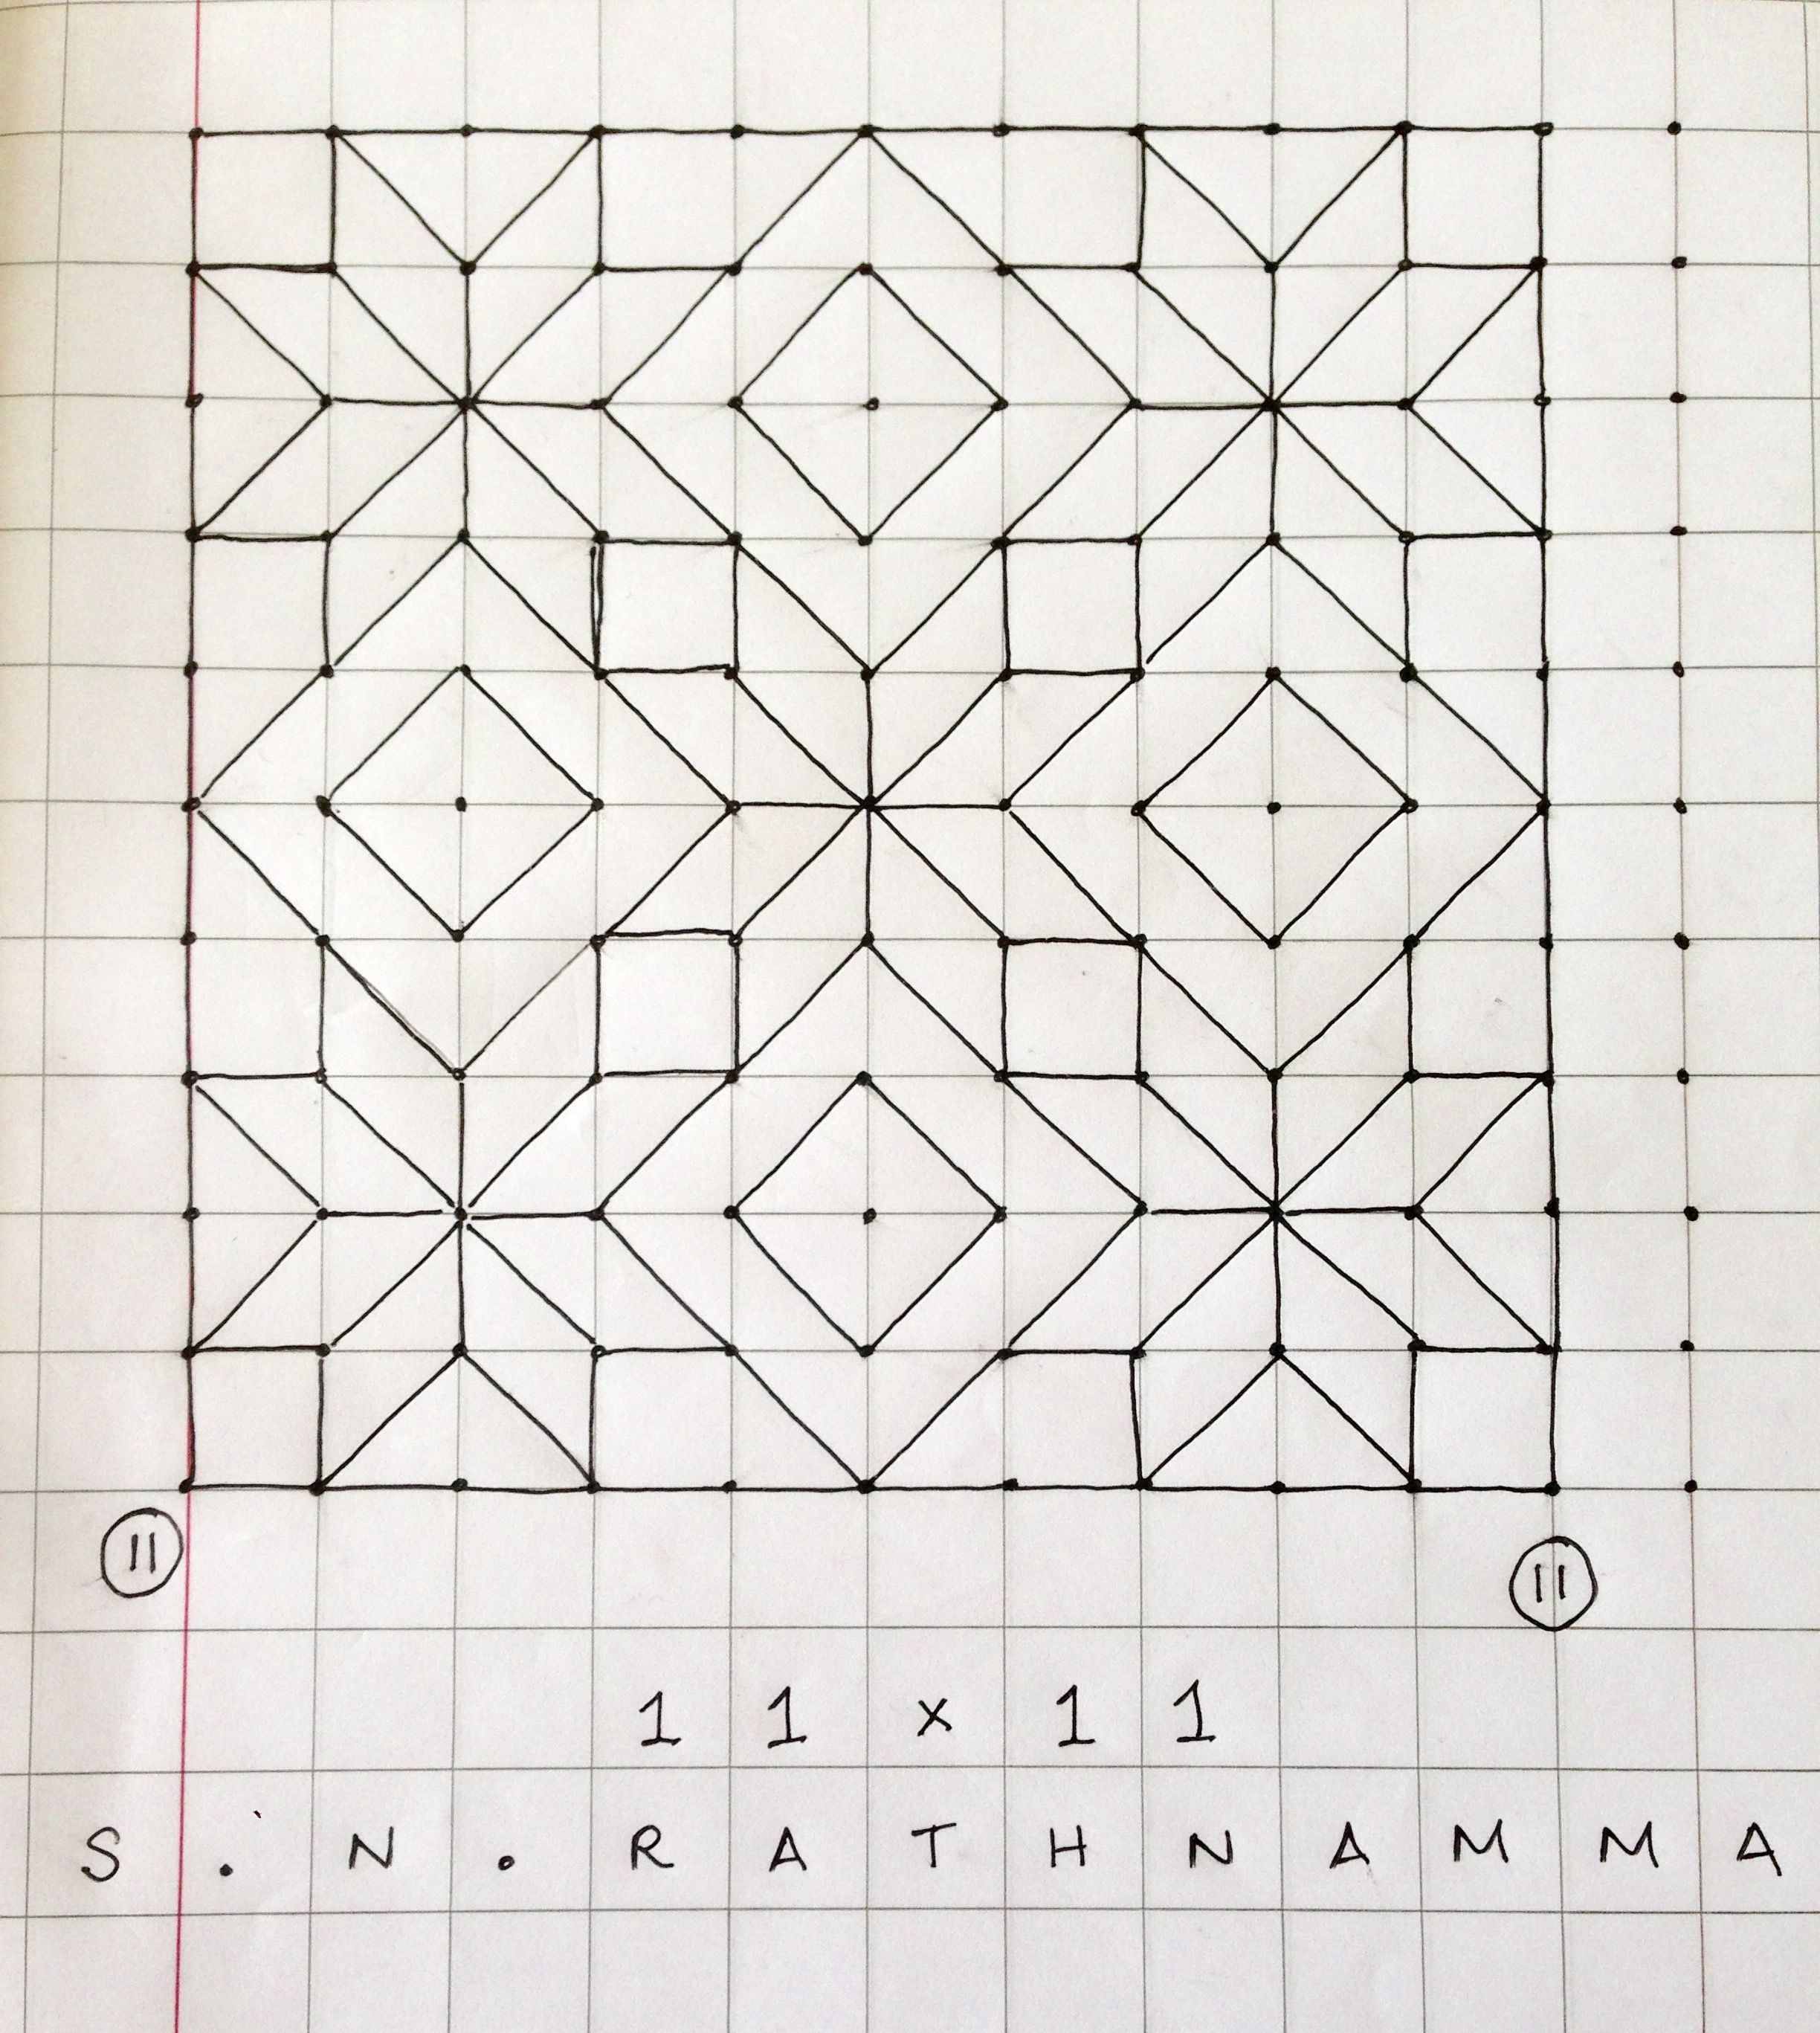
Start by deciding which size of graph paper to use, depending on the size of your quilt. A single piece of graph paper will work for a quilt of up to 35 inches square. For larger quilts, use multiple pieces of graph paper taped together. Next, draw a grid onto the graph paper to represent the blocks of the quilt.
Plotting the Quilt Pattern
Using a ruler, draw the lines of the quilt pattern onto the graph paper. Typically, the lines are drawn in either a vertical or horizontal direction. When finished, erase any unnecessary lines. It may be helpful to draw a few extra lines to make sure that the pattern is symmetrical.
Filling in the Pattern with Colored Pencils
Once the quilt pattern is plotted out, it’s time to fill it in with colored pencils. To do this, select a color for each piece of the quilt, and fill in the blocks with the chosen color. For more complex quilts, you can add additional colors or patterns to the quilt. When finished, carefully erase any visible pencil lines. Your quilt design is now ready to be sewn!
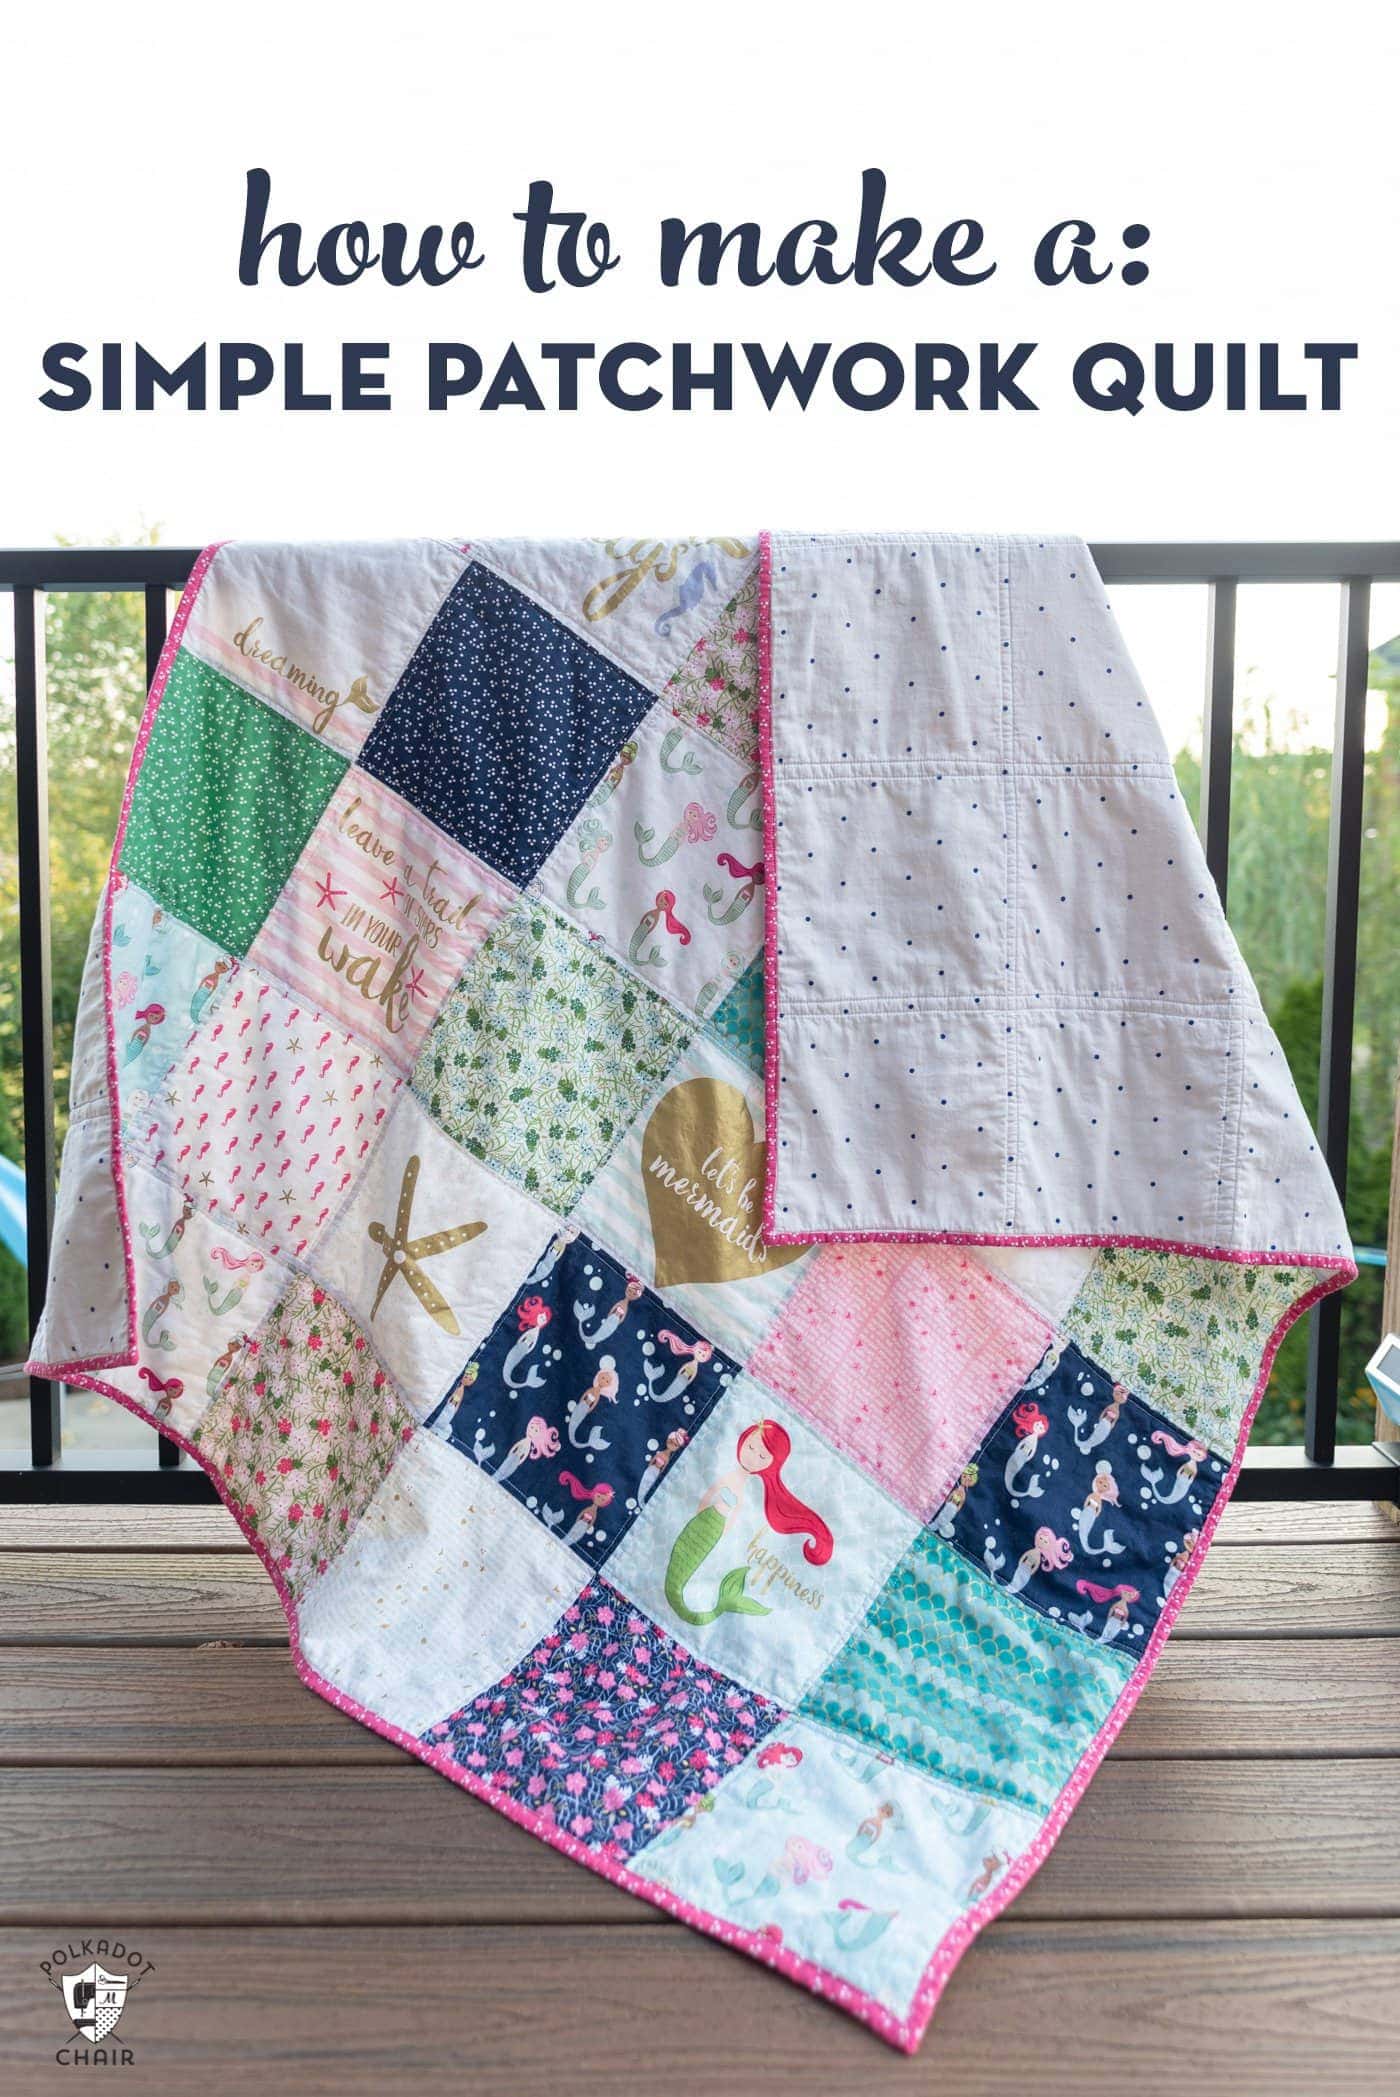
Implementing the Design onto Fabric
- Choose the fabric – Select the fabric for the quilt top and backing. Consider the type of weave, fiber content and color.
- Cut the pieces – Cut the pieces from the selected fabric, following the pattern on the graph paper.
- Lay out the pieces – Layout the pieces of the quilt top. Arrange them in the pattern as in the graph paper.
- Pin and sew the pieces – Pin the pieces of fabric together, ensuring that the right sides are facing each other. Use the sewing machine to sew them together.
- Attach the backing – Place the quilt batting between the quilt top and the backing. Pin them together and sew them together.
- Quilt the top – Quilt the top of the quilt with a quilting machine or by hand.
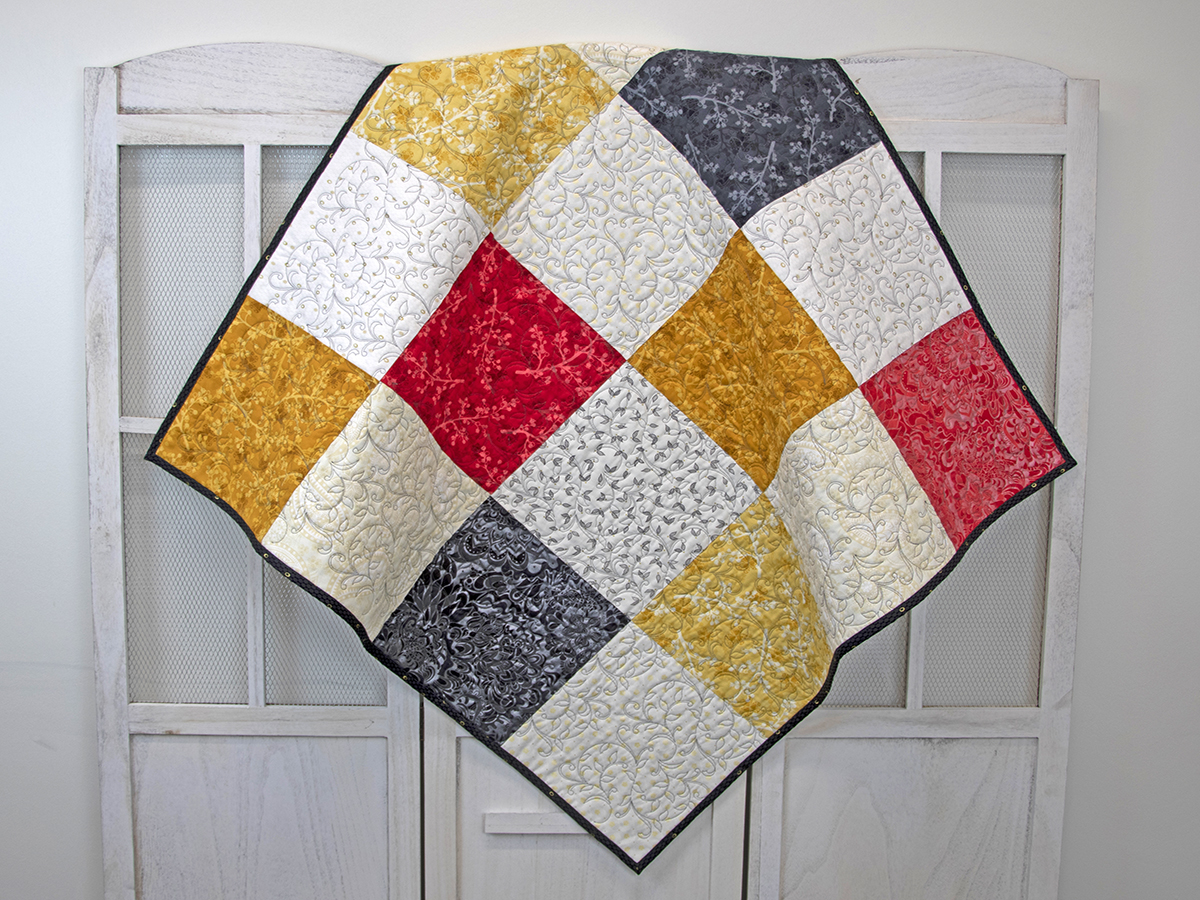
Finishing the Quilt
Once your quilt design is completed on the graph paper, take the measurements of each square to start constructing the quilt. It is recommended to use a rotary cutter and a self-healing cutting mat to accurately measure and cut out the quilt pieces.
| Fabric Type | Measurements |
|---|---|
| Piecing Fabric | Cut each individual square to the same size as the graph paper. |
| Backing Fabric | Cut the backing fabric to desired size plus 1 inch for seam allowance. |
| Binding Fabric | Cut strips of fabric 2.5 inches wide and long enough to cover the quilt perimeter. |
Once the fabric pieces have been cut, it is time to begin piecing the quilt together. Line up the squares in the order specified in the graph design, and use a quarter-inch seam allowance to stitch the pieces together. Repeat this process until all the squares have been joined together.
For the backing and binding, use a zigzag stitch to attach the quilt backing to the pieced quilt top. To add the binding, start by folding the strips in half lengthwise and press with an iron. Use a straight stitch to sew the binding onto the quilt perimeter.
Once all the components have been put together, your quilt is ready to be used. Enjoy the finished outcome of your quilt design!
Frequently Asked Questions
What Tools are Needed to Design a Quilt on Graph Paper?
To design a quilt on graph paper, you need: graph paper, a pencil, an eraser, and fabric swatches or photos. Graph paper is used to sketch the quilt pattern, pencils and erasers to draw on the paper, and fabric swatches or photos to help plan the colour scheme and design.
The most effective way to ensure a quilt is symmetrical is to use a grid. By mapping out the design on graph paper, the quilt maker can easily identify any irregularities and adjust accordingly. The grid also serves as a visual aid to help the quilter accurately measure and cut the fabric pieces. Additionally, the use of a rotary cutter and ruler will help maintain the precise measurements needed for a symmetrical quilt.
When is the Best Time to Start Designing the Quilt?
The best time to start designing a quilt is when you have finalized the size, pattern, and colors of your quilt. Afterward, you can begin sketching out your design on graph paper to get a better idea of how the quilt will look. Once the design is complete, you can then create a template to guide the construction of the quilt.
Is there a way to transfer the design from graph paper to fabric?
Drawing out the quilt design on graph paper gives the quilter a blueprint for their project. To transfer this design to fabric, the quilter can use the graph paper as a template, cutting around the design on the graph paper and tracing it onto the fabric. To secure the paper to the fabric, use dressmaker’s pins and to trace the design, use a water-soluble fabric marker. Once the design has been traced, the paper can be removed and the quilter can begin sewing.
What type of graph paper is best for designing a quilt?
Graph paper with 1/4-inch squares is the best choice for designing a quilt. It allows you to accurately map out quilt patterns, blocks and fabrics. Some quilters prefer to use graph paper with 1/2-inch or 1-inch squares, but these sizes may not be as precise. It is also important to choose graph paper with light grey lines, as this makes it easier to see your design.
Conclusion
Designing a quilt on graph paper is an easy, fun, and creative way to create a beautiful quilt. It’s a great way to practice your craft and make a unique quilt. With a few simple steps, you can turn your quilt design into a reality.
References
- How to Design a Quilt on Graph Paper: https://www.thesprucecrafts.com/design-a-quilt-on-graph-paper-2137837
- Graph Paper: https://en.wikipedia.org/wiki/Graph_paper
- Quilting Basics: https://www.allpeoplequilt.com/quilt-basics/


