Are you looking to add a professional touch to your quilting projects? If so, learning how to do mitered corners on a quilt is an essential skill to have. This guide will provide an easy step-by-step instruction on how to create tidy mitered corners for your quilts, giving them a polished and finished look.
What is a Mitered Corner?

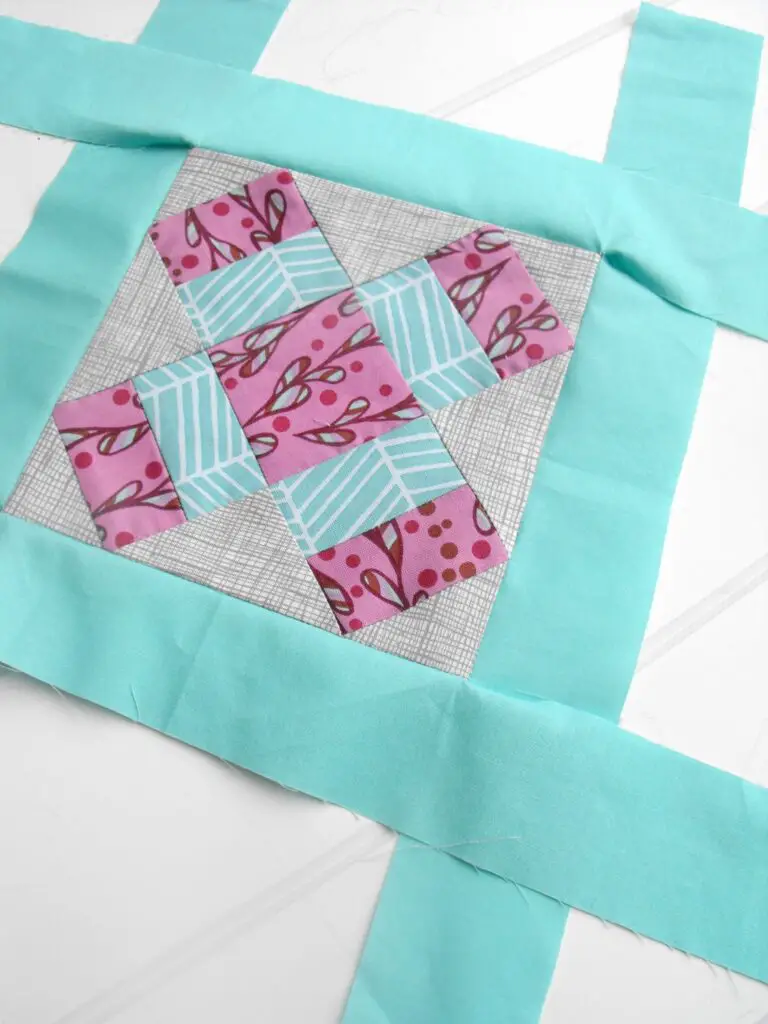
A mitered corner is a technique used to create a neat, professional-looking finish when attaching binding to a quilt. It is done by folding the binding strips in a way that creates a diagonal corner. This technique helps the binding to lay flat and not pucker when the quilt is finished.
Benefits of Mitered Corners
- Creates a neat and professional finish
- Helps the binding to lay flat
- Prevents puckering of the quilt
Mitered corners are used in many quilting projects, including when finishing sewing mitered binding on a quilt. Once the technique is mastered, it can add a professional touch to any quilting project.
Prepping Your Quilt for Mitered Corners
Measuring the Quilt
Measure the sides of the quilt to determine how much binding is needed. To make a mitered corner, you will need to add an extra ½ inch to the length of the binding strips. For example, if the sides of the quilt measure 40 inches, you will need to make the binding strips 40 ½ inches.
Marking the Quilt
Mark the quilt at the corners with a removable fabric marker or chalk. This will help you line up the binding strips on the quilt top accurately.
Cutting the Quilt
Cut the binding strips according to the measurements determined earlier. Make sure all the edges of the binding strips are cut straight and square. To make a mitered corner when binding a quilt, the binding strips need to be cut on the diagonal. To do this, place the end of one binding strip over the end of the other binding strip, ensuring they both meet at the corner of the quilt. Draw a line along the diagonal and cut along the line.
How to Sew a Mitered Corner
Prepping the Binding
Cut the binding strips at a 45-degree angle. Note that the angle must be cut back to front when creating quilt binding corners. Next, join the strips together with a diagonal seam. Make sure that the angled edges are aligned correctly.
Sewing the Mitered Corner
Lay the binding on the quilt with the right side of the binding facing the wrong side of the quilt. Place the binding at a 45-degree angle, aligning it with the corner. Sew the binding to the quilt with a seam allowance of 1/4 inch.
Finishing the Mitered Corner
Fold the binding over the edge of the quilt. Make sure that the corner of the binding is aligned with the other side. Sew the binding in place with a 1/4 inch seam allowance. Trim off any excess binding, and finish the edge with a zigzag stitch.
How to Finish Sewing Mitered Binding on a Quilt
Sewing the Binding
Start by cutting strips of fabric in your desired width and length. Sew the strips together at a 45-degree angle to form a continuous length of binding. To get a nice sharp corner, make sure that the seam allowance is wide enough to accommodate the seam allowance of the quilt. Iron the seams open and fold the binding in half lengthwise with the wrong sides together.
Finishing the Binding
Place the binding around the edge of the quilt with the raw edges matching. Pin in place. Sew the binding to the quilt with a 1/4 inch seam allowance. Start sewing at the corner and stop about 4 inches from the same corner. Backstitch and cut the thread. Fold the binding over the edge of the quilt and then fold it back on itself at a 45-degree angle. Pin in place. Sew the binding to the quilt, backstitching at the beginning and end. Trim the excess binding and press the edges.
How to Sew a Mitered Corner When Binding a Quilt
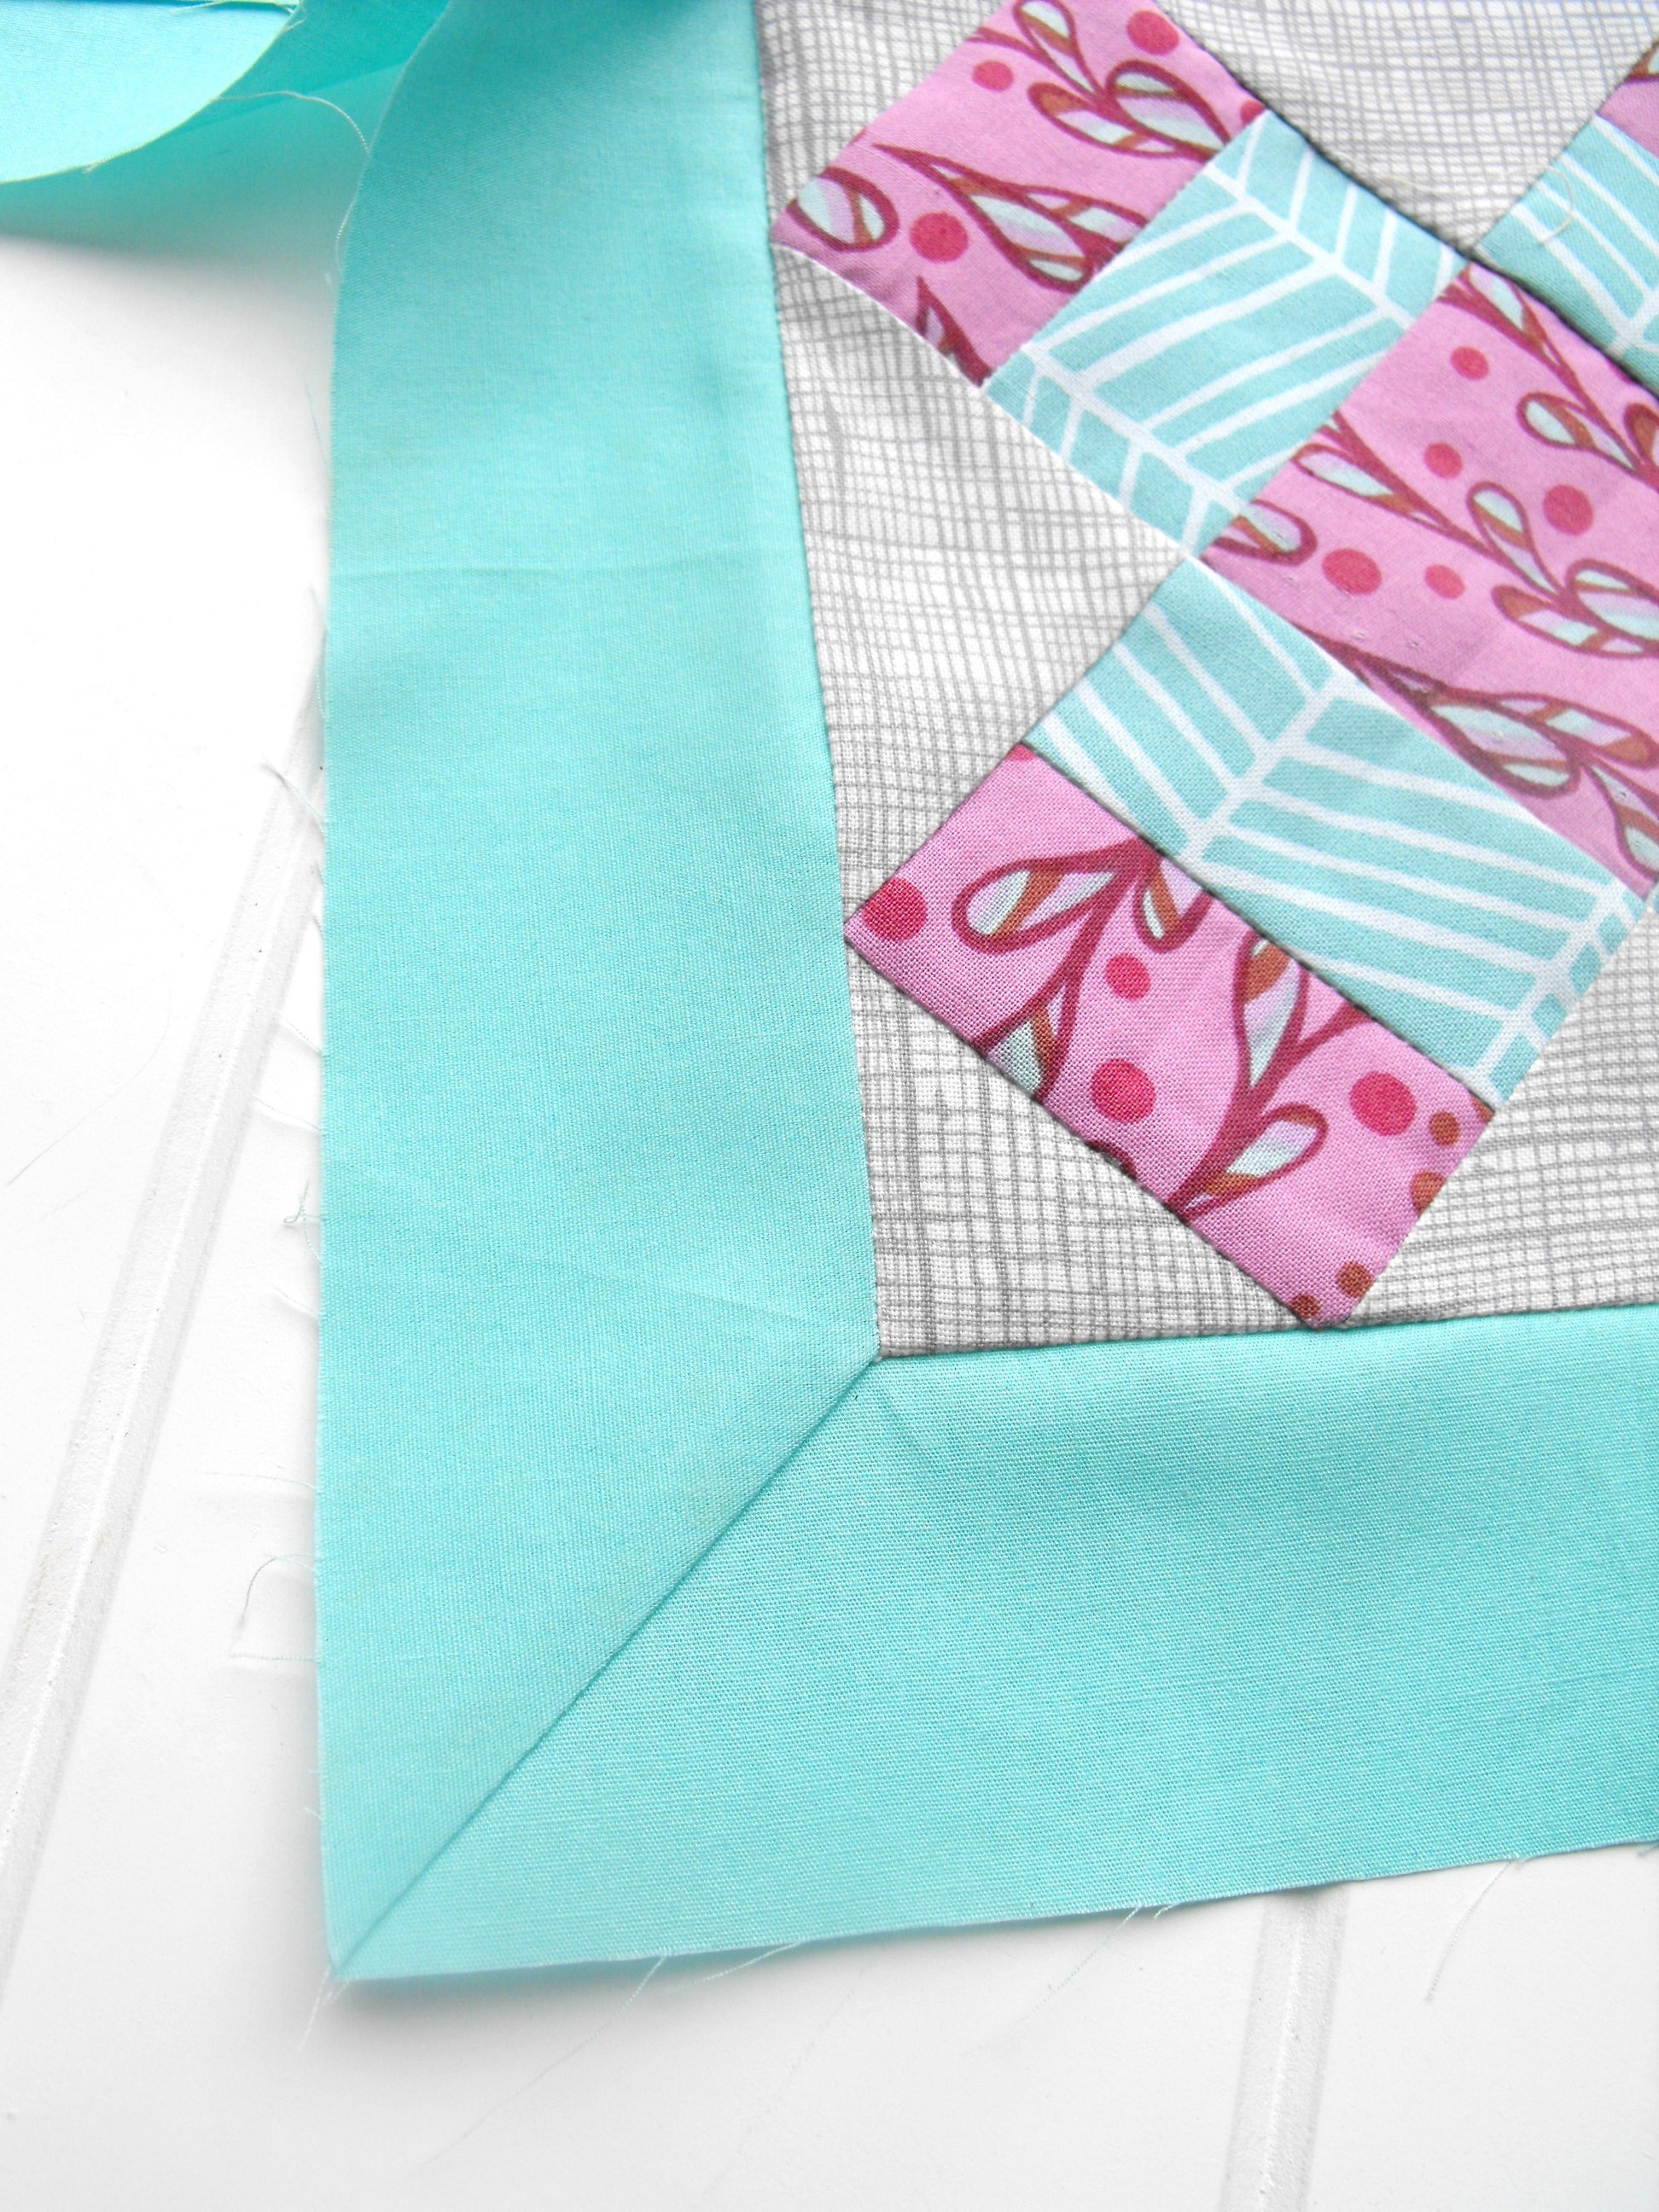
Prepping the Binding
Cut 2½” binding strips from the quilt fabric. Join the strips with a diagonal seam, then press the seam open. Fold the binding in half lengthwise, then press.
Sewing the Mitered Corner
Fold the binding strip in half, then press the fold. Align the end of the binding strip with the edge of the quilt, right sides together. Sew the binding strip to the quilt with a ¼” seam, stopping when you reach the upper corner. Backstitch and cut the thread.
Finishing the Mitered Corner
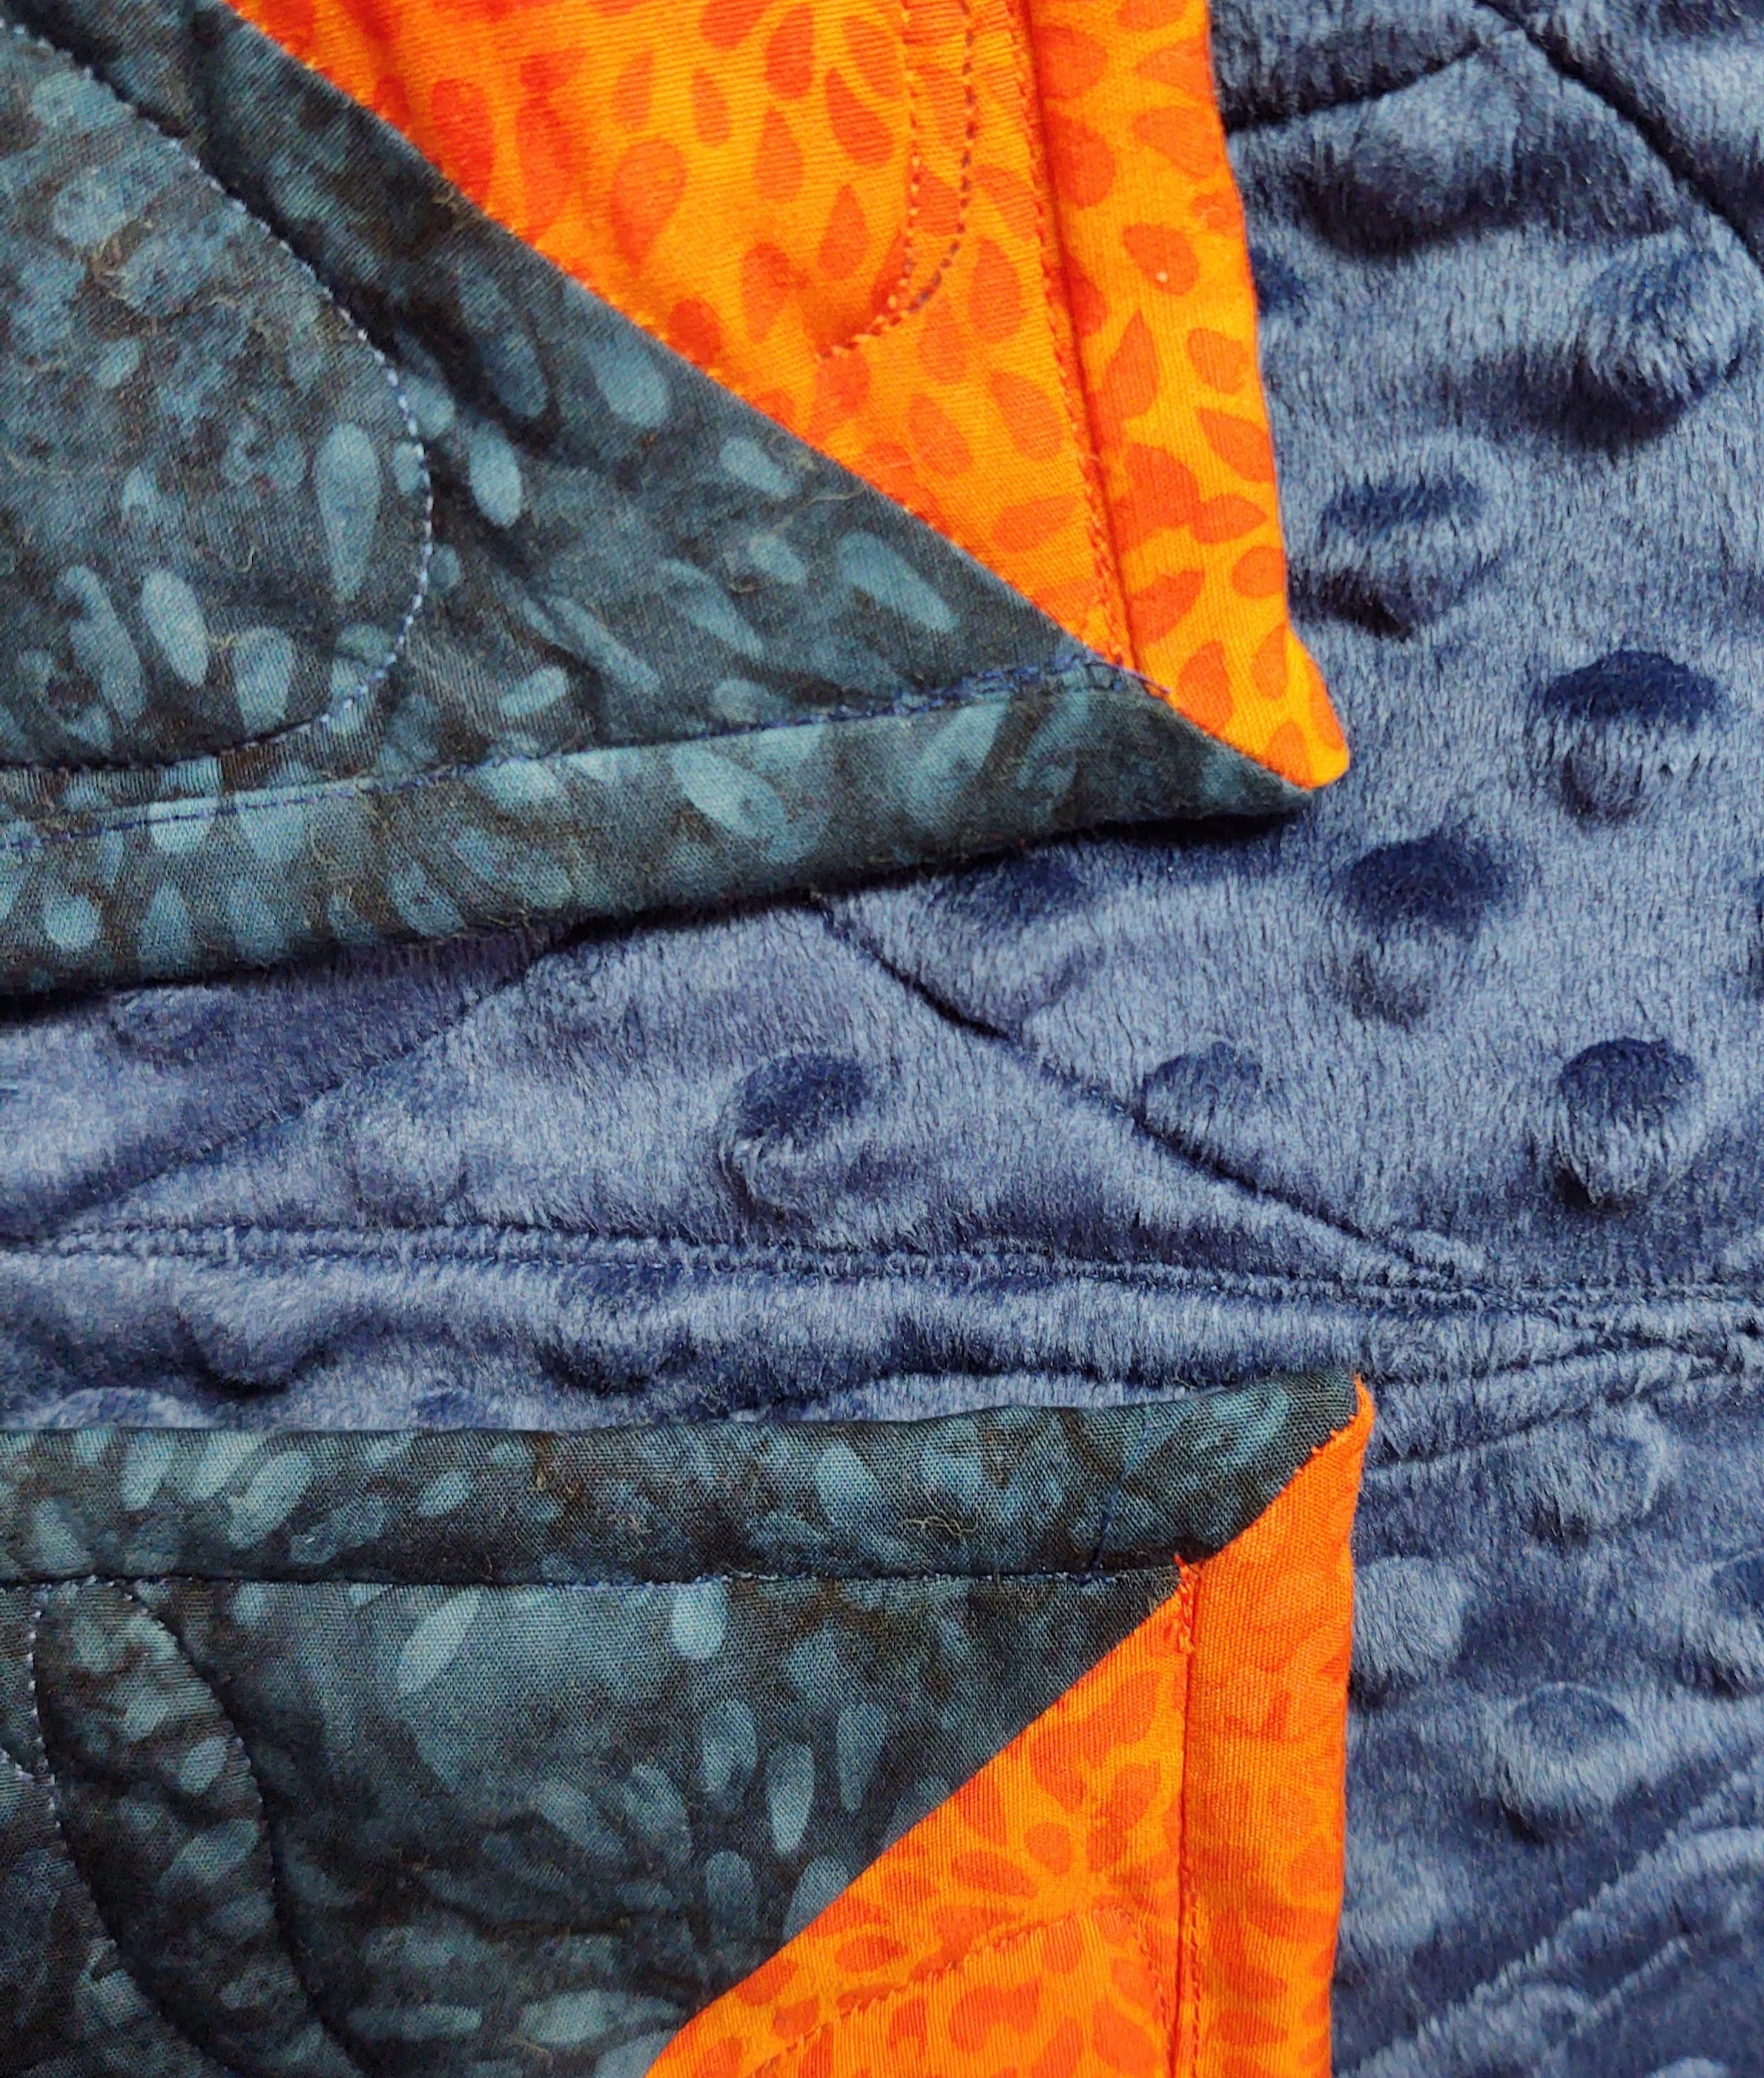
Fold the binding away from the quilt, forming a 45° angle from the quilt corner. Make sure the cut edges of the binding are flush with each other. Open the binding, then reposition it so that the folded edge is aligned with the edge of the quilt. Sew the binding to the quilt with a ¼” seam, backstitching at the beginning and end. Trim the excess binding, and press the mitered corner.
Back to Front Quilt Binding How to Corners
Prepping the Quilt
Start by trimming the quilt edges to square. Make sure the edges are smooth. Then, press the binding strips in half lengthwise with wrong sides together.
Sewing the Binding
Beginning at one corner, align raw edges of binding and quilt top and stitch a 1/4” seam. Stop 1/4” away from the corner. Backstitch to secure the seam.
Finishing the Binding
Fold the binding strip back on itself and press. Flip the quilt and bring the next binding strip up to meet the corner. Align the raw edges, and stitch another 1/4” seam. Trim the corner and press the seam open. Repeat on the remaining two corners.
Frequently Asked Questions
What kind of fabric should I use for my quilt?
- Cotton: Cotton fabric is the most popular choice for quilts, as it is strong, durable and comfortable. Additionally, cotton is easy to clean and maintain.
- Silk: Silk fabrics have a luxurious feel and good drape. However, they can be difficult to work with and require more care when washing.
- Linen: Linen is a lightweight fabric that is breathable and long-lasting. It may require pre-washing to prevent shrinkage.
- Wool: Wool provides excellent insulation and is naturally flame resistant. It is also easy to dye, making it a great choice for quilts with bright colors.
- Synthetics: Synthetic fabrics are often more affordable than natural fabrics, but they tend to be less durable and can be challenging to work with.
When selecting fabric for a quilt, consider the design, purpose and budget. Cotton is often the best choice for quilters, but other fabrics such as silk, linen, wool and synthetics can also be used. It is important to pre-wash fabrics to prevent shrinkage and dye bleeding.
Are Mitered Corners Necessary for a Quilt?
- Mitered Corners Give a Neat Finish: Mitered corners are the perfect way to finish off a quilt and give it a neat, professional appearance.
- Make the Quilt Durable: Mitered corners are also important for making the quilt durable and long-lasting. The mitered corner helps to reinforce the quilt, preventing it from fraying or coming apart.
- It Adds a Design Element: Mitered corners can also add a unique design element to a quilt, making it stand out from other quilts.
In conclusion, mitered corners are not absolutely necessary for a quilt, but they do add a neat, professional finish and make the quilt more durable. They also add a unique design element that can help make a quilt stand out.
Do I need any special tools to do mitered corners?
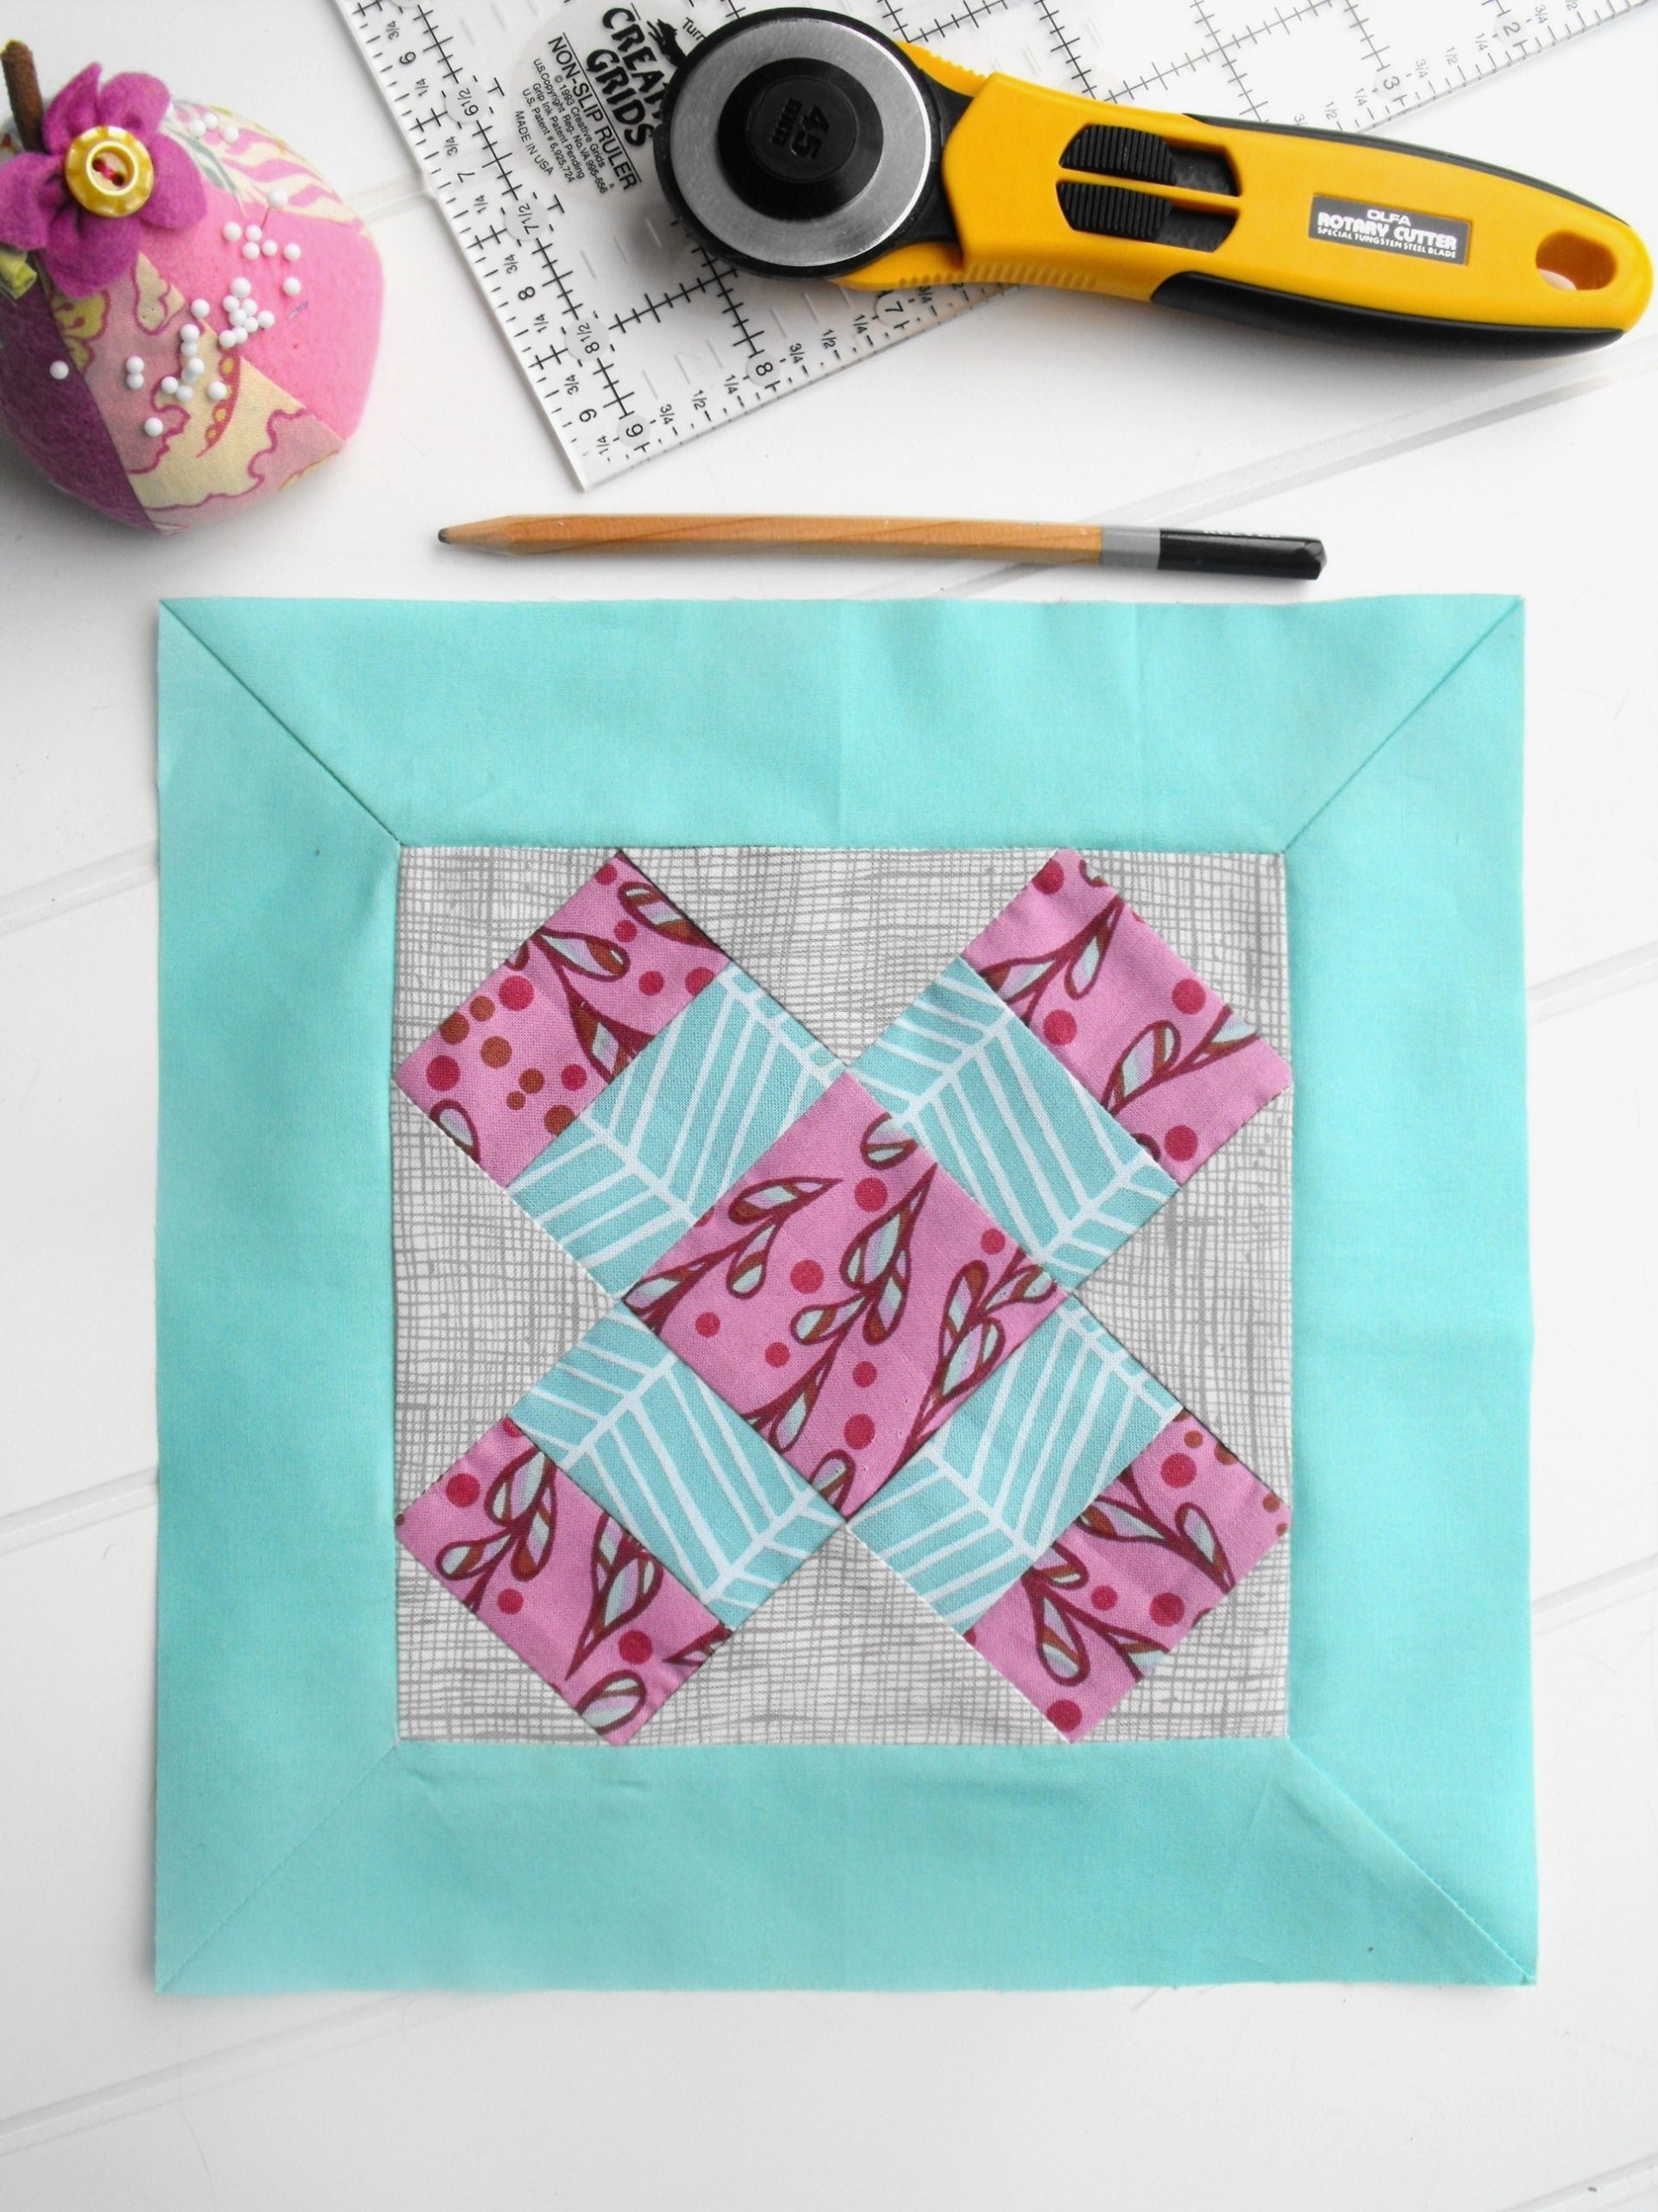
Yes, certain tools are necessary to complete mitered corners on a quilt. Here are the tools you need:
- A rotary cutter, ruler, and mat.
- A pair of scissors.
- Chalk or a disappearing ink pen.
- A quilting ruler.
- A sewing machine.
These tools will help you accurately measure, mark, and execute the mitered corners. They will also help you maintain an even seam allowance, and ensure the corners are perfectly aligned.
How do I make sure the corners are even?
To ensure even corners on a quilt, use a quilting ruler to measure and draw a 45-degree angle on each corner. Cut along the lines to achieve two identical 90-degree angles. Sew the adjacent sides together, ensuring seams are pressed open. Repeat for all four corners. For best results, use a ¼ inch seam allowance and press seams flat.
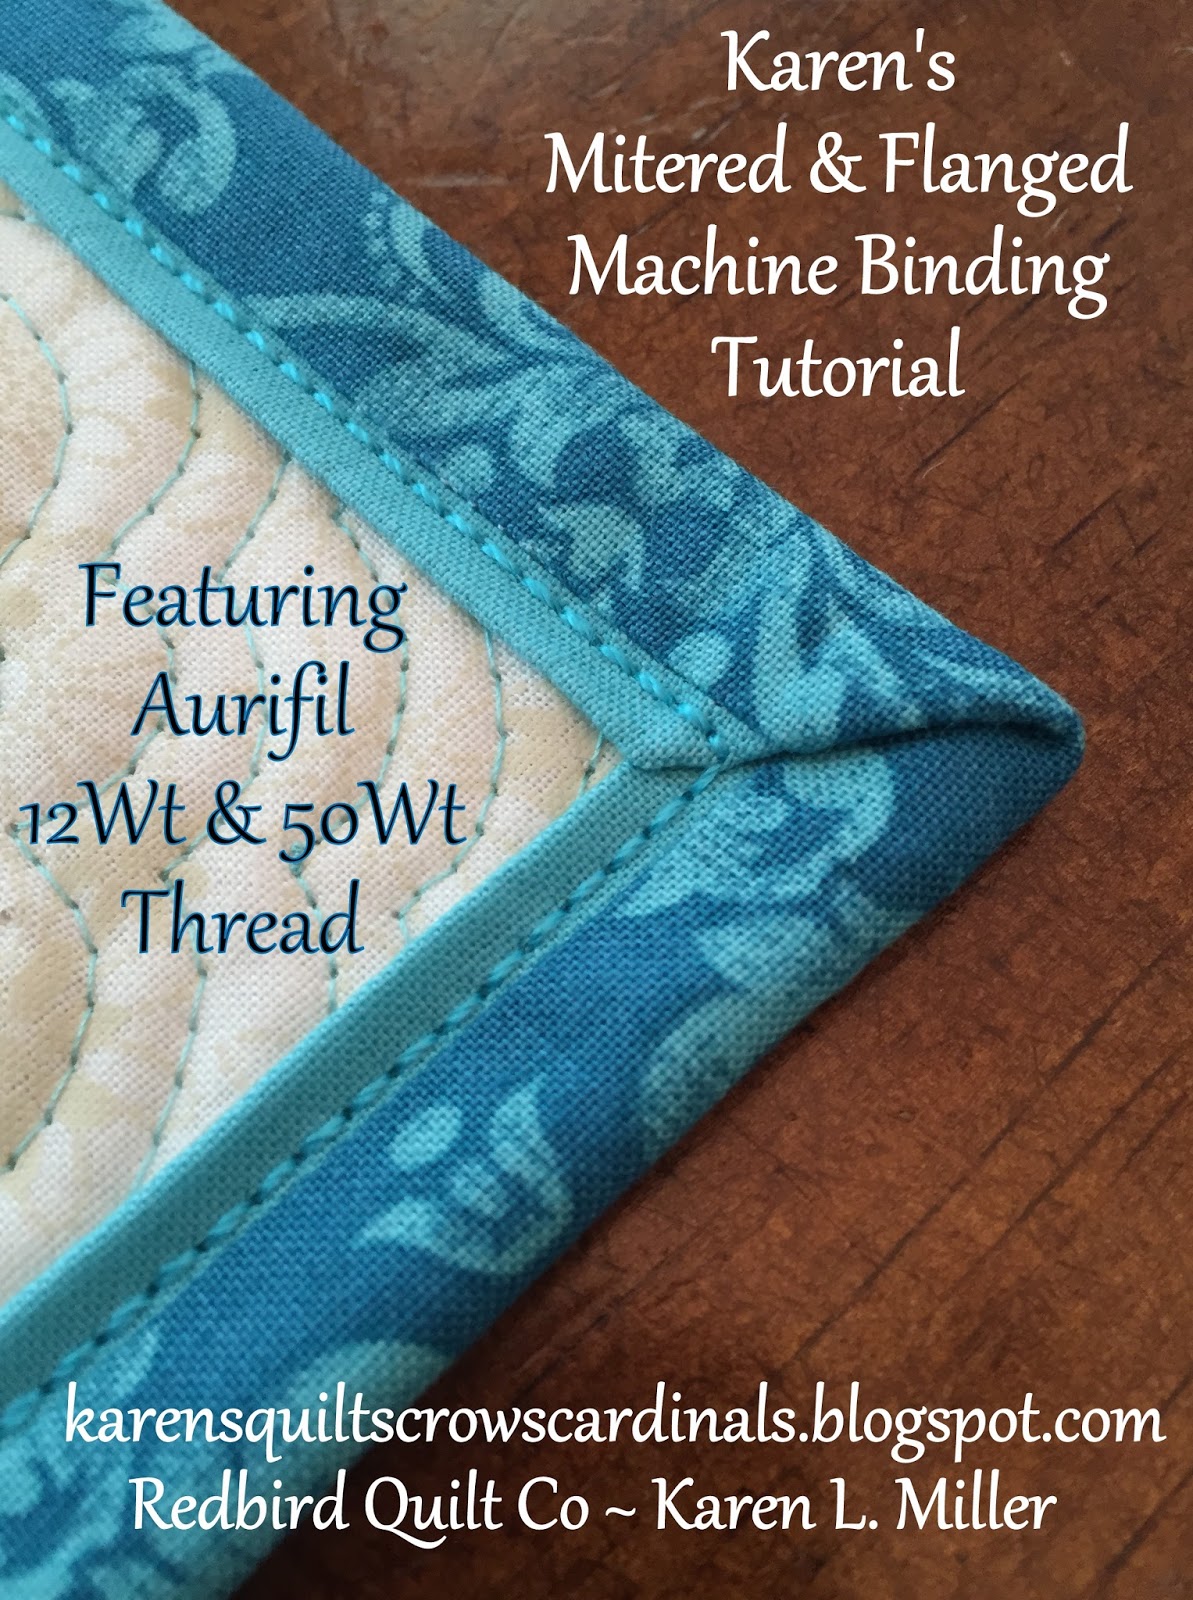
Is there a way to make the mitered corners look more professional?
To achieve a more professional finish on mitered corners, use a scant ¼” seam allowance when sewing the seams together. Press the seams open to reduce bulk. It’s also important to press the corner seam allowances in the same direction. Topstitching the seam allowances in place will ensure they stay flat and crisp. To finish off the corners, use a hand stitching technique such as slip stitch or blind stitch to secure the miter.
Conclusion
Mitered corners can help add a professional touch to any quilt, and with this step-by-step guide, you can create them with ease. With a few simple tools and a little patience, you can create perfect mitered corners in no time.


