Do you want to learn how to fold a quilt for perfectly fluffy results every time? Folding a quilt correctly is essential if you want to keep it looking its best over time. It can be tricky to do it properly, but with a few simple steps, you’ll be able to get your quilt folded like a pro. In this guide, we’ll show you how to fold a quilt for perfectly fluffy results every time.
Preparation Steps
Assembling the Required Materials
Gather the quilt, scissors, tape measure, and a flat, clean surface.
Measuring and Cutting the Quilt
Measure the quilt before cutting. Determine the desired size of the quilt and measure the quilt accordingly. Fold the quilt in half and use the scissors to cut along the measured line.
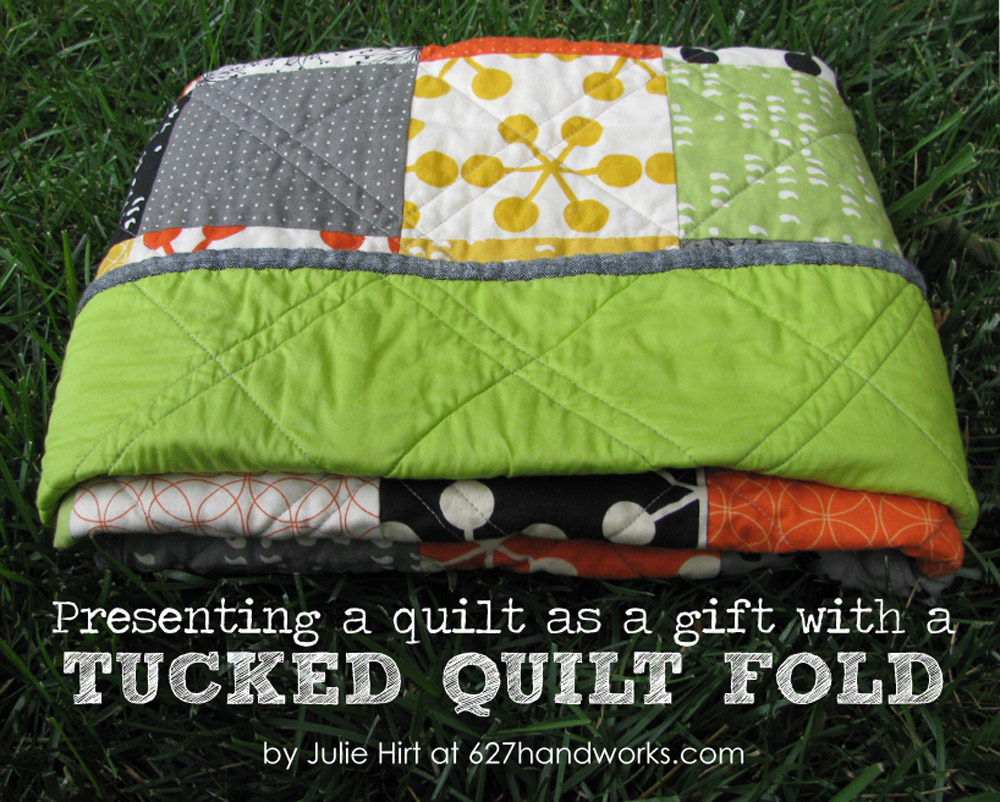
Fold the quilt for storage. Fold the quilt in a neat and orderly fashion for storage. Make sure to smooth out any creases or bumps to ensure the quilt remains in good condition. Place the folded quilt in a safe place until you are ready to use it again.
Folding Steps
Laying Out the Quilt
Start by laying out the quilt on a flat surface. Take care to smooth out any wrinkles or creases. Make sure that the quilt is spread out evenly on the surface.
Folding in Half
Fold the quilt in half lengthwise. Ensure that the edges are aligned. If necessary, use a ruler to measure and make sure that the edges of the quilt are even.
Folding in Half Again
Fold the quilt in half again, this time widthwise. Again, make sure that the edges are aligned. If you are using a ruler, this is a good time to double-check that the edges of the quilt are even.
Folding the Corners
Fold the corners of the quilt inward. This will create a neat and tidy package. Make sure that all of the corners are folded in the same direction.
Rolling the Quilt
Start rolling the quilt from one end. Make sure to roll it tightly, as this will make it easier to store. Continue to roll the quilt until you reach the other end. Secure the roll with a rubber band or other fastener.
Storing the Quilt
Choosing the Right Container
Choose a storage container that is large enough to fit the quilt, but not so large that the quilt will move around and get wrinkled. Plastic storage containers are a good option as they will keep out dust and pests. If you want to be extra cautious, use acid-free tissue paper inside the container to prevent any discoloration.
Inserting the Quilt
Fold the quilt neatly, taking care to smooth out any wrinkles. Place the quilt inside the container, and if using acid-free tissue paper, wrap the quilt in it before inserting it into the container. Make sure the quilt is not folded too tightly and that you can close the container without it being too full.
Storing the Quilt in a Safe Place
Store the quilt in a cool, dry place away from direct sunlight and moisture. Never store a quilt in a damp area, as this can cause it to mildew. Avoid placing the quilt near radiators, heating vents, and other sources of heat, as this can cause the fabric to fade or the colors to bleed.
Cleaning and Maintaining the Quilt
- Spot Cleaning: Spot cleaning is the best way to clean a quilt. Start by using a vacuum cleaner with the brush attachment to remove any surface dirt. Then, use a mild detergent and warm water to spot clean any small stains. Rinse with cold water and allow to air dry.
- Machine Washing: If spot cleaning is not enough, then you may need to machine wash the quilt. Use cold or warm water and a mild detergent. If possible, use a gentle cycle. Do not use bleach or fabric softener. It is important to use a low spin cycle and avoid overloading the machine.
- Drying: Once you have washed the quilt, it is important to dry it properly. Hang the quilt outside to dry in the shade. Do not place the quilt in direct sunlight as this can cause fading. If you cannot hang the quilt outside, then use a dryer on a low heat setting.
- Storing: After cleaning and drying the quilt, it is important to store it properly. Fold the quilt and store it in a cool, dry place. Avoid storing the quilt in a plastic bag as this can cause mildew and mold to form. If possible, use a cotton bag that is breathable.
Troubleshooting Common Problems
Wrinkles: Wrinkles can occur when folding a quilt. To reduce wrinkles, press the quilt with an iron before folding it.
Fabric Stretching: Fabric can stretch when folding a quilt. To reduce the chances of stretching, fold the quilt in the same direction each time. Additionally, use a pressing cloth when ironing the quilt to prevent stretching.
Unfolding: Unfolding can occur when handling the quilt. To prevent this, use a folding board and secure the quilt with pins or clips.
Stains: Stains can occur when folding a quilt. Use a dry-cleaning solution to remove the stain and keep it away from areas that are not stained.
Uneven Folds: Uneven folds can occur when folding a quilt. To reduce the chances of this happening, use a folding board and press the folds with an iron.
Bunching: Bunching can happen when folding a quilt. To reduce bunching, fold the quilt in the same direction each time and use a pressing cloth when ironing.
Holes: Holes can occur when folding a quilt. To reduce the chances of this happening, use a folding board and secure the quilt with pins or clips.
Frequently Asked Questions
What tools do I need to fold a quilt?
- A large, flat, clean surface – a bed or table works great for this.
- Quilt batting – this is the material that goes between your quilt top and backing fabric.
- Quilt batting scissors – these should be sharp and have a pointed tip.
- A quilt ruler – this is used to measure the size of the quilt when it is folded.
- Pins – these are used to hold the quilt in place while it is being folded.
- A quilt iron – this is used to press the quilt and smooth out any wrinkles.
- A quilt hanger – this is used to hang the quilt for display.
How do I ensure that my quilt is folded properly?
To ensure that your quilt is folded properly, start by laying it out on a flat and clean surface. Smooth out any wrinkles, then fold it in half lengthwise. Use your hands to keep the edges aligned and even. Fold the quilt in half again, and smooth out any wrinkles as you go. Once the quilt is in four layers, gently roll it up from the top, keeping the edges aligned and tucking in any extra fabric. Secure the quilt with a ribbon or a piece of fabric to keep it in place.
How can I prevent creasing or wrinkling when folding my quilt?
To prevent creasing or wrinkling, use properly weighted quilt clips to hold the quilt in place while folding. Additionally, you can use a pressing cloth or a piece of muslin fabric to press the quilt when folding. When folding the quilt, make sure to take your time, and fold the quilt gently and carefully to avoid any creases or wrinkles.
How can I store my quilt safely?
Ensure you store your quilt in a cool, dry place away from direct sunlight, moisture and dust. Use a cotton storage bag or breathable plastic bin to help prevent damage to the fabric. If storing for a long period of time, use acid-free tissue paper or acid-free storage cubes to protect the quilt from moisture and pest damage. Avoid folding or stacking the quilt, as this can cause creases and damage to the fabric.
Can I fold my quilt while it is still on the bed?
Folding a quilt while it is still on the bed is possible, but should be done with caution. Start by folding the quilt in half, from the bottom up. Place the folded quilt on the bed and take one side of the quilt and fold it over the other side of the quilt. Take the corners of the quilt and tuck them in. Finally, fold the quilt in thirds and you’re done. Take caution to ensure that the quilt is not overstretched as this could damage the fabric.
Conclusion
Quilting is a great way to express your creativity, and folding a quilt is an essential skill for any quilter. With the right technique and tips, folding a quilt can be easy and satisfying. Use this step-by-step guide to ensure perfectly fluffy results every time.


