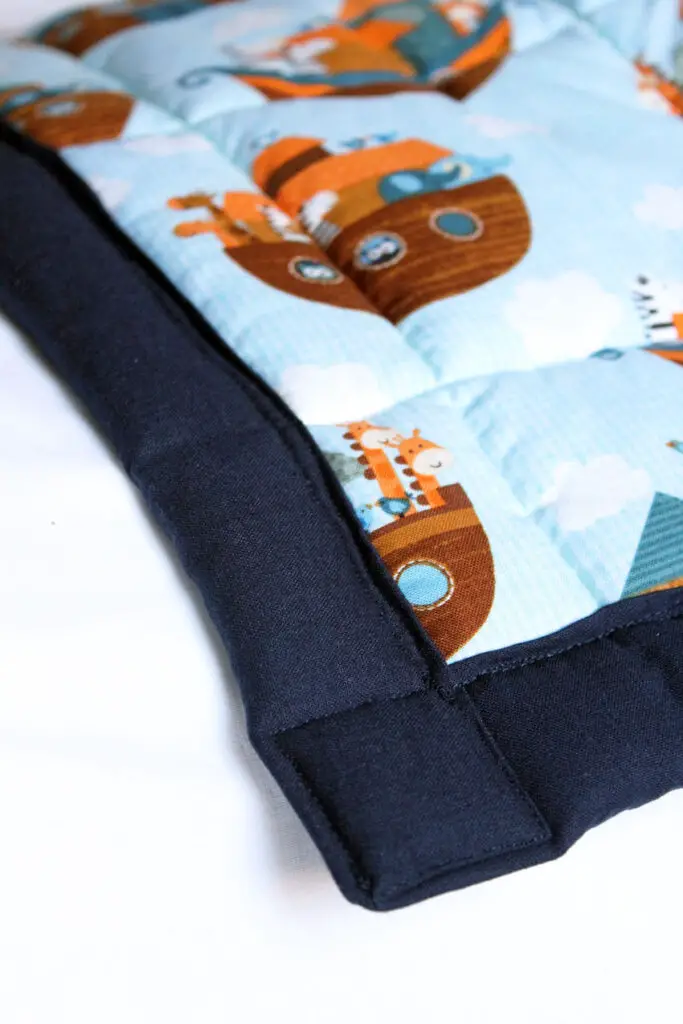
Are you looking for a creative way to spruce up your bedroom? If so, learning how to make a bedspread quilt is a great way to do it. A bedspread quilt is both a functional and decorative item that can add warmth and charm to any room. With the right supplies, patience, and a few simple steps, you can create a cozy quilt that is sure to become a cherished heirloom. In this article, we’ll provide a step-by-step guide to help you make your own bedspread quilt.
Materials Needed
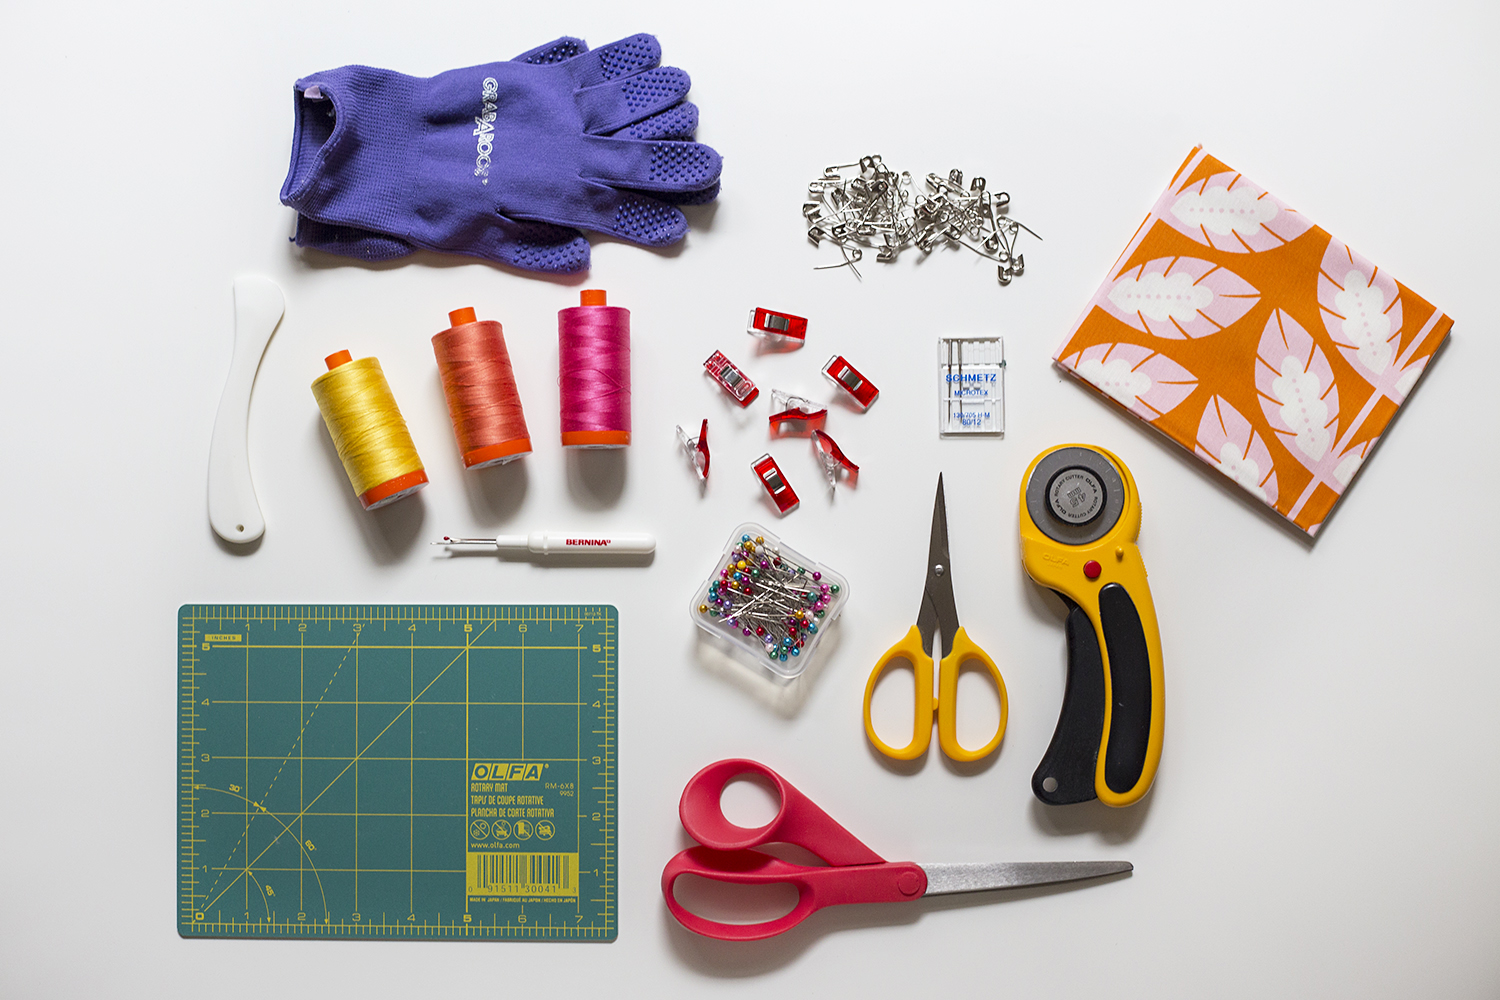
- Fabric: 4-6 yards of fabric in various coordinating colors and patterns
- Thread: Sewing thread in a matching color to your fabric
- Rotary cutter: A rotary cutter and mat to cut fabric into precise sizes
- Pins and Needles: Pins and needles for basting and sewing the fabric together
- Batting: Enough batting to fill the quilt coverlet
- Scissors: A pair of sharp scissors for trimming fabric
- Iron: An iron and ironing board for pressing the fabric
Preparing the Fabric
Fabric Selection
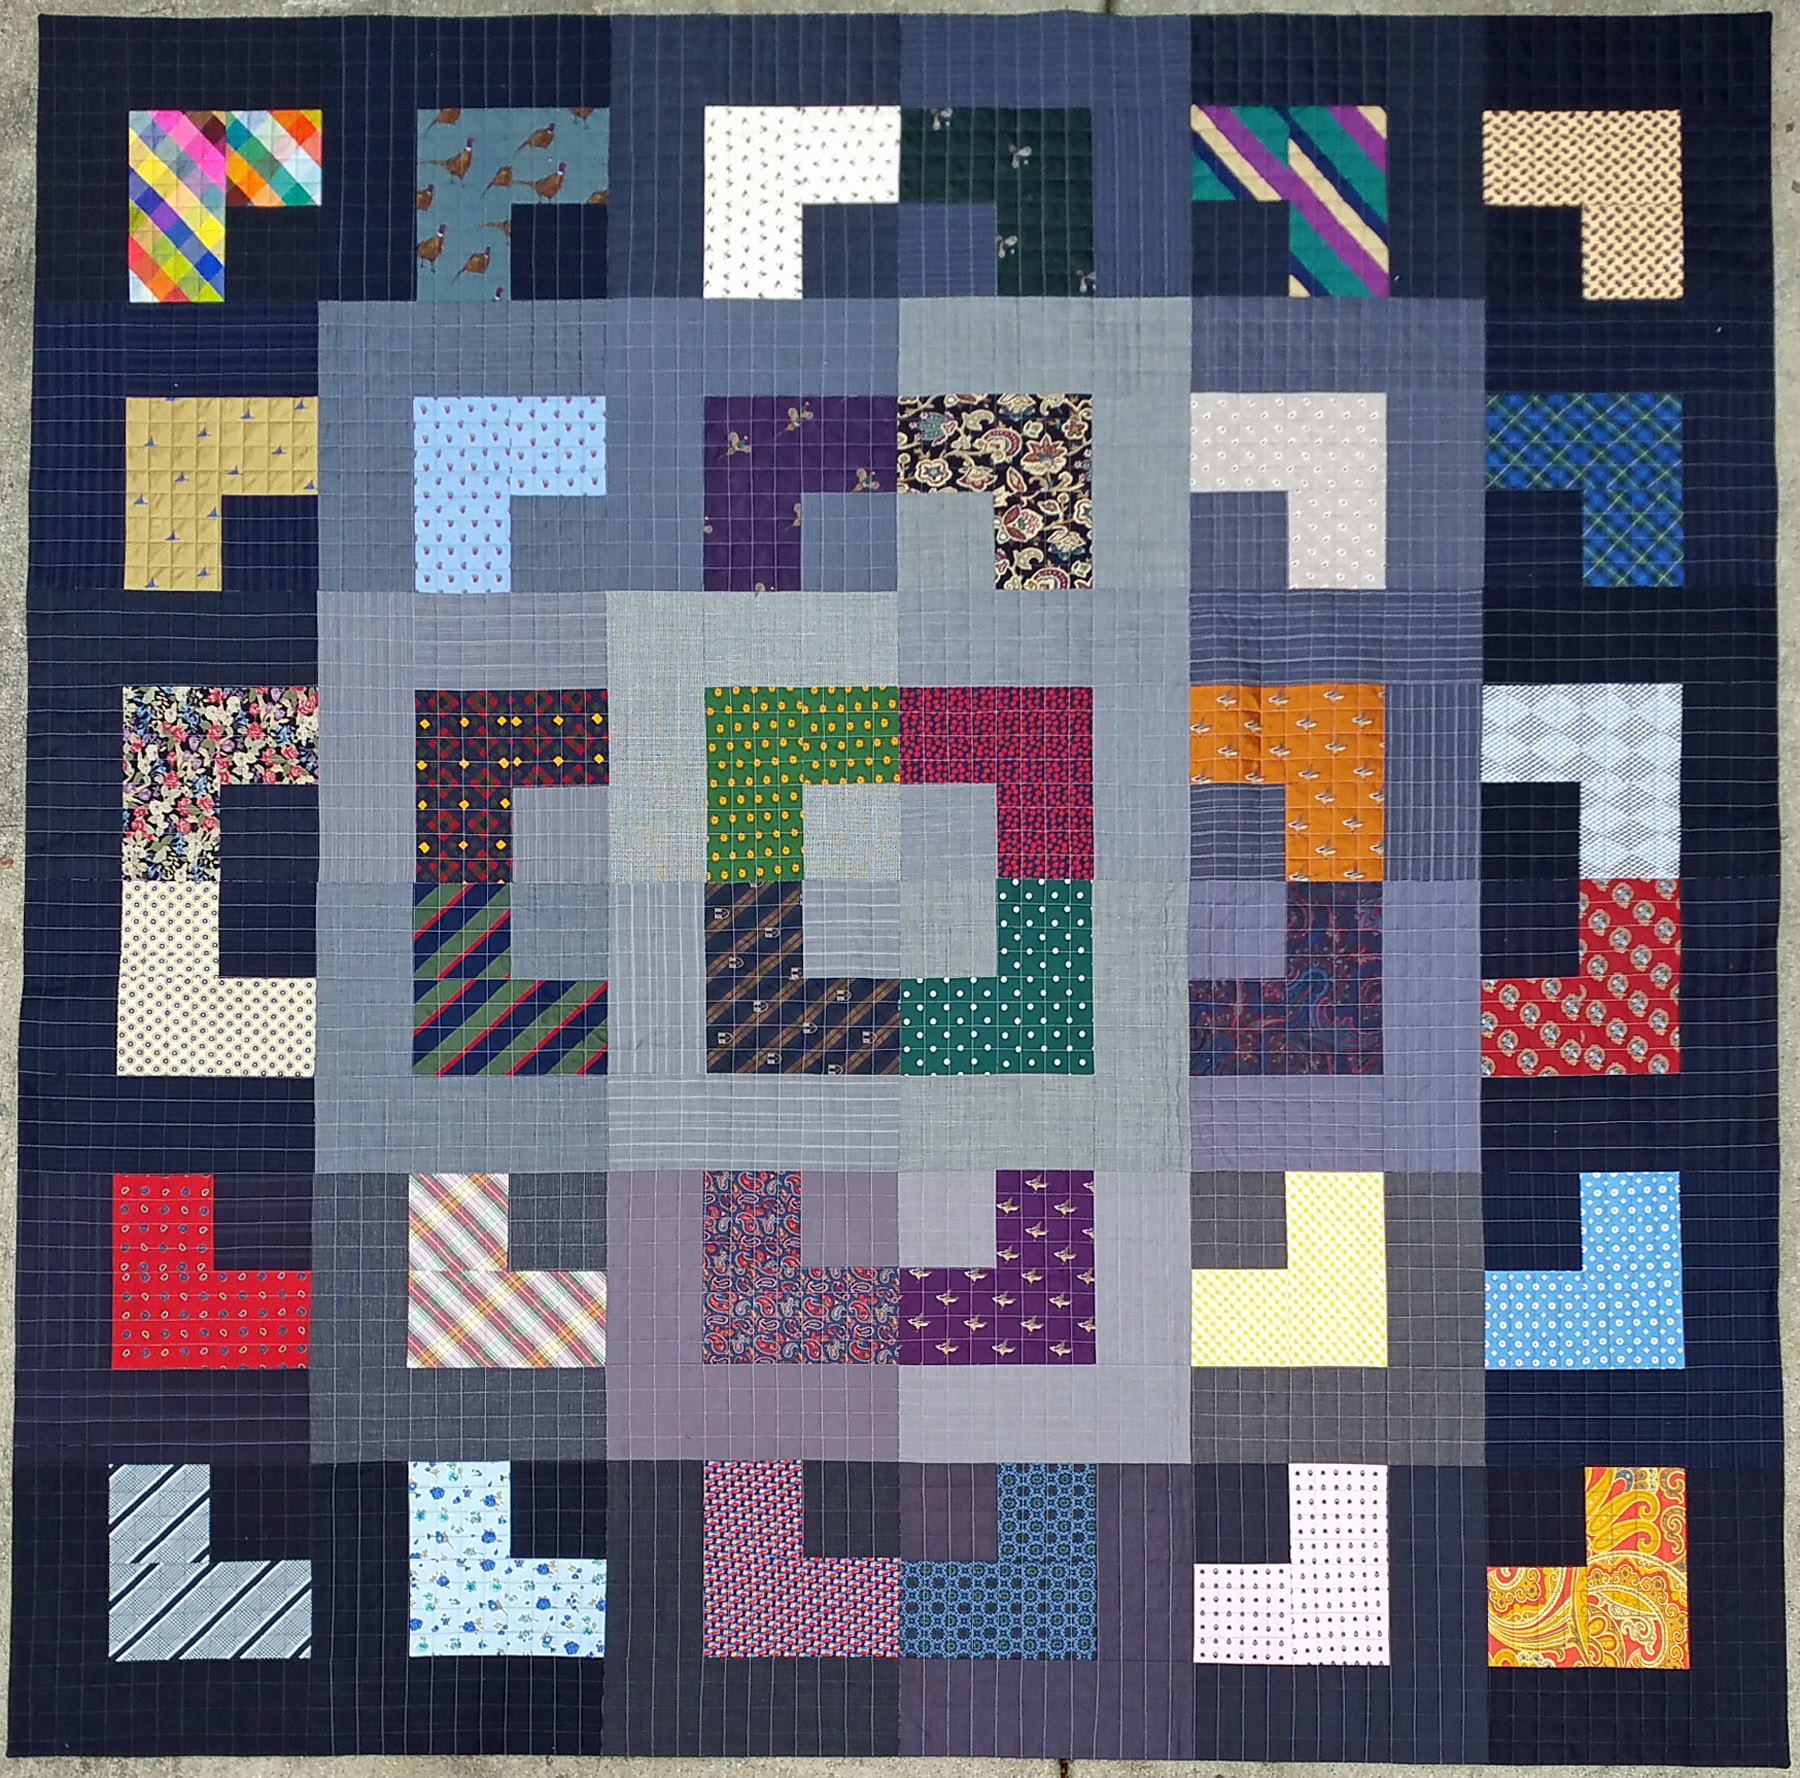
Choose a fabric that is strong and hard wearing. Natural fabrics like cotton or linen are ideal for quilting projects. Look for fabric with a tight weave and a soft feel. Avoid fabrics that are too thin or too stiff.
Cutting and Marking the Fabric
Measure the size of the bedspread you want to make. Use a ruler and a pencil to mark the fabric into the appropriate size. Cut the fabric into pieces of the desired size. You may need to join some of the pieces together to get the desired size. Once the fabric is cut and marked, iron it to remove any wrinkles.
Piecing the Quilt Top
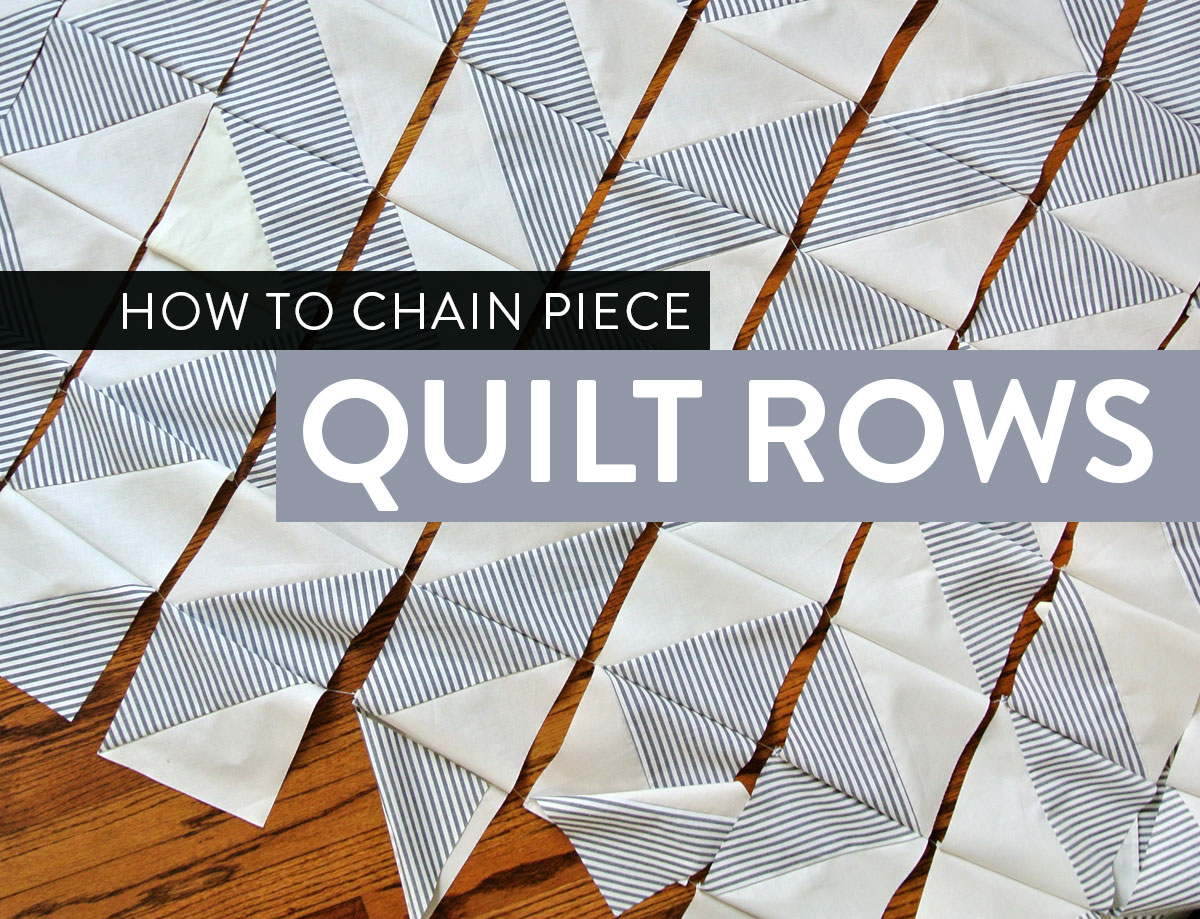
Begin by selecting the fabrics for the quilt top. Choose fabrics that are similar in weight and scale for a cohesive look. Cut the fabrics into the desired shapes and sizes for the quilt blocks. Join the pieces of the quilt blocks together, either by hand or machine, following the pattern instructions. Check the accuracy of the piecing to ensure the blocks fit together properly in the finished quilt.
Assembling the Quilt Blocks
Lay the quilt blocks out on a flat surface, assembling them in the pattern outlined in the quilt pattern. Make sure the quilt blocks are arranged as desired before proceeding. Pin or baste the quilt blocks together with thread to keep them secure while working. Check to make sure the quilt blocks are still lined up properly.
Joining the Quilt Blocks
Join the quilt blocks together by sewing along the seams. Use a quarter-inch seam allowance for accuracy. Pin the quilt blocks in place before sewing for extra security if desired. Press the seams open or to one side, following the pattern instructions. Make sure the seams are pressed flat to create a smooth quilt top.
Adding the Quilt Borders
Measuring and Cutting the Borders
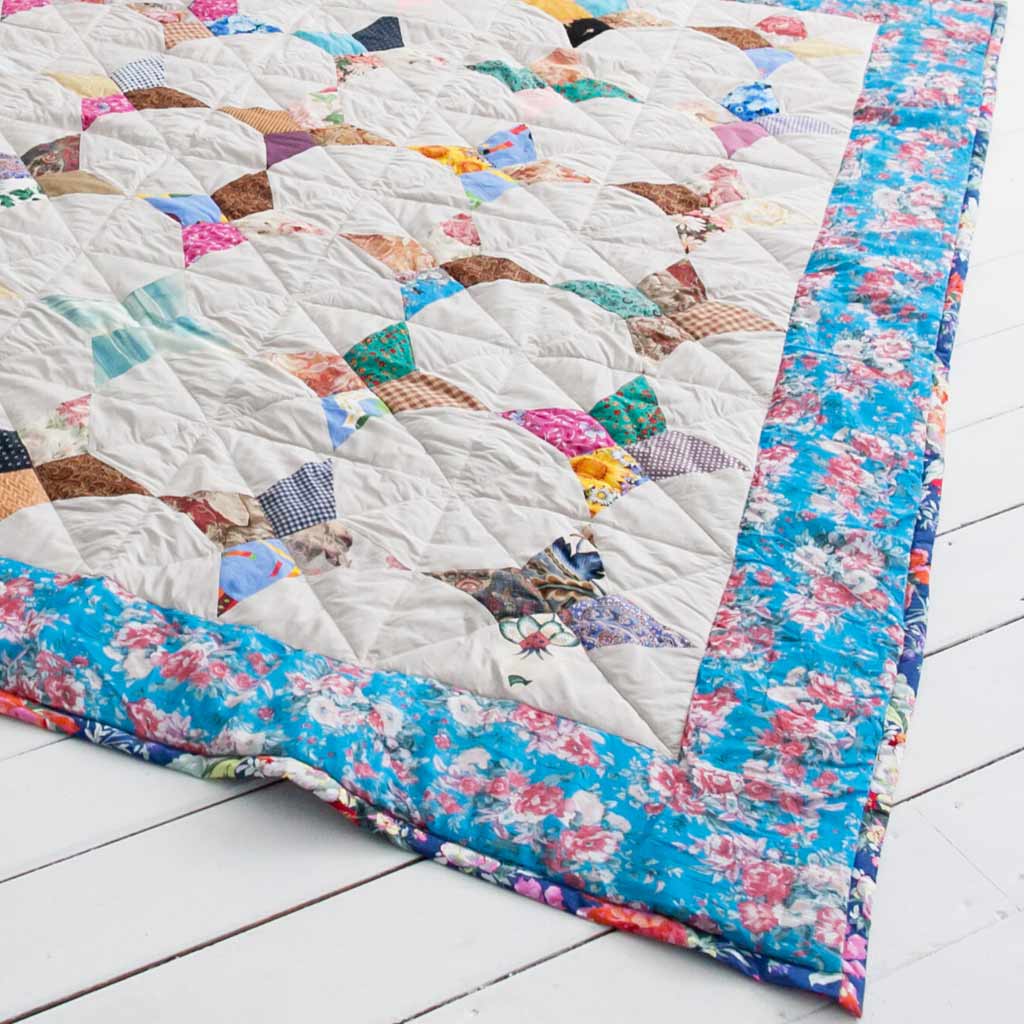
Measure the quilt top and calculate the size for the borders. Cut two strips for the sides and two strips for the top and bottom of the quilt, making sure to add extra fabric for the seam allowances.
Attaching the Borders
Start by pinning one side border to the quilt top. Make sure the right sides of the fabric are facing each other and that the edges of the fabric are lined up. Sew the border to the quilt top and press the seam open. Repeat this process with the other side border and the top and bottom borders. Finally, trim the excess fabric at the corners and press the seams open.
Quilting the Quilt Top
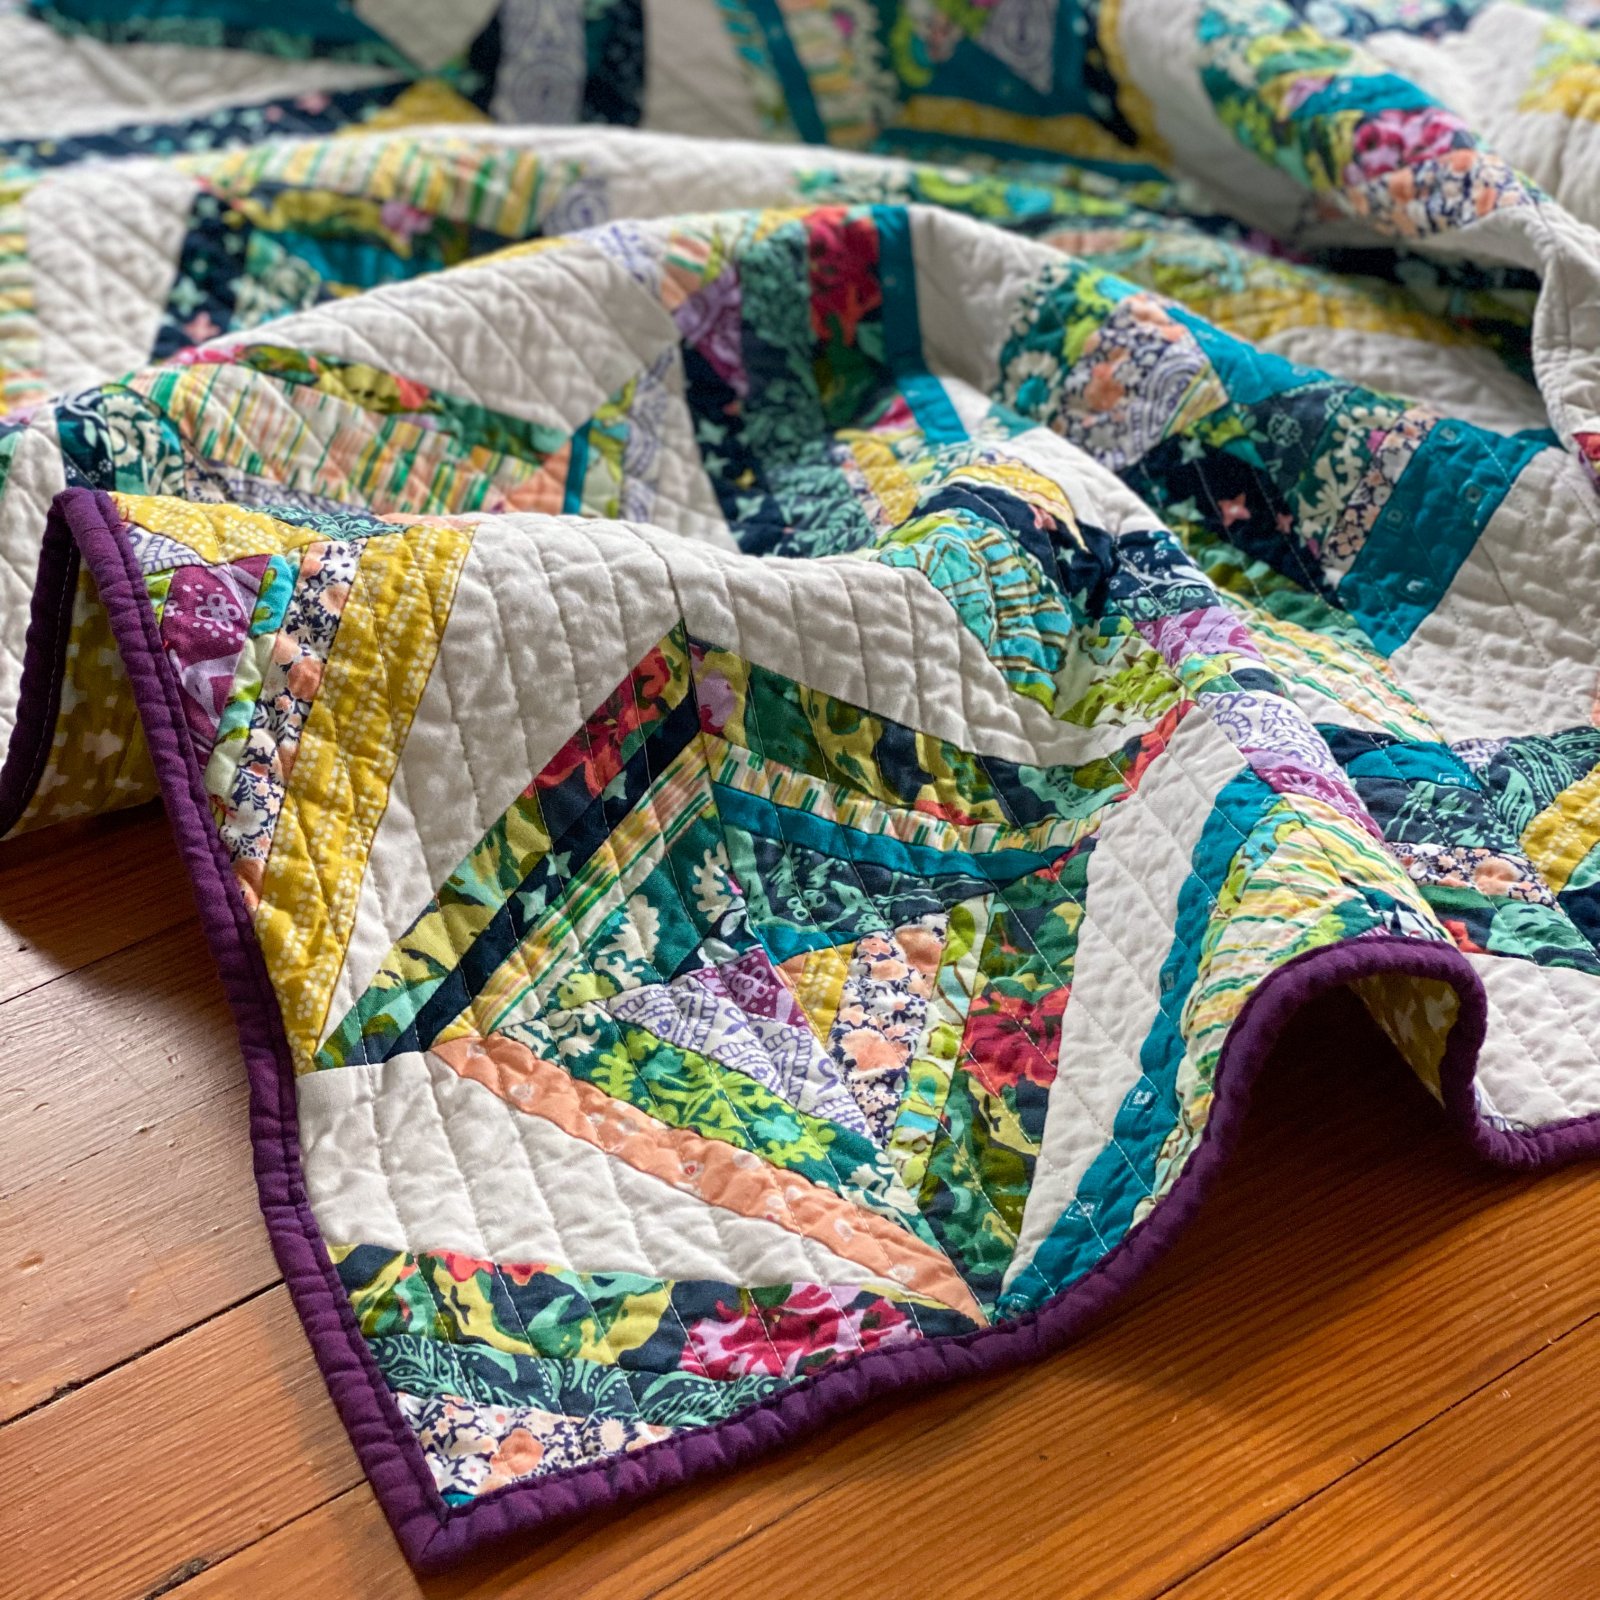
Once the patchwork is finished, it is time to quilt the quilt top. Quilting adds the extra layer of warmth and stability to the quilt. It also helps to keep the batting in place, giving the quilt a nice and even finish.
Materials & Tools
| Material | Tool |
|---|---|
| Quilt Batting | Sewing Machine |
| Quilt Top | Quilting Needles |
| Quilt Backing | Thread |
| Safety Pins | Iron & Ironing Board |
Instructions:
- Lay the backing fabric out on a flat surface, with the wrong side facing up.
- Lay the quilt batting on top of the backing, smoothing it out with your hands.
- Lay the quilt top on top of the batting, ensuring that all edges are lined up evenly.
- Secure the layers together with safety pins, making sure that the pins are evenly spaced.
- Thread the sewing machine with quilting thread and begin quilting. Quilting can be done in any number of patterns, from simple straight lines to more intricate designs. Have fun experimenting with different patterns.
- Remove the pins as you go, taking care not to leave any behind.
- Once the quilting is complete, press the quilt with an iron and steam to remove any wrinkles.
Quilting the quilt top is a fun and creative way to add warmth and stability to your quilt. With the right materials and tools, quilting can be an enjoyable and rewarding process.
Making the Quilt Back
Preparing the Backing Fabric
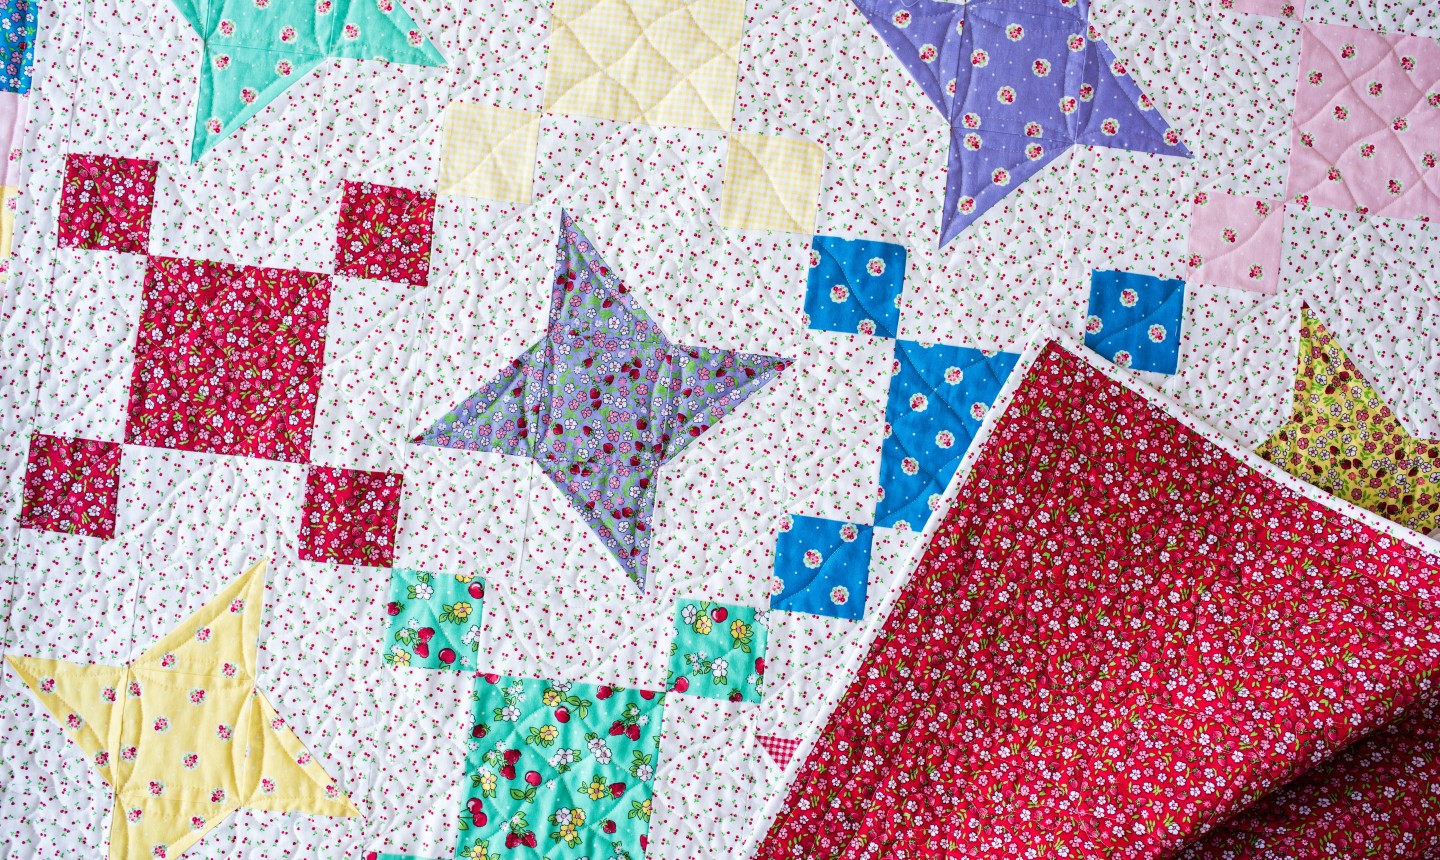
Select enough fabric to make the back of the quilt, at least 4-5 inches bigger than the quilt top. Pre-wash the fabric to avoid shrinking later. After washing, press fabric with an iron to remove wrinkles.
Joining the Backing Fabric
If the fabric is not wide enough to cover the quilt, it may be necessary to join two or more pieces of fabric together. Lay the pieces of fabric on a flat surface, right side up. Line up the edges and pin them together. Sew the pinned edges together using a ¼ inch seam allowance. Press the seam open with an iron and trim any excess fabric. Repeat until enough fabric has been joined to cover the quilt.
Joining the Quilt Top to the Quilt Back
| Steps | Explanation |
|---|---|
| 1. Place the quilt back and quilt top, right sides together. | Place the two pieces of fabric together, with the right sides facing each other. |
| 2. Pin the two pieces of fabric together. | Use safety pins to secure the two pieces of fabric together along all four edges. |
| 3. Sew the two pieces of fabric together. | Use a sewing machine to stitch the two pieces of fabric together, along the pinned edges. Be sure to remove the pins as you sew. |
| 4. Trim the seam allowance. | Once the two pieces of fabric are sewn together, trim the seam allowance to neaten the edges. |
| 5. Press the seam allowance. | Press the seam allowance open, using an iron. |
Now that the quilt top and quilt back are joined together, you can move on to the next step in creating your bedspread quilt.
Finishing the Quilt
Basting the Quilt
Place the quilt top and batting on the floor or other large flat surface. Starting in the middle, lay the backing fabric over the top of the quilt. Smooth out any wrinkles. Using safety pins, baste the layers together, starting in the middle and working your way out to the edges.
Quilting the Quilt
Thread your sewing machine with quilting thread. Start quilting in the middle of the quilt, and sew straight lines in one direction. Once you reach the edge, sew around the outside of the quilt, and then work your way back to the middle, this time sewing in the opposite direction. When you reach the middle again, sew a few extra stitches to secure the quilt. Trim any excess batting or backing fabric. Finally, bind the quilt with a double-fold binding.
Frequently Asked Questions
What type of fabric is best for a bedspread quilt?
The best fabric for a bedspread quilt is one that is lightweight, breathable and comfortable. Cotton, linen, and microfiber fabrics are all good choices. Look for fabrics that are colorfast and won’t fade or shrink when washed. Avoid fabrics that are too thick or heavy, as they can be uncomfortable to sleep on.
What Tools are Needed for Making a Bedspread Quilt?
Creating a bedspread quilt requires a few basic tools, such as a rotary cutter, cutting mat, and quilting ruler. Additionally, a sewing machine, cotton batting, thread, and fabric in the desired colors and patterns are also necessary. An iron, ironing board, and pins are also essential for constructing the quilt top and preparing it for quilting. Finally, optional tools like a stiletto, quilting gloves, and quilting clips can help to make the quilting process easier.
Do I need to pre-wash the fabric before starting the quilt?
Yes. Pre-washing the fabric has many benefits:
- It removes any dirt, dust or particles that can damage the fabric.
- It eliminates any chemicals used in the manufacturing process.
- It prevents the colors from fading, bleeding or running.
- It removes any sizing that could stiffen the fabric and make it difficult to quilt.
The best way to pre-wash your fabric is to machine wash it in cold water on a gentle cycle, and then dry it in the dryer on a low heat setting.
How do I join the quilt blocks together?
- Lay two blocks side by side: Place two quilt blocks side by side. Make sure the pattern in each block is aligned with each other.
- Pin the blocks together: Add pins on the edges of the two blocks. This will help to hold the blocks together while sewing.
- Sew the blocks together: Using a sewing machine, sew the two blocks together along the pinned edges. Make sure to use a seam allowance of at least ¼ inch when sewing.
- Trim the edges: Once the blocks are sew together, trim the edges of the quilt to remove any loose threads.
- Repeat the process: Repeat the process of laying, pinning and sewing the quilt blocks together until all the blocks are joined.
How do I finish the edges of the quilt?
-
1. Sew the Edges
- Pin the edges of the quilt together with safety pins.
- Sew the edges together using a sewing machine with a sturdy stitch.
- Remove the safety pins after sewing.
- Cut strips of fabric for the binding.
- Sew the strips together to create one long binding strip.
- Pin the binding strip to the edge of the quilt.
- Sew the binding to the quilt with a catch stitch.
- Cut binding tape to the size of the quilt.
- Pin the binding tape to the edge of the quilt.
- Sew the binding tape with a catch stitch.
- Cut bias tape to the size of the quilt.
- Pin the bias tape to the edge of the quilt.
- Sew the bias tape with a catch stitch.
2. Create a Binding
3. Sew On Binding Tape
4. Apply a Bias Tape Finish
Conclusion
Creating a bedspread quilt is a rewarding project that can help bring comfort and style to any bedroom. With the right materials, a pattern, and a little patience, anyone can make a beautiful quilt that can be cherished for years to come.
