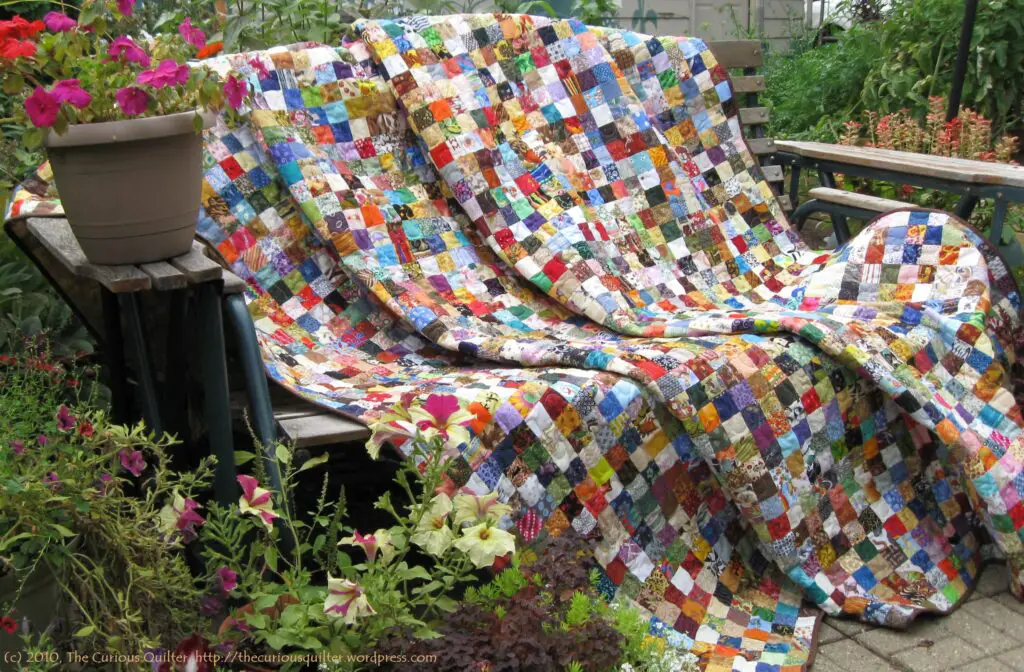
Making a postage stamp quilt is an excellent way to create a stunning quilt that is both unique and beautiful. This step-by-step guide provides a comprehensive overview of how to make a postage stamp quilt, from selecting the fabric and cutting the pieces to assembling the quilt and adding the finishing touches. With these instructions, you’ll be able to create a quilt that is sure to be the envy of all your friends and family. So, let’s get started and learn how to make a postage stamp quilt!
What is a Postage Stamp Quilt?
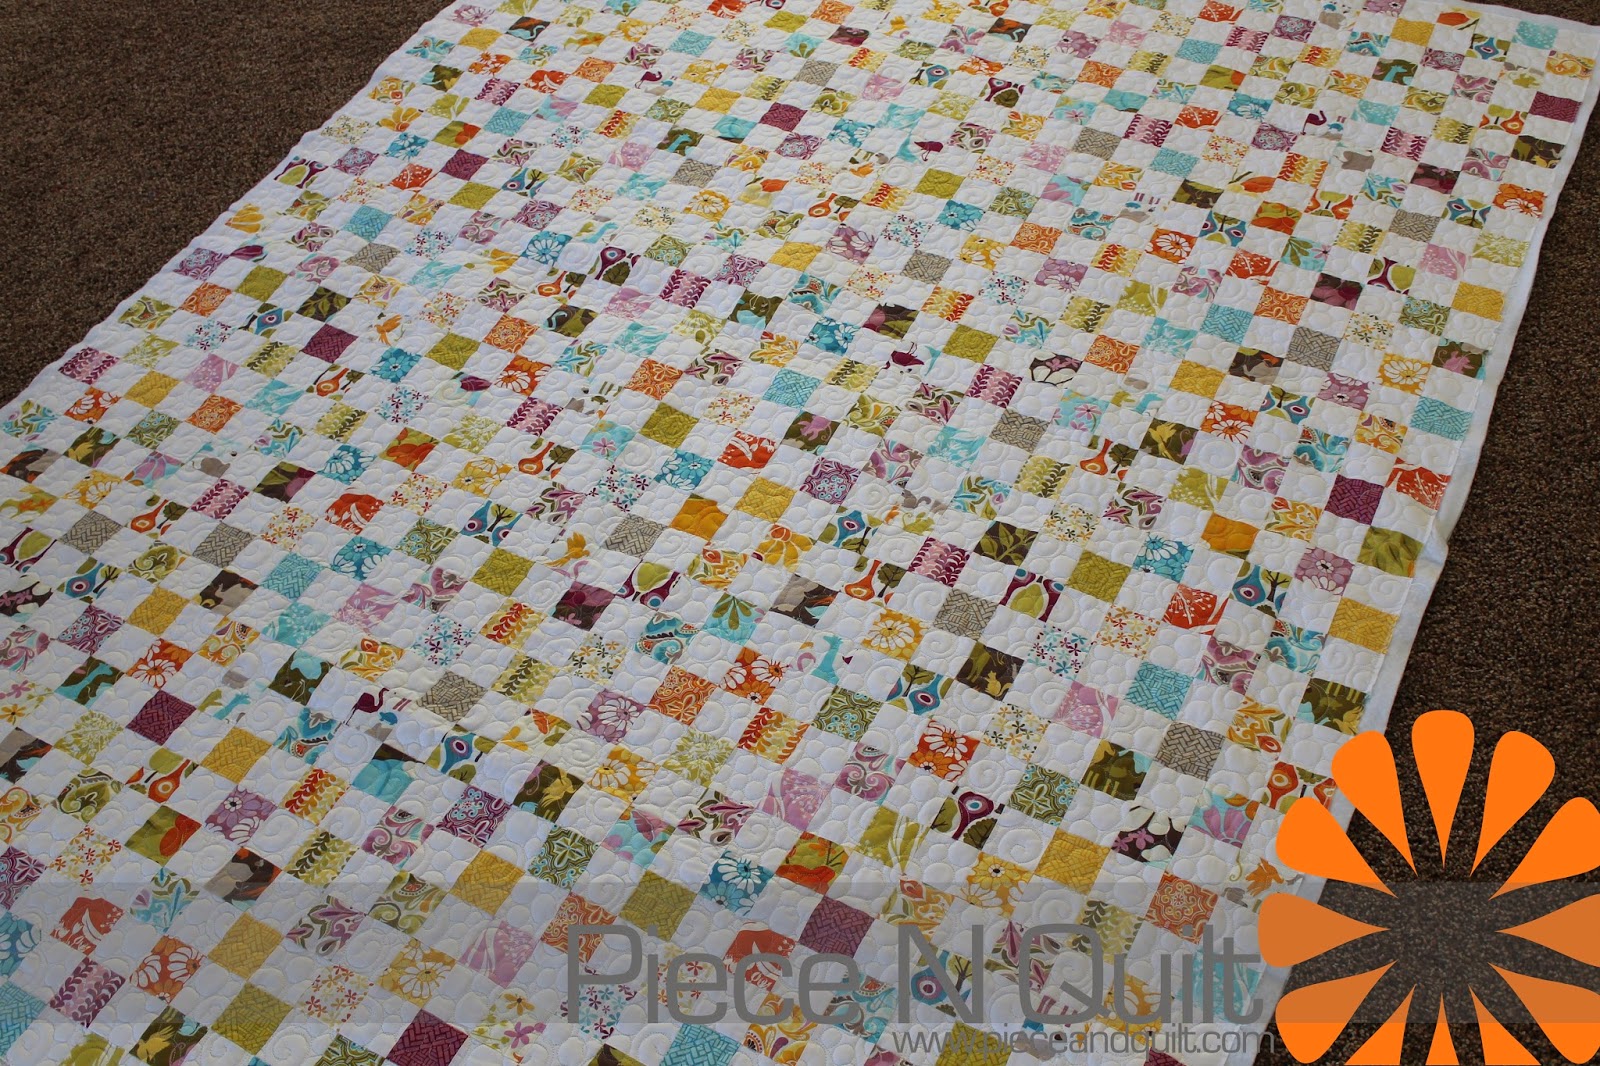
A postage stamp quilt is a type of quilt that features small patches of fabric, typically cut from vintage fabric or clothing, arranged in a mosaic pattern to create the appearance of a postage stamp. The fabric pieces are usually cut into 2 inch squares and arranged in a repeating pattern on a quilt top. The quilt is then backed and quilted together to create a unique and beautiful quilt.
| Advantages | Disadvantages |
|---|---|
|
|
Postage stamp quilts are a great way to use up small pieces of fabric, and can be a great way to showcase vintage fabrics. However, they require a lot of time and patience to create, and can be challenging to find enough vintage fabric pieces to complete the quilt.
How Many Squares in a Postage Stamp Quilt?
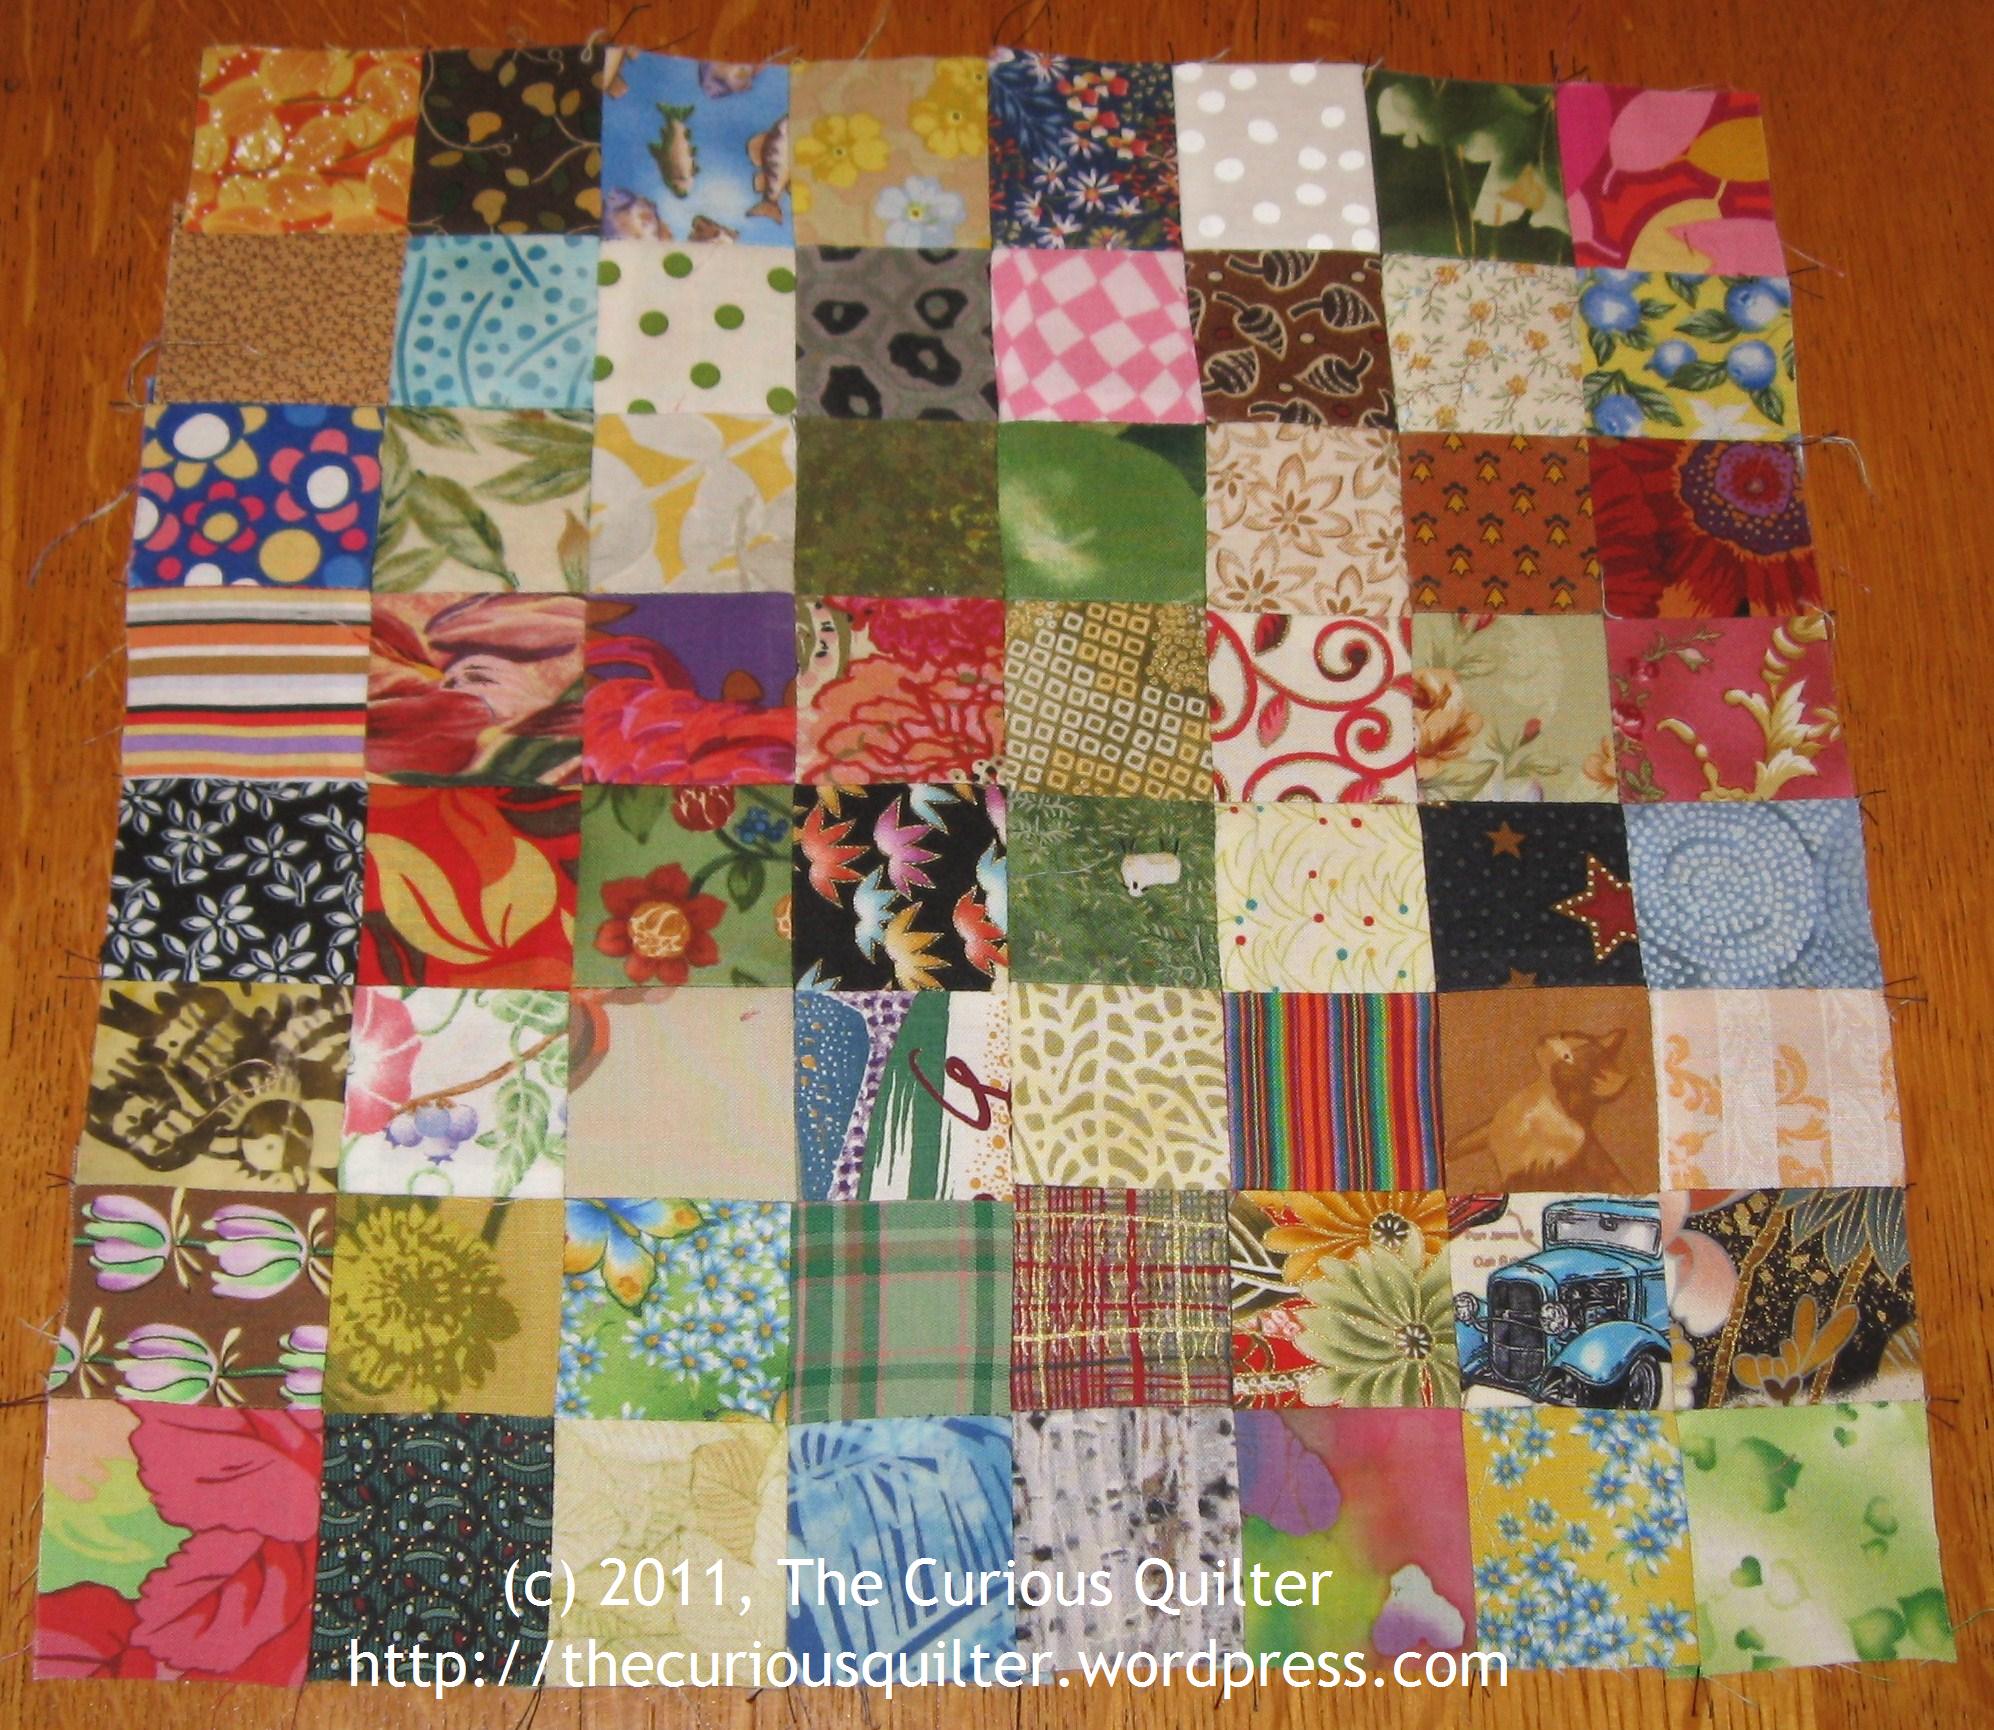
Postage stamp quilts are popular projects that utilize small pieces of fabric to create a beautiful quilt. The number of squares required to make a postage stamp quilt will depend on the size of the quilt you are making. Here are the most common sizes and the amount of fabric squares needed for each size:
- Baby Quilt: 50 – 100 squares
- Throw Quilt: 200 – 400 squares
- Twin Quilt: 400 – 800 squares
- Queen/King Quilt: 800 – 1,200 squares
Bear in mind that these are simply estimates and you may need more or fewer squares depending on the size and design of your quilt. For example, if your quilt has a more intricate design, you may need more squares than the average amount listed above. It’s best to overestimate the amount of fabric you need to ensure that you don’t run out of pieces while making your postage stamp quilt.
How to Pick a Border Color for a Postage Stamp Quilt?

When making a postage stamp quilt, the border you choose can have a big impact on the overall look. To pick the right color, consider the colors of the quilt blocks and the overall design.
Consider Quilt Block Colors
Start by looking at the colors of the quilt blocks. For example, if the blocks are mostly in shades of blue, you may want to pick a color from the same range to create a unified look. Alternatively, you could use a contrasting color to create a more striking effect.
Think About the Overall Design
Think about the overall design of the quilt, too. If you’re creating a traditional patchwork quilt, you may want a traditional color, like navy blue or black. On the other hand, if the quilt has a more modern, contemporary style, you may want to go with a bolder shade, like bright yellow or pink.
Pick a Color You Like
No matter what kind of quilt you’re making, the most important thing is to choose a color that you like. You’ll be looking at it every time you use the quilt, so it’s important to choose something that looks good to you.
Choosing a Border Fabric
When you’ve decided on a color, you can choose a fabric for the border. Choose a pattern that complements the colors of the quilt blocks, or pick a solid-colored fabric for a simple look.
Try on a Sample
Before you commit to a particular color, try it on a sample quilt block. This will give you an idea of how the color will look in the finished quilt.
Conclusion
Choosing a border color for a postage stamp quilt can be a tricky task. But with a bit of thought, you can find the perfect color to complete your quilt. Consider the colors of the quilt blocks, think about the overall design of the quilt, pick a color you like, and try it on a sample quilt block. With the right color, your quilt will look amazing.
How to Make a Postage Stamp Quilt: Step-by-Step Guide
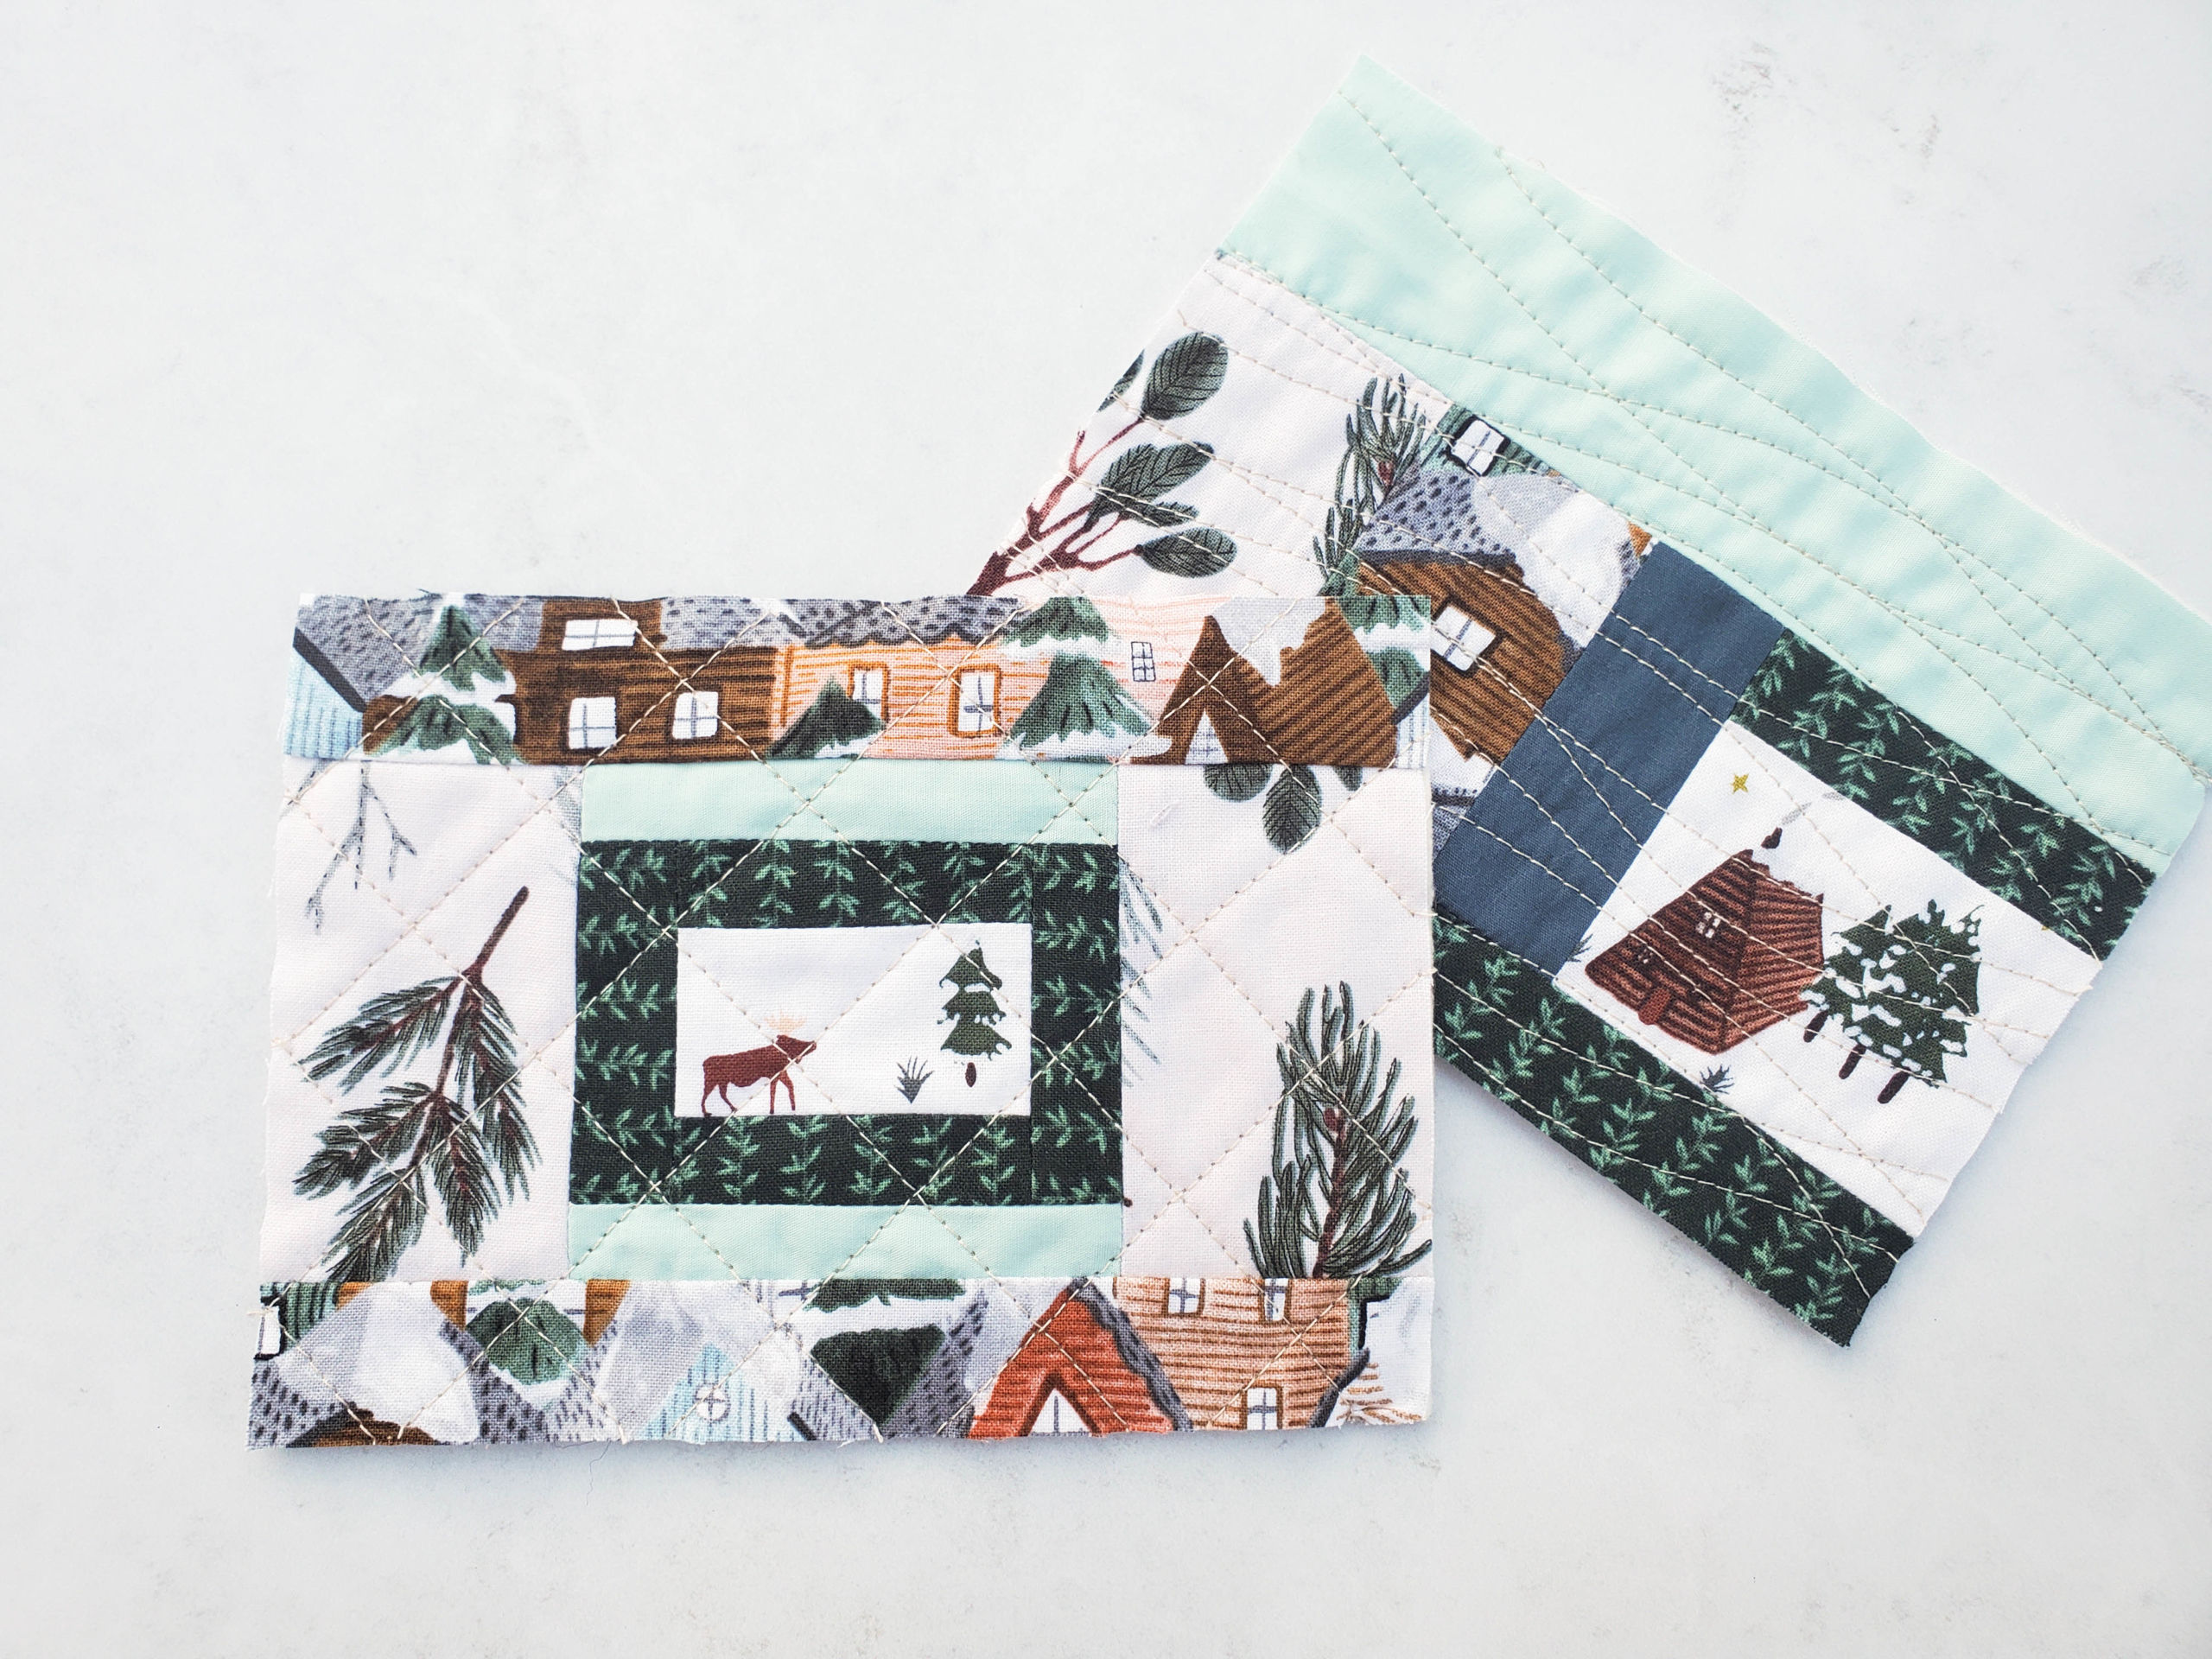
Layout the Squares
To begin making a postage stamp quilt, gather fabric scraps and arrange them in a pleasing pattern. The blocks should be cut into small squares, with each measuring at least 1.5” x 1.5”. For a larger quilt, ensure the blocks are no more than 4” x 4”. The size of the blocks will determine how large the postage stamp quilt will be.
Sew the Squares Together
Once the fabric scraps are arranged, it’s time to sew them together. Start by pinning the quilt top together. Then, using a sewing machine, stitch each row together. Once all the rows are sewn, join them together with a ¼” seam allowance.
Choose a Border
When all the quilt blocks are sewn together, it’s time to choose a border. Select a plain fabric for the border or, if you wish, opt for something more decorative. The border should be cut wider than the quilt top, allowing for a ¼” seam allowance.
Sew the Border
Finally, attach the border to the quilt top. To do this, pin the side borders to each side of the quilt top. Then, pin the top and bottom borders to the quilt. Sew the borders in place, making sure to use a ¼” seam allowance. Once complete, the postage stamp quilt is ready to be quilted.
How Big are Postage Stamp Quilt Blocks?
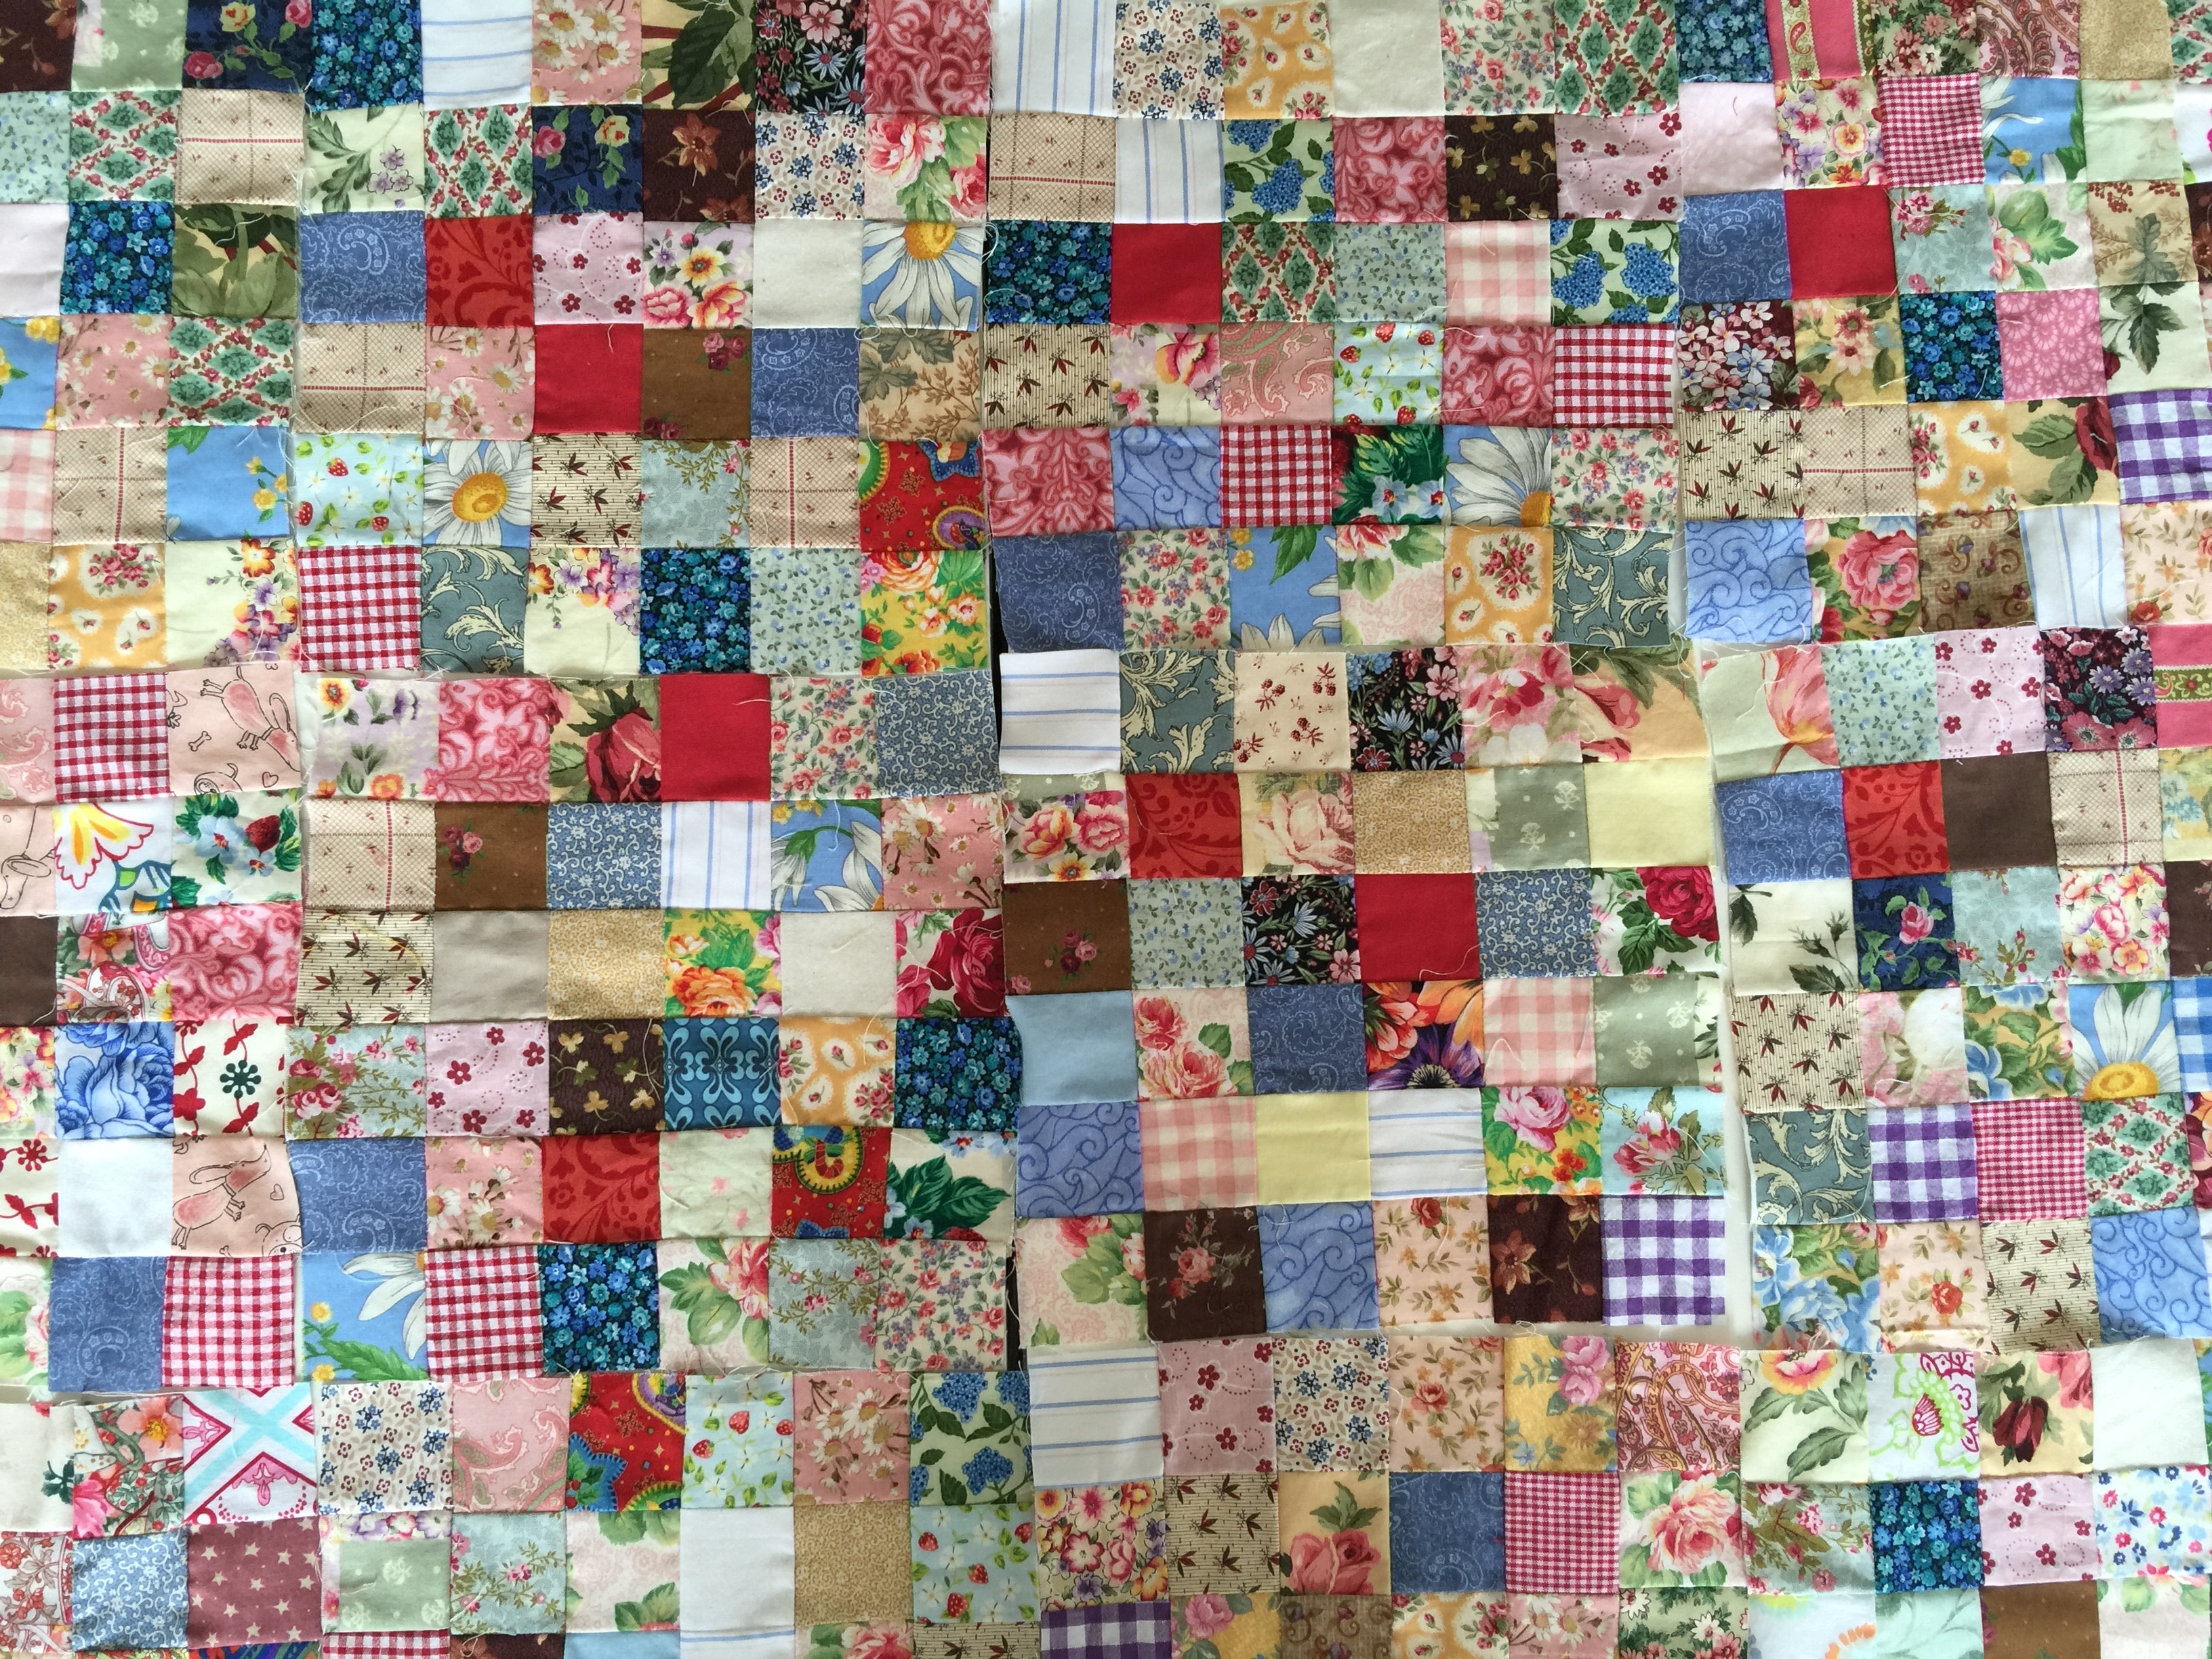
Postage stamp quilt blocks are traditionally made with 2-3 inch squares. However, the size of the block is completely customizable and can be made with any size of fabric square. Depending on the size of the fabric pieces used, the finished block can range from 8-9 inches to 12-13 inches. The size of the quilt block can be adjusted to fit the desired quilt size.
When deciding on the size of the quilt block, it is important to take into account how the quilt will look when finished. If a larger quilt is desired, larger blocks will be needed. Additionally, if a quilt is desired with a more intricate design, smaller blocks may be required. The size of the quilt block will also determine how many pieces of fabric are needed to complete the project.
Once the size of the quilt block has been determined, it is important to choose a border color that will compliment the quilt. The chosen border color should be a color that contrasts the quilt fabrics, so that the design of the quilt is highlighted. It is also important to pick a border color that will coordinate with any additional accessories, such as pillows or bedding, that may be used with the quilt.
Tips and Tricks
- Choose a simple quilt pattern: Quilts made with intricate patterns require more time and skill, so selecting a basic one will make the project easier.
- Cut the fabric: Cut the fabric into uniform shapes and sizes, using a rotary cutter, ruler and cutting mat. When possible, use fabric scraps to make the quilt more unique.
- Arrange the fabric in a pattern: Before stitching the fabric together, arrange them in the desired pattern. This will help you get the desired look of the quilt.
- Use a quarter-inch seam: Sewing with a quarter-inch seam will ensure the quilt holds together well and the seams are neat and even.
- Stitch rows together: After the individual pieces of fabric are sewn together, stitch the rows together to form the quilt.
- Add batting and backing fabric: Batting and backing fabric are added to the quilt to give it a more padded look and feel.
- Quilt the layers: Quilting is the process of stitching the fabric layers together, usually in a pattern.
- Bind the quilt: Bind the quilt by sewing a narrow band of fabric along the edges.
Frequently Asked Questions
What Kind of Fabric Should I Use for a Postage Stamp Quilt?
The most important factor to consider when selecting fabric for a postage stamp quilt is the size of the quilt blocks. Choose fabrics with a small scale print or solid-colored fabric that will allow the quilt blocks to be seen. Cotton or cotton-blend fabrics are ideal for a postage stamp quilt. Avoid fabrics with a large or bold print as they will overpower the quilt blocks.
How can I make sure my postage stamp quilt will last a long time?
To ensure your postage stamp quilt lasts as long as possible, select high-quality materials. Use a good-quality, 100% cotton fabric for the quilt top, batting, and backing. Make sure the fabric is pre-washed to remove any chemicals or sizing that may breakdown over time. Use quilting thread that is strong and colorfast to prevent fading. Finally, when quilting, use a walking foot or even-feed attachment to ensure even stitches and a durable quilt.
What is the Best Way to Cut the Fabric Squares for the Quilt?
- Use a Rotary Cutter and Mat – this is the most popular way to cut fabric into squares. A rotary cutter is a handheld tool with a round blade, perfect for cutting fabric in a straight line. It requires a mat, which is a thick piece of plastic with a self-healing surface. Place the fabric on the mat and use the rotary cutter to cut the fabric into the desired size.
- Use a Ruler and Scissors – if you don’t have a rotary cutter and mat, you can use a ruler and scissors instead. Place the ruler along the edge of the fabric and use a pencil to mark the desired size. Then, use scissors to cut the fabric along the line.
- Use a Template – if you want to make sure you get the exact size and shape for your quilt, you can make a template. Draw the desired shape onto a piece of cardboard and cut it out. Place the template on the fabric and use a pencil to trace around it. Then, use scissors to cut out the shape.
How do I decide on the Layout of the Quilt?
- Choose a Style: Consider the style of quilt you want to make. Patchwork quilts are popular, while others may prefer a more contemporary style.
- Gather Inspiration: Look at quilt patterns online and in magazines to get ideas on how to create a unique design.
- Measure Your Space: Measure the quilt’s intended space and decide on a size that will fit comfortably.
- Select Fabrics: Choose fabrics that will create the desired look of the quilt. Consider the color scheme, pattern, and texture of the fabrics.
- Plan the Layout: On paper, draw a plan of the quilt’s design. This can help you visualize how the quilt will look before you start piecing it together.
What Techniques Should I Use to Piece and Assemble the Quilt?
To piece the quilt, first use rotary cutters and rulers to cut the fabric into the desired quilt block shapes. Pin the fabric pieces together, and then use a sewing machine to stitch the pieces together. Once all the fabric pieces are sewn together, lay out the quilt blocks and arrange them in the desired pattern. Then, stitch the blocks together to form the quilt top. To assemble the quilt, use a layer of batting and backing fabric, and then use a sewing machine to stitch the three layers together in a quilting pattern. Finally, bind the quilt edges with a fabric strip.
Conclusion
Postage stamp quilts are a great way to use up fabric scraps, create a unique and beautiful quilt, and add a personal touch to your home. Although the process of creating a postage stamp quilt may seem intimidating at first, with a few simple steps and a bit of planning, you can create a quilt that will last for years to come.
