Are you looking for a simple way to make a quilt label with freezer paper? This article will provide you with a step-by-step guide to creating the perfect quilt label. Whether you are a beginner or an experienced quilter, you will find useful information on how to make a quilt label with freezer paper. We will discuss the basics of freezer paper and how to prepare it for the quilt label. Then, we will delve into the specifics of creating the label, including how to cut and transfer the freezer paper, as well as how to embellish the label with decorative fabric. With this guide, you will have a beautiful quilt label in no time!
What is Freezer Paper?
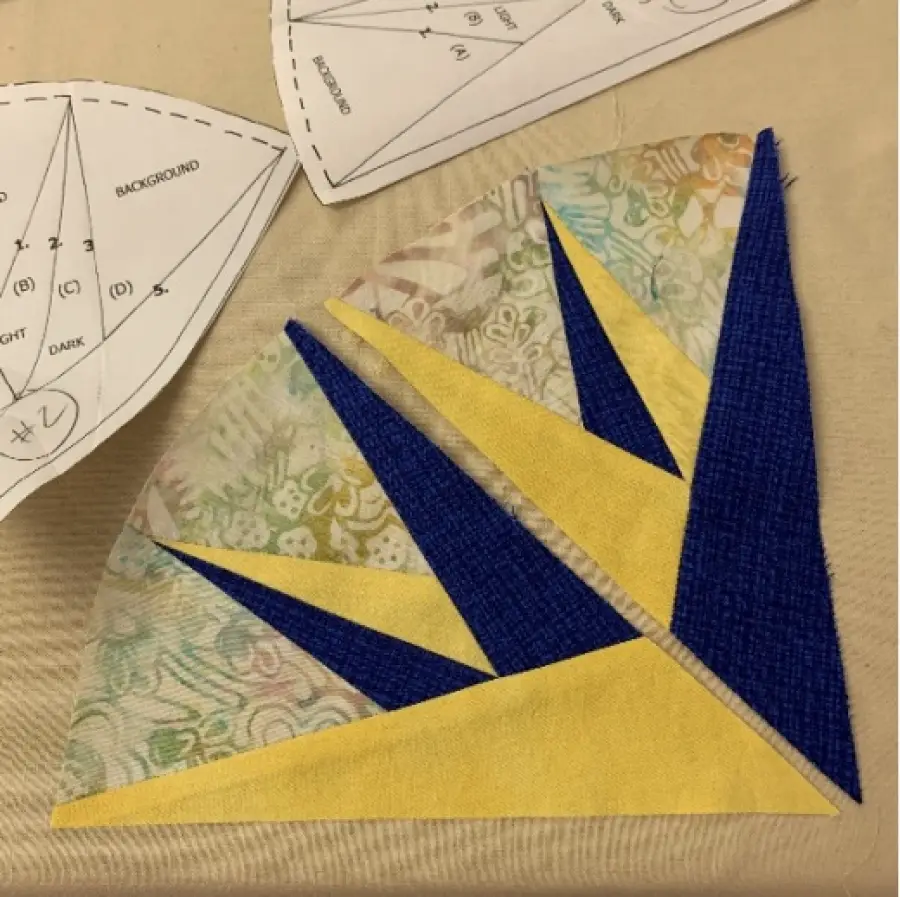
Freezer paper is a plastic-coated paper that is used for wrapping food to be stored in the freezer. It is slightly different than wax paper, as it has a plastic coating on one side and a paper coating on the other. This makes it great for printing designs and text on, as the plastic coating helps to keep the ink from smearing. It’s also a great material to use when making quilt labels, as it is durable, washable, and easy to use. Here are some of the benefits of using freezer paper for quilt labels:
- Durable: The plastic coating on freezer paper makes it much more durable than regular paper, making it perfect for quilt labels that you plan to keep for a long time.
- Washable: The plastic coating makes the freezer paper washable, so you don’t have to worry about the ink coming off after washing.
- Easy to Use: Freezer paper is easy to cut, fold, and sew, making it perfect for creating quilt labels.
So if you’re looking for an easy and durable way to make quilt labels, freezer paper is a great option. Now that you know what freezer paper is, let’s look at how to print quilt labels with it.
Materials Needed
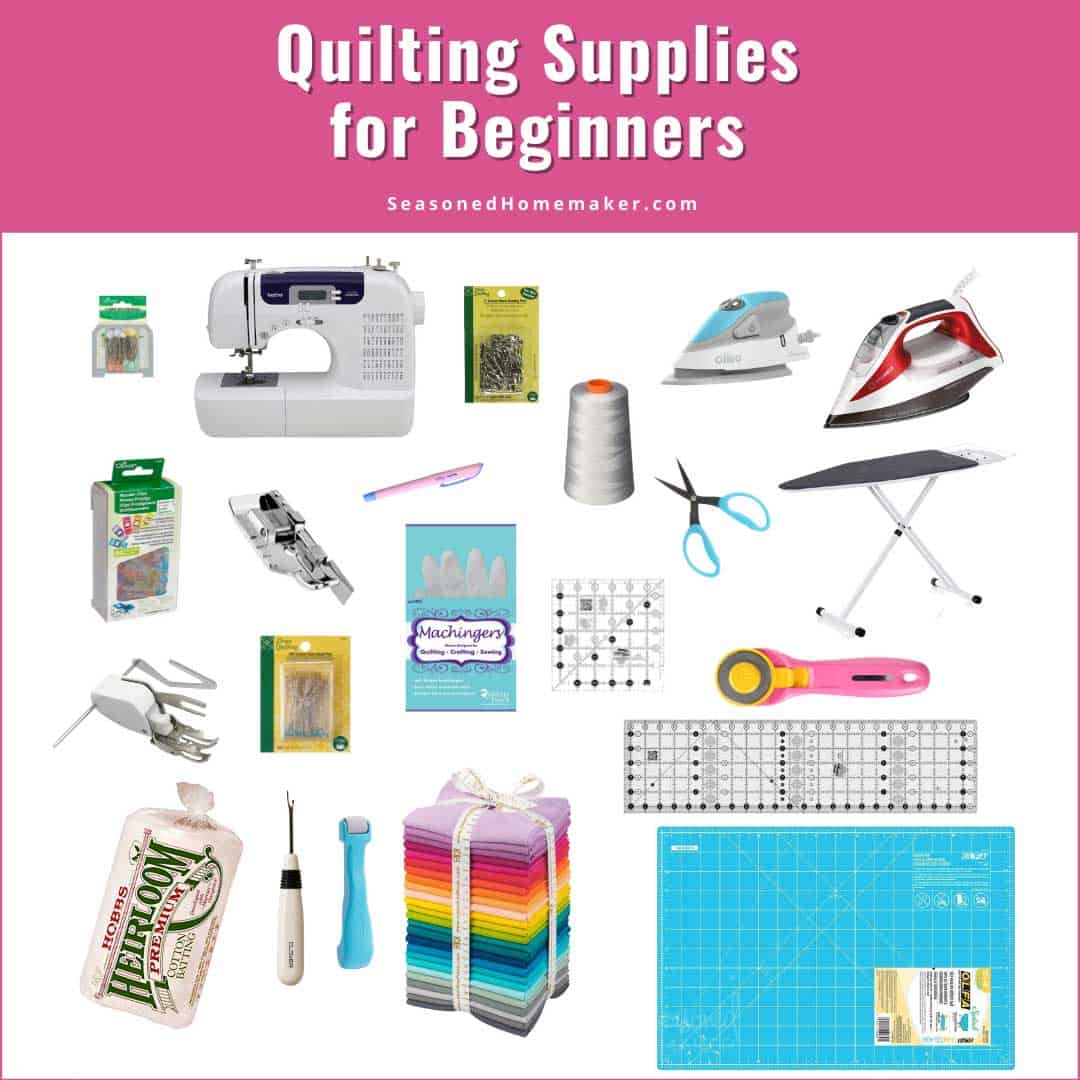
| Materials | Quantity |
|---|---|
| Freezer Paper | 1 sheet |
| Iron | 1 |
| Quilt Label Template | 1 |
| Fabric Marker | 1 |
| Scissors | 1 |
| Fabric | 1 piece |
Utilizing freezer paper to label quilts is a great way to add a personalized touch. To do this, you will need to gather the materials listed above.
Step-by-Step Instructions

Preparing the Freezer Paper
Start by prepping the freezer paper with an iron. Place the freezer paper shiny side down onto an ironing board. Iron the freezer paper until it is completely flat. Once it is flat, the freezer paper is ready to use.
Creating the Quilt Label Design
Use a computer to create the design for the quilt label. Open a design program and create a template for the label that is the desired size. Use the template to design the quilt label, adding text, images and any other desired elements. When the design is complete, save it.
Printing the Quilt Label
Place the freezer paper shiny-side-up onto a printer-friendly surface. Take the saved design file and print the quilt label onto the freezer paper. After the label has been printed, use an iron to adhere the freezer paper to a piece of cotton fabric.
Attaching the Quilt Label to the Quilt
Cut out the quilt label from the cotton fabric. Use an iron to adhere the quilt label to the quilt. Make sure the quilt label is firmly attached to the quilt before moving on to the next step.
Advantages of Using Freezer Paper for Quilt Labels
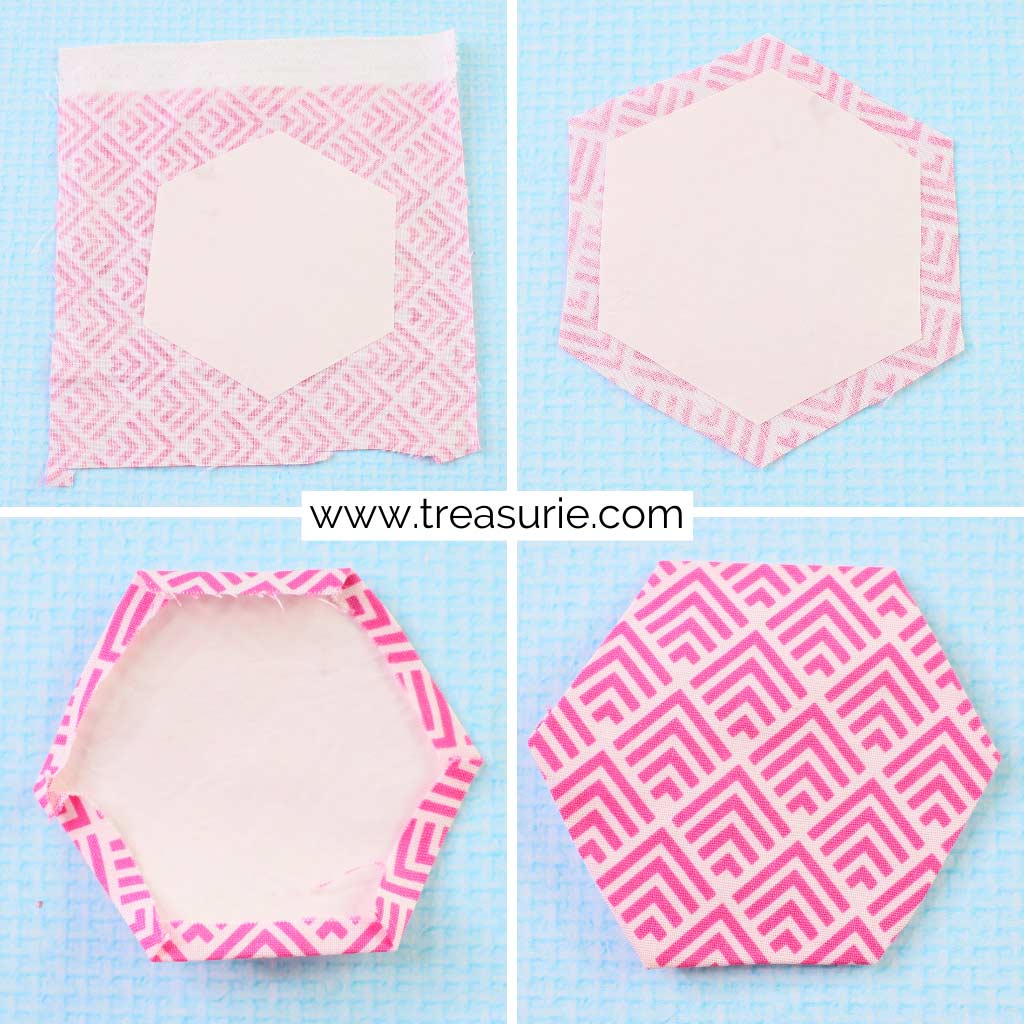
- Durable – Freezer paper is thick, making it very durable and suitable for quilt labels.
- Easy to Use – Freezer paper is easy to use and does not require any special tools. It can be easily cut with scissors and adheres to the quilt fabric with an iron.
- Inkjet Compatible – Freezer paper is compatible with inkjet printers, so you can easily print your quilt label with your own design.
- Affordable – Freezer paper is very affordable and comes in large rolls, so you can make as many labels as you need.
- Reusable – Freezer paper can be reused multiple times, so you don’t have to worry about buying new labels every time.
Suggestions for the Best Results
- Use high-quality freezer paper to ensure the label is durable and will stay in place when washed.
- Choose a fabric pen with waterproof ink if you plan to wash the quilt afterwards.
- Print your label template on regular paper to practice and make sure it looks the way you want it to.
- Iron the freezer paper onto the fabric for a crisp, clean label.
- Trace the template onto the freezer paper with the fabric pen.
- Add any additional details, such as the quilt’s title, the date it was created, and your name.
- Carefully remove the freezer paper to reveal the quilt label.
Troubleshooting
- Ink smearing – If ink smearing occurs, ensure the freezer paper is properly adhered to the fabric and use a light pressing cloth to transfer the ink.
- Fading – If the label is fading, switch to a fabric marker or fabric paint.
- Ink cracking – If the ink is cracking, use a high quality fabric marker that won’t crack when ironed.
- Printing issues – If the printer is not printing correctly, clean the printer head, check the printer settings and use a new ink cartridge.
Alternatives to Using Freezer Paper for Labeling Quilts
1. Fabric Markers
Fabric markers are a great alternative to freezer paper, as they are ideal for labeling quilts. They come in a variety of colors and can be used to write or draw on fabric. They are also permanent and can last up to five years with proper care.
2. Heat Transfer Vinyl
Heat transfer vinyl is a great option for labeling quilts. It can be easily applied with a heat press and the labels are permanent and will not fade or wash away. It is also available in a wide range of colors, making it easy to customize the labels to match the quilt.
3. Embroidery
Embroidery is another great way to label a quilt. It can be done by hand or with a machine, and the labels will last for many years. It also provides a unique look that is sure to make the quilt stand out.
4. Printed Labels
Printed labels are an easy and inexpensive alternative to freezer paper. They can be printed on fabric or paper, and they are easy to apply with a simple iron. They are also available in a variety of colors and sizes, making them perfect for labeling quilts.
Frequently Asked Questions
What type of fabric should I use for my quilt label?
- Cotton – Cotton is soft, lightweight, and durable, making it a good choice for quilt labels.
- Linen – Linen is a strong, absorbent fabric that is suitable for quilt labels.
- Silk – Silk is a luxurious fabric that is lightweight, strong, and durable. It is a great choice for quilt labels.
- Fleece – Fleece is a soft, warm fabric that is perfect for quilt labels.
- Velvet – Velvet is a luxurious, soft fabric that is perfect for quilt labels.
- Satin – Satin is a smooth, glossy fabric that is perfect for quilt labels.
Are there any other materials needed to make a quilt label with freezer paper?
- An Inkjet Printer
- Freezer Paper
- Scissors
- Pen/Marker
- Iron
- Printable fabric sheet
In addition to the materials mentioned above, you will also need a few other items in order to complete your quilt label with freezer paper. You will need a computer with an inkjet printer, scissors, a pen or marker, and an iron. You will also need a printable fabric sheet, which is a special type of fabric that can be printed with an inkjet printer.
Is there an Easier Way to Apply the Freezer Paper Template to the Fabric?
Iron-On Method:
- Cut a piece of freezer paper in the size of the label.
- Draw the label design on the shiny side of the freezer paper.
- Cut the label design with scissors.
- Iron the freezer paper label onto the wrong side of the fabric, shiny side down.
- Press firmly with the iron until the label is securely adhered to the fabric.
Heat-N-Bond Method:
- Cut a piece of Heat-N-Bond slightly larger than the label size.
- Draw the label design on the paper side of the Heat-N-Bond.
- Iron the Heat-N-Bond onto the wrong side of the fabric, paper side up.
- Peel the paper backing off the Heat-N-Bond.
- Iron the label design onto the fabric.
How do I ensure that my quilt label will last over time?
- Choose high quality paper: Select a thick paper that is acid-free and lignin-free, such as freezer paper. This type of paper won’t yellow or degrade over time.
- Use archival ink: Select an archival-quality ink that won’t fade or smear over time.
- Protect the label: After writing your label, seal it with a thin coating of archival-quality spray or brush-on sealant.
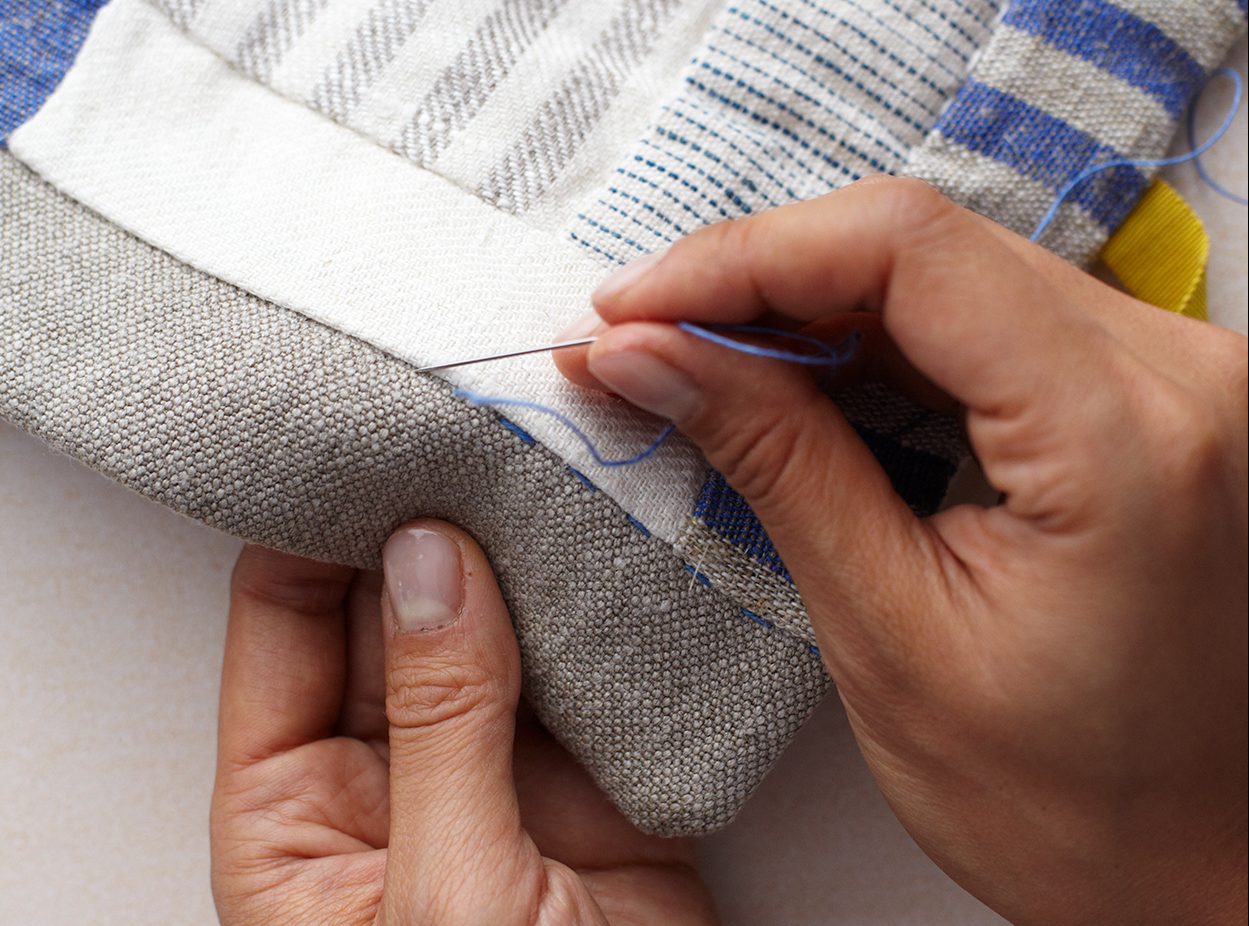
- Secure the label: Sew the label onto your quilt with a few stitches so it won’t move or be lost.
What can I do to make my quilt label unique?
- Choose Unique Materials: Use materials like fabric paints, glitter, beads, buttons, ribbons, and other embellishments to make your label stand out from the rest.
- Include Embroidery or Applique: Use embroidery or applique to create unique patterns and designs on the quilt label.
- Include Personal Details: Add personal details such as the name of the quilt maker, the date the quilt was completed, and the recipient’s name.
- Include a Special Message: Include a special message such as a quote, a poem, or a special message to the recipient.
- Add a Photo: Add a photo of the quilt maker, the recipient, or a special memory shared between the two.
Conclusion
Creating a quilt label with freezer paper is a simple and affordable way to make a unique and thoughtful label for your quilt. The entire process can be completed in a few easy steps, and with just a few materials. With some creativity and time, you can create a quilt label that will become a lasting part of your quilt.


