Are you looking for an easy way to hang a quilt on your wall? Then you’ve come to the right place! In this article, we will provide you with a step-by-step guide on how to make a quilt wall hanger in just 8 simple steps. With clear instructions and helpful visuals, you’ll be able to make a beautiful quilt wall hanger in no time. So get your supplies ready and let’s get started!
Materials Needed
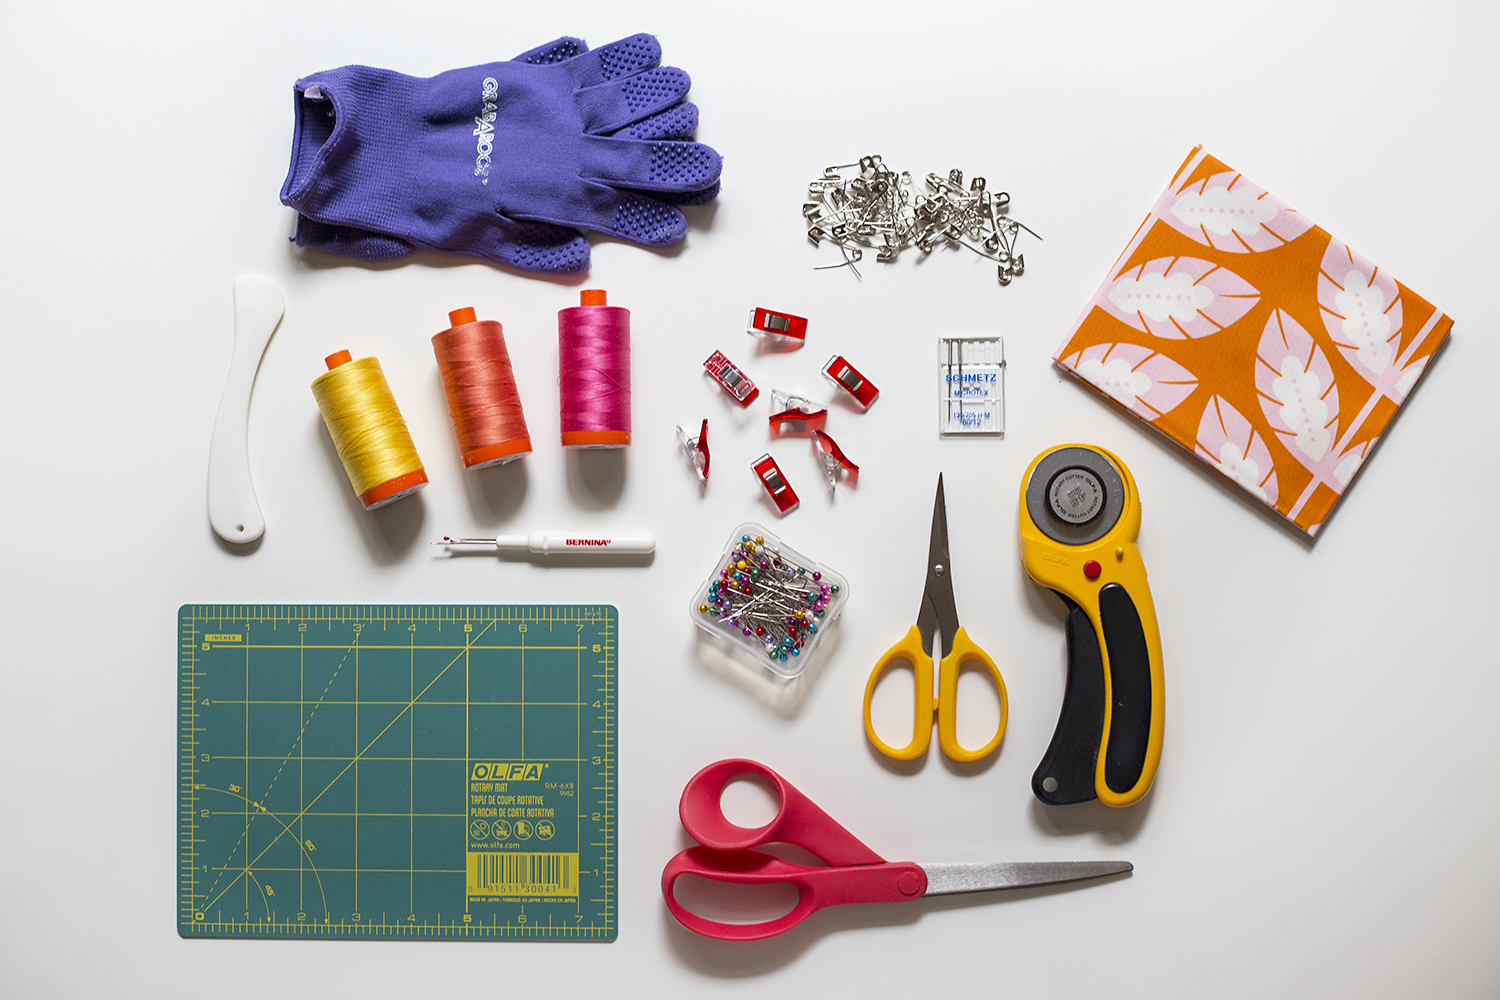
| Item | Quantity |
|---|---|
| Fabric for the quilt wall hanger | 1/2 yard |
| Fabric for the hanger backing | 1/2 yard |
| Batting | 1/2 yard |
| Thread | As needed |
| Ribbon | As needed |
| Ruler | As needed |
| Scissors | As needed |
| Sewing machine | As needed |
| Hanging sleeve for a small quilt | As needed |
Making a Hanging Sleeve for a Small Quilt
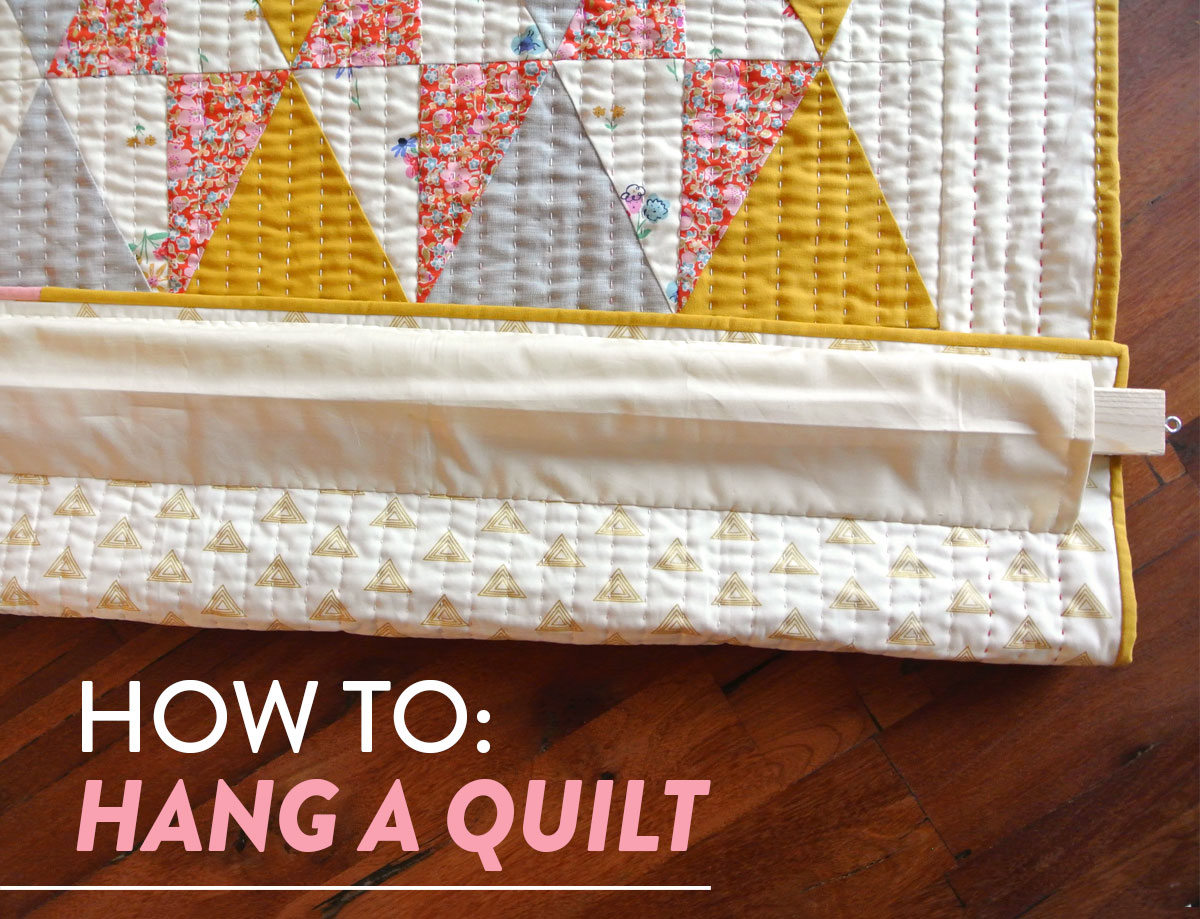
Measuring and Cutting the Fabric
Choose a lightweight fabric that coordinates with your quilt. Measure the length and width of the quilt and add 6 inches to each measurement. Cut two pieces of fabric to these measurements.
Sewing the Pocket
Fold each piece of fabric in half lengthwise with right sides together. Stitch the long side and one short side with a 1/2-inch seam allowance. Turn right side out and press.
Topstitch along the open edge. Make sure to backstitch at the beginning and end to reinforce.
Fold the pocket in half and press with the topstitch seam in the center.
Attach the pocket to the back of the quilt with a 1/4-inch seam allowance. Make sure to backstitch at the beginning and end to reinforce.
Your quilt is now ready to hang! With this easy step-by-step guide, you now know how to make a pocket to hang a quilt.
Making a Pocket to Hang a Quilt
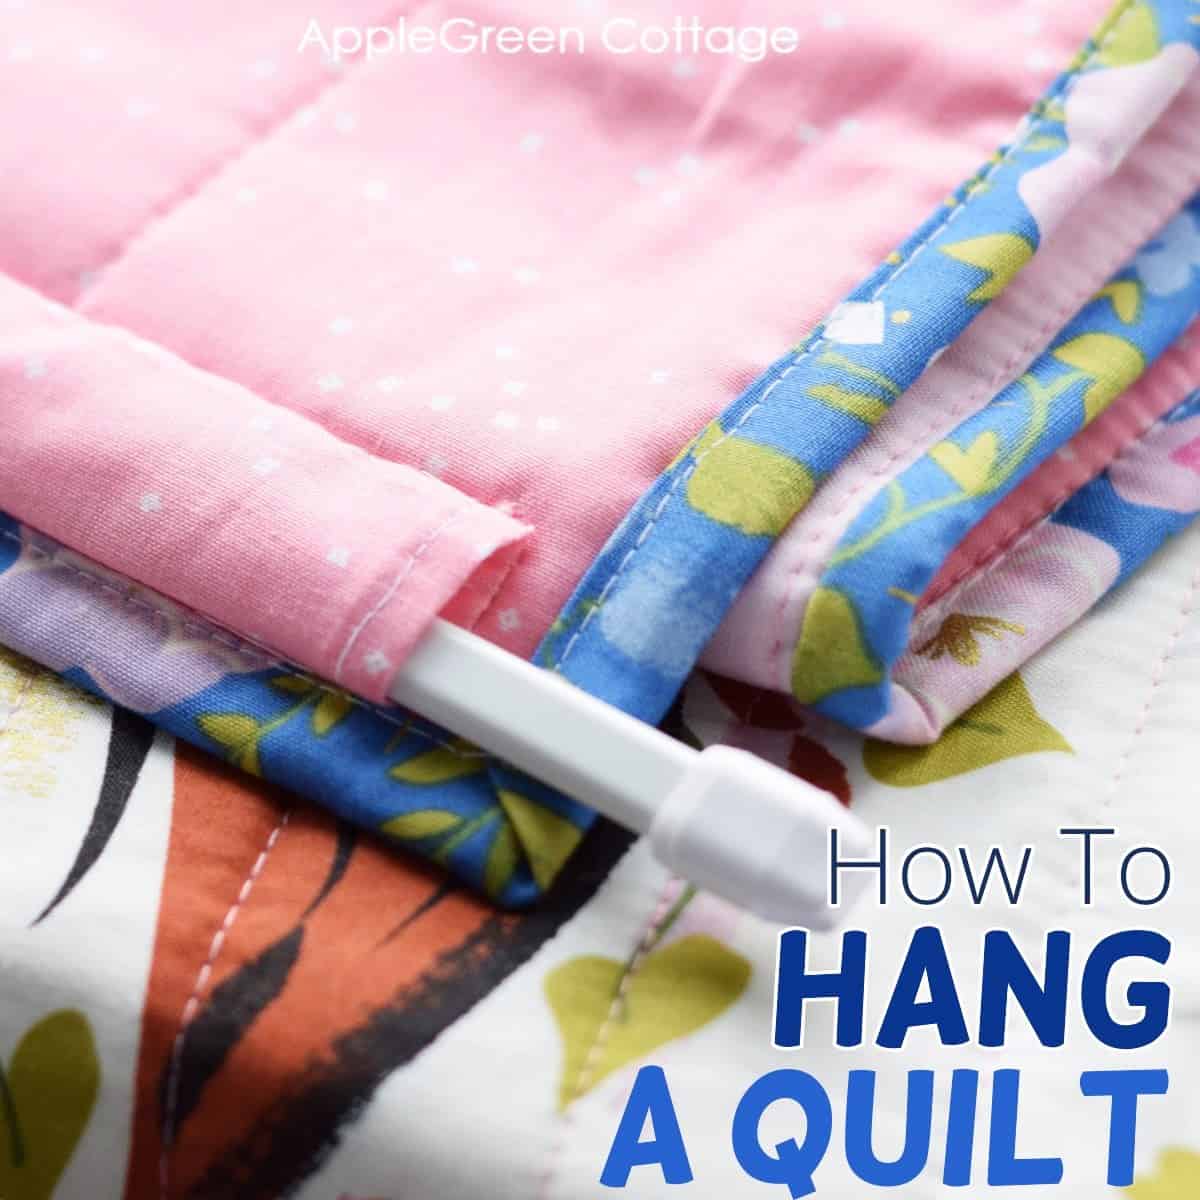
Measuring and Cutting the Fabric
To make a pocket for hanging a quilt, start by measuring and cutting a piece of fabric. The size should be slightly larger than the quilt, as it will be folded over the back. You will need two pieces of fabric that are the same size.
Sewing the Pocket
Fold the fabric in half and sew the edges together, leaving a small opening at the top for the hanging rod. Sew a line of stitches down the center of the pocket, to create two halves. Then, add a back to the quilt for hanging by folding over the sides of the pocket and sewing them to the back of the quilt.
Adding a Back to the Quilt for Hanging
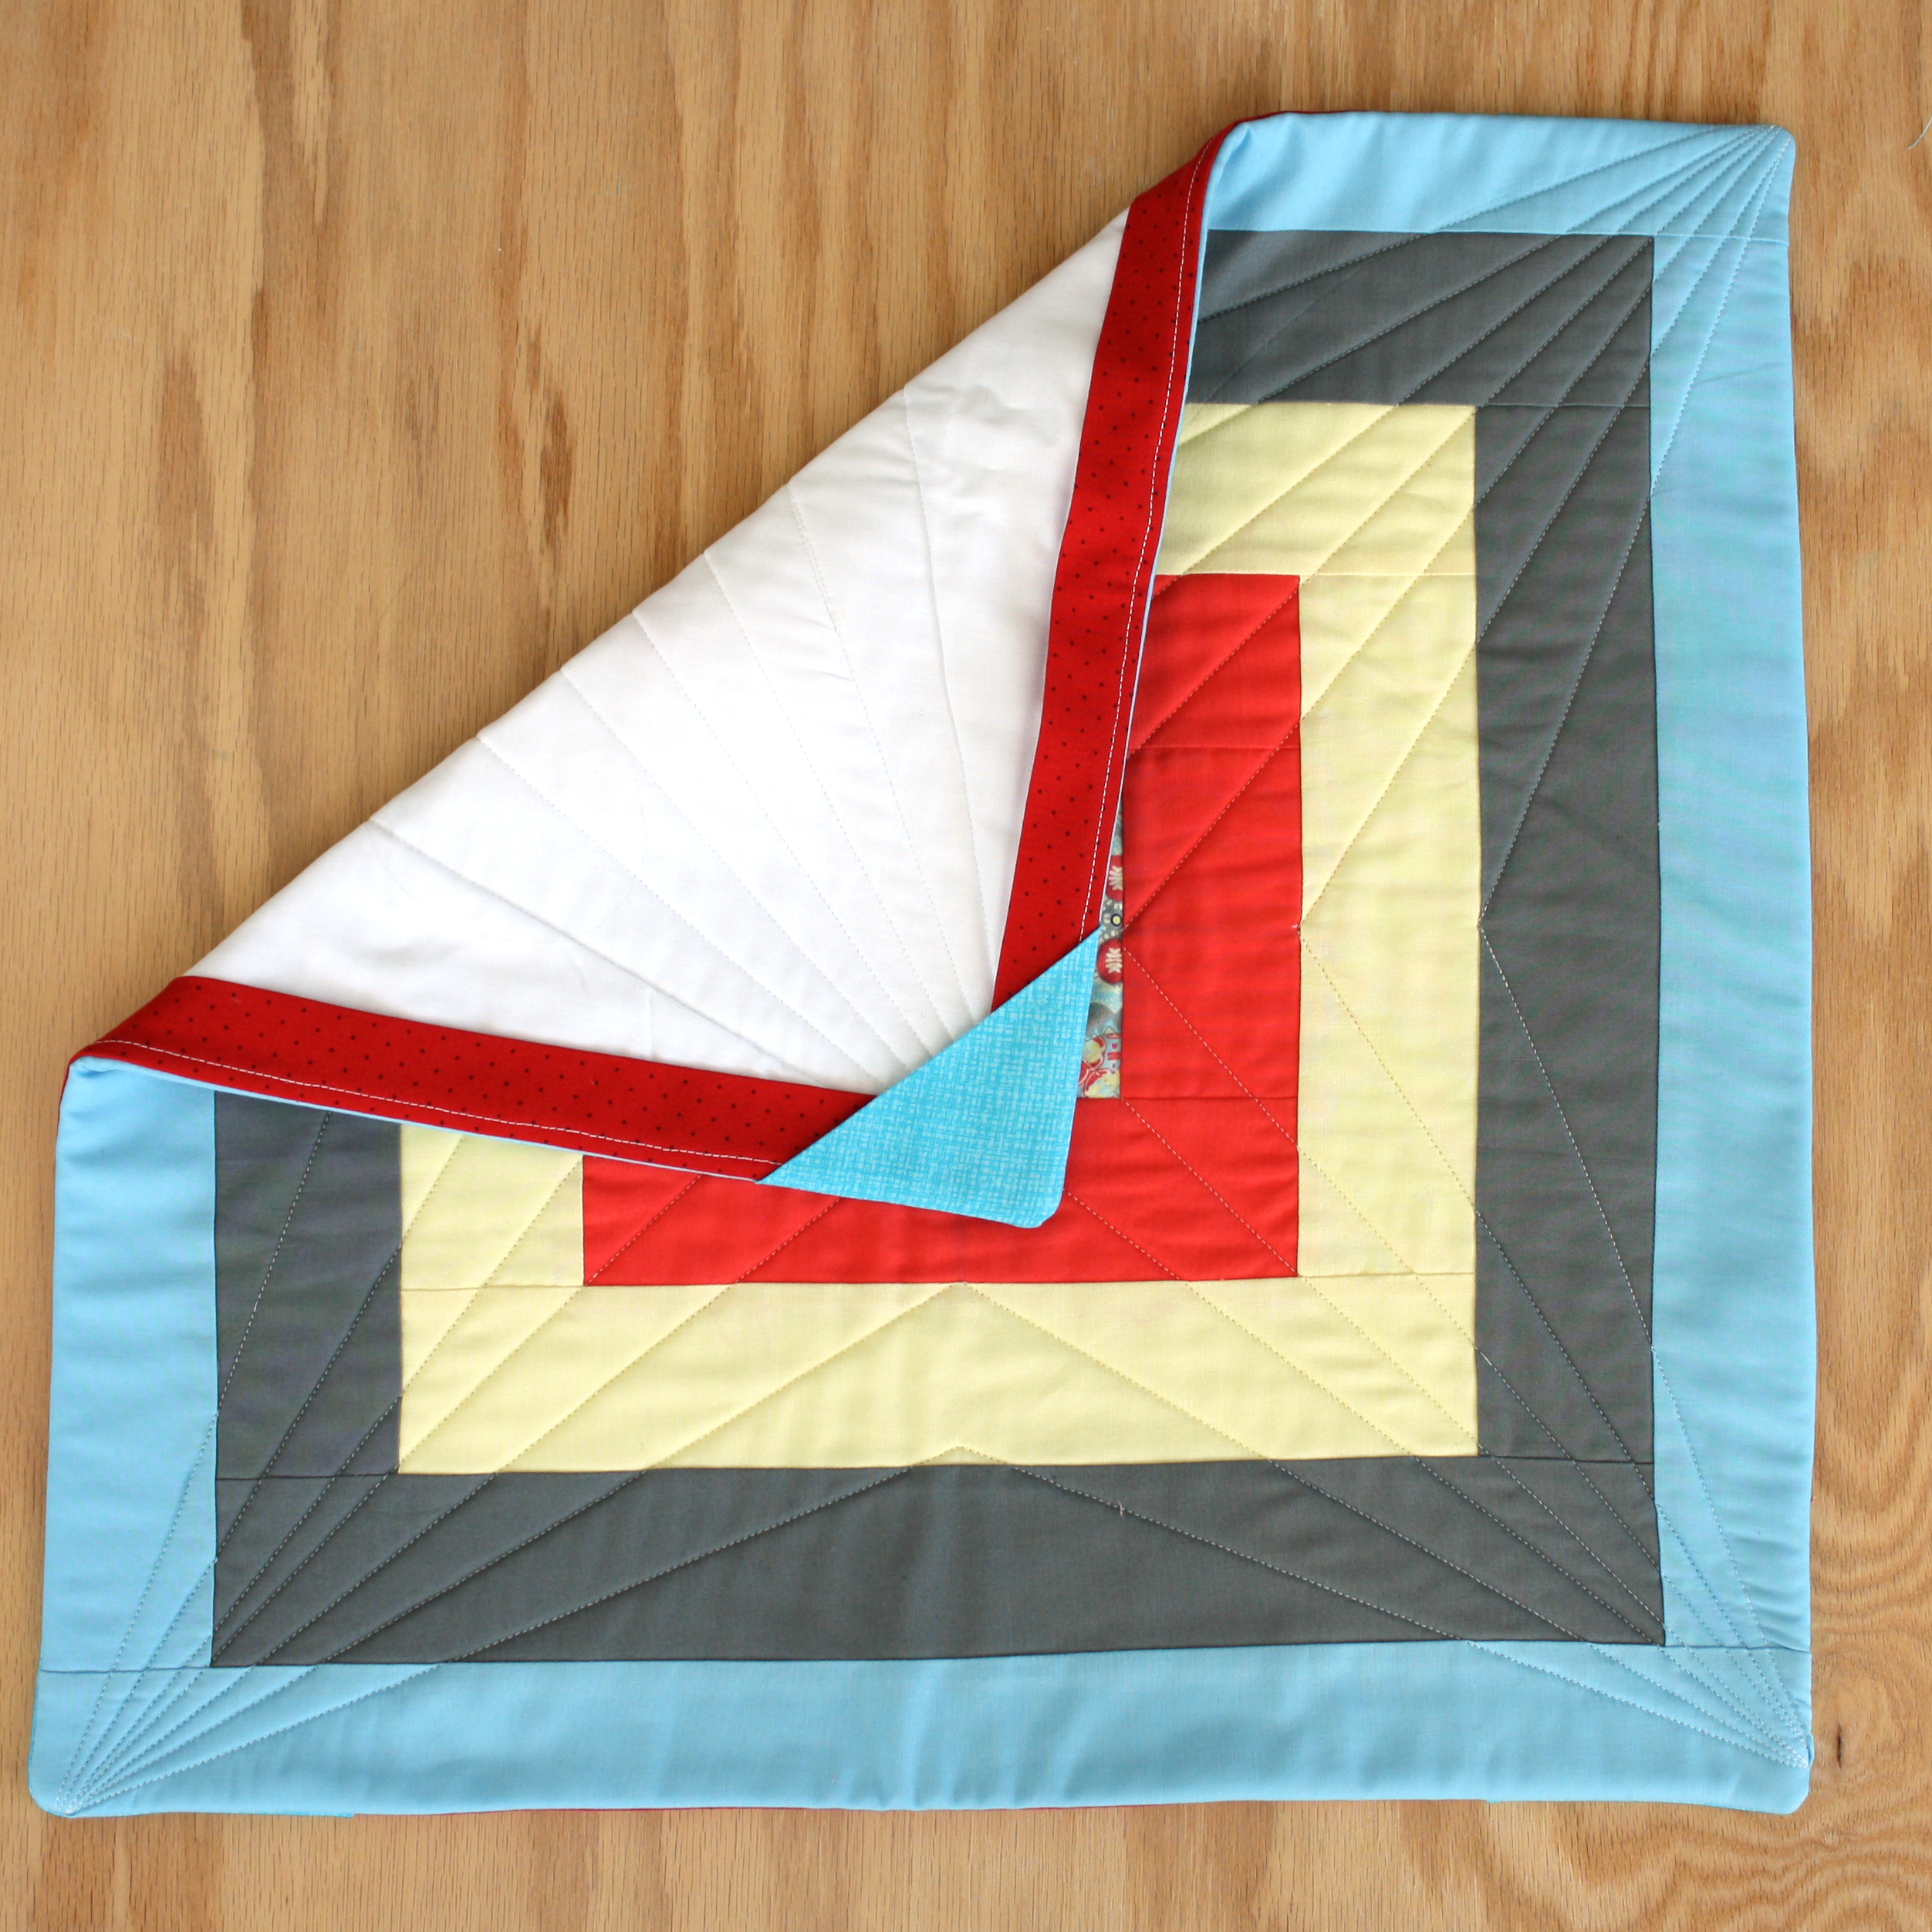
Measuring and Cutting the Fabric
Measure the quilt top and add 12 inches to each side. Cut a piece of fabric that size. For example, if the quilt top is 20″ x 30″, the piece of fabric should be 52″ x 42″.
Sewing the Back
Place the quilt top on the fabric and cut it to the same size as the quilt top. Fold the fabric in half with the wrong sides together. Pin the edges together and sew a 1/2 inch seam. Turn the fabric right side out. Place the quilt top on top and pin the edges together. Sew a 1/2 inch seam to attach the quilt top and the back fabric. To add a rod pocket, fold the top edge of the fabric over 1/2 inch and press. Fold the edge of the fabric over 1 1/2 inches and press. Pin the edges and sew a 1/4 inch seam. Repeat for the bottom edge of the quilt.
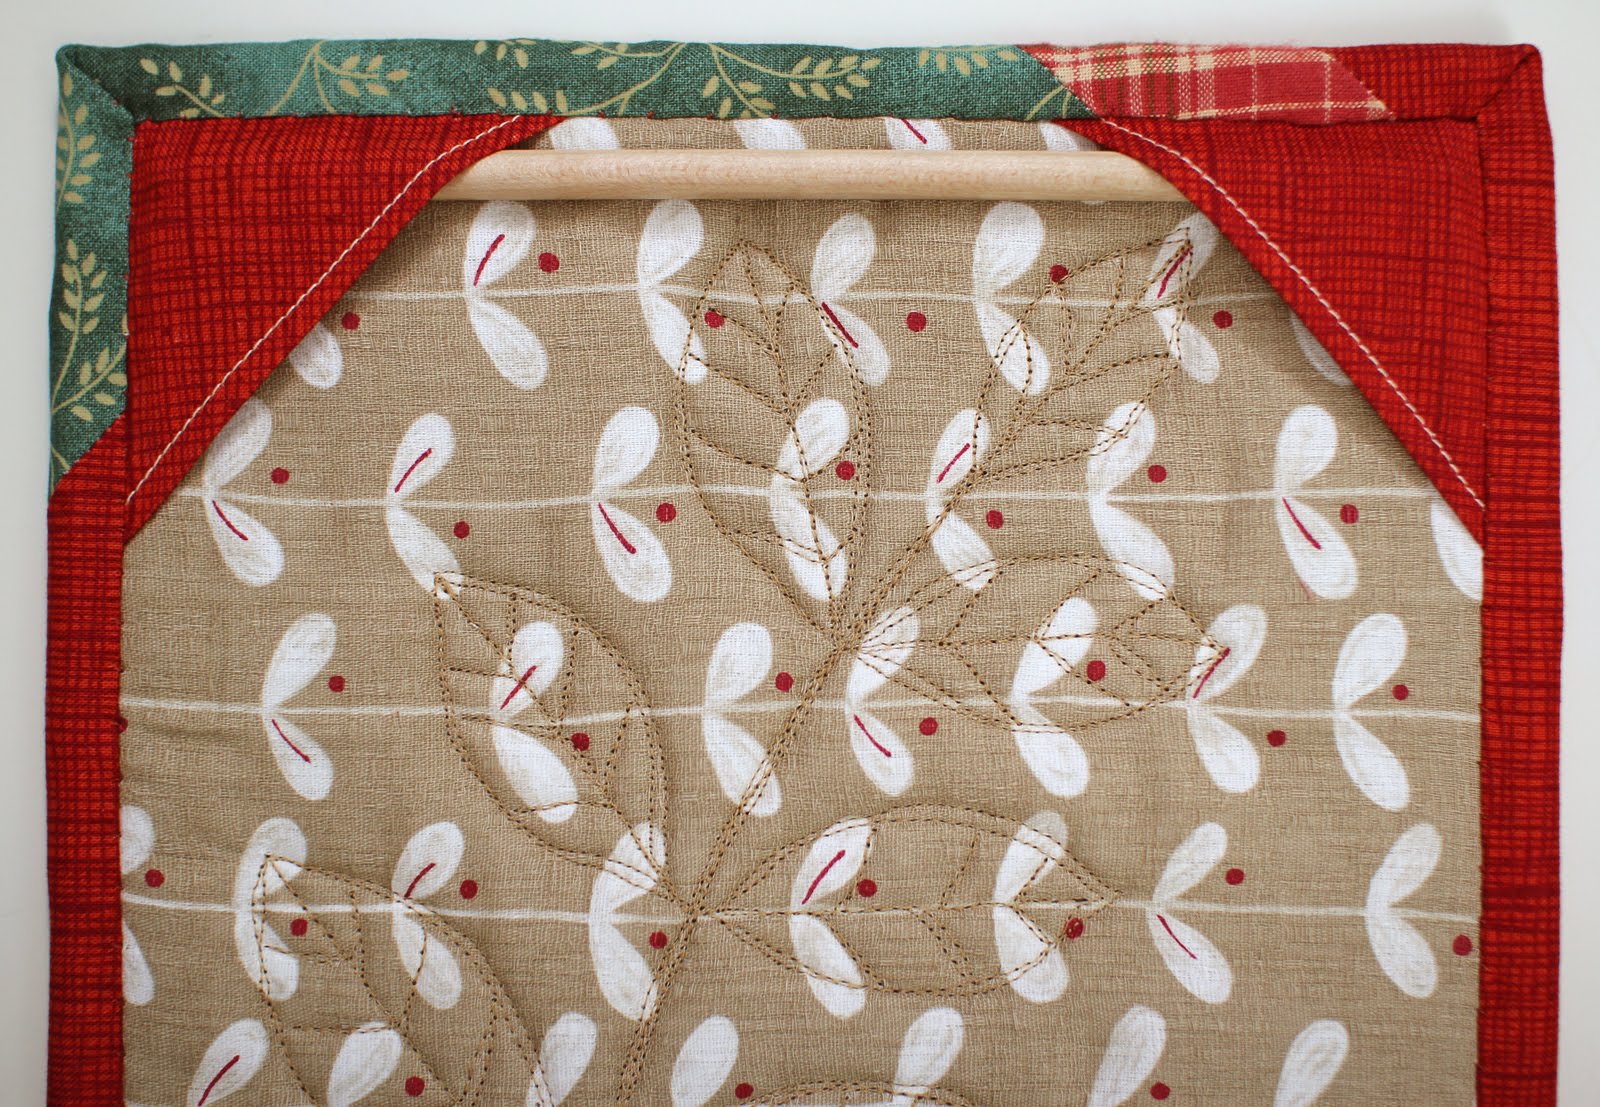
Adding a Rod Pocket to the Quilt
Measuring and Cutting the Fabric
Measure the top of the quilt, from side to side, and be sure to add 1 ½ inches for the seam allowance. Cut a piece of fabric with the same width, and a length that is twice the width. For example, if the quilt is 36 inches wide, cut a piece of fabric that is 37 ½ inches long and 36 inches wide.
Sewing the Pocket
Fold the fabric in half, lengthwise, and press a crease in the center. Open up the fabric and fold each side in to meet the center crease and press again. Sew the two sides together along the center crease. Open the fabric and fold each side in, creating a rod pocket. Sew around the edge of the rod pocket, leaving a 1 ½ inch seam allowance.
Insert the rod into the pocket and pin it into place. Sew along the edge of the rod pocket, securing the rod in place. Back the quilt with a thin batting and quilt as desired. How do I back a quilt for hanging? Place the rod pocket on the back of the quilt and pin it in place. Sew around the edge of the rod pocket and quilt as desired.
Hanging the Quilt
Positioning the Rod Pocket on the Quilt
To create a rod pocket on the quilt, measure the quilt and decide how wide to make the pocket. The pocket should be slightly wider than the rod or dowel that will be used for hanging the quilt. Mark the pocket on the quilt with pins and cut the fabric. It is best to use a rotary cutter and cutting mat for this. Sew the pocket along the marked lines using a straight stitch, making sure to backstitch at the beginning and end.
Adding the Hanging Hardware
Fold the top of the pocket over the rod or dowel and secure it with pins. Sew the pocket to the quilt, making sure to backstitch at the beginning and end.
Hanging the Quilt
Once the pocket is in place and secured, attach the hanging hardware such as hooks or picture wire to the back of the quilt. Hang the quilt on the wall and enjoy its beauty.
Frequently Asked Questions
What Type of Fabric Should I Use to Make a Quilt Wall Hanger?
When making a quilt wall hanger, it is important to choose a fabric that is strong and durable. Look for a heavy material like upholstery fabric, canvas, denim, or thick cotton. Avoid light, thin materials such as silk, satin, or chiffon, as these may not hold up for long. When selecting a fabric, consider the weight of the quilt, the size of the quilt wall hanger, and the design of the quilt.
What tools do I need to make a quilt wall hanger?
- Scissors – to cut the fabric
- Pins – to secure the fabric while sewing
- Fabric – to make the quilt wall hanger
- Thread – to sew the fabric together
- Needle – to stitch the fabric together
- Ruler – to measure the fabric
- Iron – to press the fabric
How do I ensure the Quilt Wall Hanger is Securely Hung?
- Check the wall material – Before hanging the quilt wall hanger, it is important to check the wall material. If you are hanging the hanger on drywall, use wall anchors to ensure the hanger is secure. If you are hanging the hanger on brick, use masonry screws to ensure a secure hold.
- Measure twice and mark – Measuring twice and marking the spot where you want to hang the quilt wall hanger is essential. This will ensure the hanger is hung in the correct place and at the correct height.
- Drill – Drill a hole where you marked the wall. Make sure to use the correct drill bit for the material of the wall, and to drill at the correct depth.
- Attach the hanger – Use the screws that come with the quilt wall hanger to securely attach it to the wall. Make sure to use the correct screw for the material of the wall.
- Check for stability – Once the quilt wall hanger has been hung, check to make sure it is secure and stable. If you notice any movement or instability, use additional anchors or screws to secure the hanger.
How do I measure the size of the quilt wall hanger?
Measure the length and width of the quilt. Add 6 inches to the length and width measurements to give the quilt enough room to hang over the sides. This is the size the hanger should be. Cut four pieces of wood to the calculated measurements. Sand the edges and corners of the wood until smooth.
What finishes can I use to make a quilt wall hanger look more professional?
- Paint – Use a high quality paint to give the hanger a professional look. You can paint with either a brush or spray paint.
- Stain – A wood stain can give the hanger a more elegant look. Make sure to use a stain specifically made for wood.
- Varnish – Applying a protective coat of varnish to the hanger will help protect it from any wear and tear. Make sure to use a varnish that is compatible with the type of wood you are using.
- Polyurethane – Applying a coat of polyurethane to the hanger will help seal and protect it from dirt and moisture. Make sure to use a polyurethane that is compatible with the wood.
- Stencils – Applying stencils to the hanger will give it a unique and professional look. You can use any type of stencil that you like.
Conclusion
Making a quilt wall hanger is a great way to show off and protect your treasured quilts. This simple guide has outlined the 8 steps needed to complete the project, including collecting materials, cutting the quilt, and making the hanger itself. With the right supplies and a bit of dedication, you can have a beautiful quilt wall hanger in no time.
References
- How to Make a Quilt Wall Hanger by Crafty Staci
- How to Sew a Quilt Wall Hanger by Sew Very Easy
- Quilt Wall Hangings: An Introduction from University of Florida


