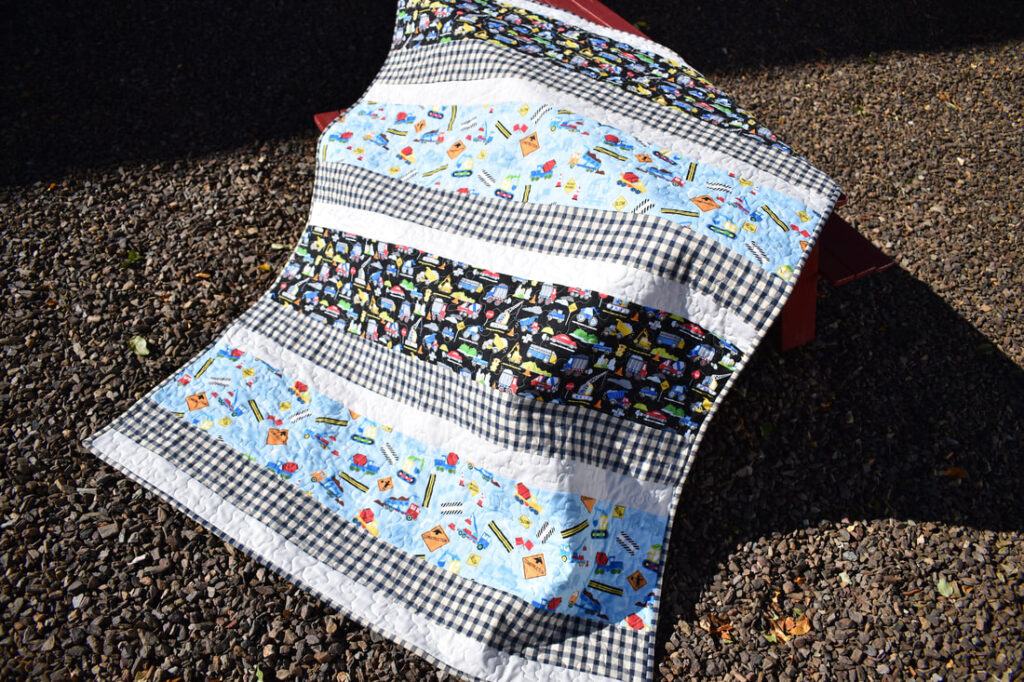
Are you looking for an easy-to-follow guide on how to make a strip quilt? If so, you have come to the right place! This guide will provide you with all the information you need to make a beautiful strip quilt with ease. We will discuss the materials you need, the different steps involved, and tips to help you along the way. By the end of this guide, you will be equipped with the knowledge and the confidence to make your own strip quilt. So let’s get started!
Gathering Materials
How to make a strip quilt for beginners:
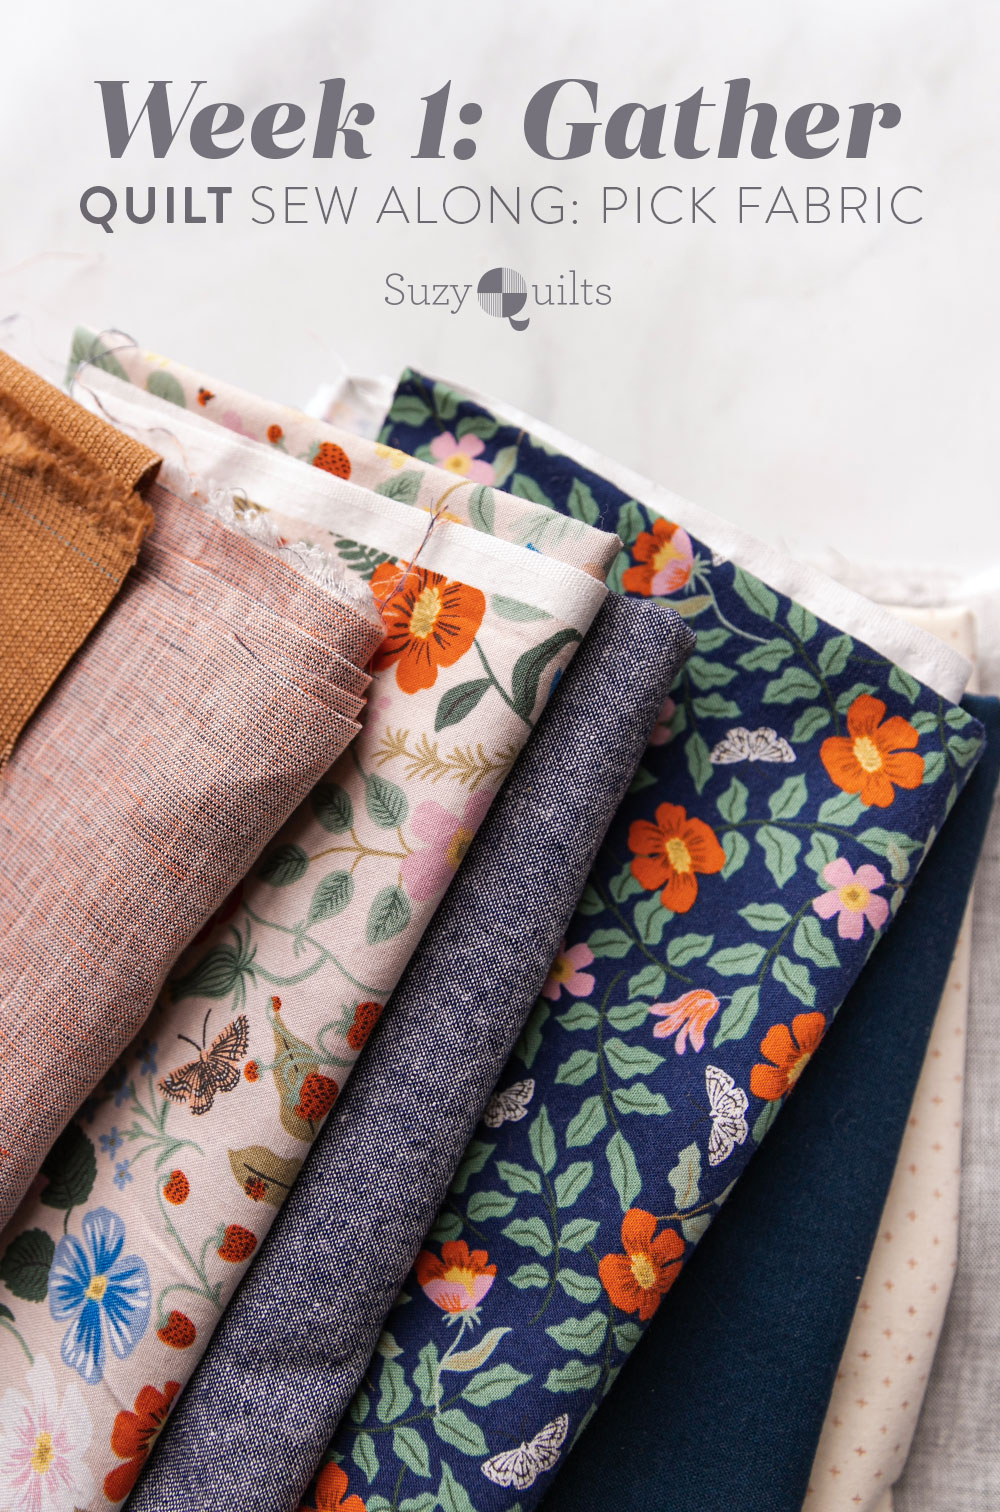
- Fabric scraps in various prints and colors
- Fabric for backing
- Batting
- Thread
- Sewing machine
- Scissors
- Rotary cutter
- Ruler
- Iron
Before you begin your strip quilt, make sure you have everything you need to get started. You will need fabric scraps in various prints and colors, fabric for the backing, batting, thread, a sewing machine, scissors, rotary cutter, ruler, and an iron.
Planning the Strip Quilt

- Measure the Fabric: Measure the quilt top and then double the width to get the amount of fabric needed for the strips.
- Choose the Color: Choose colors that will coordinate with the rest of the quilt.
- Cut the Strips: Cut the fabric into strips that are the same size.
- Iron the Strips: Iron each strip to make sure all the edges are even and flat.
- Sew the Strips Together: Sew the strips together in the order you want them to be in the quilt top.
- Press the Seams: Press the seams open to reduce bulk and create a flatter quilt top.
- Quilt the Top: Quilt the top in the desired pattern and use batting and backing to complete the quilt.
Once you have the fabric cut and pressed, you can begin the process of how to make a simple strip quilt. Sew the strips together in the order you want them to be in the quilt top and press the seams open. Quilt the top in the desired pattern and use batting and backing to complete the quilt. Finally, bind the quilt and finish it off with a label.
Cutting the Fabric Strips
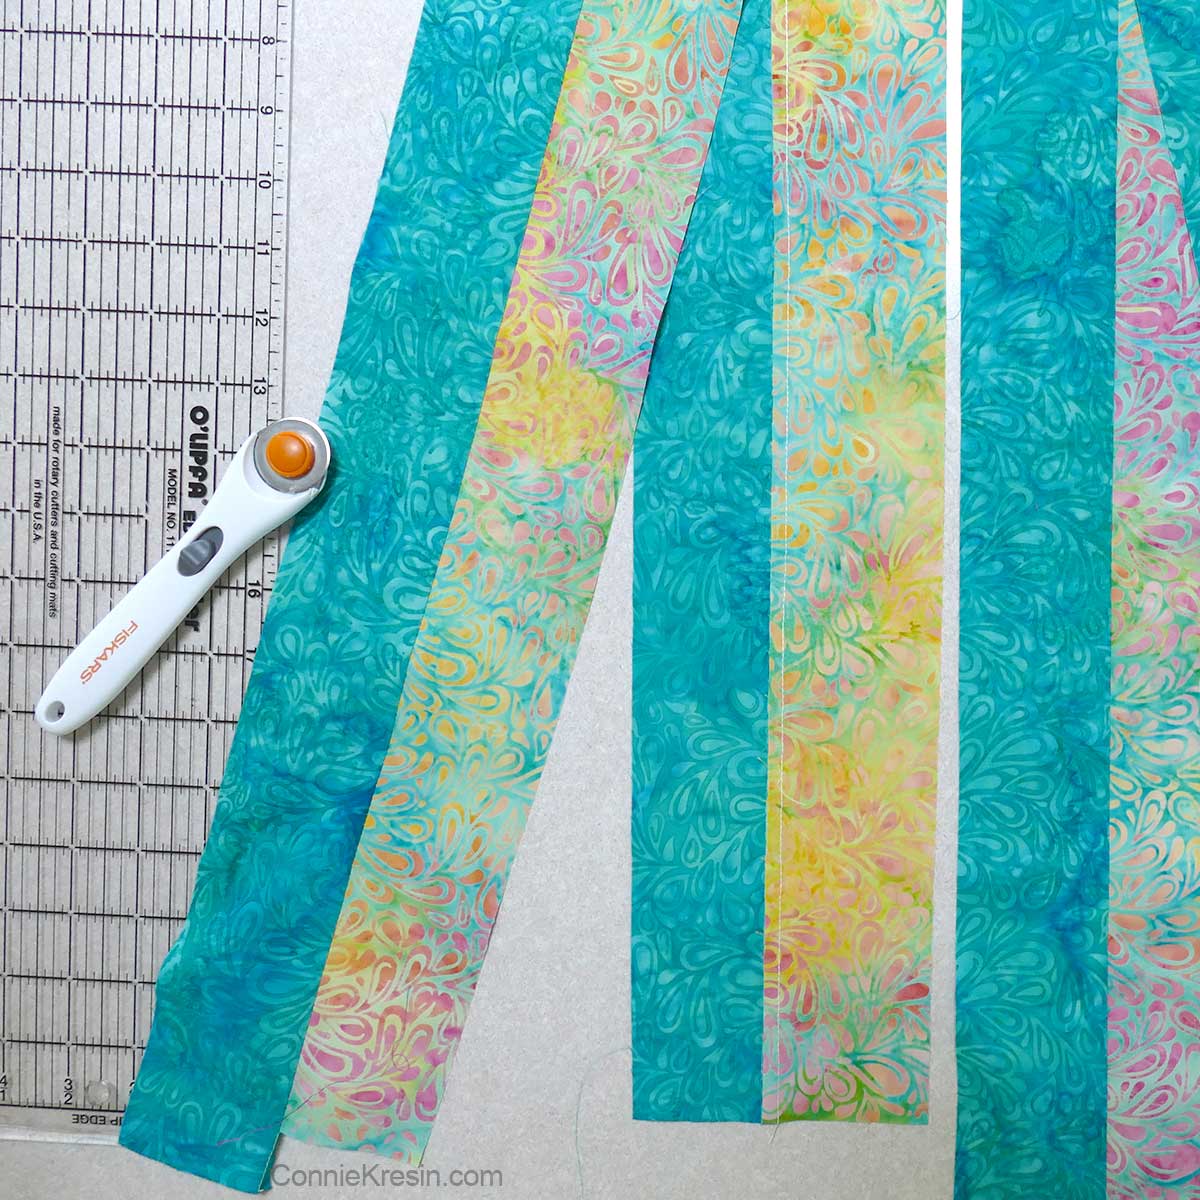
Cut pieces of fabric into 2.5 inch strips using a rotary cutter and self-healing mat. The strips should be the same width, so that your quilt will look even. Measure twice, cut once. If you are using several different fabrics for the strips, it might be helpful to group them together by color. Once you have all the strips cut, lay them out on the floor or a large table to get an idea of the pattern you want to create with the colors. If you are feeling creative, try mixing up the colors and patterns of the fabric strips. Now you are ready to start piecing together your strip quilt.
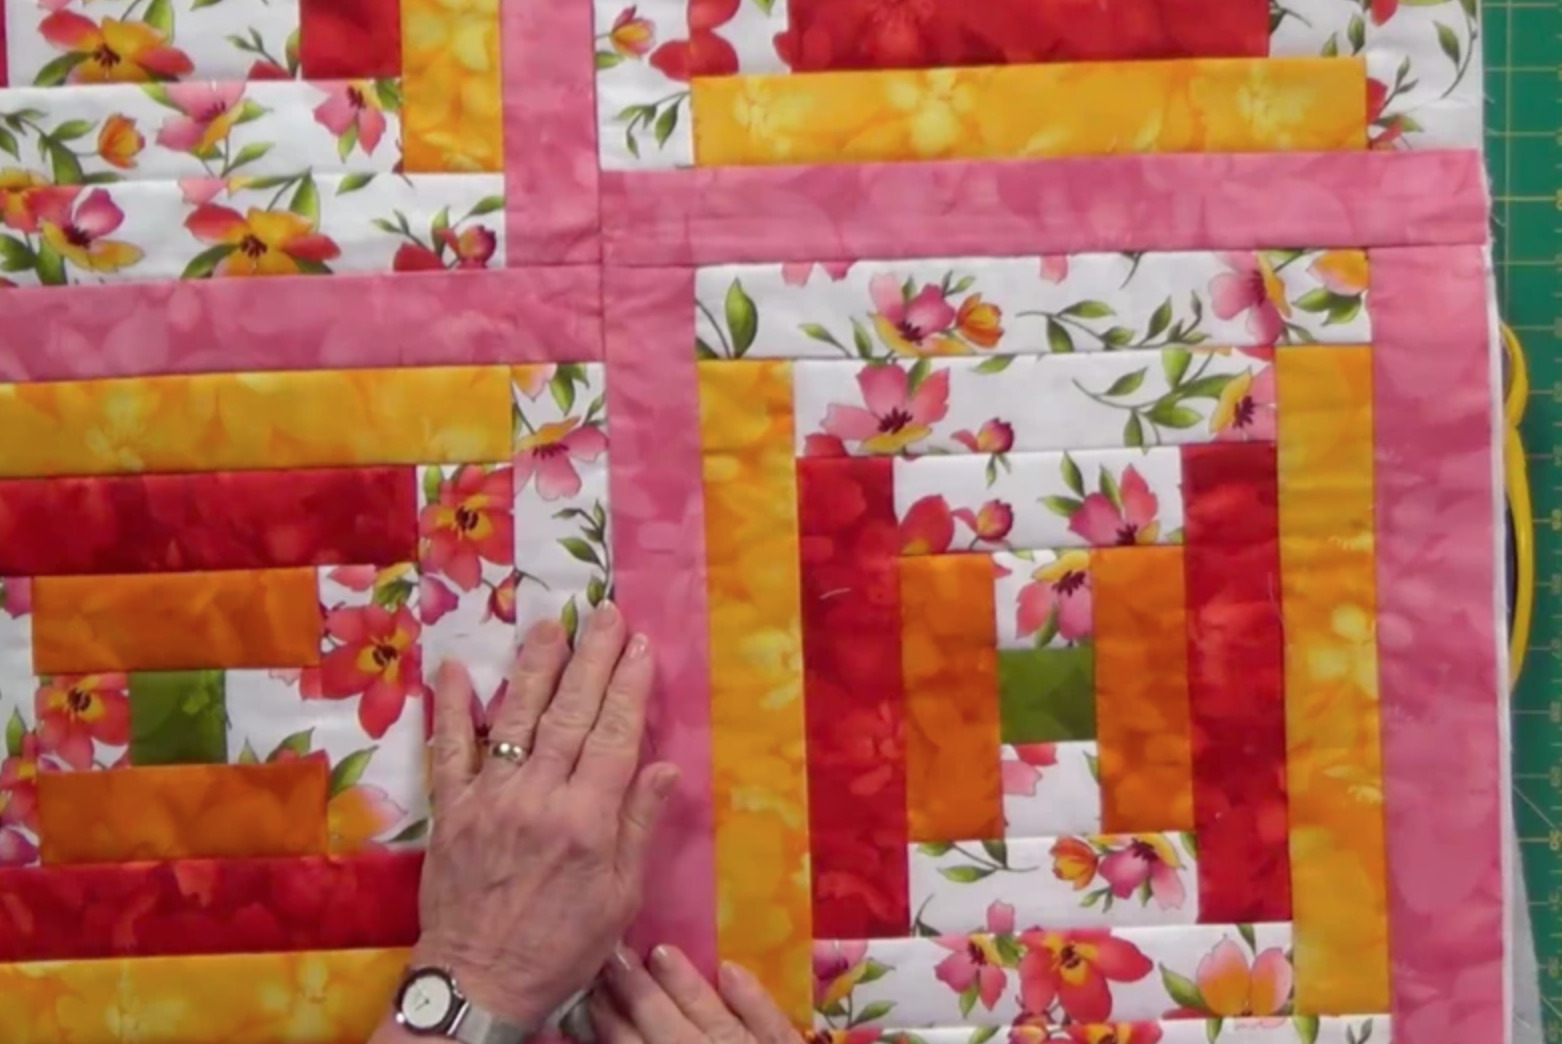
Piecing the Strips Together
Step 1: Lay out one strip of fabric for the top of your quilt and one for the bottom. Make sure the strips are the same length and width.
Step 2: Place the two strips together and pin them at the top and bottom. Make sure the fabric is facing in the same direction.
Step 3: Sew the two strips together along the top and bottom, using a straight stitch.
Step 4: Repeat with the remaining strips, alternating the order in which you sew them together.
Step 5: Press the seams to one side.
Step 6: Trim any excess fabric from the edges of the strips, ensuring that they are all the same width.
Step 7: Sew the strips together in the same order that they were sewn in the previous steps.
Step 8: Press the seams to one side.
Step 9: Trim any excess fabric from the edges of the strips, ensuring that they are all the same width.
Step 10: Your strip quilt top is now complete. Follow the instructions in the next section to attach a backing and finish your strip quilt.
Joining the Strip Pieces Together
When making a strip quilt, the most important step is to join the strip pieces together. To do this, take two strips of fabric and place them right sides together. Sew along the short edges, using a ¼ inch seam allowance. Press the seam open with an iron. Place the two strips of fabric right sides together and sew along the long edges using a ¼ inch seam allowance. Press the seam open with an iron. Repeat this process until all of your fabrics are joined together.
To make sure the seams line up correctly when joining the strips, use a technique called ‘nesting’. Nesting is when you place the seam of one strip of fabric against the seam of another strip of fabric. This helps to create a neat, straight line of seams when the quilt is finished.
When all of the strips have been joined together, you should have one long strip set. Now you can start cutting your strips into the desired size and shape. If you are unsure of how to do this, there are many tutorials online on how do you do strip quilts.
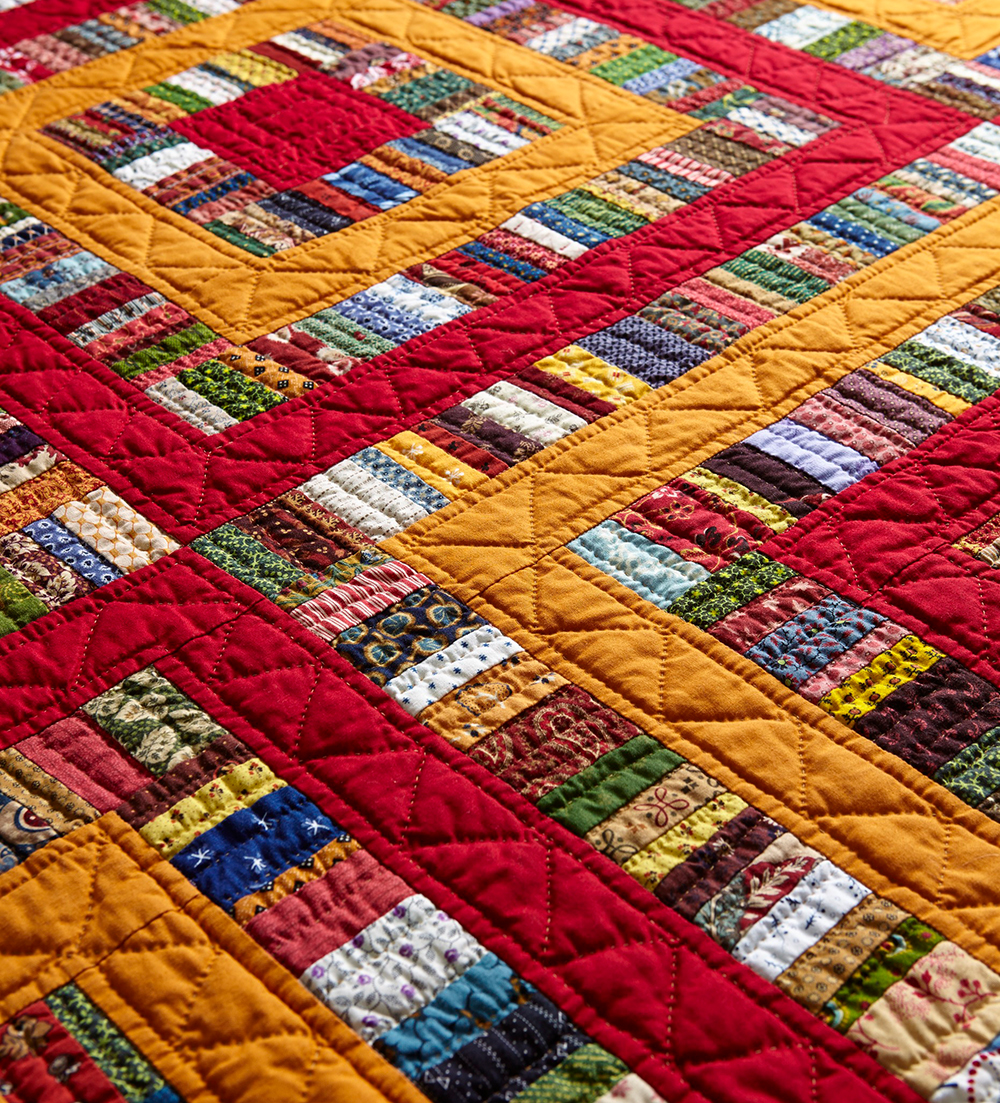
Quilting the Strips
- Lay the strips out: Start by laying out the strips on the quilting surface. Arrange them in the desired pattern and check for any imperfections or flaws that need to be corrected.
- Cut the strips: Once you’re satisfied with the pattern, use a rotary cutter or scissors to cut the strips into the desired size.
- Pin the strips: Pin the strips together in the desired pattern. Make sure to use pins that are long enough to hold the strips together without slipping.
- Sew the strips: Use a sewing machine to sew the strips together. Make sure to use a stitch length that will securely hold the strips together.
- Press the seams: After sewing the strips together, press the seams with an iron. This will ensure that the seams are flat and even.
- Baste the quilt: Baste the quilt top, batting, and backing together. This will make it easier to quilt the strips together.
- Quilt the strips: Use a quilting machine to quilt the strips together. Quilting the strips will help to secure the quilt together and give it a polished look.
- Bind the quilt: Use a binding tape to bind the quilt. This will give the quilt a neat and professional finish.
Finishing the Strip Quilt
- Choose the Layout: Decide on the layout of your strip quilt before sewing the quilt together. You can choose a basic layout such as a checkerboard pattern, a diagonal pattern, or a straight pattern. You can also mix and match colors and fabric textures to create a unique pattern.
- Cutting: Cut the fabric into strips of even width. You can use a rotary cutter and a ruler to make sure the strips are even. Make sure to include seam allowances so that the strips will fit together properly.
- Sewing: Sew the strips together with a sewing machine. Make sure to use an appropriate stitch length for the fabric type and weight. Sew the strips together in the desired pattern. Use pins to keep the strips aligned while sewing.
- Basting: Baste the strips together by hand. This will keep the strips in place while you quilt the quilt top. Baste the strips together with a running stitch, or with a basting spray.
- Quilting: Quilt the quilt top with a machine or by hand. Use a quilting stitch of your choice such as a straight stitch, a cross stitch, or a zigzag stitch. Quilt the quilt top in the desired pattern.
- Binding: Bind the quilt edges with a binding fabric. Start by sewing the binding fabric to the quilt top with a ¼ inch seam allowance. Then fold the binding fabric over the quilt edges and hand stitch the binding in place.
- Finishing: Finish the quilt by hand stitching a label to the back of the quilt. Include the quilt maker’s name and the date the quilt was made. Hang the finished quilt and enjoy!
Frequently Asked Questions
What type of fabric should I use for a strip quilt?
- Cotton: The most popular choice for quilting, cotton is a natural, breathable fabric with a variety of colors and patterns to choose from.
- Flannel: Soft, warm flannel is a good choice for quilts meant for colder climates.
- Linen: Linen is a lightweight, breathable fabric with natural anti-wrinkle properties.
- Silk: Silk is a luxurious fabric that is perfect for making a quilt with a more elegant look.
- Wool: Wool is a great insulator and is perfect for making quilts that are designed to keep you warm.
- Synthetics: Synthetic fabrics, such as polyester, are an affordable option and come in a variety of colors and patterns.
No matter what type of fabric you choose, make sure it is pre-washed to prevent shrinkage and fading.
Is it necessary to pre-wash my fabric before beginning the quilt?
Yes, it is essential to pre-wash your fabric before beginning a quilt. This is because fabric usually shrinks in the wash and, if it is not pre-washed, the quilt will not fit after it is finished. Pre-washing also ensures that any dirt, oils, or dyes are removed from the fabric before it is used.
- Pre-washing removes dirt, oils, or dyes from the fabric.
- It shrinks the fabric, so the quilt will fit properly when finished.
- It makes the quilt softer and more comfortable.
- It prevents the fabric from fading or bleeding in the wash.
In order to pre-wash your fabric, simply machine wash it in cold water with a mild detergent. Do not use fabric softener or bleach. Once washed, tumble dry the fabric on a low heat setting. It is important to note that some fabrics, such as wool, may need to be hand-washed and air-dried instead.
What tools do I need to make a strip quilt?
- Fabric – at least 4 yards of fabric, depending on the size of the quilt.
- Rotary cutter – a sharp rotary cutter is needed to cut the fabric into strips.
- Ruler – a ruler is used to measure the strips of fabric.
- Iron – an iron is used to press the fabric strips and to press the seams.
- Thread – a suitable thread should be chosen for the quilt.
- Sewing machine – a sewing machine is needed to sew the fabric strips together.
- Pins – pins are used to hold the fabric strips in place while sewing.
- Scissors – scissors are used to trim the seams and to cut the fabric.
- Batting – batting is used as the middle layer of the quilt.
- Backing fabric – backing fabric is used as the bottom layer of the quilt.
How many strips are typically used in a strip quilt?
A strip quilt typically uses anywhere from 3 to 8 strips of fabric. The strips can be of varying widths, ranging from 1/2 inch to 6 inches, depending on the design. The strips are usually sewn together in a continuous line and then cut into the desired quilt block shape.
How do I get the Straightest Lines When Piecing the Strips Together?
- Use a Rotary Blade and Ruler – Use a rotary blade and ruler to make sure your strips are cut accurately. Make sure to line up the ruler with the correct measurement before cutting.
- Use a Seam Guide – Use a seam guide to help you align the strips and keep your seams straight. This will help you create uniform strips.
- Press the Seams – Make sure to press the seams open after sewing them together. This will help keep the strips aligned and reduce the bulk in your quilt.
- Measure Twice, Cut Once – Measure twice and cut once to make sure you are cutting the strips to the correct size. This will help to ensure your strips are uniform and your lines are straight.
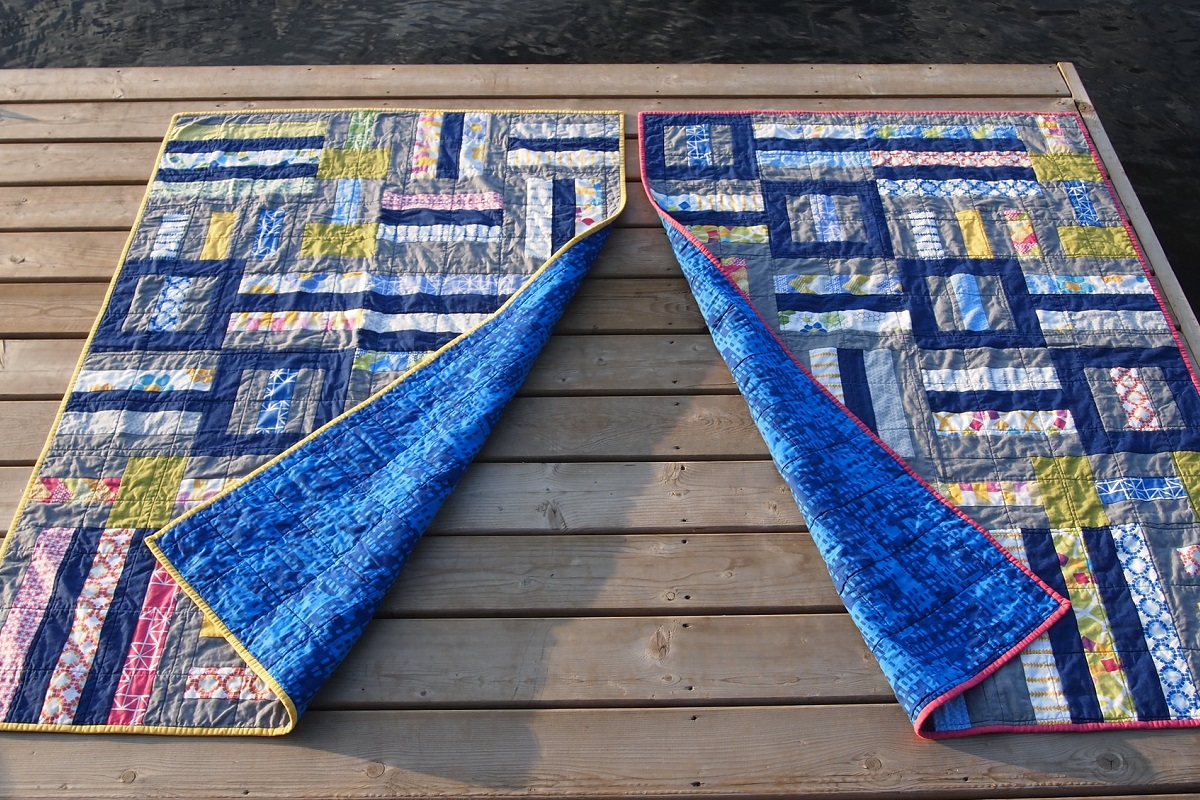
Conclusion
Making a strip quilt is a great way to use up fabric scraps and create a unique quilt. With the right supplies and a few simple steps, anyone can make a strip quilt with ease. The key is to practice patience and take your time when piecing together the strips. With a little practice and attention to detail, you can create a beautiful strip quilt that will last for years to come.


