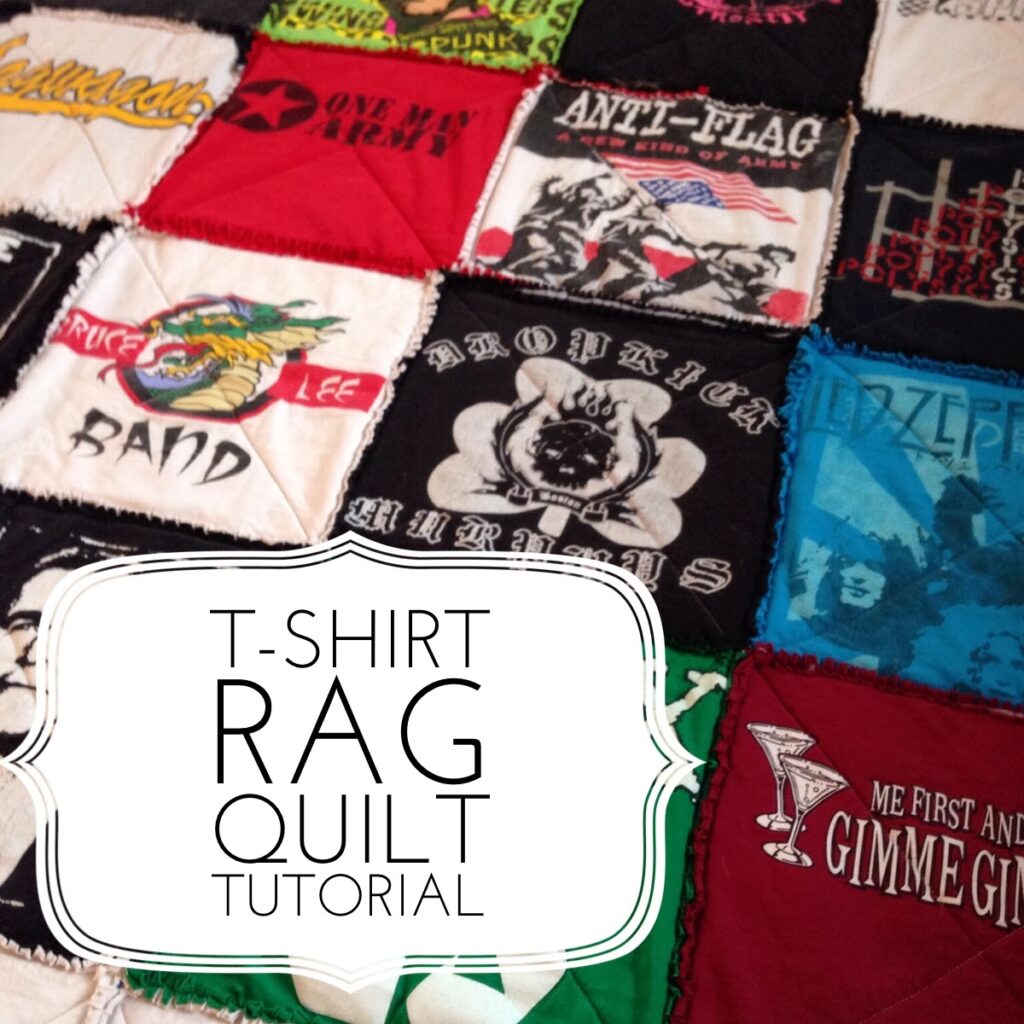
If you’re looking for an easy and affordable way to make a cozy quilt, then a t-shirt rag quilt might be just the project for you. Rag quilts are a fun and easy way to create a beautiful quilt that can be enjoyed for years to come. In this article, we will provide you with a simple 5 step guide on how to make a t-shirt rag quilt, so that you can create a unique and beautiful quilt of your own.
Materials Needed
- 2-3 Sweatshirts – Choose colors and styles that match your taste. It should be easy to cut and sew.
- Thread – Choose the correct thread based on the type of fabric you are using.
- Fabric Scissors – These will be used to cut the fabric pieces.
- Pins – Used to hold the pieces in place while sewing.
- Sewing Machine – This is the main tool that will be used to sew the pieces together.
- Ribbon or Trim (optional) – If desired, you can use this to add a decorative touch to the edges of the quilt.
To make a unique and beautiful sweatshirt rag quilt, these materials are essential. The number of sweatshirts you need depends on the size of the quilt you want to make. Be sure to choose sweatshirts that are easy to cut and sew. Thread should also be chosen depending on the type of fabric used. Pins and fabric scissors will be used to hold the pieces while sewing. Finally, a sewing machine is the main tool used to sew the pieces together. If desired, you can also use ribbon or trim to add a decorative touch to the edges of the quilt.
Preparing the T-Shirts
Choosing the T-Shirts
When creating a T-shirt Rag Quilt, it is important to choose the right T-shirts. Pick T-shirts that are special to you, such as those from memorable places or events, or those with special designs or colors. Consider both the front and back of the T-shirts when making your selection.
Cutting the T-Shirts
Once you have selected the T-shirts, you will need to cut them into squares of the same size. To ensure that your quilt is precise and symmetrical, use a ruler and a rotary cutter to cut your T-shirts into 9-inch squares.
Sewing the T-Shirts Together
Now that all of the T-shirts are cut, it is time to start sewing them together. Place two squares of fabric right sides together, and sew a ¼-inch seam along the edges. Repeat this process to create a patchwork of T-shirt squares. When you have finished sewing all of the squares together, press the seams to keep them flat.
Using a T-shirt Rag Quilt is a great way to preserve special memories by using the T-shirts that commemorate them. By following these steps, you can create a beautiful quilt that will be cherished for years to come.
Making the Quilt Top
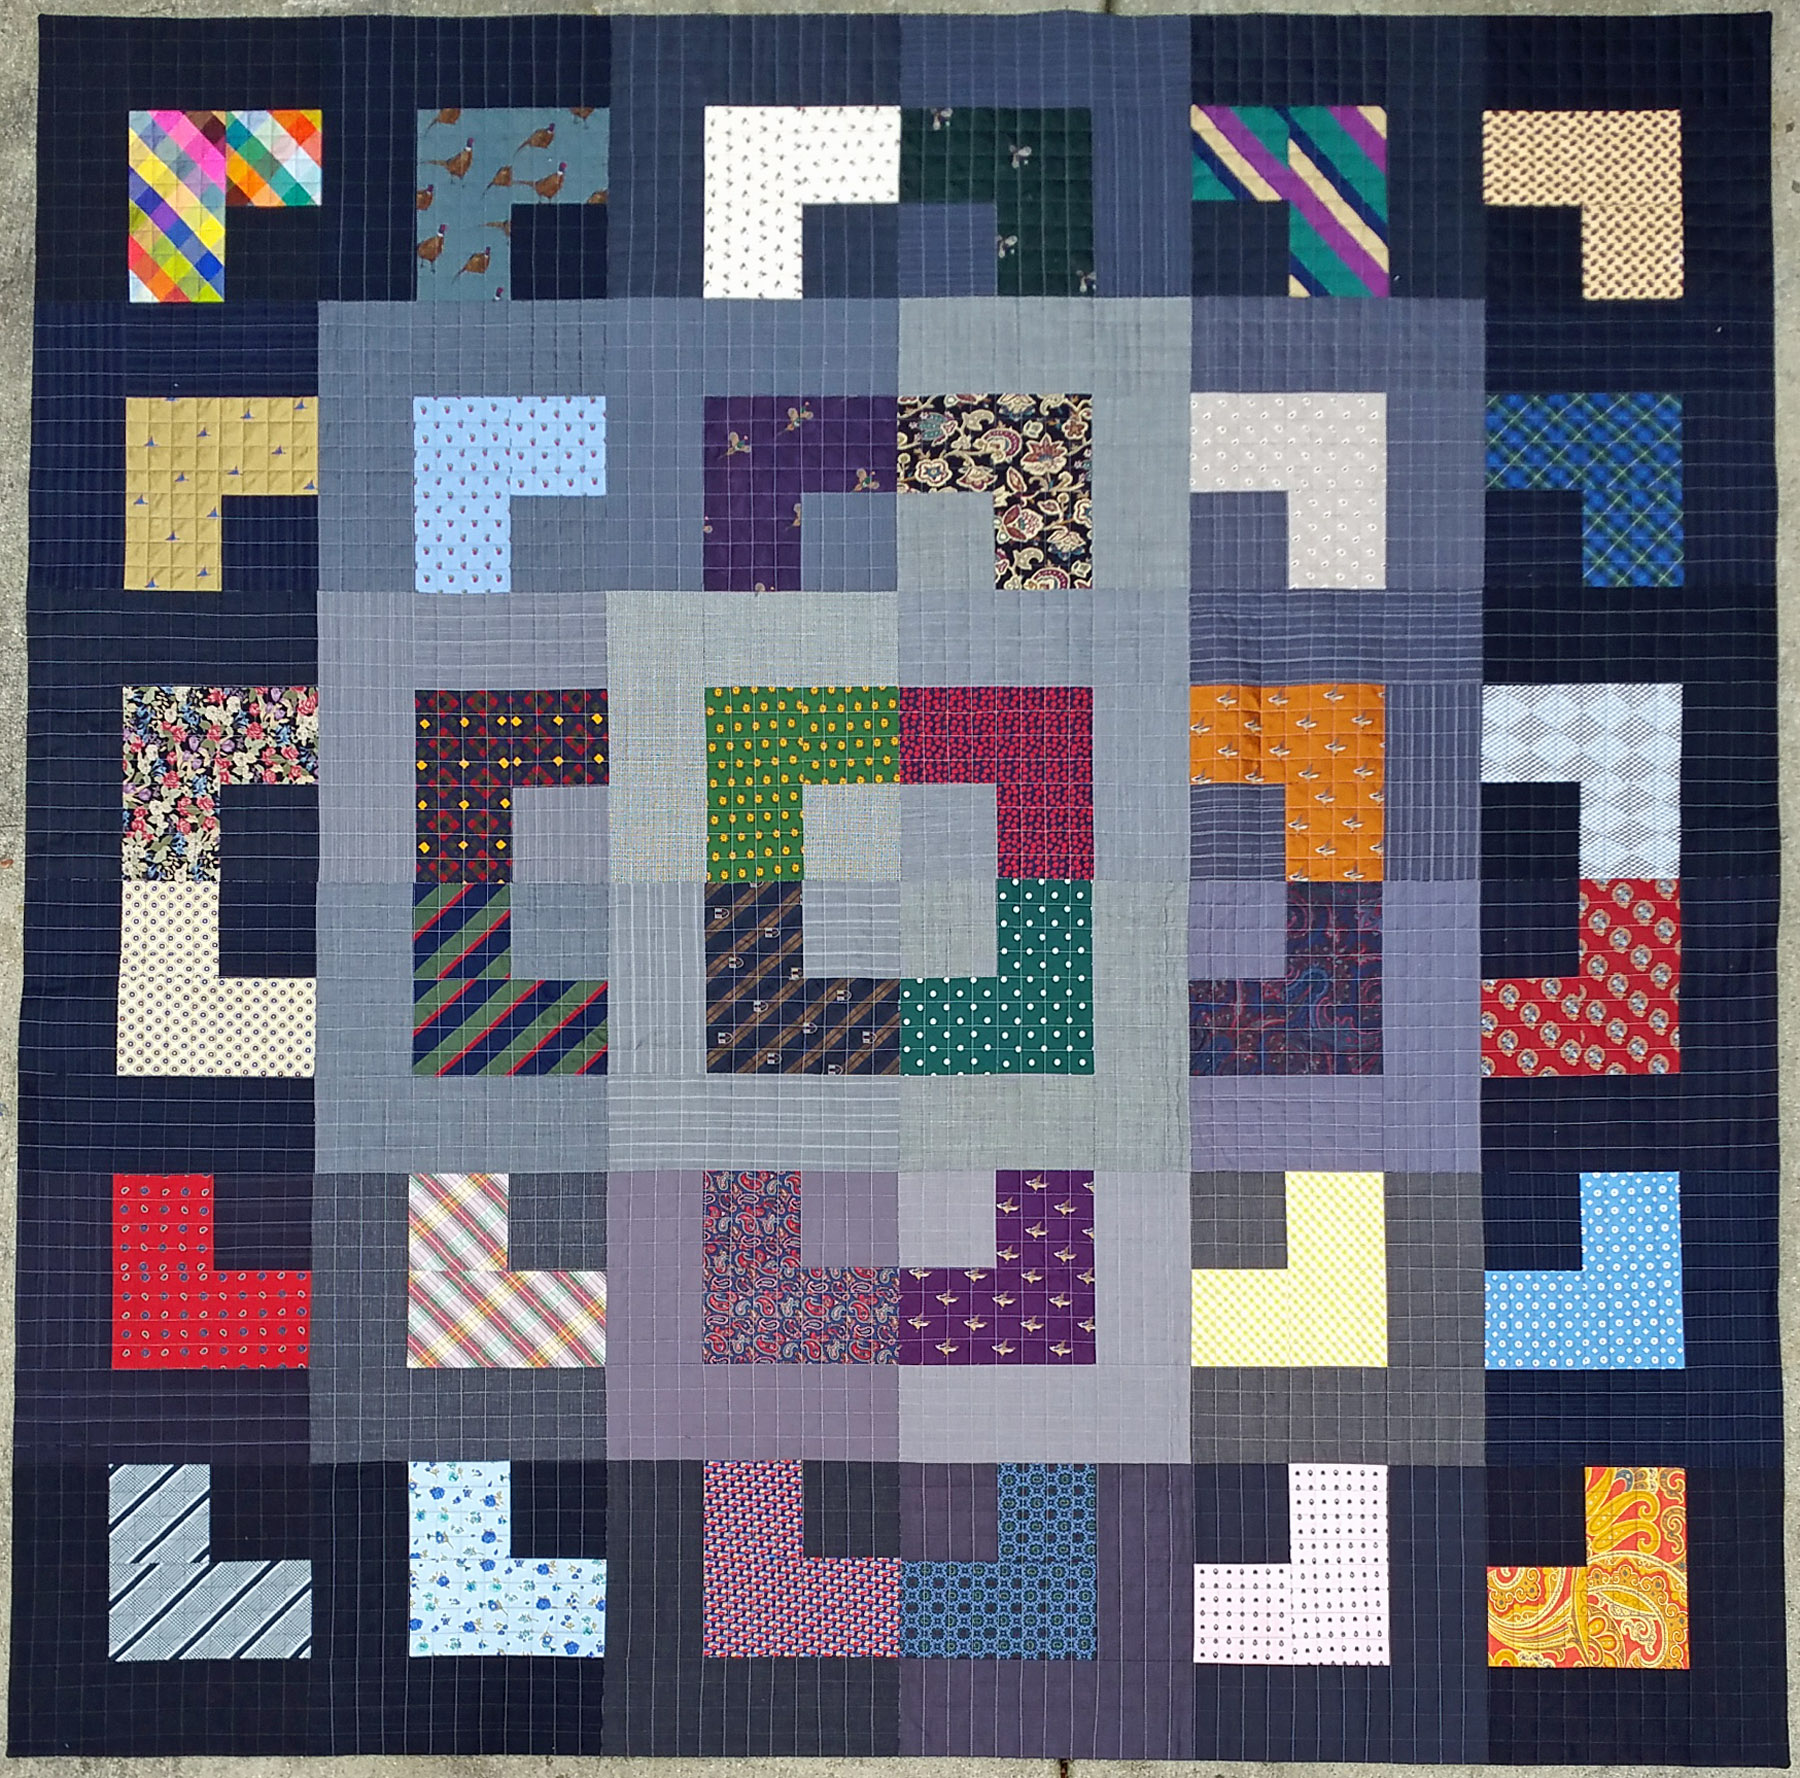
Layout the Squares
Start by laying out the t-shirt squares in the desired quilt pattern. Try to arrange the squares in a way that shows off any special details or logos on the shirts. When you’re happy with the quilt’s layout, pin the squares together in rows, being sure to press the edges flat.
Sew the Squares Together
Using a ¼-inch seam allowance, sew the squares together in each row. After a row is complete, press the seams open. Then, pin the rows together and sew them together with the same ¼-inch seam allowance. Finally, press the seams open.
Create the Borders
Cut strips of fabric for the quilt’s borders in the desired width. Attach the borders to each side of the quilt top and press the seams open. Add an additional border to the bottom of the quilt, if desired.
Finishing the Quilt
Attaching the Backing
Attach the backing material to the quilt top with straight pins. Starting in the middle of the quilt, smooth the backing material over the quilt top so that it is evenly distributed and there are no lumps or bumps. Pin the backing to the quilt top at regular intervals.
Sewing the Layers Together
Stitch the layers together using a sewing machine and a ¼-inch seam allowance. Sew around the perimeter of the quilt, removing pins as you go. When finished, trim off any excess backing fabric.
Adding the Binding
Cut 2.5-inch strips of fabric for the binding. Starting in the middle of the quilt, sew the binding to the quilt, making sure to leave a quarter inch seam allowance. When finished, fold the binding over the edge of the quilt and sew the binding in place. Trim off any excess binding fabric.
Frequently Asked Questions
What type of fabric is best for a rag quilt?
The best fabric to use for a rag quilt is a lightweight cotton fabric. You should avoid using synthetic fabrics such as polyester and nylon, as these can be difficult to sew. When selecting fabrics for your quilt, choose a variety of prints, textures, and colors for a unique look. If desired, you can add fabric embellishments such as ribbons and lace to add extra character to your quilt.
What are the Benefits of Making a Rag Quilt?
- Easy to make: Rag quilts can be made with minimal effort, even by those with little to no sewing experience.
- Low-cost: As rag quilts are made with scrap materials, they are a low-cost way to make a quilt.
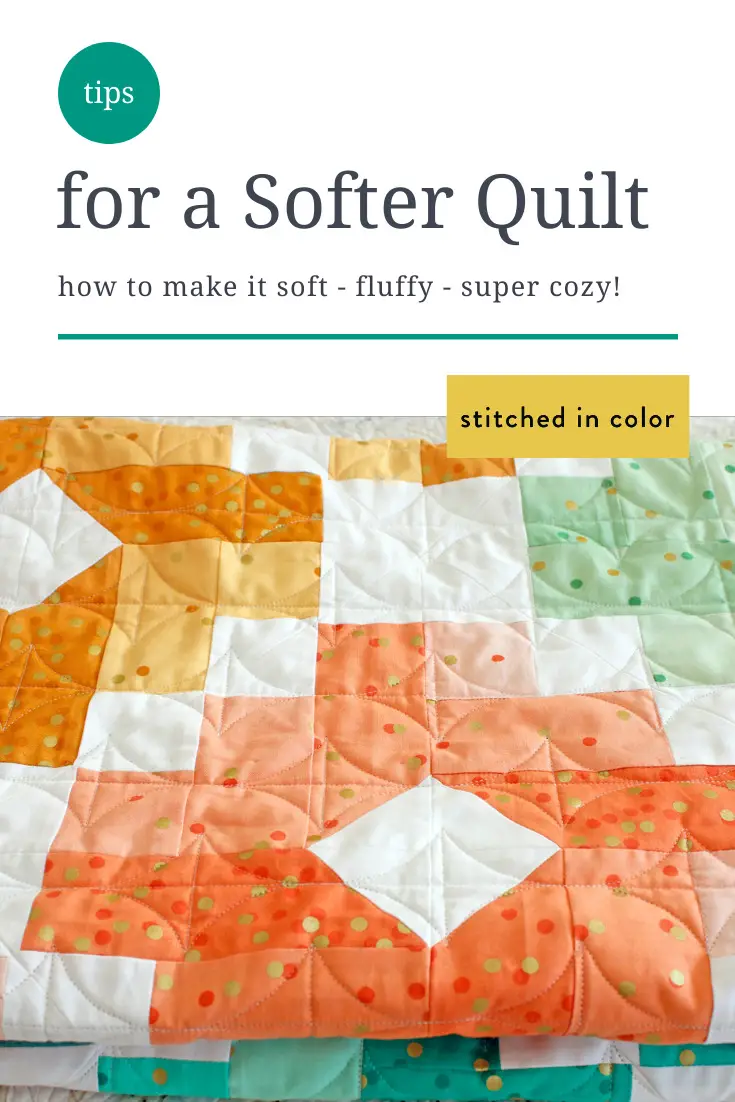
- Soft texture: The frayed edges of the fabric give the quilt a soft, worn texture.
- Aesthetic appeal: Rag quilts are attractive, with their unique look, and can be made to match any home décor.
- Versatile: Rag quilts can be used in a variety of ways, from blankets and throws to wall hangings or tablecloths.
- Personal touch: Rag quilts can be made with fabrics that are special or sentimental to the maker, making them a perfect way to show off your style and creativity.
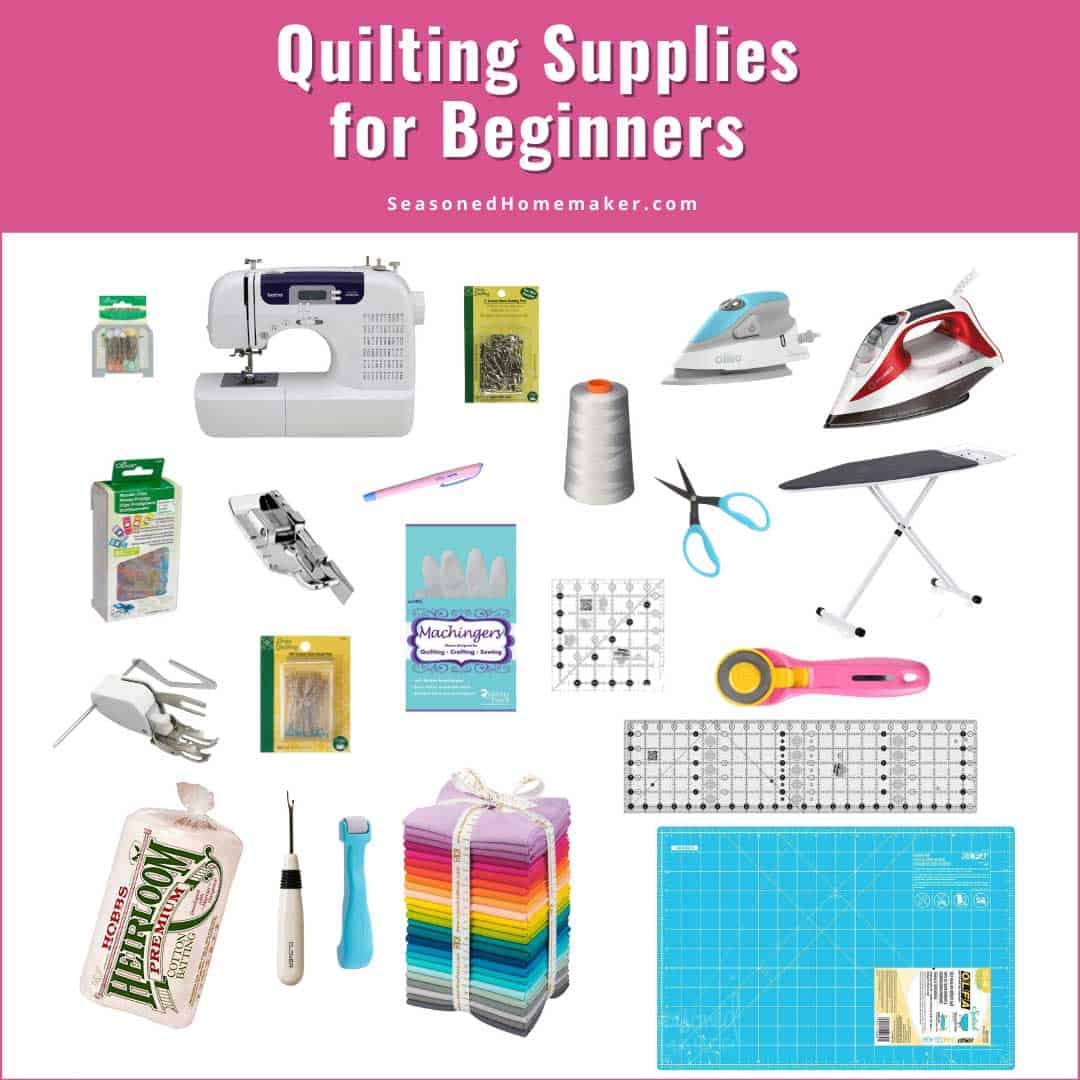
What supplies do I need to make a Rag Quilt?
- Fabric: Choose a variety of fabrics such as cotton, flannel, or fleece. You will need enough fabric to cut the squares and strips for the quilt.
- Thread: You will need thread to sew the quilt together.
- Fusible Interfacing: This is an optional step and is used to give extra strength and stability to the quilt.
- Scissors: Choose a pair of scissors which are sharp and precise.
- Ruler: Use a ruler to measure the fabric and cut straight lines.
- Pins: You will need pins to hold all the pieces together while you are sewing.
- Sewing Machine: You will need a good quality sewing machine to sew the pieces together.
How much time does it take to make a rag quilt?
Preparation:
- Gather all materials, cut t-shirts and batting – 1 hour
- Organize the pieces – 30 minutes
Piecing the Quilt:
- Sew squares together – 1 hour
- Sew rows together – 2 hours
- Assemble top, batting, and backing – 1 hour
Finishing the Quilt:
- Quilt it – 4 hours
- Bind the edges – 1 hour
Total Time: 9 hours
Are there any special techniques to keep in mind when making a rag quilt?
-
Use Woven Fabric: Rag quilts are best made using woven fabrics such as cotton, flannel, and denim. Avoid using stretchy fabrics like knits because they won’t fray as well.
Pre-Wash Fabric: Make sure to pre-wash all fabric before sewing as it will shrink and fade in the wash.
Prewash T-Shirts: Prewash t-shirts to avoid shrinkage and discoloration.
Trim Seams: Trim all seams to reduce bulk before adding the next layer.
Square Up Quilt Blocks: Before adding the next layer, make sure to square up the quilt blocks. This will help the quilt to look neat and even.
Leave Holes for Fraying: Leave small holes in the seams between the layers of fabric to allow for fraying.
Pin Layers: Pin the layers together to ensure that they stay in place while sewing.
Use a Sewing Machine: Sew the layers of the quilt together using a sewing machine for the best results.
Mark Quilt Top: Mark the quilt top with a fabric marker or tailor’s chalk to ensure that all the pieces are lined up correctly.
Press As You Sew: Press the seams as you sew to ensure that the quilt blocks lay flat and the seams are even.
Finish with Binding: Finish the quilt with binding to give it a neat and polished look.
Conclusion
A T-Shirt rag quilt is a great way to upcycle old T-shirts and create something unique and special. By following these five simple steps, you can create a beautiful quilt that will be a treasured addition to your home.


