Are you looking for a simple and easy way to make quilt clips? This guide will show you how to make quilt clips quickly and easily. We’ll cover everything you need to know, from choosing the right materials to the best techniques for attaching the clips. With a few simple steps, you’ll soon be able to make beautiful and unique quilt clips to use in your quilting projects.
What are Quilt Clips?
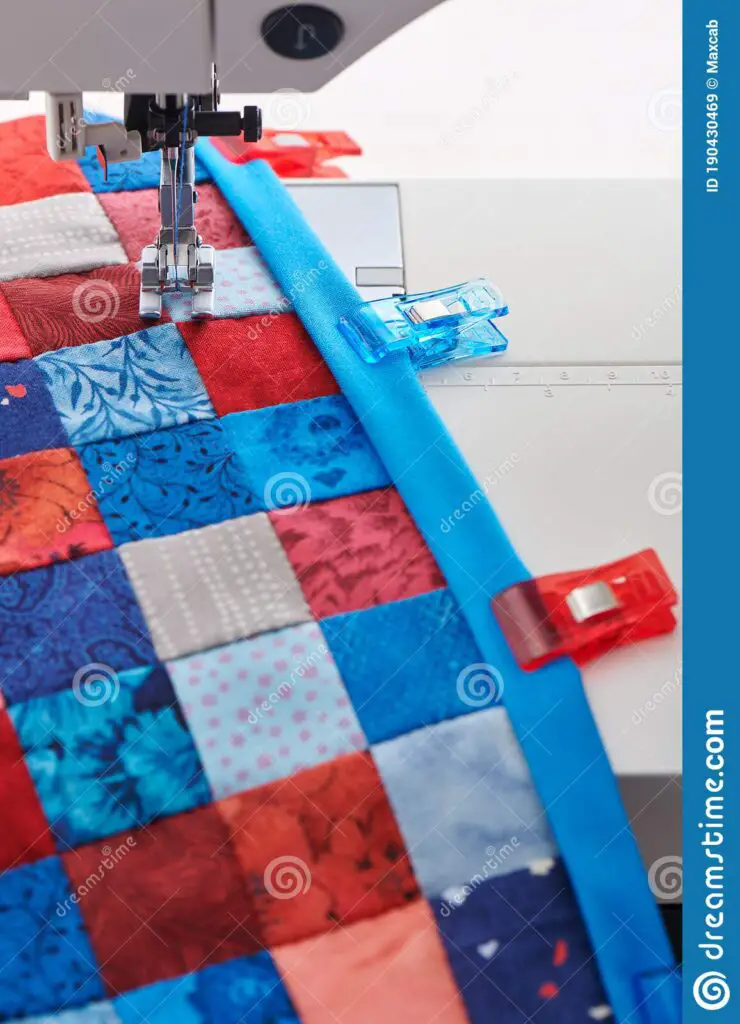
Quilt clips are a great way to keep quilt layers from shifting and bunching up while sewing. They are small plastic clips that hold the quilt layers together without the need for pinning. They are designed to fit over the seam allowance, keeping the layers in place without the need for basting.
- Easy to Use: Quilt clips are incredibly easy to use. All you have to do is place the clip over the seam allowance and press down gently. The clip will keep the layers together without any need for pinning or basting.
- No Damage: Quilt clips are designed to be non-intrusive and will not damage the quilt fabric. They are made of plastic which won’t snag or tear the fabric.
- Reusable: Quilt clips can be used over and over again. They are easy to remove and they won’t leave any marks or damage the fabric.
- Versatile: Quilt clips can be used for any kind of quilting project, from simple patchwork to intricate quilting designs. They are perfect for holding seams in place, even when sewing curved seams.
- Affordable: Quilt clips are very affordable and can be found at most craft and quilting stores. They are an effective, yet inexpensive way to keep your quilt layers from shifting.
Clips to Hold Quilt When Machine Quilting
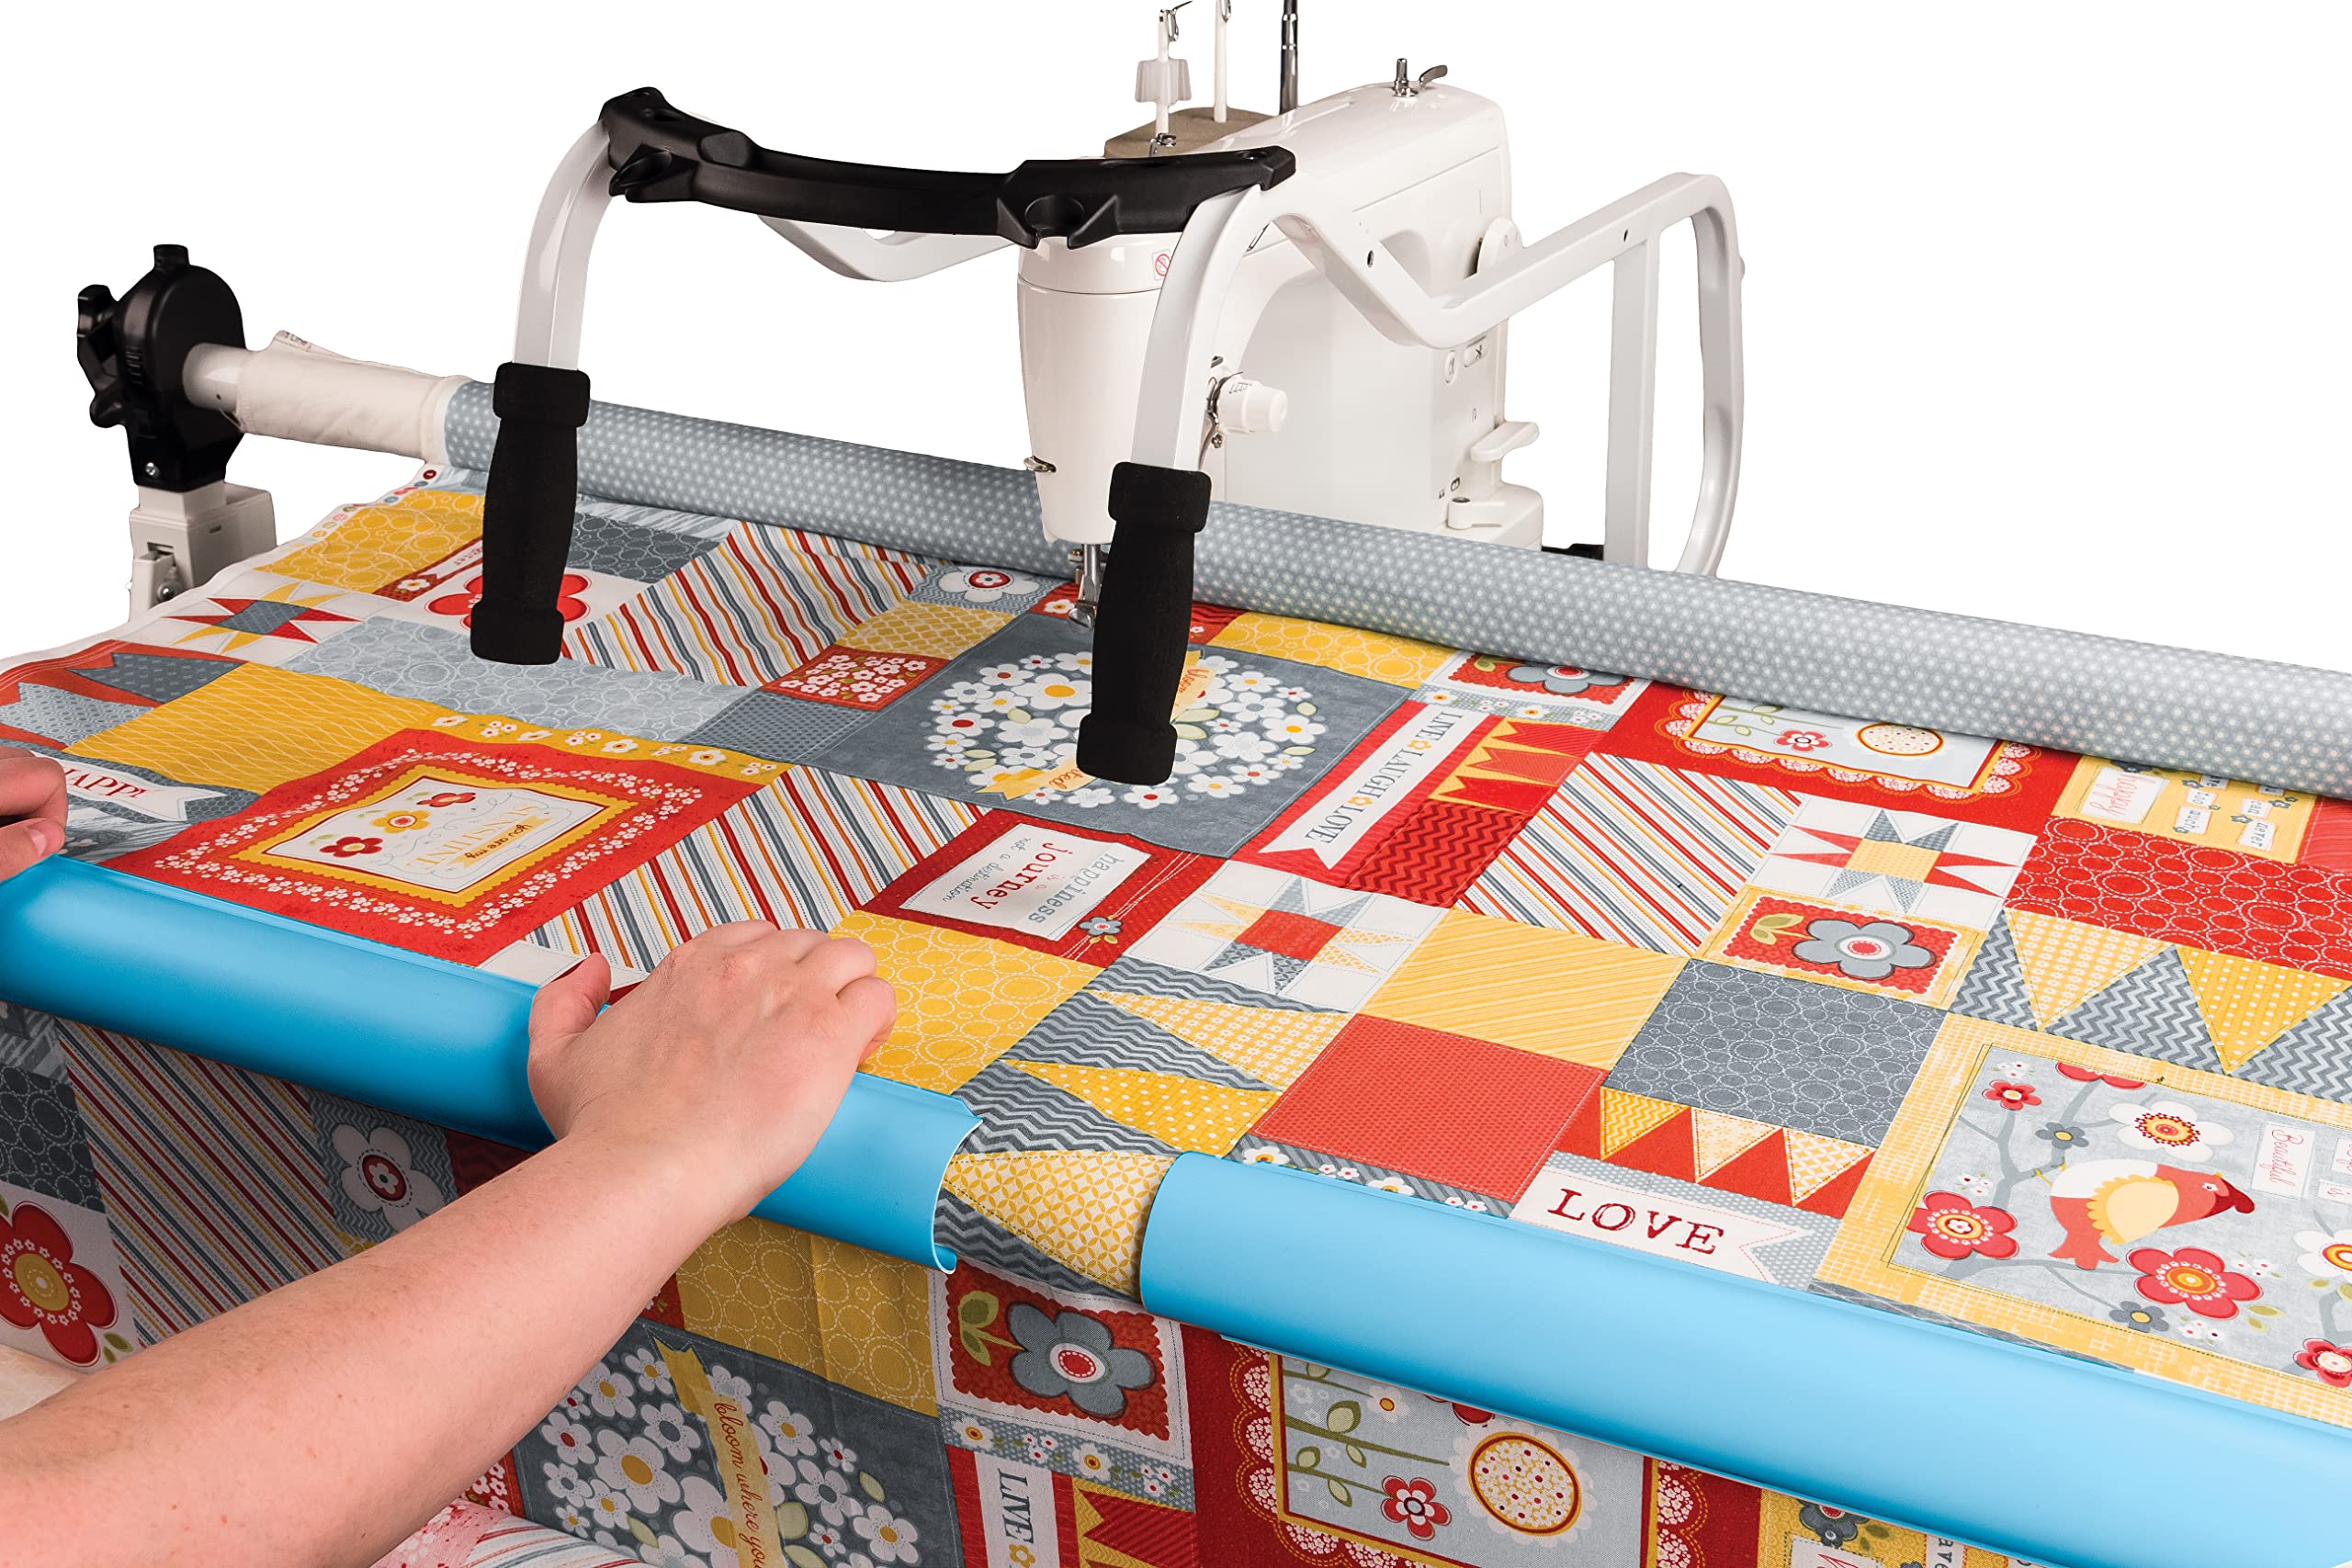
Machine quilting can be a time consuming task, but it is also a great way to add texture and interest to your quilt. Having the quilt securely held in place while quilting is essential to ensure that the design is properly stitched. Clips are a great way to keep the quilt layers securely in place while machine quilting.
Types of Clips
There are several types of clips available for machine quilting. The most popular are Wonder Clips, Bulldog Clips, and Quilt Clips. Wonder Clips are great for small projects. They are easy to use and can be moved around as you quilt. Bulldog Clips are larger and stronger than Wonder Clips, making them ideal for larger projects. Quilt Clips are specifically designed for quilting, and they hold the layers together more securely than other types of clips.
Using the Clips
To use the clips, you will need to secure the top layer of fabric to the batting and backing layers. Place the clips along the edges of the quilt at regular intervals, making sure they are tight enough to hold the layers in place. You can adjust the clips as you quilt if necessary. When you are finished quilting, remove the clips and enjoy your beautiful quilt.
Benefits of Using Clips
| Clips | Benefits |
| Wonder Clips | Easy to use and move around |
| Bulldog Clips | Larger and stronger than Wonder Clips |
| Quilt Clips | Specifically designed for quilting |
Using clips to hold quilt layers together while machine quilting is a great way to ensure that the design is properly stitched. Clips are quick and easy to use, and they can be moved around as you quilt. They also provide a secure hold, allowing you to quilt with confidence. With the right clips, machine quilting can be a fun and stress-free experience!
Where to Find Quilt Clips
Making quilt clips is relatively simple and requires minimal supplies. To get started, you will need to know where to find quilt clips. Fortunately, there are a few options:
- Craft stores
- Online retailers
- DIY kits
Craft stores are a great place to find quilt clips in a variety of sizes and styles. They are often sold in small packages and can be easily purchased in person or online.
Online retailers also offer a wide selection of quilt clips. They are often sold in bulk and can be delivered to your door.
DIY kits are a fun way to make your own quilt clips. These kits usually include the necessary supplies, as well as instructions for creating the clips.
Step-by-Step Guide to Making Quilt Clips
Gather Materials
You will need several clothespins, a craft knife, acrylic paint, a paint brush and ribbon to make quilt clips. Make sure to choose clothespins that are made of wood, as plastic will not work as well. Gather all the materials before you begin.
Cut the Clothespins
Using the craft knife, carefully cut the clothespins in half. Be sure to use an adult’s help if you are under the age of 16.
Paint and Embellish the Clips
Using the acrylic paint and paintbrush, paint the clothespin halves. You can use one color for all of the clips, or choose several different colors. After the paint is dry, add any other embellishments, such as rhinestones or glitter.
Attach the Ribbon
Glue the ribbon to the inside of the clothespin halves. You can use a hot glue gun or craft glue. Make sure the ribbon is sticking out from the top and bottom of the clothespin halves. Leave the glue to dry for several hours. Once dry, your quilt clips are ready to use.
Tips for Making Quilt Clips
- Choose the Right Material: Select a lightweight material that’s easy to work with and won’t warp over time.
- Cut the Fabric: Cut the fabric into rectangular pieces that are slightly larger than the quilt clip.
- Attach the Fabric to the Clip: Use a hot glue gun to attach the fabric securely to the clip.
- Trim the Fabric: Trim the fabric around the clip so that it is flush with the clip.
- Secure the Fabric: Use a sewing machine or hand sewing to secure the fabric around the clip.
- Add a Decorative Element: Add a decorative element such as a button or ribbon to the clip.
- Finish the Clip: Use a hot glue gun to seal the fabric and add a protective coating to the clip.
Different Ways to Attach Quilt Clips
Stitching – The most common way to attach quilt clips is by stitching them onto the quilt. Using a needle and thread, sew the clip to a single layer of the quilt. This method is best for lightweight quilts that don’t need extra support.
Glue – An alternative to stitching is to use a strong fabric glue or fusible web. The glue or webbing should attach the clip securely to the quilt. Be sure to use the glue according to the manufacturer’s instructions.
Loops – Clips can also be attached by creating loops on the quilt. Cut two small strips of fabric and fold them in half. Place the folded strips onto the quilt and stitch them in place. Then insert the clip into the loops and stitch the ends together.
D-Rings – D-rings are an easy way to attach quilt clips to a quilt. Simply slide the clip onto the D-ring and stitch it in place. This method is great for heavier quilts that need extra support.
Buttonholes – Clips can also be attached by creating buttonholes on the quilt. Cut a small hole in the quilt, insert the clip, and stitch it in place. This method is best for thicker quilts that need extra support.
Pros and Cons of Making Quilt Clips
-
Pros
- Easy and inexpensive to make
- No special tools required
- Quick way to store and organize quilts
- Can be used to hang quilts in many locations
-
Cons
- May be difficult to attach to walls with certain types of surfaces
- May not be able to support the weight of some quilts
- May not provide enough support for large quilts
- May not be aesthetically pleasing in certain settings
Frequently Asked Questions
What Supplies Do I Need In Order To Make Quilt Clips?
To make quilt clips, you will need a pair of scissors, a ruler, a fabric marker, a sewing machine, and fabric of your choice. You may also need a rotary cutter and cutting mat, depending on the size and shape of the fabric you are using.
Is it difficult to make Quilt Clips?
No, making quilt clips is not difficult. All that is necessary is a pair of fabric scissors, some fabric pieces, and a few pins. The process involves cutting the fabric pieces into rectangles and squares, pinning them together, and then stitching the pieces to create the quilt clips. Completing the quilt clips takes a bit of time and patience, but with practice, it can be done with ease.
How Many Quilt Clips Can I Make with One Set of Supplies?
The number of quilt clips you can make with one set of supplies depends on the size and complexity of the clips. Generally, one set of supplies can be used to make up to 25 quilt clips. However, if the clips are smaller, up to 50-60 clips can be created. If the clips are larger and more complex, fewer clips can be made with one set of supplies.
Can I use quilt clips to attach quilts to walls?
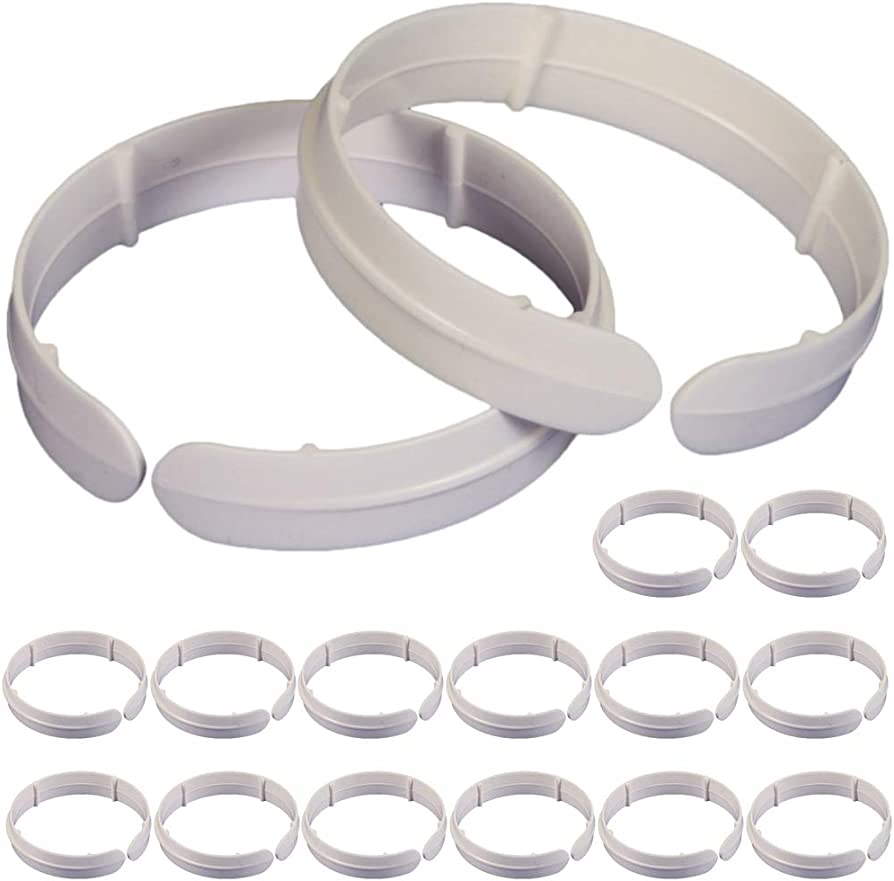
Yes, quilt clips are a great way to attach quilts to walls. Quilt clips are specially designed clips with a flat back and a curved front to fit snugly against the wall. They come in a range of sizes and colours to match different quilt sizes and designs.
- Secure: Quilt clips are a secure way to hang quilts, as they attach firmly to the wall without damaging the fabric.
- Reusable: Quilt clips are reusable, so you can take them down and reattach them if you need to.
- Flexible: Quilt clips allow for flexibility in how you hang your quilt, as you can use multiple clips to adjust the position.
To attach quilts to walls with quilt clips, simply place the quilt against the wall and mark the desired position. Next, attach the clips to the wall, making sure to align the clips with the marked position. Finally, attach the quilt to the clips and adjust as needed.
Can I make quilt clips out of any type of fabric?
- Cotton fabric: Cotton fabric is the most common fabric used for making quilt clips. It is lightweight, easy to sew, and easy to find. It is also easy to dye and comes in a wide range of colors, so you can create clips in any color you like.
- Silk fabric: Silk fabric is a bit more expensive than cotton, but it is also very lightweight and can be dyed in any color. It is also very strong and durable, so it is great for making quilt clips.
- Leather: Leather is a great choice for making quilt clips. It is strong, durable, and easy to work with. It can be dyed in a variety of colors and is available in a wide range of textures, so you can create unique clips with it.
- Felt: Felt is a great choice for making quilt clips, as it is lightweight, easy to sew, and comes in a variety of colors. It is also very strong and durable, so it is perfect for making clips that will last a long time.
- Wool: Wool is a great choice for making quilt clips, as it is strong, durable, and easy to work with. It is also warm and cozy, so it is perfect for making clips that will keep your quilts warm and snug.
In conclusion, you can make quilt clips out of any type of fabric, including cotton, silk, leather, felt, and wool. The type of fabric you choose will depend on the look and feel you want for your clips.
Conclusion
Quilt clips are a great way to secure quilt layers together while you quilt. With this simple guide, you can easily make your own quilt clips that are perfect for any quilting project. All you need is some scrap fabric, a tool to cut fabric, and some paper clips. You can also use these quilt clips to attach batting to a backing fabric, making the whole quilting process easier.


