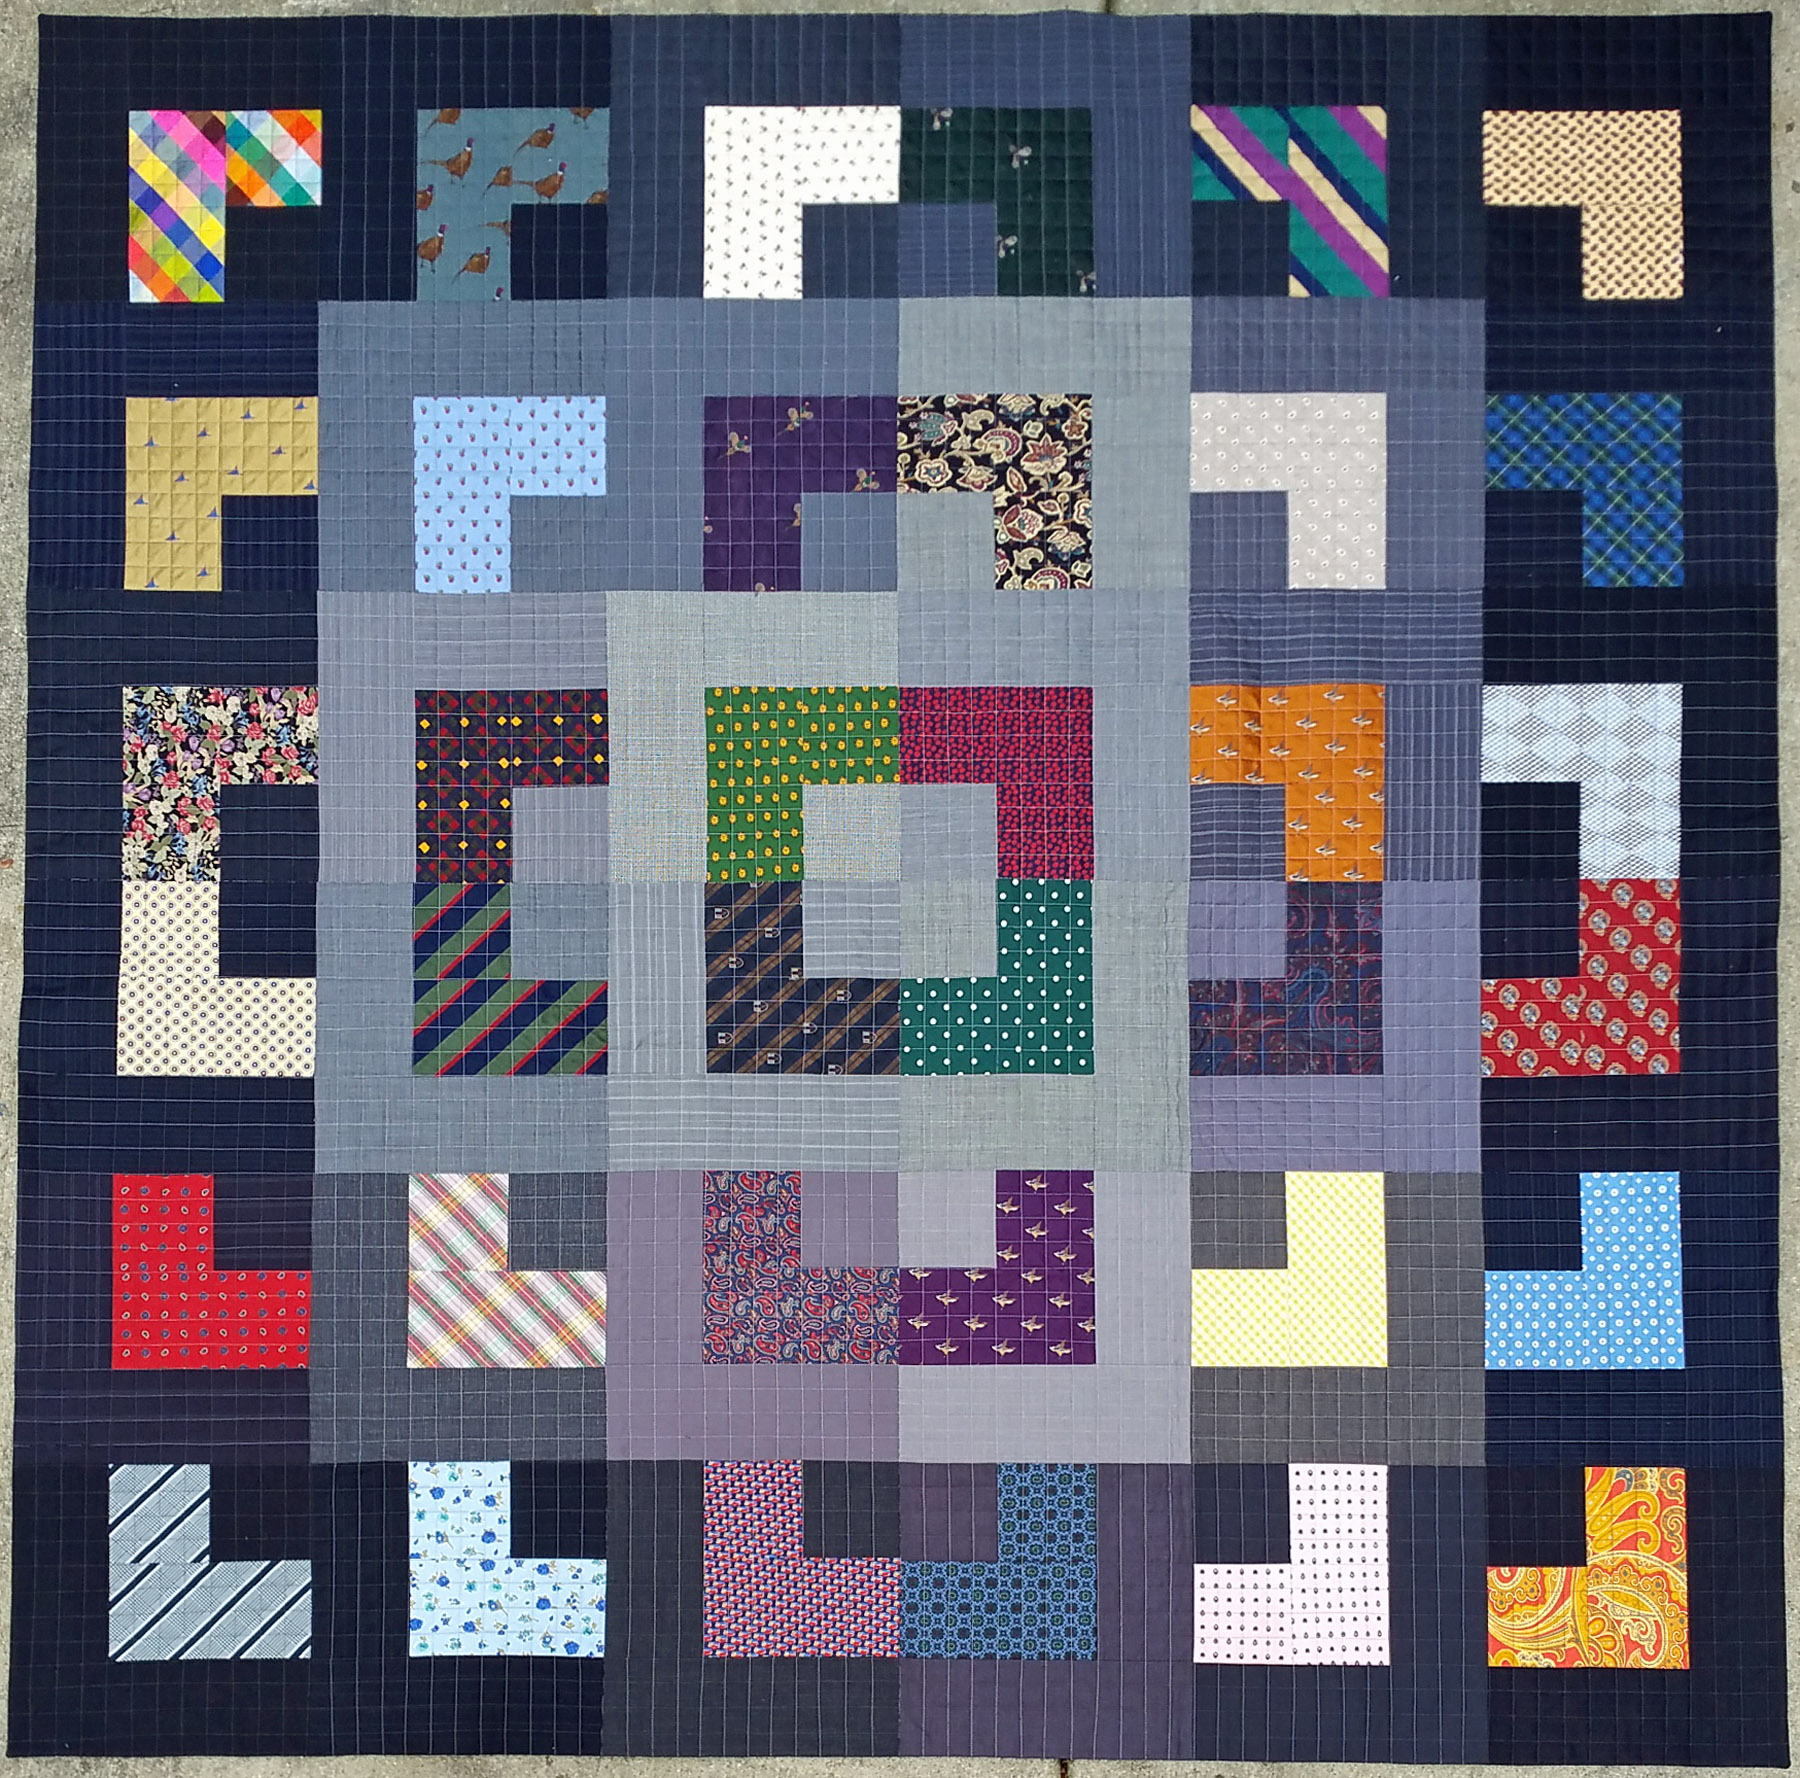
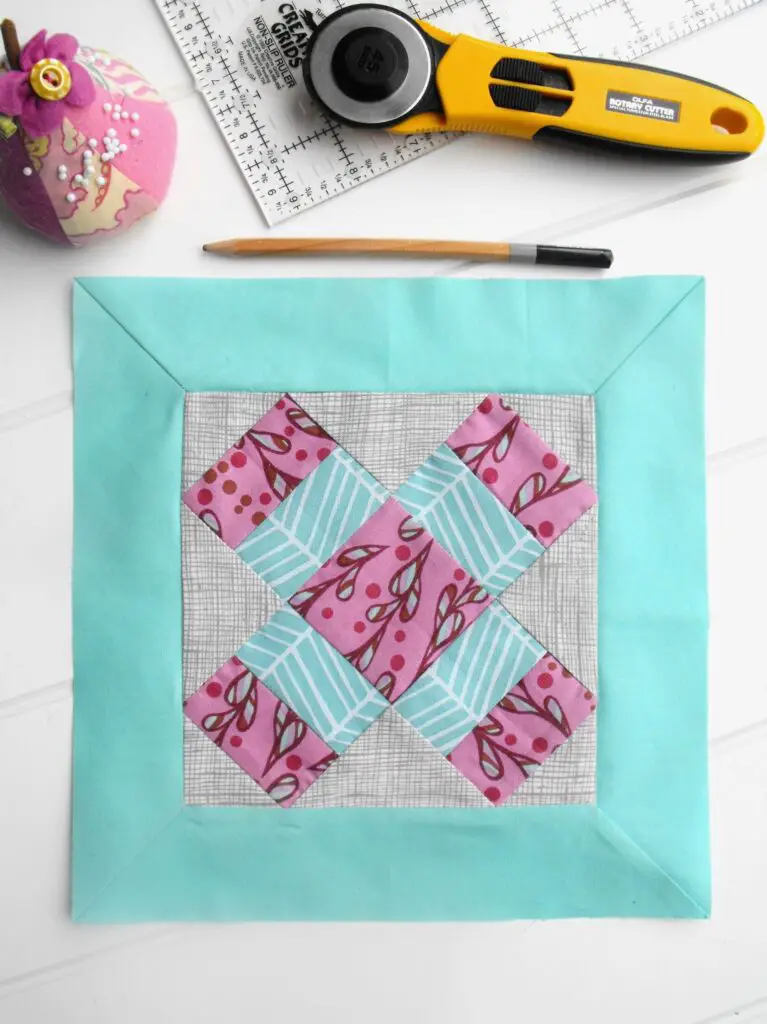
Are you looking to create a professional look for your quilt binding? Mitered corners are a great way to give your quilt a polished finish and make it look like it was made by an experienced quilter. In this article, we’ll show you how to miter corners on quilt binding the easy way. We’ll walk you through the steps to creating perfectly mitered corners on your quilt binding that will add a stunning touch of professionalism to your quilt.
Preparation

What You’ll Need
- Thread
- Scissors
- Pins
- Sewing machine
- Pre-cut quilt binding strips
Pre-Cutting Quilt Binding
Before you start mitering your quilt corners, it’s important that you pre-cut your quilt binding strips. When you cut the strips, make sure you cut them at a 45-degree angle. This is the same angle you’ll use when you sew quilt corners.
Miter Corners on Quilt Binding

Sewing the Quilt Corners
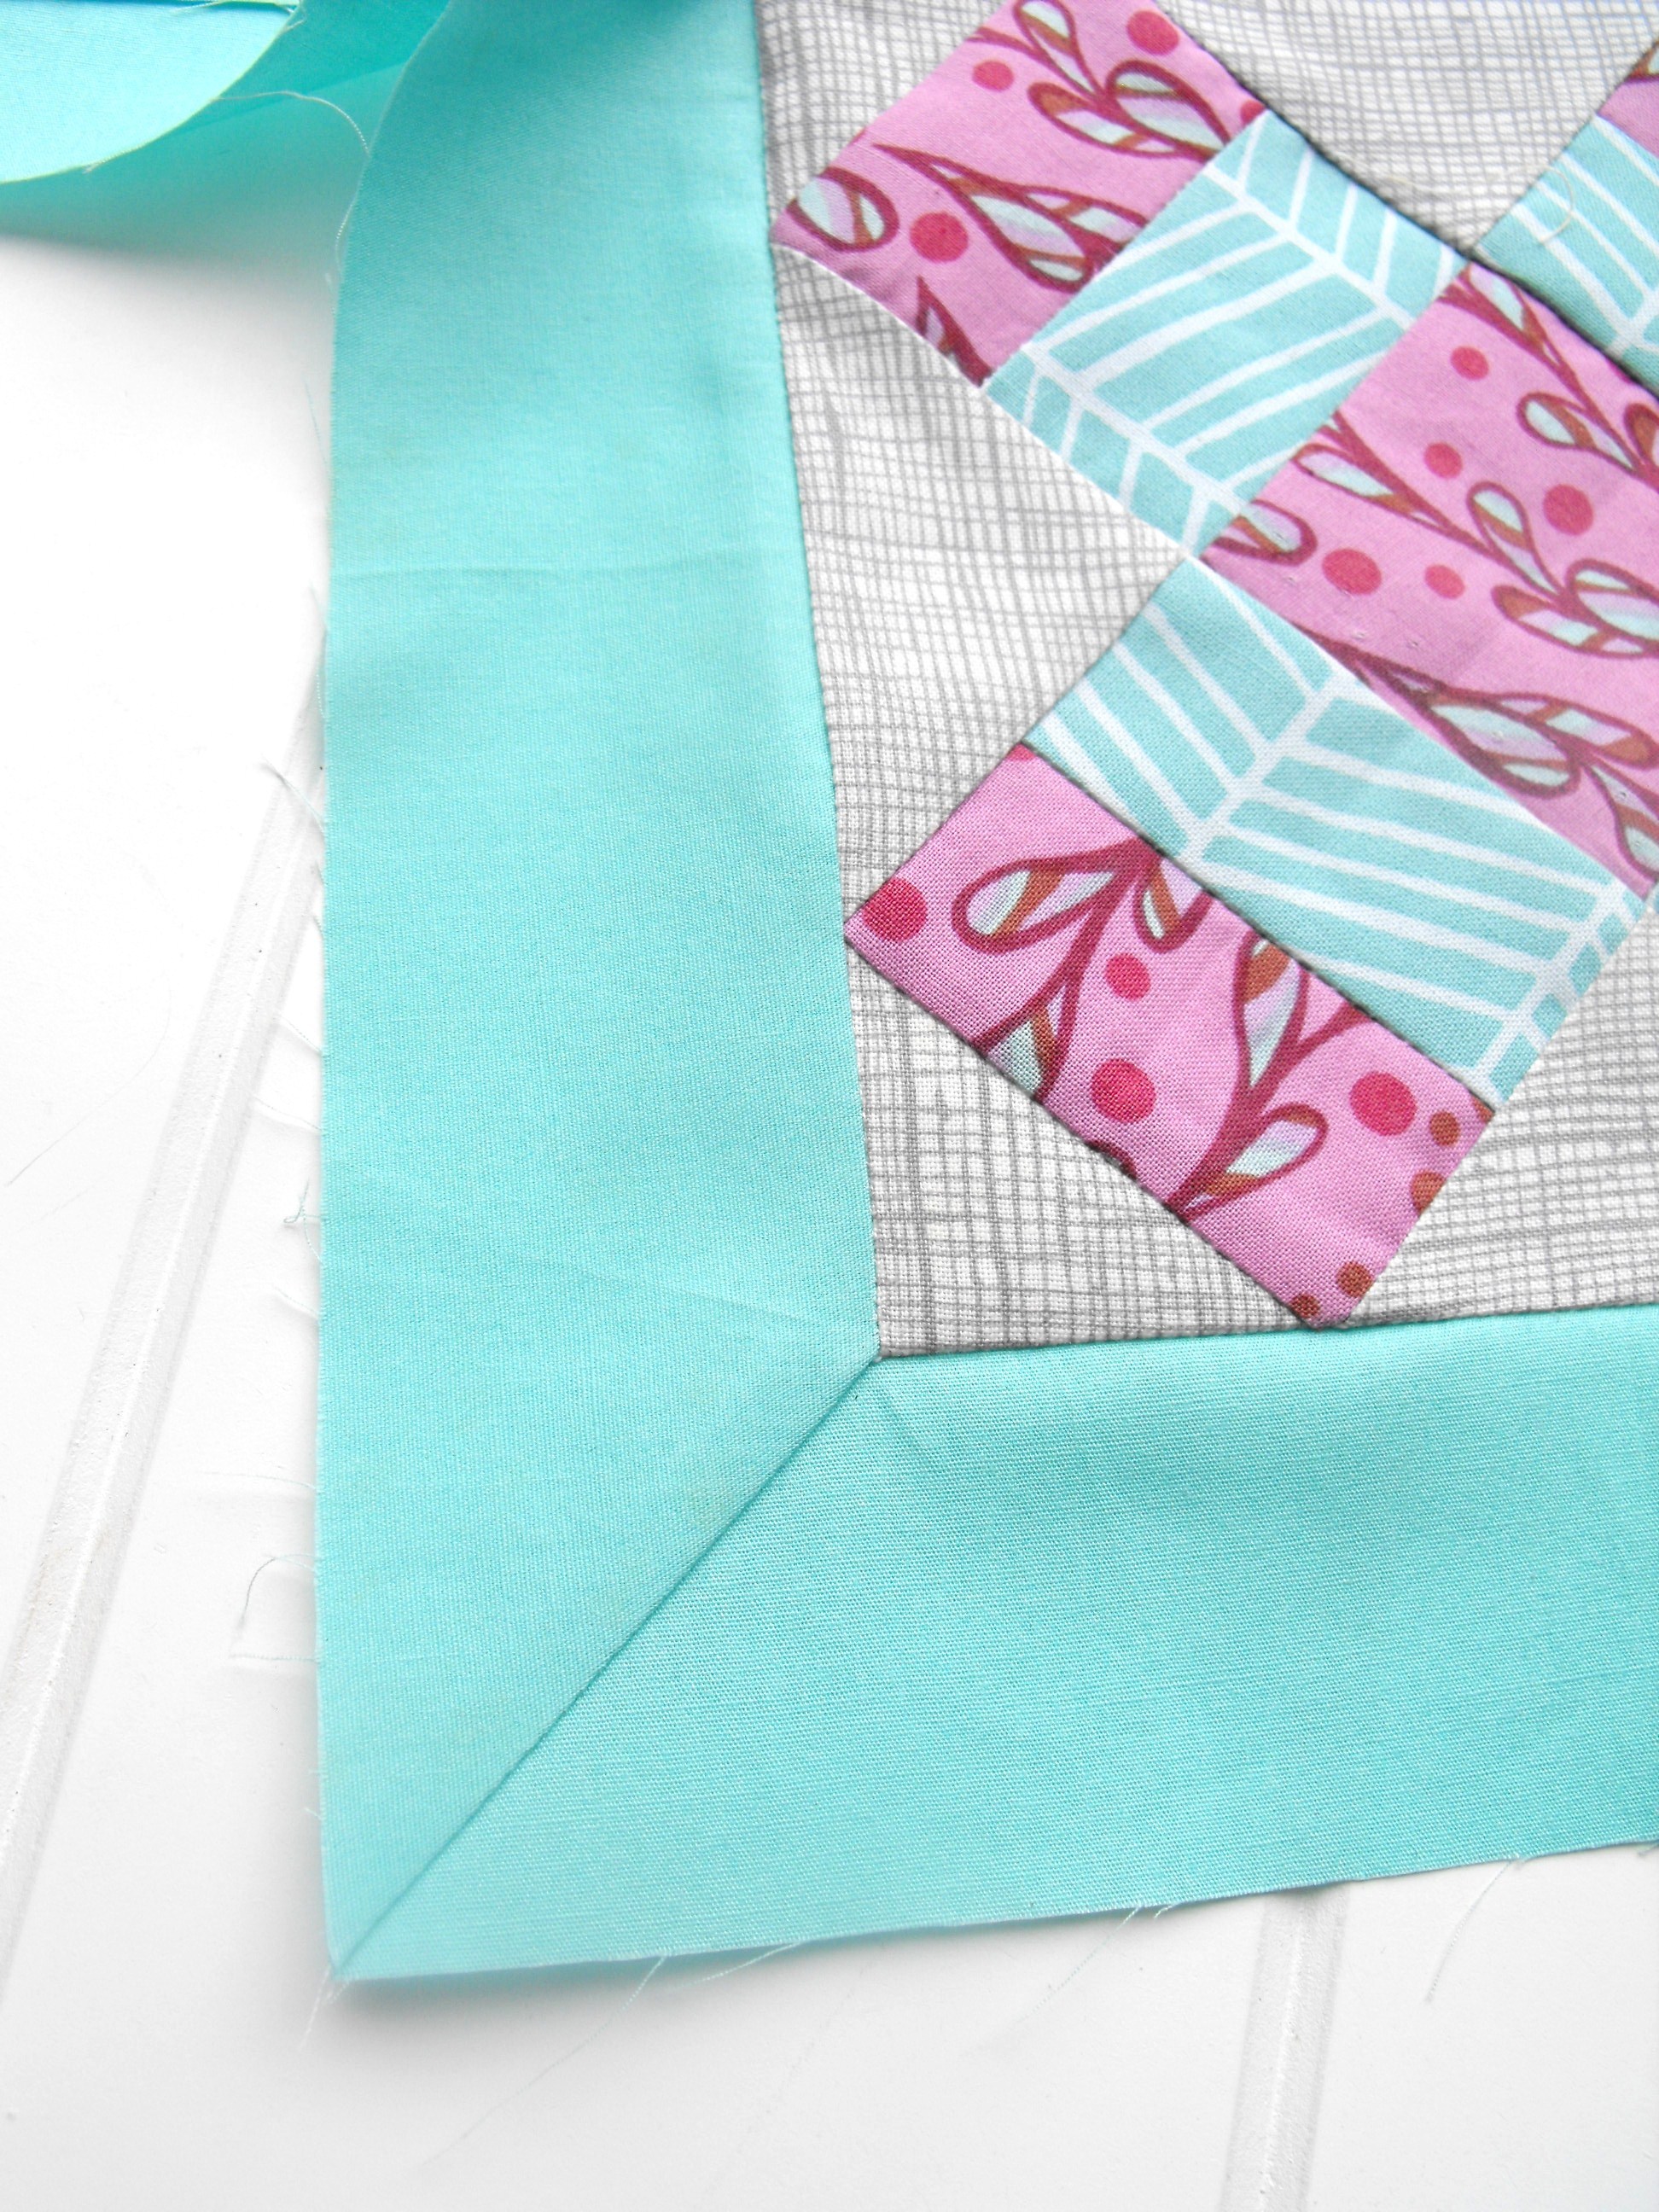
When sewing quilt binding, it is important to miter the corners correctly to get the quilt to look neat and professional. To miter the corners on quilt binding, start by aligning the edges of the binding strips together at a 90-degree angle. Then, sew a diagonal line from the corner point of the binding strips to the corner of the quilt. This will create a neat mitered corner on the quilt binding.
Making Square Corners on Quilt Binding
Once you have sewn the diagonal line for the mitered corner, cut off the excess fabric at the corner of the binding. Make sure to leave a 1/4 inch seam allowance to ensure the corner will stay neat and secure. After you have trimmed the excess fabric, press the mitered corner open and fold the binding strip back over the corner of the quilt. Sew the binding strip in place and repeat the same steps for the other three corners.
Quilt Binding Corners – How to Sew Neatly
To ensure that the corners of the quilt binding look neat and professional, it is important to pay attention to the details. Start by making sure that the binding strips are sewn together at a 90-degree angle. Then, make sure to sew a diagonal line from the corner point of the binding strips to the corner of the quilt. Finally, trim the excess fabric and press the mitered corner open before folding the binding strip over the corner of the quilt.
How to Use a Quilt Binding Miter Clip
For an even easier way to miter corners on quilt binding, you can use a quilt binding miter clip. This clip is designed to hold the binding strips together at a perfect 90-degree angle so that you can create a mitered corner quickly and easily. The clip also helps to keep the binding strips in place while you are sewing, which makes it easier to create neat and professional looking corners.
Mitered corners on quilt binding can give your quilt a professional and finished look. By following the steps above, you can create beautiful mitered corners on your quilt binding and make your quilt look like it was made by a professional. With a little practice and patience, you’ll be able to make perfect mitered corners on your quilt binding every time.
Finishing the Quilt Binding Corners
Mitered corners are a great way to finish off the edges of a quilt and give it a professional look. This tutorial will show you how to quilt corners neatly and properly miter the quilt binding.
Turning Over the Back of the Quilt
Lay the quilt out flat and turn over the back of the quilt. This will expose the binding on the back of the quilt.
Fastening the Quilt Binding
Fold the binding over the edge of the quilt. Starting at one corner, fold the binding in half and crease it to ensure that the binding will fit snugly around the corner. Continue folding the binding around the corner and pin in place. Make sure that the binding is not too loose or too tight. Once the binding has been pinned in place, stitch it down.
Frequently Asked Questions
What type of fabric is best for mitered corners on quilt binding?
- Cotton: Cotton is the most popular fabric for quilt binding as it is strong and durable. It is available in a wide variety of colors and patterns, making it a great choice for any quilt. Cotton also has a low shrinkage rate, so it won’t pull away from the mitered corners.
- Linen: Linen is a lightweight and breathable fabric, making it a great choice for quilt binding. It is resistant to wrinkles and shrinkage, so it will not pull away from the mitered corners. It is also available in many colors and patterns.
- Wool: Wool is a strong and durable fabric that is resistant to wrinkling and shrinkage. It is available in many colors and patterns, making it a great choice for quilt binding. Wool also has a low shrinkage rate, so it won’t pull away from the mitered corners.
- Synthetic Fabrics: Synthetic fabrics, such as polyester and acrylic, are also great choices for quilt binding. They are strong and durable, and come in a variety of colors and patterns. They are also resistant to shrinkage and won’t pull away from the mitered corners.
For the best results, it is recommended to use a fabric that is strong and durable, as well as resistant to shrinkage. Cotton, linen, wool, and synthetic fabrics are all good choices for mitered corners on quilt binding.
How do I ensure clean, crisp mitered corners?
- Use a ruler and rotary cutter. A ruler and rotary cutter is the best way to get clean, crisp mitered corners. Make sure to measure and cut accurately, taking into account the seam allowance.
- Press seams open. After sewing the binding strips together, press the seams open. This will help create crisp mitered corners.
- Pin the corners. Pin the mitered corner together before sewing. This will help ensure that the corner is perfectly matched and that the seam matches up.
- Use a quarter-inch presser foot. A quarter-inch presser foot is the ideal size for sewing mitered corners. This will help you get a precise seam allowance, which will result in a crisp corner.
- Trim excess fabric. After sewing the mitered corner, trim off any excess fabric to ensure a clean, crisp corner.
What type of seam allowance should I use for mitered corners?
For mitered corners, a ¼ inch seam allowance is recommended. Mitered corners are created by sewing the two edges of the binding strip together at an angle, forming a neat corner. A ¼ inch seam allowance allows you to accurately match the edges and achieve a neat corner. It also leaves enough space for the folded bias binding to fit neatly around the corner.
How many layers of fabric should I use for mitered corners?
- For quilt binding, it is best to use two layers of fabric. You will need one layer for the main body of the binding and one for the mitered corner.
- The main body should be slightly wider than the mitered corner, as it will be folded back to create the miter.
- When folding the corner, make sure that the mitered corner is folded onto the back side of the quilt.
- When sewing the mitered corner, be sure to stitch over the fold to ensure a secure miter.
- When you have finished sewing the mitered corner, press the seam open to create a neat finish.
Is there a special technique for sewing mitered corners on bias cut binding?
- Determine the miter angle: Measure the corner angle of the quilt and multiply it by 2. This will determine the angle of the miter.
- Cut the binding on the bias: Cut the binding pieces at the miter angle. Ensure that the binding is cut on the bias, so that it can stretch around the curves of the quilt.
- Pin the mitered corners: Pin the mitered corners together so they don’t shift while sewing.
- Sew the mitered corners: Sew the mitered corners with a ¼” seam allowance. Make sure to keep the binding taut and the corners lined up as you sew.
- Trim the seam allowance: Trim the seam allowance to about 1/8” to reduce bulk in the mitered corners.
Conclusion
Miter corners on quilt binding is an easy way to create a professional look for your quilt. It can be done with a few simple steps and the help of a few tools. With the right technique and a few practice runs, you’ll be able to make perfect miters for your quilt binding.


