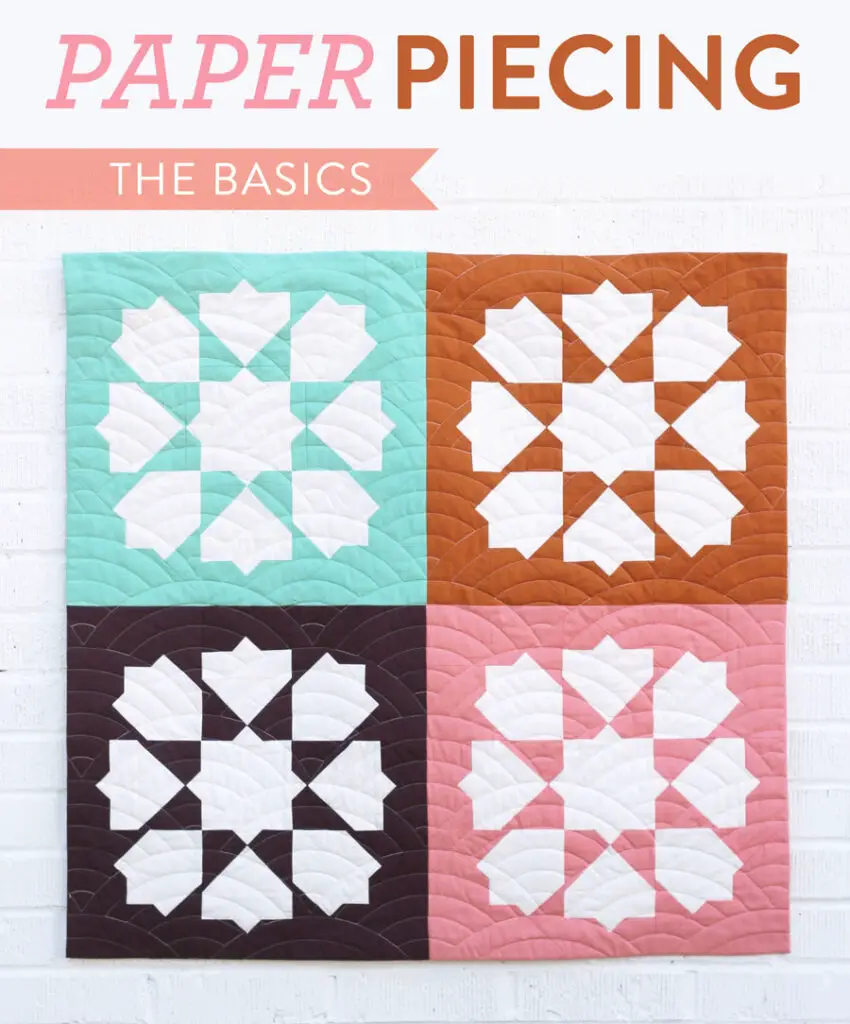
Are you looking to learn how to paper piece quilt? Paper piecing is a unique quilting technique that allows you to create intricately designed quilts with ease. By using special paper templates, you can easily sew fabric pieces together to form intricate patterns and shapes. In this article, we will walk you through four simple steps to learn how to paper piece quilt. With these tips and tricks, you’ll be able to create beautiful quilts in no time!
What is Paper Piecing?
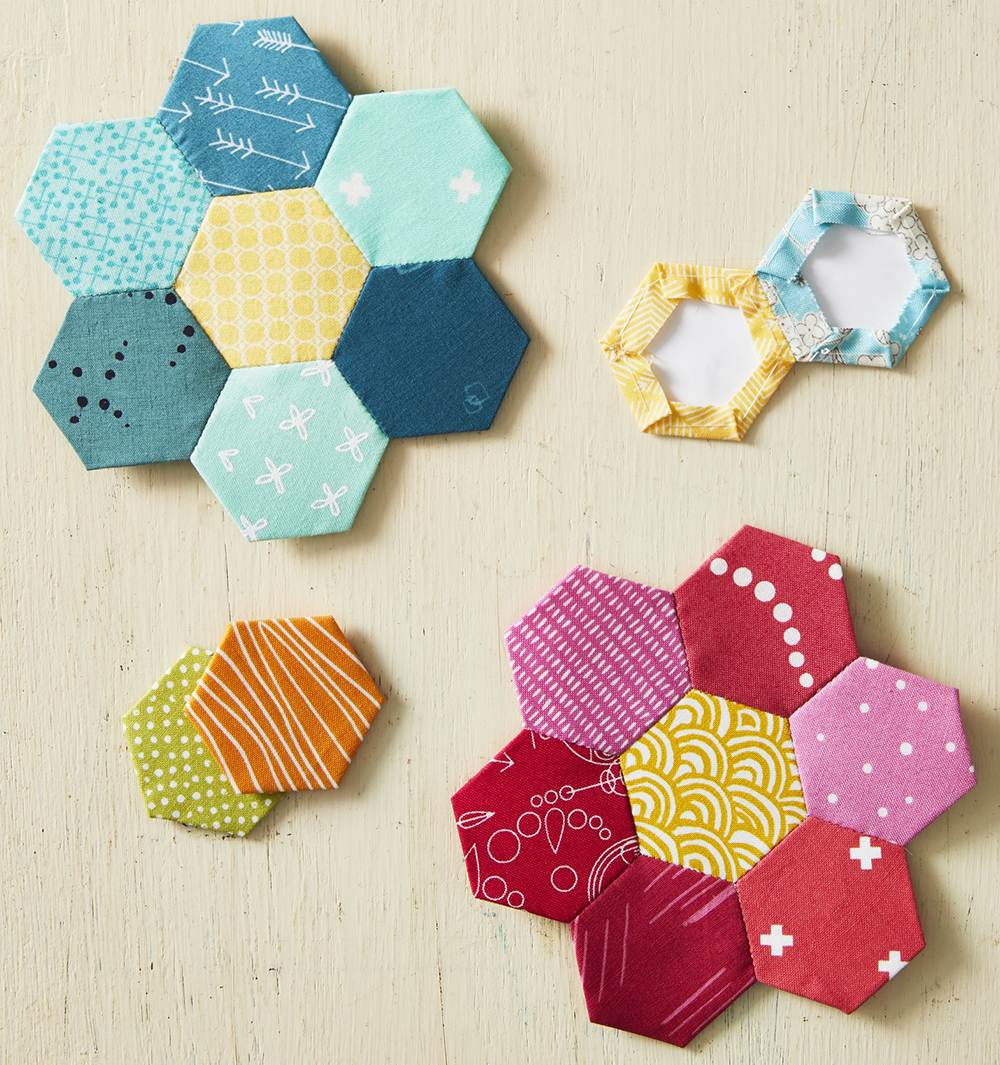
Paper piecing, also known as foundation piecing, is a method of quilting where fabric pieces are sewn directly onto a paper pattern. This technique is used to create intricate designs and patterns that would otherwise be difficult to achieve. The paper pattern acts as a guide, allowing the fabric pieces to be sewn together accurately and precisely. Paper piecing is a popular method for creating quilts, as it can produce stunning and intricate patterns.
Benefits of Paper Piecing
- Create intricate designs with ease
- Accurate and precise sewing
- Fabric pieces can be easily replaced
- No need for pinning or basting
To get started with paper piecing, check out a how to paper piece quilt tutorial and get ready to create beautiful quilts.
Materials Needed for Paper Piecing
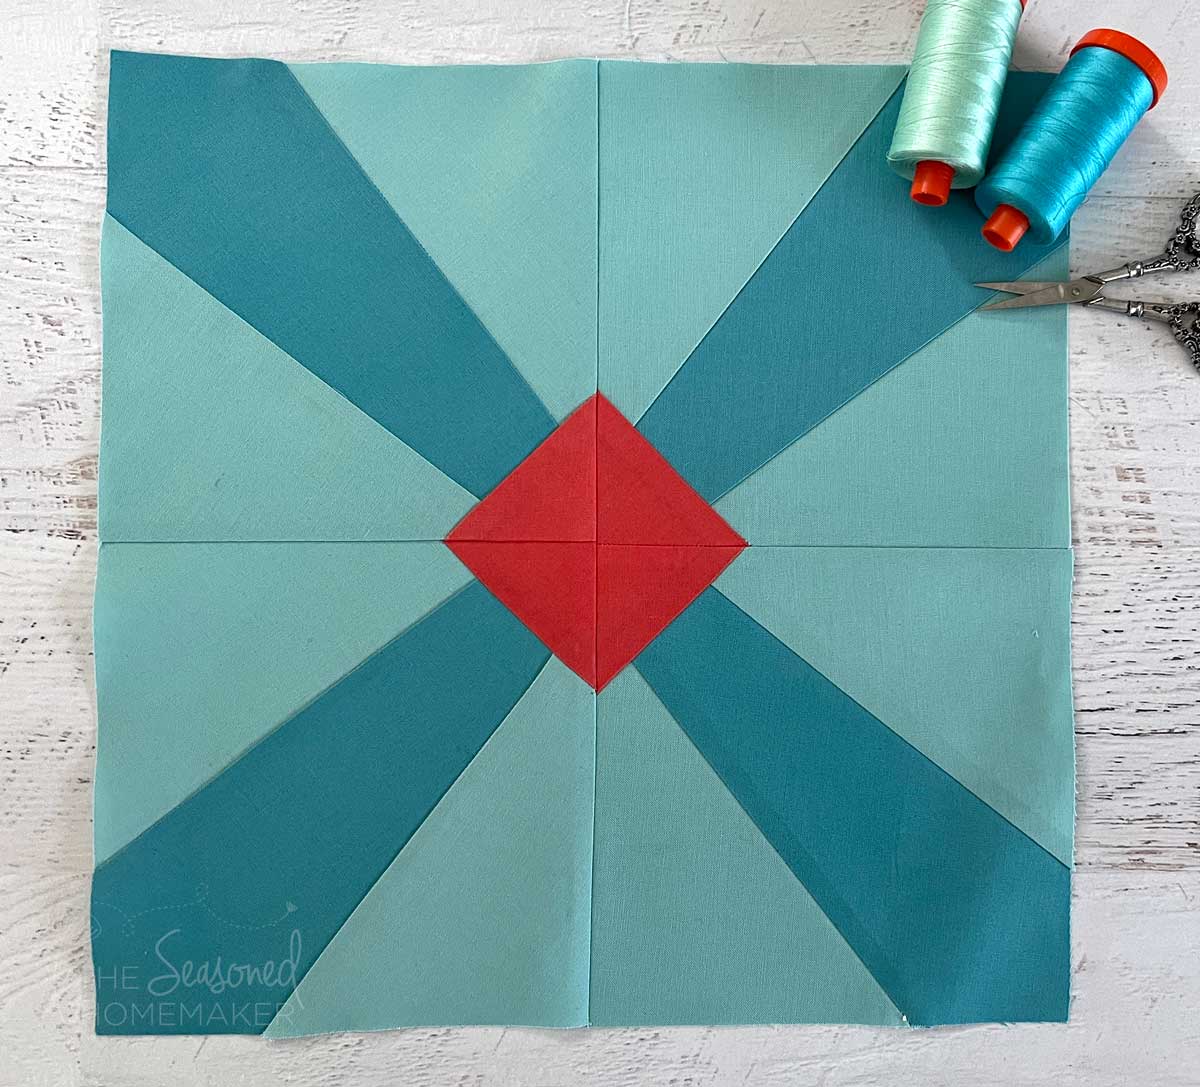
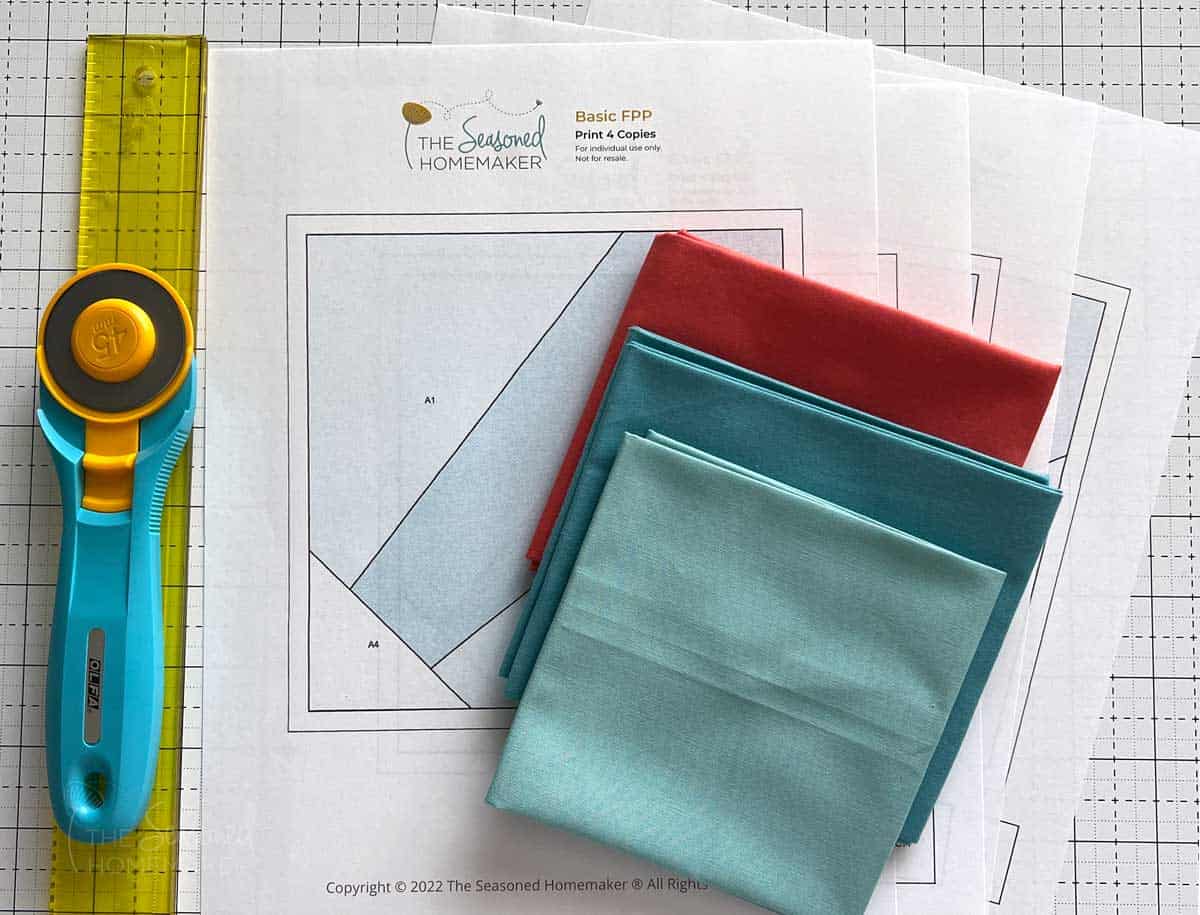
- Quilt block pattern – Choose a quilt block you wish to foundation piece.
- Foundation paper – Foundation papers are usually made from a lightweight paper like printer paper, tissue paper, or newsprint.
- Fabric – Choose fabric for your quilt block. You will need enough fabric to cover the paper foundation and complete the quilt block.
- Thread – Choose thread to match your fabric. You will use the thread to stitch the fabric to the paper foundation.
- Sewing machine – You will need a sewing machine to stitch the fabric to the paper foundation.
- Scissors and pins – You will need scissors to cut the fabric and pins to hold the fabric in place as you stitch.
You will also need basic sewing supplies such as a seam ripper, pressing tools, and an iron. Once you have gathered the necessary materials, you are ready to begin foundation piecing your quilt block.
Step 1: Prepare the Foundation
Paper Piecing Quilting is the process of creating intricate quilt designs using pieces of paper and fabric. It is a traditional form of quilting that has been around since the 1800s and is still widely used today.
- Cutting Paper Pieces – The first step in paper piecing quilting is to cut the paper pieces that will be used to create the quilt design. These pieces should be cut to the exact size and shape of the desired quilt block.
- Placing Paper Pieces – Once the paper pieces have been cut, they need to be placed on the fabric to create the quilt design. This is done by following a quilt pattern or drawing a design onto the fabric.
- Tracing – After the paper pieces have been placed, they need to be traced onto the fabric. This is done with a pencil or water-soluble pen.
- Sewing – Finally, the paper pieces need to be sewn onto the fabric. This is done by hand or with a sewing machine.
By following these steps, you can create beautiful quilt designs using the traditional paper piecing quilting technique.
Step 2: Place the Fabric
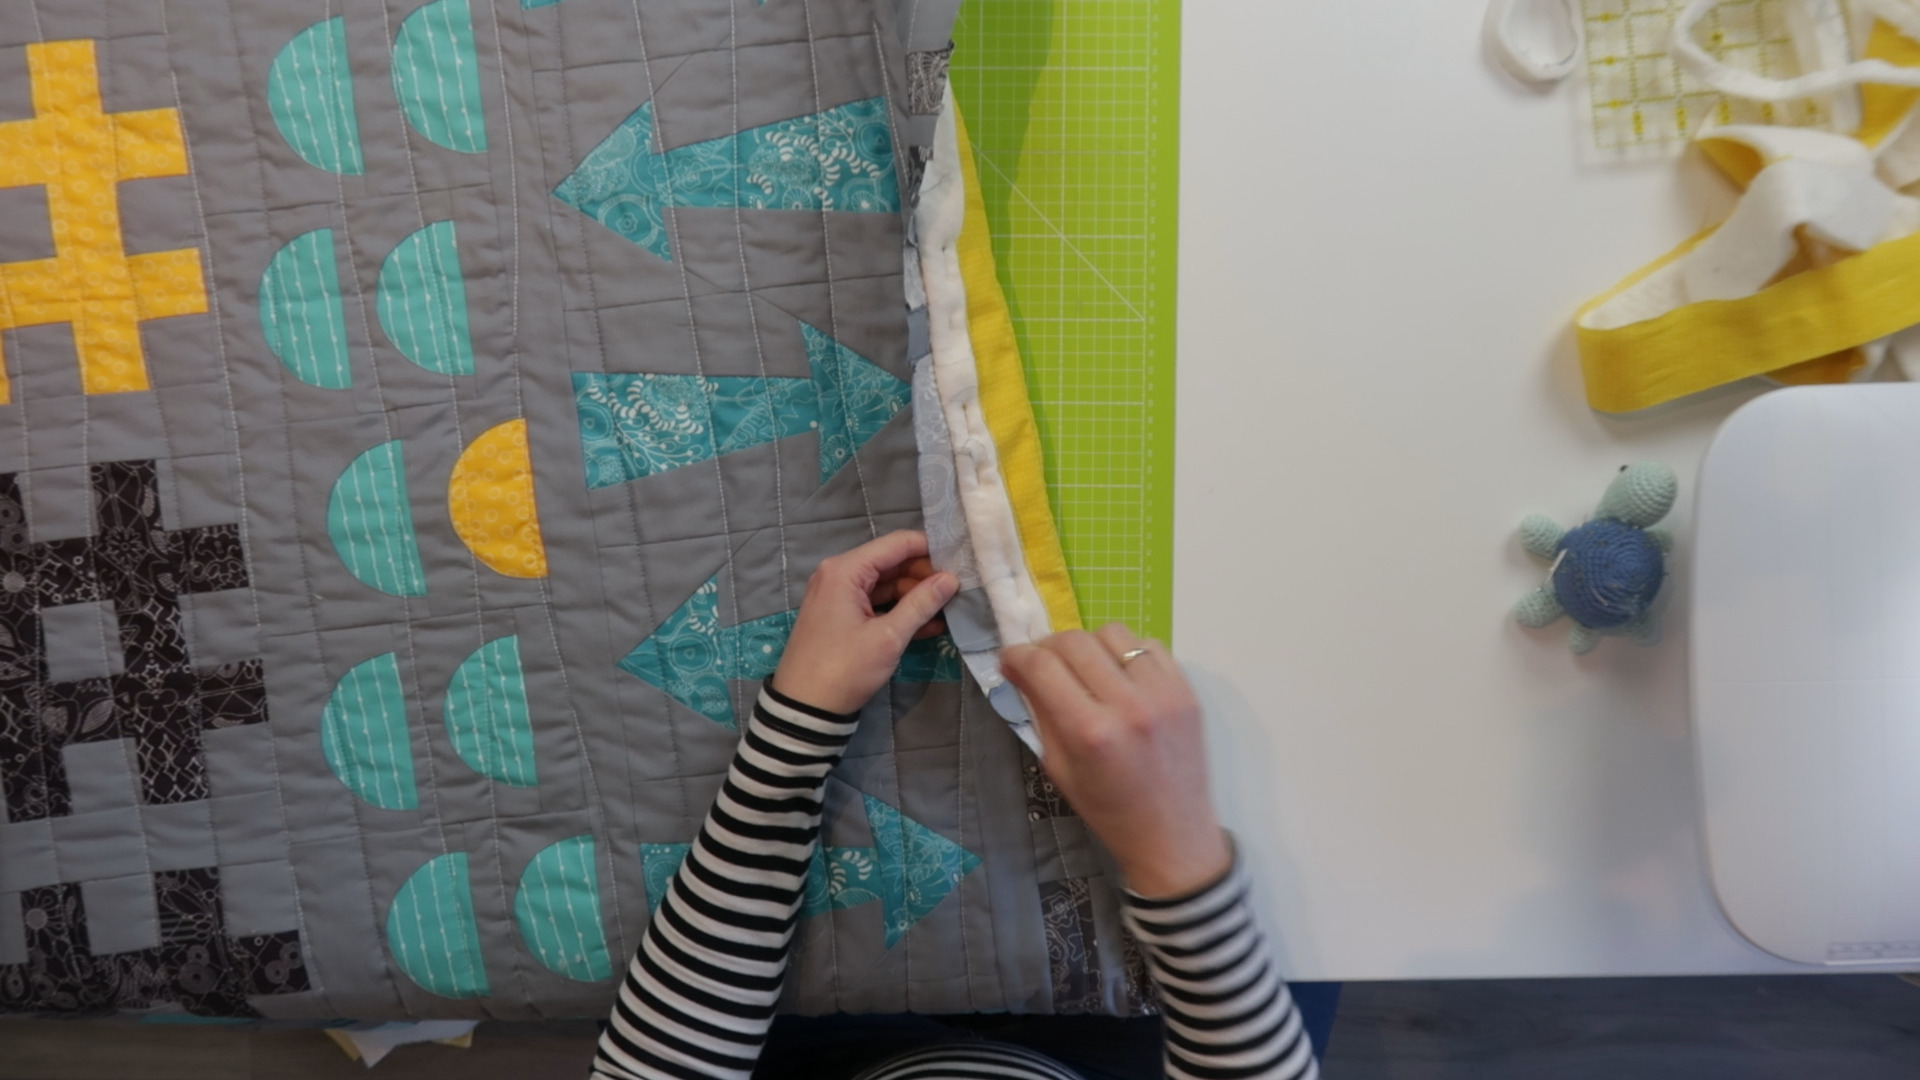
Cut the Foundation Paper – Cut the foundation paper into the desired shape and size. If converting a regular quilt block to foundation paper piecing, cut the paper so it matches the block’s measurements.
Position the Right Side of the Fabric – Place the right side of the fabric on the wrong side of the foundation paper, covering the paper completely.
Smooth the Fabric – With the fabric in position, use your fingertips to smooth it and remove any wrinkles.
Secure the Fabric – Secure the fabric in place by flipping the foundation paper over and pressing with an iron. Make sure to use a pressing cloth to avoid scorching the paper.
Step 3: Sew the Pieces Together
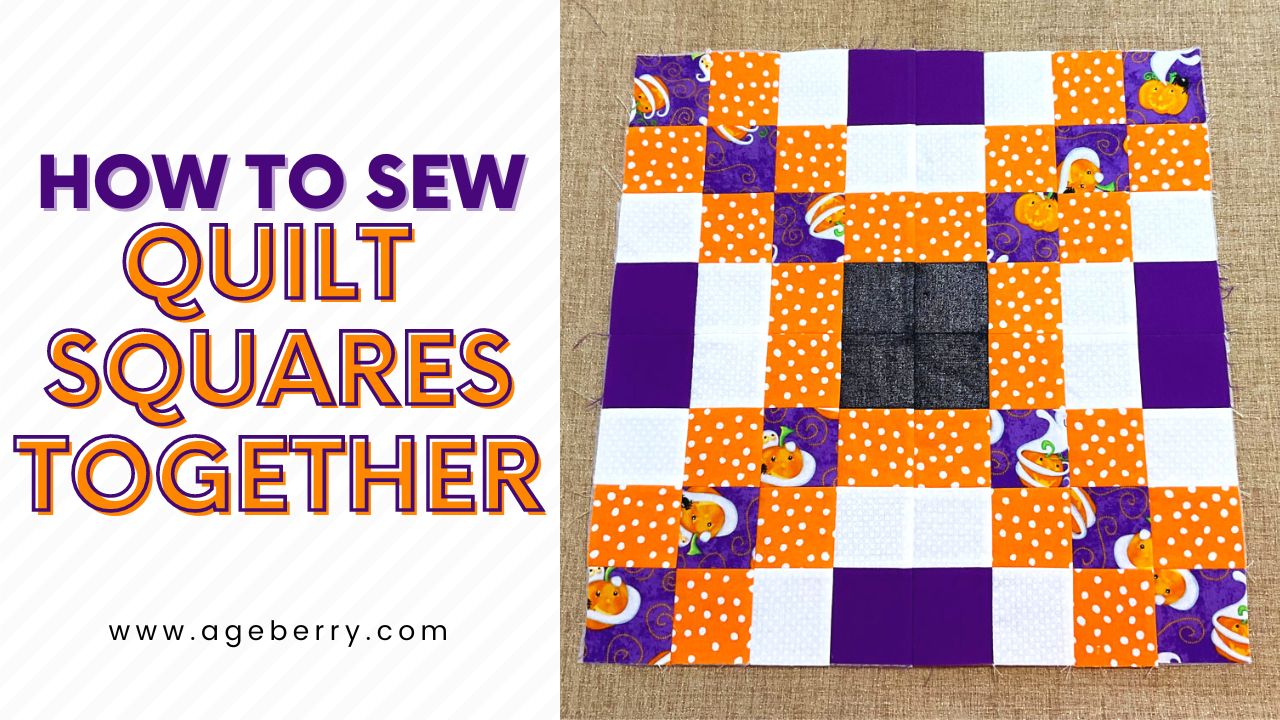
- Choose the Right Stitch Length: When sewing paper-pieced quilt blocks, it is important to choose the right stitch length. A small stitch length (1.5 mm or less) will help ensure the paper is securely stitched to the fabric.
- Press Fabric After Sewing: To ensure that all the seams are properly aligned and the pieces are securely stitched together, press the fabric after sewing.
- Trim and Square Up: To ensure that the block is an accurate size and shape, trim the edges and square up the block with a ruler and rotary cutter.
- Use a Seam Ripper: If the stitches are not properly secured, it is important to use a seam ripper to take out the stitches, re-position the fabric, and stitch again.
Step 4: Complete the Block
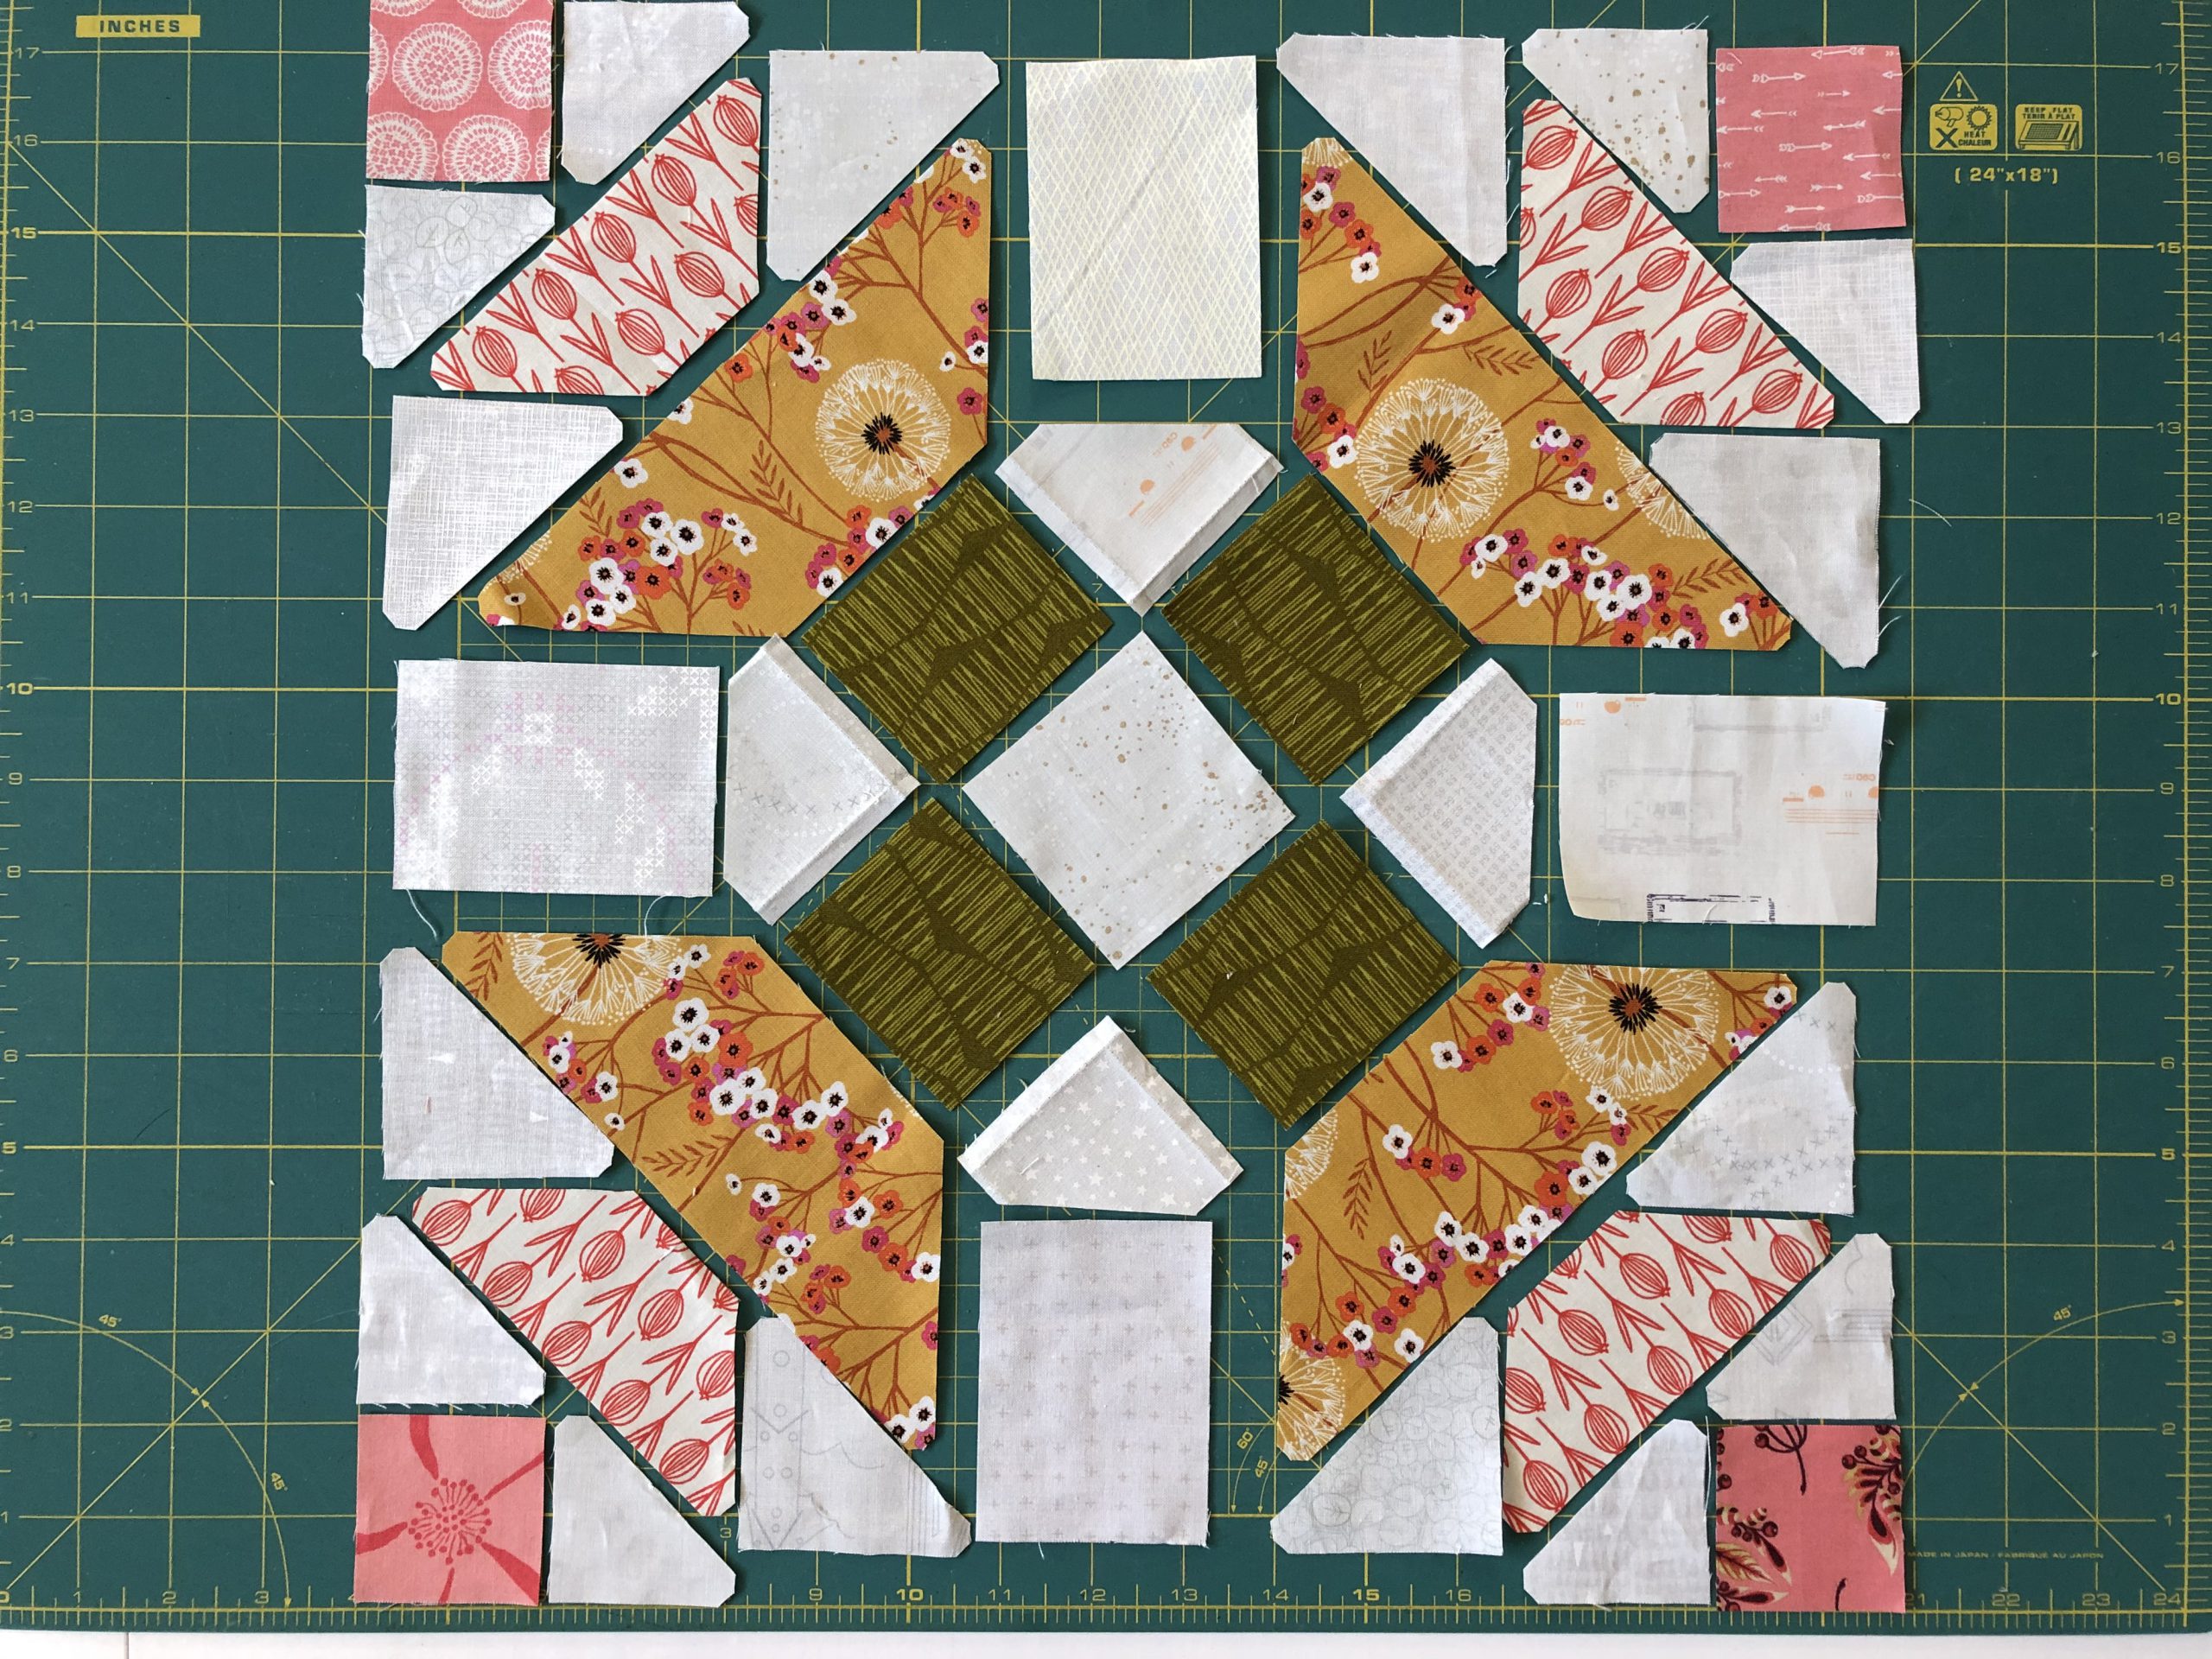
- Position the next fabric. Select the next fabric, and position it right sides together with the pattern piece, aligning the edges. Pin in place.
- Stitch the fabric. Using the dashed line on the pattern as a guide, stitch the fabric to the paper pattern. Be sure to back-stitch at the beginning and end of the seam.
- Trim the seam. Trim the excess fabric on either side of the seam. Trim 1/4″ away from the stitching line.
- Fold, press, and repeat. Fold the fabric along the seam, and press the seam. Then, repeat the steps for the next piece. Continue until the block is completely pieced.
How to Convert Regular Quilt Blocks to Foundation Paper Piecing
- Choose the Block – Select the quilt block you want to convert to foundation paper piecing.
- Draw a Template – Draw a template of the quilt block on graph paper. Marking the intersections of the block, and the size of each piece.
- Calculate the Total Size – Calculate the total size of the quilt block and add a ¼ inch seam allowance to each side.
- Transfer the Template – Transfer the template to foundation paper and cut out the pieces.
- Number the Pieces – Number the pieces of the quilt block in the order in which you want to sew them together.
- Sew the Pieces – Sew the pieces together, following the numbered sequence.
- Remove the Foundation Paper – When finished, remove the foundation paper from the back of the quilt block.
Frequently Asked Questions
What type of materials do I need to paper piece a quilt?
- Fabric – Choose a fabric that is lightweight and easy to manipulate, such as cotton, linen, or silk.
- Pins – Use quilting pins to hold the fabric in place.
- Paper template – You will need paper templates for the pieces you are piecing together.
- Scissors – You will need a pair of scissors to cut the fabric into the correct pieces.
- Needle and thread – Use a needle and thread to piece the fabric together into the desired pattern.
- Iron – An iron is necessary to press the fabric into place.
What Tools are Necessary for Paper Piecing?
Paper piecing requires a few specialized tools, including paper-piecing foundation paper, a needle and thread, a quilting ruler, and a rotary cutter. The paper-piecing foundation paper should be lightweight and strong, such as printer paper or parchment paper. Needles and thread should be suitable for hand-piecing, such as a 60/8 or 70/10 size, as well as all-purpose thread. Quilting rulers should have a non-slip back and measure at least 6”x24”. Lastly, a rotary cutter should be used to cut pieces of fabric to the desired size.
What are the benefits of paper piecing a quilt?
- Accuracy: Paper piecing helps you to sew precise seams. It ensures that points match up and pieces fit together perfectly, allowing for complex quilt designs.
- No marking: With paper piecing, you don’t need to mark or measure each piece or block. You can just follow the lines printed on the paper.
- Precision: Paper piecing makes it easier to sew curves and angles. It also allows you to make small pieces without having to use scissors to cut them.
- Versatility: Paper piecing can be used for a variety of quilting techniques, such as curved piecing, miniature quilting, and applique.
- Ease of construction: Paper piecing can help you create complex quilt blocks quickly and accurately. It’s also a more forgiving technique than traditional quilting, so it’s easier to make adjustments if needed.
Are There Any Special Techniques I Should Know About Paper Piecing?
Paper piecing is a form of quilting that involves sewing fabric to paper patterns. It is a great way to create intricate and precise designs without worrying about a lot of bulk. To create paper pieced quilts, it is important to follow the specific instructions for each paper pattern. Additionally, there are a few techniques that can help make the process easier.
Trimming: After sewing each piece of fabric to the paper pattern, it is important to trim the excess fabric away. This will help to prevent bulk and will help ensure accuracy.
Pressing: After sewing and trimming each piece, press the fabric to the paper pattern. This will help the pieces to lay flat and will make the entire quilt look neat.
Stitching: To ensure accuracy, it is important to stitch as close to the paper pattern as possible. Additionally, use a small stitch length and backstitch at the beginning and end of each seam.
Checking: Check each piece after stitching to make sure it is properly aligned with the paper pattern. This will help to ensure accuracy and prevent unnecessary mistakes.
Following these techniques will help ensure that each paper pieced quilt looks perfect.
How long does it typically take to paper piece a quilt?
The amount of time it takes to paper piece a quilt depends on the size and complexity of the quilt. Generally, a small quilt with simple blocks may take around 4-5 hours, while a large or complex quilt may take 10-15 hours or more. Additionally, the more experienced you become in paper piecing, the faster you will be able to complete the project.
Conclusion
Paper piece quilting is a great way to add extra detail to your quilt projects. With a little practice and patience, paper piecing can quickly become one of your favorite quilting techniques. Start with the basics and practice, practice, practice. With these four easy steps, you can become a paper piecing master in no time.
