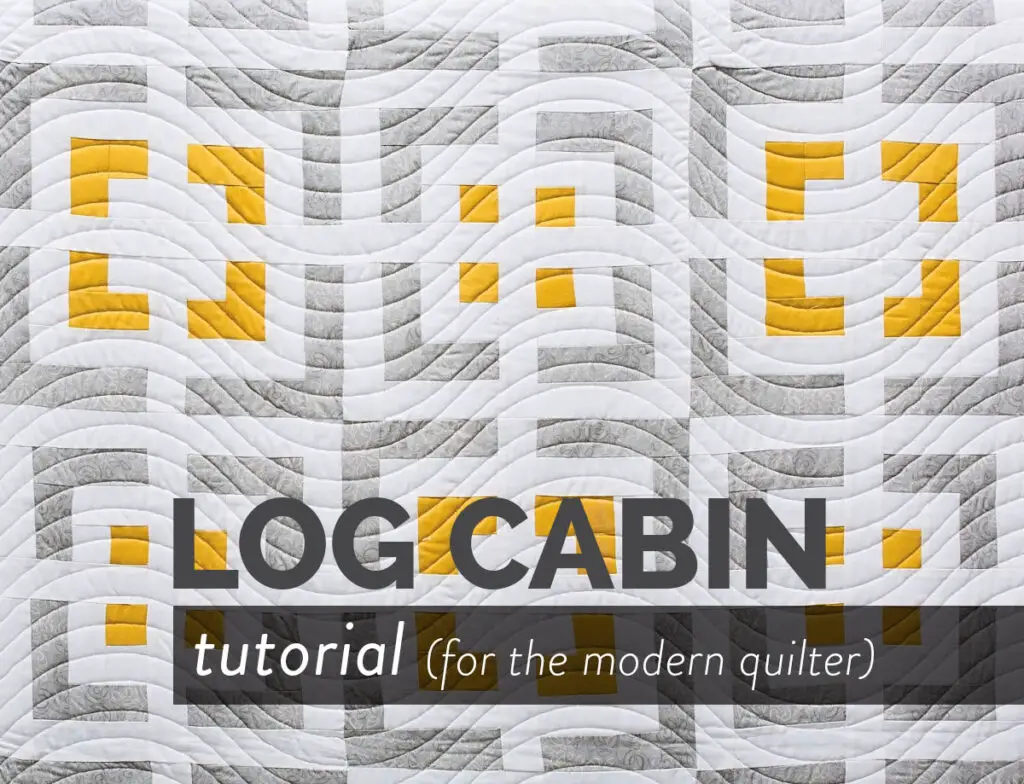
If you’re looking for a way to express your creativity and make a beautiful quilt, then look no further than a log cabin quilt. In this article, we will provide a step-by-step guide on how to quilt a log cabin quilt, from fabric selection to putting the finishing touches. With this guide, you can create an eye-catching quilt that you’ll be proud to show off. So, let’s get started!
What is a Log Cabin Quilt?
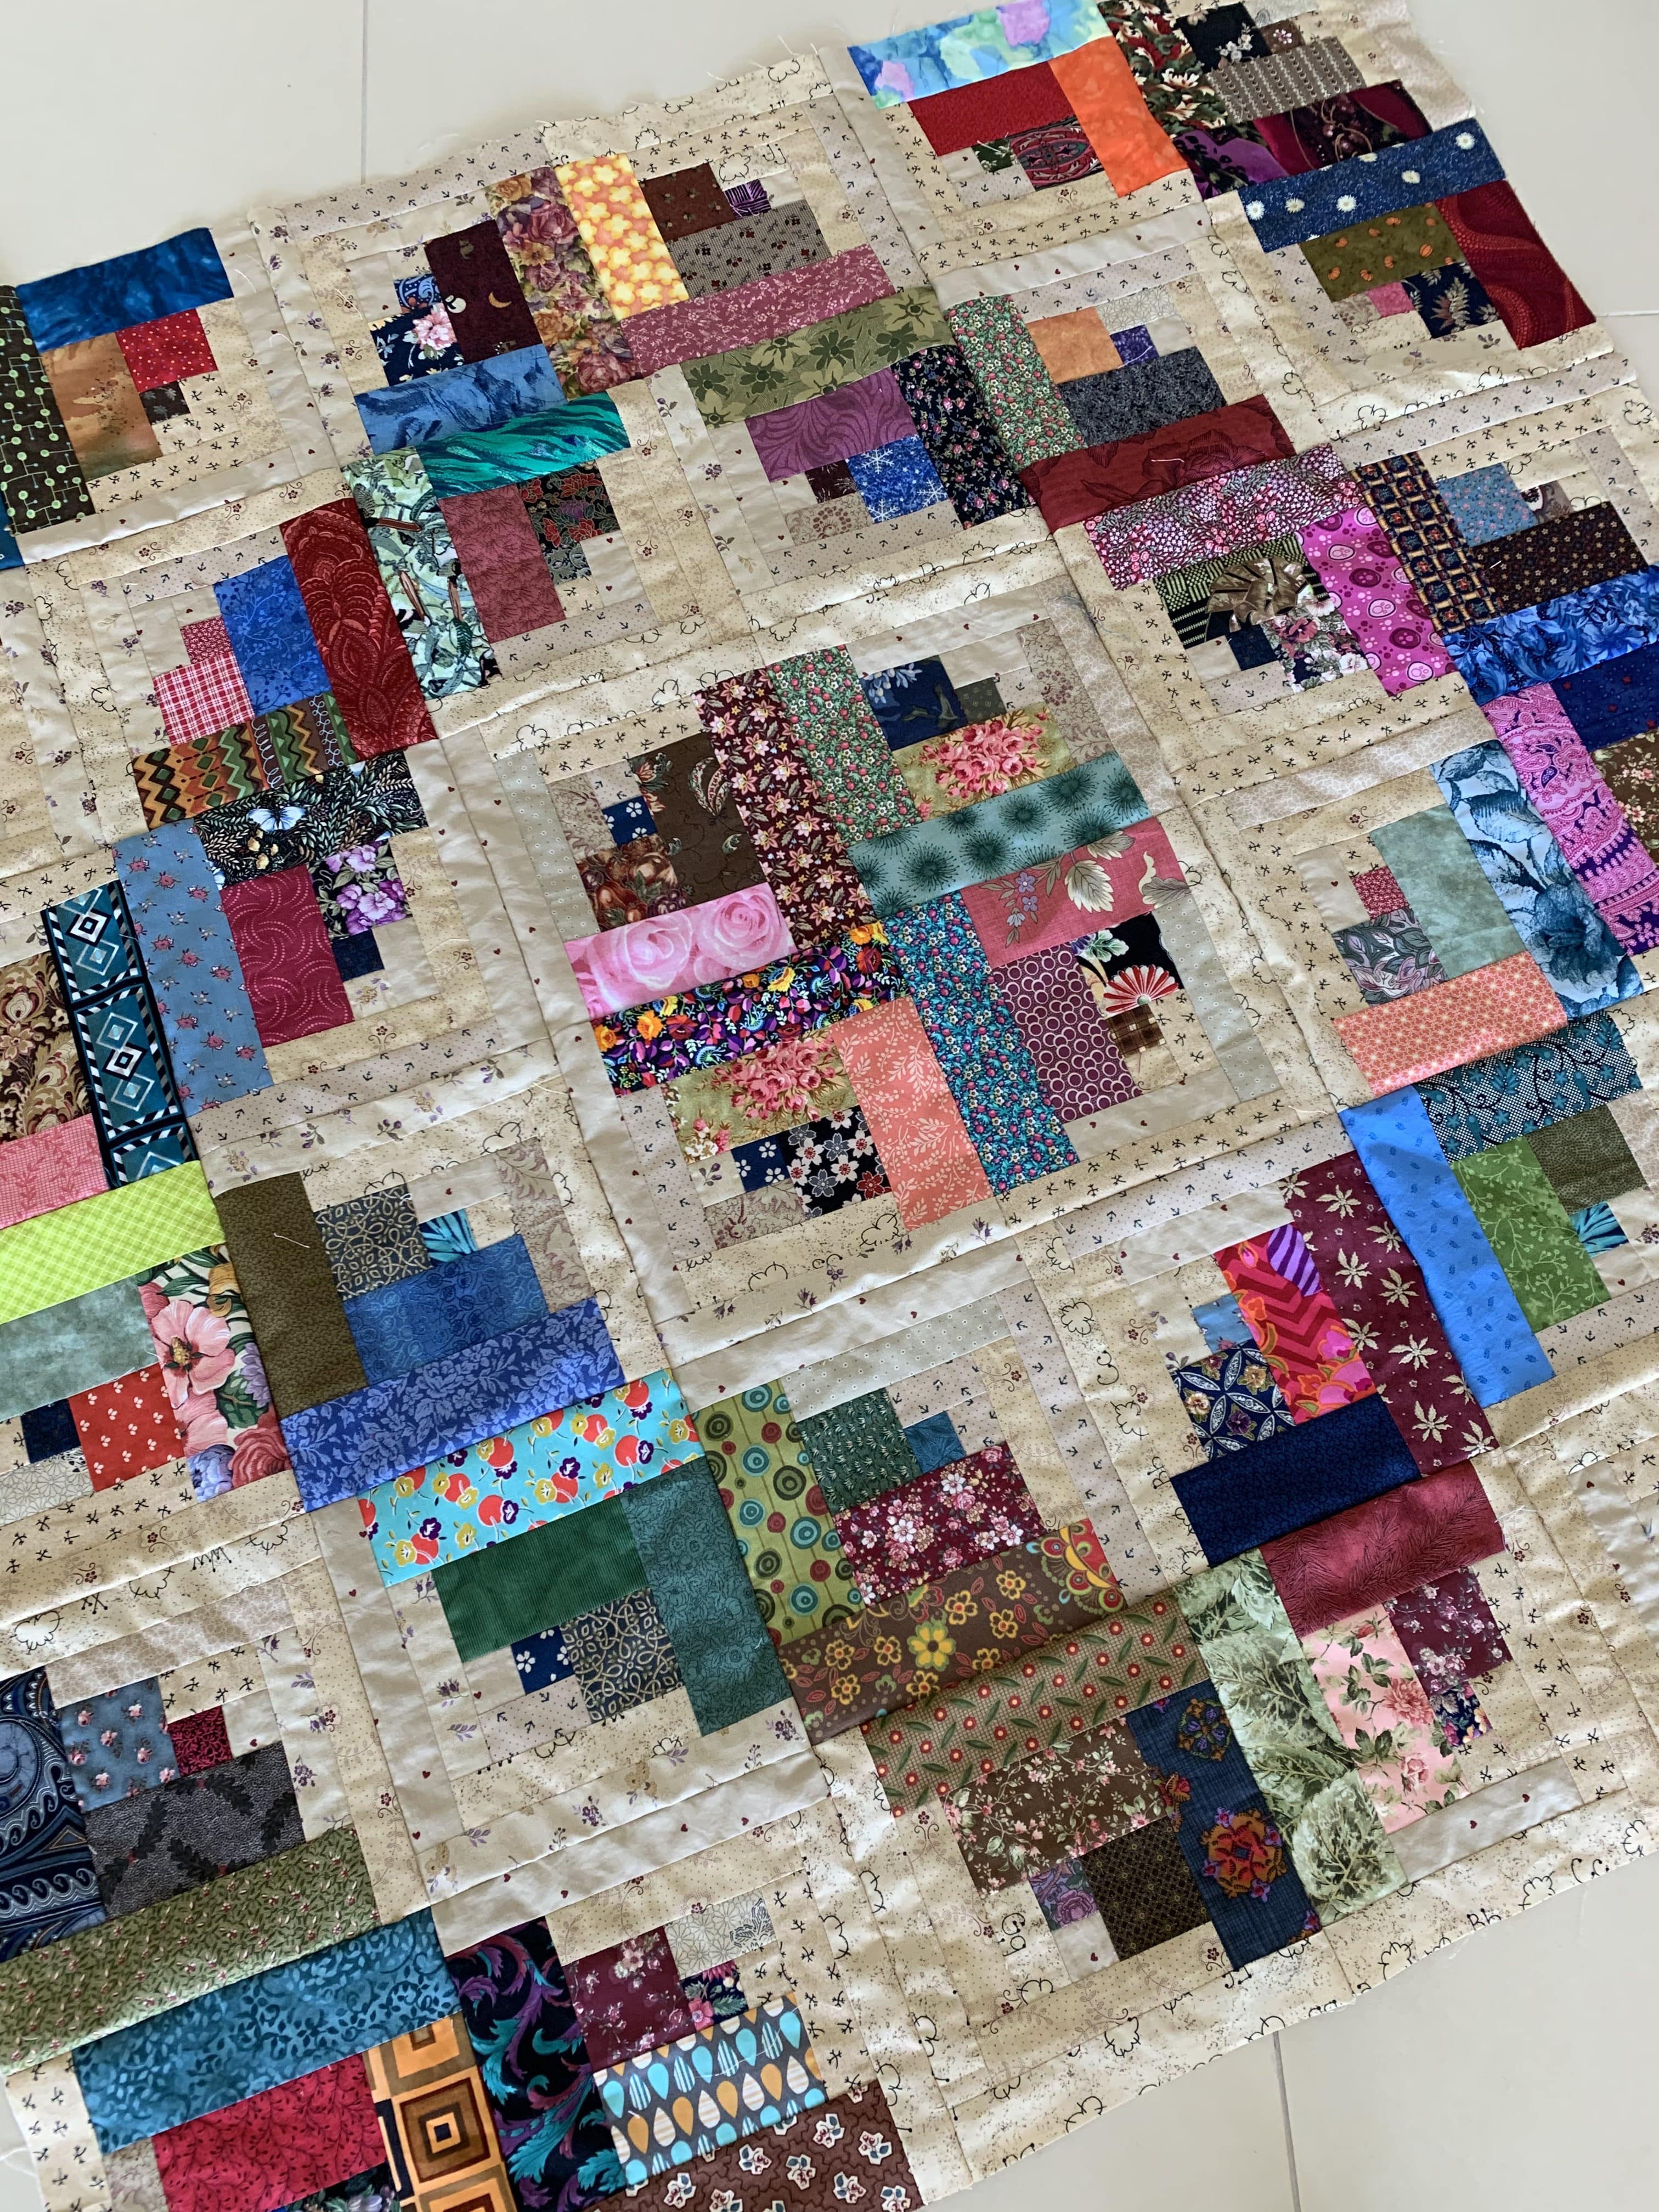
A Log Cabin quilt is a type of patchwork quilt made from strips of fabric sewn together in a specific pattern. The quilt typically features a center block of light fabric surrounded by a “log” of dark fabric strips, hence the name. The strips are arranged in a radial pattern, with each strip being slightly larger than the one before. This creates a gradual increase in size of each block, which gives the quilt a unique and eye-catching look. The Log Cabin quilt is a versatile quilt pattern, which can be adapted and changed to suit any style of quilt.
The Log Cabin quilt is a traditional quilt pattern that has been around for centuries. It is a great quilt to make, as it is easy to learn and requires minimal supplies. Although the Log Cabin quilt is a classic, it can be adapted and changed to suit modern quilters. There are many different variations of the Log Cabin quilt, and these can be used to make a variety of quilts, from traditional to modern.
To make a Log Cabin quilt, you first need to make the log cabin blocks. These blocks are made from strips of fabric sewn together in a “log” shape. The strips are arranged in a radial pattern, with each strip being slightly larger than the one before. Once all the blocks have been made, they can be arranged into a quilt top. The blocks can be arranged in any pattern, from traditional to modern, to create a unique quilt.
| Traditional Log Cabin | Modern Log Cabin |
|---|---|
| Light center fabric surrounded by dark fabric strips | Light and dark fabric strips arranged in a variety of patterns |
| Stripes arranged in a radial pattern | Stripes arranged in a variety of patterns |
| Straight quilting lines | Curved quilting lines |
Once the quilt top is complete, it can be quilted and finished. Quilting the Log Cabin quilt is relatively straightforward, as the quilting lines follow the “log” pattern of the blocks. Traditional Log Cabin quilts feature straight quilting lines, while modern Log Cabin quilts can incorporate curved quilting lines.
The Log Cabin quilt is a timeless quilt pattern that is suitable for all skill levels. With a little creativity, the pattern can be adapted and changed to create unique quilts. Whether you choose to make a traditional or modern Log Cabin quilt, the end result will be a beautiful quilt that you can be proud of.
Materials Needed
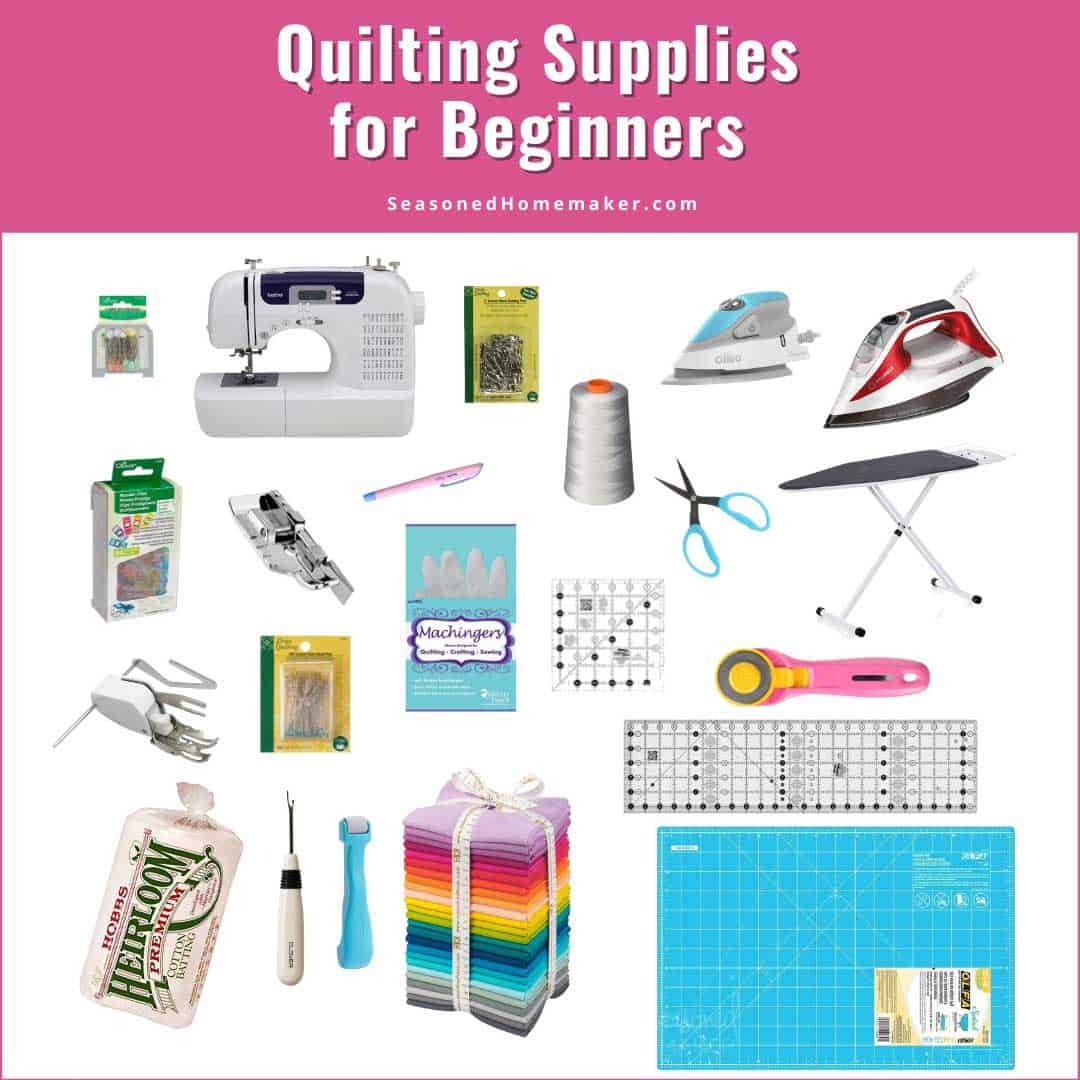
- Fabric: Scraps of fabric in light and dark colors, or a pre-cut log cabin quilt top kit.
- Backing fabric
- Batting: Cotton or polyester
- Thread: Cotton or polyester
- Sewing machine: Optional but recommended
- Rotary cutter
- Ruler: 6” x 24”
- Iron: Optional but recommended
In order to make a beautiful log cabin quilt top, you need a variety of materials. Depending on whether you are making the log cabin quilt top from fabric scraps or a pre-cut log cabin quilt top kit, the materials you need may vary. You will need fabric, preferably in light and dark colors, backing fabric, cotton or polyester batting, cotton or polyester thread, a sewing machine (optional but recommended), a rotary cutter, a 6” x 24” ruler, and an iron (optional but recommended). With these materials, you can make a stunning log cabin quilt top.
How to Quilt a Log Cabin Quilt Block
Cutting the Fabric
To begin quilting a log cabin quilt block, you will need to cut the fabric into strips of various sizes. Start with a light-colored fabric for the center square and cut several strips in a variety of colors and widths. The size of the strips will depend on the size of the log cabin block you are making.
Sewing the Log Cabin Blocks
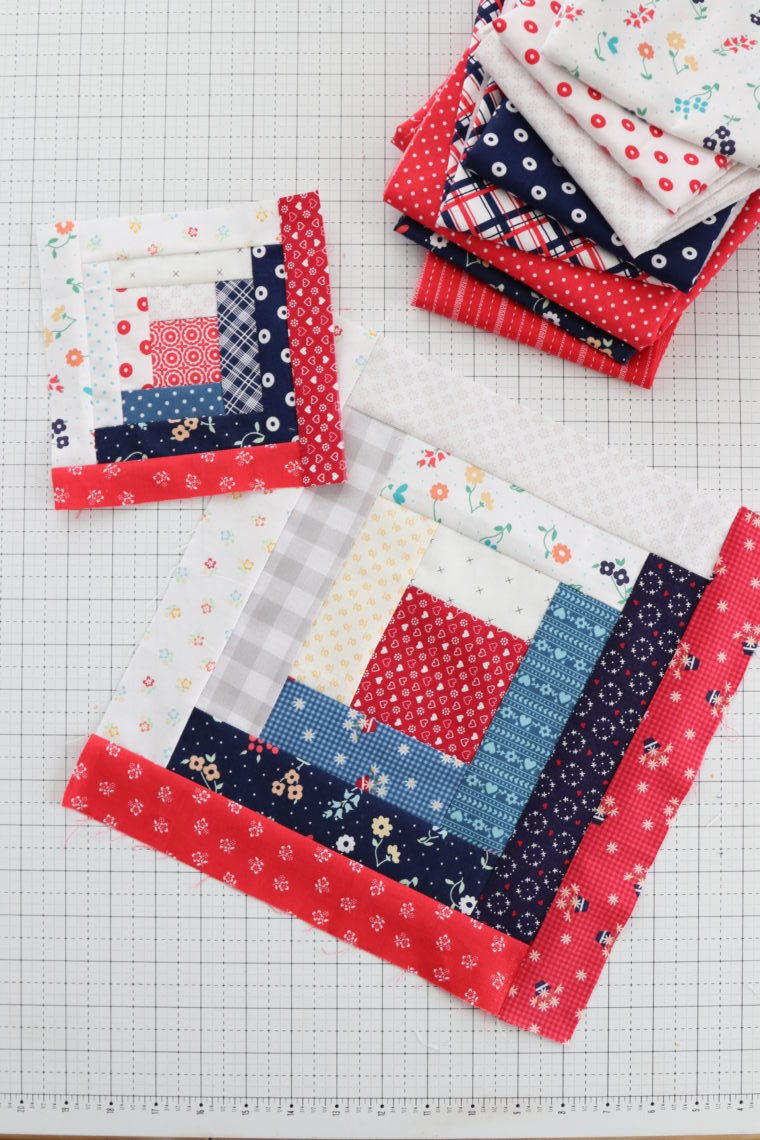
To sew the log cabin blocks, start by sewing the light-colored center square to the first strip. Use a ¼” seam allowance. Continue adding strips, rotating the colors and varying the widths, until all the strips are attached. Press the seams open.
Attaching the Log Cabin Blocks
Once all the log cabin blocks are sewn, you can attach them together. Place two blocks right sides together and sew along the edges using a ¼” seam allowance. Repeat this step until all the blocks are sewn together. To create a large log cabin quilt block, you can keep adding blocks until the desired size is achieved.
When attaching the blocks it is important to use a strong stitch, as the block will be handled quite a bit when quilting.
How to Quilt a Log Cabin Quilt Top
Assembling the Log Cabin Quilt Top
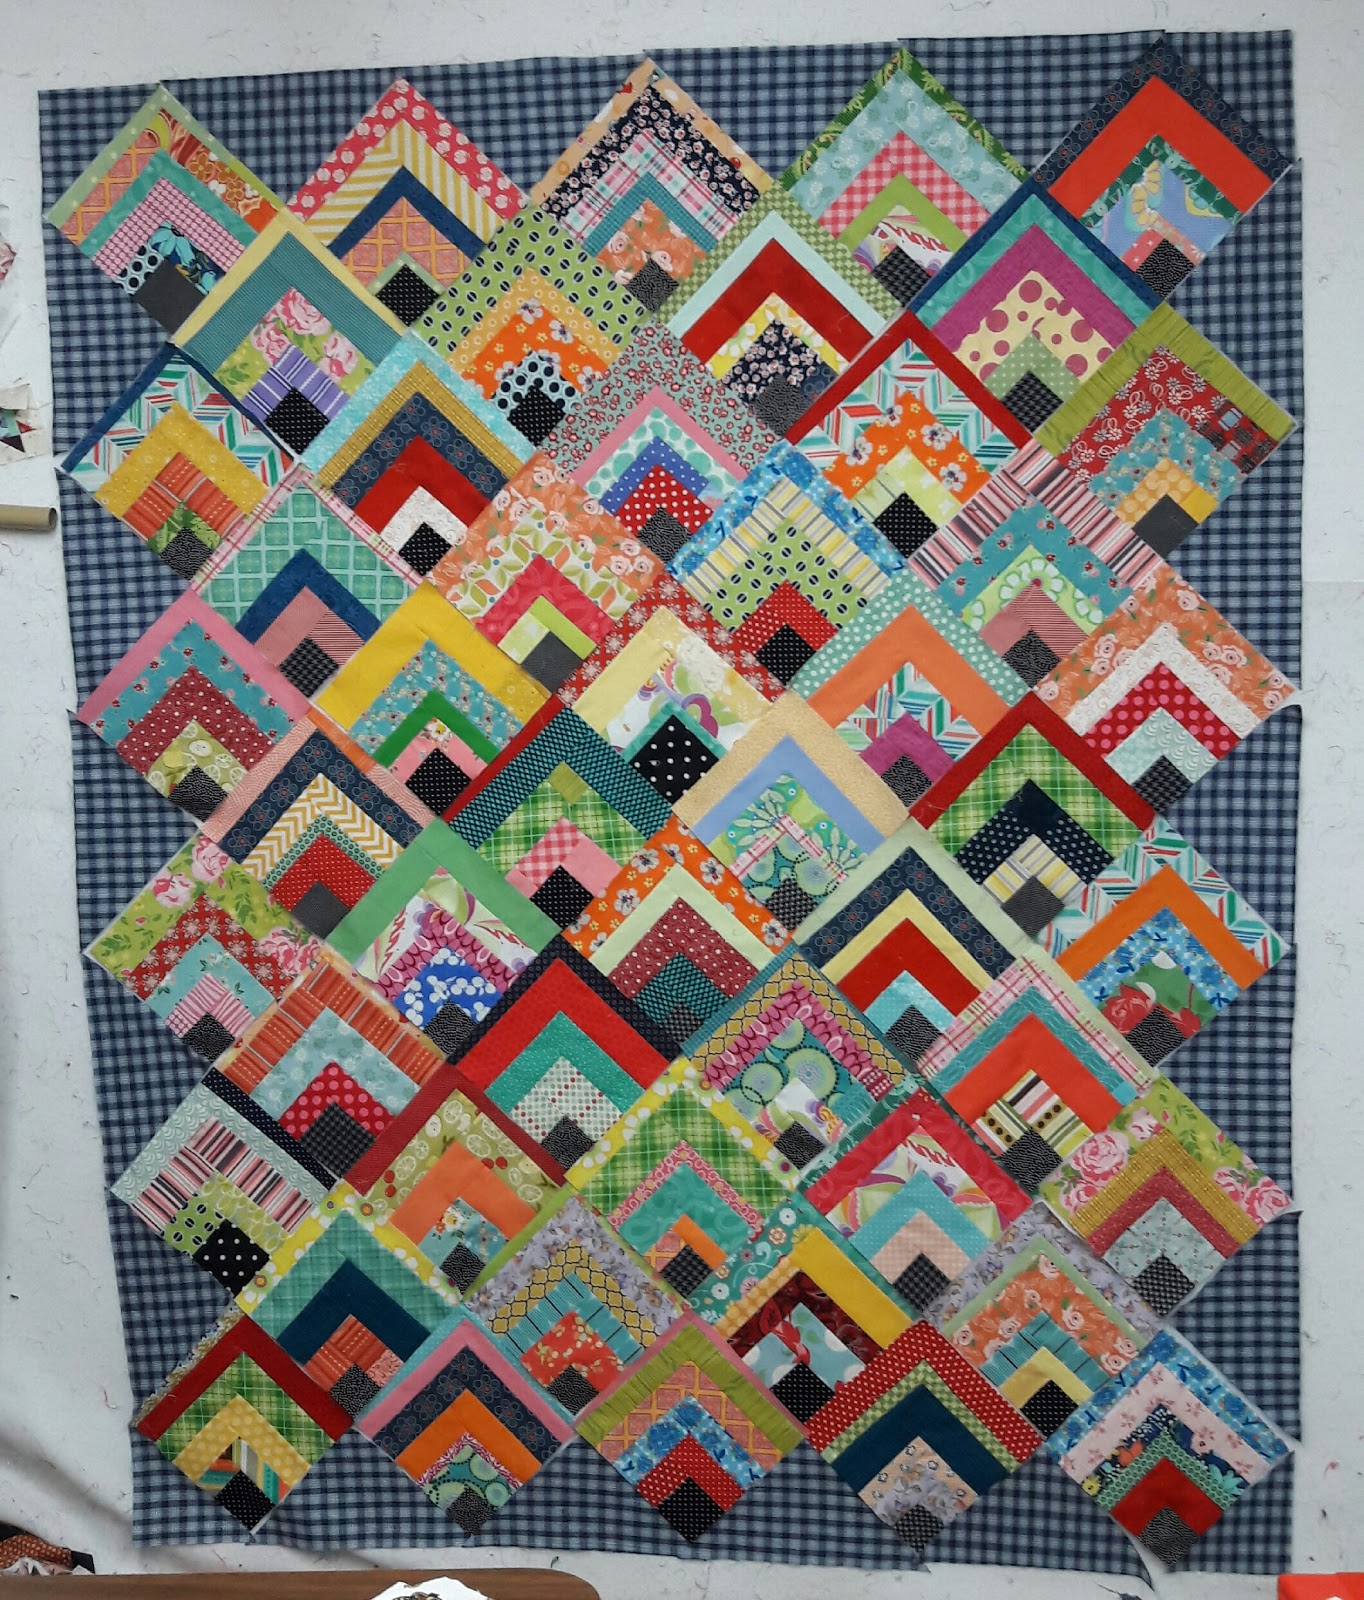
To assemble the log cabin quilt top, begin by gathering your fabrics and cutting them into strips. To create half-square triangles, sew the strips together diagonally and press the seams open. These half-square triangles will make up the log cabin blocks. Lay out the log cabin blocks, alternating the light and dark fabrics, until you have the desired size of the quilt top. Finally, sew the blocks together, pressing the seams open.
Quilting the Log Cabin Quilt Top
Once your log cabin quilt top is assembled, you can begin the quilting process. Begin by basting the top, batting, and backing together. You can use quilting pins or spray adhesive to keep the layers in place. Once basted, you can start quilting the quilt top in the desired pattern. You can use a walking foot to move the quilt through the machine and a free-motion foot to quilt intricate designs. When the quilting is complete, trim the excess batting and backing, and bind the edges of the quilt with fabric binding strips.
Quilting a log cabin quilt top can be a fun and creative experience. With a few simple steps, you can create a stunning quilt that will last for generations to come.
How to Sew a Large Log Cabin Quilt Block
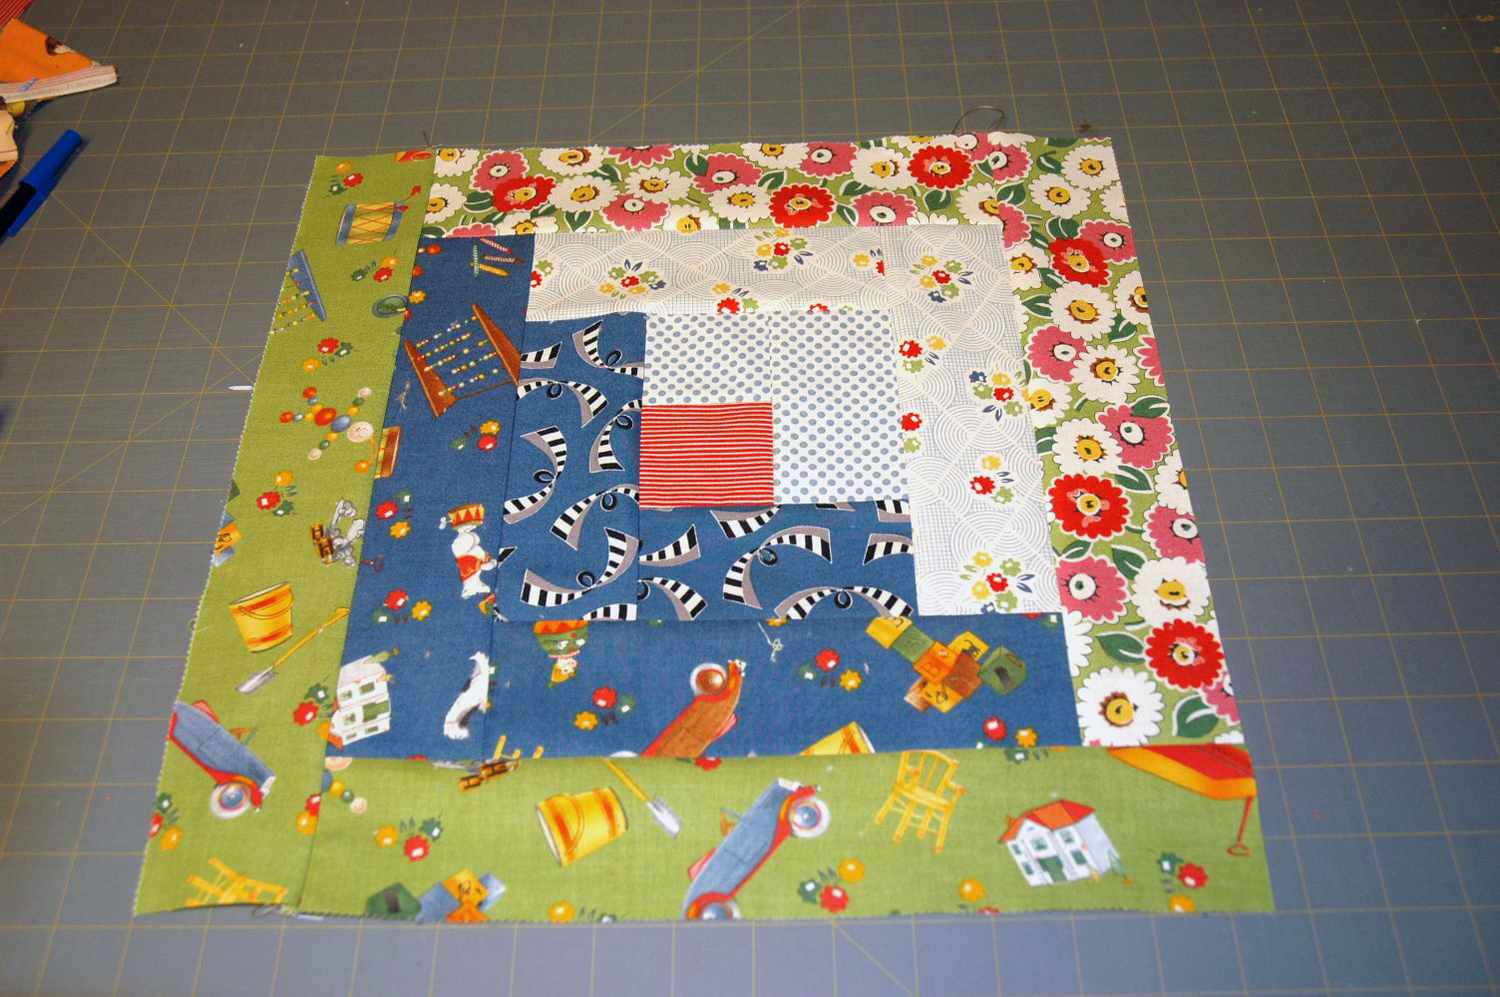
Cutting the Fabric
To create a large log cabin quilt block, the fabric should first be cut into the correct sizes. Begin by cutting the center rectangle out of the fabric. This should be a 4.5 inch by 6.5 inch rectangle. Once this is done, cut out four 1.5 inch strips for the sides.
Sewing the Log Cabin Blocks
Next, take one of the 1.5 inch strips and lay it on the right side of the center rectangle. Sew the strip onto the center rectangle, and then press the seam down. Repeat this process for the remaining three sides, so that each side of the center rectangle is now covered with a strip.
Take another 1.5 inch strip and sew it onto the first strip. Press the seam downwards and repeat the process on all four sides. This will create a log cabin block with four strips of fabric.
How to Hand Quilt a Log Cabin Baby Quilt
Assembling the Log Cabin Quilt Top
Start by selecting your fabrics for the quilt top. Remember, the log cabin block is essentially a patchwork of fabric strips. Choose a variety of colors and prints to create a unique quilt pattern. Once you have chosen your fabrics, cut the strips. For a log cabin quilt top, cut your strips 2.5” wide. You can also use pre-cut strips, such as jelly rolls or charm packs, to save time.
Next, arrange your strips into a log cabin pattern. Begin by laying out your strips in a circular pattern, making sure to alternate the colors. Now, starting from the center of the pattern, sew strips together. Make sure to sew the strips together with a ¼” seam allowance. Once you have sewn strips together, press the seams open. Continue in this same manner, adding strips around the center until you have created the size quilt top you desire.
Quilting the Log Cabin Baby Quilt
Lay the quilt top on a flat surface, such as a table or the floor. Pin the quilt top and batting together and then baste the layers together with safety pins. Now, it’s time to quilt your log cabin quilt! To hand quilt, use a hoop or frame to hold the quilt top in place. Begin quilting in the ditch, then quilt in a grid pattern or in a pattern of your choice.
Finally, bind your quilt. Trim the batting and backing fabric even with the quilt top. Cut 2” strips of fabric for the binding and sew the strips together. Fold the binding in half, wrong sides together, and press. Attach the binding to the quilt top and hand stitch the binding to the back of the quilt. Congratulations, you have now hand quilted a log cabin baby quilt!
Frequently Asked Questions
What materials do I need to complete a log cabin quilt?
Fabric:
- Light and dark fabrics for the log cabin blocks
- Solid fabric for the inner border
- Print fabric for the sashing
- Print fabric for the outer border
- Backing fabric
- Batting
Other Tools & Supplies:
- Rotary cutter and mat
- Pins
- Sewing machine with a ¼” foot
- Thread
- Quilting ruler
- Iron
How long does it typically take to quilt a log cabin quilt?
Quilting a log cabin quilt typically requires an estimated 8-10 hours to complete. This includes cutting and piecing the log cabin blocks, designing the quilt, and quilting and binding the quilt. As the quilting process can be time-consuming, it’s important to plan ahead to ensure the project is finished in a timely manner.
Is a Log Cabin Quilt a Difficult Quilting Project for a Beginner?
Log Cabin quilts can seem daunting to a beginner, but with the right instruction and guidance, it can be a fun and rewarding project. The basic design is simple, but the more complex layouts often require careful planning. To make the quilt easier for a beginner, it is best to start with a smaller, single-block quilt. This will help you understand the basics of constructing the quilt top before tackling a larger project. Additionally, choosing a fabric with a large-scale print can help to draw the eye away from any minor imperfections. With practice and patience, a beginner can successfully create a beautiful Log Cabin quilt.
What are some tips for quilting a log cabin quilt?
- Choose the Right Fabric: Select fabrics that are lightweight, with a low nap and minimal stretch. Avoid fabrics that fray easily.
- Choose the Right Batting: Choose a batting that is light and breathable, such as cotton or polyester. Avoid heavier batting which can add too much bulk and weight to the quilt.
- Choose the Right Thread: Select a thread that matches the color of the quilt top. Avoid using thick threads, as these can create visible lines in the quilt.
- Use the Right Needle: Select a needle that is appropriate for the type of fabric you are using. Consider using a quilting needle which has a finer point for intricate quilting.
- Quilt in Sections: When quilting a log cabin quilt, it is best to quilt each block separately. This will help to keep the quilt looking neat and even.
- Choose the Right Stitch: For a log cabin quilt, a meandering or free-motion stitch is ideal. This will create a subtle texture and will help to keep the quilt looking even.
How can I make sure the blocks are even while quilting a log cabin quilt?
To ensure the blocks of a log cabin quilt are even, use a thin, transparent ruler to measure and cut the blocks. Make sure to measure from the center of the block, as this will ensure that the blocks remain the same size throughout. Additionally, always keep the fabric square and use a rotary cutter to ensure the cuts are even and straight. Once the blocks are cut, mark the sewing line with a disappearing ink pen and use a ¼ inch seam allowance when sewing the blocks together. Finally, press the seams of the blocks and use a spray starch to keep them crisp and even.
Conclusion
Creating a log cabin quilt is a rewarding experience that will bring you joy for years to come. With the right materials, tools, and this step-by-step guide, you’ll be able to make a beautiful quilt that you can be proud of.


