
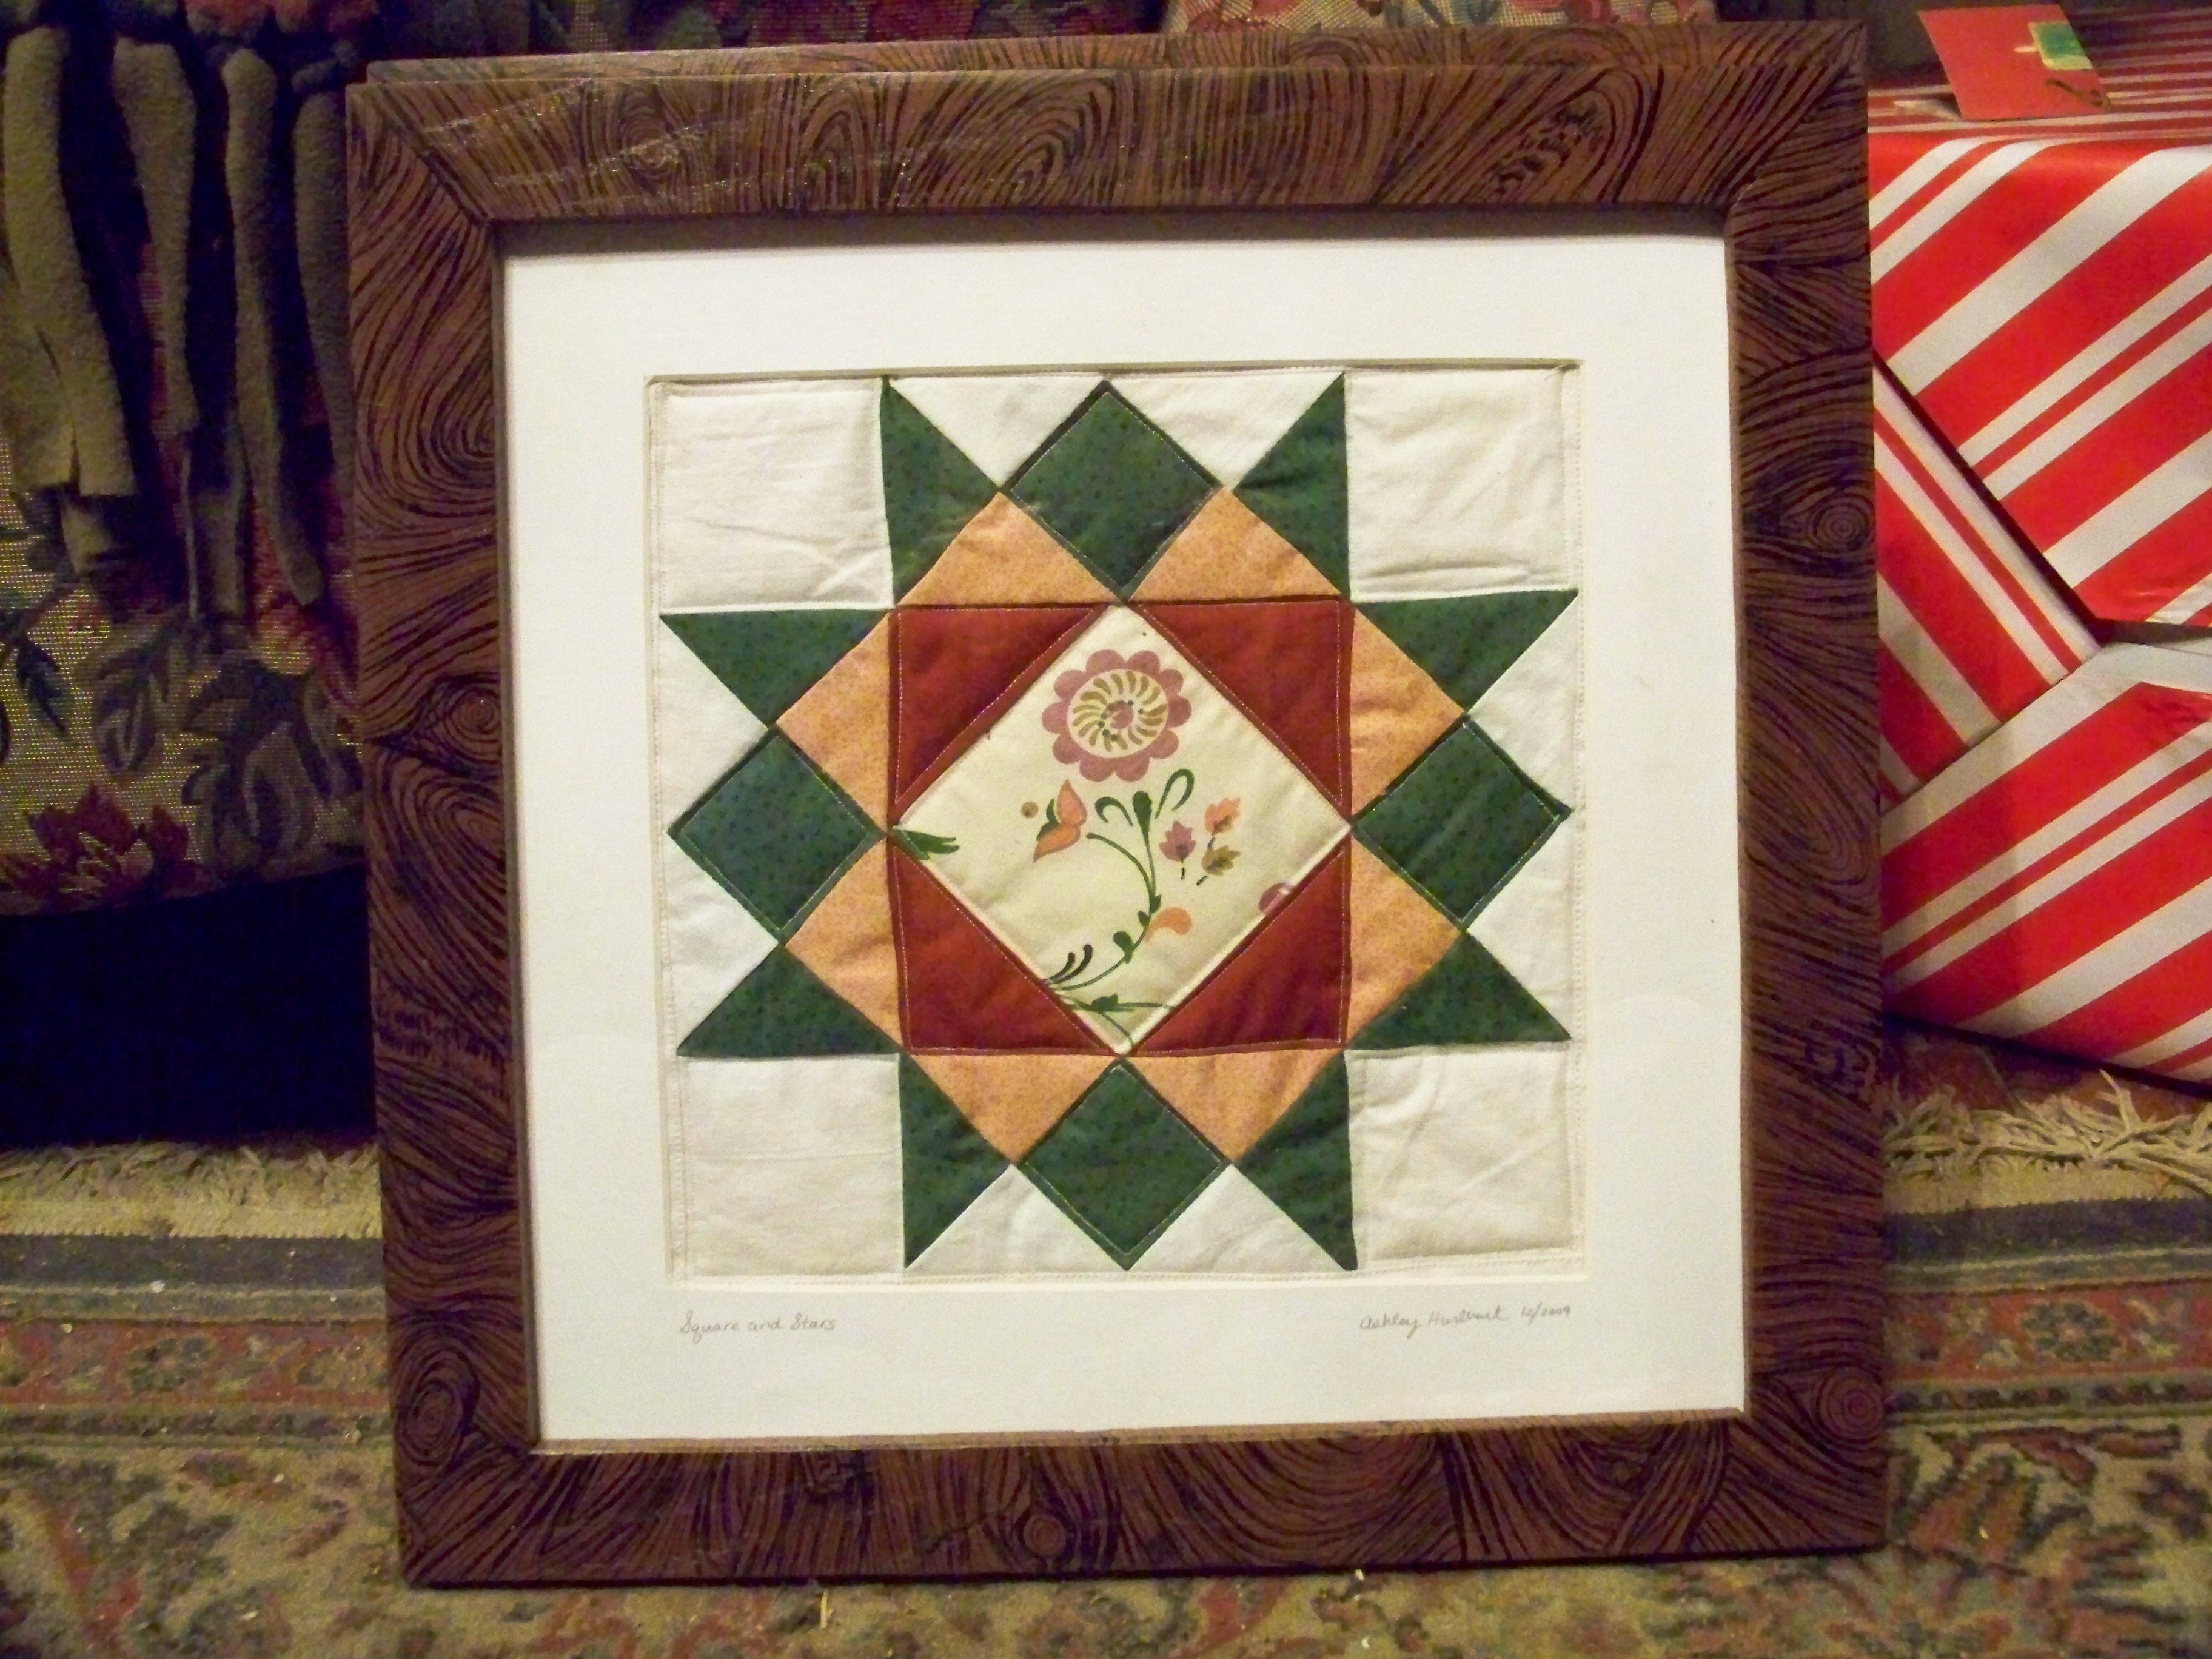
If you have a cherished quilt that you would like to display and preserve, then you are likely wondering how to frame a quilt. Framing a quilt can be a daunting task, but with the right materials and a little bit of patience, you can create a beautiful and lasting memory of your treasured quilt. This article will provide a step-by-step guide to framing your quilt, ensuring that it is properly preserved and showcased.
Materials Needed
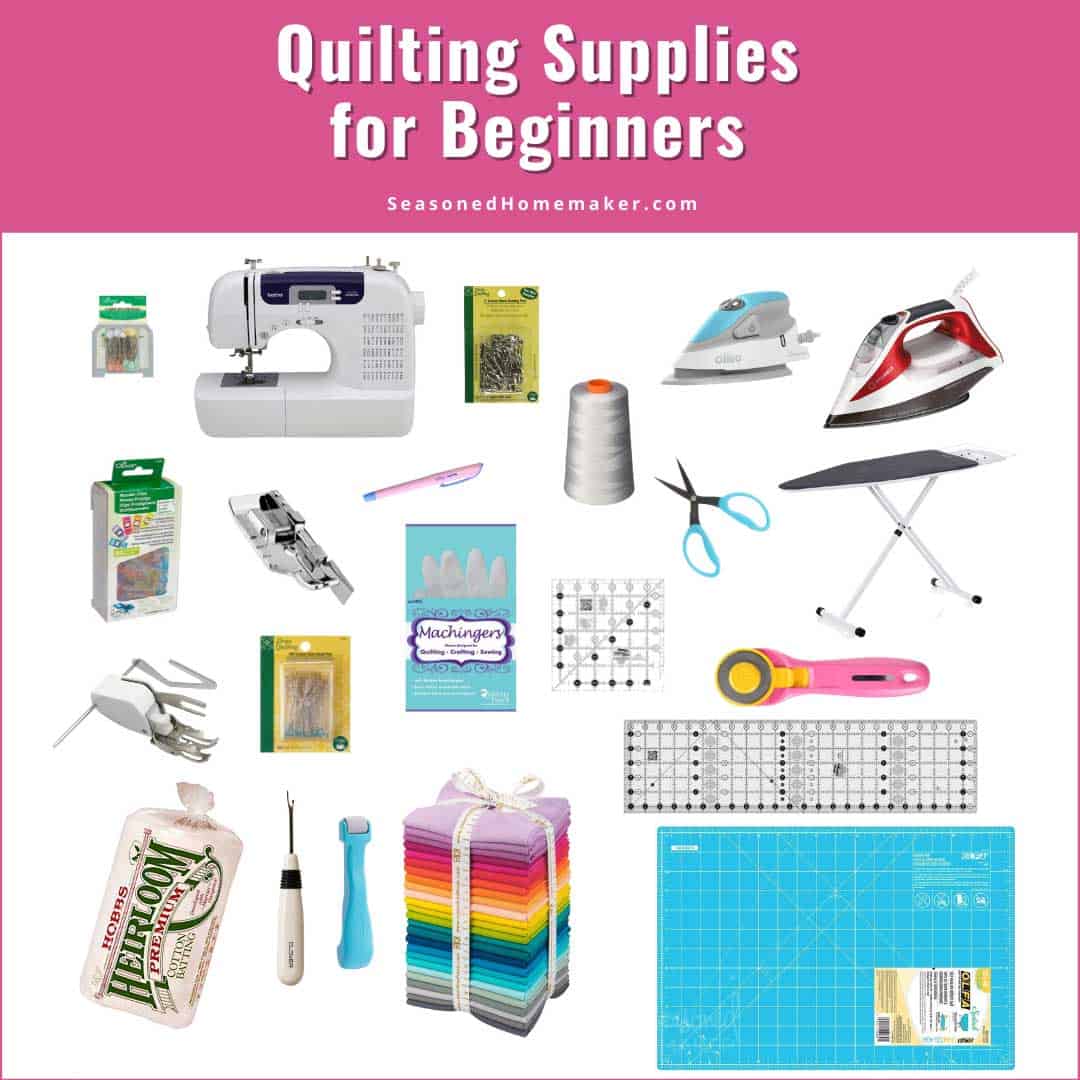
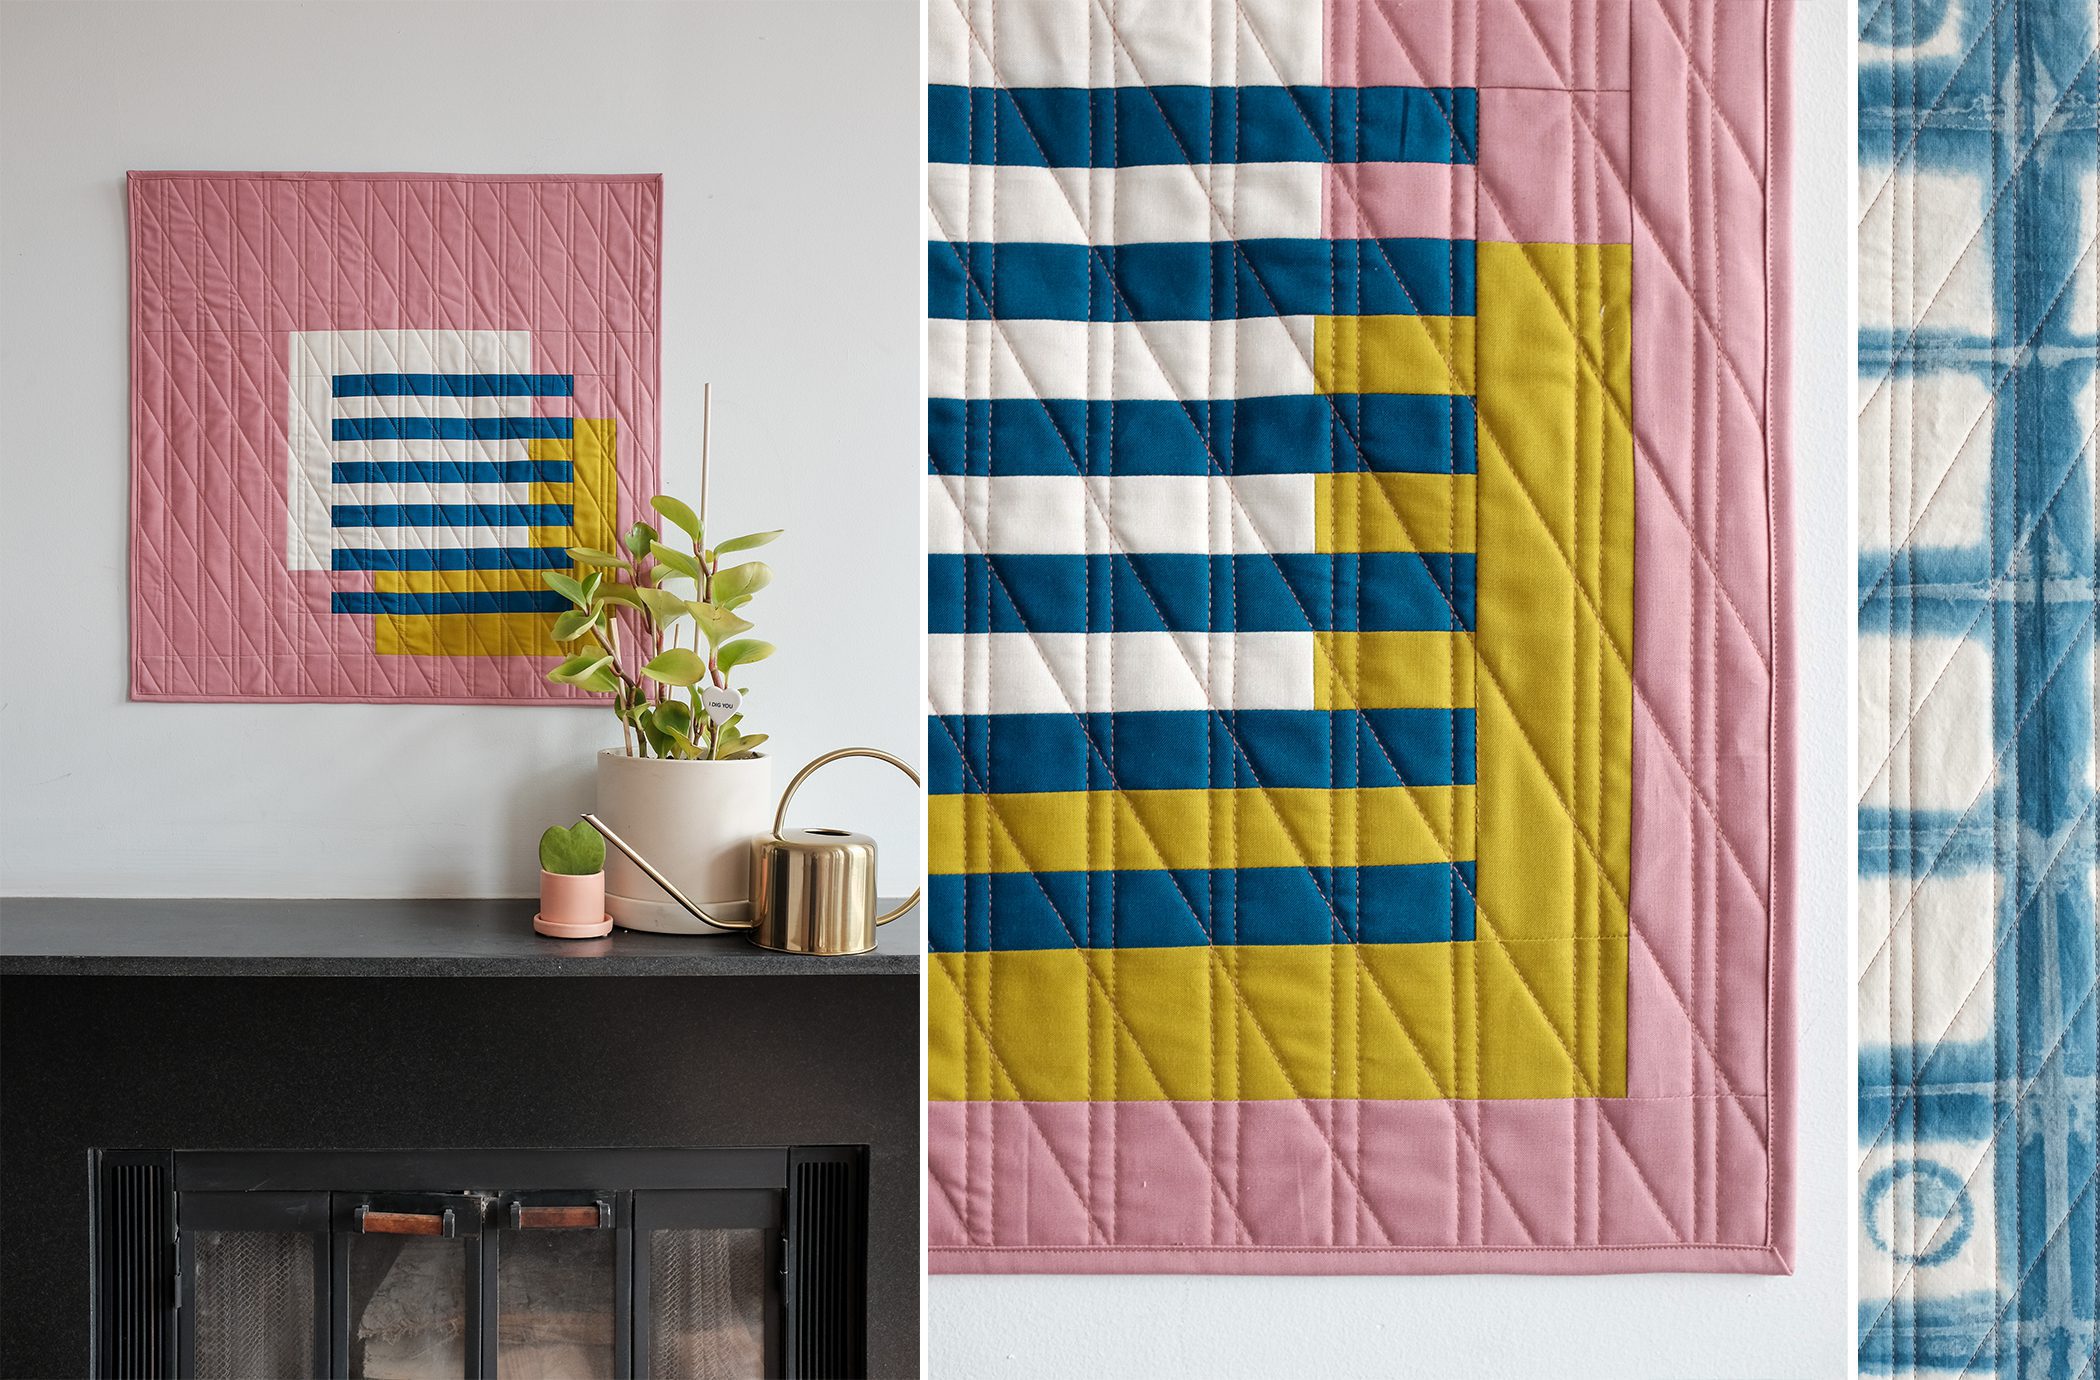
Quilt – Choose a quilt that is the right size to fit in the frame you chose. If you don’t have a quilt, consider making a mini quilt.
Frame – Choose a frame that is the right size for your quilt. Make sure the frame has glass and a back to keep the quilt in place.
Batting – Choose a batting that is the same size as the quilt.
Staple Gun – Use a staple gun to secure the quilt in place.
Staples – Buy staples that fit in the staple gun.
Scissors – Use scissors to cut the batting and fabric to size.
Glue – Use a fabric glue to secure the batting and fabric in place.
Hammer – Use a hammer to finish securing the quilt in place.
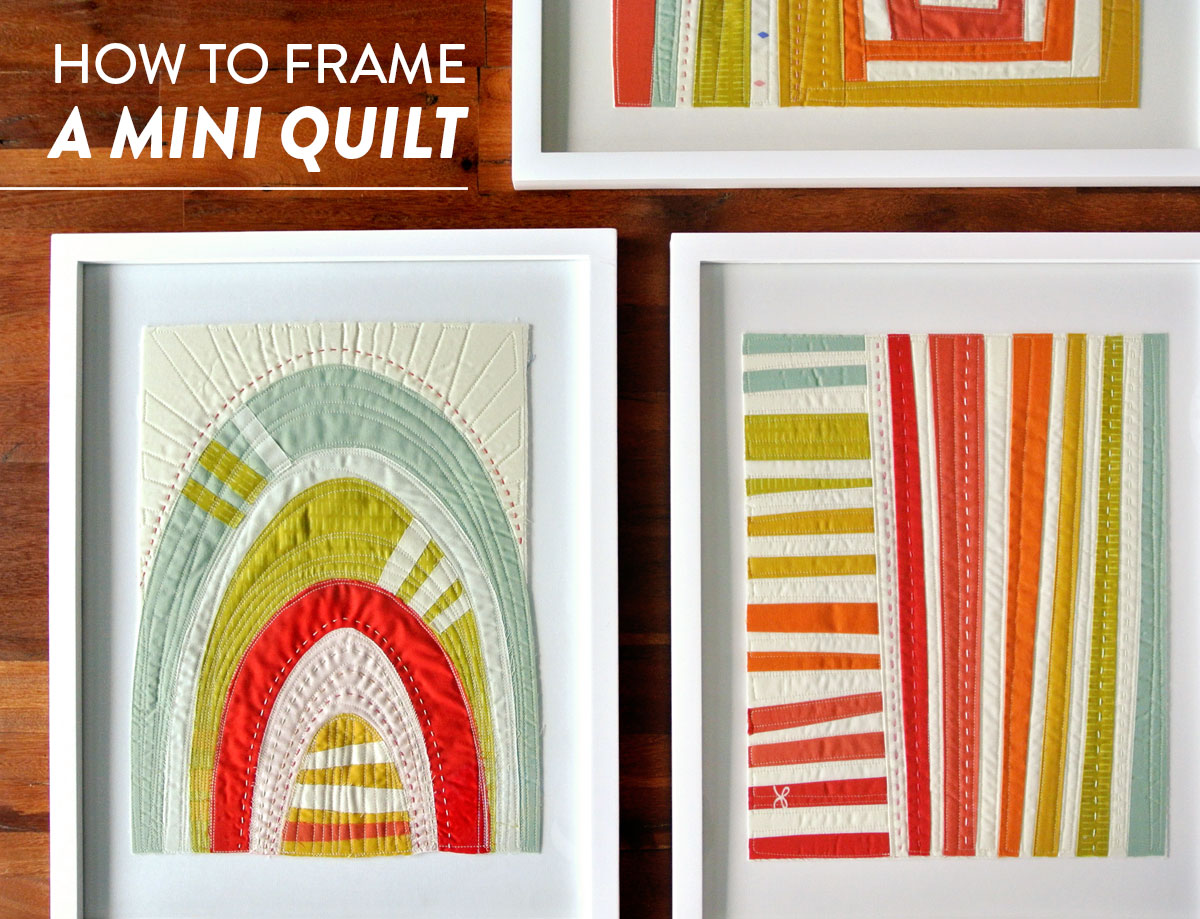
Framing a Mini Quilt
Mini quilts are a great way to showcase your crafting skills. When framing them, you need to make sure you use the right materials to ensure a long-lasting display. Here’s how to frame a small quilt:
- Choose a frame that will fit the size of your quilt.
- Measure the center of the quilt and mark it with a pencil.
- Lay the quilt out flat on a clean surface.
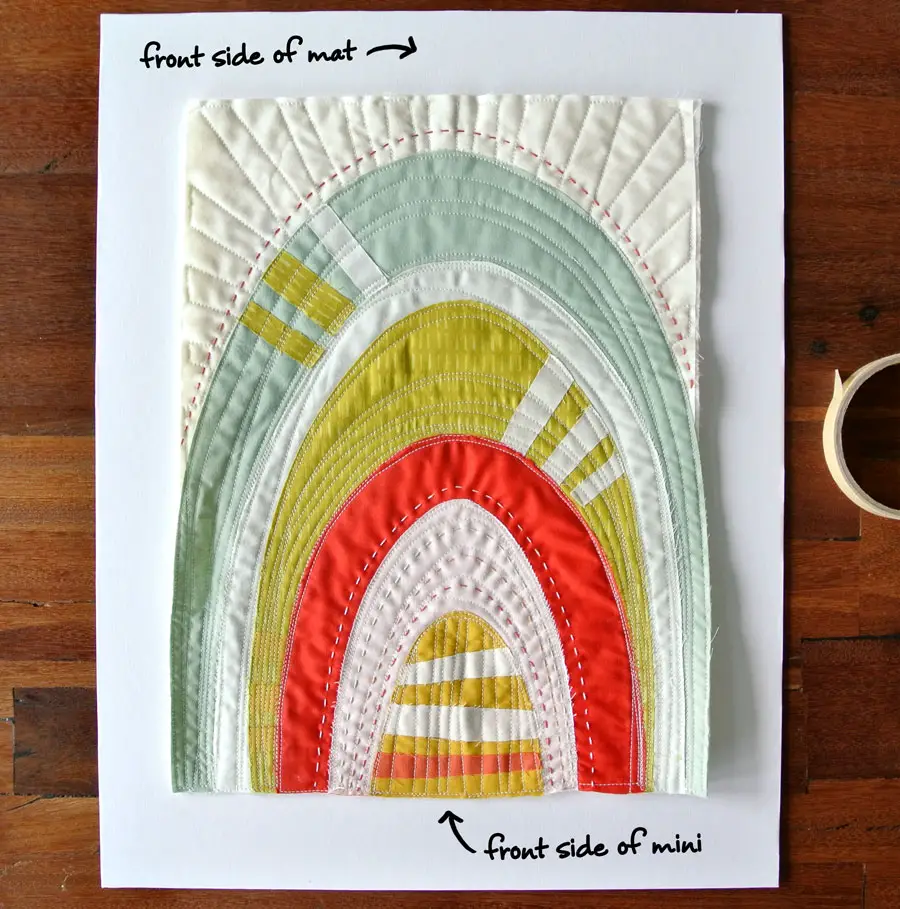
- Attach matting to the frame, making sure it is centered on the quilt.
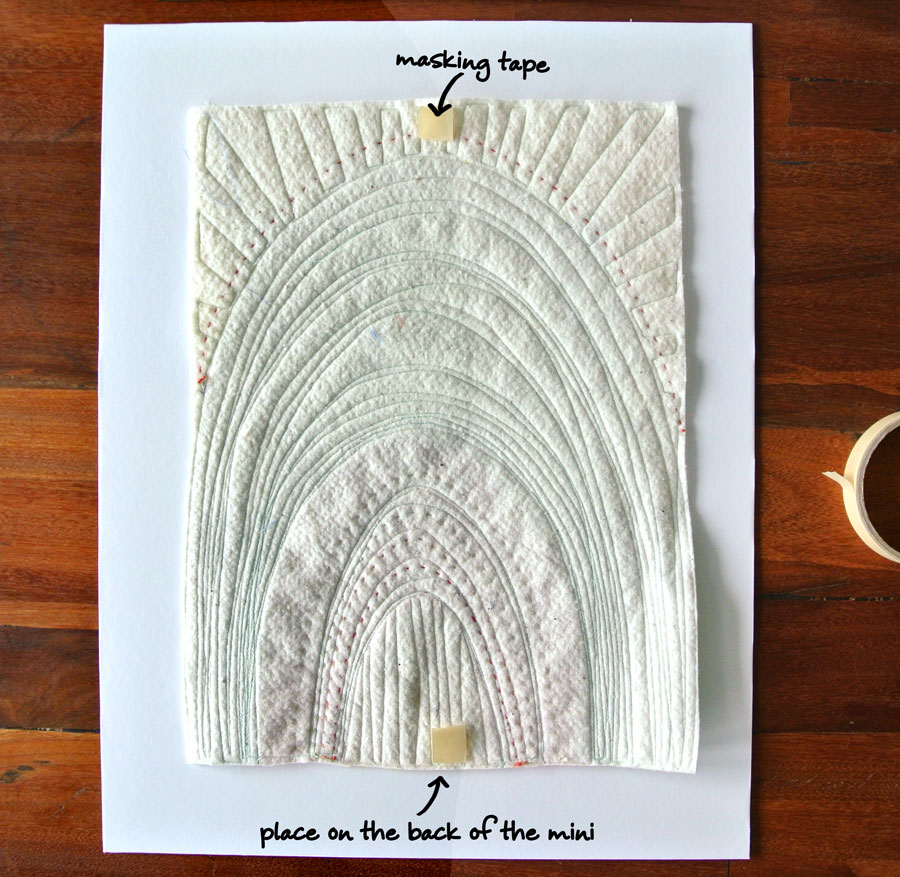
- Place the quilt face down on the matting.
- Secure the quilt to the matting with pins.
- Place the framed quilt in the frame, making sure it is centered.
- Secure the back of the frame with a hinge.
- Finally, hang your framed mini quilt and enjoy your handiwork.
Framing a Small Quilt
- Measure the quilt: Measure the size of the quilt with a tape measure. Measure the length and width of the quilt, and make sure to include the batting in your measurements.
- Prepare the frame: Choose a frame that fits the quilt measurements. Make sure to measure the frame before purchasing, and keep in mind that the frame will be about an inch bigger than the quilt. If glass is to be used, make sure that the frame has a lip for the glass to fit into.
- Attach fabric: Cut a piece of fabric that is the same size as the frame and attach it to the frame with glue, staples, or tacks. Then, attach the quilt to the fabric with a few stitches.
- Secure glass: Place the glass over the quilt and secure it with glass clips or a frame lip. Make sure that the glass is held in place securely and that there are no gaps between the glass and the frame.
- Attach hanger: Place the hanger on the back of the frame and secure it with nails or screws. Hang the quilt on the wall and enjoy your work!
Framing a small quilt can be a great way to protect and display your work. With the right frame and a few simple steps, you can easily frame a small quilt and show it off in your home. To frame a small quilt, measure the quilt, choose a frame, attach fabric, secure glass, and attach a hanger. With these steps, you can frame a small quilt in glass and make it a beautiful part of your home décor.
Framing a Quilt in Glass
- Choosing a Frame: It is important to choose a frame that can fit your quilt. Measure the quilt and choose a frame that is slightly larger than the quilt size. Also, select the type of frame that best suits the quilt’s design.
- Mats: To add a finishing touch to your quilt, use a mat to separate the quilt from the frame. Select mats that match the color of your quilt in order to create a pleasing look.
- Glass: For quilts that are framed in glass, choose glass that is resistant to UV rays and provides protection from dust, moisture, and fading. There are several types of glass available, such as regular glass, museum glass, or conservation glass.
- Stretching: Before you place the quilt in the frame, make sure the quilt is stretched properly. This will ensure that the quilt remains taut and the seams are not distorted.
- Attaching: Use an acid-free adhesive to attach the quilt to the backing board. Then, place the quilt in the frame and secure it with clips.
- Hanging: Once the quilt is secured in the frame, you can hang it on your wall. Make sure to use sturdy nails or screws and place the frame at eye level for the best viewing experience.
Framing a quilt in glass is a great way to enhance its beauty and protect it from dust and damage. With the right supplies and a few simple steps, you can easily create a stunning wall display that will be enjoyed for many years to come.
Framing a Quilt for Wall Hanging
Step 1: Select a frame that is slightly larger than the quilt. Make sure the frame has a backing board to keep the quilt in place.
Step 2: Place the quilt on the backing board, and then secure it with either removable mounting putty, pins, or ribbon.
Step 3: Place the backing board in the frame, and secure it with the hardware that came with the frame.
Step 4: Add a matting to the frame if desired. This will provide a nice finished look.
Step 5: Hang the quilt on the wall. Use picture hanging hardware and secure it to the wall.
Step 6: Finally, admire your work!
Tips and Tricks
- Measure the quilt – Before starting the quilting process, it is important to accurately measure the quilt top and backing fabric. This will ensure that the quilt is properly framed.
- Use a quilting hoop – A quilting hoop helps keep the quilt taut while you are quilting it. This will create an even surface which will make your quilt look neat and finished.
- Use a quilting frame – A quilting frame can help you maintain even tension while quilting. It is also useful for quilting large quilts that would be difficult to quilt without a frame.
- Choose the right batting – Choosing the right kind of batting for your quilt is essential for a successful quilting project. Different types of batting have different properties that can affect the look and feel of the finished quilt.
- Use a walking foot – A walking foot is a special attachment for a sewing machine that helps keep the fabric in place while quilting. This helps to ensure that the quilt is evenly quilted.
- Secure the edges – After the quilting is finished, it is important to secure the edges of the quilt. This can be done by attaching a binding to the edges of the quilt or by hand-stitching the edges.
Framing a Quilt with a DIY Frame
- DIY Frame Options: There are several framing options available for DIY quilt frames, including a selection of wood, plastic, and metal frames. The type of frame and the size of the quilt will determine which frame is best for the project.
- Consider the Weight of the Quilt: If a quilt is large and heavy, it is important to choose a strong frame that will be able to support the weight of the quilt.
- Choose a Frame Material: The type of frame material chosen should match the size and weight of the quilt. Wood frames are a common choice for quilt frames, but plastic and metal frames are also available.
- Add a Backing Board: A backing board, such as foam core, can be added to the frame to provide additional stability and protection for the quilt.
- Use Hanging Hardware: Hanging hardware, such as eye screws and wire, can be used to secure the quilt to the frame.
- Secure the Quilt: Once the quilt is secured to the frame, the edges of the quilt can be stapled or glued to the backing board for additional stability.
Troubleshooting Tips
Stick to the Basics – Before you attempt to frame a quilt, make sure you have all the basic materials and tools you need. These include a frame, quilt backing, batting, needle, thread, and a ruler or measuring tape.
Measure Twice, Cut Once – Measure the quilt to ensure the backing is the correct size to fit the frame. Cut the backing to size, and make sure it fits the frame before you begin stitching the quilt.
Choose the Right Fabric – Choose a backing fabric that is lightweight but strong enough to support the quilt. A lightweight cotton or cotton blend is usually the best choice.
Stitch Carefully – When stitching the quilt to the backing, take your time and be sure to stitch securely. Use a walking foot to ensure even stitching.
Secure the Edges – To secure the quilt edges and extend their life, sew bias tape or a binding tape around the edges.
Frame Carefully – When framing a quilt, use a frame that is sturdy enough to support it. Avoid using glass if possible, as it can cause condensation and damage the quilt over time.
Frequently Asked Questions
What type of materials are needed to frame a quilt?
- Quilt – the quilt to be framed
- Fabric – fabric to use as backing for the quilt
- Batting – batting to add cushion between backing and quilt
- Stretcher Bars – bars used to create a frame and hold the quilt taut
- Staple Gun – to attach the backing to the stretcher bars
- Staples – staples to use with the staple gun
- Foam Board – to sandwich the quilt and batting and add rigidity
- Mat Board – mat board to add a decorative border and to protect the quilt from dust
- Glazing – glazing, such as glass or acrylic, to protect the quilt
Is there a specific way to measure the quilt for the frame?
Yes. To properly measure the quilt for the frame, you must:
- Measure the quilt’s length and width.
- Calculate the extra room needed for the matting and framing.
- Account for any warping or creasing in the quilt.
- Choose a frame size that will comfortably fit the quilt.
It is important to choose a frame size that is larger than the quilt, to ensure that the quilt does not warp or crease over time. Additionally, the frame should provide at least one inch of matting and two inches of clearance around the quilt for the best results.
Is it necessary to use a backing material when framing a quilt?
- Yes, it is necessary to use a backing material when framing a quilt.
- Backing material provides an extra layer of protection for the quilt.
- It also ensures the quilt remains flat and taut when placed inside the frame.
- The backing material should be a cotton or polyester fabric.
- It should be slightly larger than the quilt to ensure it is properly secured.
- The backing material should be tacked to the quilt with a few stitches.
- Once the backing material has been added, the quilt can be placed in the frame.
How should a quilt be positioned in the frame?
Ensure the quilt is properly centered:
- Measure the quilt in multiple places to ensure it is symmetrical in size and shape.
- Lay the quilt out flat on the floor with the top facing up.
- Measure the top and bottom of the quilt and mark the center of each edge with a pen.
- Draw a line connecting the two center marks, this line will be used to position the quilt in the frame.
Mount the quilt to the frame:
- Position the quilt on the frame with the center line aligned in the middle of the frame.
- Secure the quilt to the frame with pins or staples along the edges.
- Use a foam core backing board to keep the quilt taut and secure it to the frame.
- Trim any excess fabric around the edges of the frame.
What are the best practices for preserving a quilt while it is being framed?
-
1. Choose the Right Frame:
- Select a frame that is designed for quilts and is of a size and shape that fits the quilt.
- Opt for a frame with acid-free matting and backing.
- Clean the quilt with a gentle detergent.
- Press the quilt to remove wrinkles.
- Use acid-free quilt mounting materials.
- If using adhesive, use a light application and only on the edges.
- Hang the quilt in an area away from direct sunlight, moisture, and extreme temperatures.
- Avoid hanging the quilt with nails, tacks, or staples that can damage the fabric.
2. Prepare the Quilt:
3. Mount the Quilt:
4. Hang the Quilt:
Conclusion
Framing a quilt is an effective way of preserving and displaying your treasured memory. With the right materials and tools, the process is fairly straightforward and can be done with minimal experience. As long as you are careful with the measurements, you can create a beautiful and timeless memorial.


