Are you a beginner quilter looking for a way to quilt circles easily and quickly? If so, you’ve come to the right place. This guide will provide you with all the information you need to know about how to quilt circles. We’ll cover the different techniques for quilting circles, the best tools to use, and some helpful tips to make your quilting process smoother. With this guide, you’ll be able to quilt circles quickly and easily, no matter your skill level. So let’s get started!
What Is a Quilt Circle?

A quilt circle is a type of quilting technique used to create a round pattern on a quilted fabric. It involves stitching a series of concentric circles, using curved or straight lines, to create a beautiful and intricate design. The quilt circle can be used to create many different types of quilt designs, from traditional patchwork to intricate appliqué work. It is also a great way to add a unique and personal touch to any quilt. Quilt circles are one of the most popular quilting techniques and can be used to create stunning designs on any type of quilt.
To sew circles on a quilt, begin by measuring out a circle on the quilt fabric. Then, use a curved ruler and a quilting ruler to trace the circle with a marking pen. Next, use a quilting needle to make a series of running stitches to outline the circle. Finally, add a variety of quilting stitches to the inside of the circle to complete the design. Quilt circles are a great way to add a unique look to any quilt and can be used to make a variety of designs.
How to Insert a Circle in a Square Quilt Block
First, choose an appropriate weight for the fabric you will use for the circle. It should be heavier than the other fabrics in the quilt block, so that it stands out. Cut the fabric into a circle shape using a template or a rotary cutter. It should be slightly larger than the square piece of fabric.
Aligning the Circle with the Square
Using a ruler and a water-soluble marker, measure the center point on the square piece of fabric and mark it. Then, align the center of the circle piece with the marked point on the square.
Attaching the Circle to the Square
Trace a line around the outside circumference of the circle with a water-soluble marker. Pin the circle to the square and stitch around the marked line using a ¼” seam allowance.
Finishing the Block
Trim any excess fabric from the circle and square, leaving a ¼” seam allowance. Press the seam open and then press the finished block. This completes the square quilt block with a circle.
Quilting is the perfect way to create beautiful, circular patterns. Inserting a circle into a square quilt block is an easy and effective way to create a unique and eye-catching design.
How to Sew Circles on a Quilt
Adding quilt circles to your quilt design can create a stunning effect. To sew circles on a quilt, you’ll need a pattern or template, fabric, scissors, a sewing machine, and thread. Here is a step-by-step guide to sewing circles on a quilt:
| Step | Instructions |
|---|---|
| 1 | Choose the fabric for your quilt circles. Select a pattern or template to trace the circle onto fabric. |
| 2 | Trace the pattern or template onto the fabric. Cut out the shape. |
| 3 | Pin the circle to the quilt top. Sew around the circle following the traced line. |
| 4 | Remove the pins, and trim away the excess fabric around the circle. |
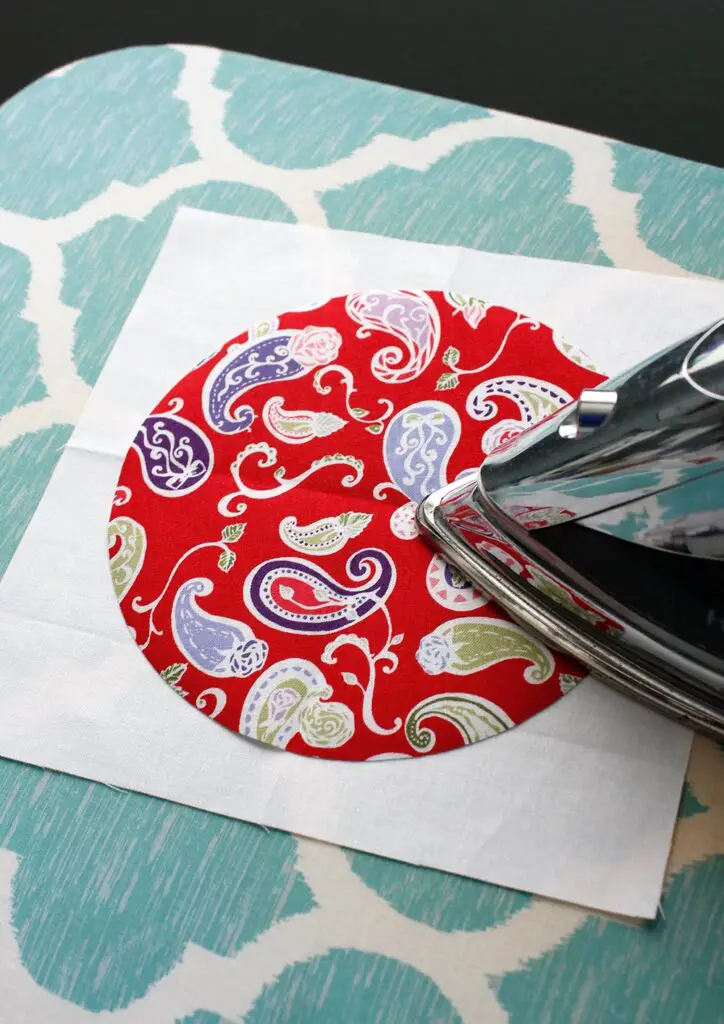
| 5 | Press the circle with an iron to ensure it stays in place. |
Once all the quilt circles have been sewn onto the quilt top, you can add backing and batting and quilt the entire quilt. Sewing circles onto a quilt is a great way to add dimension, texture, and color to your quilt design.
How to Quilt Circles

Step 1: Draw a circle onto a piece of fabric. You can use a template or draw a freehand circle. Use a pencil, tailor’s chalk, or marker to trace the circle.
Step 2: Cut around the circle, leaving a 1/4 inch allowance.
Step 3: Pin the fabric circle to the background fabric. Make sure the right sides are facing together.
Step 4: Sew the circle onto the background fabric using a running stitch.
Step 5: Cut a piece of batting the same size as the circle.
Step 6: Layer the batting on top of the circle. Pin the batting to the circle.
Step 7: Quilt the circle using a quilting pattern of your choice. Start in the center and work your way outwards.
Step 8: Trim the edges of the circle, leaving a 1/4 inch allowance.
Step 9: Turn the circle right side out and press with an iron.
Step 10: Attach the circle to the quilt by hand stitching or machine stitching.
Final Step: Enjoy your quilted circle!
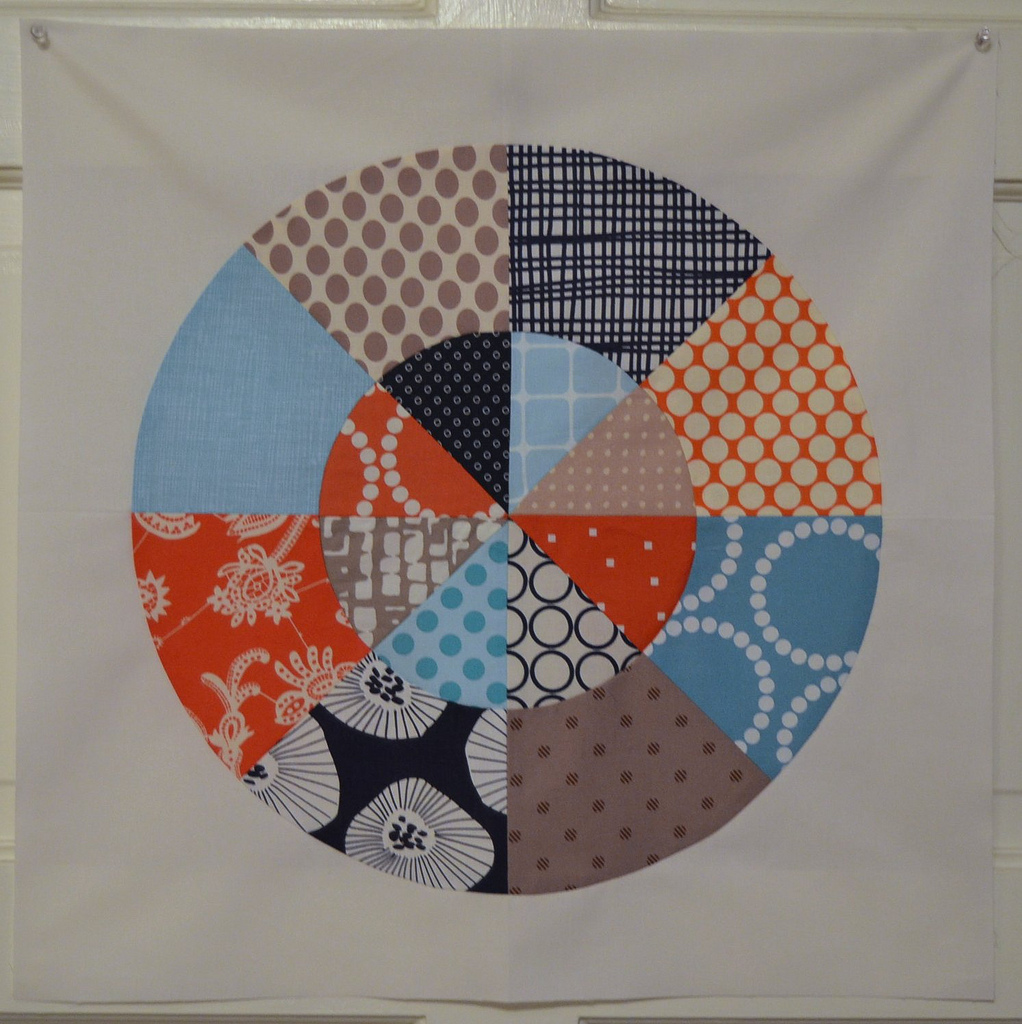
What Does a Circle Quilt Look Like?
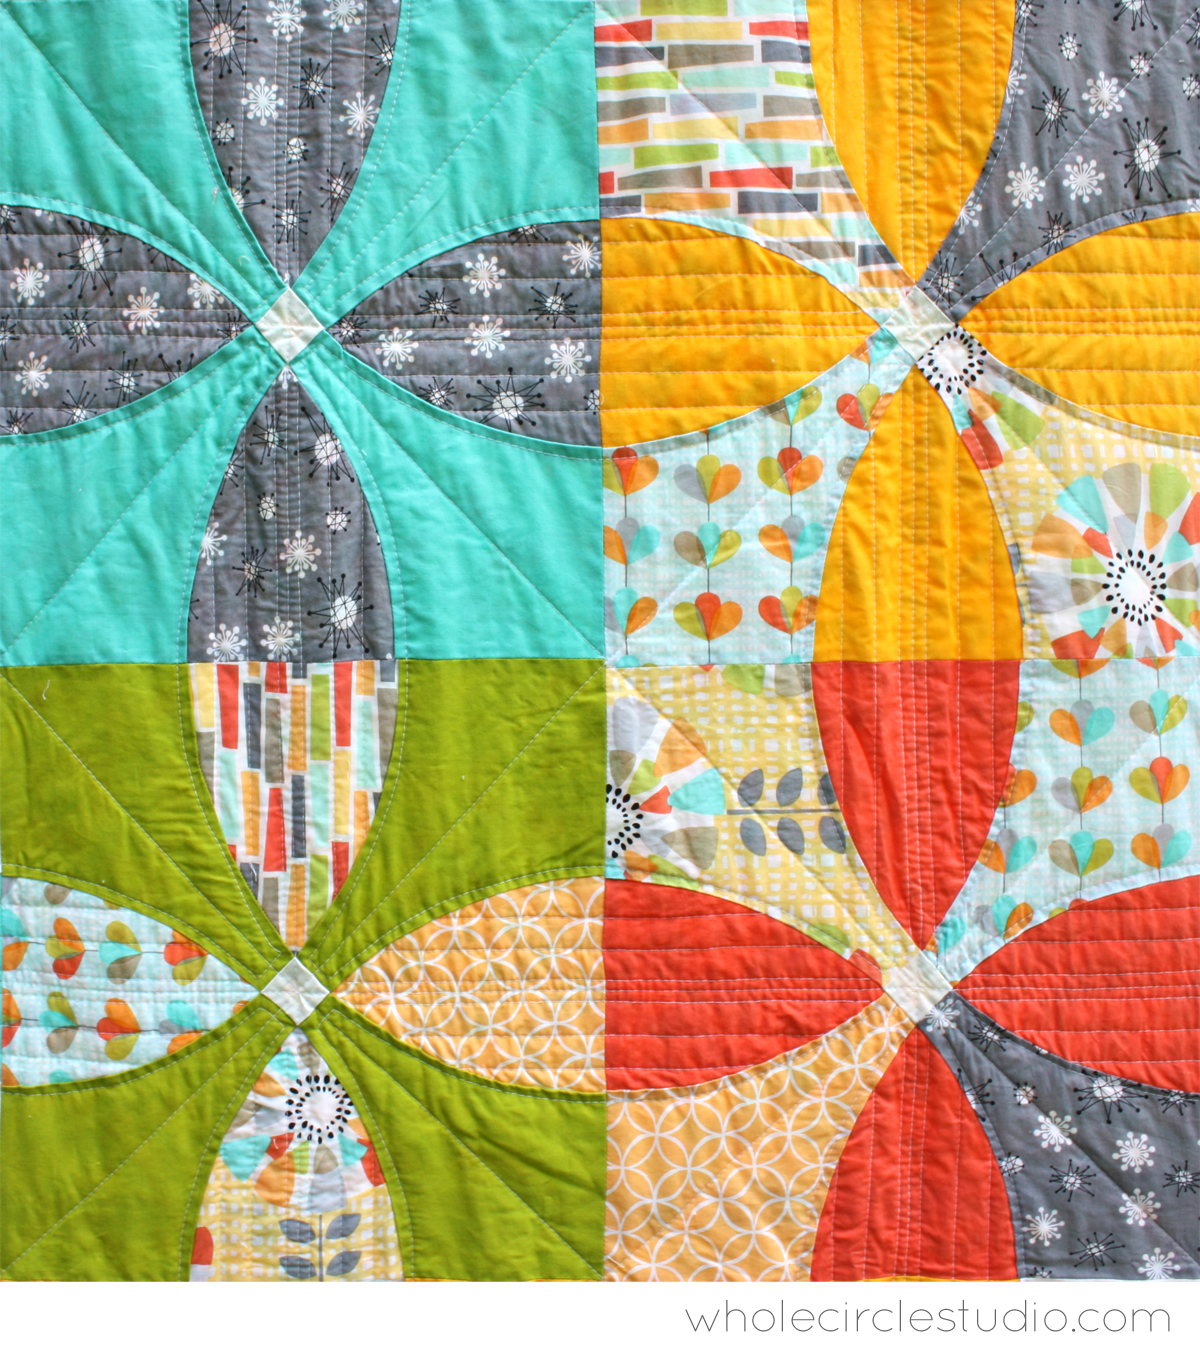
A circle quilt is a quilt that features shapes of circles and arcs, generally with a modern twist. It can be made with a variety of materials, such as fabrics, yarn, felt, wool, or cotton batting. The quilt may feature one or many circles, arcs, and other shapes.
Features of a Circle Quilt:
- Circles and arcs in a variety of sizes and colors
- Filler pieces in between the circles, such as squares, rectangles, and triangles
- Pieces of appliqué, such as flowers, animals, or other shapes
- A variety of quilting techniques, such as free motion quilting and machine embroidery
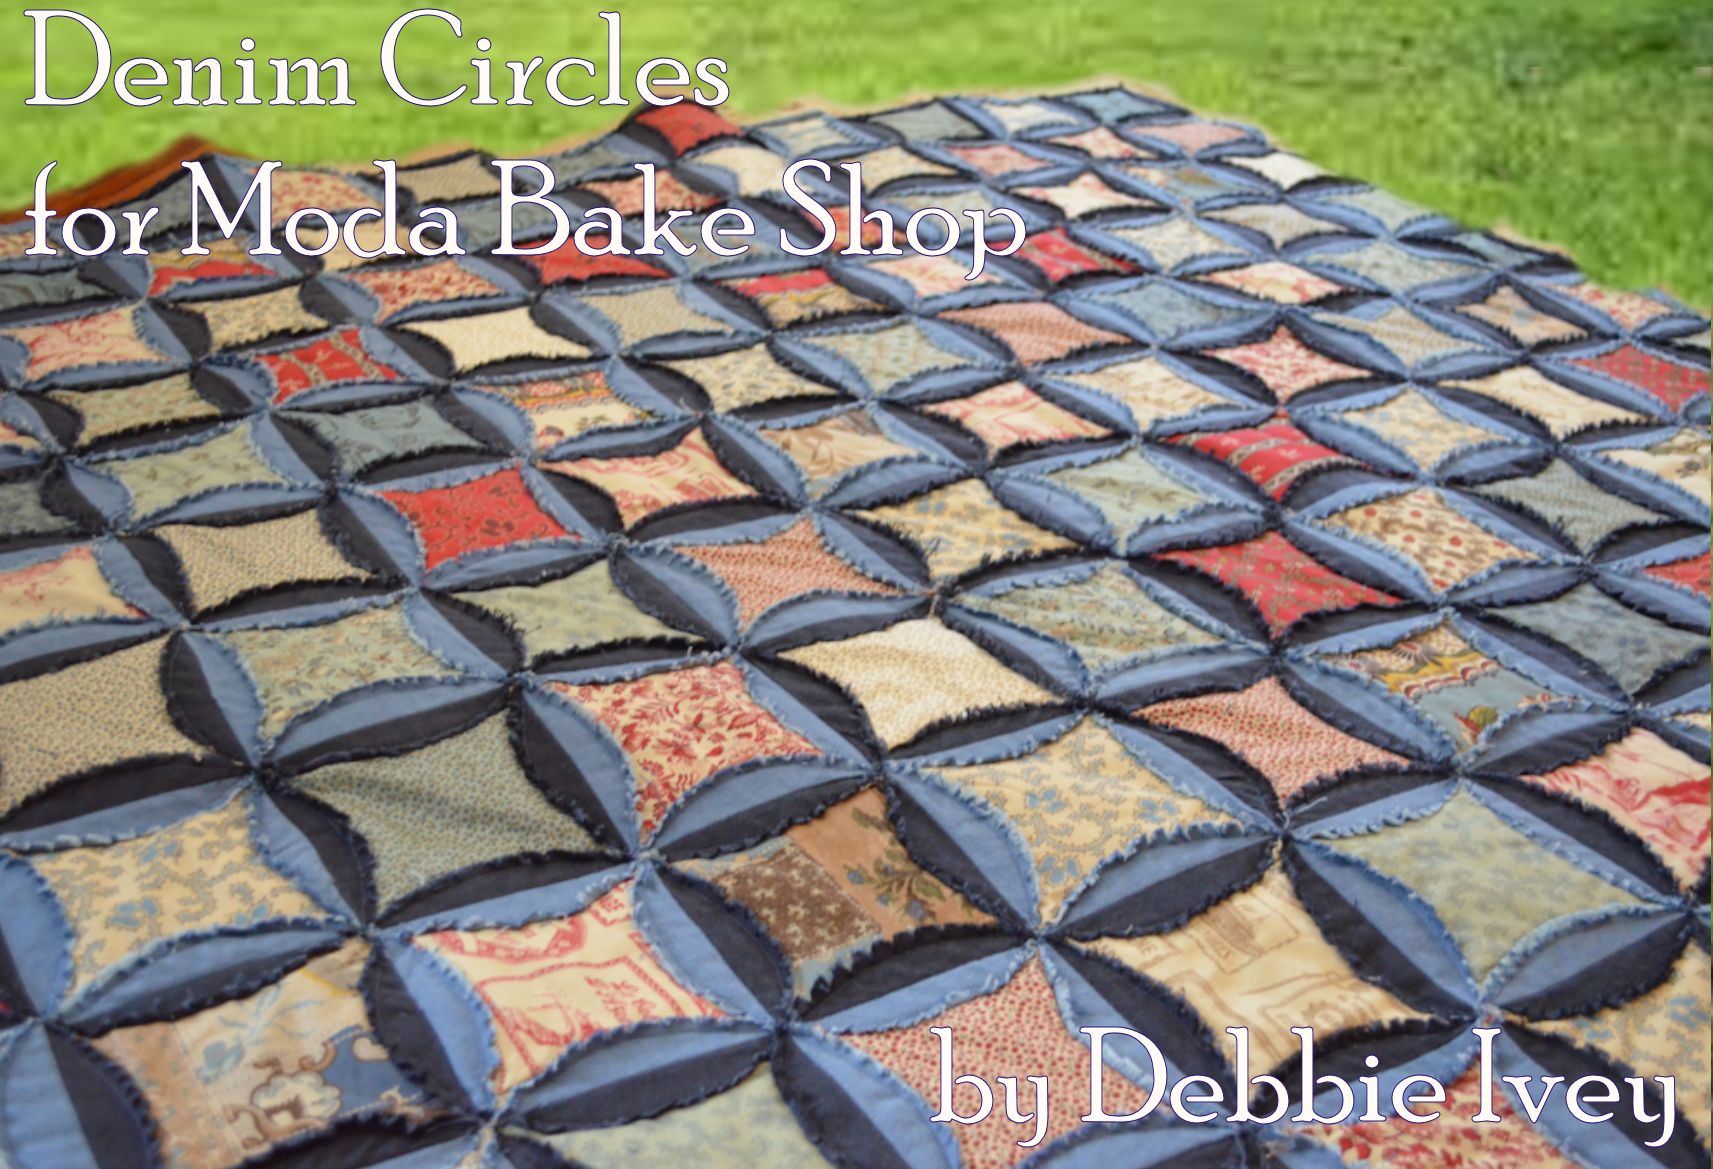
Circle quilts are often made with bright and vibrant colors and patterns, giving the quilt an eye-catching look. The quilt may also feature a variety of textures, such as wool, chenille, or velvet. The quilt may also have a variety of quilting stitches, including channel quilting, stippling, and starburst quilting.
The look of a circle quilt is modern and unique, making it a great choice for those looking to create a truly one-of-a-kind quilt. With a variety of materials and techniques, circle quilts can be tailored to match any home décor.
Tips for Quilting Circles
- Choose the right shape and fabric: When quilting circles, you should choose the right shape and fabric for your project. Choose a fabric that is strong and durable, and make sure you have enough fabric to cover the entire circle.
- Draw the circle: You should draw the circle on the fabric before you begin quilting. Use a ruler and a pencil to draw the exact size and shape of the circle.
- Cut the circle: Once you have drawn the circle, use a rotary cutter to cut it out. Place the circle on a cutting mat and use a ruler to make sure your cuts are straight.
- Sew the circle: Sew the circle together, starting at the top and working your way around the edge. Use a walking foot or a free-motion quilting foot to ensure even stitches.
- Attach the circle to the quilt block: Once the circle is sewn, you can attach it to a square quilt block. Use a fabric glue or sew the circle onto the quilt block to secure it in place.
How to Quilt Circular Patterns
Materials Needed:
- Quilting fabric
- Quilt batting
- Quilting hoop
- Quilting needles
- Thread
- Scissors
- Sewing machine (optional)
Instructions:
- Cut your fabric and batting into circles. Make sure that the circles are the same size and have the same shape.
- Place the circles on top of each other, lining up the edges. For extra stability, use a few pins to hold the layers together.
- Place the quilt batting on top of the circles. This will provide an extra layer of cushion between the fabric and the quilting hoop.
- Place the quilt in the quilting hoop. Make sure that the fabric is taut and the edges are lined up.
- Start quilting in the center of the circle. Use a running stitch to stitch around the perimeter of the circle, making sure to keep your stitches even and tight. You can also use a sewing machine to do this step.
- Continue quilting around the circle, making sure to keep your stitches even and close together. You can use a variety of quilting patterns to create interesting effects. For example, you can use a spiral or a wave pattern.
- Once you have finished quilting the circle, remove the quilt from the hoop and trim away any excess batting.
Frequently Asked Questions
What tools do I need to quilt circles easily and quickly?
- Rotary Cutter: A rotary cutter is used to cut out circles from fabric. It is a must have tool for quilting circles.
- Rotary Ruler: A rotary ruler is helpful for measuring and marking circles. It can be used to draw circles of desired sizes.
- Fabric Marker: A fabric marker is used to draw circles on fabric. This helps in cutting out circles of desired sizes.
- Quilting Needles: Quilting needles are necessary for hand stitching circles to the quilt.
- Thimble: A thimble is used to protect the finger from being pricked by the needles while hand stitching.
- Embroidery Hoop: An embroidery hoop is used to stretch the fabric and hold it firmly in place for hand stitching.
- Sewing Machine: A sewing machine is useful for machine stitching circles onto the quilt.
- Thread: Thread of desired color is required for both machine stitching and hand stitching circles onto the quilt.
How do I calculate the Dimensions of a Quilted Circle?
To calculate the dimensions of a quilted circle, you will first need to measure the radius of the circle. The radius is the distance from the center of the circle to its edges. Once the radius is measured, you can use the following formula to calculate the circumference: Circumference = 2 × π × radius. The circumference is the total length of the circle. Finally, you can calculate the diameter of the circle by dividing the circumference by π. The diameter is the length across the circle, through its center.
What type of fabric is best to use when quilting circles?
- Cotton is lightweight, breathable and easy to sew, making it an ideal choice for quilting circles.
- Batik fabric has unique designs and colors that can bring a special element to quilting projects.
- Linen fabric is strong and durable, making it a great choice for quilting circles.
- Fleece fabric is a soft, warm fabric that can be used to create cozy quilts.
- Synthetic fabric is a great option for quilting circles, as it is easy to work with and comes in a variety of colors and patterns.
Are there any tips to make quilting circles easier?
- Use templates: Using templates for different sizes of circles is the easiest way to make perfect circles.
- Mark the seam allowance: Make sure to mark the seam allowance with a fabric pen or chalk to ensure accuracy.
- Use plenty of pins: Pinning the fabric before stitching will help to keep the fabric from shifting.
- Use a walking foot: A walking foot is helpful when stitching curved shapes and curves.
- Tighten the tension: Slightly tightening the tension helps to keep the stitches even and consistent.
- Press the seams open: Pressing the seams open helps to reduce bulk and keep the curves looking smooth.
What techniques can I use to ensure my circles are even?
- Choose the right template: Start with a template that is the same size as the finished circle you need. This will make it easier to keep track of the measurements accurately.
- Mark the midpoint: To make sure your circle is even, start by marking the midpoint of the circle.
- Use a ruler: Use a ruler to measure the exact distance from the midpoint to the edge of the circle. This will help you get an even circle.
- Draw guidelines: Draw a few guidelines radiating from the midpoint to the edge of the circle. This will help ensure you draw an even circle.
- Use a compass: Use a compass to draw the circle evenly. The compass can be used to draw a perfect circle, with no distortions.
- Add small marks: Once the circle is drawn, add small marks along the guideline to make sure the circle is even. Use a ruler to check the distance from the midpoint to the edge of the circle.
- Trim the fabric: Once the circle is drawn accurately, trim the fabric to the desired size. This will ensure the circle is even.
Conclusion
Quilting circles can be a great way to add a unique design element to your quilt. With the right tools and techniques, quilting circles can be easy and enjoyable. Remember to start with a large circle and use a smaller needle for finer details. Take your time and practice the techniques to perfect your skills. With a little patience, you can create beautiful quilted circles quickly and easily.


