Are you looking for a step-by-step guide on how to trim a quilt before binding? If so, you’ve come to the right place! This guide will provide you with the information and instructions you need to properly trim a quilt before binding it. We’ll explain the tools, techniques, and tips you’ll need to achieve good results. So, grab your quilt and scissors and let’s get started!
Preparing for Trimming

Gather Supplies
Before trimming your quilt, make sure you have everything you need. You will need a pair of scissors, a ruler, and a quilt batting. You may also want to have a rotary cutter and mat on hand.
Determine Which Edge to Trim
Once you have all of your supplies, determine which edge of the quilt you will be trimming. If there is a lot of bulk, you may want to trim the edges that have the least amount of bulk. If your quilt is not uniform, you may want to straighten it out before putting on the binding. This will ensure that you have an even edge when it is time to bind the quilt.
How to Trim a Quilt Before Binding

Step 1: Secure the Quilt
Secure the quilt by pinning it to a flat surface, such as a table, cutting mat, or wall. This will ensure that the quilt is held in place while you trim it.
Step 2: Cut Away Excess Fabric
Using scissors or a rotary cutter, cut away any excess fabric that extends beyond the quilt’s finished edge. This will help create a neat, finished look.
Step 3: Square Up the Quilt
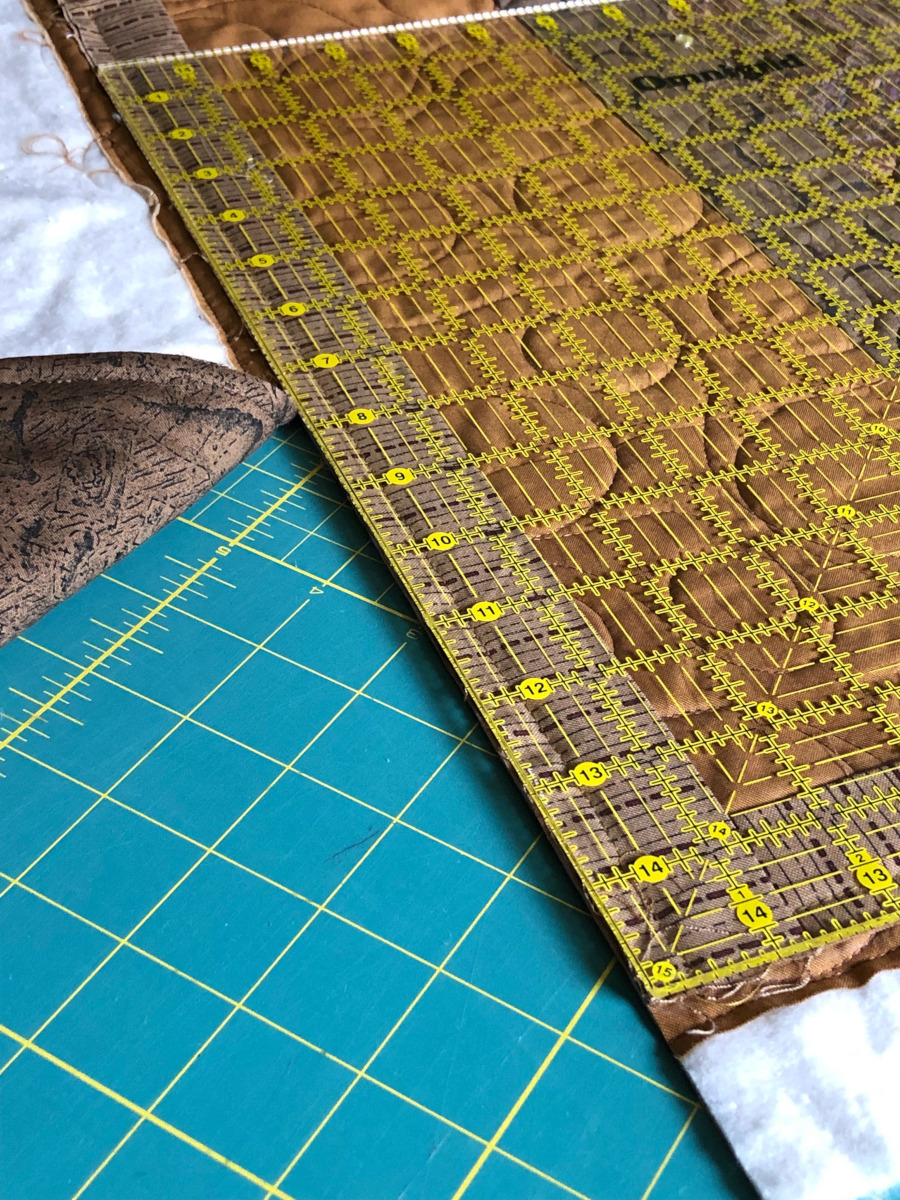
Square up the quilt by using a ruler and rotary cutter to trim away any fabric that extends beyond the quilt’s finished edge. This will help ensure that the quilt is even and symmetrical.
Step 4: Trim Edges
Once you have squared up the quilt, use a rotary cutter to trim the edges. Use a ruler to measure and cut away any excess fabric that extends beyond the quilt’s finished edge.
Finishing Up
Press the Quilt
Press the quilt with a dry iron or steam iron to ensure it is flat and smooth. This will make it easier to trim and bind.
Measure and Cut Binding
Measure the quilt to determine the length of binding needed. Cut the binding strips 2.5 inches wide from the fabric.
Sew On the Binding
Stitch the binding to the quilt with a ½ inch seam allowance. Fold the binding in half lengthwise, wrong sides together and press. Start at one corner of the quilt and begin sewing the binding in place. Stop and turn the quilt at each corner. Trim off the excess binding, leaving ¼ inch seam allowance. Join the ends of the binding together and finish sewing the binding to the quilt.
Frequently Asked Questions
What Tools are Needed to Trim a Quilt Before Binding?
Trimming a quilt before binding requires a few simple tools: a rotary cutter, cutting mat, and a ruler. A rotary cutter is a small handheld tool with a sharp blade that is used to cut fabric in a straight line. A cutting mat is a flat surface, usually made of rubber or plastic, that protects the cutting surface and provides a level surface for cutting. Finally, a ruler is used to ensure that the lines cut are straight and even.
What is the Best Way to Ensure an Even Trim All the Way Around the Quilt?
The best way to ensure an even trim all the way around the quilt is to use a quilting ruler, rotary cutter, and cutting mat. Place the ruler on the quilt and use the rotary cutter to trim away excess fabric along the edges of the ruler. To ensure the most accurate trim, use a ruler with a lip on the edge to help keep the rotary cutter at the desired height. Repeat this process on each side of the quilt until it is evenly trimmed.
How can I prevent fraying of the quilt’s edges while trimming?
Fraying can be prevented by using pinking shears, sealing with an overlock stitch on a sewing machine, or applying a fray preventative product such as Fray Check to the edges of the fabric before cutting. Additionally, a product like Fray Stop can be applied to the edges of the quilt after the trimming is complete.
How much fabric should I allow for the quilt binding?
Allow 1/2 yard of fabric for every 2 yards of quilt binding. Calculate the length of binding needed by multiplying the perimeter of the quilt by two. Cut the binding fabric strips 2 1/2 inches wide and sew them together end-to-end to create one continuous strip. Trim the edges of the binding strips to make the seams lay flat and avoid bulky edges.
Are there any special considerations I should take into account when trimming a quilt with difficult shapes?
Check the quilt top for accuracy – Before trimming, it is important to check the accuracy of the quilt top. Make sure that all the seams and shapes are aligned correctly and that there are no gaps or overlaps.
Secure the quilt top – Secure the quilt top to the workspace with pins or weights to prevent it from shifting while trimming.
Use the right tools – Use the right rotary cutter and ruler to trim the quilt. A ruler with a straight edge is best for trimming straight lines, while a ruler with a curved edge is best for trimming curved lines.
Trim one section at a time – Trim each section of the quilt individually. Start by trimming the edges and then work your way around the quilt, trimming each section as needed.
Mark the quilt – Mark the quilt with a fabric marker to indicate where the edges need to be trimmed. This will help make sure the edges are cut in the right place.
Take your time – Trimming a quilt with difficult shapes can be tricky. Take your time and make sure to trim slowly and carefully to ensure accuracy.
Conclusion
Trimming a quilt before binding is an essential step to ensure that the finished product looks professional and is of a high quality. By following the steps outlined in this article, you can easily trim your quilt and make sure that it looks perfect. With practice, soon you will be able to trim a quilt in no time flat.


