If you’re a quilter, you know how important it is to make your own quilt labels. Labels help identify who made the quilt, when it was made, and who it’s for. Making your own quilt labels is a great way to personalize your quilt and add a unique touch to your work. But how do you make quilt labels? In this article, we’ll provide a step-by-step guide on how to make your own quilt labels. With these instructions, you’ll be able to create beautiful, personalized labels that will add a special touch to your quilts.
What You Need
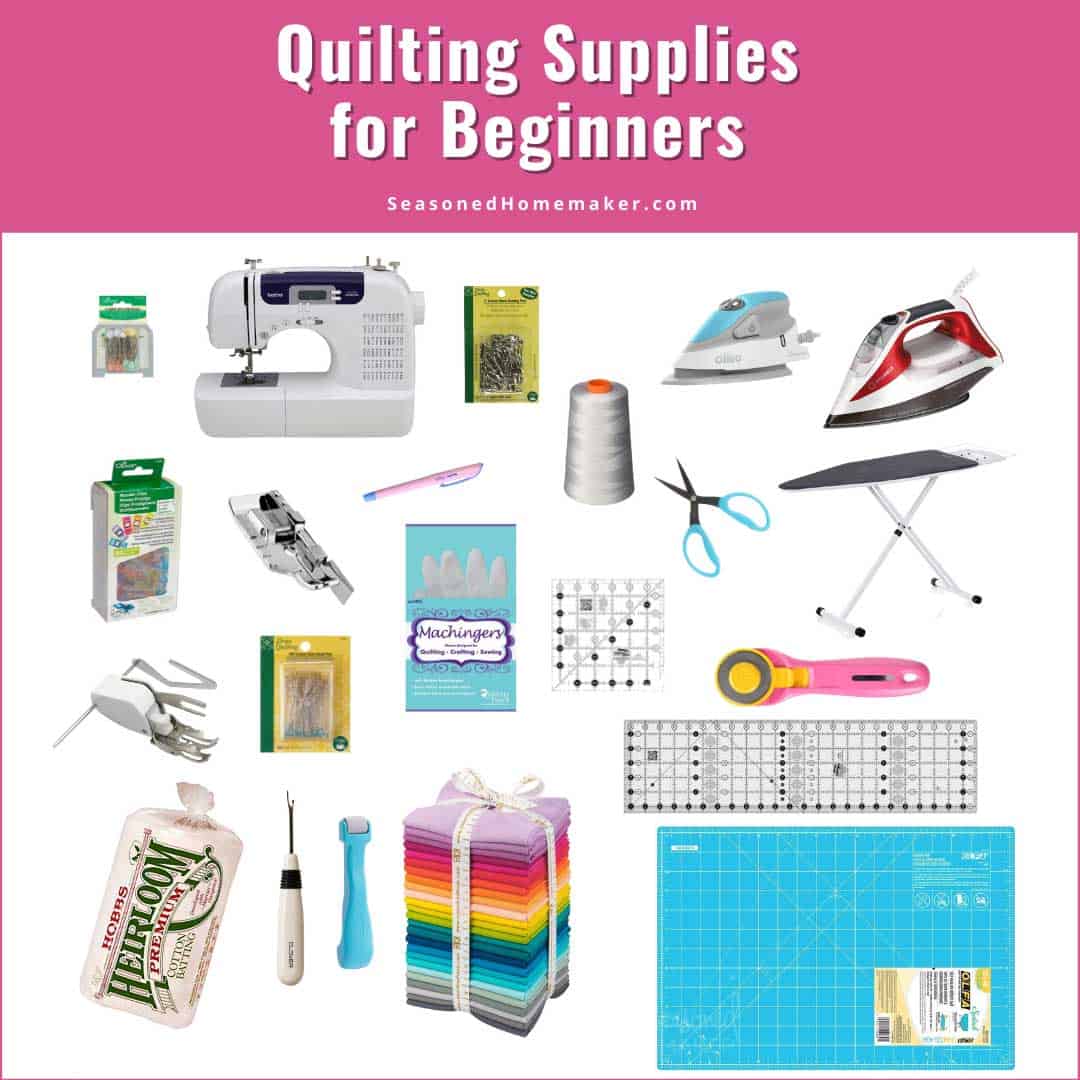
- Fabric pen or marker
- Iron-on fabric transfers
- Threads
- Needles
- Fabric for the quilt label
- Scissors
- Iron
- Information regarding what to write on quilt labels
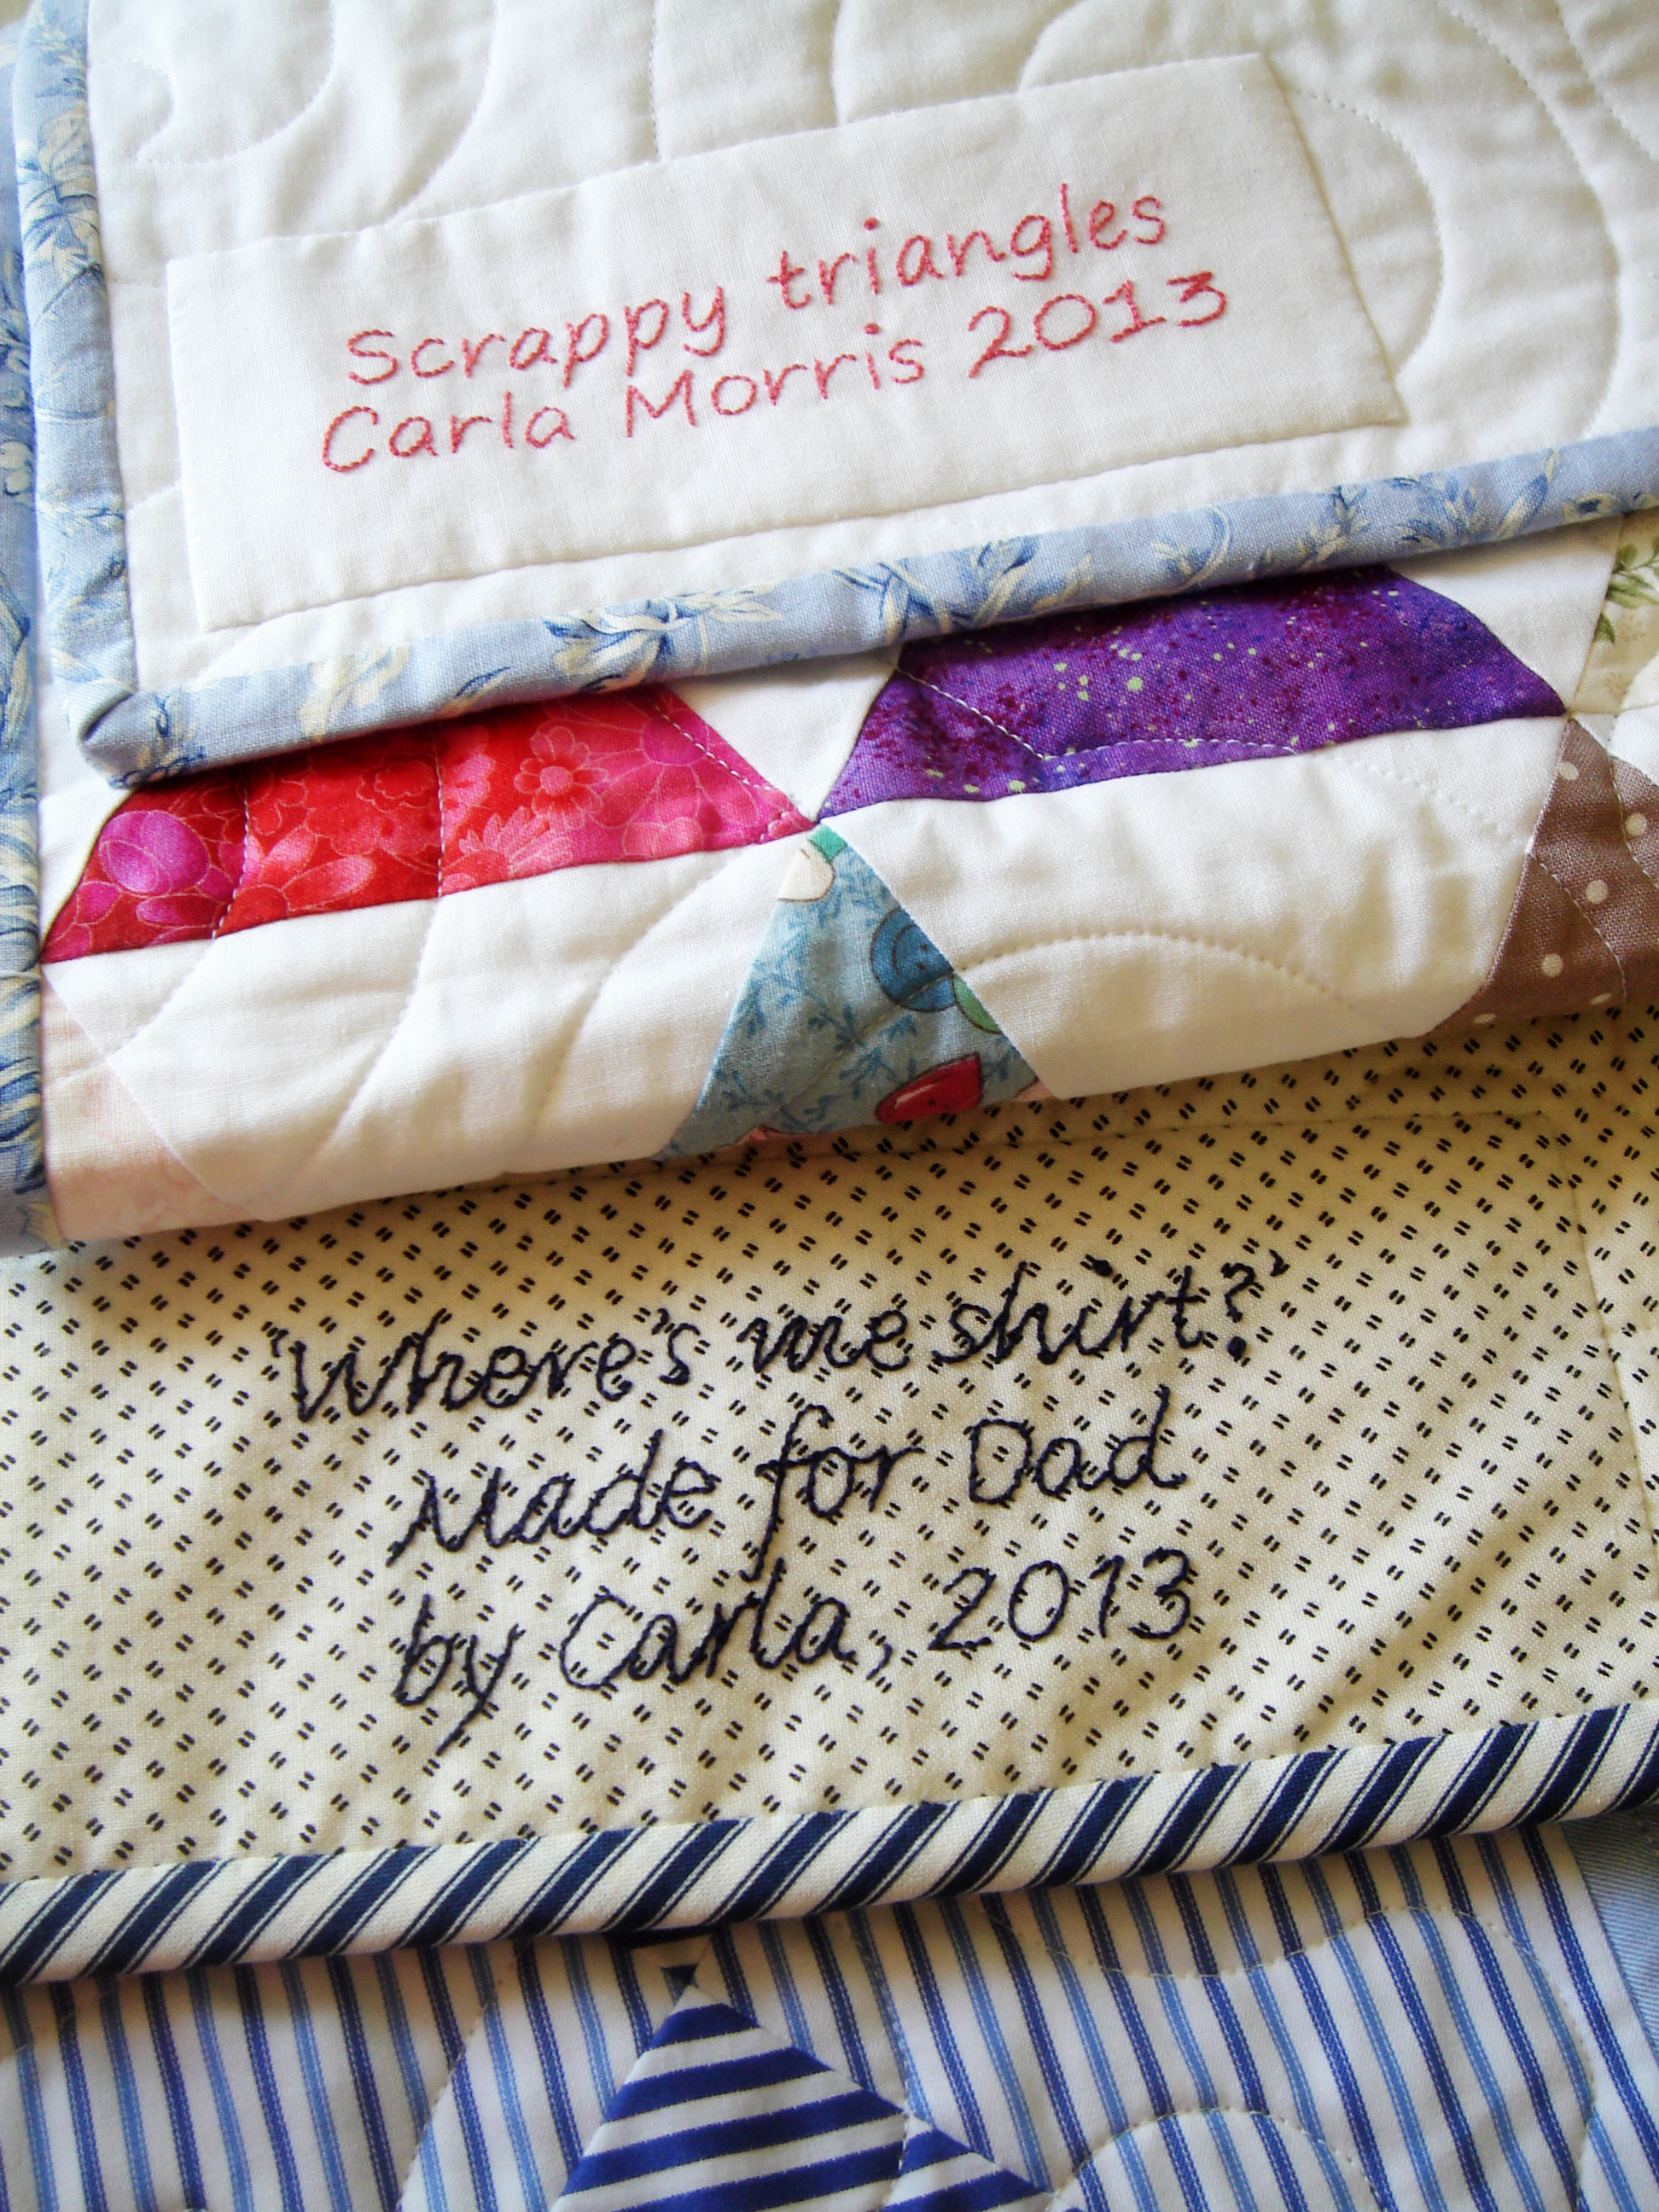
What to Write on Quilt Labels
- Name of Quilt Maker: Include your name, or the name of the person who made the quilt.
- Quilt Title: Name the quilt if you have one.
- Quilt Completion Date: Include the date the quilt was finished.
- Fabric Used: Include the type of fabric and the manufacturer of the fabric used.
- Thread Used: Include the type of thread used to quilt the fabric.
- Other Details: Include any other details that you think are important, such as the quilt pattern, or the size of the quilt.
If you want a more permanent label, you can use an iron-on label for your quilt. When using an iron-on label, you can write out all the same information as above, just make sure that the wording is small enough to fit on the label. For a more decorative label, you could also include a quilt design or image.
How to Write on an Iron-on Label for Quilt
- Purchase an iron-on label for quilt.
- Gather all the materials needed for writing on the label – such as a fabric marker, a piece of paper and an iron.
- Lay down the label on the flat surface.
- Use the fabric marker to write the desired information on the backside of the label.
- Place a piece of paper on top of the label.
- Press the iron onto the paper for about 20-30 seconds.
- Let it cool for a few minutes.
- Once cool, remove the paper and check if the text is visible on the label.
- Once the text is visible, your quilt label is ready to be attached to the quilt.
- When you have finished making the quilt, you can sign it either on the label or on the quilt itself, depending on where you would like to display your signature.
How to Tag Quilts
Tagging your quilts is an important step in keeping track of your work. It allows you to easily identify the quilt and its maker in the future. Here are some tips on how to tag quilts:
1. Choosing a Tag
Choose a tag that is lightweight, durable, and won’t fade. A tag should also be easy to attach to the quilt. A common choice is an adhesive label, but you can also use a fabric tag, iron-on transfer, or even a safety pin.
2. Information to Include
Your tag should include the quilt’s name, the quilt’s maker, and the date the quilt was finished. You may also want to include the quilt’s size, any special techniques used, and a story about the quilt.
3. Placement
The tag should be placed on the back of the quilt. It should be placed in a spot that is visible and easy to access.
4. Attaching the Tag
If you’re using an adhesive label, make sure to attach it firmly to the back of the quilt. If you’re using a fabric tag, make sure to secure it with a few stitches.
5. Storage
Once you have tagged your quilt, make sure to store it in a safe place. Consider storing it in an acid-free box or a quilt sleeve.
Following these tips will help you easily identify your quilts in the future. Tagging quilts is an important step in preserving and protecting your work.
How to Put Name on Quilt
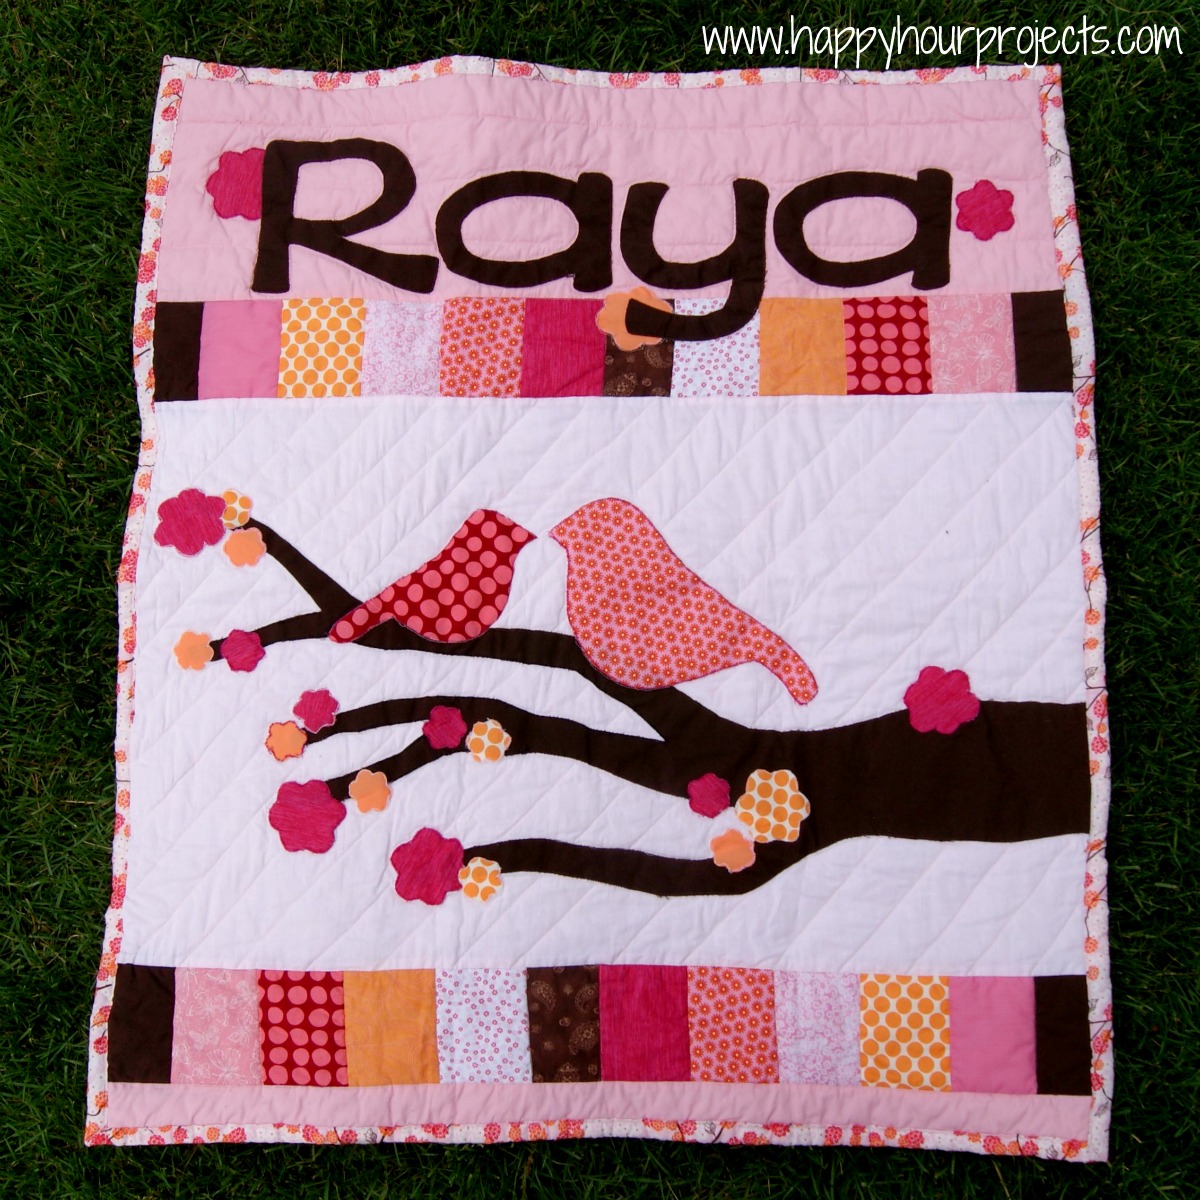
- Quilt labels are the perfect way to mark a quilt and the quilter who made it.
- You can create a personalized quilt label by hand-stitching or machine-stitching your name or initials onto a piece of fabric.
- An easy way to add a name to a quilt is to use iron-on transfer paper and an inkjet or laser printer.
- You can also use adhesive-backed fabric letters, which are available at most craft stores. Simply peel and stick the letters onto the backing fabric.
- For a quilt label that will last a lifetime, use permanent fabric markers or fabric paint to write the quilter’s name on the fabric.
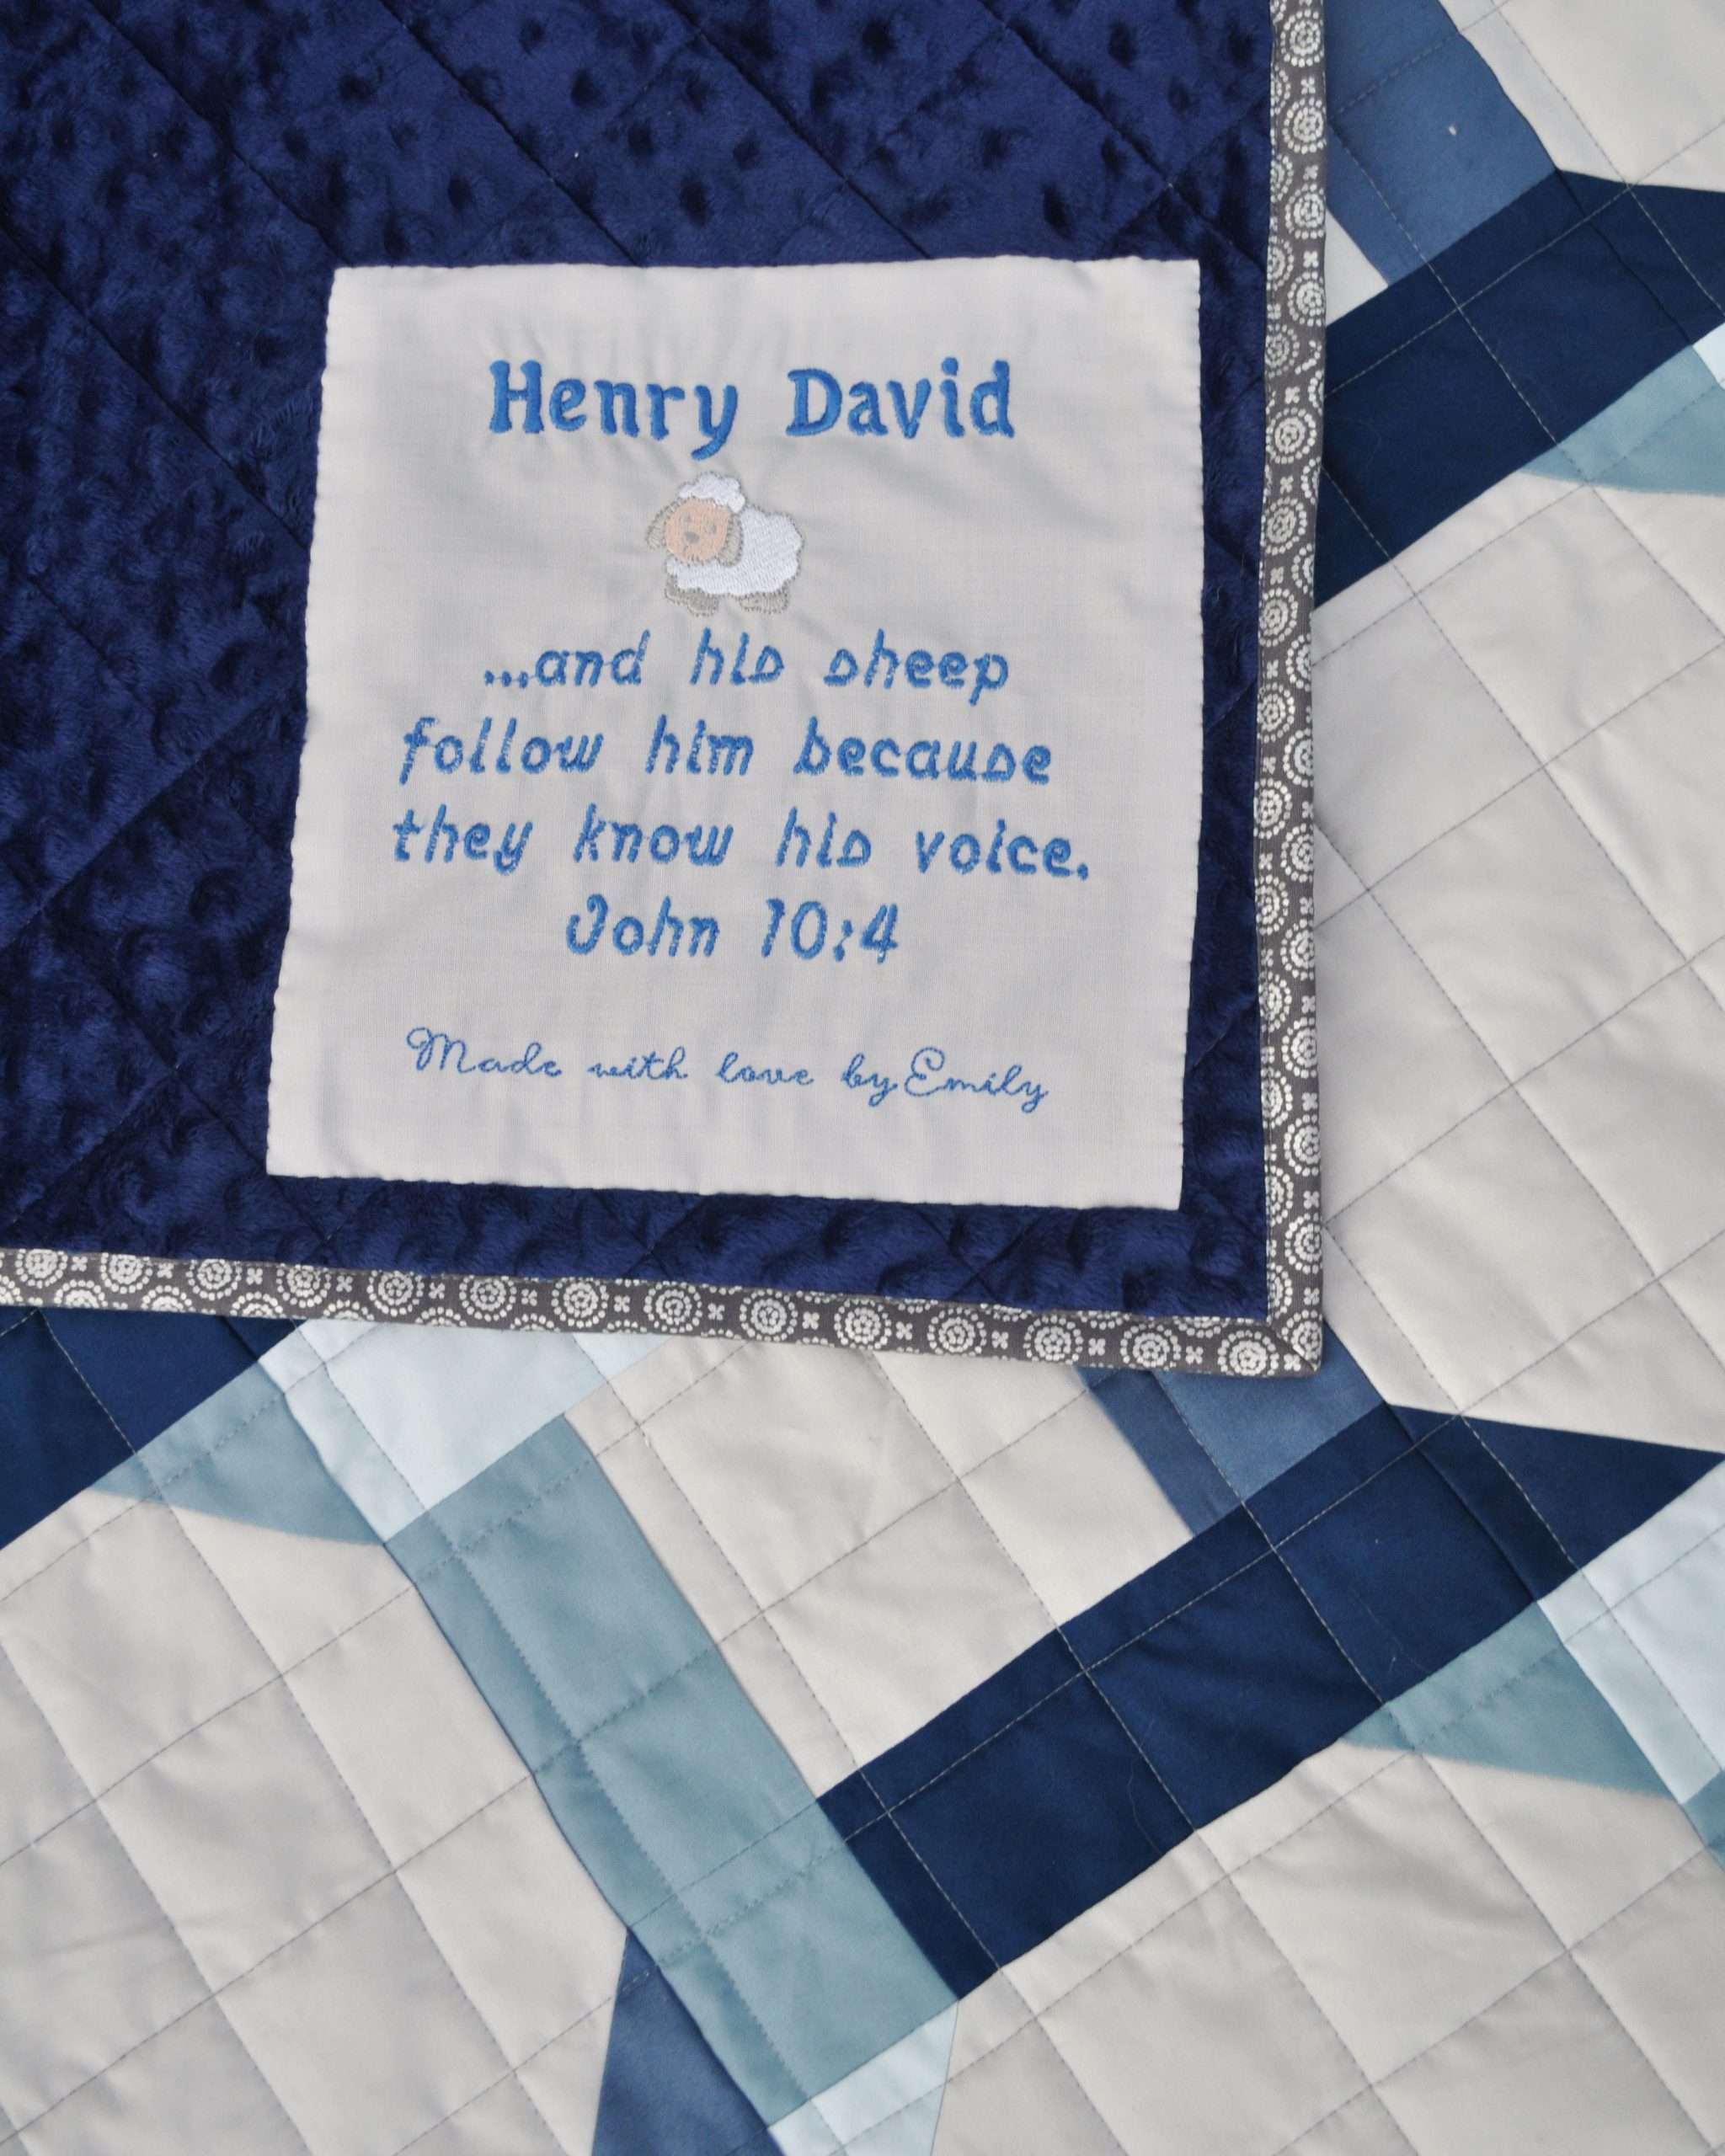
- You can also use embroidery floss to hand-stitch the quilt maker’s name and the quilt’s title onto the quilt.
- If you don’t want to hand-stitch the label, you can use a machine applique method. Create a label design or lettering on your computer and print it onto a piece of fabric.
- Cut out the fabric label and stitch it onto the quilt with a sewing machine.
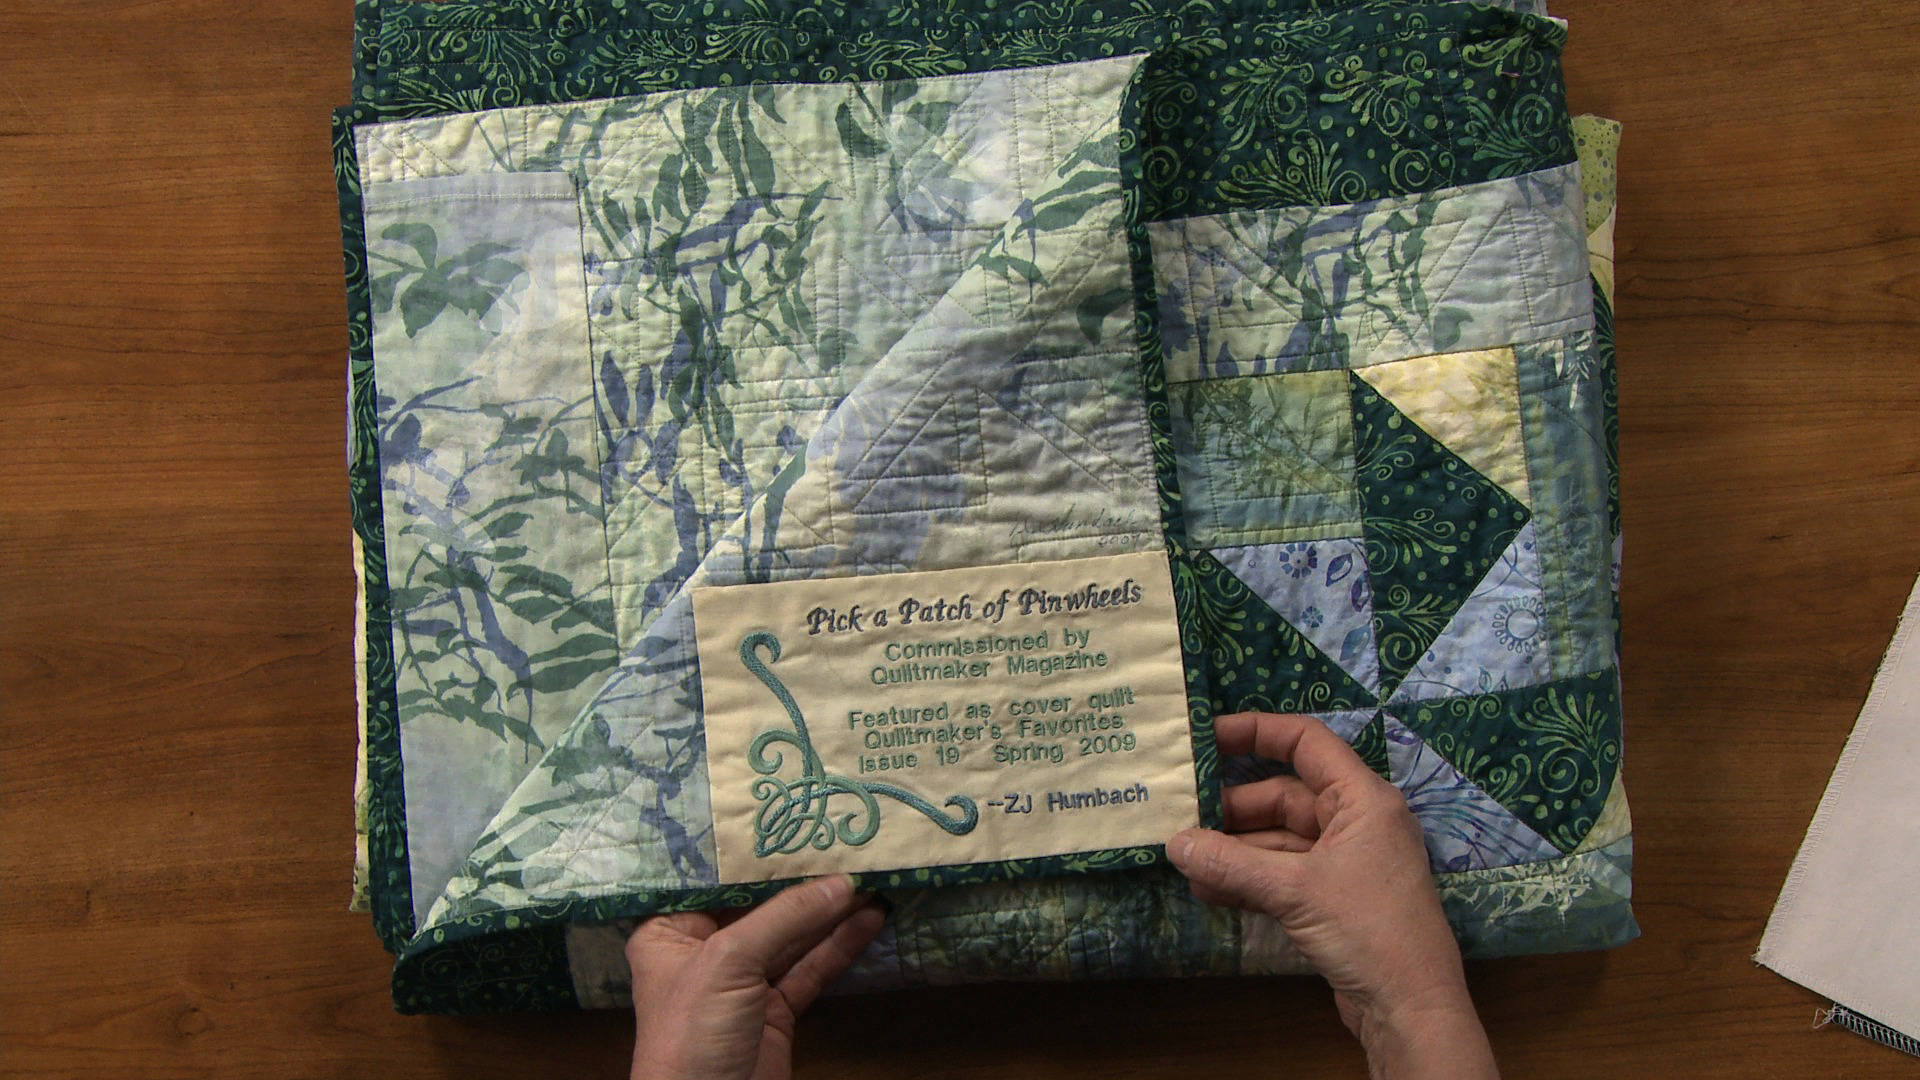
- For a professional look, use a commercial embroidery machine to embroider the label onto the quilt.
How to Label Your Finished Quilt
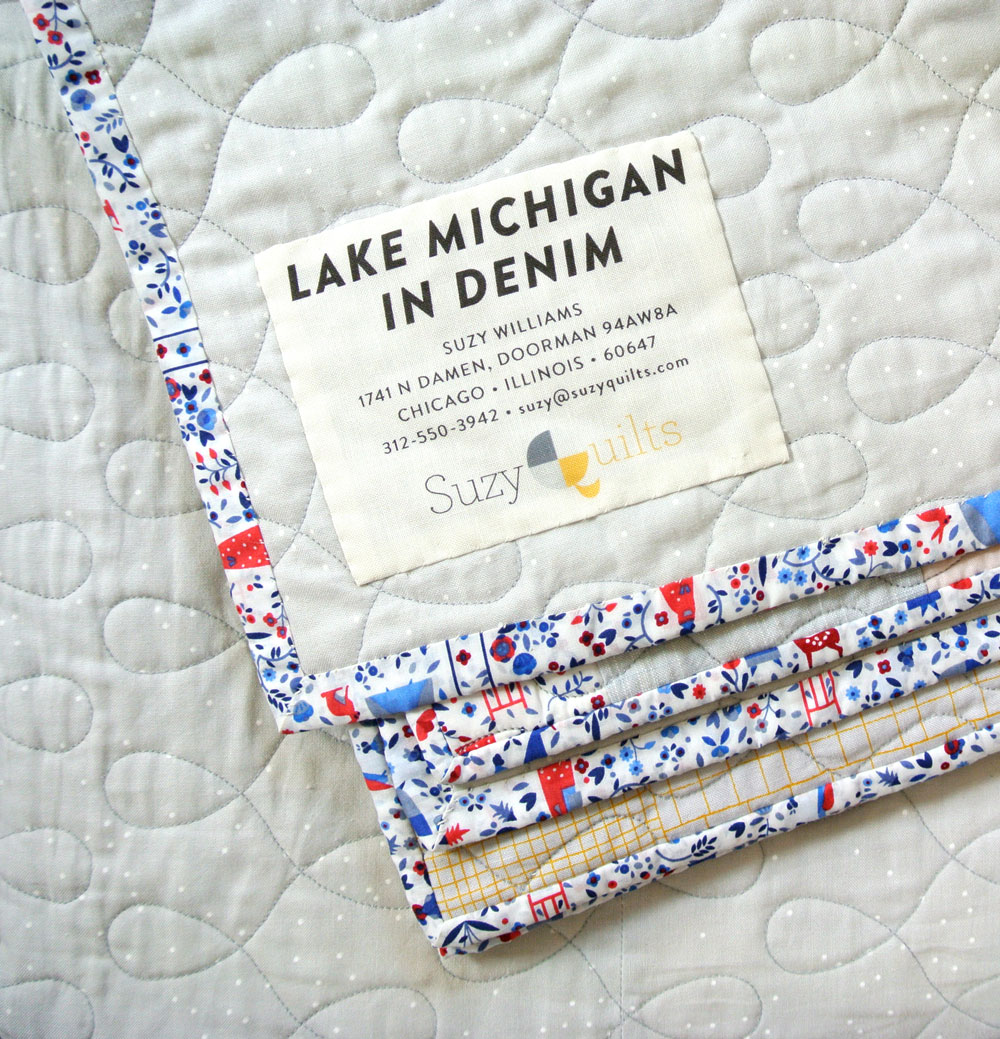
- Choose a Label: Select a label that is the right size for your quilt and that is made of a material that is durable and won’t fade over time.
- Gather Supplies: Gather supplies such as fabric markers, fabric glue, thread, and scissors.
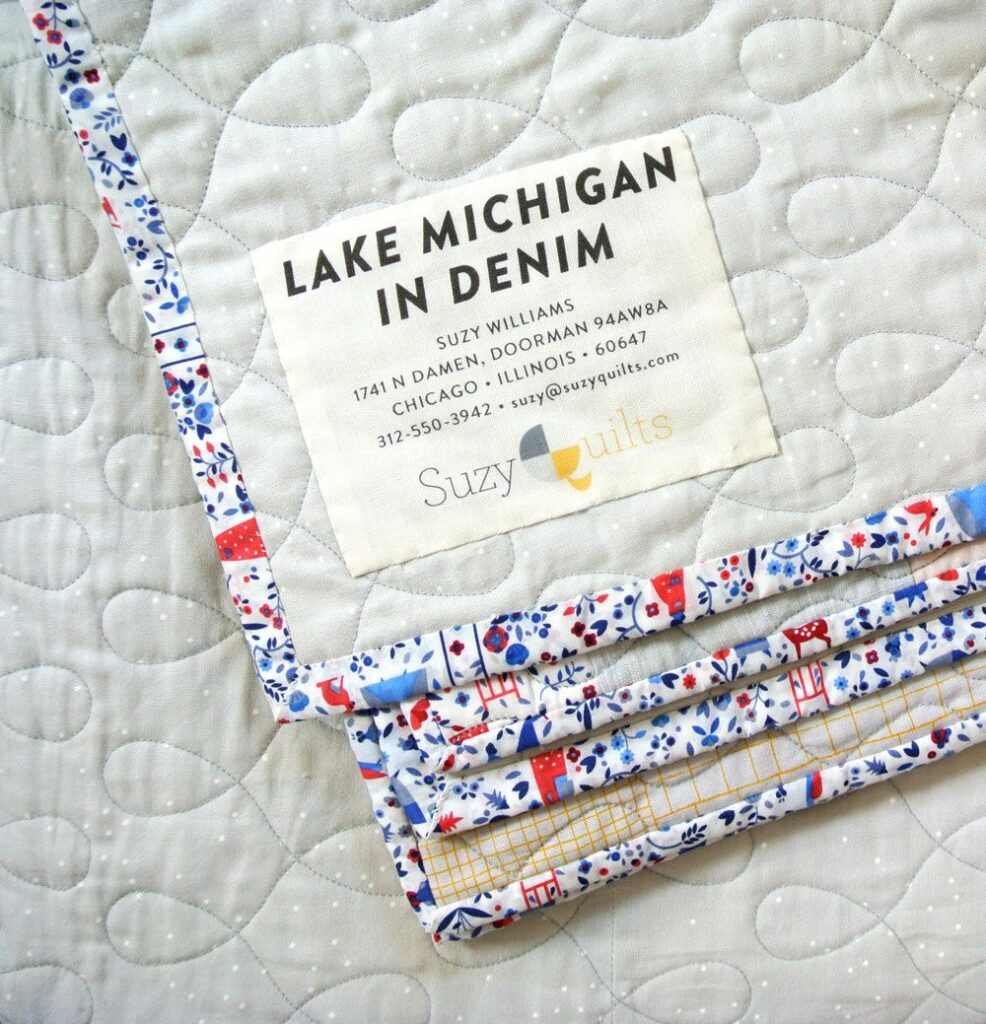
- Write Information: Write the quilt’s title, the maker’s name, the date of completion, and any other information you would like to include on the label.
- Attach Label: Attach the label to the back of the quilt, usually in the bottom corner, using fabric glue or a few stitches.
- Final Steps: Sew on any embellishments or buttons that you would like to add, and enjoy your finished quilt.
How to Attach Label to Quilt Back
Once you have created a quilt label, the next step is to attach it to the back of the quilt. To do this, you will need a few basic supplies, such as a needle and thread, fabric glue, or fusible web.
Using Thread
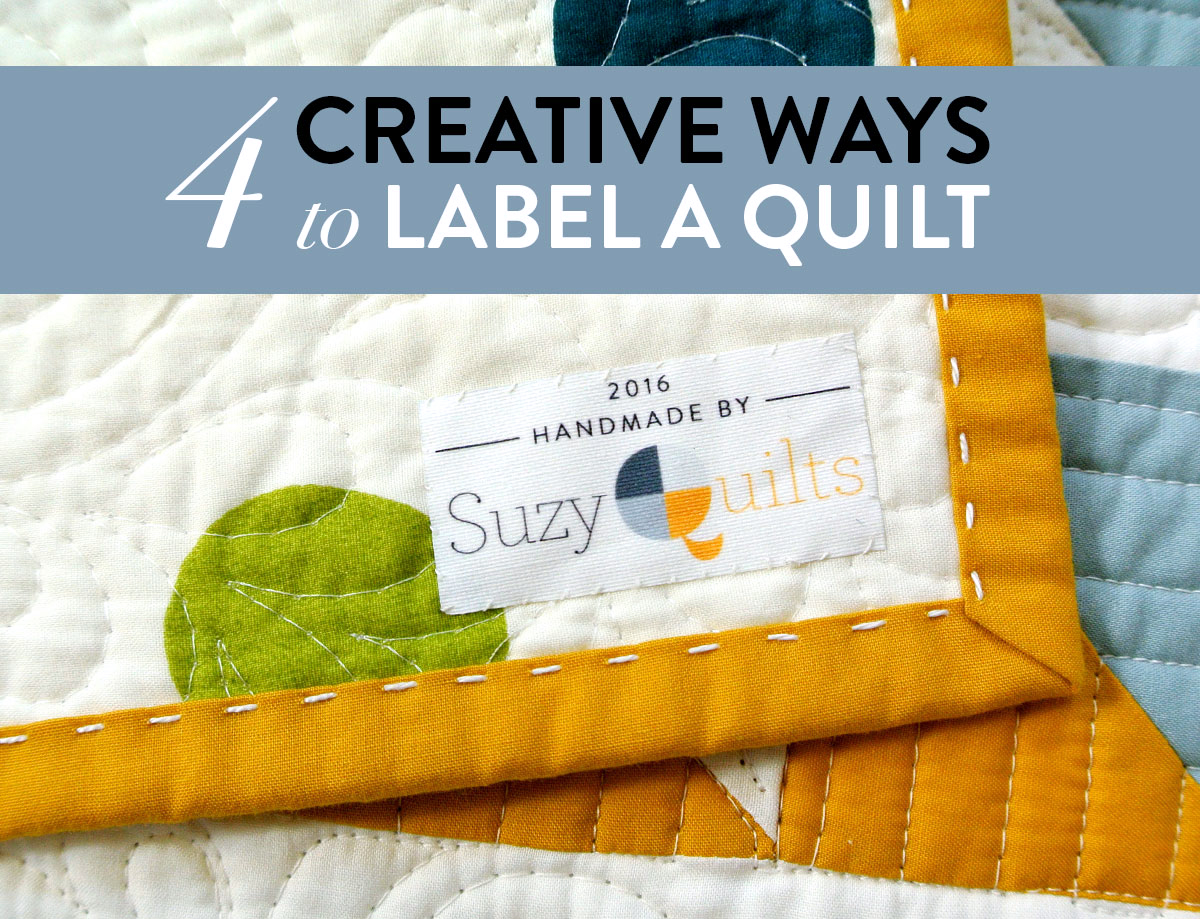
Thread is the most traditional way to attach a quilt label. Sew the label in place using a wide zig-zag stitch for extra durability. Be sure to tie off the thread securely at the end of the stitch line.
Using Fabric Glue
Fabric glue is a great alternative to sewing when attaching a quilt label. Simply brush a thin layer of fabric glue onto the back of the label. Then place the label onto the back of the quilt and press in place. Allow the glue to dry completely before using the quilt.
Using Fusible Web
Fusible web is an iron-on adhesive that can be used to attach a quilt label. Cut a piece of fusible web slightly larger than the quilt label. Place the fusible web on the back of the label. With an iron set on medium heat, press the label into place on the back of the quilt. Allow the fusible web to cool before using the quilt.
Attaching a quilt label to the back of the quilt is an easy way to personalize a quilt. Whether you choose to sew, use fabric glue, or fusible web to attach your quilt label, it is sure to add a beautiful, professional touch to your quilt.
Where Do You Sign a Quilt When You Are Finished?
When your quilt is finished, sign it to make it your own and commemorate the maker! To sign a quilt, you can use:
- Embroidery – Stitch your name and the date you made the quilt on the quilt back.
- Handwriting – Use a fabric marker and write your name and the date of completion on the quilt back.
- Iron-on Label – Sew an iron-on label on the quilt back with your name and the date.
- Tag – Sew a tag on the quilt back with your name and the date.
If you are gifting the quilt, you can also include a short message or sentiment to the recipient. Be sure to use a permanent marker or another method that will be durable over time. Signing your quilt is a great way to create a timeless heirloom that will be passed down for generations.
Frequently Asked Questions
What type of fabric should be used to make quilt labels?
-
Natural Fibers:
- Cotton – Cotton is the most popular fabric for quilt labels as it is lightweight, durable, and easy to sew.
- Linen – Linen is a more luxurious option, known for its strength and breathability.
- Silk – Silk is a luxurious fabric that is soft and lightweight, making it ideal for quilt labels.
- Wool – Wool is a strong and durable fabric that is soft and breathable, making it a great choice for quilt labels.
- Nylon – Nylon is a durable and lightweight fabric that is easy to sew.
- Polyester – Polyester is a strong and durable fabric that is also lightweight and easy to sew.
- Acrylic – Acrylic is a lightweight and affordable fabric that is easy to sew.
Synthetic Fibers:
Is it Possible to Make Quilt Labels Without a Sewing Machine?
Yes, it is possible to make quilt labels without a sewing machine. Here are a few methods you can use:
- Using Heat Transfer Vinyl: Heat transfer vinyl is a special material that can be used to create labels for quilts. You can create the design on your computer and then use a heat press to transfer the design onto the fabric.
- Using Fabric Paint: Fabric paint is another option for creating quilt labels. You can use a brush or a stencil to paint the design onto the fabric.
- Using Iron-on Patches: Iron-on patches are a great way to quickly and easily add a label to a quilt. You can buy iron-on patches with pre-made designs or create your own using fabric paint and iron-on fabric.
- Using Fabric Markers: Fabric markers can be used to write directly onto the fabric. You can create a custom design, write a message, or simply sign your name.
No matter which method you choose, you can easily make quilt labels without a sewing machine.
What are other options besides fabric to make quilt labels?
Quilt labels can be made with more than just fabric. Alternatives include paper, vinyl, and even wood. Paper labels can be cut to size and printed with an inkjet or laser printer, and then sewn onto the quilt. Vinyl labels are similar to paper labels, but are more durable and waterproof. Wood labels can be cut, stained, and engraved with a laser engraver before being sewn onto the quilt. Whichever material is chosen, all quilt labels should be backed with an additional layer of fabric or fusible interfacing for stability and durability.
How Should Quilt Labels be Attached to a Quilt?
Quilt labels should be attached to the back of the quilt, usually in the lower left corner. The label should be securely attached, with a strong adhesive, such as a permanent fabric glue. The label should be placed so that it will not be affected by pulling or tugging on the quilt. It is also important to ensure that the label will not cause damage to the quilt fabric when it is removed.
Are Special Supplies Needed to Make Quilt Labels?
No, basic everyday supplies can be used to make quilt labels. Fabric markers, fabric paint, and a pencil or pen are the recommended supplies for writing on fabric. If desired, an iron-on transfer pen can be used to transfer pre-printed designs onto the fabric. Additionally, a sewing machine can be used to embroider a quilt label.
Conclusion
Creating quilt labels is a fun and creative way to express yourself and to make your quilts stand out. With the help of this step-by-step guide, you now have the knowledge to make your own quilt labels. Start by selecting a medium for your label, then gather your supplies and design the label. Finally, use the correct method to attach the label to your quilt. Now you are ready to show off your handmade quilt label.


