Are you looking for a creative and fun way to personalize a quilt? Appliqueing letters onto a quilt is a great way to make a special gift even more special! This step-by-step guide will show you how to applique letters onto a quilt so you can create a one-of-a-kind quilt. Get ready to learn how to applique letters on a quilt!
Materials Needed
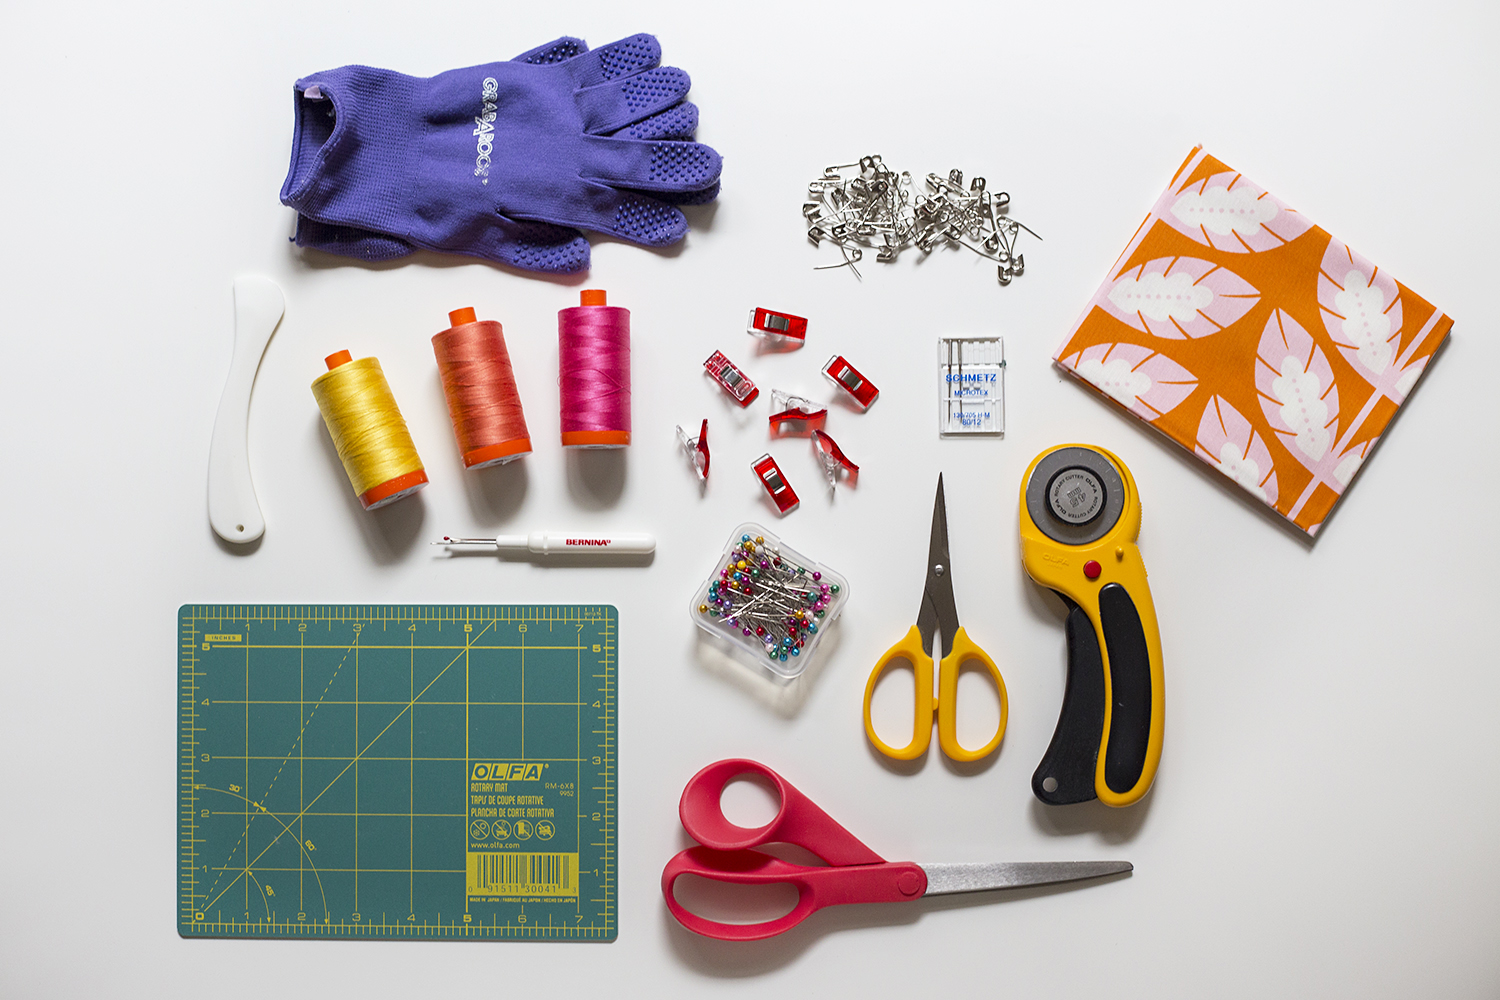
- Fabric for the quilt top and backing
- Batting
- Thread for quilting
- Iron
- Rotary cutter, mat and ruler
- Scissors
- Lettering template
- Fabric for applique letters
- Steam a Seam or similar fusible web
The materials listed above are all that’s needed to complete the task of how to applique words onto a quilt. With these items, you’ll be able to start your project.
Preparing the Fabric
- Pre-wash the fabric you are using for the applique. This will prevent any shrinkage after you have sewn the applique onto the quilt.
- Iron the fabric to remove any wrinkles. This will ensure a flat surface, which is important when applying the name.
- Cut the fabric into the desired shape. This can be done with scissors or a rotary cutter. If using a rotary cutter, be sure to use a self-healing cutting mat and a ruler for accuracy.
- Stabilize the fabric by adding a layer of interfacing. This will help maintain the shape and provide a better surface for the embroidery.
- Mark the fabric with a fabric pen or chalk. This will help guide your needle when stitching the name to the quilt.
Once you have prepared the fabric, you are ready to begin stitching the name onto the quilt. Follow these steps to learn how to applique a name onto a quilt.
Preparing the Letters
- To appliqué letters on a quilt by hand stitching, the first step is to prepare the letters.
- Choose the letters that you would like to use from a template or design your own.
- You can use tracing paper to trace the letters onto the fabric.
- Cut out the letters carefully with sharp scissors.
- If you want to add an extra layer of fabric behind the letters, use fusible webbing to attach it.
- Iron the letters onto the quilt fabric to set the design.
You are now ready to hand stitch the appliqué letters onto the quilt, following the how to applique name on quilt by hand stitch instructions.
Preparing the Quilt
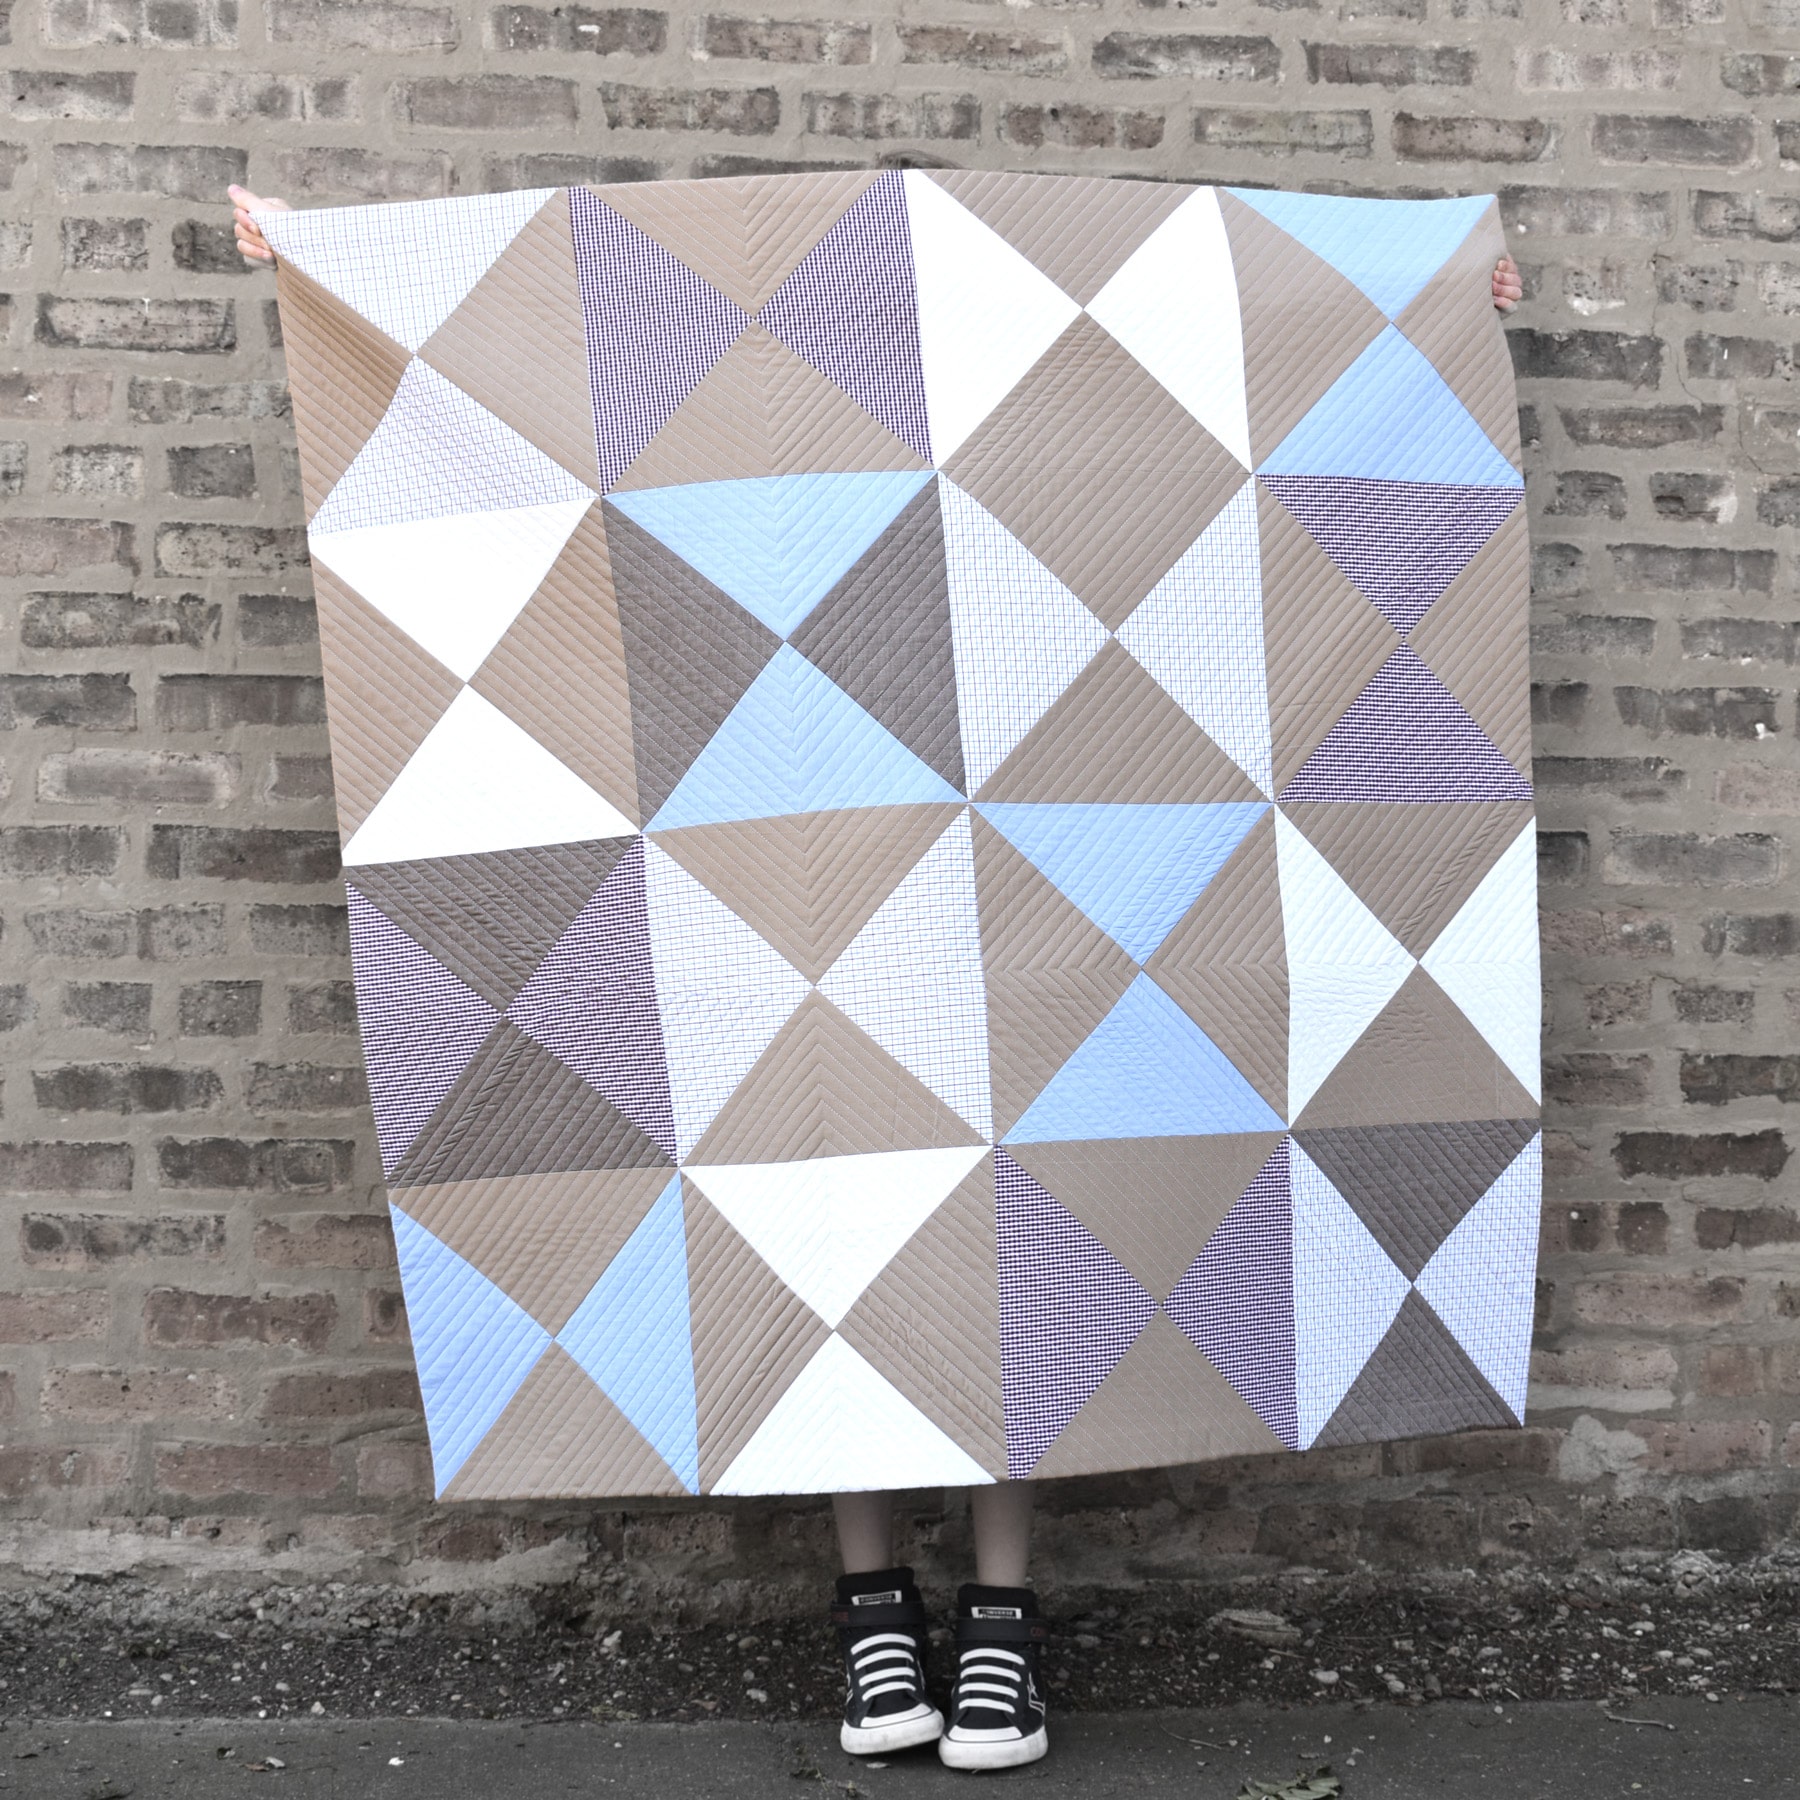
- Fabric: Choose the fabric for your quilt carefully. Consider the weight, color, and pattern of the fabric. For appliqué letters, choose a lightweight fabric with a simple pattern.
- Ironing: Before you start to appliqué, make sure the fabric is ironed and free of wrinkles.
- Cutting: Cut the fabric into pieces that are slightly larger than the letter patterns.
- Backing: Baste a piece of batting to the back of the fabric to provide added stability.
- Stabilizing: Use a stabilizer to provide extra support and to prevent stretching.
- Tracing: Trace the letter patterns onto the fabric using a light colored fabric marker.
- Cutting: Cut out the letters along the traced lines.
- Placement: Place the letters onto the quilt top in the desired location.
Attaching the Letters to the Quilt
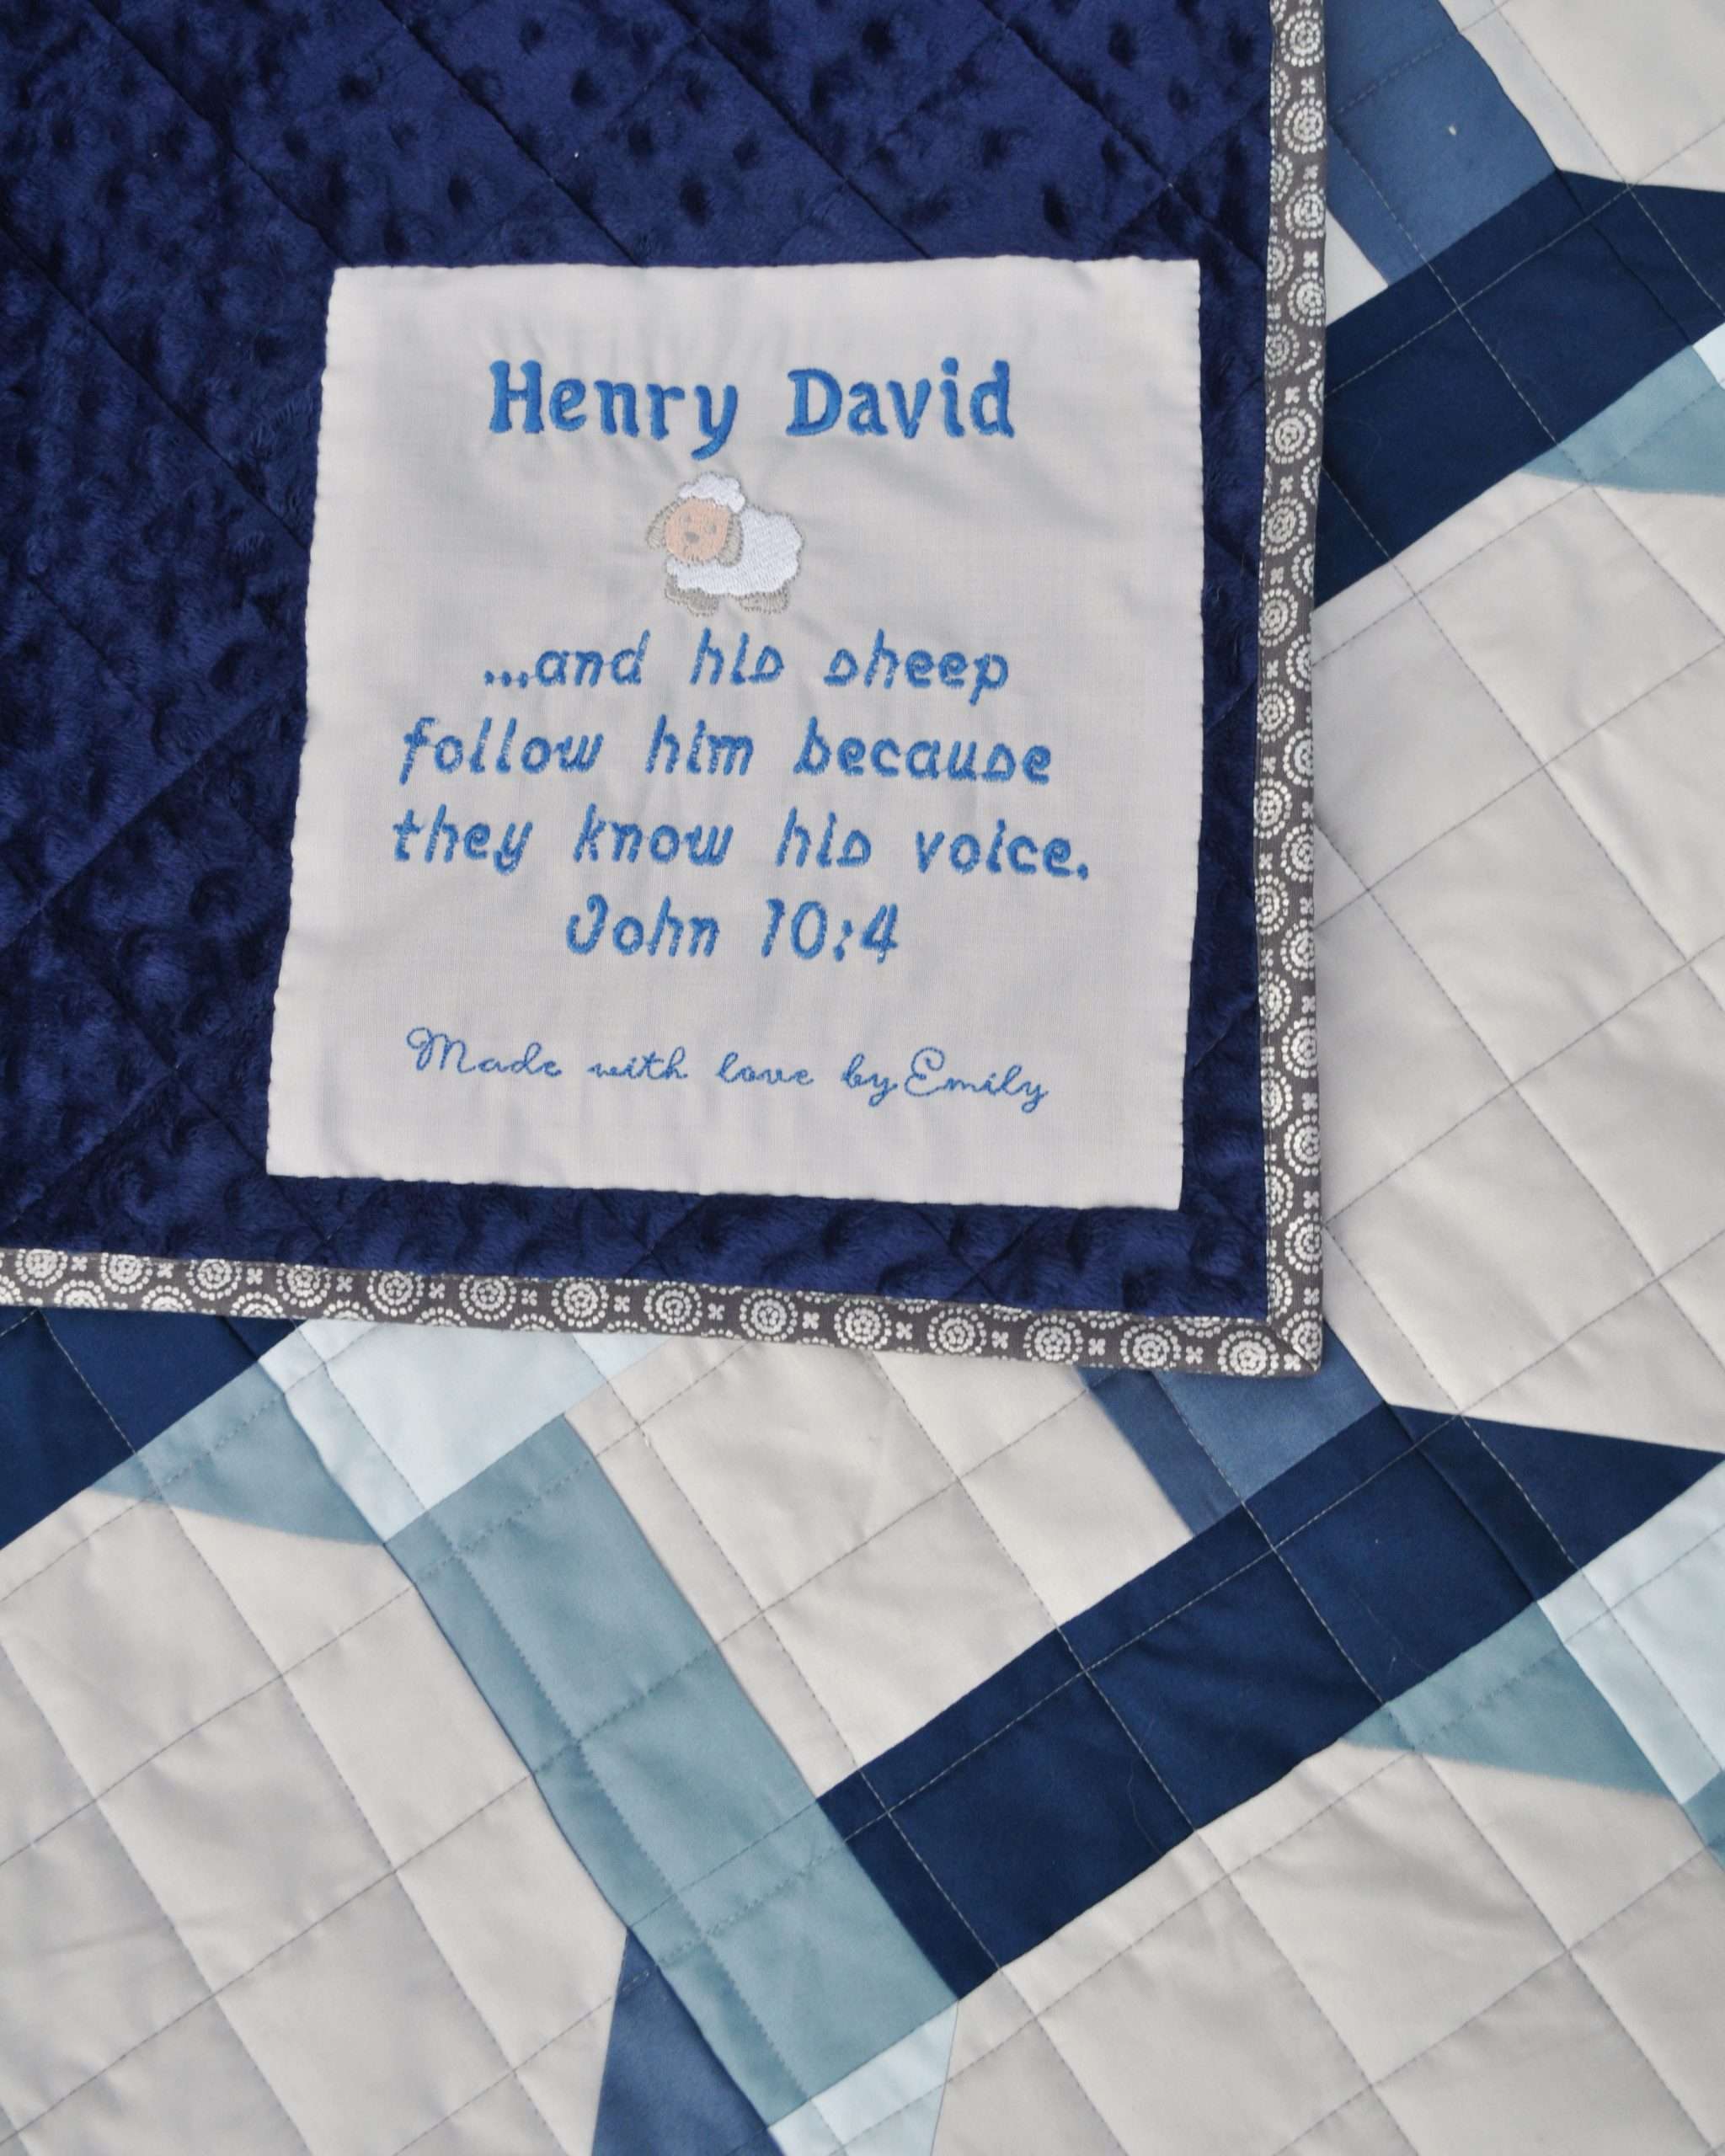
- Choose Your Method: There are several different ways to attach letters to quilts, including traditional hand applique, machine applique, and fusible applique. Choose the method that best suits your project and skill level.
- Gather Supplies: You will need the letters that you plan to applique, a quilt top, quilt batting, backing fabric, coordinating thread, scissors, and your chosen applique method.
- Create the Letters: Trace the letters onto the wrong side of the fabric. Cut out the letters, adding a ¼” seam allowance. If you are using fusible applique, use a hot iron to adhere the fusible web to the wrong side of the fabric.
- Position the Letters: Pin the letter pieces to the quilt top. Move the pieces around until you are happy with their placement.
- Sew the Letters: Use a coordinating thread and the preferred applique method to attach the letter pieces to the quilt top.
- Layer and Quilt: Once the letter pieces are attached, add the batting and backing fabric. Quilt the quilt top with your desired quilting pattern.
Finishing Up the Letters
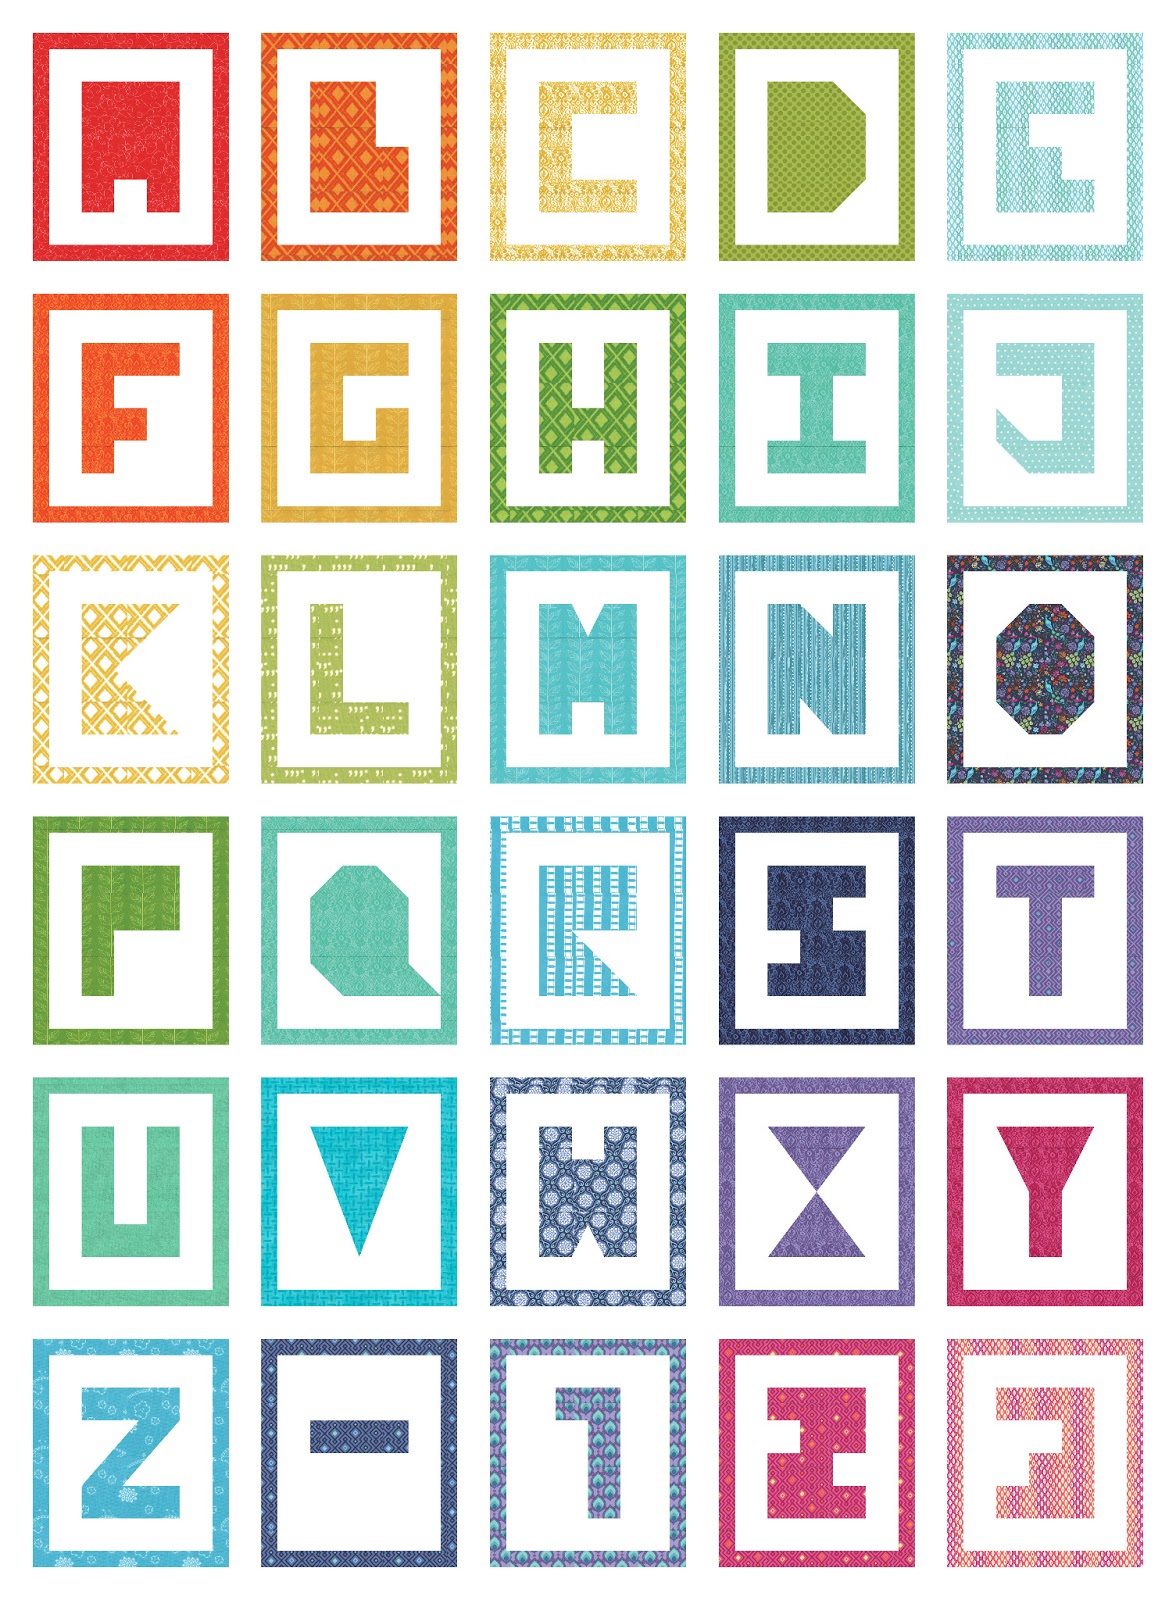
- Stitch the Letters – Using a narrow, satin stitch and the thread that matches the letter fabric, stitch the letters onto the quilt. If desired, use a special appliqué stitch for a unique look.
- Trim the Letters – Use a pair of scissors or a rotary cutter to trim the fabric around the letters. This will give your appliquéd letters a neat, clean look.
- Secure the Letters – Once the letters are stitched and trimmed, you’ll want to secure them. To do this, you can use a clear fabric adhesive, a fusible web, or a fabric glue.
- Press the Letters – Using a medium heat setting, press the letters to set the adhesive. This will help ensure that the letters stay in place.
- Finish the Quilt – Once the letters are secure and pressed, you can finish the quilt as desired. You can hand quilt, machine quilt, or simply bind the edges of the quilt.
Finishing the Quilt
- Quilting is the process of stitching the layers of the quilt together. This can be done by hand or machine, depending on the size and complexity of the quilt.
- Binding is the process of attaching a binding around the edges of the quilt. This is done by sewing the binding to the quilt and then folding the binding over the edges and stitching it down.
- Pressing is the final step in making a quilt. This involves pressing the quilt with a warm iron to give it a smooth, flat surface.
- Finishing the quilt involves adding any final touches, such as buttons, ribbons, or embroidery, to give the quilt a unique look.
Applique Letters is the process of attaching fabric letters to the quilt. This can be done by hand or machine, depending on the size and complexity of the quilt. The fabric letters can be purchased pre-made or made from fabric scraps. Once the fabric letters are attached, the quilt can be finished by quilting, binding, and pressing.
Frequently Asked Questions
What Type of Fabric is Best for Appliquéing Letters on a Quilt?
Cotton is the best fabric for appliquéing letters on a quilt. It is lightweight, durable, and easy to work with. It comes in a variety of colors and textures and can be used to create intricate designs. Cotton is also breathable, making it ideal for quilt-making. When appliquéing letters on a quilt, choose a cotton fabric that has a smooth, tight weave and a medium-weight that won’t stretch or fray easily.
What Tools Do I Need to Appliqué Letters on a Quilt?
To appliqué letters on a quilt, you will need fabric for the letters, an iron and pressing surface, scissors, needles, thread, an appliqué pressing sheet, and quilt batting. Depending on the fabric and design, you may also need an adhesive stabilizer, fabric glue, and a rotary cutter and mat.
What is the Best Way to Stabilize the Fabric Before Appliquéing?
Using Stabilizer
- Choose a stabilizer that is lightweight and/or water-soluble.
- Cut the stabilizer a bit larger than the appliqué fabric.
- Place the stabilizer behind the fabric.
- Baste the fabric and stabilizer together using a zigzag stitch.
- Trim away the excess stabilizer.
Using Spray Starch
- Spray the fabric lightly with spray starch.
- Press the fabric with a hot, dry iron.
- Wait for the fabric to cool before appliquéing.
How can I ensure that my letters stay in place when I sew them to the quilt?
Secure the edges: Before attaching the letters, secure the edges of the fabric with a narrow zigzag stitch or a straight stitch. This will help keep the fabric from fraying when it is sewn onto the quilt.
Use a stabilizer: For more stability, use a tear-away stabilizer or a light-weight fusible interfacing on the back of the fabric. This will help keep the fabric from stretching.
Use a quilting or applique needle: A quilting or applique needle is designed to penetrate multiple layers of fabric without breaking or skipping stitches.
Stitch slowly and carefully: Take your time to ensure that the stitches are straight and even. This will also help keep the fabric from slipping or shifting as you stitch.
Can I use a sewing machine to appliqué letters on a quilt?
Yes! Sewing machines can be used to appliqué letters on a quilt, and this method is often the fastest and most efficient way to complete the task. Here are the steps for how to appliqué letters on a quilt using a sewing machine:
- Cut out the letters from the fabric of your choice.
- Arrange the letters on the quilt top.
- Pin the letters in place.
- Set up your sewing machine with the correct presser foot and stitch length.
- Attach the fabric to the quilt top using a straight stitch.
- Remove the pins.
- Press the letters with a hot, dry iron.
- Admire your finished appliqué quilt!
Conclusion
Appliqueing letters onto a quilt can be a fun and creative way to personalize your quilt. The process is not difficult, but it does take some practice. With the right materials and a few simple steps, you can easily add a personalized touch to your quilt.
