
Are you looking for an easy way to bind your quilt with bias tape? Look no further! This article will provide you with a step-by-step guide on how to bind a quilt with bias tape. You’ll learn the best techniques for binding your quilt with bias tape and how to get the best results. Get ready to take your quilt binding to the next level!
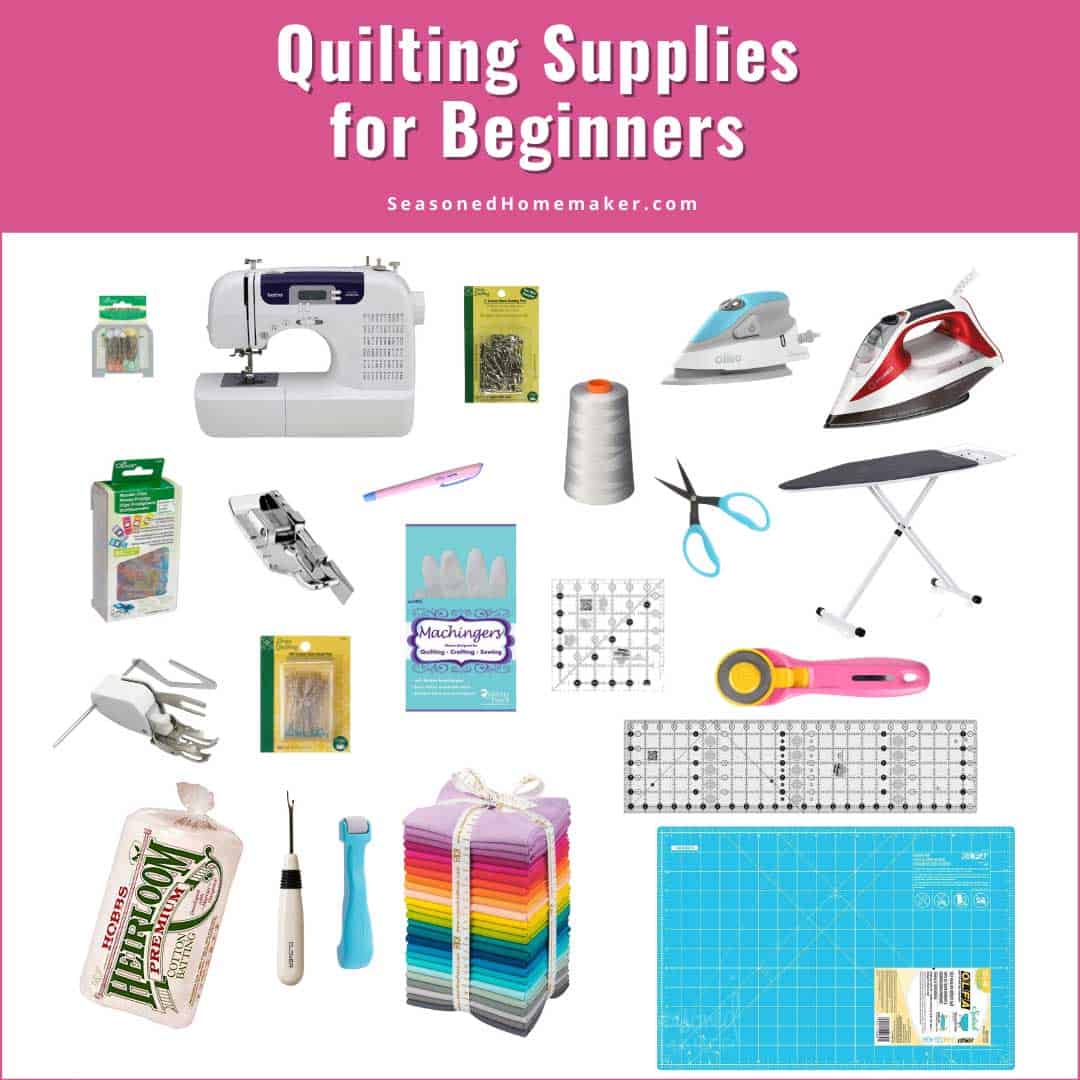
Materials Needed
| Item | Quantity |
|---|---|
| Quilt Top | 1 |
| Backing fabric | 1 |
| Binding fabric | 1 |
| Batting | 1 |
| Bias Tape Maker | 1 |
| Pins | As required |
| Thread | As required |
| Needle | As required |
| Scissors | As required |
To finish a quilt with bias binding, you will need the following materials: a quilt top, backing fabric, binding fabric, batting, a bias tape maker, pins, thread, a needle, and scissors. The quantity of pins, thread, and scissors will depend on your own project.
Preparing the Quilt for Binding
Before binding a quilt with bias tape, it is important to prepare the quilt for binding. This includes washing and pressing the quilt, checking for any loose threads, and trimming any excess batting or backing fabric. Additionally, it is important to measure the quilt and decide on the desired width of the binding strips.
When measuring the quilt, it is important to remember that the binding should be slightly shorter than the quilt. This is to ensure that the binding does not overhang the quilt edges. The standard binding width is usually 1-1/4 inches, but this can vary depending on the size of the quilt.
Once the quilt is prepared and the desired binding strip width is determined, the quilt can be bound with bias tape. Alternatively, it is possible to quilt without bias tape if desired. However, quilting with bias tape offers several benefits, including increased strength and a more professional finish.
Cutting the Bias Tape
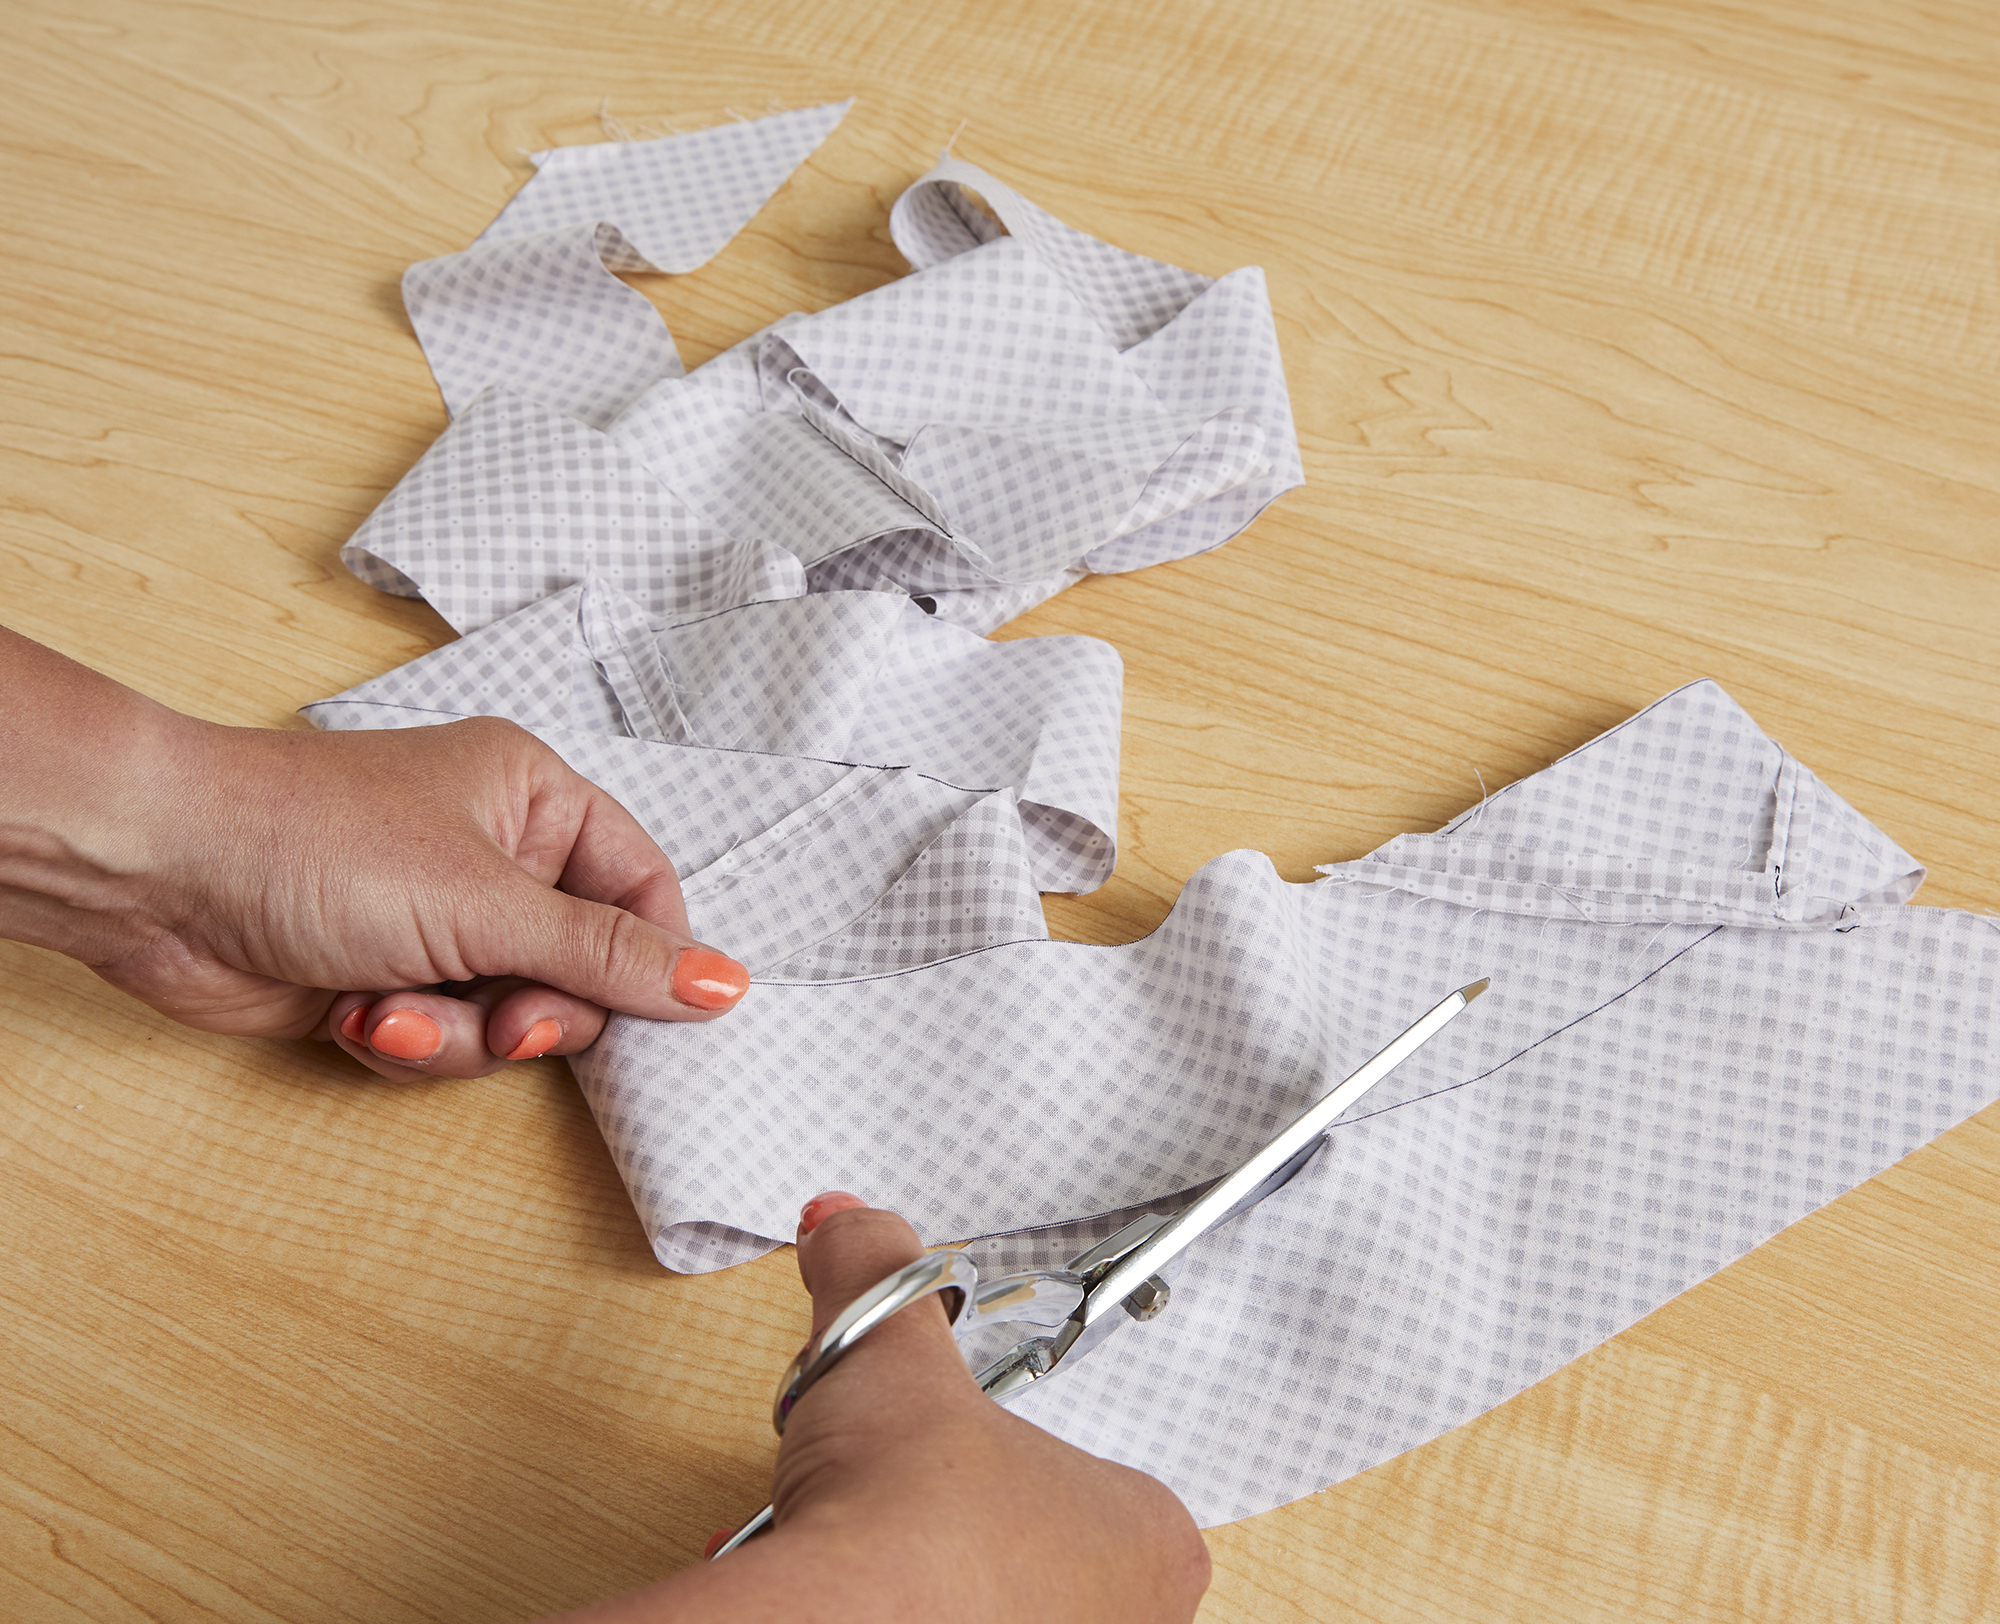
Before binding your quilt with bias tape, you must first cut the bias tape. This is an important part of the binding process, as the tape must fit precisely to the quilt. Generally, the bias tape should be cut 2 inches wider than the quilt’s finished edge. To ensure a neat finish, use a rotary cutter to cut the bias tape. Make sure to cut both ends of the tape at a 45-degree angle. This will provide for a smoother finish once the binding process is complete.
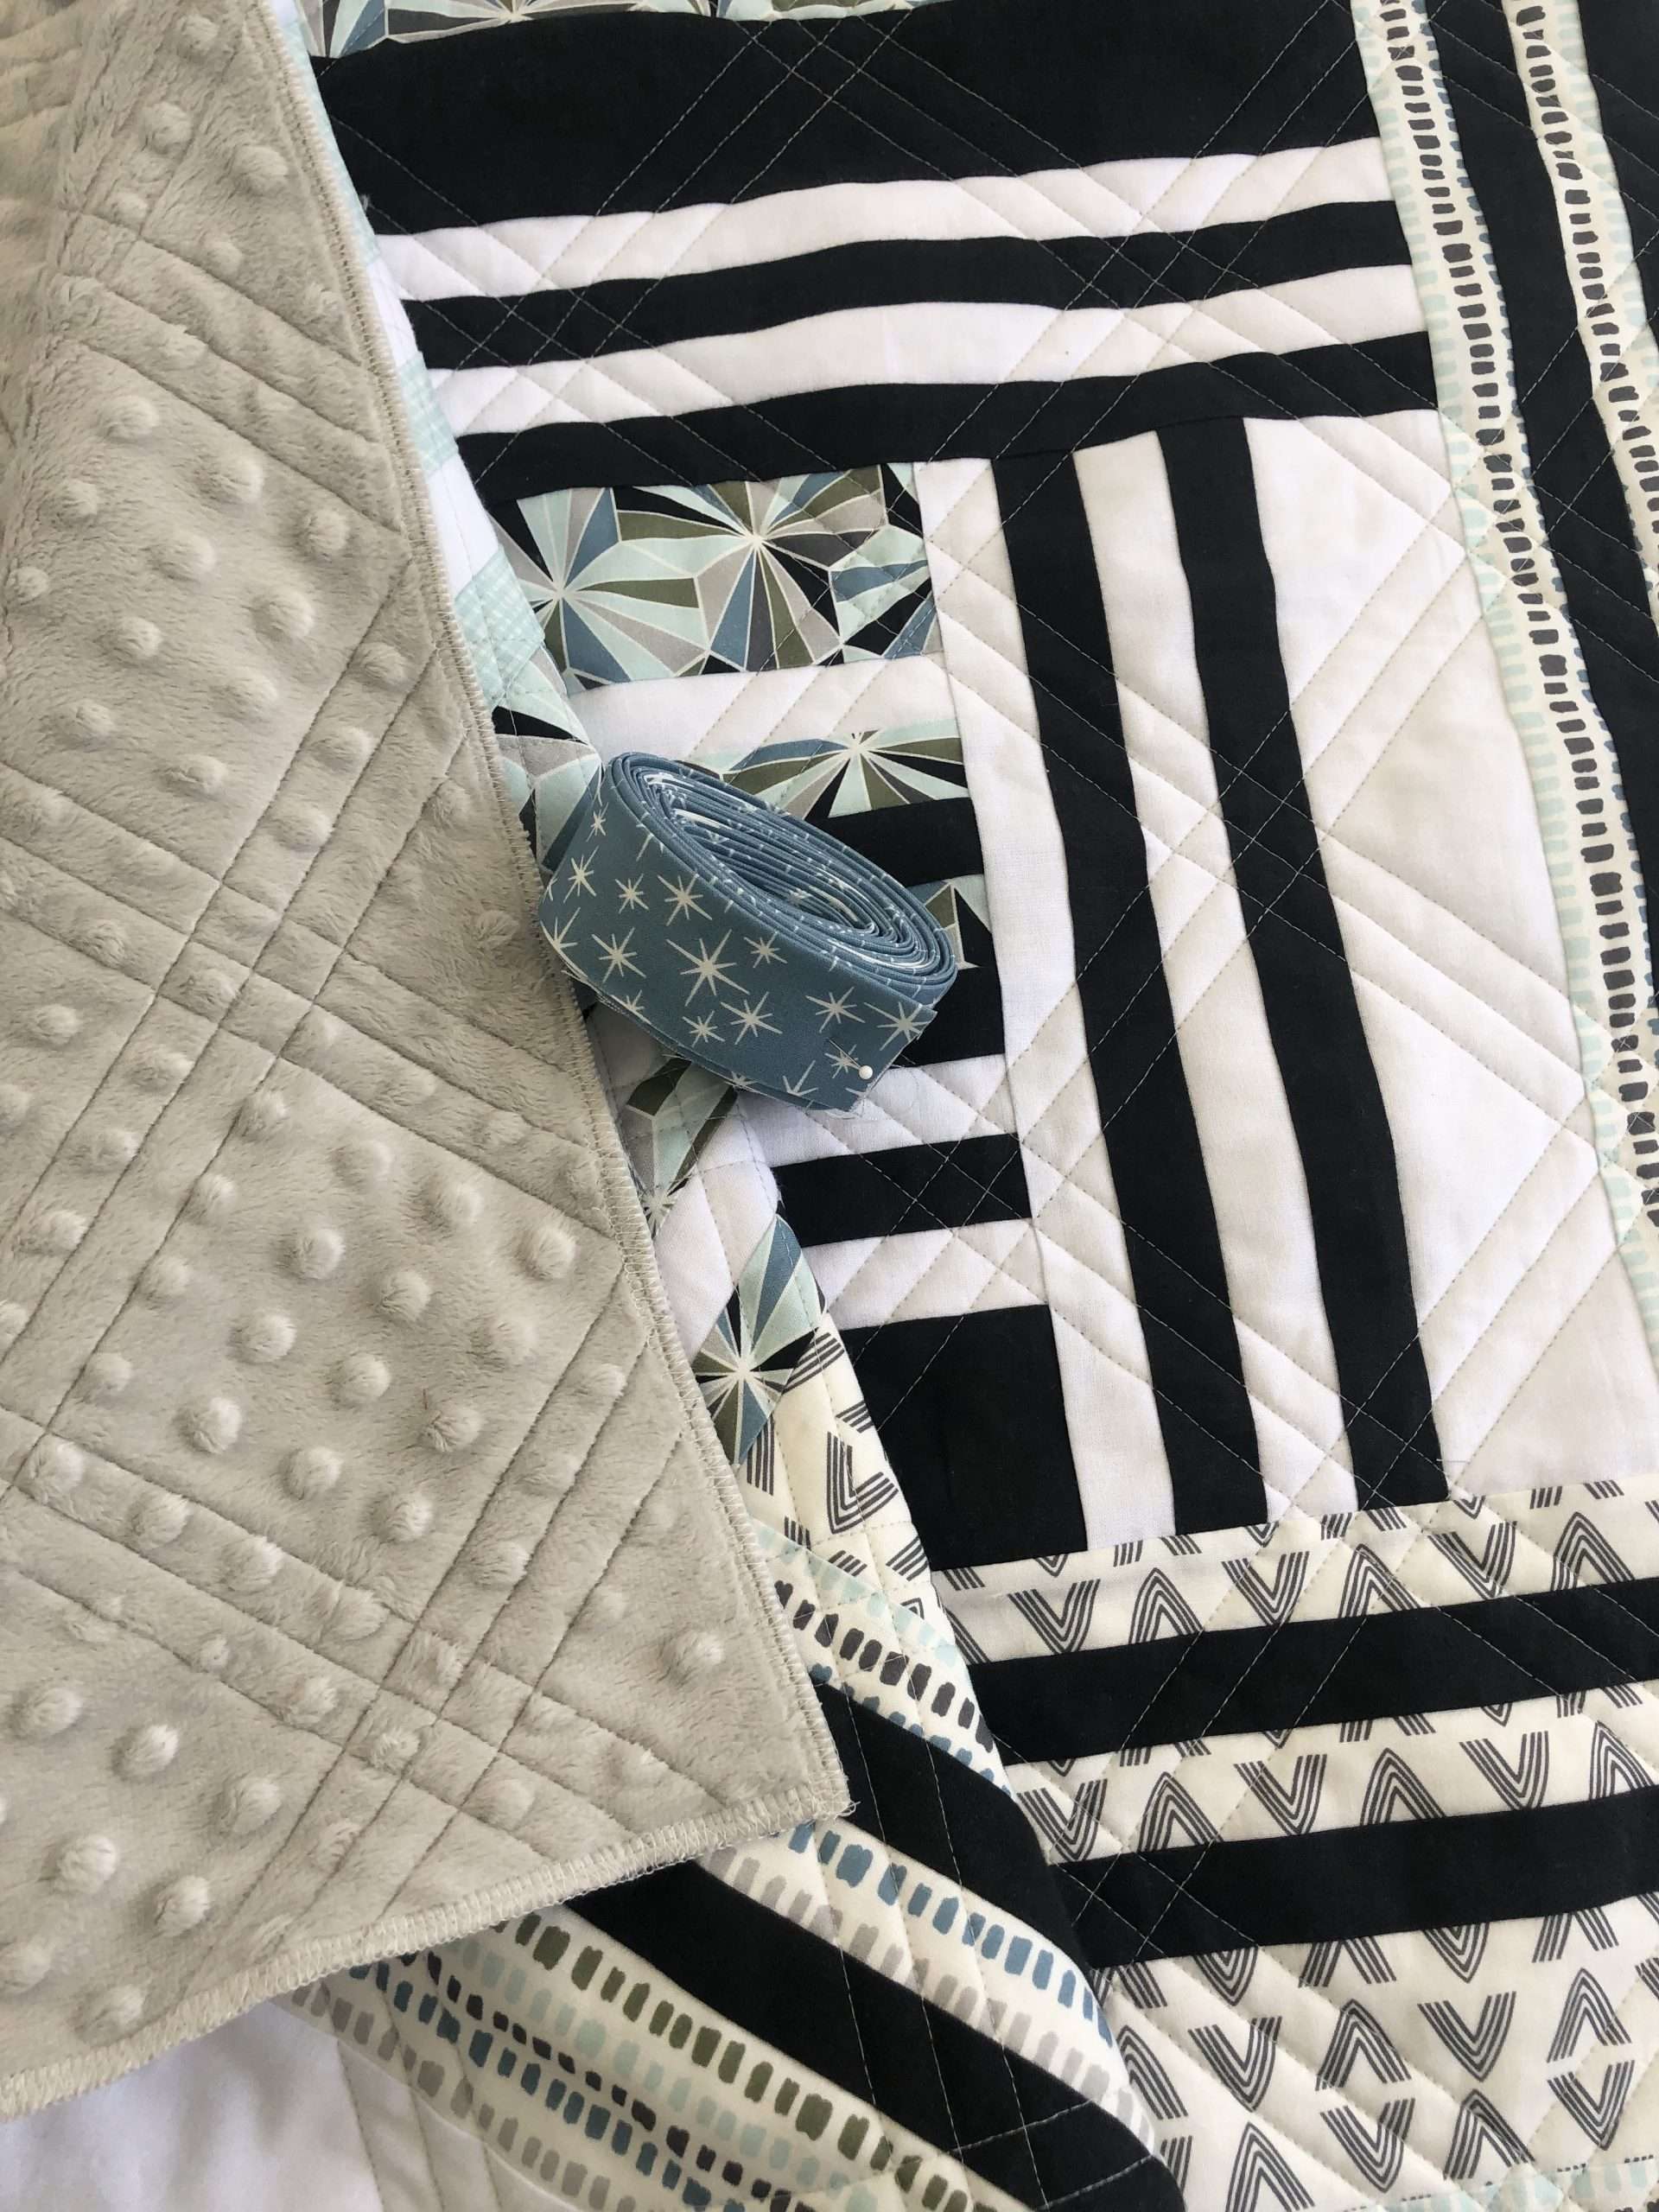
Attaching the Bias Tape
- Fold the bias tape in half lengthwise and press it with an iron to create a crease. Place the crease along the raw edge of the quilt sandwich.
- Pin the bias tape onto the quilt sandwich, making sure to keep the folded crease along the raw edge.
- Stitch the bias tape to the quilt sandwich. Sew a few stitches in the center of the bias tape, then sew along the crease.
- Fold the bias tape over the raw edge of the quilt sandwich and press it with an iron. Pin the bias tape in place.
- Stitch the bias tape to the quilt sandwich, sewing along the folded edge. Make sure to backstitch at the beginning and end of the stitching.
- Trim the excess bias tape to the same length as the quilt sandwich. This will make it easier to finish the binding.
Finishing the Bias Tape
| Step | Instructions |
|---|---|
| 1 | Fold the bias tape in half lengthwise, with wrong side out. |
| 2 | Position the bias tape over the edge of the quilt and pin into place. |
| 3 | Using a zipper foot, stitch the bias tape to the quilt, beginning at one end and ending at the other. |
| 4 | Fold the bias tape over the quilt edge, making sure the raw edges are tucked inside. |
| 5 | Pin the bias tape in place. |
| 6 | Topstitch the bias tape close to the folded edge. |
Sewing the Bias Tape to the Quilt
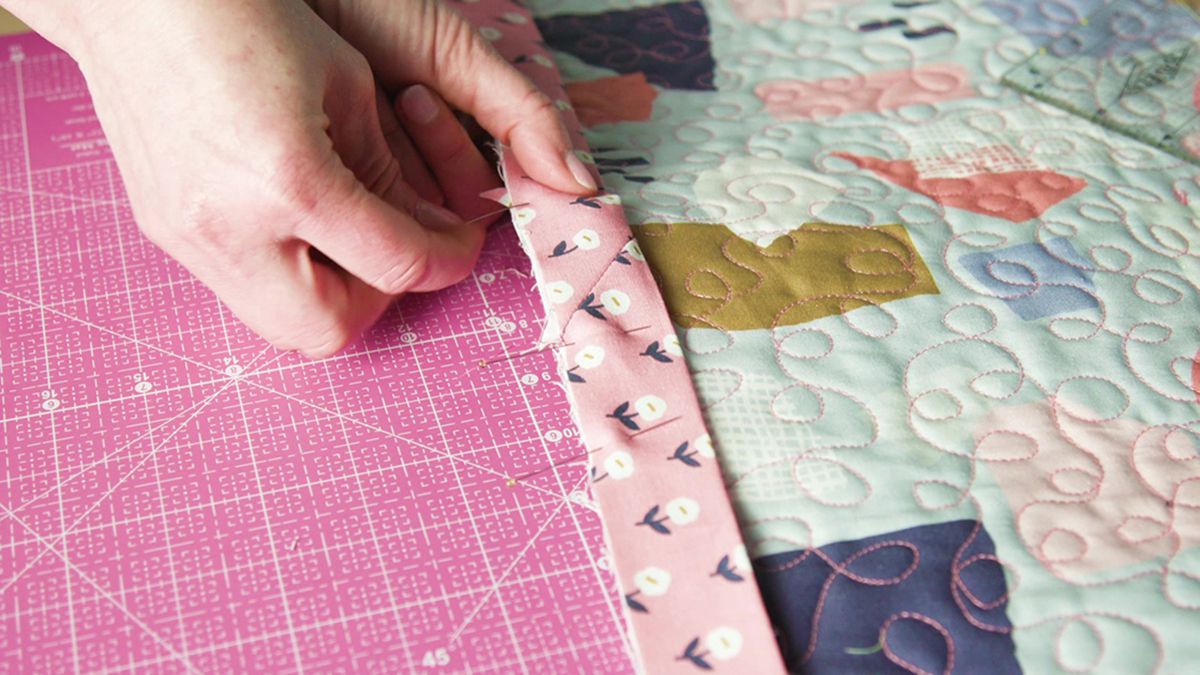
- Pin the bias tape to the quilt edge, matching the raw edges. Pin the bias tape in place every few inches.
- Sew the bias tape to the quilt edge, using a short stitch length. Start at one end of the bias tape and sew a quarter of an inch from the raw edge. Stop at the other end of the bias tape.
- Fold the bias tape over the quilt edge. Pin the bias tape in place every few inches.
- Sew the bias tape to the quilt edge, using a short stitch length and a quarter of an inch seam allowance. Start at one end of the bias tape and sew all the way to the other end.
- Press the bias tape to the quilt with an iron. Use a pressing cloth to prevent scorching.
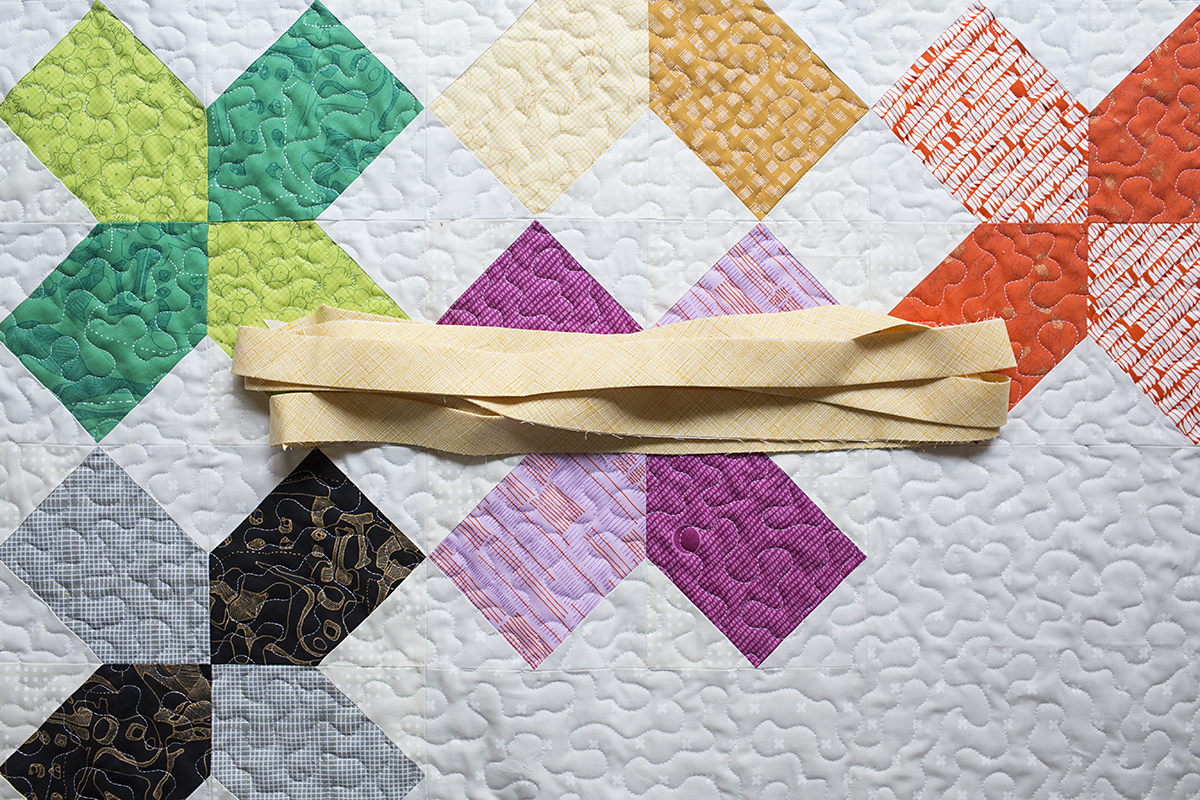
Finishing the Binding
- Press the binding to make sure it’s flat and crisp before you attach it to the quilt.
- Apply bias tape to the quilt, folding it over the edges. Make sure the fabric is taut and the bias tape is straight.
- Hand-stitching the binding is the best way to secure it in place. Start at the edge of the quilt and work your way around.
- Pin the end of the bias tape together and press it flat. Hand-stitch the final seam and then press the binding to the quilt.
- Fold the bias tape to the back of the quilt and hand-stitch it in place.
How to Quilt Without Bias
- Bias binding is not necessary to quilt a quilt and there are several ways to quilt without using bias binding.
- A quilt can be quilted using straight lines, curves, and free-motion designs.
- Straight-line quilting is the most common technique for quilting without bias binding.
- Curved quilting requires special techniques and tools, such as a curved ruler.
- Free-motion quilting allows you to draw any design, including circles, flowers, and swirls, directly onto the fabric.
- Basting is an important step in quilting without bias binding. It helps to hold the layers of fabric in place while you are quilting.
- Sandwiched quilting is a type of quilting without bias binding. It involves stitching the quilt top and back together, creating a single quilted layer.
- You can also quilt without bias binding using pre-made batting, such as fusible batting or Hobbs Heirloom batting.
- Finally, you can use a walking foot to quilt without bias binding. A walking foot is a specialty quilting foot that helps evenly move the layers of fabric as you quilt.
Frequently Asked Questions
What type of bias tape is best for binding quilts?
- Cotton bias tape is the most popular choice for binding quilts. It is lightweight, durable, and easy to work with. It also comes in a variety of colors, making it easy to match the fabric of your quilt.
- Fusible bias tape is a great option if you don’t want to sew the bias tape onto your quilt. It has an adhesive backing that can be activated with an iron. It is less durable than cotton bias tape, so it is best used on smaller quilts.
- Wool bias tape is a great choice for binding quilts when a warm, cozy look is desired. It is more expensive than cotton bias tape, but it provides a unique and luxurious look.
- Silk bias tape is another luxurious option for binding quilts. It is lightweight and durable, and it can be sewn or fused onto the quilt. It is also machine-washable, so it is a great option for quilts that will be used frequently.
Can I use bias tape to bind a quilt with a lot of curves?
Yes, bias tape is a great option for binding a quilt with a lot of curves. Bias tape is able to stretch and conform to the curves of the quilt, which makes it perfect for binding curved edges. Additionally, its stretchiness makes it easier to work with when sewing. To ensure the best result, use a narrow bias tape and sew it by hand.
What is the Best Way to Secure the Bias Tape when Binding a Quilt?
The best way to secure bias tape when binding a quilt is to use a combination of hand-sewing and machine-sewing. Begin by machine-sewing the bias tape to the quilt’s back side, making sure to catch all layers. Then, flip the bias tape over to the front of the quilt and hand-sew the bias tape to the quilt’s top side, creating a neat, even stitch. Finally, machine-sew the bias tape to the front of the quilt, creating a secure and attractive binding.
Do I need to use a special needle to sew the bias tape to the quilt?
No, you do not need a special needle. Any regular sewing needle will work. However, you may find it easier to use a longer needle, such as a quilting needle. If you are using a heavier weight bias tape, you may want to use a slightly larger needle to ensure it passes through all the layers of the quilt easily.
How do I Ensure That The Bias Tape Is Evenly Distributed When Binding a Quilt?
Planning is Essential:
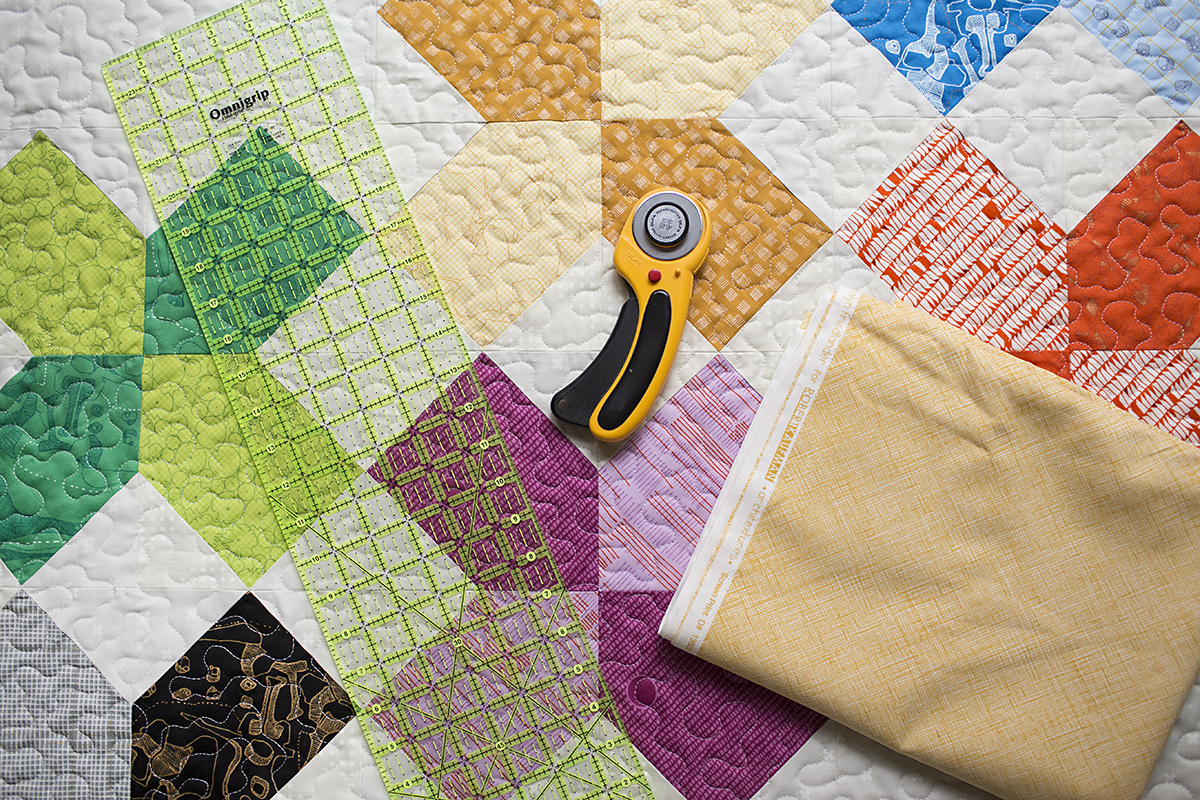
- Use a quilting ruler to measure the quilt edges and figure out the exact length of binding you need.
- Divide the length of binding you need into equal sections.
- Mark the sections on the quilt edge with a water-soluble marker.
Attaching Bias Tape:
- Start attaching bias tape at one of the marked sections.
- Pin the bias tape in place, matching the markings with the pins.
- Sew the bias tape in place, following the marked sections.
- Continue attaching bias tape until the quilt is completely bound.
Conclusion
Binding a quilt with bias tape makes it look professional and can be done easily with the right tools and the right technique. With the step-by-step guide provided, you can now sew bias tape to your quilt with confidence.


