Are you looking for a simple way to finish off a quilt project? If so, then you should consider learning how to blind stitch quilt binding. Blind stitching quilt binding is a great way to keep your quilt edges neat and tidy. This step-by-step guide will show you the basics of blind stitching quilt binding, so you can complete your project with ease.
What is Blind Stitching?
Blind Stitching is a special type of hand stitching which is used to join two pieces of fabric together without any visible stitching on the right side of the fabric. It is often used to finish quilt bindings and can be used to create a neat and secure finish. Blind stitching is also known as ‘invisible stitching’, ‘blind hem stitching’ and ‘blind hemming’ and is a great way to finish off a quilt binding.
The main steps of how to sew a blind stitch quilt binding are as follows:
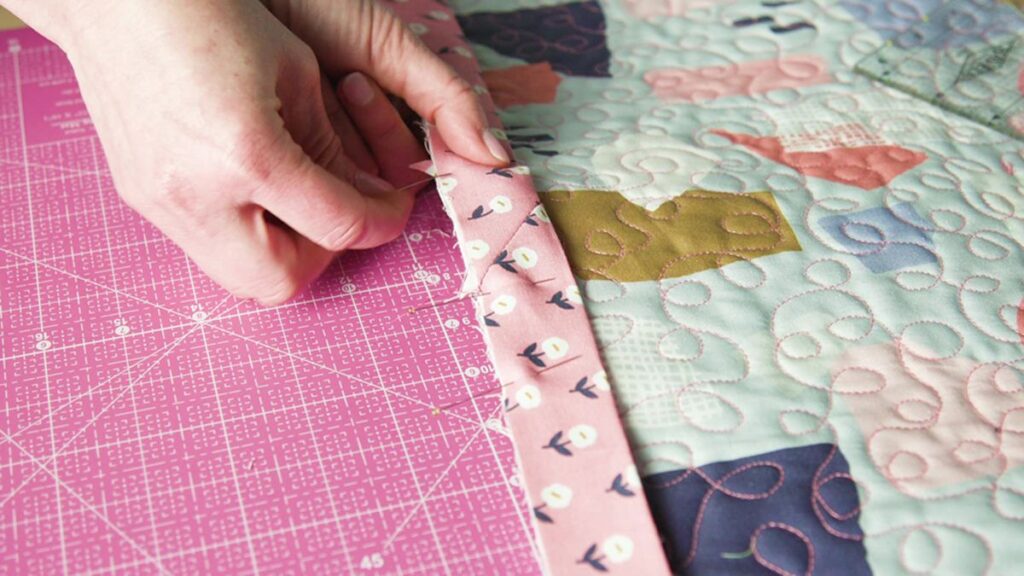
- Fold and Pin Binding: Fold the binding fabric in half lengthwise and pin it to the quilt, leaving a small gap between the raw edges.
- Blind Stitch: Begin blind stitching the binding to the quilt, taking small stitches and making sure to catch both the quilt and the binding fabric.
- Secure Stitches: Secure the stitches by knotting the thread, then continue blind stitching until the quilt is completely bound.
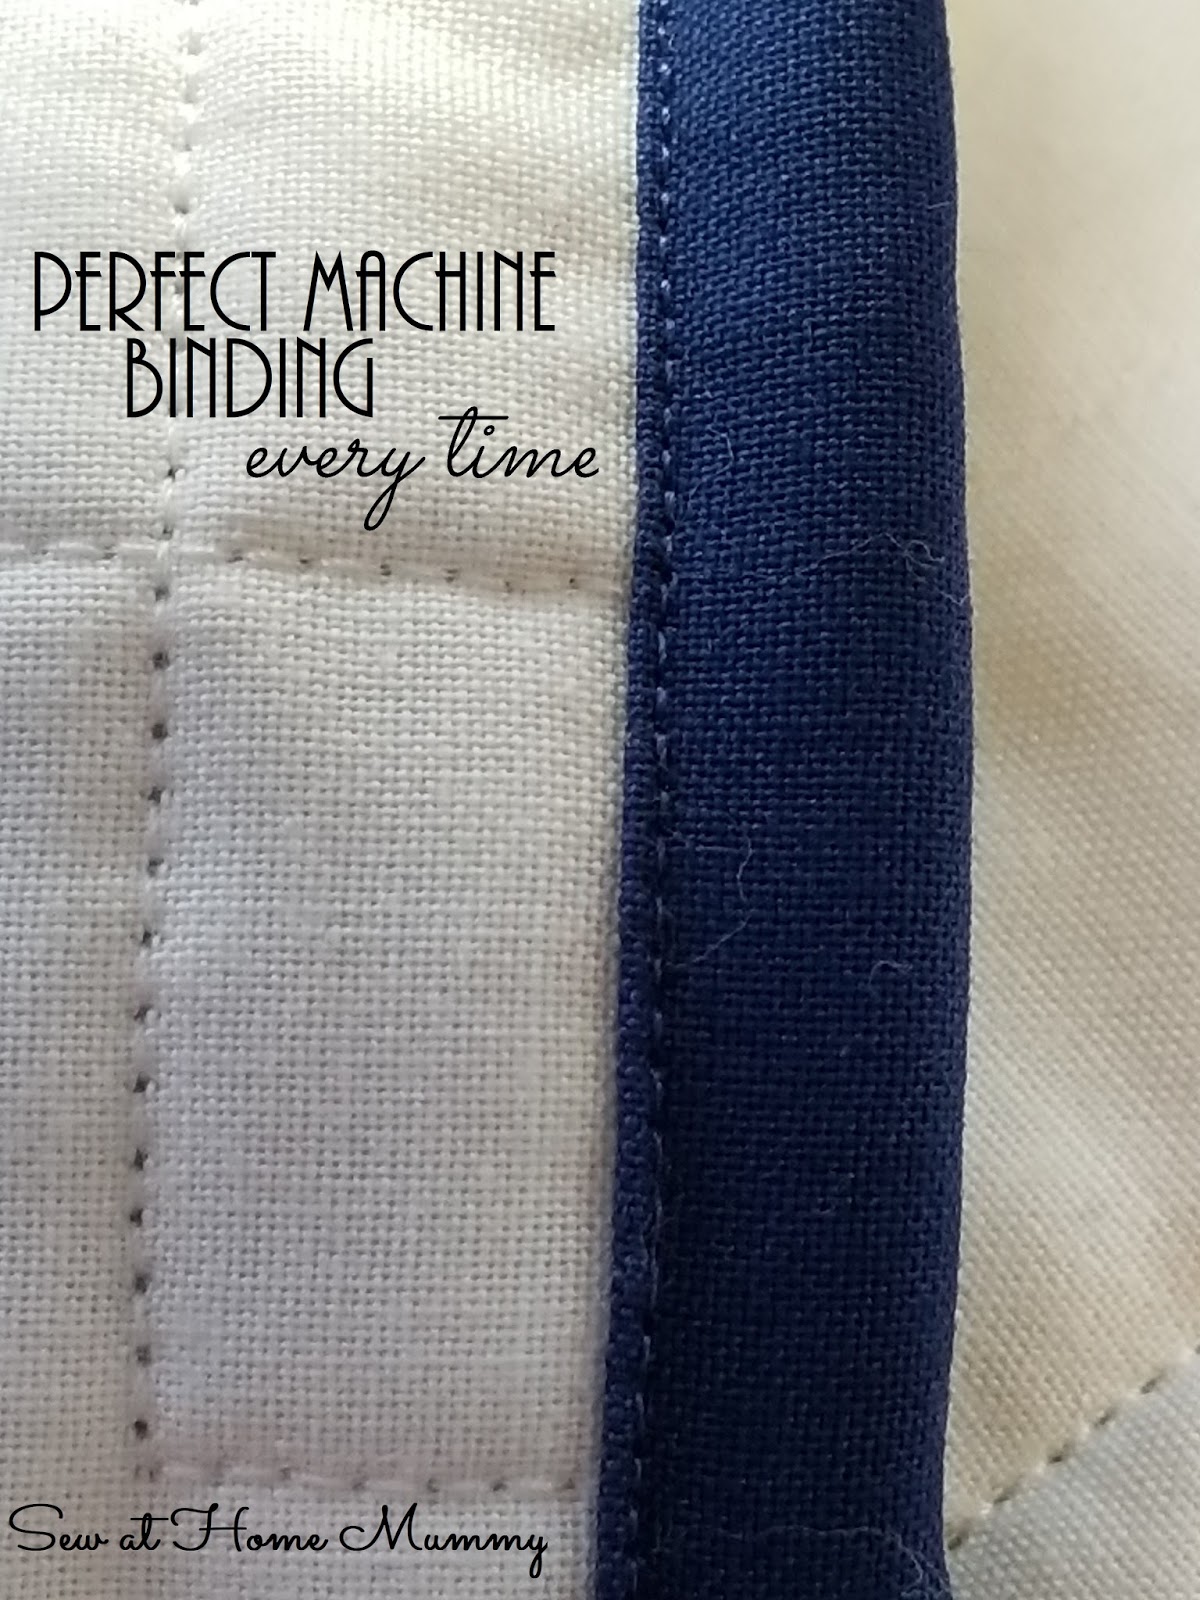
The blind stitch is a great way to finish off a quilt binding and create a neat and secure finish. With practice and patience, anyone can learn how to do a blind stitch quilt binding.
Preparing Quilt Binding for Blind Stitching
Measure and Cut the Quilt Binding
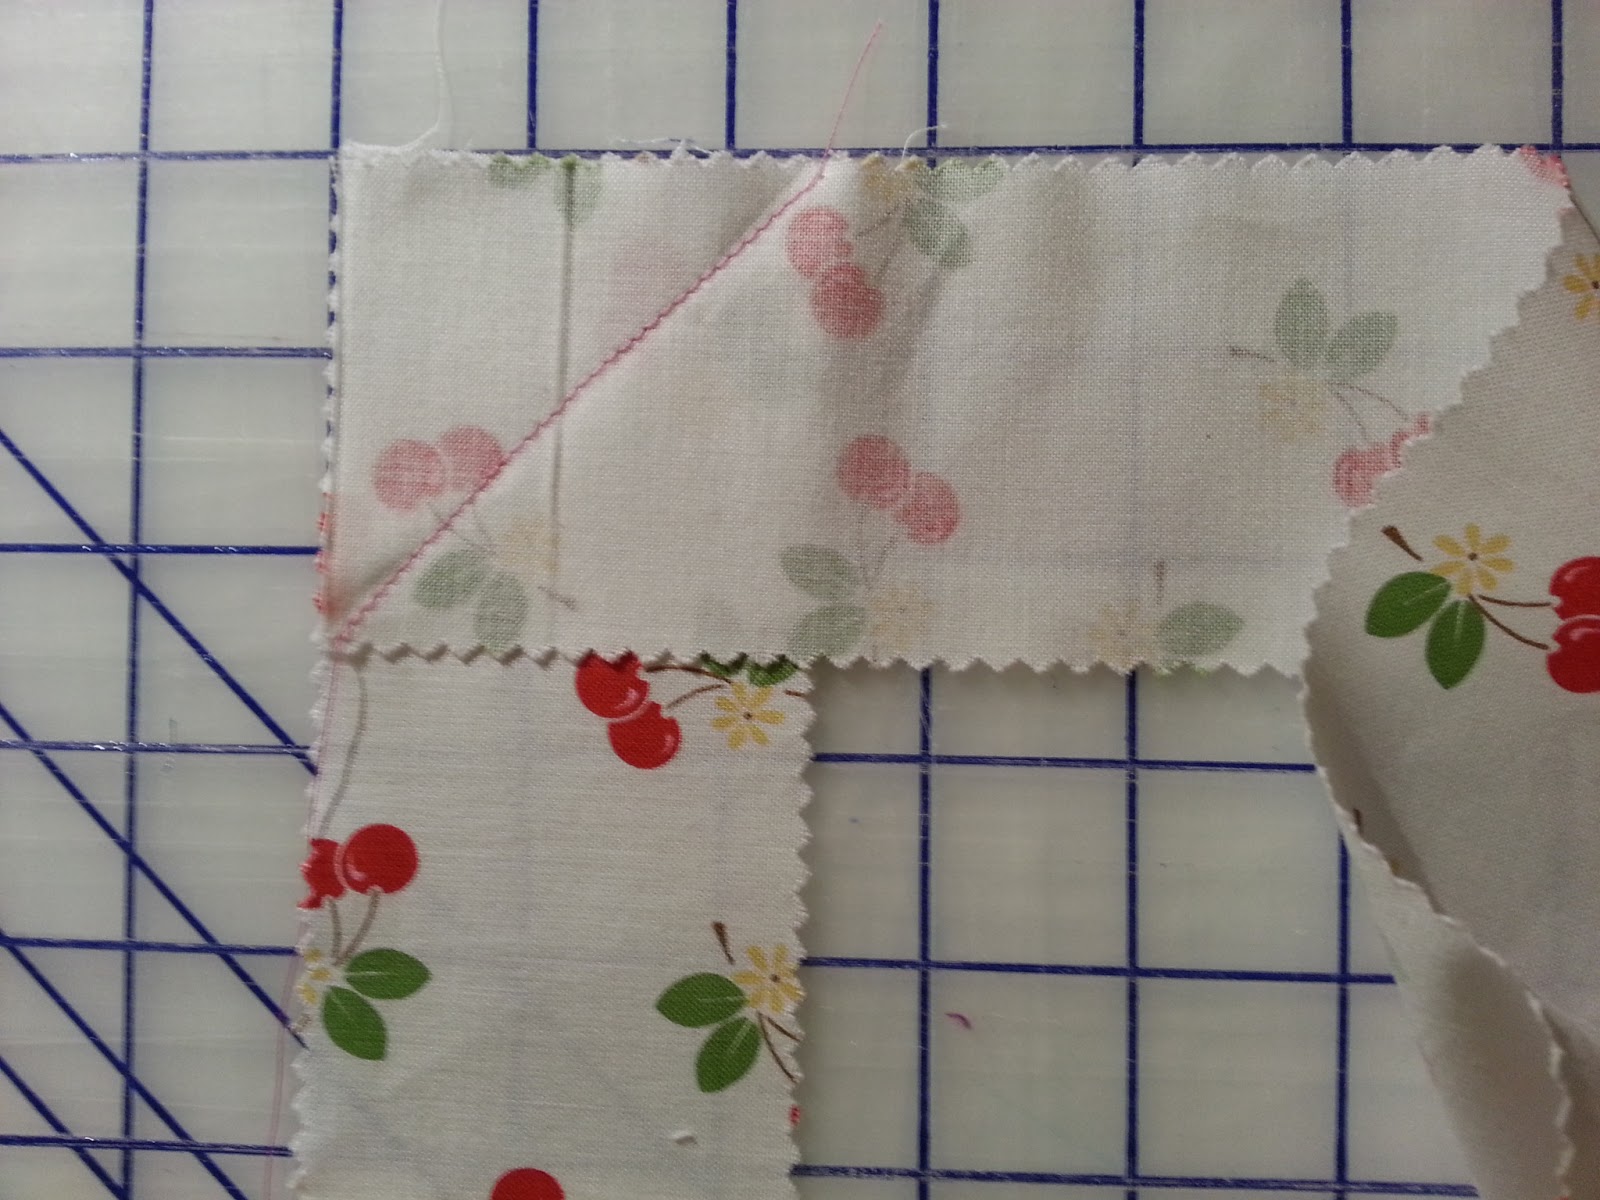
Measure the perimeter of the quilt and add 10 inches. Cut 2-inch wide strips of quilt binding from fabric, using the calculated measurement. Join the quilt binding strips end-to-end by sewing a diagonal stitch. Make sure to press the seam open.
Iron Quilt Binding
Press the quilt binding in half lengthwise with wrong sides together. This will help for a neat and even finish. Now the quilt binding is ready for the blind stitch.
Sewing the Blind Stitch on Quilt Binding
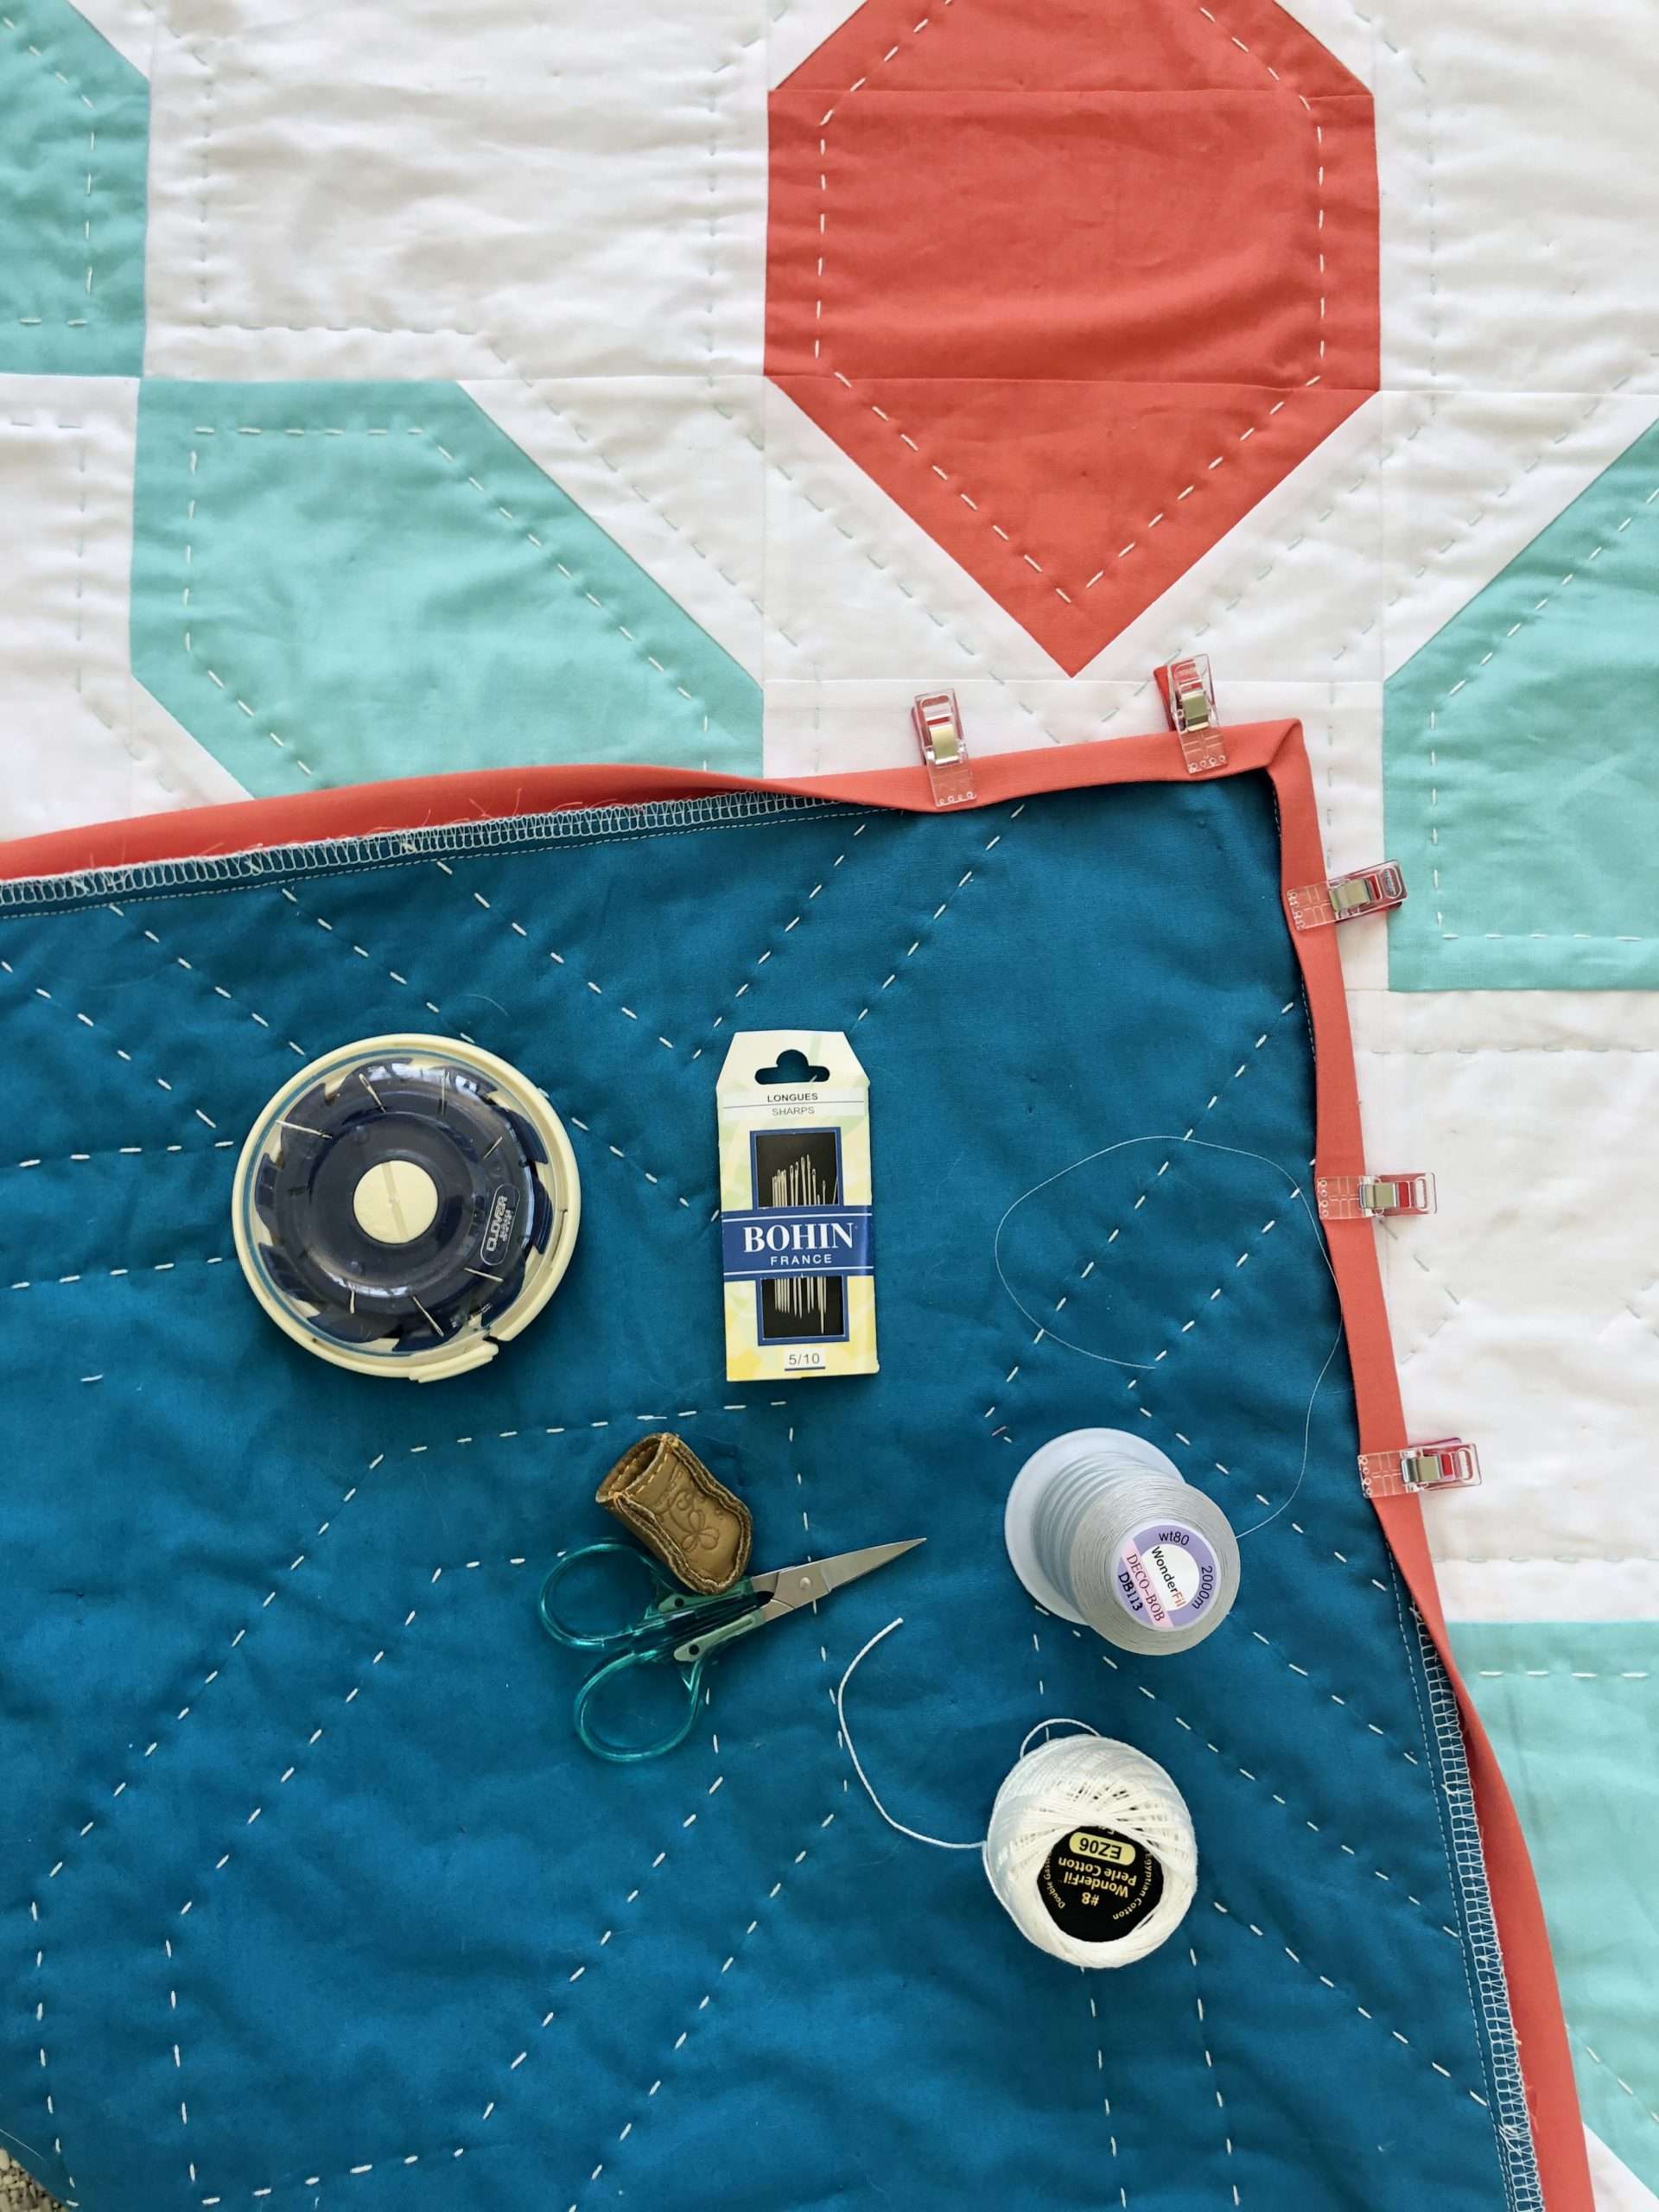
Thread Needle
Thread a hand needle with a thread that matches the color of the binding. For best results, use a thread that is slightly lighter than the binding fabric.
Sewing Technique
Take a few stitches on the edge of the binding. Then, take a small bite out of the binding fabric with the needle and come up a few threads away from the edge of the binding. Take a small bite out of the quilt fabric and come up a few threads away from the edge of the binding. Take a few more stitches in the binding and repeat the process.
Finishing the Blind Stitch
When the binding reaches the corner, take a few stitches and then turn the corner. Continue to stitch the binding to the quilt top, taking small bites out of each piece of fabric. When you reach the starting point, take a few stitches and tie off the thread.
Tips for Blind Stitching Quilt Binding
Use a Rotary Cutter and Ruler – Using a rotary cutter and ruler will help you get a straight and accurate cut for your quilt binding. This will ensure that your finished quilt has a professional look and feel.
Choose the Right Thread – Choose a thread that is a good match for your fabric. If your fabric is lightweight, use a lightweight thread. If your fabric is heavier, use a heavier thread.
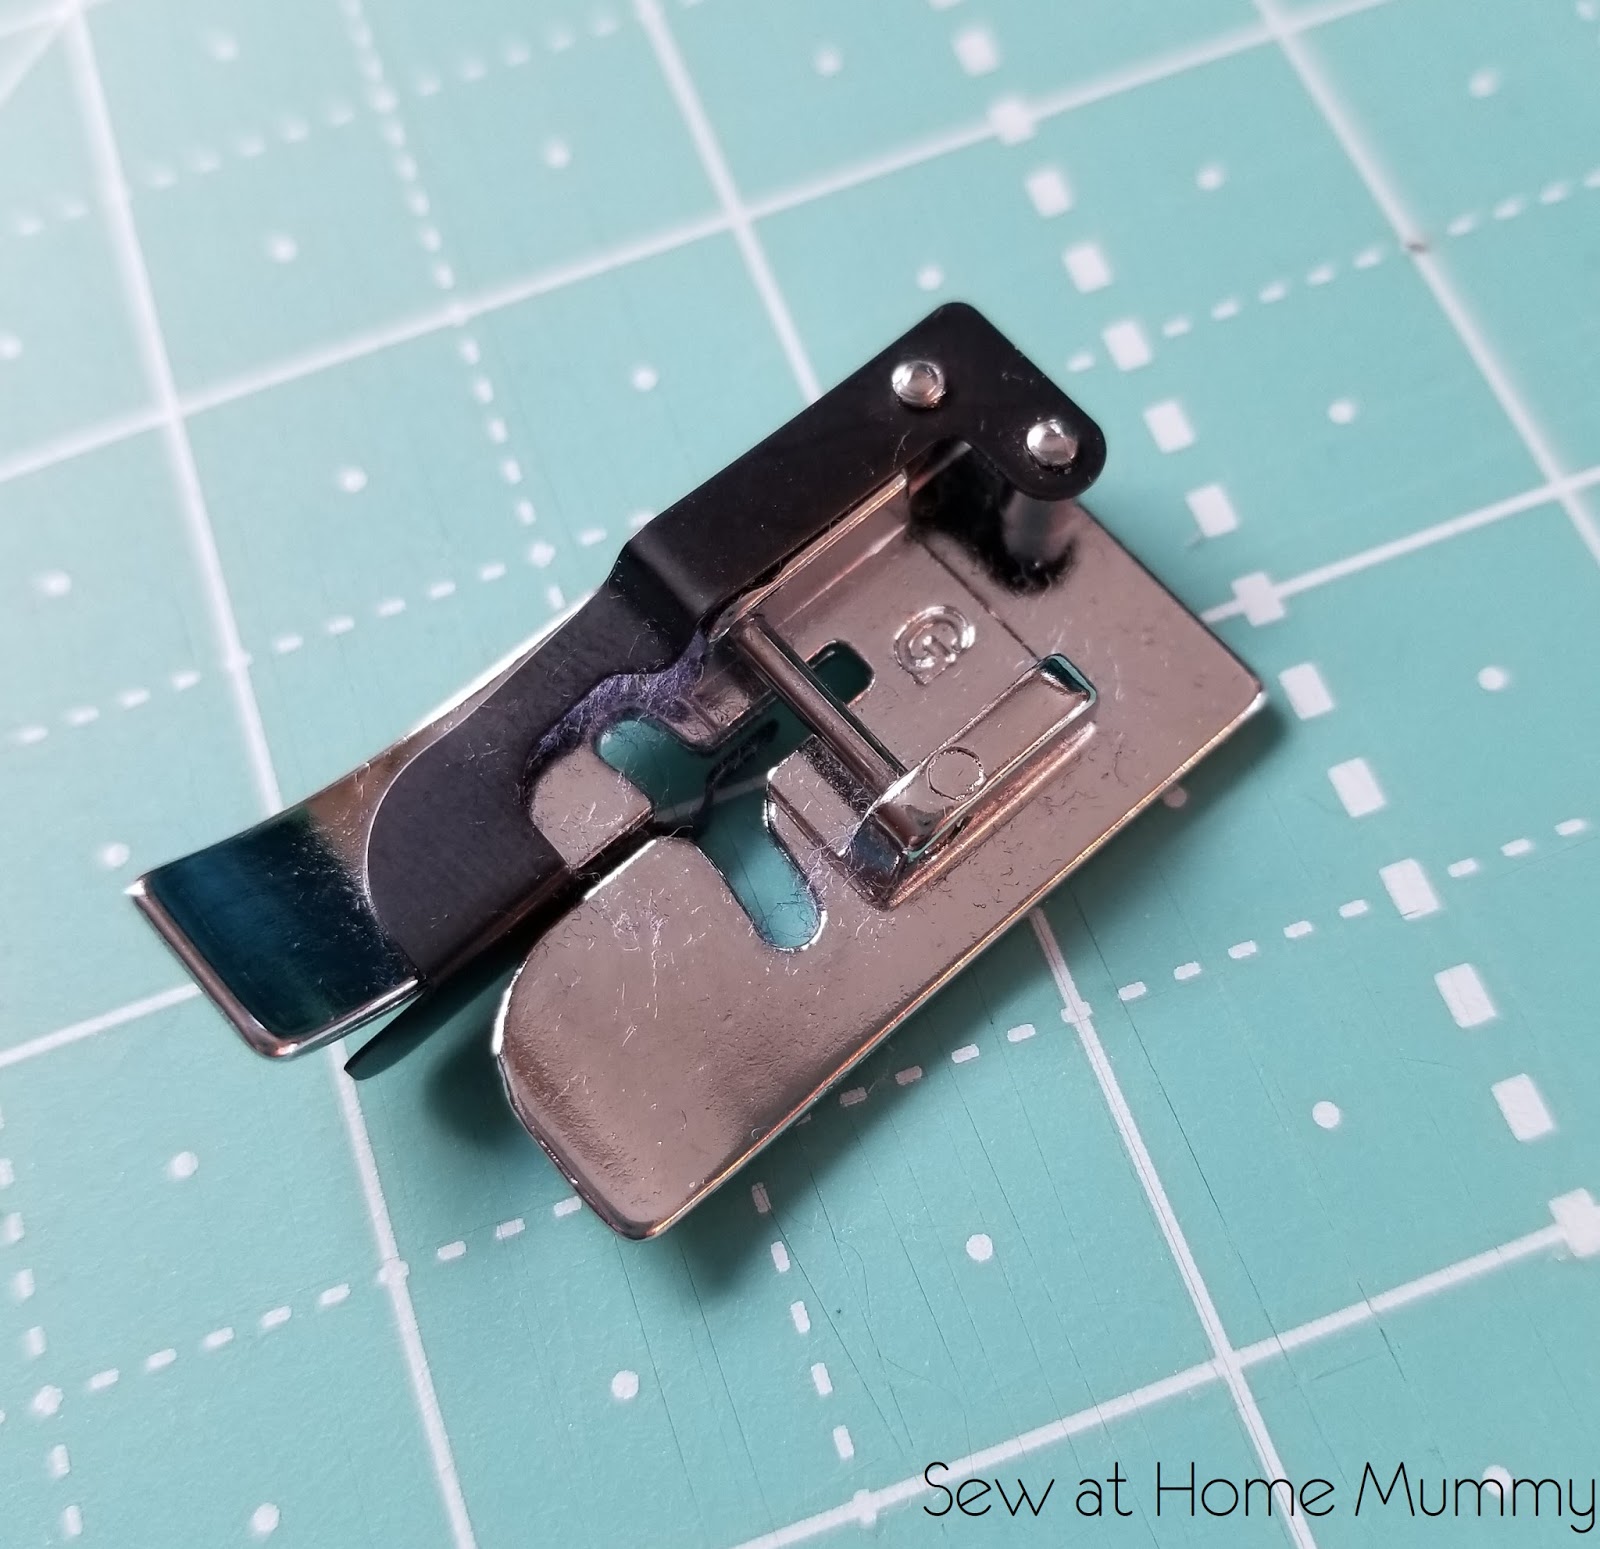
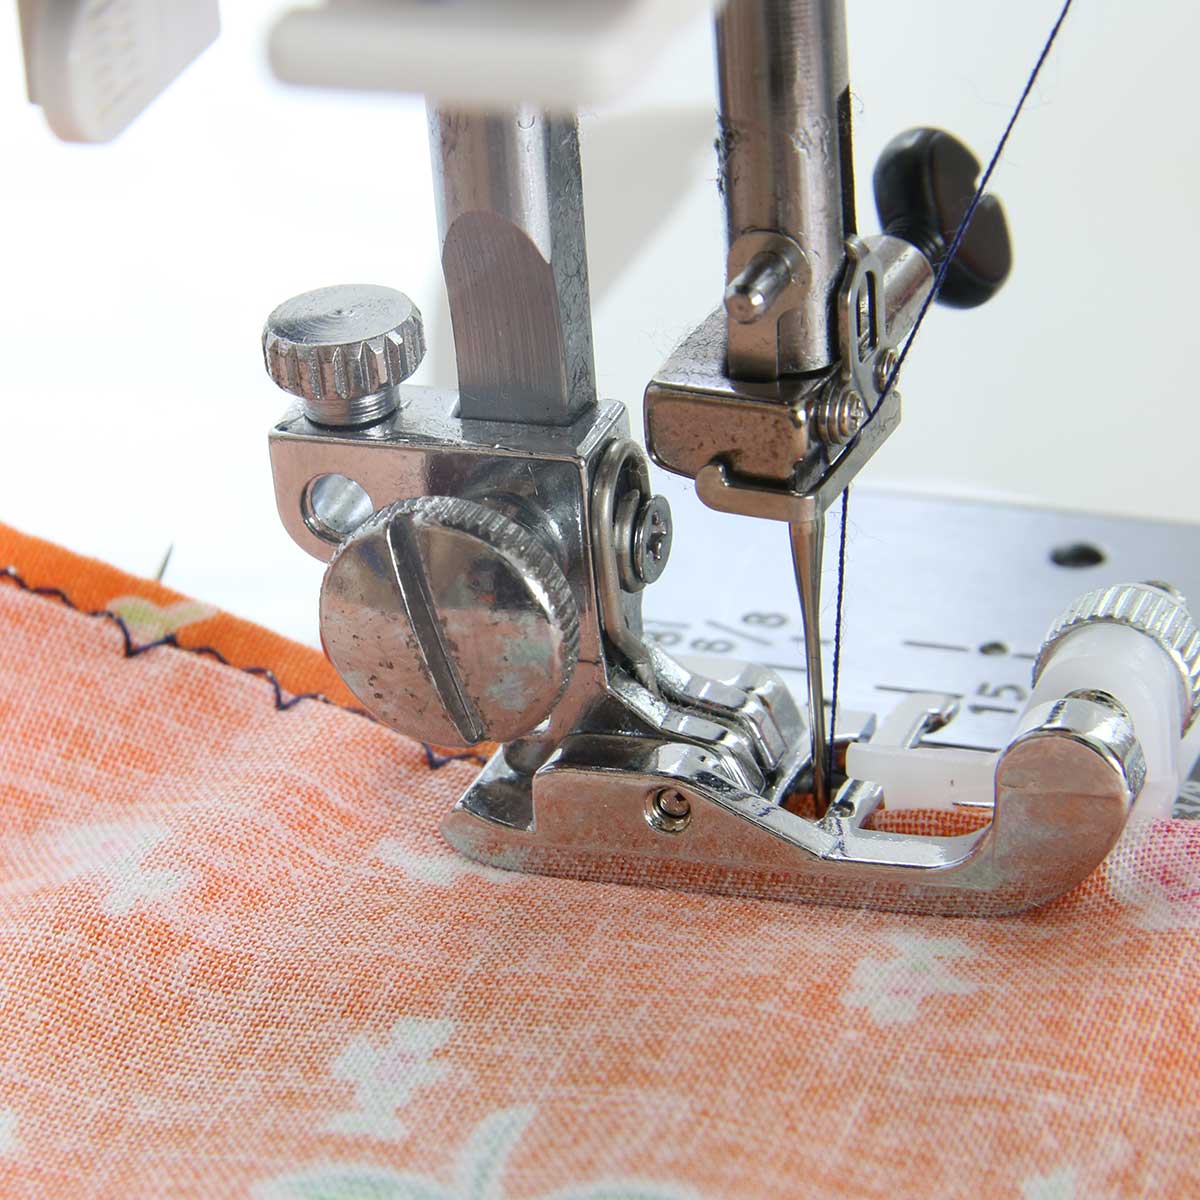
Use a Walking Foot – Using a walking foot on your sewing machine will help you easily manage the multiple layers of fabric and batting when binding your quilt.
Accuracy is Key – When blind stitching, accuracy is key. Take your time and make sure to get the stitches as close to the binding as possible.
Press Open Seams – After blind stitching, press open your seams. This will help your quilt look finished and neat.
Use a Needle Threader – Using a needle threader to thread your needle will make the process much easier.
Advantages and Disadvantages of Blind Stitching
-
Advantages:
- Blind stitching is one of the quickest and most secure methods of attaching quilt binding.
- It is almost invisible so it doesn’t detract from the overall look of your quilt.
- It allows you to keep the front of the quilt neat and tidy, while the back can be kept as tidy or untidy as you like.
- It is a very secure way to attach the binding, so your quilt will last longer.
-
Disadvantages:
- It is more difficult to learn than other methods.
- It requires a bit more precision to get the stitching just right.
- It can be more time consuming than other methods.
- It is not suitable for thicker quilt bindings.
Troubleshooting
If you notice gaps between the stitches when you finish your binding, try to increase the stitch length. If you find your stitches are too loose, try decreasing the stitch length. If you find that the stitches are not even, try to use a smaller needle or decrease the stitch length.
If you are having trouble keeping your binding straight, try using a quilting ruler, or draw a line on the binding with a fabric marker to help you stay on track.
If your thread is tangling or knotting, try using a thinner thread. If you find that your thread is still tangling, try using a cotton thread instead of a synthetic thread.
If you are having trouble with your stitching, try using a thimble to help you push the needle through the fabric. If you find that the needle is not going through the fabric, try using a sharp needle.
Frequently Asked Questions
What type of needle is best to use for blind stitching quilt binding?
A sharp, thin needle is the best choice for blind stitching quilt binding. A size 8-10 embroidery needle is ideal as it is thin enough to slip through the fabric without damaging it. It is also important to use a needle with a large eye to accommodate the thicker thread used for quilt binding.
What kind of thread should be used for blind stitching quilt binding?
For best results when blind stitching quilt binding, use a thread that matches the fabric. Polyester thread is preferred over cotton thread, as it is stronger, more durable, and less likely to break. Additionally, using a thread that is heavier than the fabric will help to ensure the stitches stay in place for longer.
How can I ensure I’m keeping an even stitch length?
To ensure an even stitch length, use a stitching gauge or ruler to measure the distance between each stitch. Additionally, increase the stitch length on your sewing machine to ensure each stitch is the same size. Check your stitch length often to ensure accuracy.
Are there any tips for creating a neat finished edge?
Use the same thread for the binding and the quilt top. Ensure the binding is secured with small stitches and not pulled too tight. Trim the threads after every few stitches to avoid bulk. Use a walking foot for a neat finished edge. Test the stitch length on a scrap piece of fabric before stitching the binding to the quilt. Make sure the binding is folded in half, with the raw edges tucked inwards before stitching it to the quilt.
Can this Technique be Used to Stitch Binding to the Front of a Quilt?
Yes, the blind stitch technique can be used to stitch binding to the front of a quilt. The blind stitch is easy to learn and is a great way to finish a quilt. It gives a clean and professional look to the quilt. It also helps to secure the binding and ensures that it won’t come undone.
Conclusion
Blind stitching quilt binding is a great way to finish off a quilt with a neat and tidy edge. It requires a bit of patience and practice to perfect the technique, but the results are worth the effort. With this step-by-step guide, you can easily learn how to blind stitch quilt binding and enjoy a beautiful finished quilt.


