Are you looking for an easy to follow guide on how to cut bias binding for a quilt? If so, then this step by step guide is for you! Here, you will learn the correct way to cut bias binding for a quilt to ensure a perfect finish. You will learn the materials needed, the measurements for cutting the bias binding, and how to correctly sew the binding. With this guide, you can confidently finish your quilt with a professional looking finish.
What is Bias Binding?
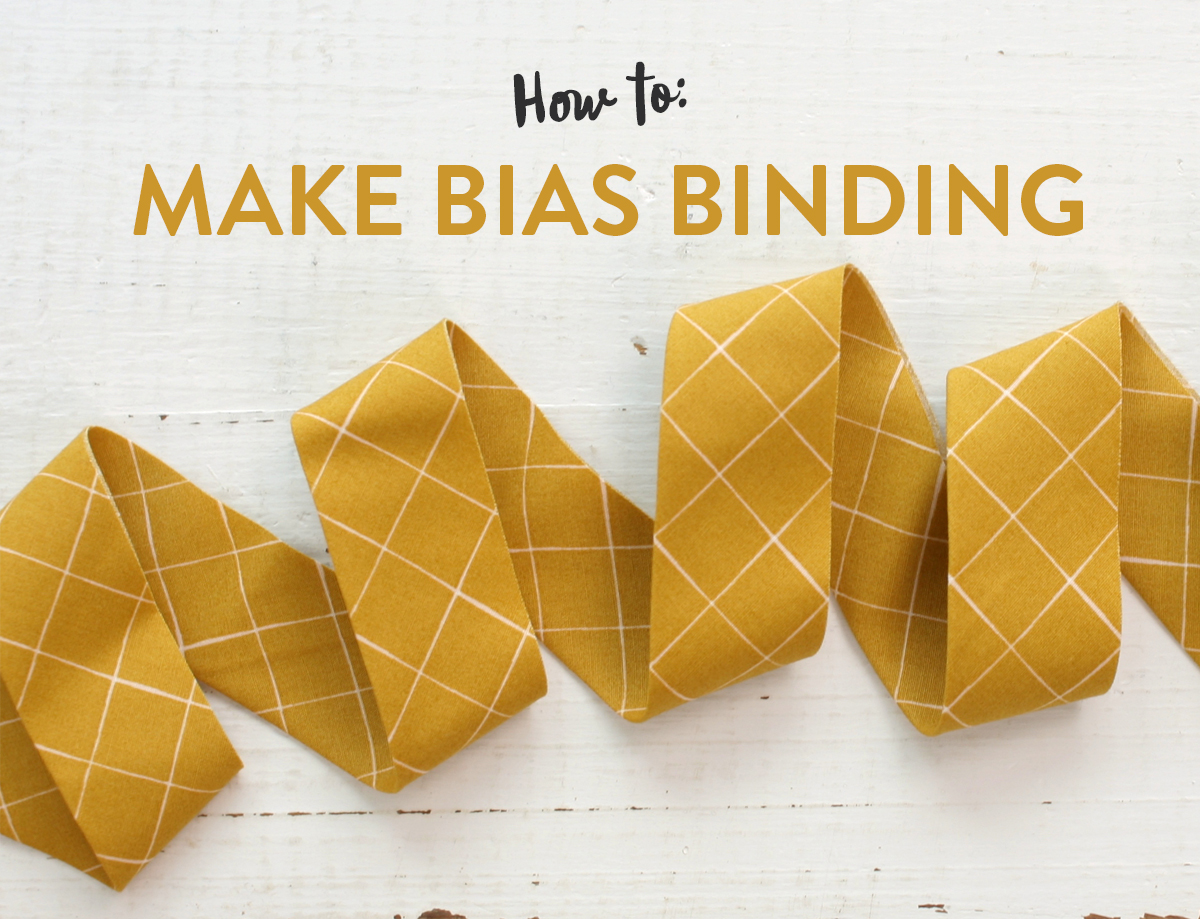
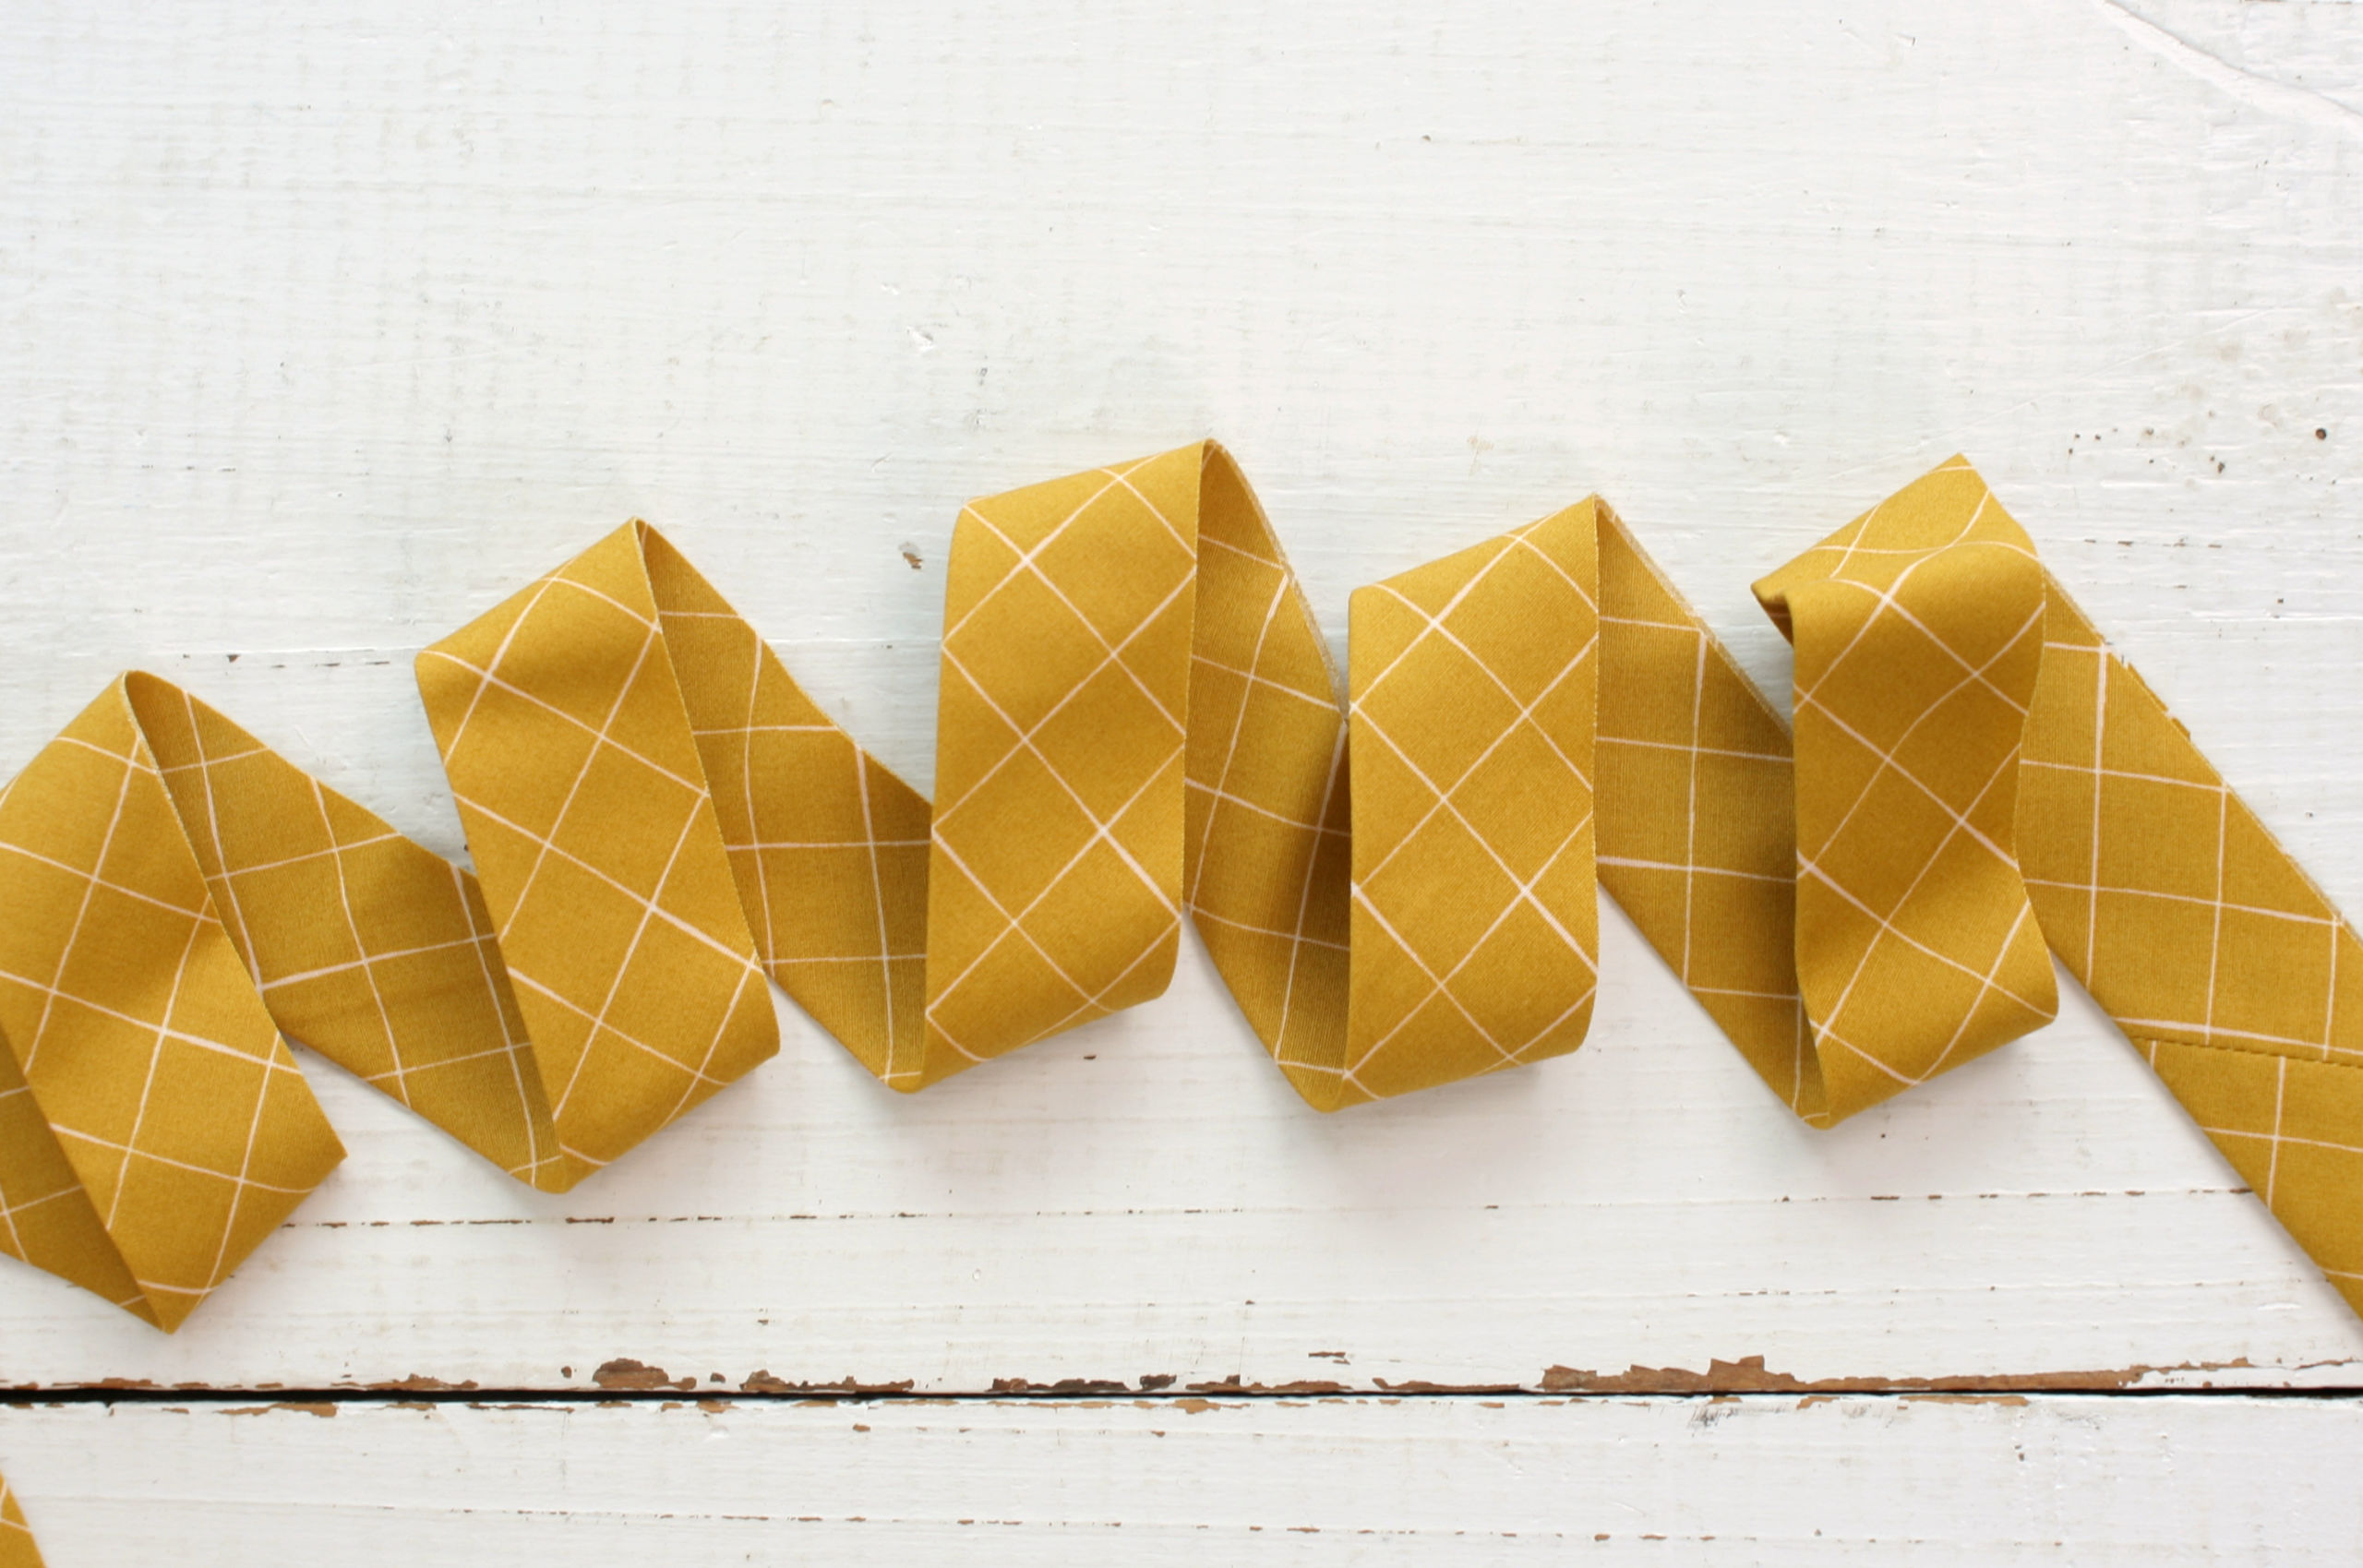
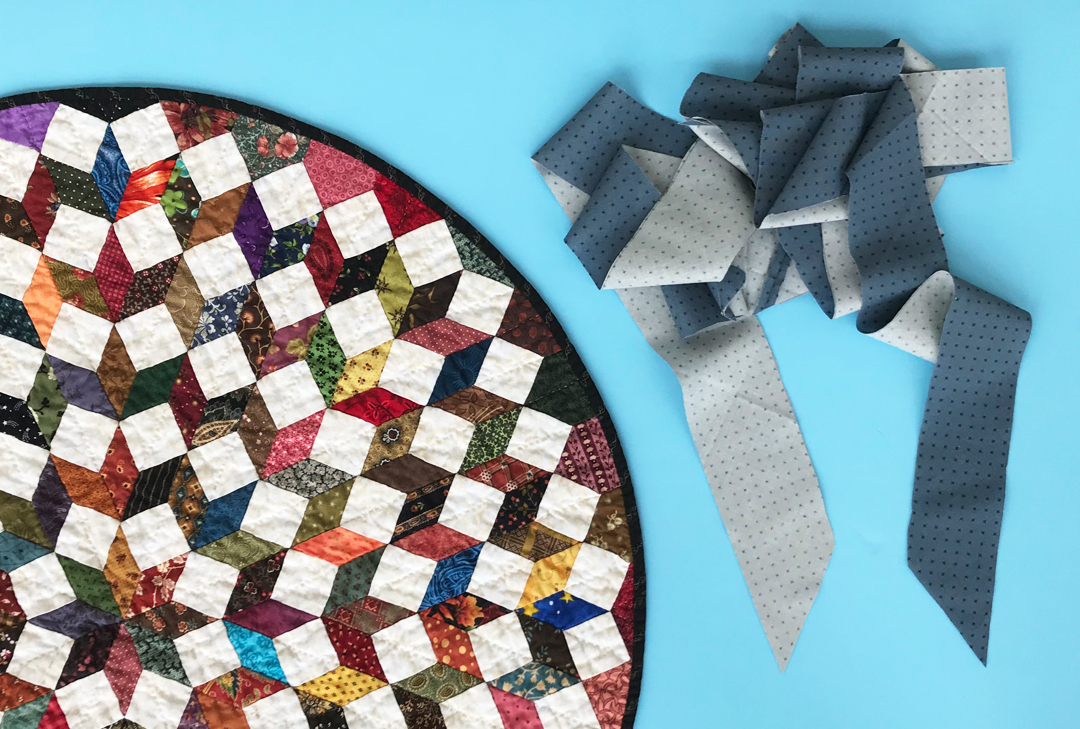
Bias binding is a narrow strip of fabric cut on the diagonal of the fabric grain, used to finish off edges of quilts, clothing, and other fabric-based projects. Bias binding lies flat against the fabric, unlike straight grain binding, which can cause puckering and bunching. Bias binding is the preferred binding choice when the edges of the quilt need to be curved, as it can be manipulated and stretched along the curves.
The term ‘bias’ comes from the fact that the fabric is cut diagonally to the fabric grain, meaning it has both a lengthwise and crosswise grain. This gives it the attributes of both, making it more flexible and able to hug curved edges more easily.
| Straight Grain Binding | Bias Binding |
|---|---|
| Cut along the lengthwise or crosswise grain | Cut on the diagonal of the fabric grain |
| Less stretchable | More stretchable |
| Rigid, can cause puckering and bunching on curved edges | More flexible, hugs curved edges |
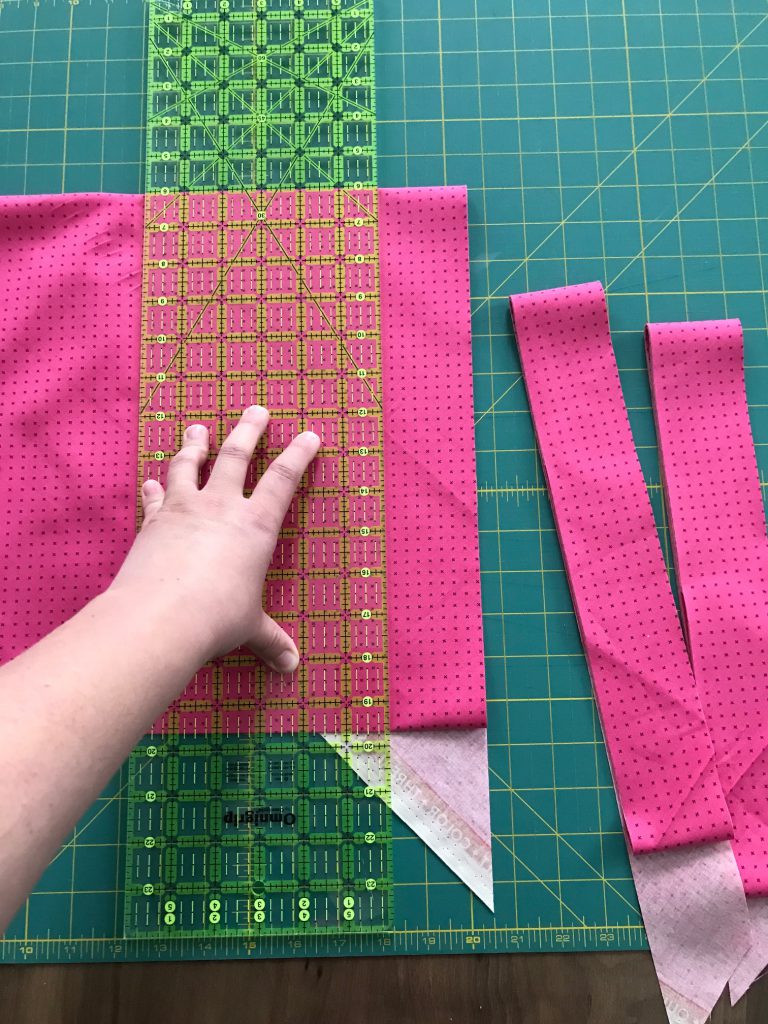
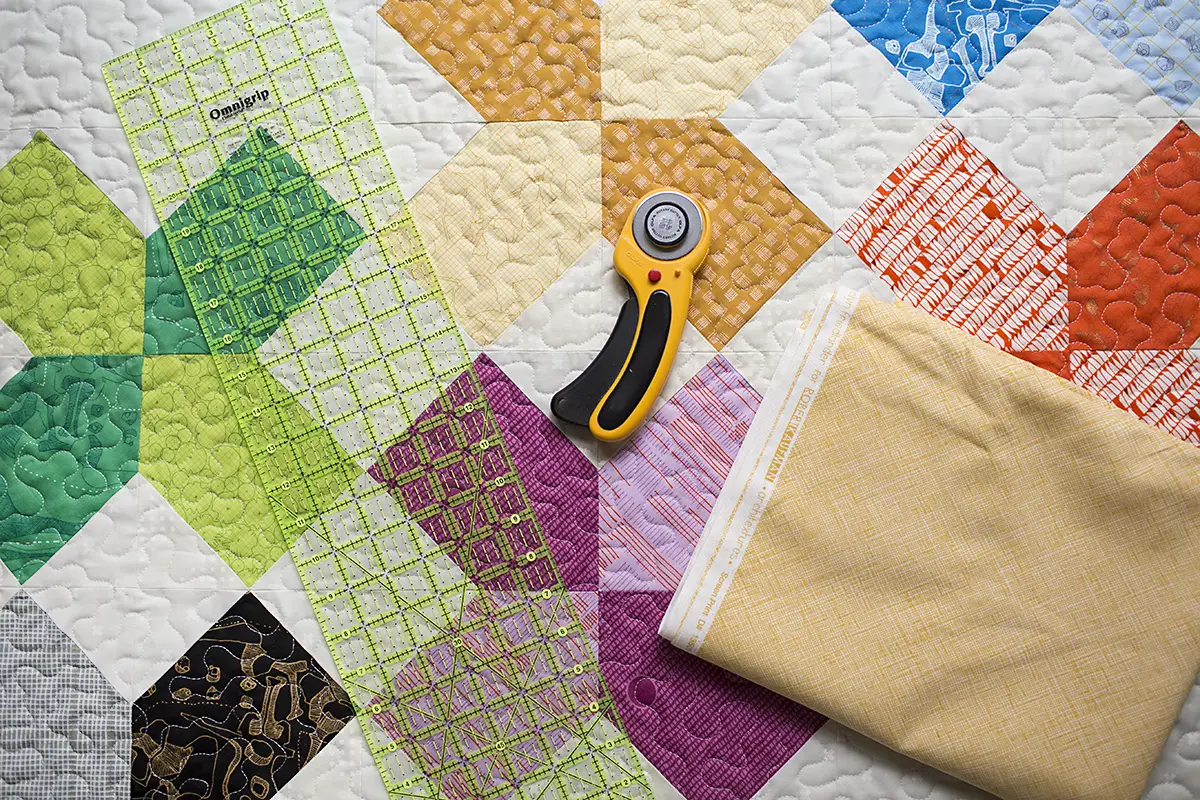
When it comes to how to cut quilt binding on the bias, it’s important to remember that the strips are cut on the bias, which means they’re cut in a diagonal direction. To get the best results, it’s important to use a clear ruler and rotary cutter when cutting the strips.
Why Cut Quilt Binding on the Bias?
- Durability: Binding cut on the bias has more stretch and flexibility, which allows it to conform to the curves and edges of the quilt more easily. This makes it less likely to fray or pull apart over time.
- Creativity: Cutting your binding on the bias allows for more creative options in quilt making. You can cut strips in different sizes, or even create strips that are angled to create a unique look.
- Stability: Bias binding has more stability than straight-grain binding, which makes it less likely to buckle or pucker when sewn onto the quilt.
Cutting quilt binding on the bias offers a number of advantages, making it an ideal choice for any quilting project. It provides greater durability, more creative options, and improved stability.
What You Will Need
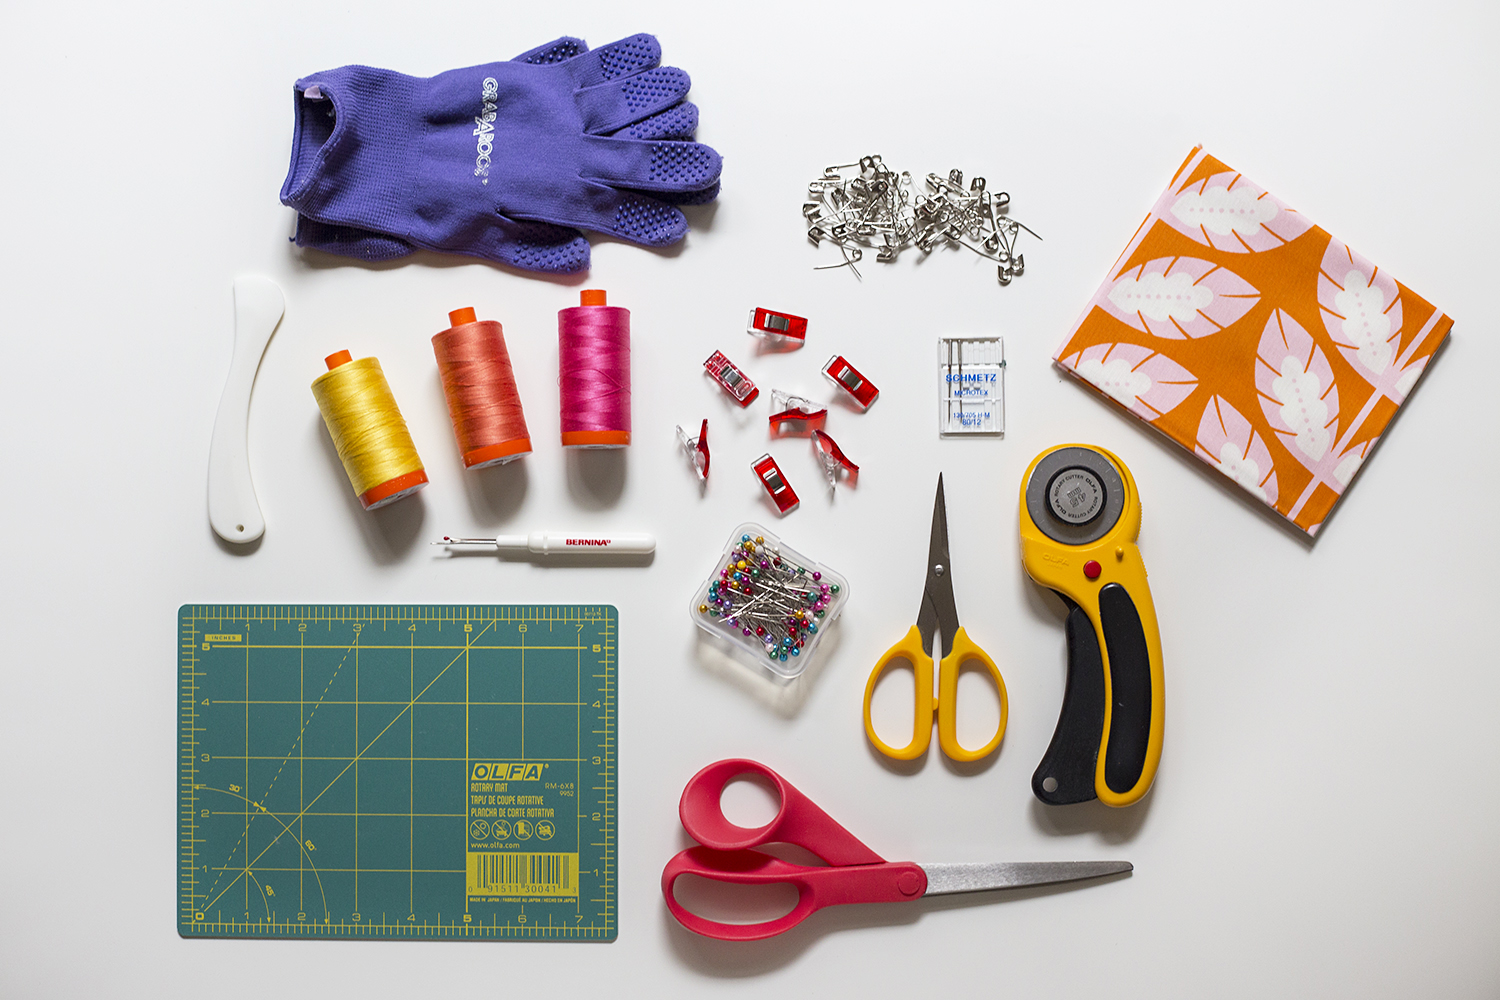
- Bias binding tape
- Fabric scissors
- Quilt
You will need bias binding tape, fabric scissors, and a quilt in order to cut the bias binding for a diagonal quilt binding.
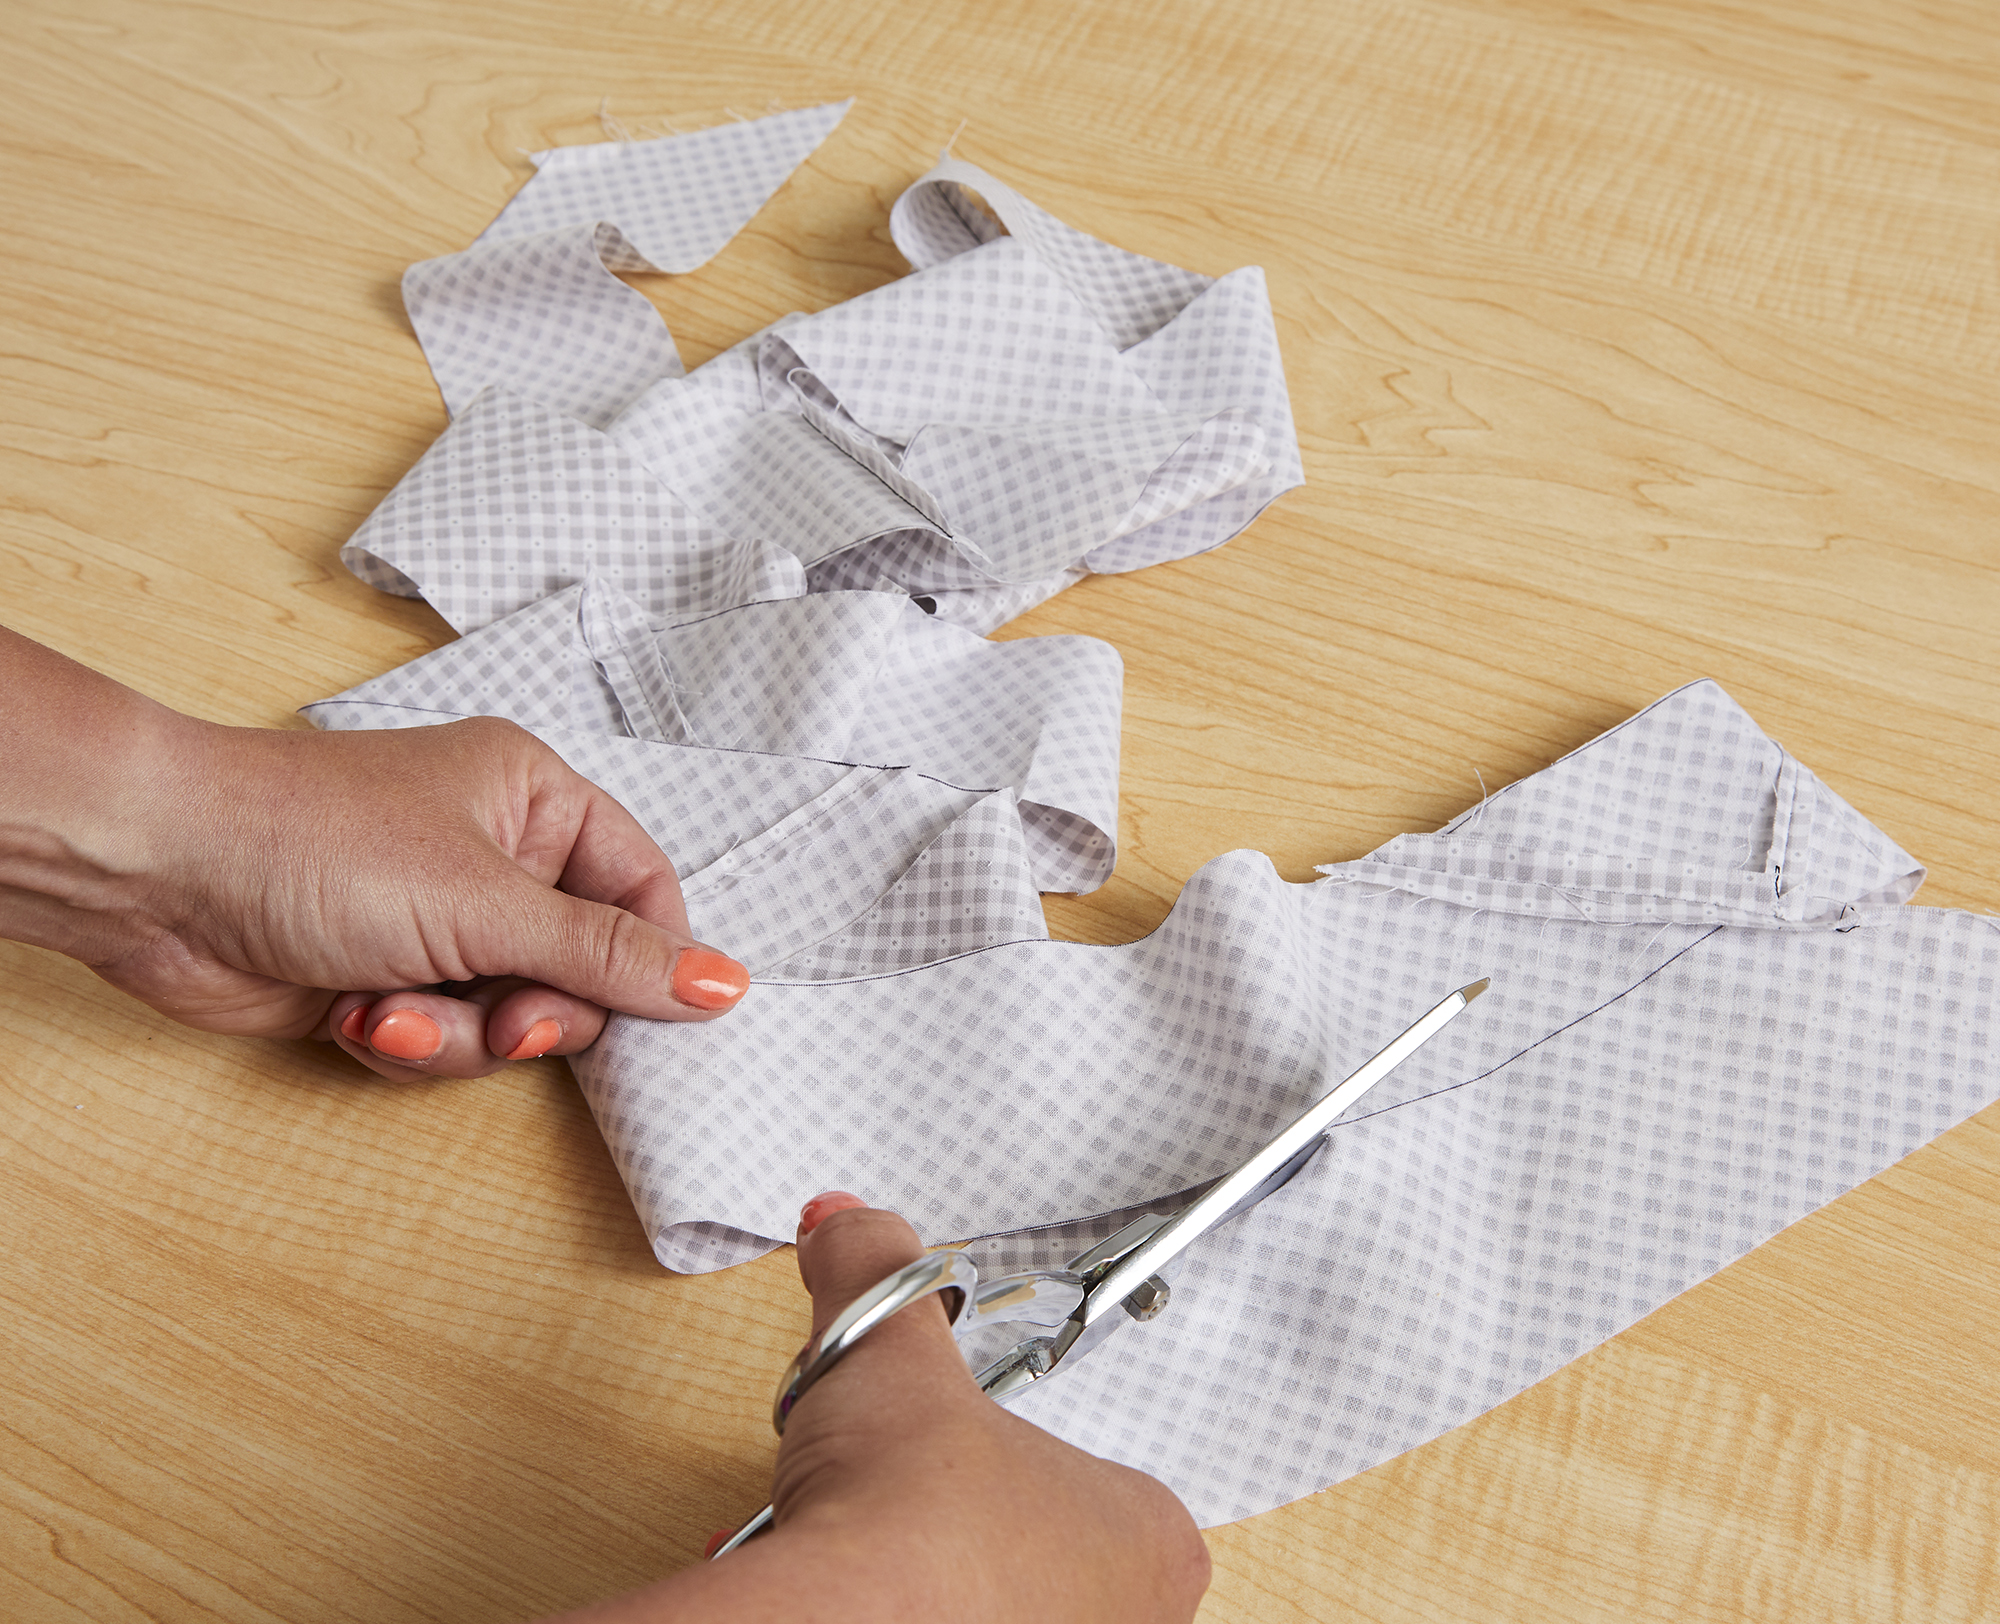
Prepping the Bias Binding
- Choose fabric: Consider the size of the quilt, the look you’re going for, and the type of binding you’re using.
- Iron fabric: Iron the fabric before cutting the bias binding strips.
- Cut strips: Cut the strips in the desired width.
- Join strips: Join the strips together to make one long strip.
- Press strip: Iron the strip.
- Fold strip: Fold the strip in half lengthwise, with wrong sides together.
- Iron strip: Iron the folded strip.
Start Cutting the Bias Binding
- Place the bias binding along the edge of the quilt and make sure it is evenly lined up.
- Cut the bias binding so that it is slightly longer than the quilt’s outer edge.
- Measure twice and cut once to ensure the length of the bias binding is correct.
- Cut the bias binding into various lengths, depending on how many separate pieces are needed to complete the project.
- Use scissors or a rotary cutter and cut the bias binding on the straight line. Use a ruler for a straighter cut.
- Gently press the bias binding with an iron to flatten it out.
Sew the Bias Binding
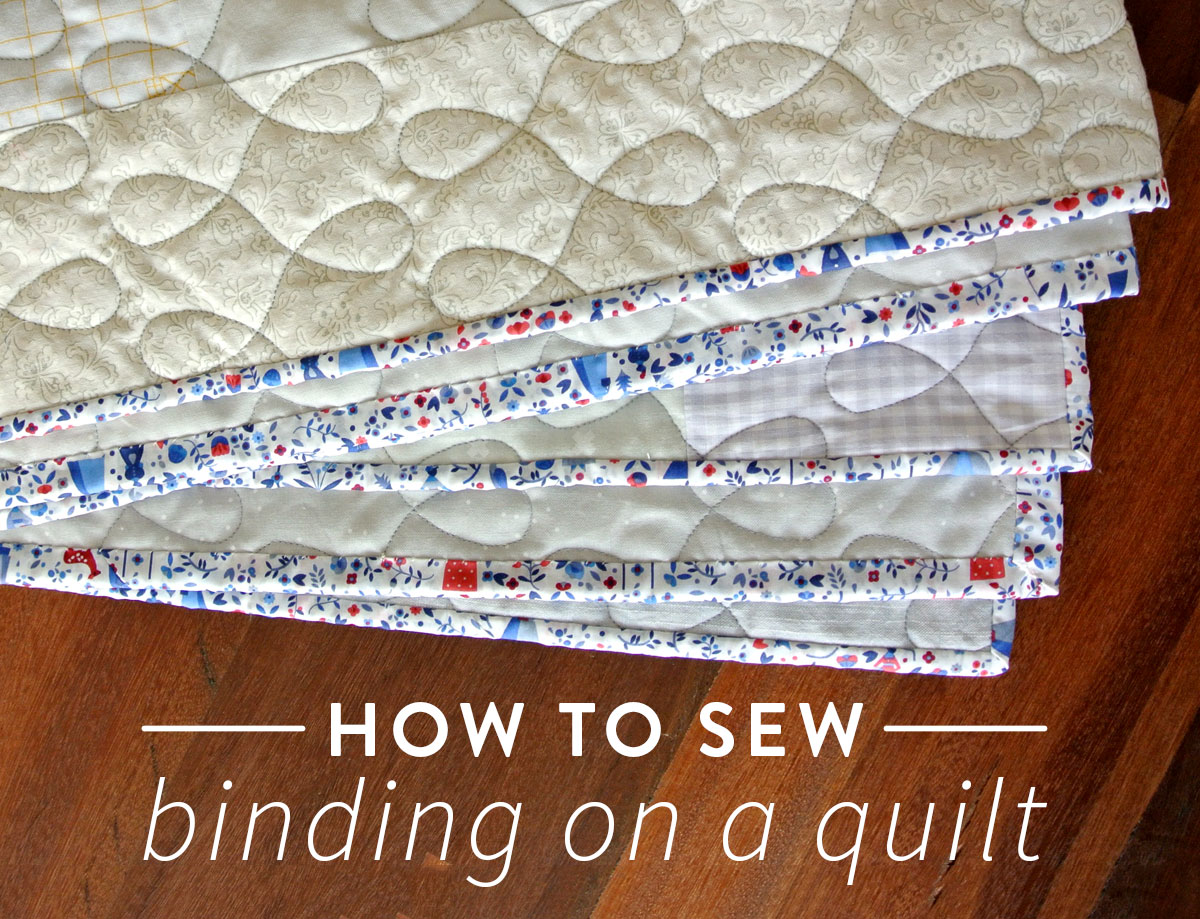
Once the bias binding is cut, it is time to sew it onto the quilt. Start by folding the binding in half lengthwise, with wrong sides together. Pin the raw edges of the binding to the raw edges of the quilt’s edges, right sides together. Start at the corner of the quilt, and sew using a ¼” seam allowance. As you sew, fold the binding over the quilt’s edge, so that the raw edges of the binding and quilt are enclosed within the folded binding. When you reach the corner, stop sewing ¼” away from the corner. Lift the presser foot and pivot the fabric, so that you are now sewing in the opposite direction. Continue sewing, folding the binding over the quilt’s edge, until you reach the corner again. Sew until you have reached the beginning of your stitching. Backstitch over the beginning stitching to secure the binding.
Once the binding is sewn on, use an iron to press the binding flat. Trim off any excess binding that extends beyond the quilt’s edge.
Your bias binding is now ready to be hand-stitched to the back of the quilt.
Fitting the Bias Binding to the Quilt
Once you have cut the bias binding to the desired length, it’s time to attach it to the quilt. To fit the binding to the quilt, you will need:
- Scissors
- Pins
- Iron
- Sewing Machine
| Steps | Instructions |
|---|---|
| 1 | Lay the bias binding on the quilt, with the wrong side of the binding facing the quilt’s right side. |
| 2 | Pin the binding in place, making sure that the edges are flush. |
| 3 | Fold the bias binding and press with an iron. |
| 4 | Unfold the bias binding and sew it in place. |
| 5 | Fold the bias binding to the right side of the quilt and pin it in place. |
| 6 | Sew the bias binding to the quilt. |
Once you have finished sewing the binding to the quilt, trim any excess fabric. Your quilt is now complete.
Finishing the Bias Binding
- Choose the Right Bias Binding – To ensure a successful quilt finish, choose a bias binding that complements your quilt color and pattern. Consider using a contrasting color or a print in the same color family as the quilt.
- Use a Seam Guide – When cutting the bias binding, it is important to use a seam guide. This will help ensure that the cuts are even and straight.
- Cut the Bias Binding – Cut the bias binding to the desired width. The typical width for bias binding is 2.5 inches. Be sure to double check the measurements before cutting.
- Attach the Bias Binding – Use a sewing machine to attach the bias binding. Start by pinning the bias binding in place and then sewing a straight stitch along the edge. Make sure to back stitch at the beginning and the end.
- Finish the Bias Binding – When the bias binding has been attached, it is time to finish the edges. This can be done by hand sewing or by using a machine. Hand sewing is recommended for a more polished look.
Frequently Asked Questions
What type of fabric is best for bias binding?
- Cotton: Cotton is a popular choice for bias binding as it is durable and has a natural stretch that makes it easier to sew. It also comes in a variety of colors and prints, allowing for a wide range of design possibilities.
- Linen: Linen is a strong fabric that is known for its durability and resistance to wrinkles. It is also a lightweight material, making it ideal for quilts. The downside to using linen is that it is not as flexible as cotton.
- Polyester: Polyester is a synthetic fabric that is known for its strength and durability. It is easy to work with and comes in a variety of colors. The downside to using polyester is that it is not as breathable as cotton.
What tools and supplies will I need to cut bias binding?
- Fabric – Choose a fabric that is suitable for the project.
- Scissors – Invest in a pair of sharp scissors for accurate cutting.
- Ruler – A ruler is essential for measuring the bias binding.
- Chalk – Mark the bias binding with a piece of soft chalk.
- Rotary Cutter – This will make cutting multiple layers easier.
- Cutting Mat – Use a cutting mat to protect the surface underneath.
- Pins – Pins will help hold the fabric in place as you cut.
How do I determine the correct length of bias binding for my quilt?
To determine the length of bias binding needed, measure the perimeter of your quilt top and add an extra 10-15 inches. This extra length will allow for joining the ends of the binding and folding over the edges. The total length of bias binding needed will depend on the size of your quilt.
How can I ensure my bias binding is cut accurately?
- Use a rotary cutter – Rotary cutters are great for cutting bias binding strips because they make clean, straight cuts. Make sure to use a new blade for the best results.
- Cut on a flat surface – Make sure that your fabric is lying as flat as possible when you cut the bias binding. This will help to ensure that the strips are cut accurately.
- Use a ruler or template – Use a ruler or template to help you keep your bias binding strips straight. This will help you to cut accurately and avoid making mistakes.
- Mark the fabric – Mark the fabric before you start cutting. This will help to ensure that the strips are cut in the right size and shape.
- Use a sharp scissors – Make sure that your scissors are sharp and in good condition. Dull scissors can make it difficult to cut accurately.
What techniques should I use to attach bias binding to my quilt?
- Hand-stitched Binding: The most traditional way to attach bias binding is to hand-stitch it to the quilt. To do this, fold the binding in half lengthwise and press it flat. Starting in the middle of one side of the quilt, pin the binding to the quilt. Sew the binding to the quilt with a whip stitch, making sure to catch both sides of the binding. When you get to a corner, fold the binding at a 45-degree angle and continue sewing.
- Machine-stitched Binding: This method is much faster than hand-stitching, but it requires a bit more skill. To machine-stitch the binding, fold the bias binding in half and press it flat. Starting at one corner of the quilt, pin the binding to the quilt and sew it on with a zig-zag stitch. Make sure to catch both sides of the binding. When you get to a corner, fold the binding at a 45-degree angle and continue sewing.
- Fusible Tape: Fusible tape is a great way to attach binding quickly and easily. To do this, press the binding in half and apply a strip of fusible tape along the fold. Peel off the backing paper and press the binding onto the quilt. Repeat for all sides of the quilt.
- Bias Tape Maker: A bias tape maker is a useful tool for attaching bias binding to a quilt. To use a bias tape maker, press the binding in half and feed it through the tape maker. Pull the binding through the machine and press it onto the quilt. Repeat for all sides of the quilt.
Conclusion
Cutting bias binding for a quilt is a great way to perfectly finish your quilt. This step-by-step guide has given you the tools needed to measure and cut bias binding for your quilt with ease. With just a few simple steps, you can create a beautiful, professional looking quilt.


