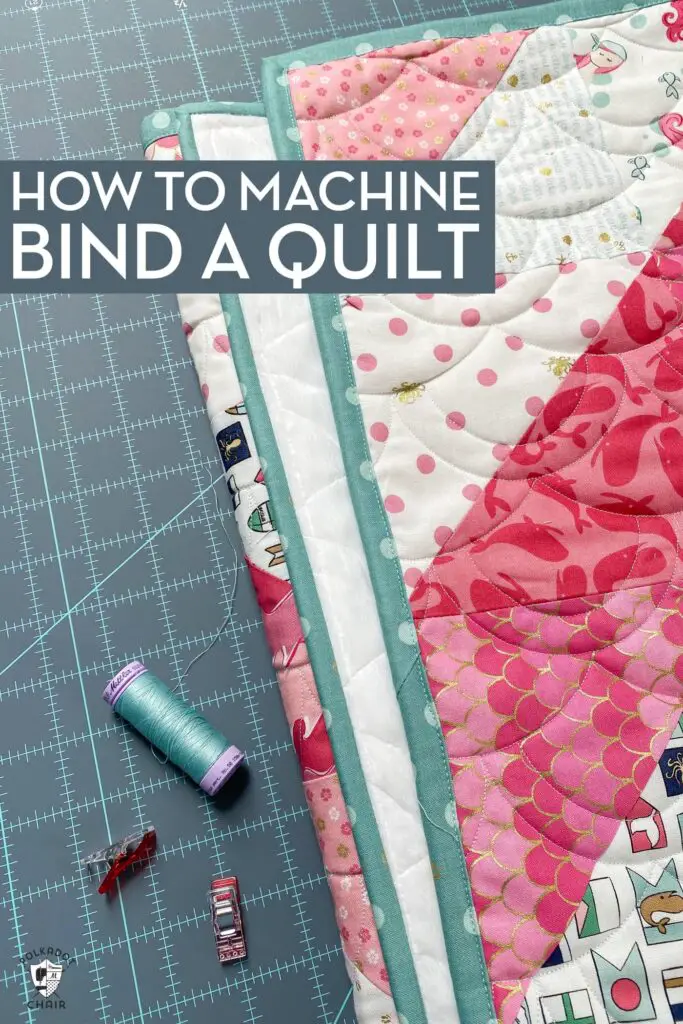
Are you looking for tips on how to finish a quilt edge? Quilting can be a challenging and rewarding hobby, but it’s important to get the details right. Finishing the edges of a quilt is the final step in the process, and it can be intimidating for beginners. In this article, we will provide you with tips and tricks for perfecting your quilt edges. We’ll cover everything from stitching techniques to binding methods that will help you create a beautiful finished piece.
Types of Quilt Edges
Straight Edge
The simplest way to finish a quilt is the straight edge. This is done by folding the sides of the quilt twice and sewing a straight line along the edge. To ensure a neat finish, use a ¼ inch seam allowance and a walking foot on your sewing machine.
Scalloped Edge
For a decorative touch, a scalloped edge can be added to the quilt. To create this edge, cut out a template in the desired shape and use it to cut scalloped pieces from the quilt fabric. These pieces are then sewn together to form a scalloped edge.
Zigzag Edge
A zigzag edge can be created by stitching a line of zigzag stitches along the edges of the quilt. This will help secure the edges and give the quilt a unique look. To make this process easier, use a special presser foot that helps guide the stitches.
Rounded Edge
Rounded edges are a popular way to finish a quilt, and they can be done by sewing an elastic cord along the edges of the quilt. This will create a tight and secure edge that won’t fray or unravel. If you’re looking for a more professional finish, you can use a bias binding tape to make a neat rounded edge.
No matter which type of edge you choose for your quilt, sewing it properly is key to ensuring your quilt looks great and lasts for years. With a bit of time and effort, you can easily learn how to do the edges on a quilt and create a beautiful heirloom.
Preparing the Fabric
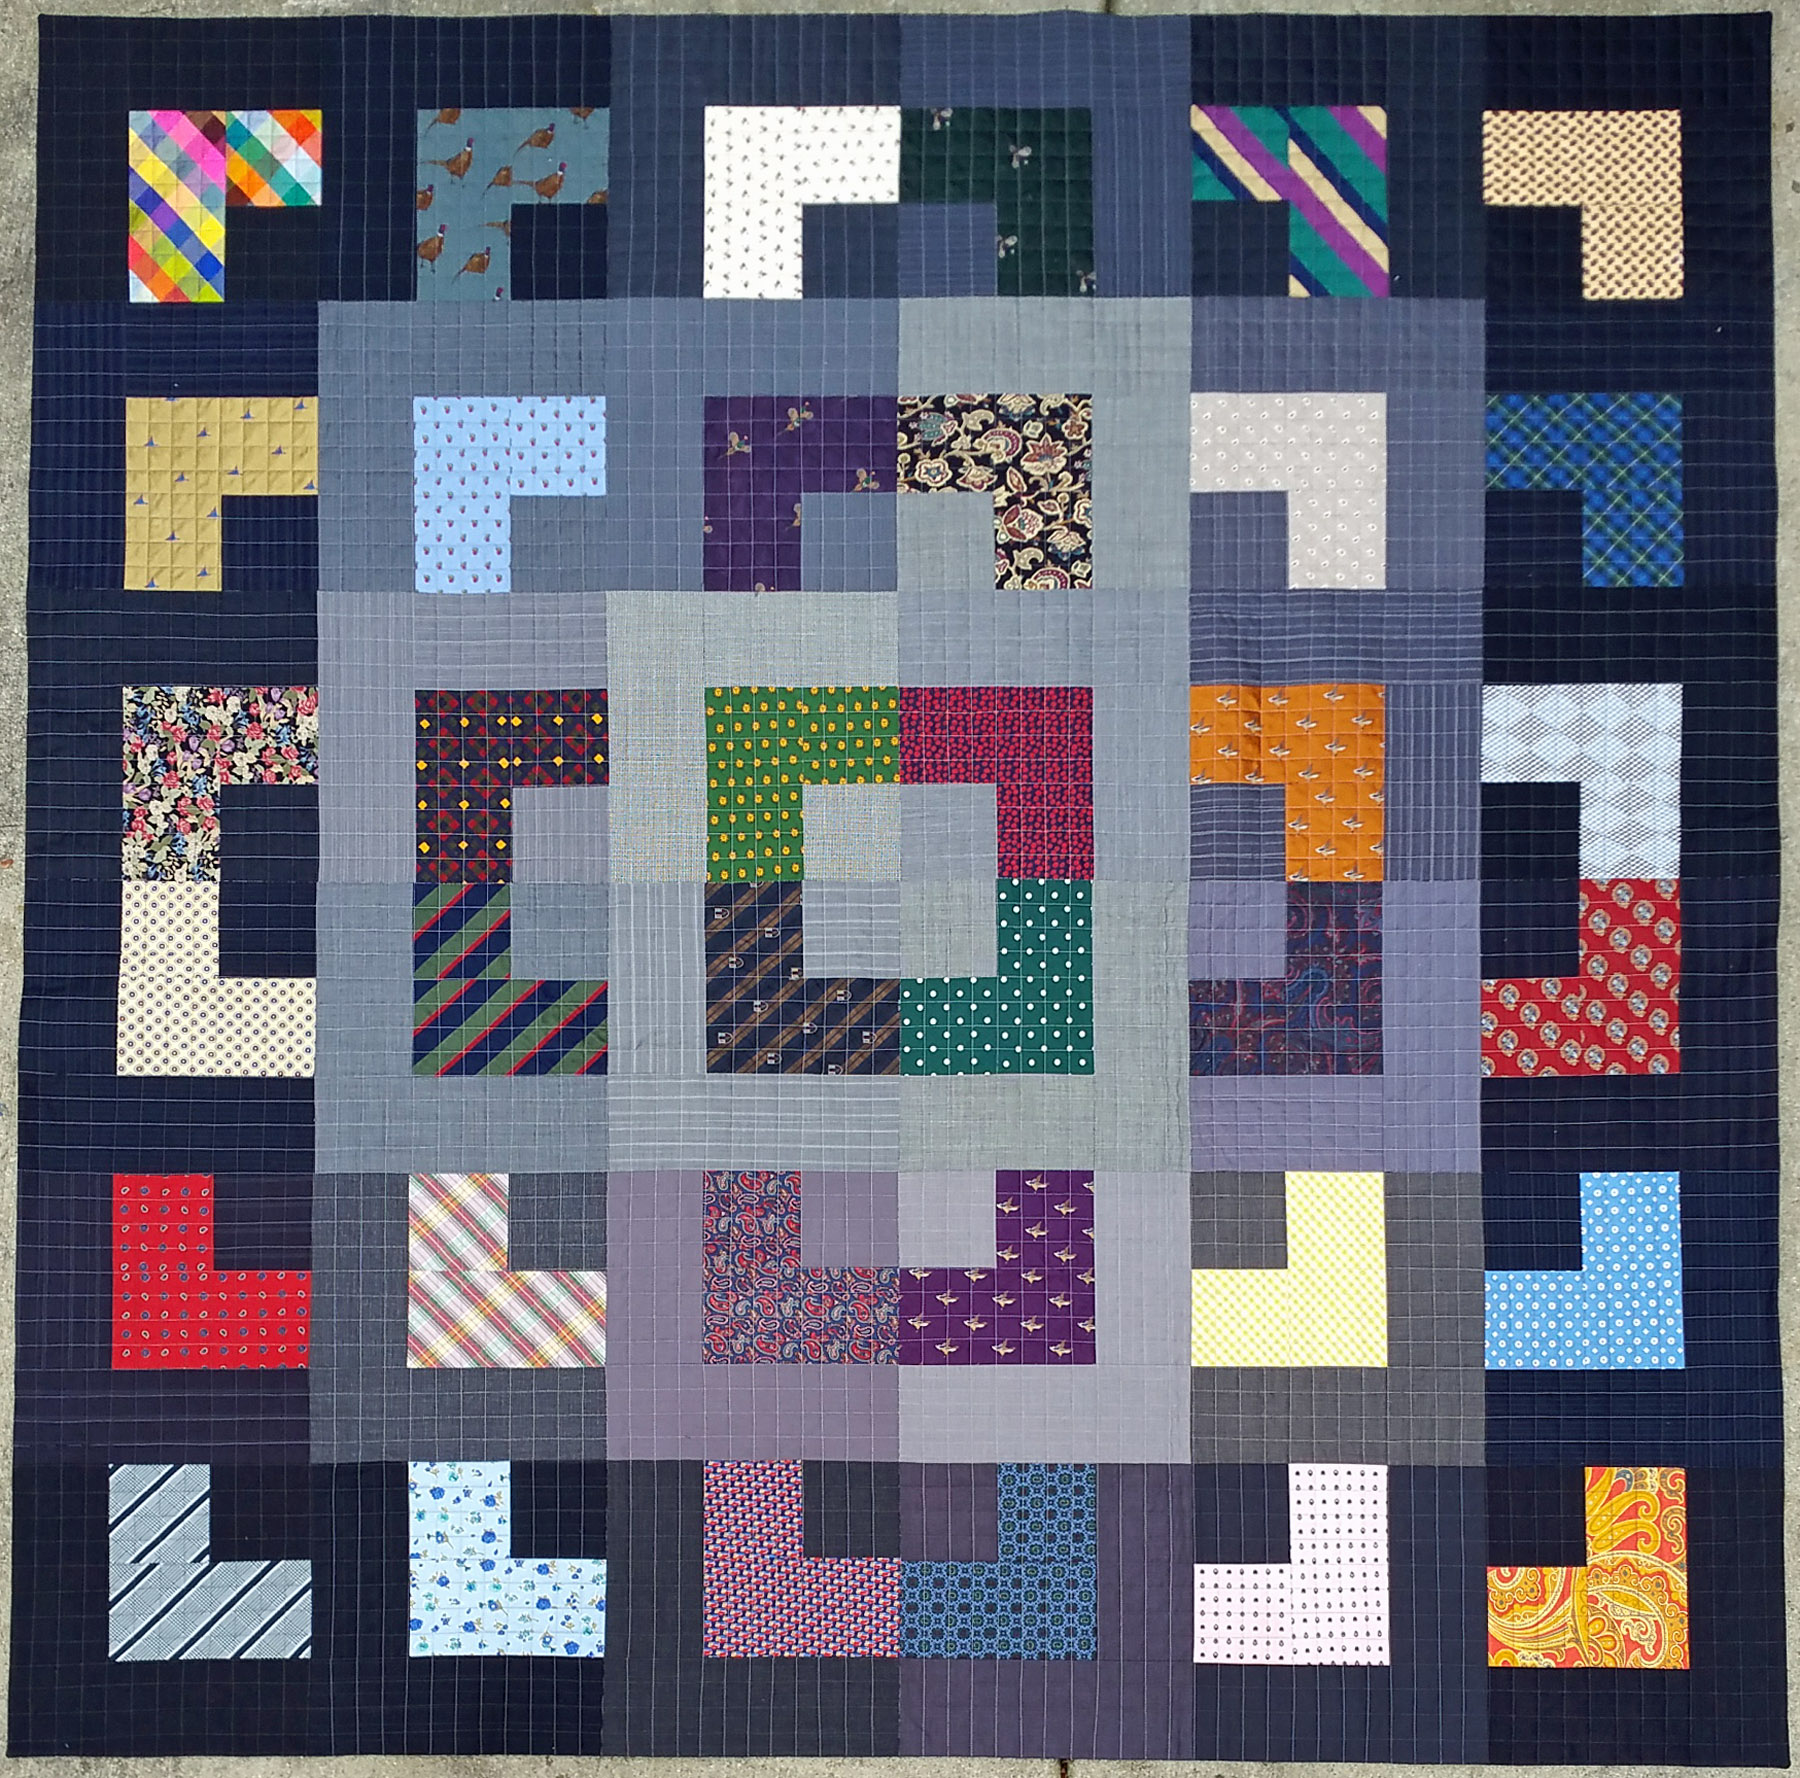
- Choose the right fabric: The fabric used for the quilt top or backing should have a similar weight and texture for successful quilting.
- Prepare the fabric: Pre-wash the fabric to avoid shrinkage and color bleeding when the quilt is washed. Iron the fabric and cut it according to the pattern.
- Layout the fabric: Place the fabric in the desired pattern and secure the fabric with pins or basting.
- Stitch the fabric: Quilt the fabric together using a sewing machine or by hand.
Once the fabric is ready, it’s time to finish the edge of the quilt and make it look neat and tidy.
Sewing the Quilt Edges
Straight Edge
To create a straight edge, use a simple whipstitch to sew the edges together. Start with a small knot at the corner, then sew through the top fabric and the batting, catching a few threads of the backing fabric. Continue stitching and knot at the end.
Scalloped Edge
Scallops add a decorative touch to the quilt. To create scallops, mark the edge of the quilt with a fabric-marking pen. Follow the marked line, using a running stitch to join the edges. Once the edges are joined, use scissors to cut away the excess fabric and batting, so the scallops remain.
Zigzag Edge
For a zigzag quilt edge, use the zigzag stitch on your sewing machine. To make this stitch, set the stitch width and length to the desired size. Sew along the edges of the quilt, and knot at the end.
Rounded Edge
To create a curved quilt edge, draw a line along the edge of the quilt using a fabric-marking pen. Cut along the line with scissors, leaving a 1/8-inch seam allowance. Sew along the curves, using a zigzag stitch. Knot at the end.
Finishing the Edges with Bias Tape
1. Calculate the bias tape length:
- Measure the quilt length and width.
- Multiply the measurements to calculate the total perimeter of the quilt.
- Add 10% to the total perimeter to get the length of the bias tape you need.
2. Cut the bias tape:
- Fold the bias tape in half lengthwise.
- Cut the bias tape along the folded line.
- Open up the bias tape.
3. Attach the bias tape:
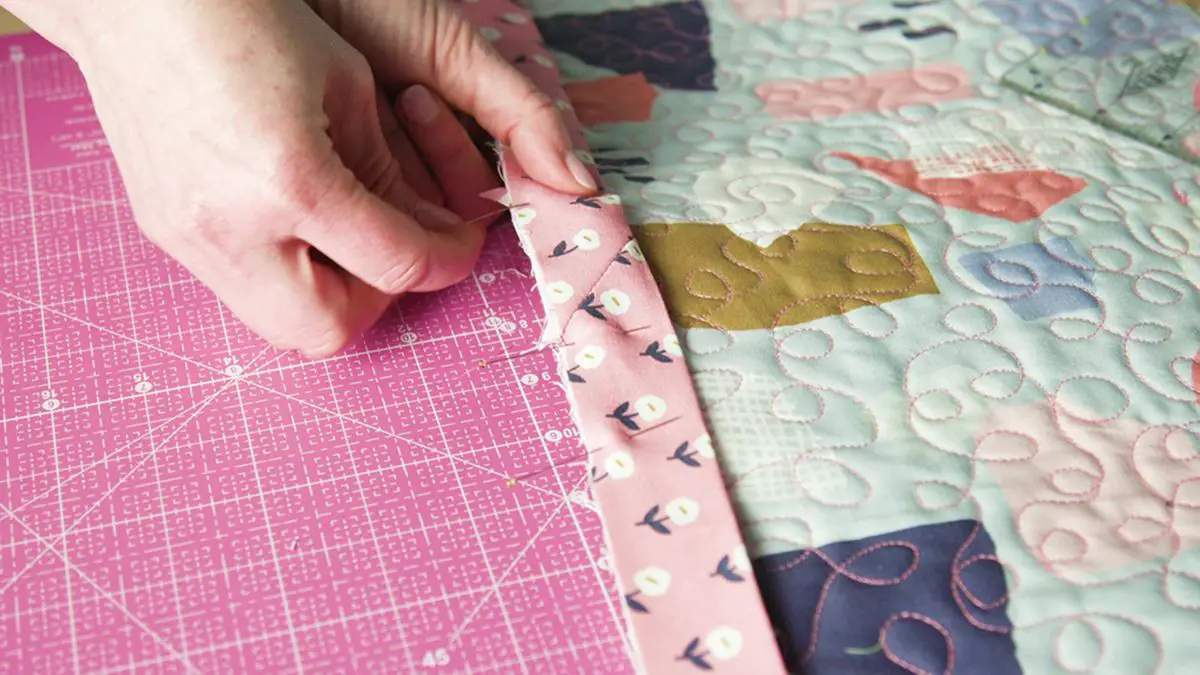
- Pin the bias tape to the edge of the quilt.
- Sew the bias tape to the quilt, making sure to catch both layers of the bias tape.
- Remove the pins.
4. Finishing touches:
- Fold the bias tape over the raw edge of the quilt.
- Sew the bias tape in place.
- Trim off any excess bias tape.
Finishing the Edges with Facing
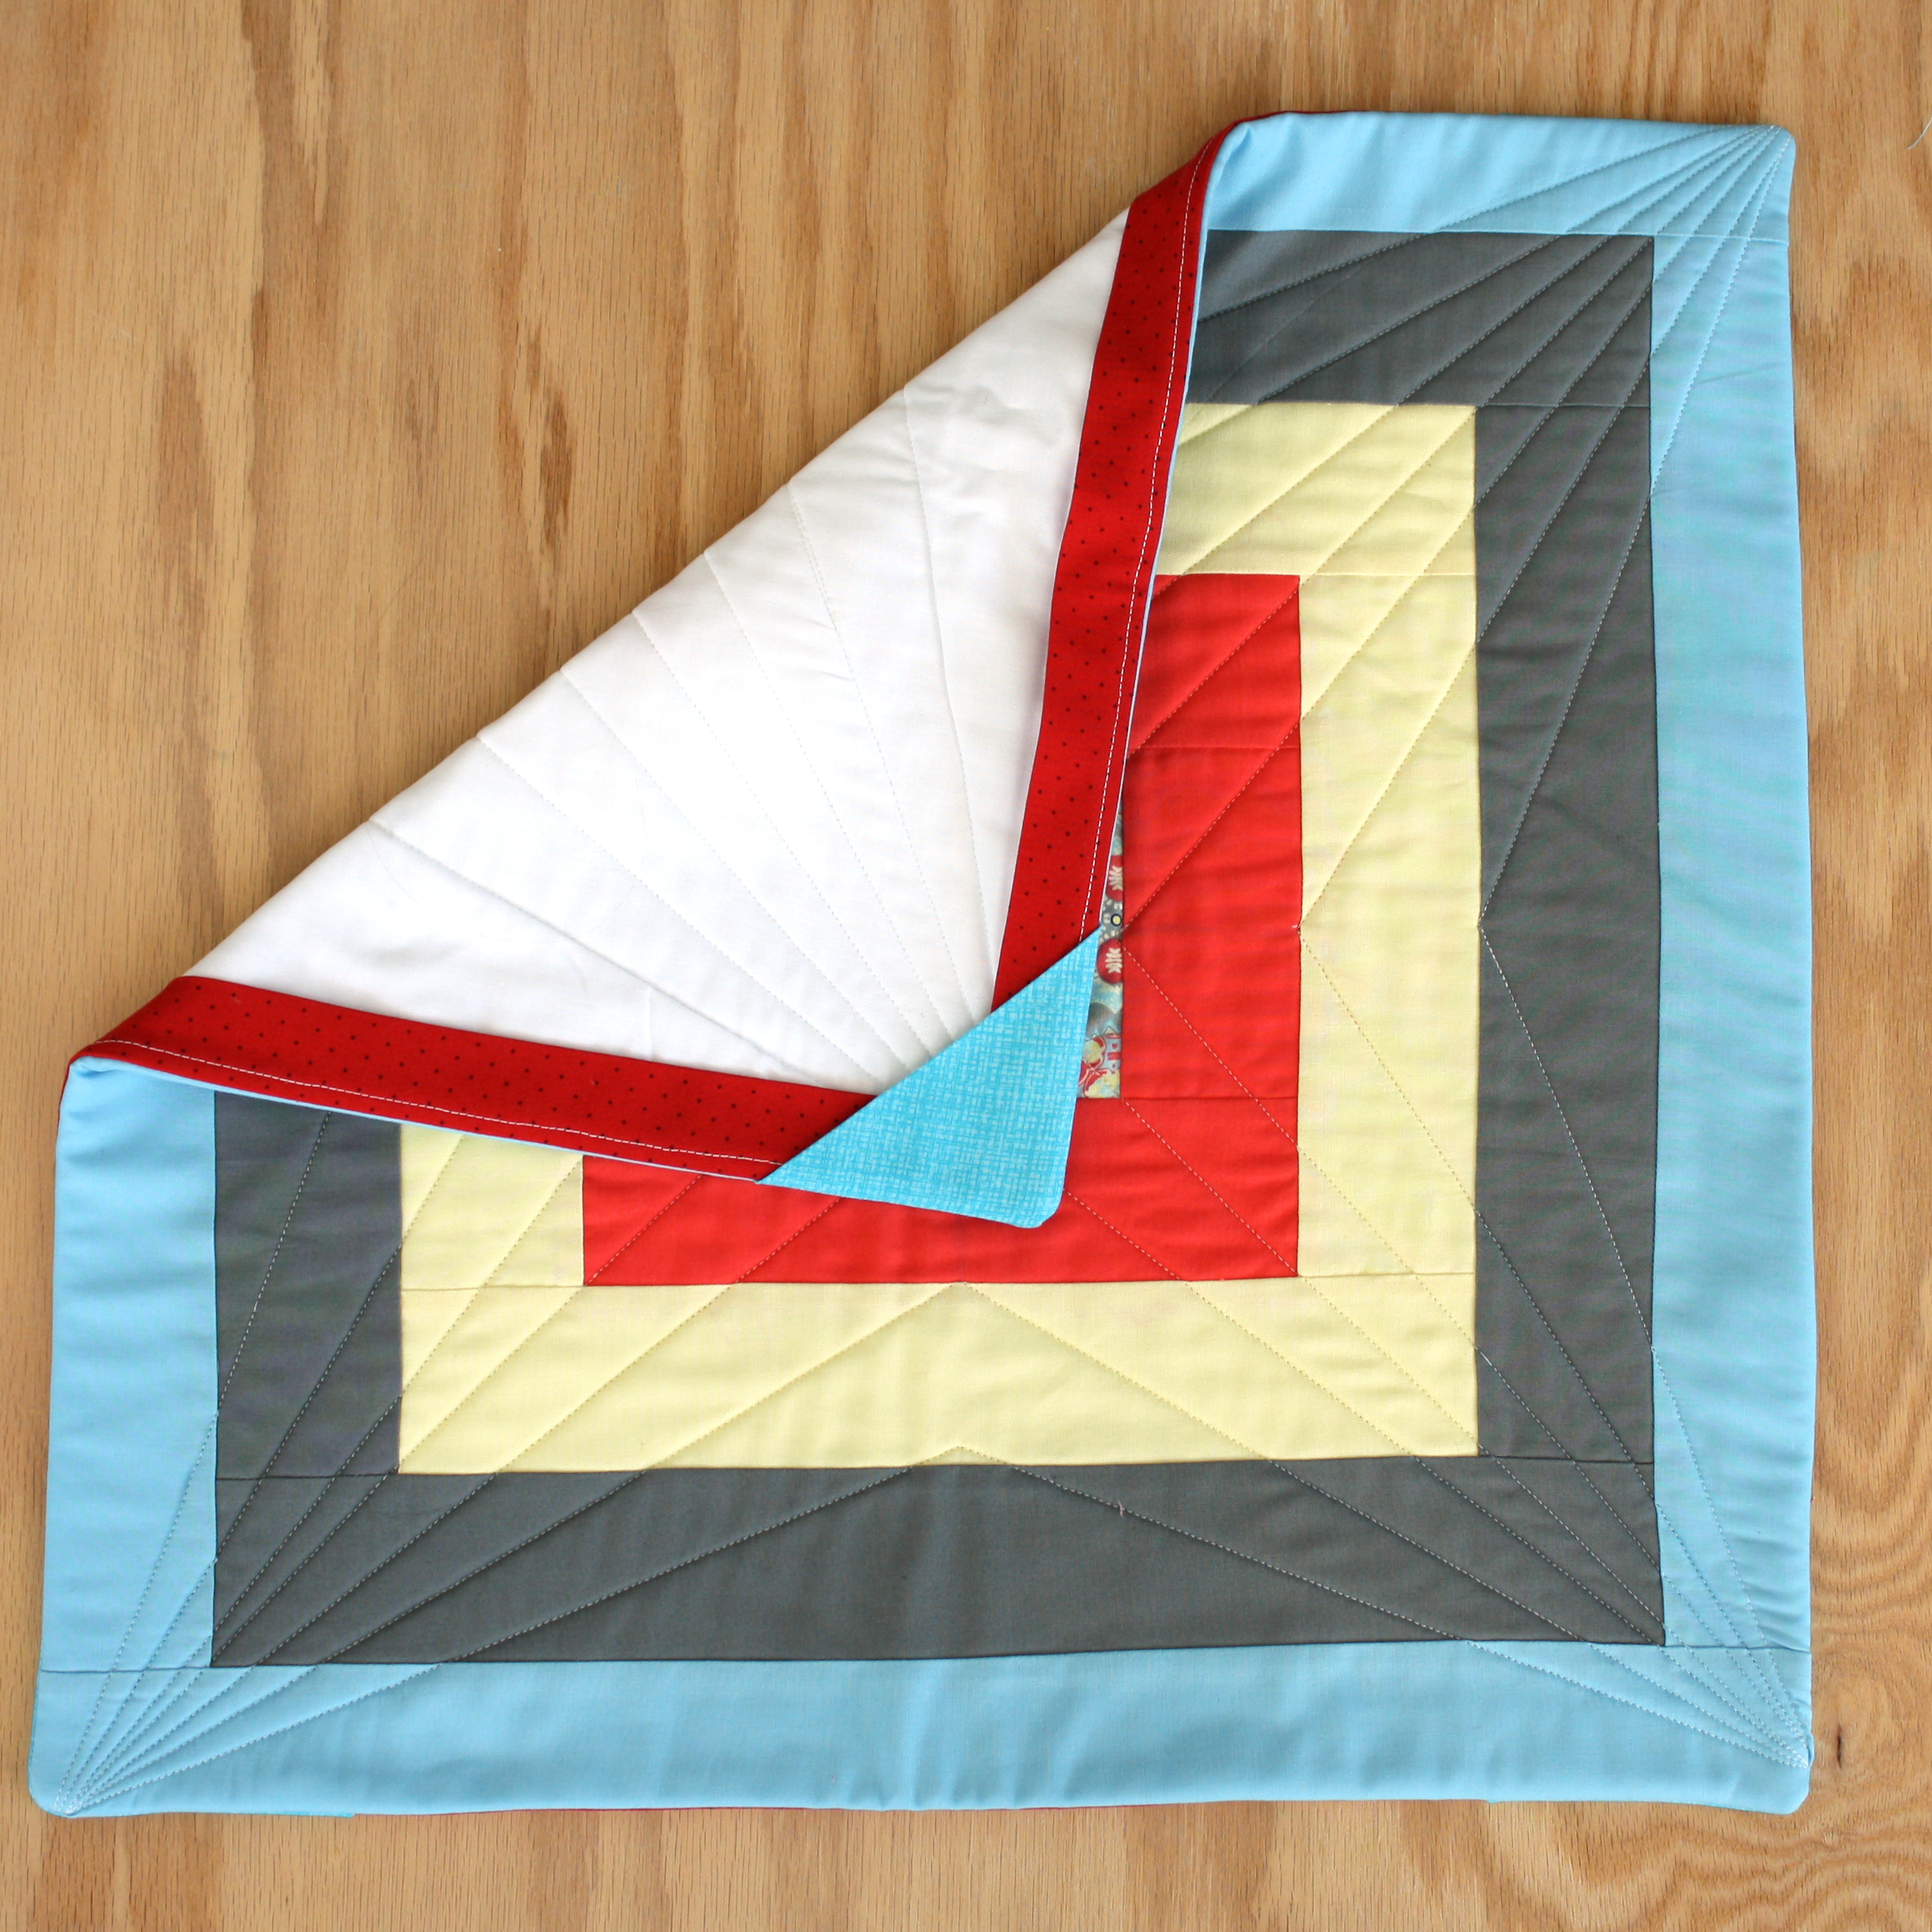
- Facing is the process of finishing the edges of a quilt with fabric that’s cut on the bias.
- It provides a clean, neat and professional-looking finish to the quilt and can be used on both straight and curved edges.
- Facing also helps prevent the quilt from fraying and extends the life of the quilt.
- The width of the facing should be at least 1.5 times the width of the quilt, so that it will provide enough stability and support.
- When cutting the bias strips for the facing, use a rotary cutter and ruler to ensure a precise cut.
- When sewing the facing to the quilt, use a quarter-inch seam allowance to ensure a secure fit.
- When pressing the facing, use a pressing cloth to avoid scorching the fabric.
- When trimming the excess fabric from the facing, use sharp scissors to make a clean cut.
- When finishing the edges with facing, be sure to use a thread color that matches the fabric to ensure a neat, professional look.
Finishing the Edges with Binding
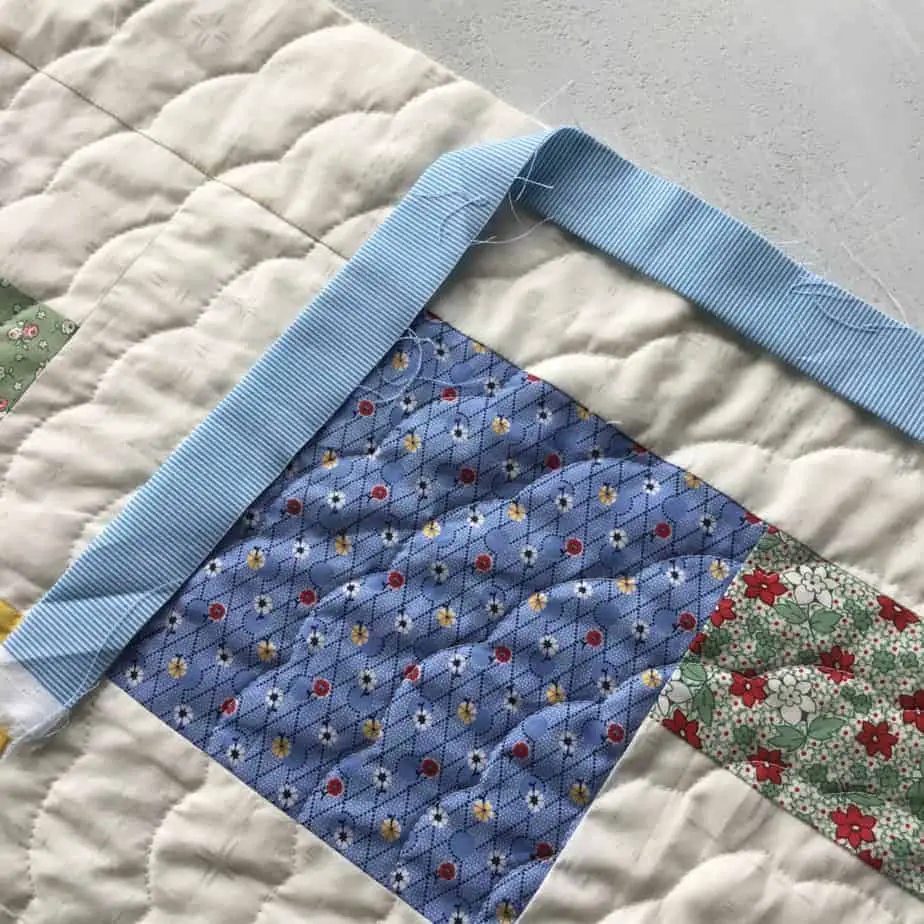
Single Fold Binding
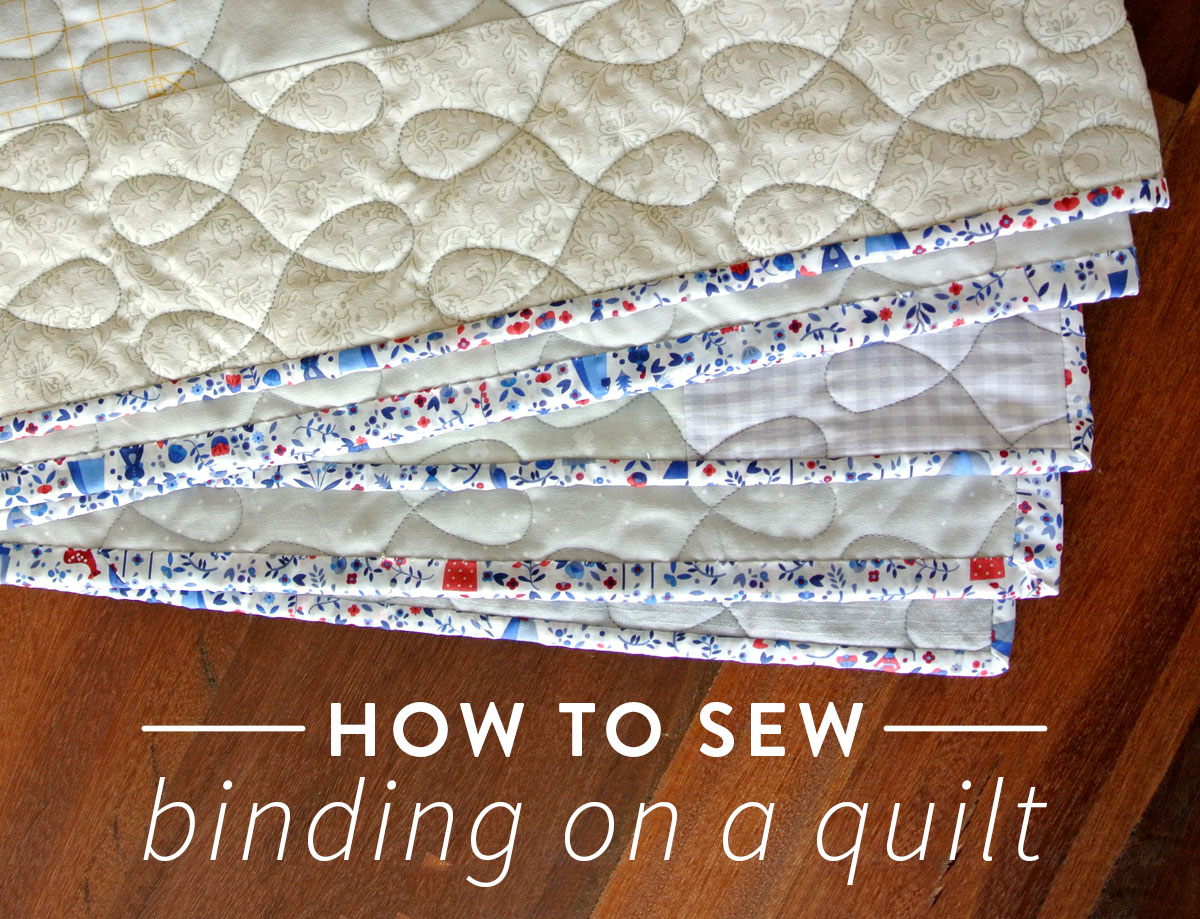
Single fold binding is the most common way to finish the edges of a quilt. It is a narrow strip of fabric sewn to the right side of the quilt top, folded in half over the edges, and then stitched down to the wrong side of the quilt top.
Double Fold Binding
Double fold binding is similar to single fold binding, except that the strip of fabric is folded in thirds before being stitched to the quilt top. This creates a thicker binding that is more resistant to wear and tear. The double fold binding is also more visible than a single fold binding, so it is often used for decorative quilts.
Finishing the Edges with Decorative Trim
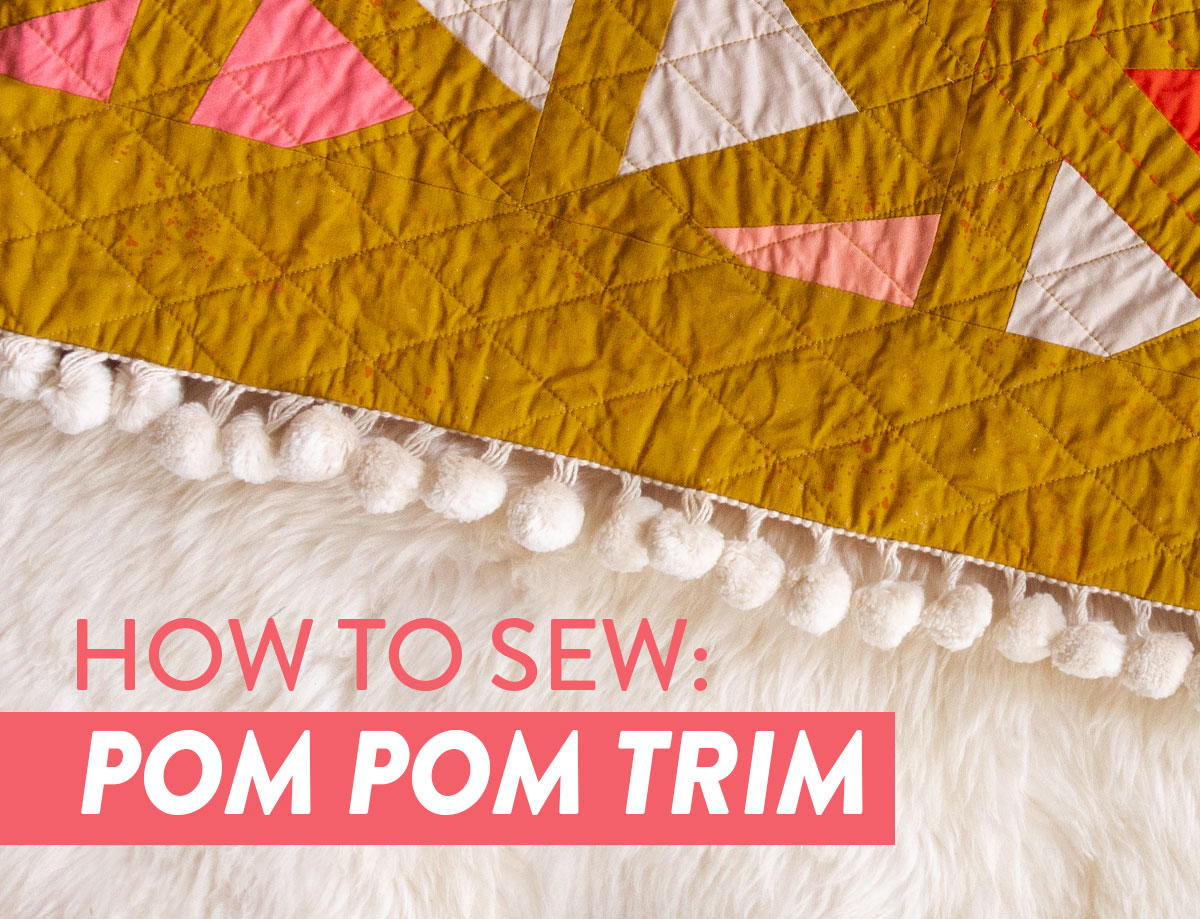
Once the quilt top is complete, it’s time to finish the edges with decorative trim. This step adds a finishing touch and can add to the overall design of the quilt. The options for trim can include binding, scalloped edges, ric-rac, ribbon, lace, and many other creative ideas.
To begin, measure the perimeter of the quilt and cut the trim to the proper length. Then, sew the trim onto the quilt’s edges with a quarter-inch seam allowance. If the trim has two sides, make sure the “right” side is facing out. To attach the trim, use a straight stitch and leave the ends unsewn.
Next, fold the trim over the edge of the quilt and pin in place. When attaching the trim, be sure to leave a small gap between the ends to create a finished look. To finish, stitch the trim in place using a blind stitch. Sewing a blind stitch will help to hide the stitches on the right side of the quilt.
Once the trim is attached, the quilt edge is complete. Decorative trim is an easy and effective way to finish the edges of a quilt and add a unique touch to the finished product.
Finishing the Edges with Piping
Piping is one of the most popular ways to finish the edges of a quilt. It provides a neat, tailored look and is fairly easy to do. The only tools you need are a piping cord, fabric, and a zipper foot for your sewing machine.
First, cut the piping cord to the length of the edge you’re finishing. For each side of the quilt, fold the fabric in half lengthwise and press. Then, place the piping cord along the raw edge of the fabric and wrap the fabric around the cord. Use the zipper foot to stitch along the edge of the fabric, and remove any excess fabric.
Next, place the quilt top right side up on a flat surface, and line up the piping along the edge. Pin the piping in place, then stitch along the edge of the piping using the zipper foot.
Finally, trim off any excess fabric and batting. Make sure you don’t cut the threads that are securing the piping in place. Once you have trimmed the excess fabric and batting, you can add any additional trim, such as fringe, tassels, or rick rack, to finish off the quilt.
Using piping to finish the edges of a quilt gives it a neat, tailored look and adds a special touch of interest. With the right tools and a few simple steps, you can easily add piping to your quilt to give it a professional finished look.
Frequently Asked Questions
What supplies are needed to finish a quilt edge?
- Thread: You will need a strong, thin thread in a color that matches the fabric.
- Scissors: You will need a sharp pair of scissors to cut the excess fabric.
- Ruler and marking tool: You will need a ruler to measure the quilt and a marking tool to mark the quilt binding.
- Pins: You will need pins to hold the quilt binding in place as you sew.
- Sewing machine: You will need a sewing machine to sew the quilt binding in place.
How do I determine the size of the binding for my quilt?
- Measure the quilt: Measure the length and width of the quilt top, and add 6 inches to each measurement.
- Calculate the binding size: Multiply the two measurements together and divide by 40, which is the number of inches in one yard of fabric.
- Round up: Round up the number to the next whole number to get the number of yards of binding fabric you need.
Once you have determined the amount of fabric you need, you can cut the binding to the correct size. The binding should be cut at 2½ inches wide, or at the width desired. To make the binding, cut the fabric into strips that are 2½ inches wide. Sew the strips together to make one long strip, and then press the seams open.
What is the Best Type of Thread to Use for Quilt Binding?
For quilt binding, it is best to use a strong and durable thread such as polyester thread. Polyester thread is strong, resistant to abrasion, lightfast, and resistant to mildew. It is also less likely to break or stretch than other thread types. It is available in a variety of colors, so you can match it to the colors of your quilt.
How do I join the ends of the binding strips?
To join the two ends of the binding strips, ensure that the strips are overlapping by about 1/4 inch. Place the two strips right sides together and stitch them together using a 1/4 inch seam allowance. Press the seam open and trim the seam allowance to 1/8 inch. Now fold the binding strip in half and press. Your binding strips are now ready to use.
What Steps Should I Take to Ensure a Neat and Secure Binding Edge?
1. Cut the binding fabric in 2.5-inch strips. Measure the width of your quilt and add 10 inches to determine the total length of the binding strips. Cut enough 2.5-inch strips to equal this length.
2. Sew the strips together. Connect the strips end-to-end using a diagonal seam, creating one long strip. Press the seams open.
3. Fold the binding strip in half lengthwise. Iron the strip in half wrong sides together.
4. Attach the binding. Begin at a corner and align the raw edges of the binding strip with the edge of the quilt. Start sewing ¼ inch from the edge, backstitching at the beginning and end.
5. Miter the corners. Stop sewing ¼ inch from the corner and pivot the quilt. Bring the binding up, forming a 45-degree angle, and continue sewing.
6. Join the ends. When you reach the beginning, overlap the ends and trim the excess fabric. Sew the overlapping ends together and finish sewing the binding to the quilt.
7. Hand-stitch the binding. Flip the binding over to the wrong side of the quilt and hand-stitch it in place, using small, even stitches.
Conclusion
Finishing a quilt edge can be a challenge, but with the right technique and materials, it can be done with ease. From using a walking foot and a zigzag stitch to using a binding strip and an edge stitch, there are a variety of techniques that can be used to finish a quilt edge. With practice, you can find the technique that works best for you and your quilting project.
