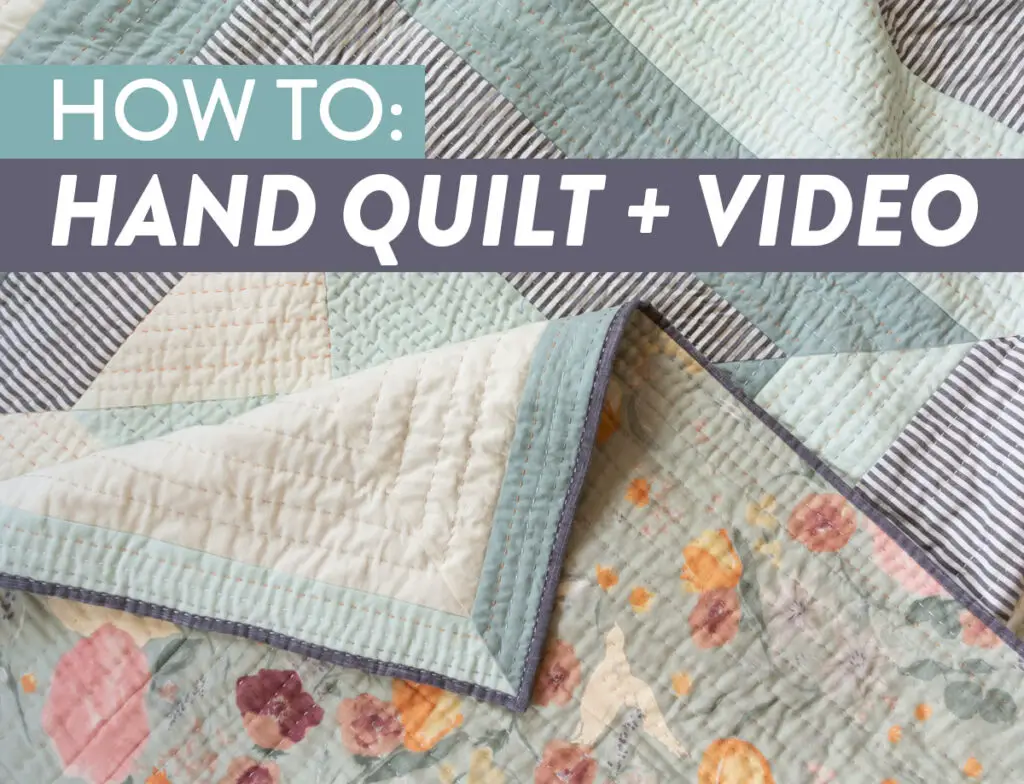
This article aims to provide a step-by-step guide to those who are interested in learning how to hand quilt on a frame. Whether you are a beginner or an experienced quilter, this guide will provide you with all the information you need to know about how to quilt on a frame, from the basics of setting up the frame to the more advanced techniques used in hand quilting.
Materials Needed
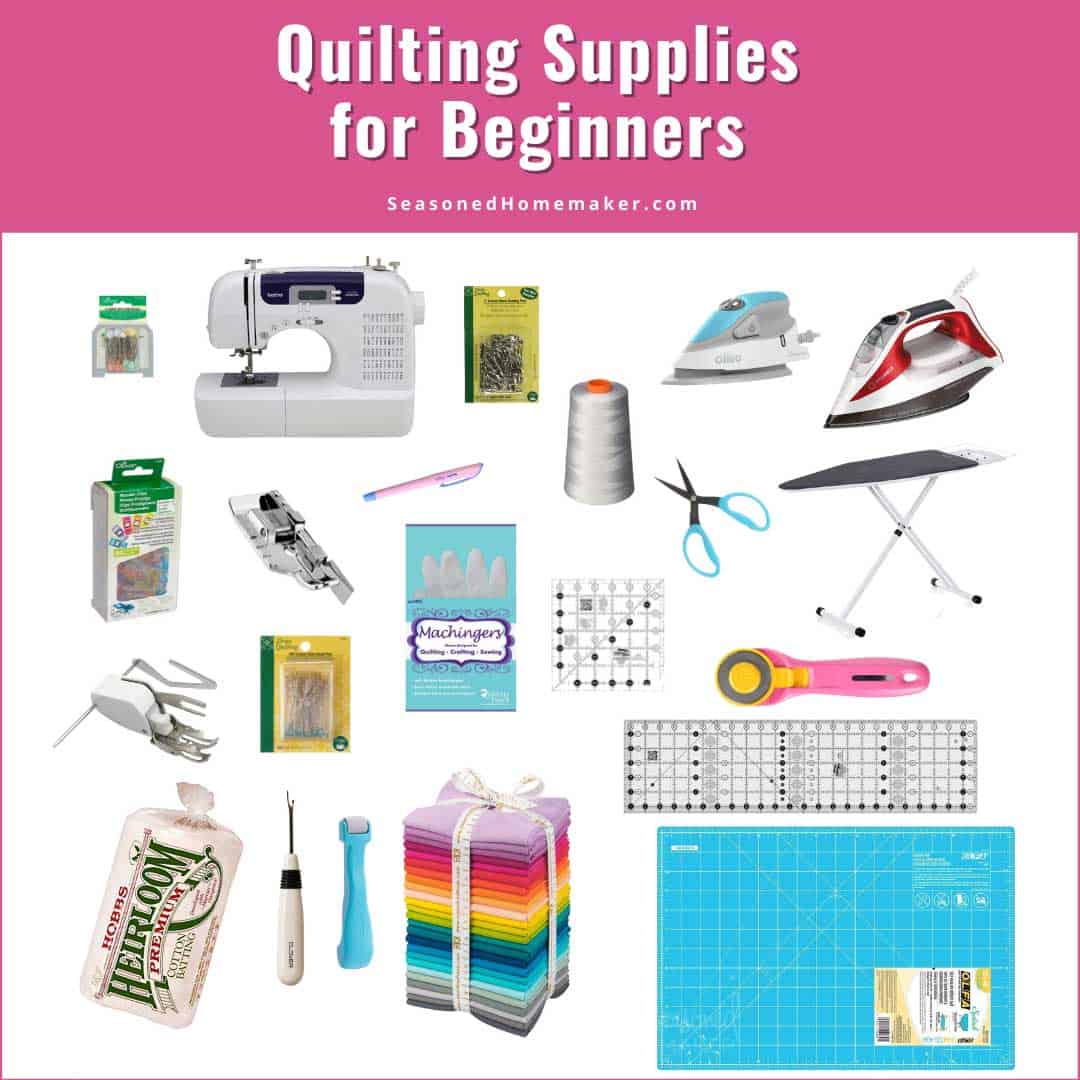
| Item | Description |
|---|---|
| Floor Quilting Frame | A floor quilting frame is a large, adjustable frame that is used to stretch a quilt top, batting, and backing fabric flat while quilting. |
| Thimble | A thimble is a small metal or plastic cap worn on the finger to protect it from needle punctures while hand quilting. |
| Needles | Use needles specifically designed for quilting. Quilting needles have a nice, sharp point and a slightly longer shaft than other needles. |
| Thread | Select thread that matches or complements your quilt fabric in color and weight. |
| Scissors | A pair of scissors is needed to snip threads and trim batting and backing fabric. |
Setting Up the Frame
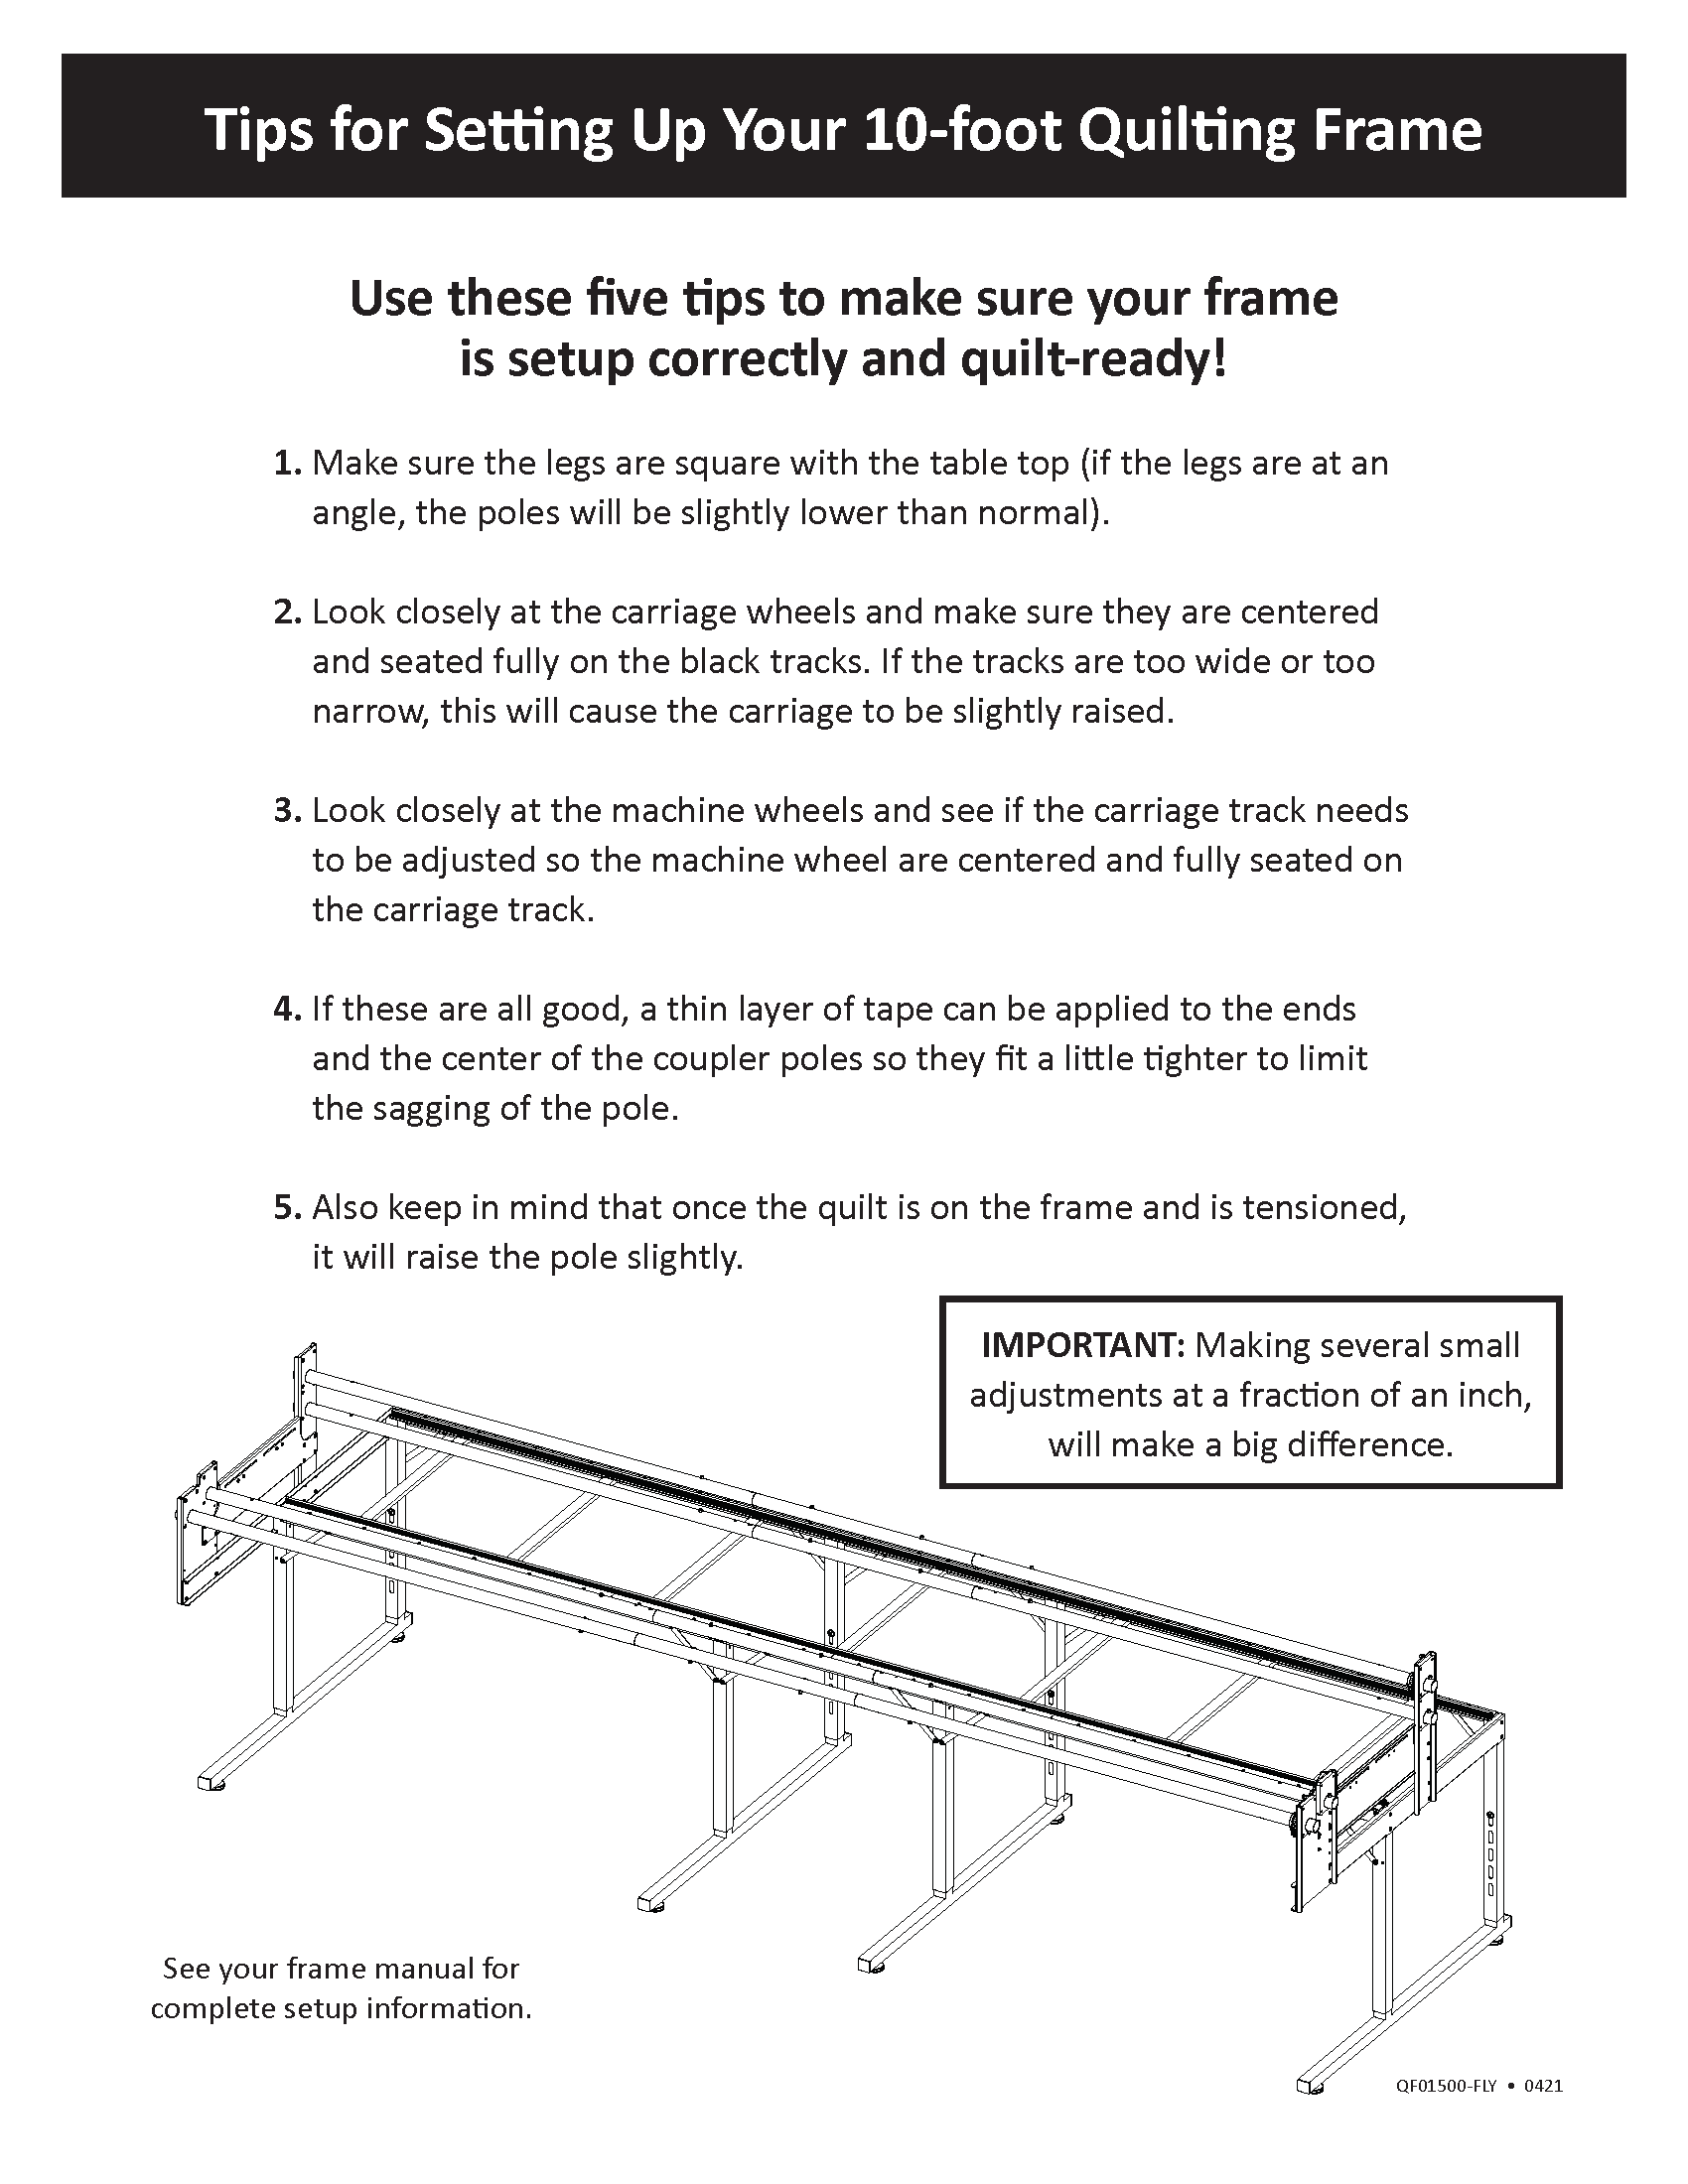
Small Quilting Frame
A small quilting frame is a great way to get started with hand quilting. If you are new to quilting, a small quilting frame is easy to use and set up. It is best to use a frame that is adjustable so you can adjust the tension and size of your quilt. Use the provided screws to tighten the frame, ensuring the tension is even across the fabric.
Floor Quilting Frame
A floor quilting frame is a great option for larger quilts. It allows you to quilt larger pieces of fabric, as well as quilt multiple layers of fabric. To set up the frame, secure the frame to the floor with screws. Tighten the frame with the provided screws, and make sure the tension is even across the fabric.
Large Frame
For larger quilts, a large frame is the best option. These frames are typically made of metal and are very sturdy. To set up a large frame, secure the frame to the floor with screws. Tighten the frame with the provided screws and make sure the tension is even across the fabric. When hand quilting on a large frame, use a quilting hoop to keep the fabric in place. This will help keep the fabric taut and even.
Preparing the Fabric
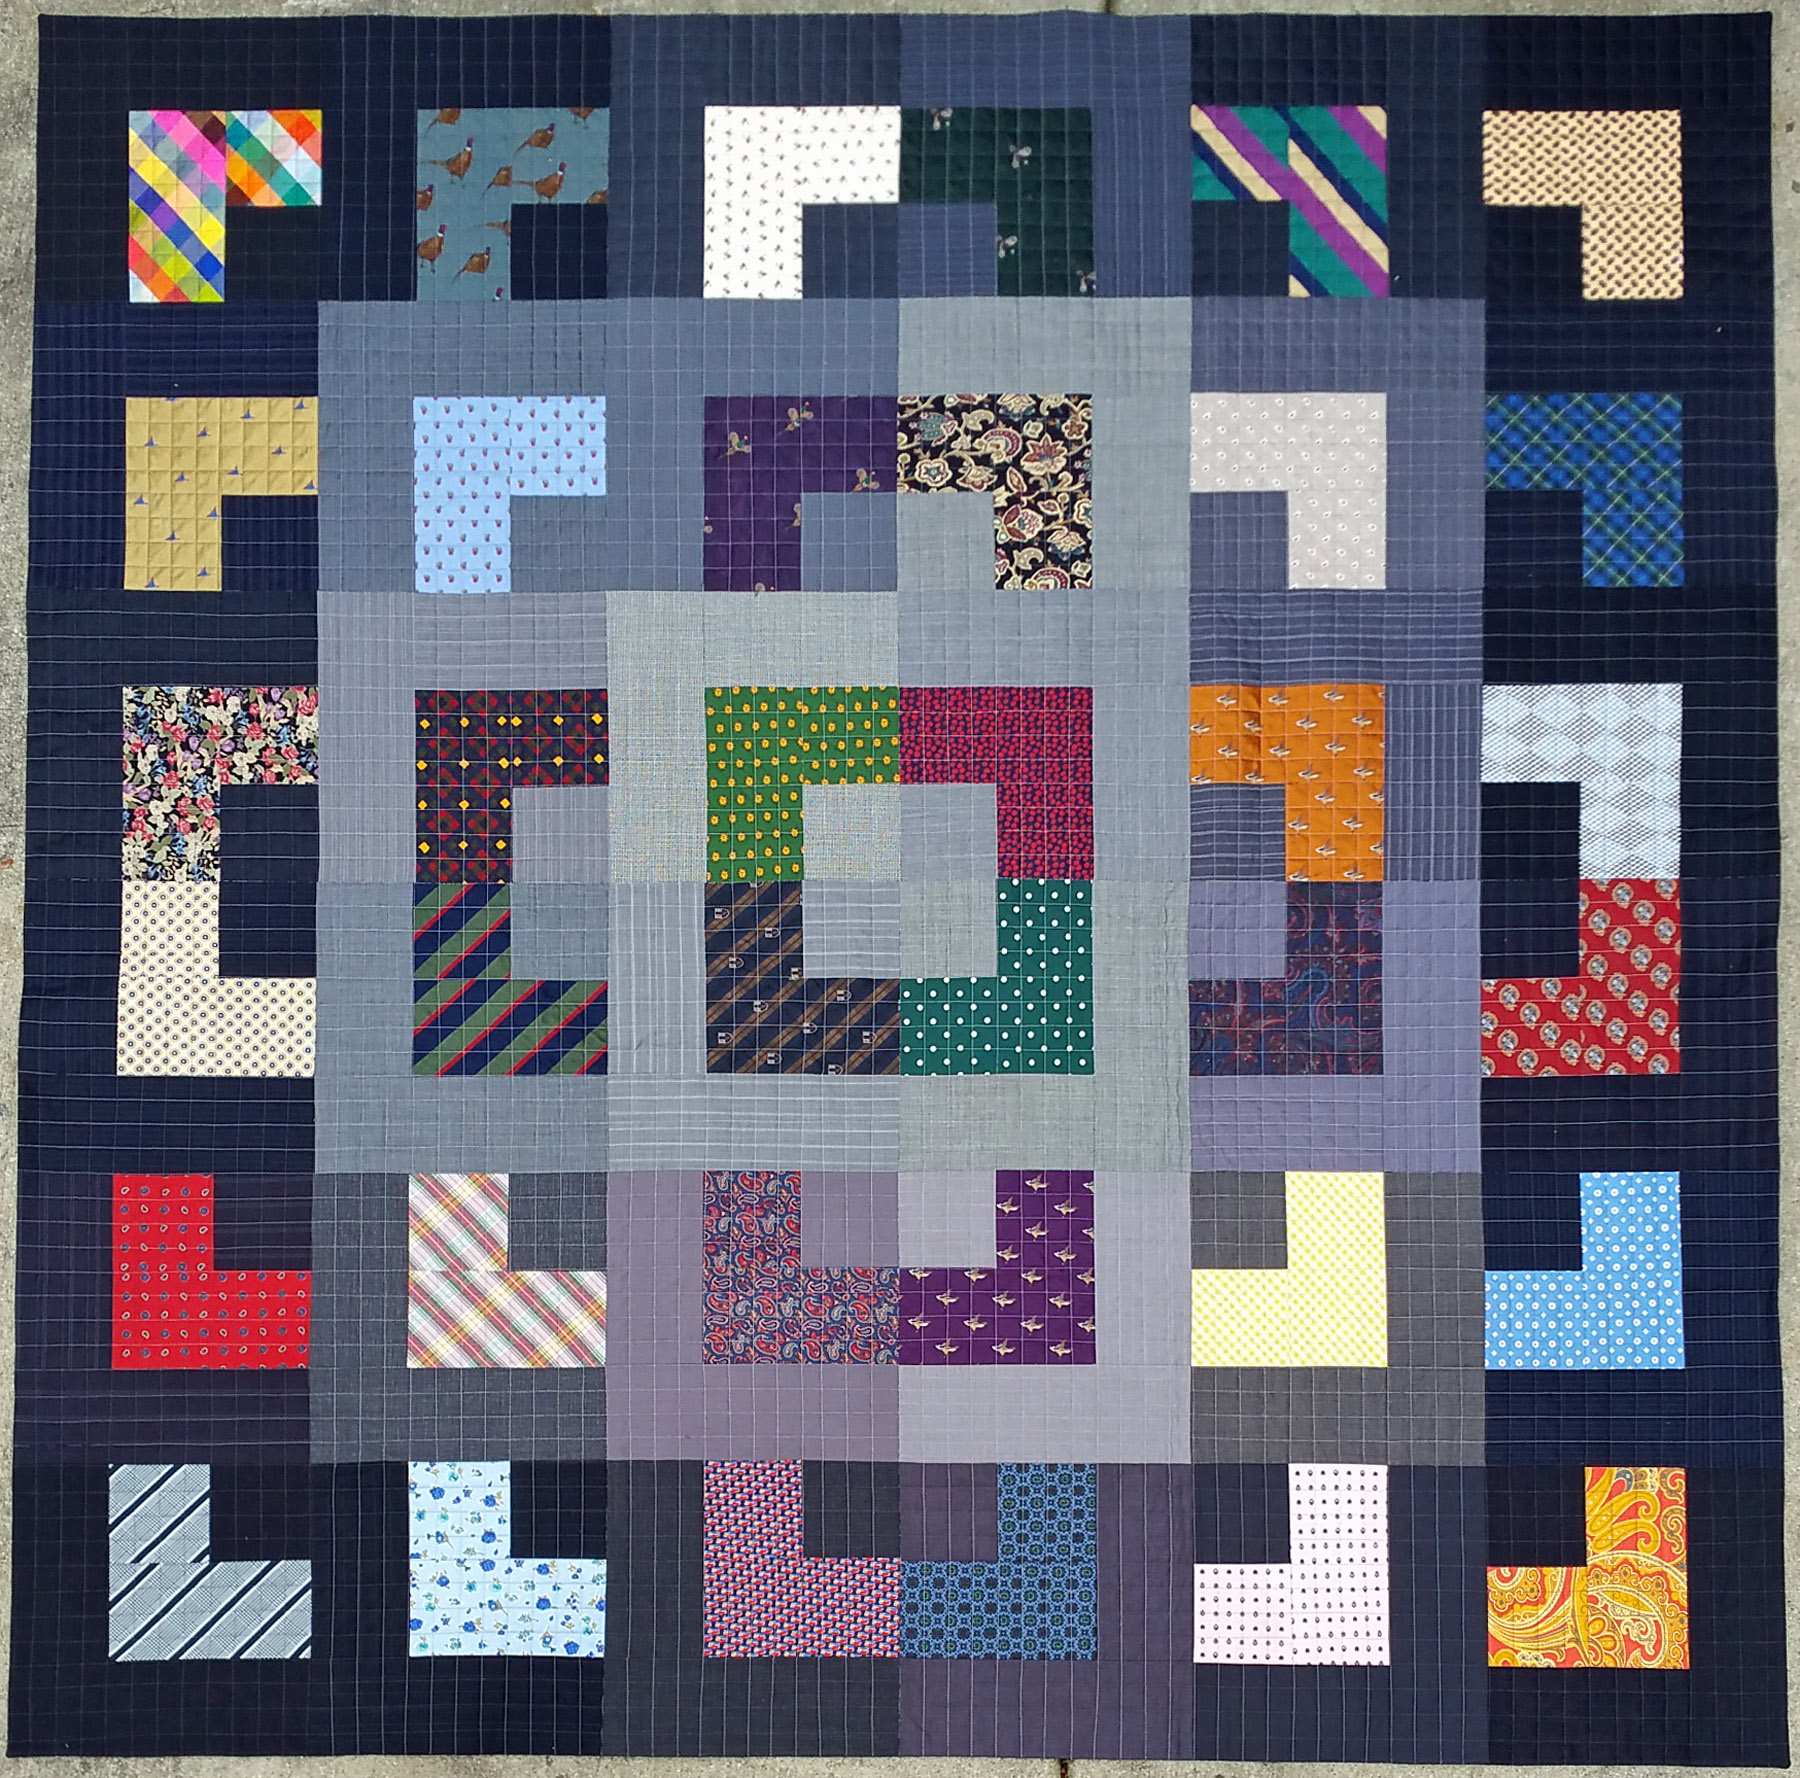
- Choose an appropriate fabric for your quilt – the fabric should be lightweight and have a tight weave.
- Wash and dry the fabric.
- Iron the fabric to remove any existing wrinkles.
- Cut the fabric into manageable pieces that will fit onto the quilting frame.
- Lay out the fabric pieces on the frame.
- Secure the fabric to the frame with quilting pins.
Transferring the Design
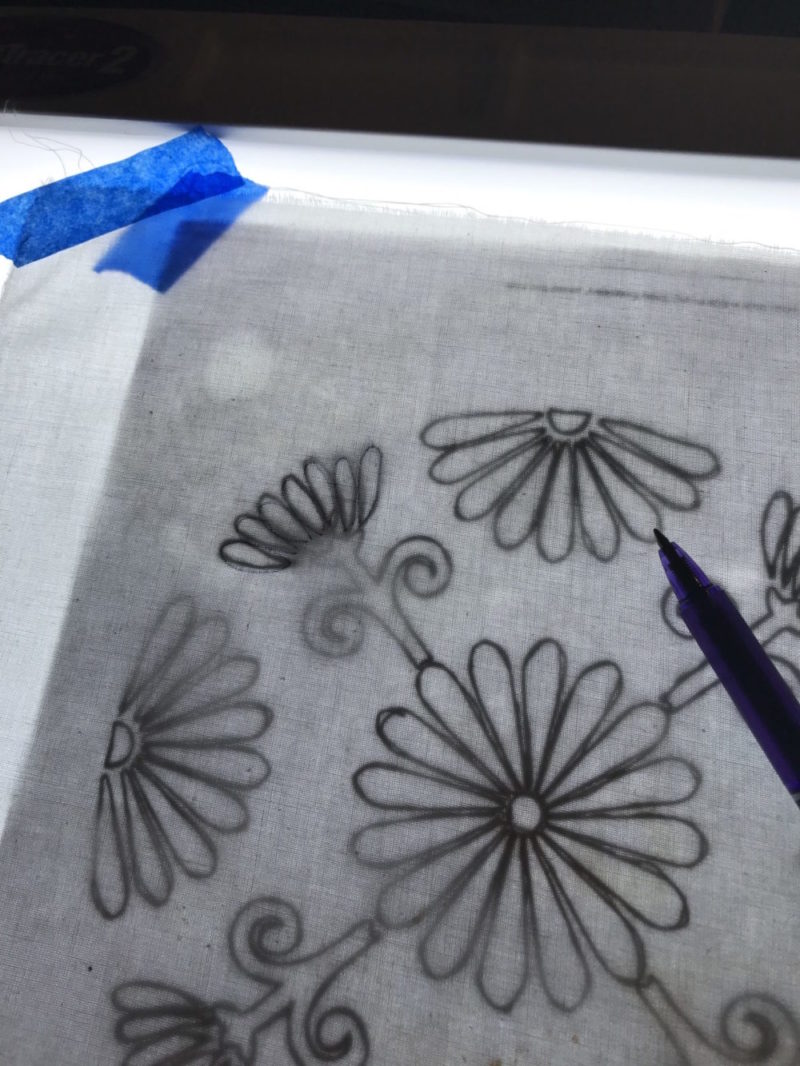
The next step is transferring the design onto the quilt fabric. This can be done either by drawing the design directly onto the quilt top or by tracing the design onto tracing paper and then transferring it onto the quilt. If tracing the design, place the tracing paper over the quilt fabric and trace the design with a light box or with an ink pen. Once the design is traced onto the quilt top, use a fine-point marker to fill in the traced lines. If drawing directly onto the quilt, be sure to use a fabric marker with a fine tip to ensure the quilting lines are even.
Once the design is transferred onto the quilt, use a water-soluble basting pen to trace the quilting lines. This will help keep the fabric in place when quilting. Additionally, you may want to use a quilting hoop to keep the quilt fabric taut while quilting.
Securing the Layers
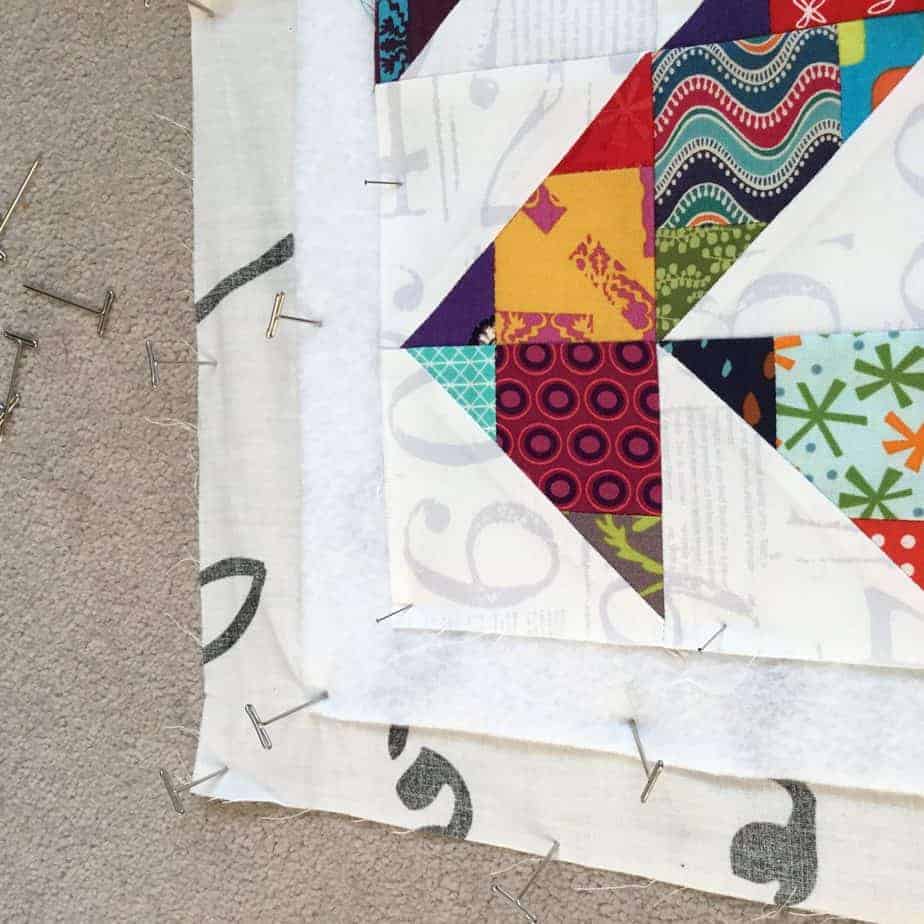
Once the quilt layers have been arranged, they must be secured together to ensure they stay in place. To do this, use basting pins or safety pins to hold them together. Place them along the edges at regular intervals. For an extra secure hold, stitch the layers together using a large running stitch. Use thread that matches the fabric and start stitching at the quilt’s center, working your way outwards. When finished, tie off the thread securely.
Alternatively, use a spray adhesive to keep the layers together. Spray the adhesive on the backing fabric, then carefully place the batting on top. Lay the quilt top on top of the batting, smoothing out any creases. Once all the layers are aligned, the quilt is ready for quilting.
| Method | Pros | Cons |
|---|---|---|
| Pins/Stitching | Secure hold Can provide decorative elements |
Time consuming Need to use matching thread |
| Spray adhesive | Quick and easy No need to match thread |
May not be as secure as other methods |
Quilting Techniques
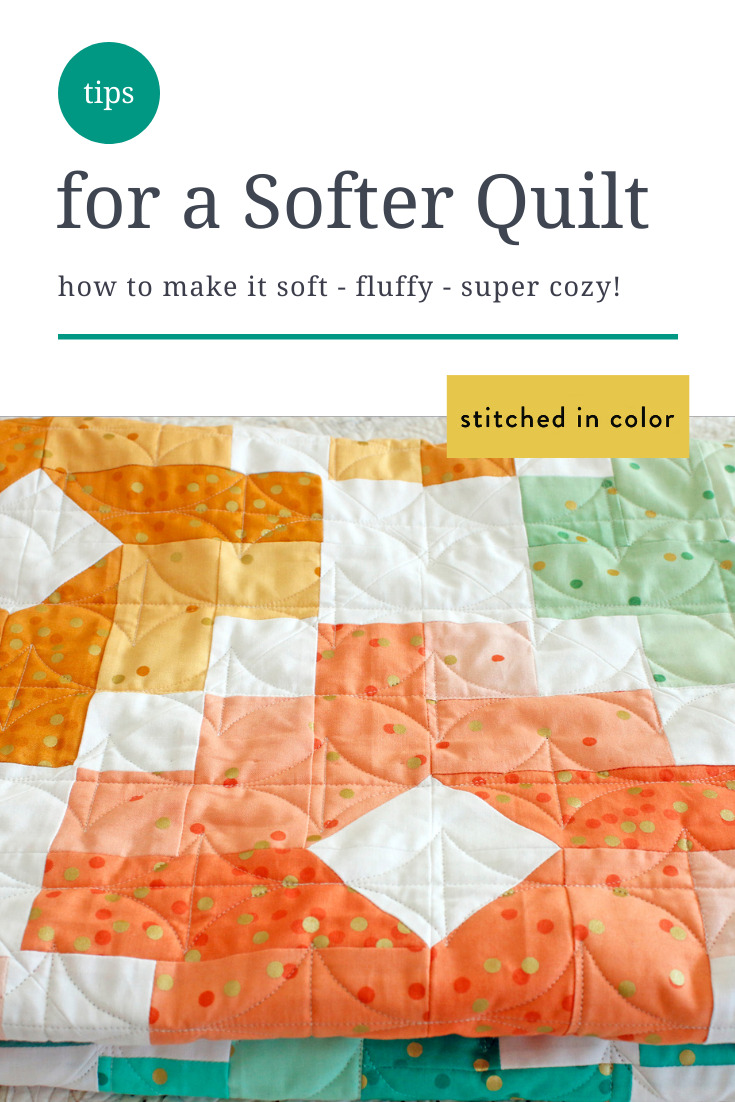
When hand quilting on a frame, there are a few basic quilting techniques to keep in mind. Reverse appliqué is a popular quilting technique and is achieved by sewing two pieces of fabric together, cutting a shape into the top layer, and folding the edges of the bottom layer over the cut edge and stitching them down. This creates a 3D effect.
Free-motion quilting is a technique used to create intricate designs and texture. This is achieved by moving the fabric freely under the needle and changing the direction of the stitch as desired.
Sashiko stitching is a traditional Japanese technique that uses a running stitch to create intricate designs. It is often used to add texture and visual interest to a quilt.
Stippling is a quilting technique that uses small, evenly spaced stitches to create a pattern. The pattern can be anything from swirls and circles to more complex designs.
Looped quilting is a technique used to add texture and dimension to a quilt. This is done by creating loops with the thread and stitching them down with a running stitch.
Echo quilting is a technique that uses a series of small stitches to outline a shape or pattern. This is done by stitching a line of stitches around the edge of the shape, then stitching a line of stitches inside the same shape. The stitches should be evenly spaced and the same size.
Finishing the Quilt
Once the quilt top has been completely quilted, it’s time to finish off the quilt. Trim the excess batting and backing fabric from around the quilt. Square up the quilt by checking the corners are at 90 degrees to each other and trim if needed. Now the quilt can be bound with a binding strip of fabric. Sew the binding to the back of the quilt using a 1/4 inch seam allowance. Then fold the binding to the front of the quilt and stitch it in place with a 1/8 inch seam allowance. Finally, wash and dry the quilt to give it a soft and crinkled look.
Frequently Asked Questions
What type of fabric is best for hand quilting?
Cotton: Cotton is the most popular fabric type for hand quilting due to its breathability and durability. It is also relatively easy to manipulate and is available in a variety of colors and patterns.
Linen: Linen is a more expensive fabric option, but it is also lightweight and durable. It is a great choice for hand quilting as it is easy to sew, while still providing plenty of stability.
Wool: Wool is another great fabric for hand quilting. It is a bit more expensive, but it is very durable and it is easy to manipulate. It also provides great insulation, making it ideal for colder climates.
Synthetic Fabrics: Synthetic fabrics such as polyester and nylon are great for hand quilting because they are strong and durable. They are also available in a variety of colors and patterns, making them a great choice for those looking for a more modern look.
What tools do I need to hand quilt on a frame?
Frame: An adjustable quilting frame is essential for hand quilting on a frame. It should be adjustable to fit the size of your quilt.
Hoops: A quilter’s hoop is necessary to hold the quilt in place and secure the batting while you stitch.
Needle: A size 10 to 12 quilting needle is ideal for hand quilting on a frame.
Thread: Quilting thread should be used for hand quilting as it is strong and won’t break.
Thimble: A thimble is needed to protect your finger from the needle.
Marking Pen: A fabric marking pen is necessary for marking quilting lines and patterns.
Scissors: A small pair of scissors is essential for snipping threads and trimming the quilt.
Rotary Cutter: A rotary cutter is necessary for cutting fabric accurately.
How do I choose the right quilting frame size?
Choosing the right size quilting frame depends on the size of the quilt you’re working on. A large frame is ideal for larger quilts and a smaller frame is suitable for smaller quilts. The size of the frame should be at least two to three times the width of the quilt. The height should be high enough to easily accommodate your quilting arm. Consider the height of the quilt as well when deciding on the size of the frame. A high-quality quilting frame should be made of sturdy material and adjustable to fit your specific quilting needs.
What Type of Thread is Best for Hand Quilting?
Cotton thread is the best choice for hand quilting. It comes in a variety of colors, allowing you to match your quilt fabric, and is strong enough to stand up to the stress of quilting. It is also possible to use polyester thread, but it tends to be less durable and may not last as long as cotton thread.
How do I prevent puckering while hand quilting?
- Tension: Make sure your thread is not too tight, as this causes the fabric to pucker. Use the right amount of tension for the fabric and thread.
- Stitches: Use small even stitches, to prevent the fabric from puckering.
- Batting: Use good quality batting that is the same weight as the fabric you are quilting.
- Needles: Use the correct size needle for the thread and fabric.
- Hoops: Use a quilting hoop or frame to keep the fabric taut and prevent puckering.
- Pressure: Keep the pressure constant while quilting. Don’t push too hard, as this can cause the fabric to pucker.
Conclusion
Hand quilting on a frame is an enjoyable and rewarding activity, and with the right steps and guidelines, anyone can learn how to do it. Whether you’re a beginner or an experienced quilter, this step-by-step guide will help you create beautiful quilts with ease.
