Are you a quilter who wants to know how to load a quilt onto a Gammill longarm? This step-by-step guide with photos will explain everything you need to know in order to properly load your quilt onto a Gammill longarm. We’ll cover topics such as the recommended materials, preparing the quilt top, loading the quilt, and attaching the leader fabric. By the end of this guide, you’ll be an expert on how to properly load a quilt onto a Gammill longarm. So let’s get started!
Pre-Loading Preparation
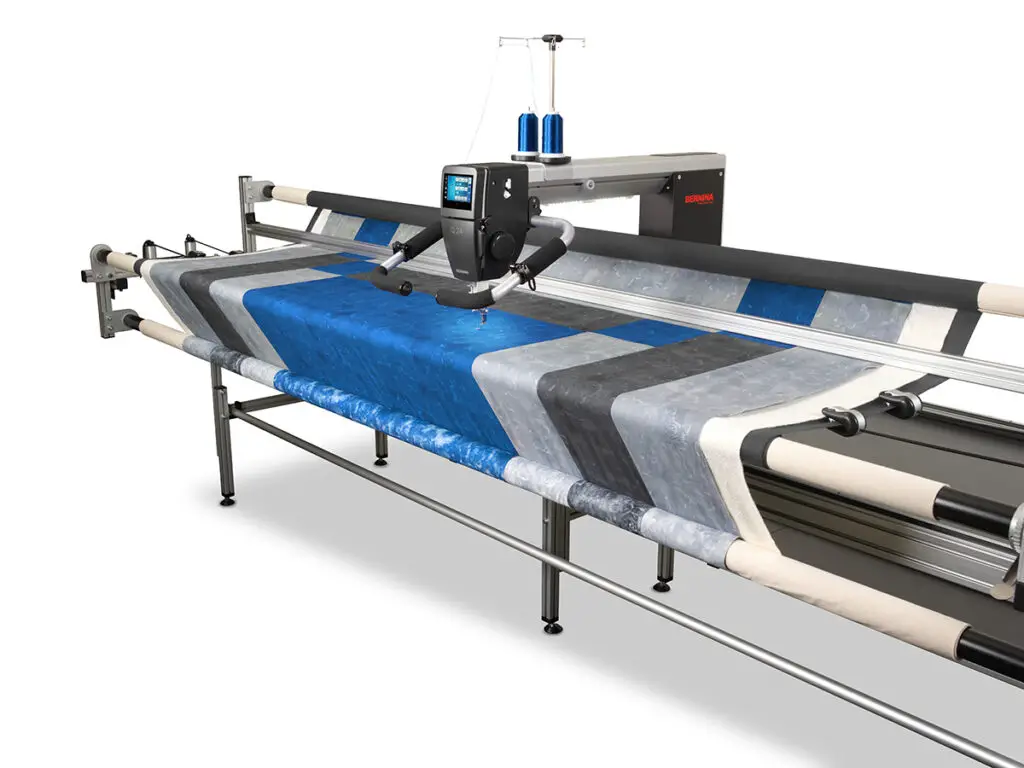
Before beginning to load a quilt onto a Gammill Longarm, it is important to prepare the quilt and machine for the task. This includes threading the machine, rolling the quilt backing and setting up the machine for the quilting process.
Preparing the Quilt and Machine
The quilt top must be properly squared and layered with the batting and backing. The backing should be 2-3 inches larger than the quilt top on all sides and be evenly rolled. Ensure that the backing is taut and flat, without any wrinkles or folds. Additionally, the top and backing should be pinned together with safety pins at each corner and every 10-12 inches in the middle.
Threading the Machine
Threading the machine is a key step in loading a quilt onto a Gammill Longarm. Start by threading the top thread and bobbin, then insert the bobbin case and thread the take-up lever. Finally, thread the machine’s needle and adjust the tension. Check for any knots or tangles to ensure that the threads will move freely through the machine.
Loading the Quilt Top
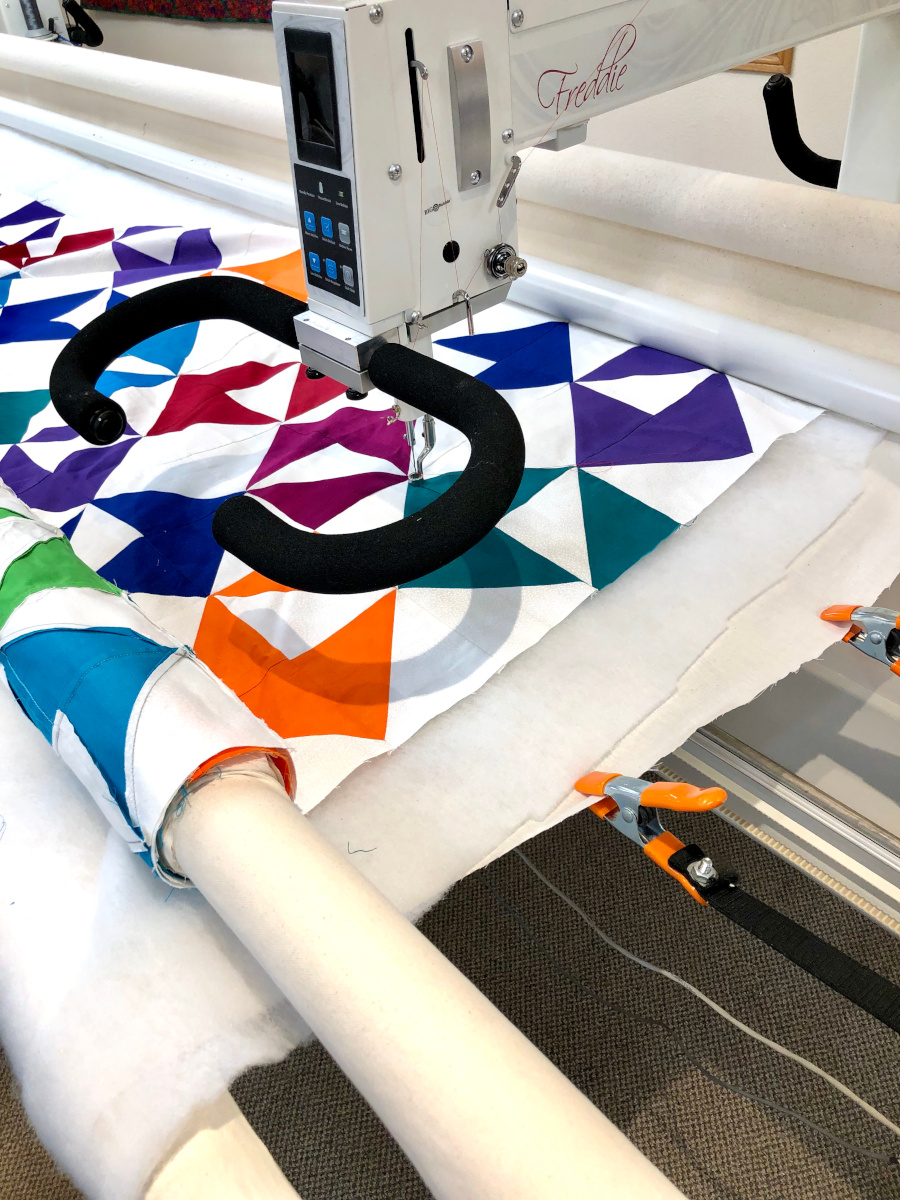
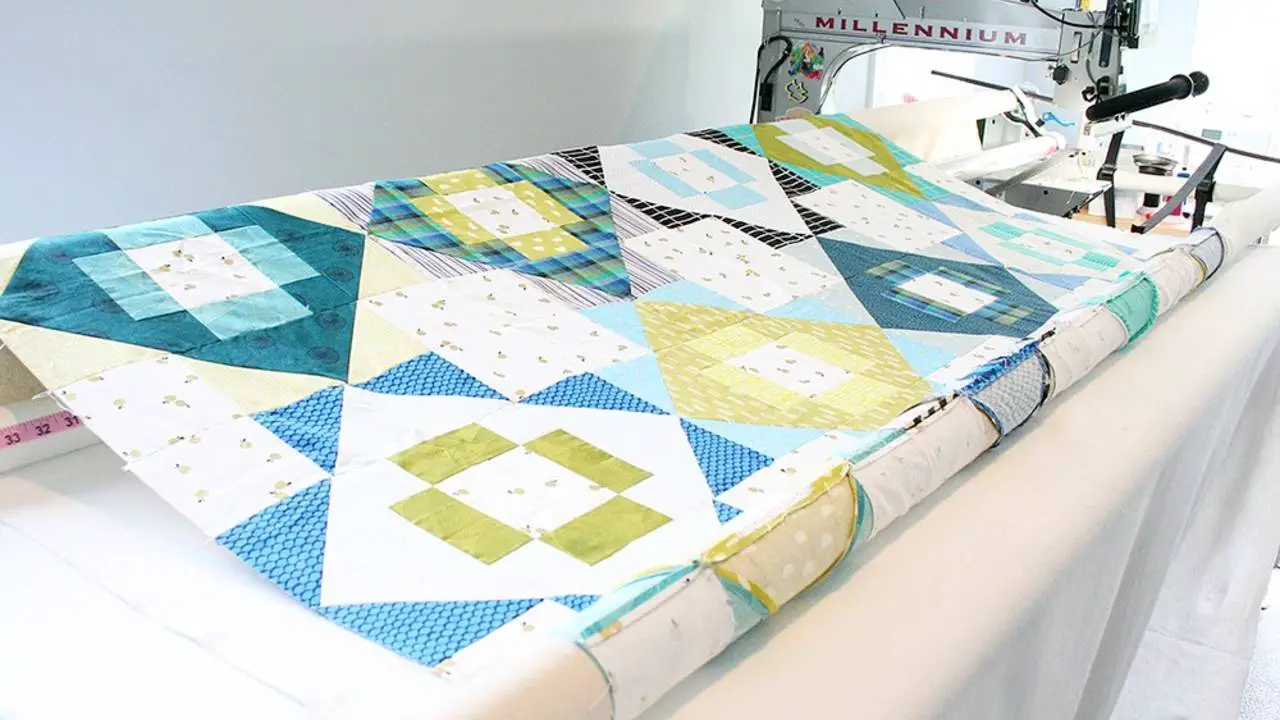
Start by preparing the quilt top for loading onto the Gammill longarm machine. Place the quilt top on a flat surface and make sure that the fabric is not stretched or wrinkled. It is important to ensure the quilt top is flat for the best results.
Positioning the Quilt Top
Position the quilt top on the Gammill so that it is aligned in the machine’s frame. The quilt top should be centered in the frame and the edges should be even on all sides. Use the ruler provided with the machine to measure the quilt top’s placement to ensure accuracy.
Securing the Quilt Top
Secure the quilt top to the frame by using the pins provided. Push the pins into the frame around the edges of the quilt top. Make sure the pins are firmly pushed into the frame for a secure hold. Once the quilt top is secured, you can begin quilting on your Gammill longarm machine.
Loading the Quilt Back
Positioning the Quilt Back
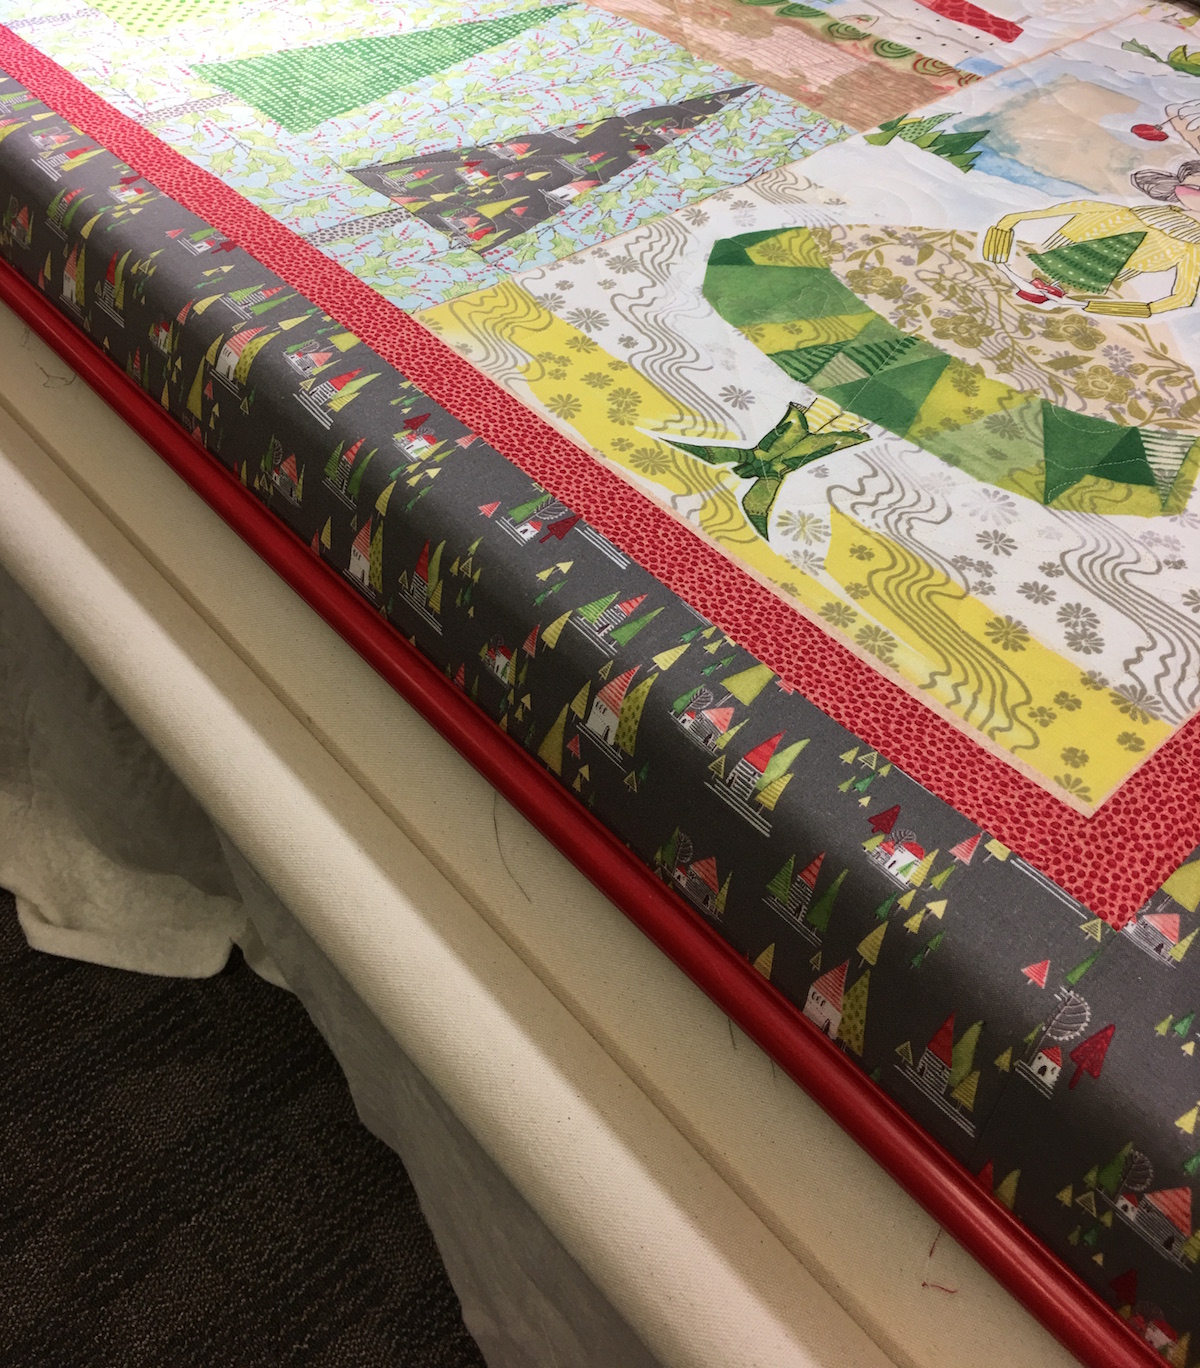
Spread the quilt back on the frame, with the right side up. Make sure the backing material is free of wrinkles and taut. Smooth out any wrinkles starting from the center of the quilt outwards to the edges.
Securing the Quilt Back
Secure the quilt back to the frame using the appropriate pins or clips. Place the pins or clips along the inside edges of the quilt and in the center of the quilt. Make sure the pins or clips are secured tightly to the quilt backing. Once the quilt back is secured to the frame, check for any wrinkles or folds in the quilt back and make sure there are no bunched up areas.
Loading the Batting
Positioning the Batting
Begin by placing the batting on the Gammill worktable. Make sure to align the edges of the batting with the edges of the quilt frame.
Securing the Batting
Secure the batting by attaching the batting clamps to the quilt frame. Make sure the clamps are secure and won’t shift during quilting. Then, attach the batting clamps to the stabilizer bar. To ensure the batting doesn’t move, check all clamps and adjust as needed.
Load the Leader Cloth
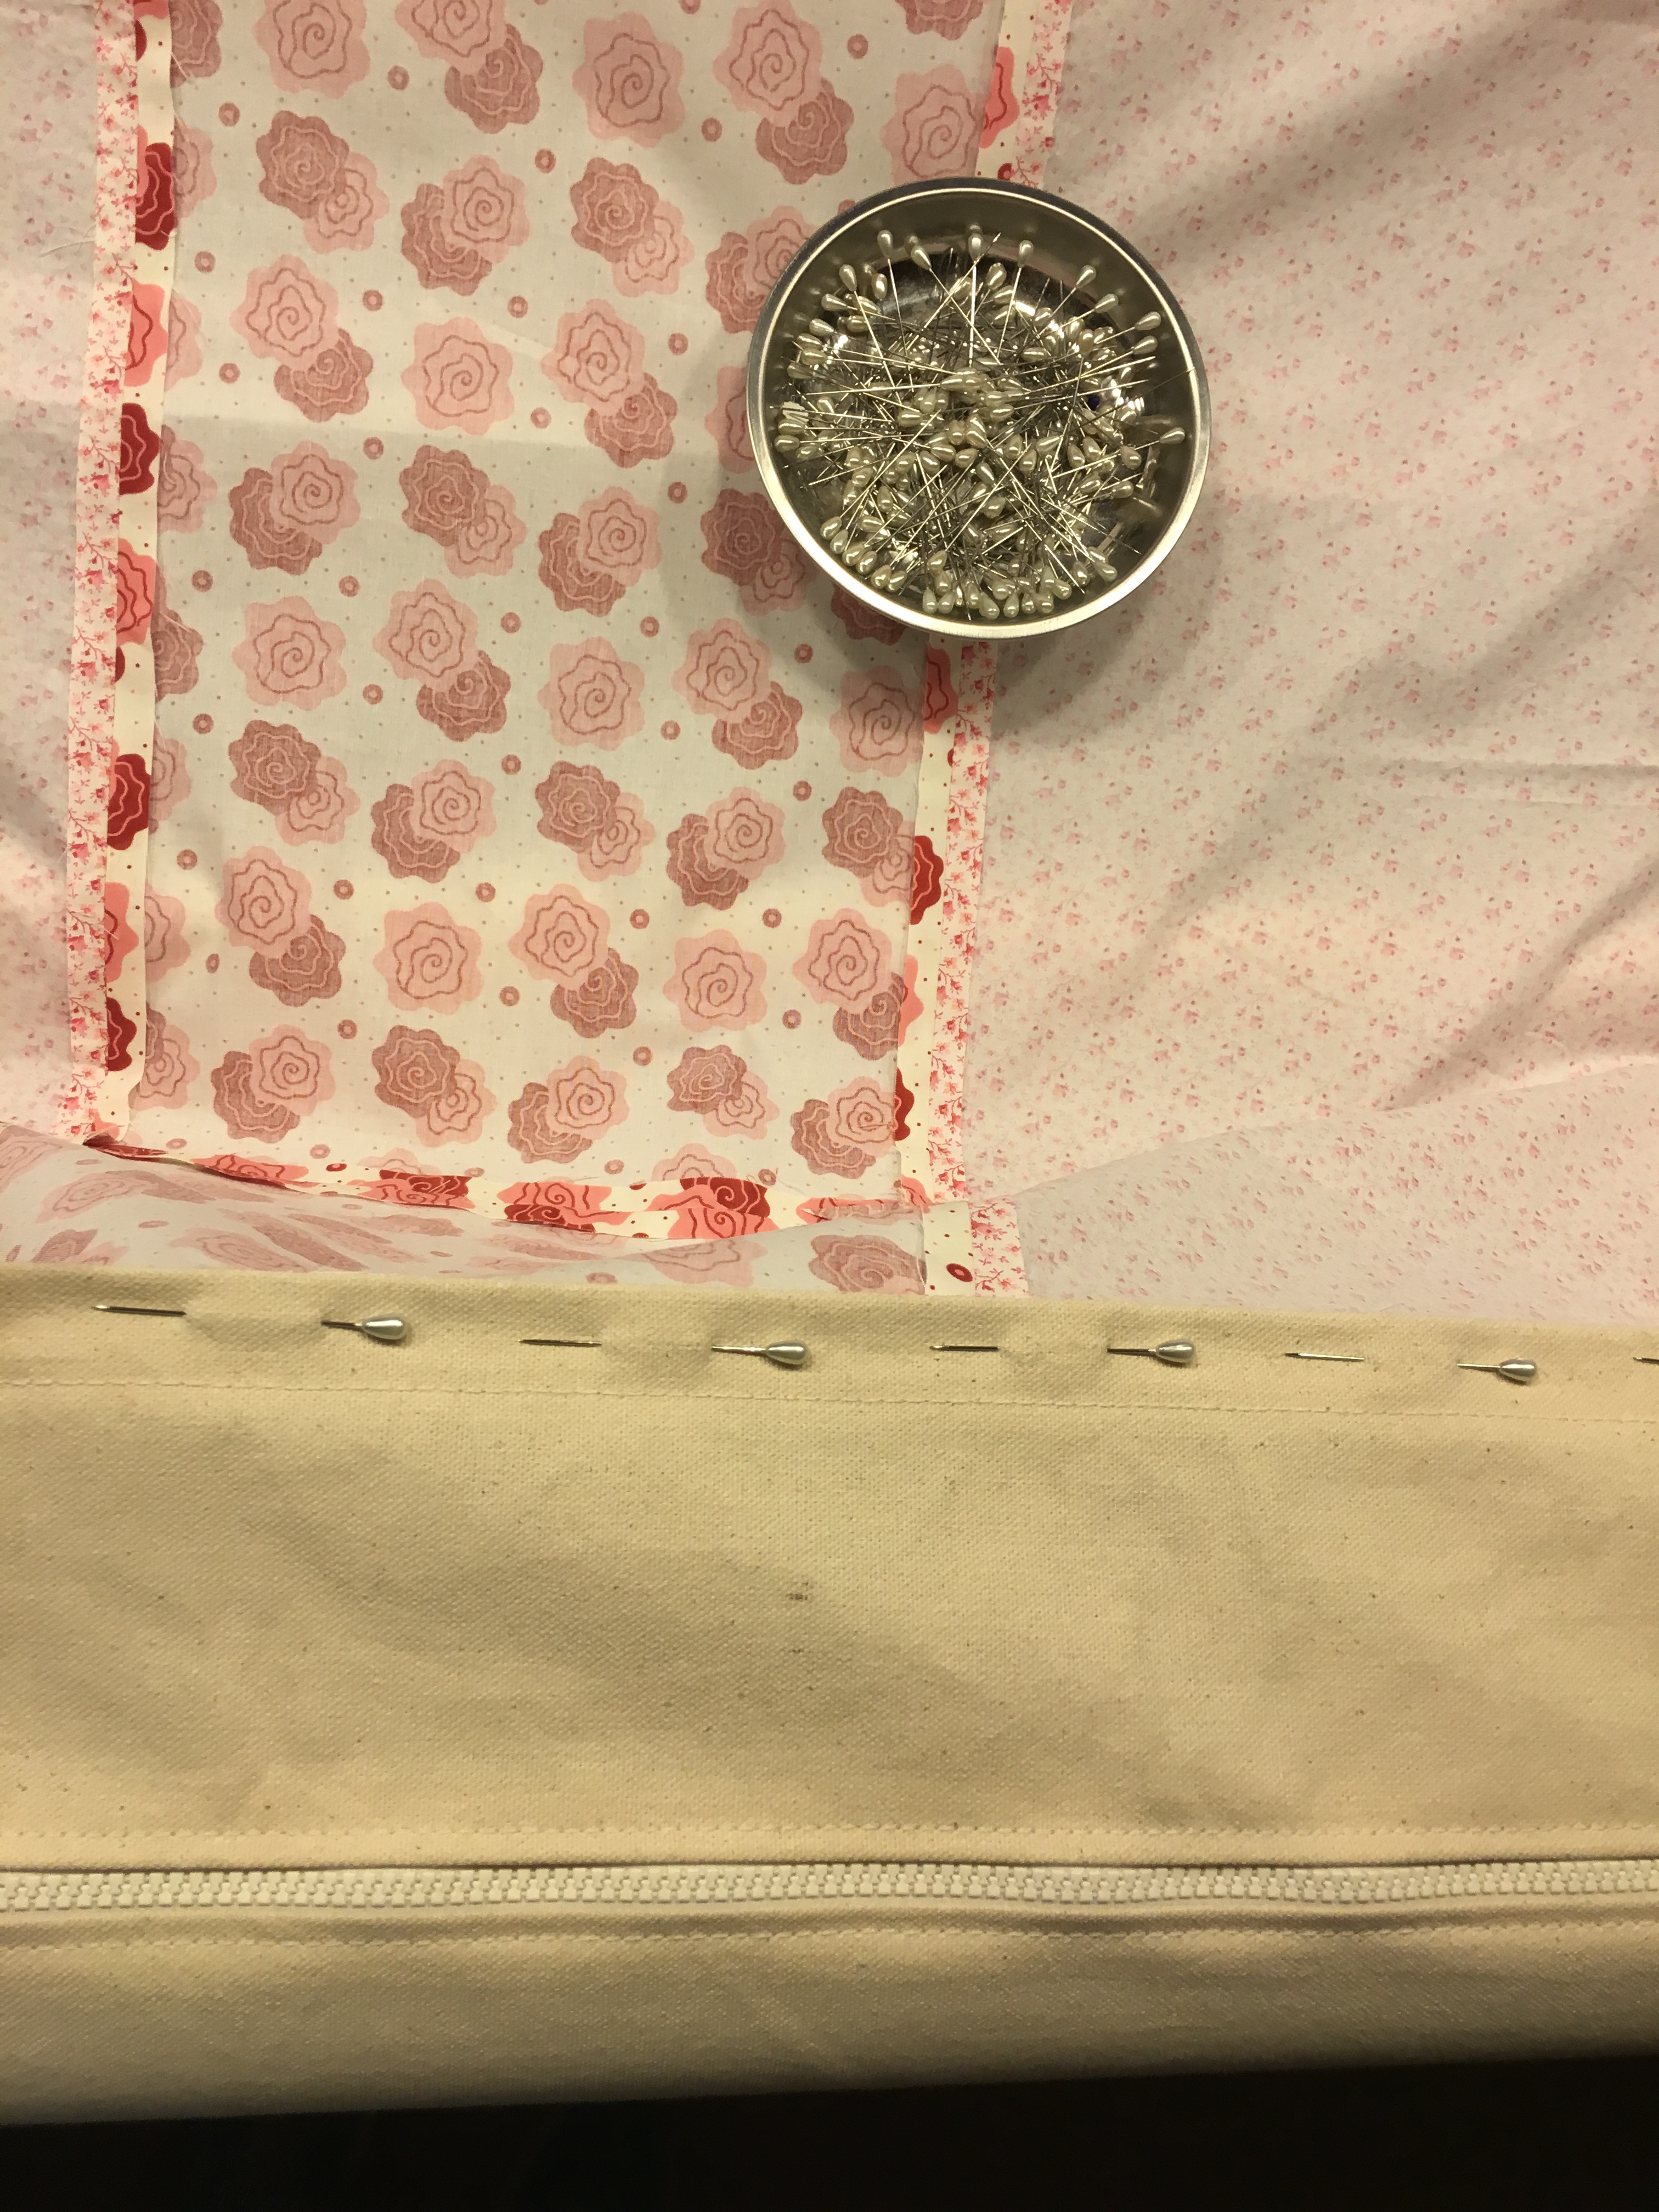
- Start by unrolling the leader cloth on the quilt. Use a table or other flat surface to ensure it’s placed evenly. The leader cloth should be slightly longer than the quilt.
- Tack the leader cloth to the quilt. Use safety pins, starting in the middle of the quilt and working your way out to the edges. Make sure the pins are straight and secure.
- Fold the leader cloth. First fold the edges of the leader cloth towards the center of the quilt. Then fold it in half and press down gently with your hand.
- Load the quilt onto the longarm. Start in the middle and slowly roll the leader cloth onto the take-up roller. As you go, smooth out any wrinkles or bumps in the fabric.
- Secure the leader cloth. Once the quilt is on the longarm, use safety pins or clips to secure the leader cloth to the edge of the quilt.
Set the Machine
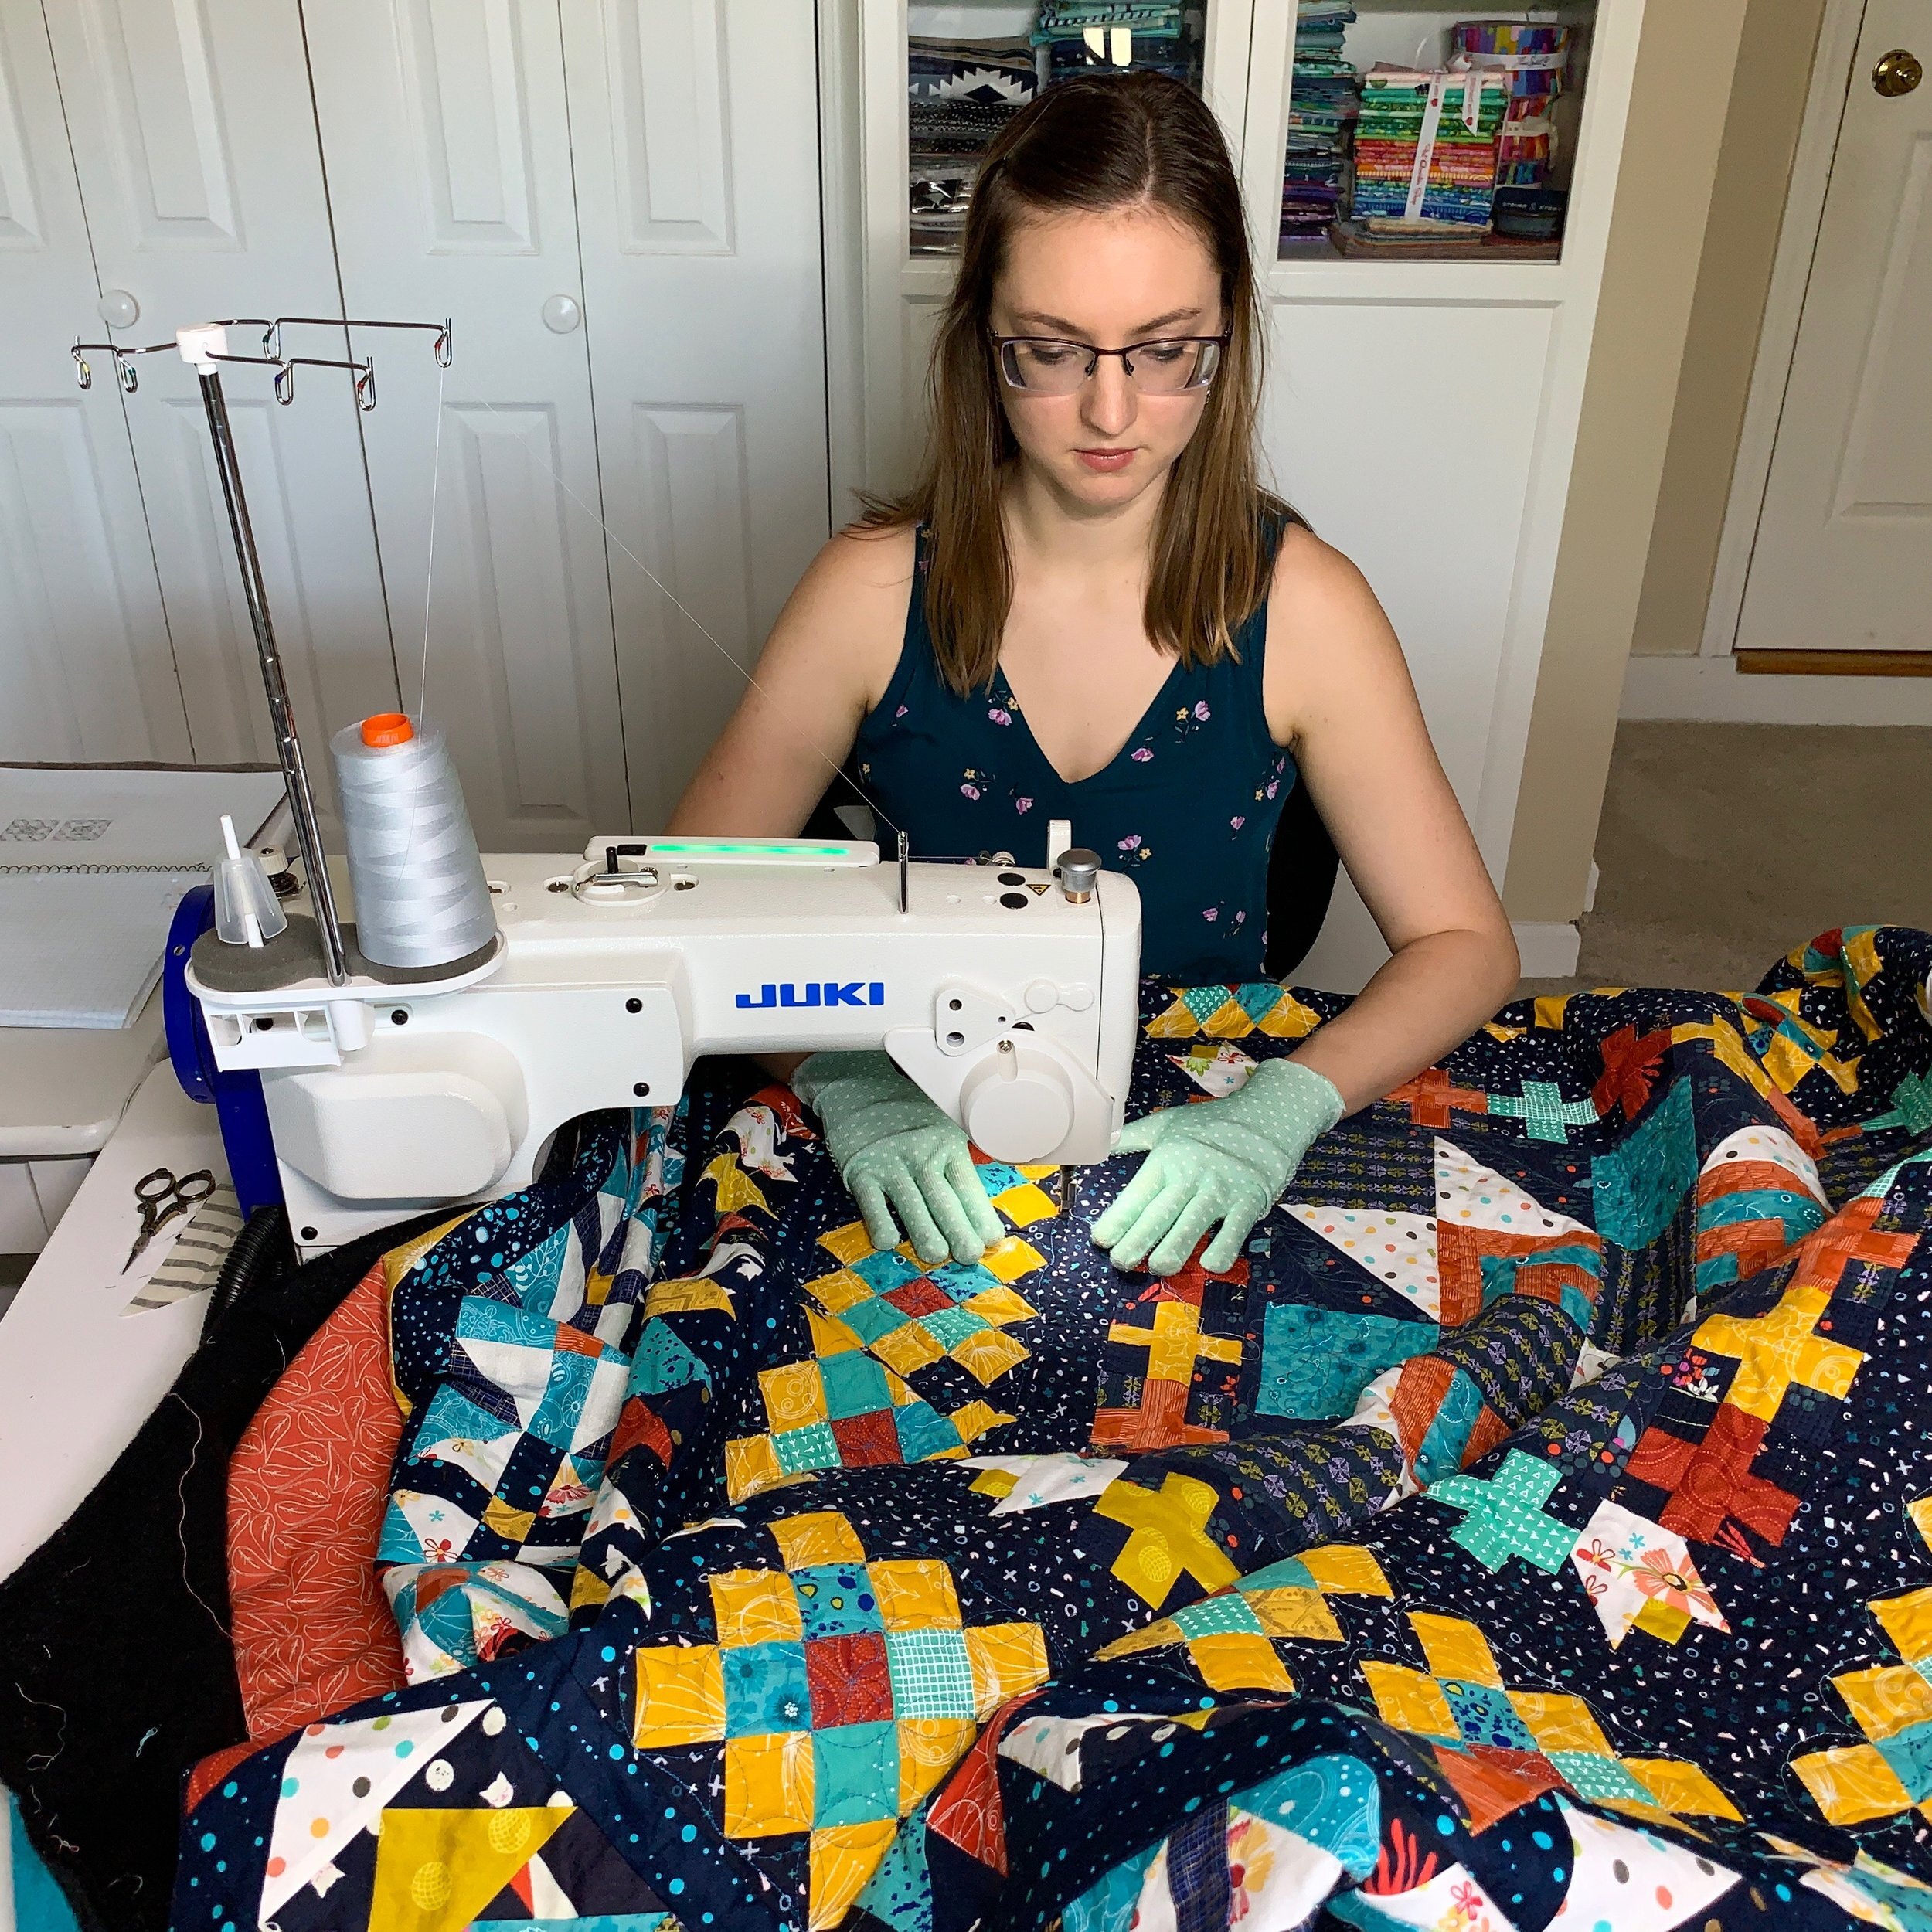
Start by adjusting the height of the machine. Ensure the height is set at the correct level for your comfort. Place the quilt on the quilting frame and attach it tightly. Make sure that the quilt is even and flat on the frame.Check the tension of the fabric on the quilting frame by gently pulling it in different directions. Adjust the tensioner if needed. Thread the machine with the correct type of thread and ensure the bobbin is loaded correctly. Run a few test stitches on a scrap piece of fabric to ensure the machine is working correctly and the tension is correctly adjusted.
Finally, attach the quilting foot to the machine. Ensure to check the needle is set correctly before you begin quilting.
Begin Quilting
Once the quilt is loaded and properly tensioned, the quilting process can begin. Start by setting the stitch length and tension, according to the quilt’s fabric type. Then, use the start/stop button on the handlebar to begin quilting. As you quilt, make sure to keep the pantographs and/or quilting designs consistent by using the reference marks on the quilt. Pay attention to the speed of the machine and the edges of the quilt to ensure they are lined up correctly. If you need to make any adjustments, use the machine’s control panel. Once you have finished quilting, use the stop button on the handlebar to stop the machine.
Frequently Asked Questions
What type of quilt backing is best to use when loading a quilt onto a Gammill Longarm?
- Cotton Muslin – Cotton muslin is the most commonly used quilt backing for loading a quilt onto a Gammill Longarm. It’s lightweight, strong and easy to handle, making it ideal for loading quilts. It’s also very durable and won’t tear easily.
- Batting – Batting is also a great option for loading a quilt onto a Gammill Longarm. It’s lightweight, but thick enough to provide some grip on the machine. It’s also easy to handle and won’t tear easily.
- Flannel – Flannel is a great option for loading a quilt onto a Gammill Longarm. It’s thick enough to provide some grip on the machine, but light enough to handle easily. It’s also very durable and won’t tear or fray easily.
- Fusible Webbing – Fusible webbing is an excellent choice for loading a quilt onto a Gammill Longarm. It’s lightweight, but strong enough to provide a good grip on the machine. It’s also very durable and won’t tear easily.
No matter which backing you choose, it’s important to make sure it’s free of lint and dust before loading a quilt onto a Gammill Longarm.
What tools are necessary to complete the quilt loading process?
- Quilt Clamps: To secure the quilt top and bottom while you load it on the gammill longarm.
- Gripper Strips: To hold one side of the quilt flat while the other side is loaded.
- Threads: To stitch the quilt to the backing.
- Needles: To make sure the stitches are even and consistent.
- Disappearing Ink Markers: To mark the quilt top and bottom on the gammill longarm.
- Scissors: To cut the threads when finished.
- Backing Fabric: To provide an even surface for the quilt to be loaded on.
- Batting: To provide cushioning and support for the quilt.
- Quilting Ruler: To measure the quilt and make sure it is properly lined up.
- Quilting Pins: To hold the quilt in place as you load it.
Is it Possible to Load a Quilt onto a Gammill Longarm without the Use of a Quilting Frame?
Yes, it is possible to load a quilt onto a Gammill Longarm without the use of a quilting frame. Here are the steps you need to take:
- Attach the quilt to the back of the machine
- Secure the quilt with quilting pins
- Check that the quilt is tensioned evenly on the machine bed
- Adjust the needle tension, speed, and stitch length
- Start quilting using the Gammill Longarm
These steps are relatively easy and straightforward, and will allow you to load a quilt onto a Gammill Longarm without the need for a quilting frame. However, it is recommended that you use a quilting frame if you are a beginner in order to ensure that the quilt is secured properly and tensioned evenly. This will result in better quilting results.
How should I secure the quilt backing to the quilting frame?
The quilt backing should be attached to the quilting frame using pins, safety pins, screw clamps, binder clips, or tape. Make sure to attach the backing securely and evenly to the frame, with no wrinkles or sags. Check to make sure the backing is smooth and tight before you start quilting.
Is There a Way to Adjust the Tension of the Quilt on the Gammill Longarm?
Yes, there is a way to adjust the tension of the quilt on the Gammill Longarm. The tension is adjusted by loosening or tightening the bolts located on the tension bars. To adjust the tension, first loosen the two nuts closest to the machine and press down on the bar. Then adjust the two middle nuts and then the two furthest nuts. After adjusting all four nuts, check to make sure the tension is even throughout the quilt. Once the tension is set, tighten the nuts securely.
Conclusion
Loading a quilt onto a Gammill Longarm is a simple process that will help you achieve beautiful quilting results. With the right tools and a few simple steps, you can get your quilt loaded and ready to quilt in no time.
References
- How to Load a Quilt on a Longarm Machine, AllPeopleQuilt.com
- How to Load a Quilt on a Gammill Longarm, YouTube Video
- Quilting, Wikipedia


