Do you want to learn how to load a quilt on a longarm frame in order to achieve perfect quilting results? Look no further! This step-by-step guide will walk you through the process of loading a quilt onto a longarm frame and provide helpful tips to ensure that you achieve the best results. Whether you are a beginner or a seasoned quilter, this guide will provide you with the information you need to master the technique of loading a quilt onto a longarm frame.
Preparations for Quilting
Gather Supplies
Before starting to quilt, quilters must first gather all the necessary supplies. This includes a longarm frame, a quilting machine, thread, and basting spray. Quilters may also choose to use a walking foot, a ruler foot, or other quilting accessories.
Prepare the Quilt
Before loading the quilt on the longarm frame, quilters should first make sure it is square and flat. To achieve this, quilters can baste the quilt with pins, basting spray, or thread. It is also important to make sure that the backing is larger than the quilt top, in order to prevent puckers and distortion.
Once the quilt is ready, quilters can begin loading it onto the longarm frame. It is important to make sure the quilt is centered on the frame before beginning to quilt. Quilters should also check that the tension of the quilting fabric is even across the quilt.
Finally, quilters should make sure to mark the quilt with a quilting ruler or other quilting tool to ensure that the quilting design is evenly spaced and consistent. With these steps complete, quilters are now ready to begin longarm quilting.
Loading the Quilt onto the Frame
Position the Quilt
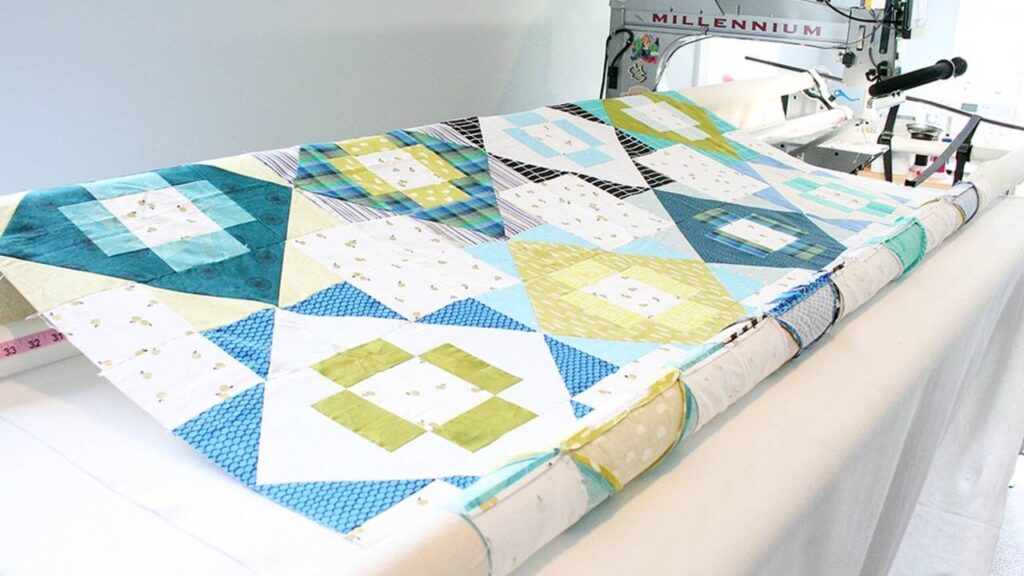
When loading a quilt onto a longarm quilting machine, it is important to ask yourself which way should you put a quilt on a longarm quilting machine. The answer is typically to lay the quilt flat on the take up roller with the backing on the bottom and the batting and top on the top. Make sure to smooth out any wrinkles and center the quilt evenly on the frame.
Secure the Quilt
Once the quilt is positioned correctly, use the tensioning rollers to secure the quilt to the frame. Move the rollers from the center outwards, gradually increasing the tension until the quilt is secure. It is important to not over tighten the rollers as it may cause damage to the quilt.
Adjust the Frame
Lastly, adjust the frame tension to ensure the quilt is neither too tight nor too loose. Make sure to test the tension on the quilt by gently tugging on the corners and making sure the quilt is not slipping. Once the tension is adjusted, the quilt is ready to be quilted.
Quilting
Select the Stitch Length
It is important to choose the right stitch length for your quilt. The stitch length should be appropriate for the type of fabric you are using and the quilting design you are creating. The shorter the stitch length, the more secure your quilt will be. The longer the stitch length, the more decorative it will be. For example, if you are using a lightweight fabric for the quilt, then a shorter stitch length is recommended.
Set the Quilting Speed
Once you have selected the stitch length and pattern, you can set the quilting speed. Setting the quilting speed will depend on the size of the quilt and the stitch length you have selected. Generally, the larger the quilt, the slower the quilting speed should be. This will ensure that the quilting is even and secure.
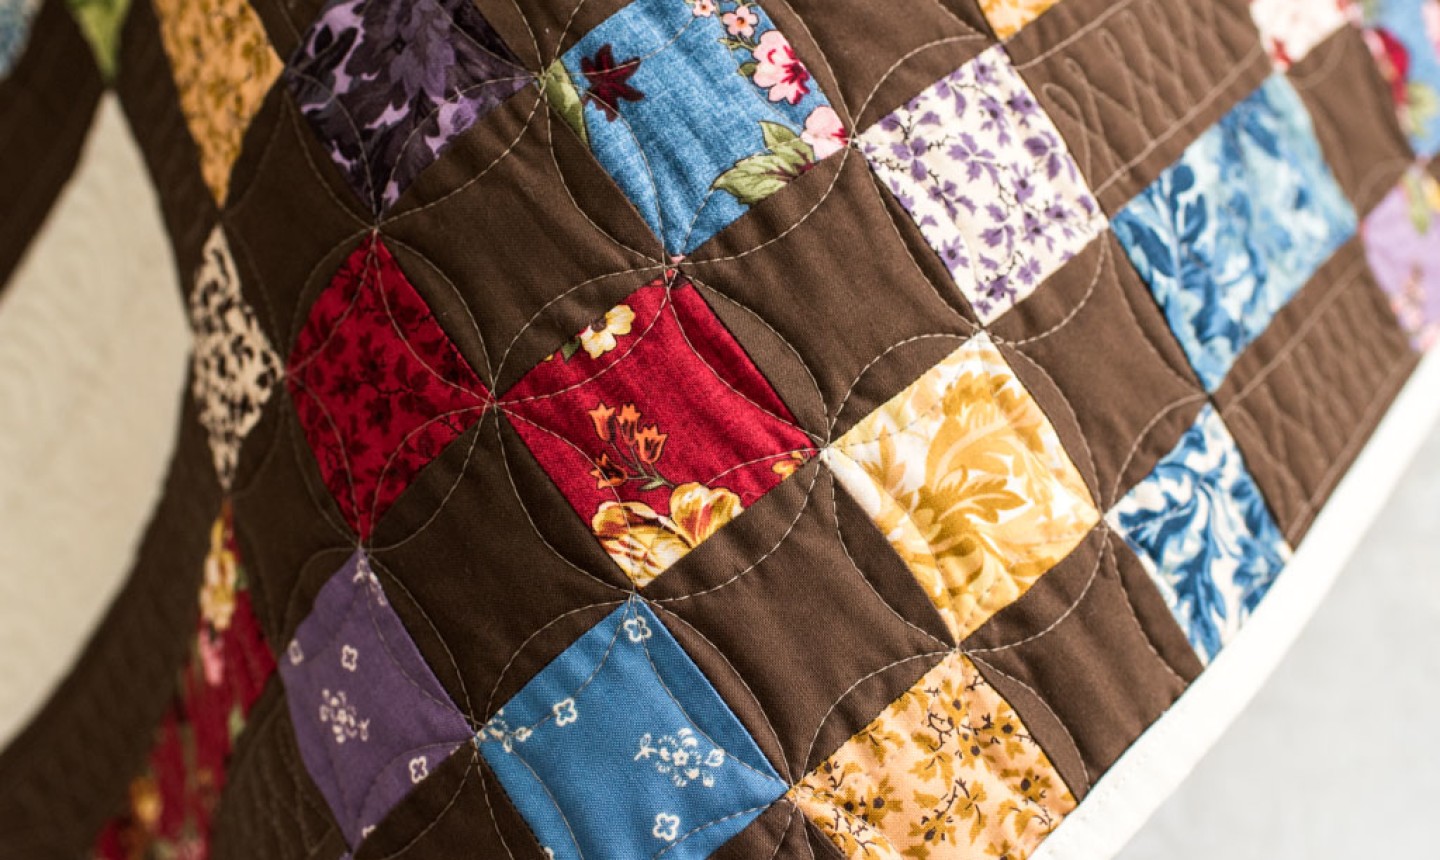
Select the Quilting Pattern
The quilting pattern you choose will depend on the look and feel that you are trying to create with your quilt. There are many patterns to choose from such as straight lines, curved lines, spirals, and more. You can even create your own quilting pattern if you want to.
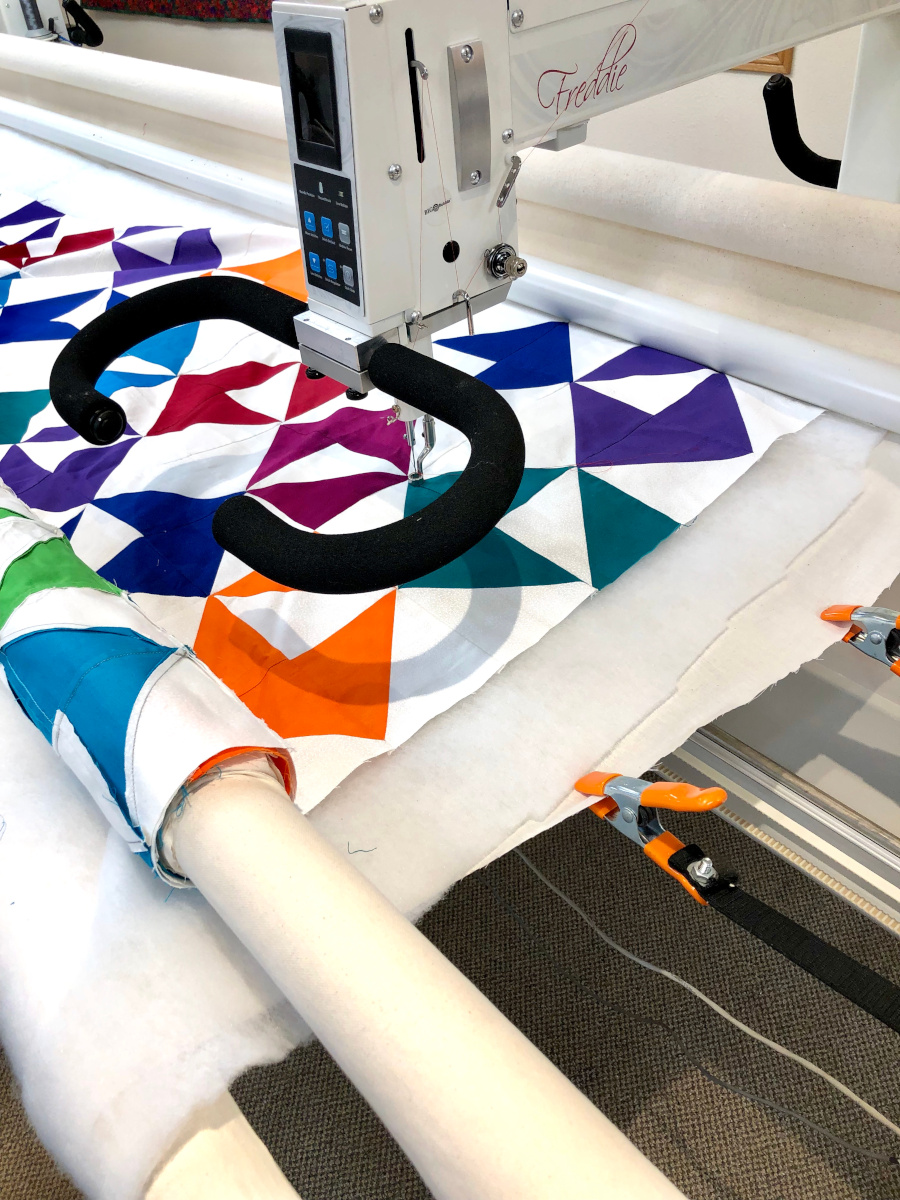
Start Quilting
Once you have selected the stitch length, quilting speed and pattern, you are ready to start quilting. You can use your longarm machine to quilt the quilt or you can use a hand quilting hoop. If you are using a longarm machine, make sure to secure the quilt on the frame before you start quilting. Once you are finished quilting, your my quilt is loaded on the long arm now what is ready to go.
Finishing Touches
Trim the Quilt
Before loading your quilt onto the longarm frame, make sure to trim any excess fabric that may be hanging off the sides. This will ensure a smoother and more even finish to your quilt. Use sharp scissors to trim away any loose threads. Do not pull threads to remove them, as this may damage the quilt.
Secure the Binding
Once the quilt is trimmed, secure the binding with safety pins. This will keep the binding from shifting or bunching up as you load the quilt onto the frame. Be sure to use enough pins to keep the binding secure and in place. When loading the quilt onto the frame, be sure to keep the binding on the outside edges of the quilt. This will help ensure that the binding does not get snagged or caught on the frame.
Frequently Asked Questions
What type of machine is best for quilting?
Longarm quilting machines are ideal for quilting large quilts. They are designed to provide a smooth and even stitch, allowing for a high level of precision and accuracy. These machines are also capable of handling large quilts with ease and can accommodate quilts that are up to 120 inches wide and up to 20 feet long. Additionally, longarm quilting machines are equipped with a variety of features, such as adjustable speed, precision stitch control, and built-in computerized design capabilities. They are also equipped with a wide range of accessories, such as quilting rulers, quilting templates, and quilting frames, making them a great choice for quilting enthusiasts.
What kind of frame is necessary for quilting?
Longarm Frame: A longarm frame is the ideal choice for quilting. It provides a larger, stable surface for your quilt, which ensures better tension control while quilting. Additionally, the longarm frame allows you to move the quilt back and forth as you quilt, allowing you to focus on a specific section of the quilt.
Pantograph: A pantograph is a device that helps you to quilt a repeating pattern on your quilt. It is placed on top of the quilt and allows you to trace the pattern onto the quilt. This is a great way to add intricate quilting designs to your quilt.
Hoops: Hoops are used to hold the quilt in place while you are quilting. They come in a variety of sizes, from small to large. The larger the hoop, the more space you have to quilt.
Quilting Table: A quilting table is a great way to keep your quilt in place while you are quilting. It is typically made of a sturdy material and can be adjusted to various heights. It also provides a flat surface for your quilt, making it easier to quilt evenly.
Accessories: There are a variety of accessories that can be used with your quilting frame. These can include rulers, stencils, quilting gloves, and quilting needles. These accessories can help make your quilting experience easier and more enjoyable.
What are the most important considerations when loading a quilt on a frame?
- Stabilizing the quilt. The quilt should be as flat as possible while loading it onto the frame. Use spray basting or pin basting to secure the quilt layers together. This will prevent stretching and puckering while quilting.
- Positioning the quilt. Make sure the quilt is centered and straight on the frame before beginning to quilt. This will ensure that the quilt is evenly quilted and will prevent the quilt from being misaligned or distorted.
- Using the correct tension. Using the correct tension is essential for successful quilting. Too much tension can cause the quilt to be distorted, while too little tension can cause the quilt to be loose and saggy.
- Checking the frame. Make sure the frame is level and secure before loading the quilt. Inspect the frame for any loose screws or bolts, and make sure the frame is not warped or damaged.
- Using the correct batting. The batting should be chosen carefully, as it can affect the overall look and feel of the finished quilt. Consider the size, weight, and fiber content of the batting when selecting the best option for your project.
How should I prepare the quilt for loading?
Press the quilt top and backing fabric to ensure the quilt is wrinkle-free. Trim off all excess threads and fabric extending beyond the quilt edges. Square up the edges of the quilt and trim any excess batting. Mark the center of the quilt top and backing to help with accurate placement on the longarm frame. Baste the quilt layers together using safety pins or a basting spray.
Are there any techniques for preventing puckering or shifting when quilting?
- Check visually: Before starting to quilt, check the quilt visually for any puckering or shifting. Make sure the quilt is evenly tensioned and there are no visible wrinkles. If any are present, gently adjust the quilt.
- Adjust the frame: Make sure the frame is properly adjusted. The frame should be level and properly tensioned, with no parts that are loose or wobbly. This will help to reduce the chances of puckering or shifting.
- Use proper batting: Use a batting that is appropriate for the type of quilting you are doing. For example, if you are doing free motion quilting, you should use batting that has a high loft and is designed specifically for free motion quilting.
- Keep the fabric taut: When quilting, make sure the fabric is kept taut and does not shift or move. This will help to prevent puckering or shifting.
- Quilt slowly: Always quilt slowly and carefully. This will help to ensure that the quilt is not stretched or shifted as you quilt.
Conclusion
Loading a quilt onto a longarm frame is a simple process, but it requires a lot of patience and attention to detail. Using the proper tools, preparing the fabric and frame, and taking time to accurately roll and secure the quilt is essential for achieving the perfect quilting result. With the right steps, you can confidently and easily get your project ready for quilting.


