Are you looking for a step-by-step guide on how to machine quilt a baby blanket? If so, then you’ve come to the right place! In this article, we’ll provide you with a comprehensive guide on how to machine quilt a baby blanket for perfect results every time. We’ll cover everything from the necessary materials and supplies, to the steps you need to take to successfully quilt your baby blanket.
Materials Needed

- Sewing Machine
- Thread
- Quilting Fabric
- Batting
- Scissors
- Ruler
- Pins
- Iron
To machine quilt a baby blanket, you will need these materials to get started. Once you have gathered the materials, you can begin to create a beautiful quilted baby blanket that can be used for a variety of purposes such as cuddling, swaddling, or as a decorative piece.
Choosing a Quilting Design
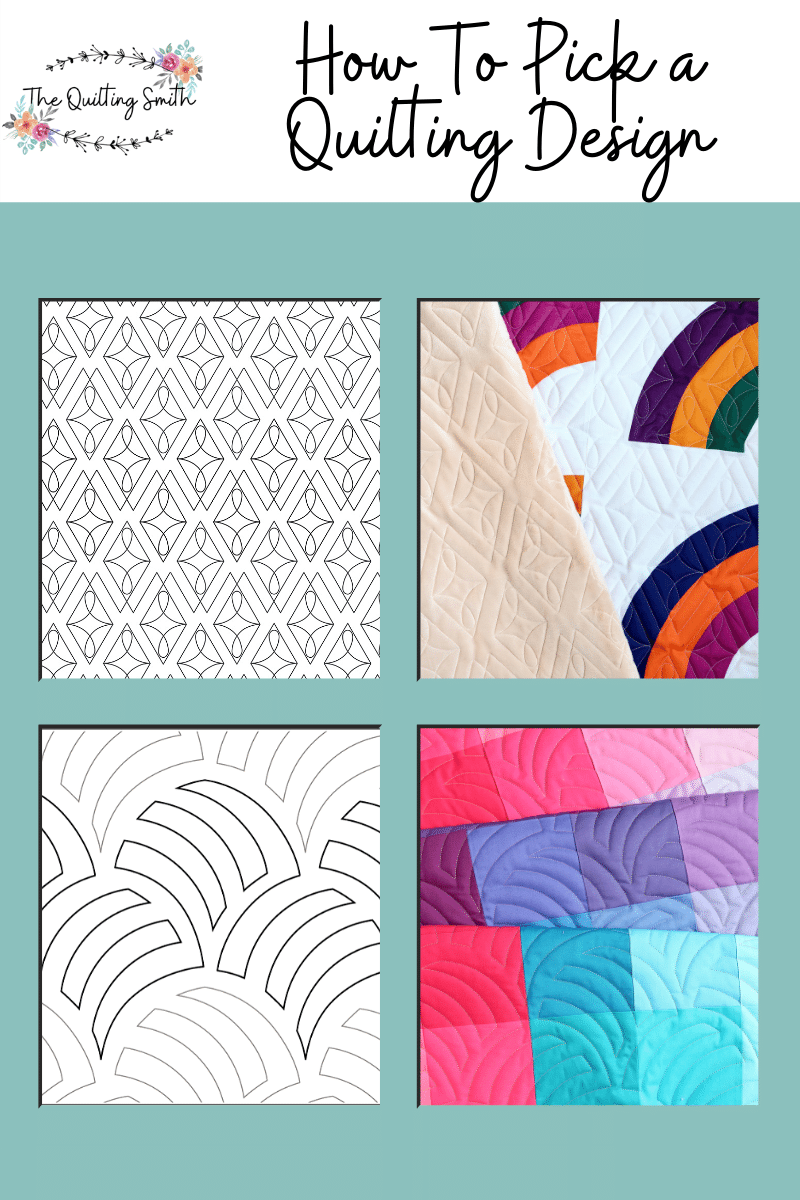
When selecting a quilting design for your baby blanket, it’s important to consider the size, fabric type, and complexity of the quilt. Here are some tips on choosing the right quilting design for your baby blanket:
Size: The size of the quilted design should be proportional to the size of the quilt. A small quilt will require a smaller quilting design, while a larger quilt will need a larger quilting design.
Fabric Type: Different fabrics require different quilting designs. For example, cotton fabrics require straight line quilting designs, while synthetic fabrics may require curved quilting designs.
Complexity: When selecting a quilting design, consider the complexity of the pattern. Simple quilting designs are easier to complete and require less time, while more complex designs can take longer to complete.
| Fabric Type | Quilting Design |
|---|---|
| Cotton | Straight Line |
| Synthetic | Curved |
When it comes to how to do quilt on baby blanket, the process of selecting a quilting design is an important part of the project. By considering the size, fabric type, and complexity of the quilt, you can make sure that your quilting design is well-suited for your project.
Preparing the Blanket
- Measure the Blanket: Measure the length and width of the area you will be quilting. This will help you determine the size of your batting and backing and how much fabric you need.
- Cut the Backing and Batting: Cut the batting and backing pieces a few inches larger than the quilt top. This allows for some shrinkage when the quilt is washed.
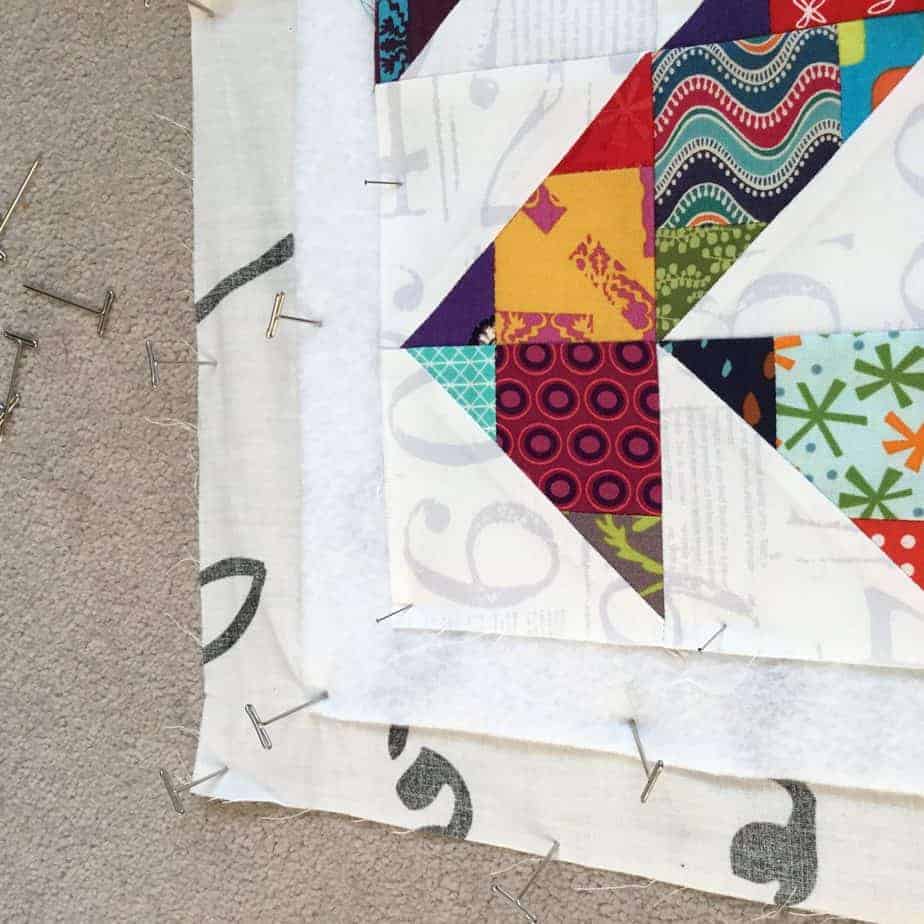
- Attach the Backing: Place the backing fabric right side down on a flat surface and layer the batting and quilt top on top. Make sure all the layers are smooth and even. Pin the layers together and baste them together using safety pins.
- Trim the Edges: Once the layers are basted together, trim the excess backing and batting from the edges of the quilt top.
- Square the Edges: Use a ruler and rotary cutter to make sure the edges of the quilt are square. This will ensure that the quilt lies flat and quilts evenly.
Attaching the Backing
| Step | Instruction |
|---|---|
| 1 | Lay the backing fabric on a flat surface. Place the batting in the middle. Secure the batting to the backing with safety pins, making sure that the backing is taut. |
| 2 | Lay the top of the quilt over the batting and backing. Secure the top of the quilt and the backing with safety pins. |
| 3 | With a walking foot attached to the sewing machine, begin quilting from the center outward. Make sure to quilt 1/4 inch from the edge of the seam. |
Adding the Batting
- Place the quilt sandwich on the machine. Lay the backing fabric right-side down. Place the batting on top, then the quilt top, right-side up.
- Secure the batting in place. Pin the edges of the batting and quilt top to the backing. Secure with safety pins.
- Choose the quilting design. Select a decorative quilting stitch from the machine’s settings.
- Start quilting. Slowly stitch the quilt in the desired pattern. Follow the feed dogs along the quilt sandwich.
- Cut away excess batting. Cut away the batting that hangs over the quilt’s edges.
Securing the Layers
| Step | Description |
|---|---|
| 1 | Place the backing fabric face down on the flat surface. |
| 2 | Lay the batting on top of the backing fabric. |
| 3 | Position the quilt top right side up on top of all the layers. |
| 4 | Using safety pins, pin the layers together, making sure to evenly space the pins. |
| 5 | Secure the edges of the quilt by pinning the layers together. |
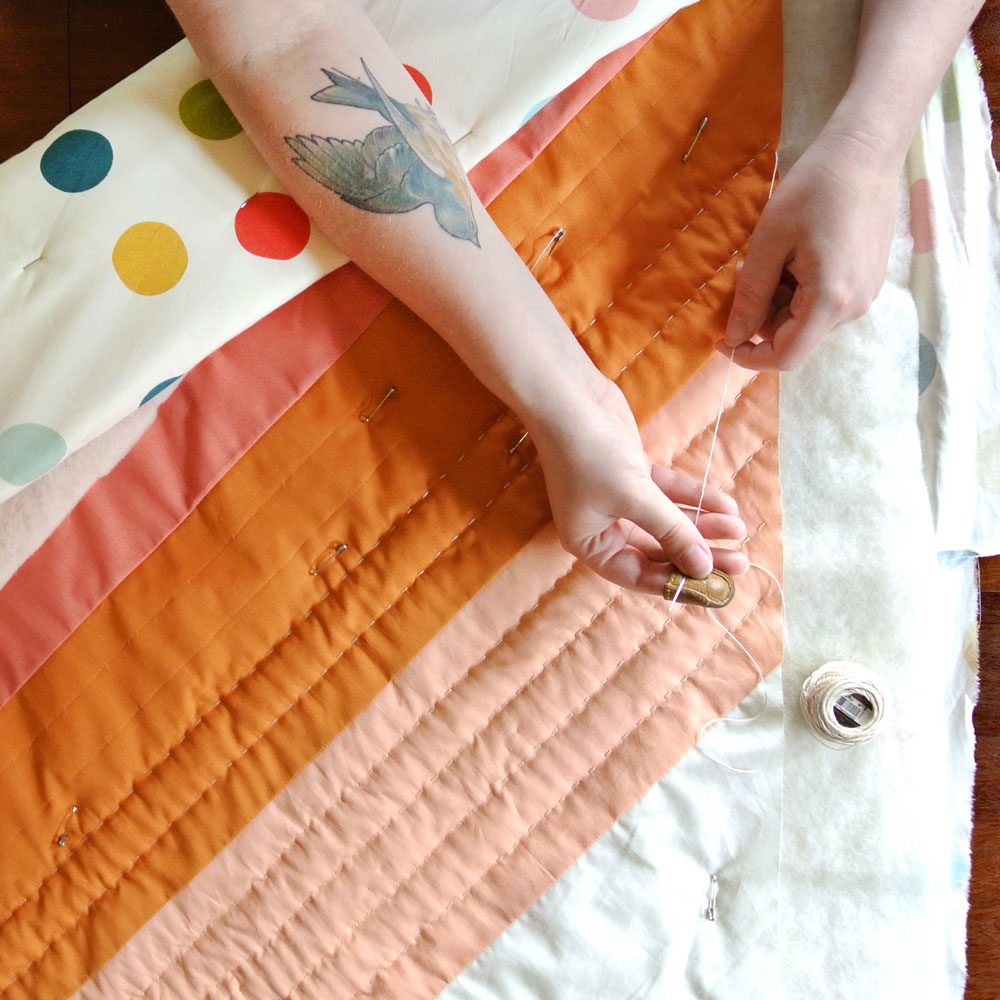
Pin basting is the best way to secure the layers when machine quilting a baby blanket. Start pinning the edges of the quilt and then move to the middle, taking care to evenly space the pins. Pinning the layers together will help to hold the layers in place while quilting. Once all the layers are secured, it is time to start quilting.
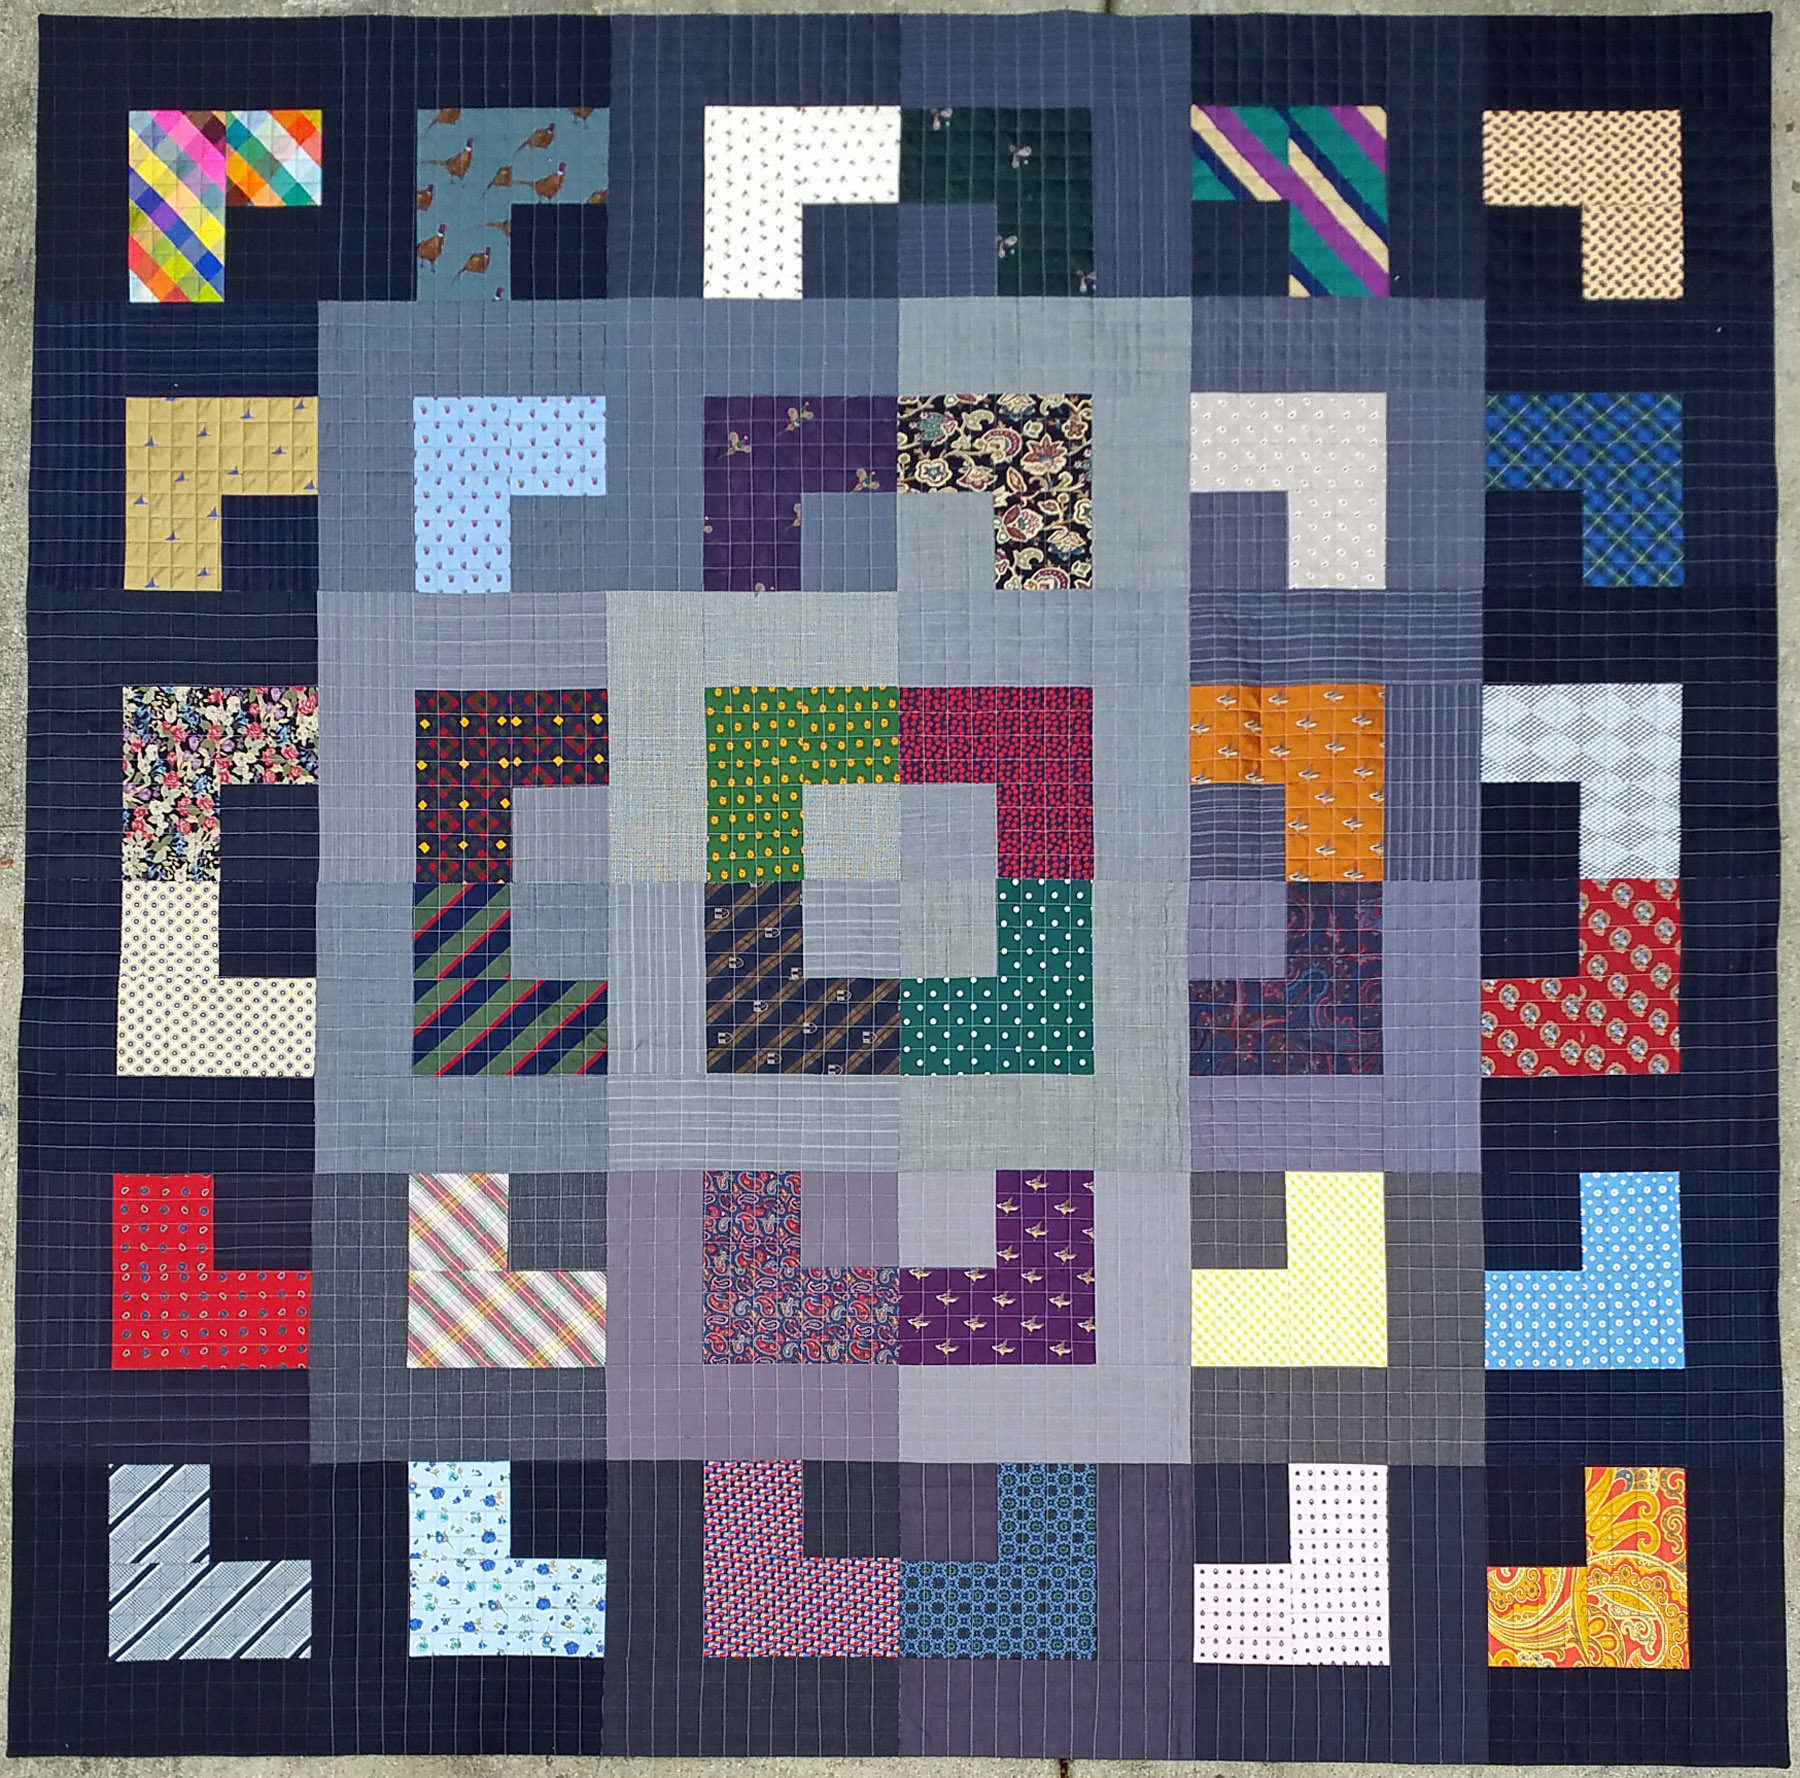
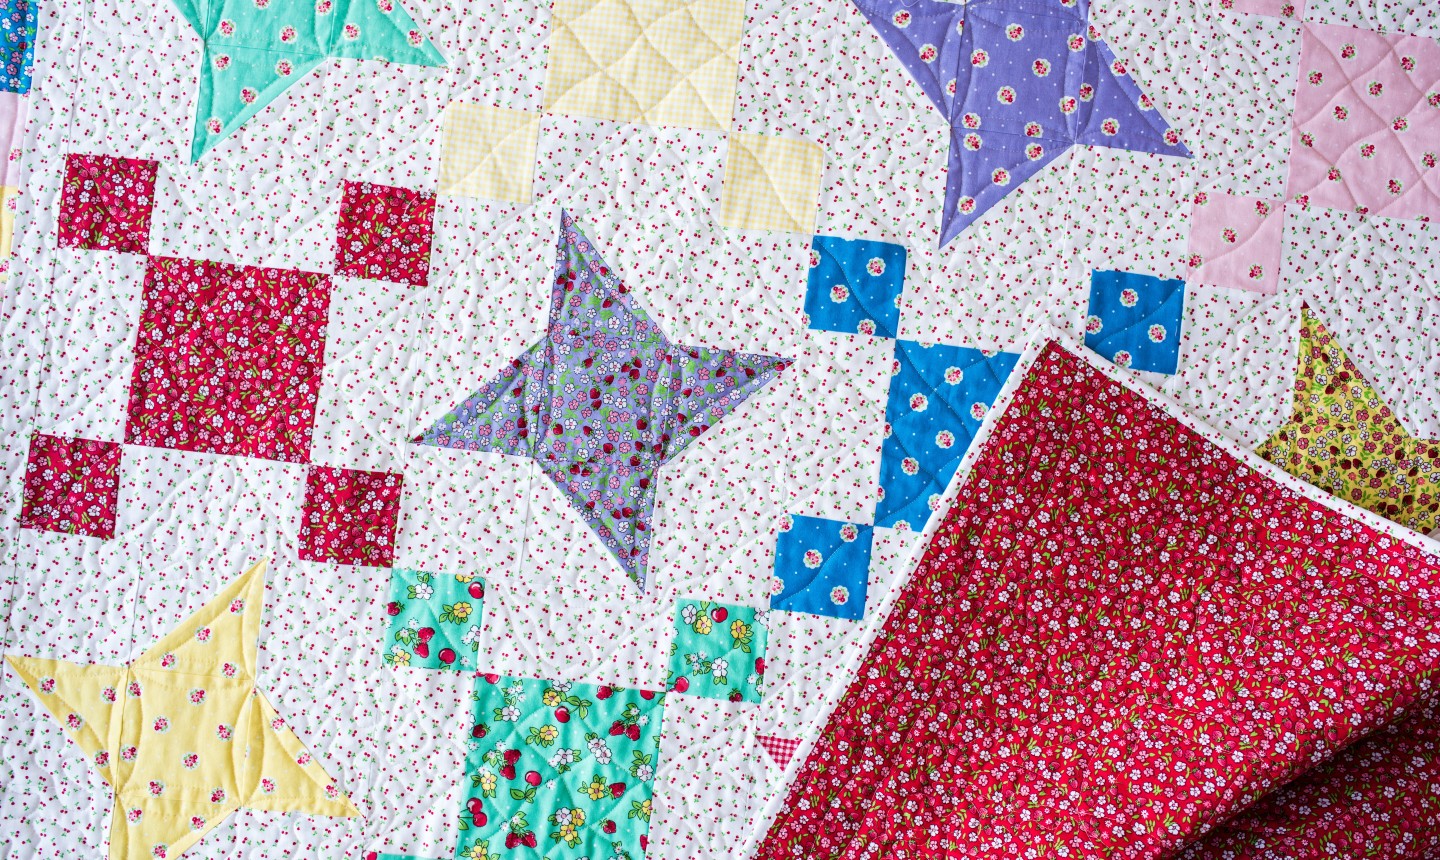
Quilting the Blanket
- Quilting is the process of sewing two or more layers of fabric together.
- The two layers of fabric are usually held together by a layer of batting, which is a type of thick fabric batting.
- The quilted fabric is then used to make items such as quilts, wall hangings, bedspreads, and baby blankets.
- Machine quilting is the process of sewing the layers of fabric together using a sewing machine.
- The quilted fabric is then ready to be used in the making of quilts, wall hangings, bedspreads, and baby blankets.
- Machine quilting is much faster than hand quilting and is commonly used when making baby blankets.
- Quilting a baby blanket can be a fun and rewarding experience.
- You can choose your own fabrics, batting, and thread to create a unique blanket.
- The quilting process involves sewing together the two layers of fabric, the batting, and the backing fabric to make the quilt.
- The quilted fabric is then ready to be used for a variety of projects including baby blankets.
- When quilting a baby blanket, it is important to use a good quality fabric, batting, and thread for best results.
Finishing the Quilt
- Press the quilt. Before binding the quilt, it’s important to press it with a hot iron. This will help the binding to lie flat and stay in place.
- Attach the binding. The binding is the fabric that wraps around the edges of the quilt. Use a straight stitch to sew the binding to the quilt.
- Secure the binding. Once the binding is attached, use a zig-zag stitch to secure the binding in place. This will help the binding stay put and give the quilt a finished look.
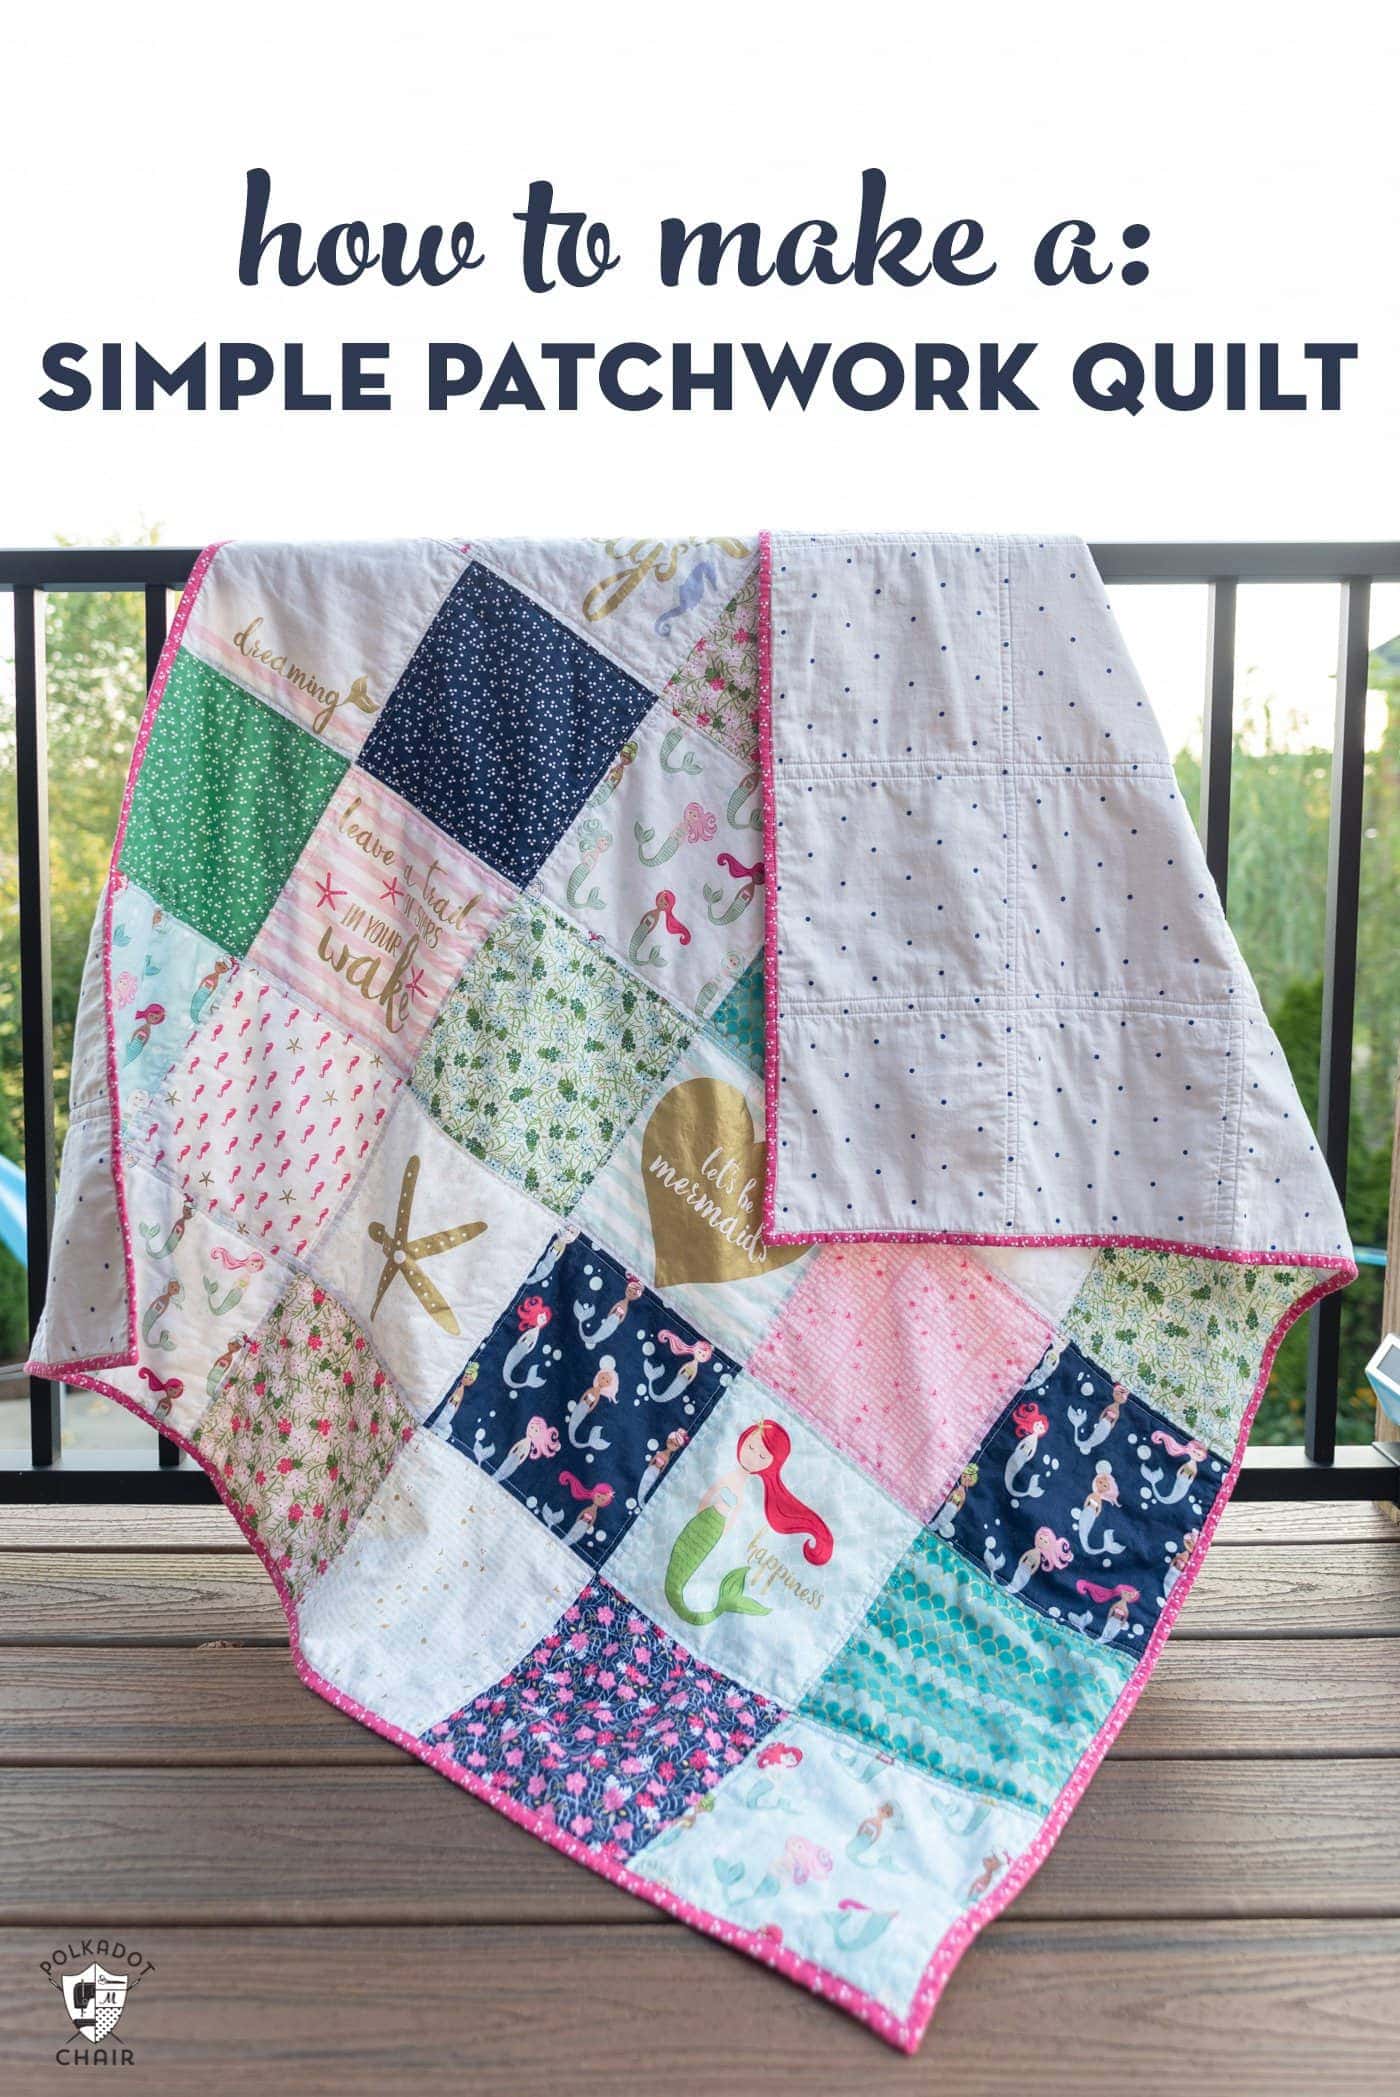
Finally, you can decorate the baby quilt with embroidery, appliqué, or other embellishments. This is a great way to personalize the quilt and make it special for the recipient. Once you’re finished, you can proudly show off your handmade baby quilt.
Frequently Asked Questions
What type of quilt should I use for a baby blanket?
For a baby blanket, look for a lightweight fabric with a soft feel such as flannel, cotton, or muslin. Avoid fabrics with a lot of texture or bulk, as these can be uncomfortable for a baby. Select batting that is lightweight and low-loft, such as a polyester or wool batting. When it comes to thread, choose a lightweight thread that is strong and won’t break easily.
What type of sewing machine is best for machine quilting?
For machine quilting, a sewing machine with a throat depth of at least 9 inches is recommended. It should also be able to handle multiple layers of fabric, batting, and other materials used in quilting. Look for features such as a walking foot, adjustable speed control, adjustable presser foot pressure, and an extension table. If possible, opt for a machine with an automatic needle threader and a drop feed for free-motion quilting.
What is the best way to secure a quilt sandwich before quilting?
- Pinning: Pinning is the most popular and secure way to secure a quilt sandwich before quilting. Use safety pins or quilting pins to secure all layers together. Begin by pinning the batting to the backing fabric, then pin the backing fabric and batting to the quilt top. Make sure to place pins every 4-6 inches.
- Spray Basting: Spray basting is an alternative to pinning. Spray basting adhesive can be found in craft stores. Spray the batting and backing fabric lightly with the adhesive. Place the quilt top on the batting and backing fabric and press down to secure. Make sure to keep the adhesive away from the quilt top.
- Stitching in the Ditch or Stippling: Stitching in the ditch or stippling is a great way to secure a quilt sandwich before quilting. Stitching in the ditch is when you stitch in the seam lines of the quilt top. Stippling is when you stitch around the quilt top in a free-motion pattern. This will add texture to the quilt and also secure the sandwich.
How do I adjust the presser foot tension while machine quilting?
To adjust the presser foot tension while machine quilting:
- First, turn the hand wheel towards you until the needle is at its highest point.
- Then, loosen the presser foot screw with a screwdriver and lift the presser foot.
- Remove the presser foot and use a small screwdriver to adjust the tension dial.
- Turn the tension dial clockwise to increase the tension and counter-clockwise to decrease the tension.
- Replace the presser foot, and tighten the screw.
- Turn the hand wheel once to check the tension.
- Repeat this process until the desired tension is achieved.
Is there a special technique for quilting curves or other difficult shapes?
- Choose the right presser foot: Selecting the right presser foot is essential for quilting curves and other difficult shapes. When quilting with curves or angles, a ¼” foot or walking foot are the best choices.
- Mark curves with a quilting design: Before sewing, mark the quilting lines on the quilt top using a fabric pencil and a template or ruler. This will help you stay on track and achieve the desired results.
- Use a slow speed: Sewing curves and other difficult shapes requires a slower sewing speed. This will give you more control and prevent mistakes.
- Take your time: When quilting curves and other shapes, it is important to take your time and sew slowly. This will help ensure that your stitches are even and the shape is accurate.
- Use a shorter stitch length: A shorter stitch length is ideal for quilting curves and other shapes. This will help ensure that your stitches stay in place and don’t pull or stretch.
- Practice on a scrap piece of fabric: Before quilting on the quilt, practice on a scrap piece of fabric to get a feel for the technique. This will help you become comfortable with the process and master the technique.
Conclusion
Machine quilting a baby blanket can be a fun and rewarding project. With this step-by-step guide, you’ll be able to create beautiful and perfect results every time. Have fun quilting!


