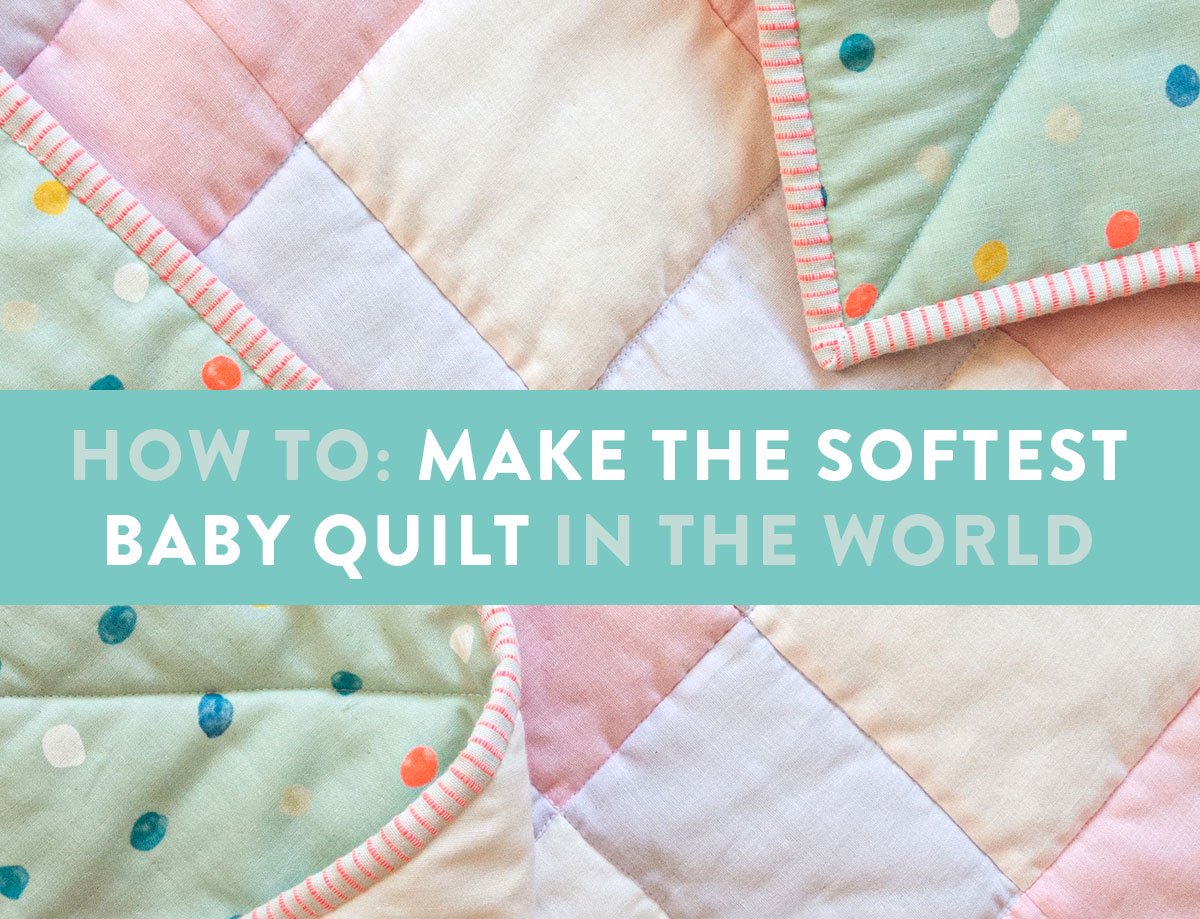
If you’re looking to learn how to machine quilt a baby quilt, this article is for you! In this article, we’ll provide you with simple and easy steps on how to machine quilt a baby quilt. We’ll cover everything from preparing the materials to completing the quilt. So, let’s get started and learn how to machine quilt a baby quilt easily!
What You Need to Know Before Machine Quilting a Baby Quilt
| Materials | Details |
|---|---|
| Fabric | Choose high-quality fabric that is washable and is gentle on baby’s skin. There are a variety of fabrics available in the market. It is recommended to buy quilting fabric as it gives a better finish to the quilt. |
| Batting | Batting comes in various sizes, thicknesses and fibers. Choose one that is suitable for machine quilting. It is important to consider the weight of the batting when selecting one for a baby quilt. |
| Thread | A good quality thread is essential for machine quilting. Choose one that is colorfast and matches with the quilt top. It is important to use a strong, durable thread for a baby quilt. |
| Needles | Select a needle that is suitable for quilting. It is recommended to use a sharp, small needle to ensure the stitches are even and consistent. |
| Quilting Machine | A quilting machine or a sewing machine is essential for machine quilting a baby quilt. Make sure the machine is in good working condition and is suitable for the project. |
| Quilting Patterns | Choose an appropriate quilt pattern for the baby quilt. It is important to select a pattern that is suitable for the age of the baby. Consider the size of the quilt and the fabric weight when selecting a pattern. |
It is also important to consider the size of the quilt and the quilting techniques before starting the project. Take measurements and mark the quilt for quilting. It is also important to test the quilting machine and adjust the tension before starting the project. Finally, practice the quilting pattern on a scrap fabric before starting the project.
Preparing the Fabric for Machine Quilting
- Wash, dry and press the fabric before cutting out the quilt pieces.
- Iron the fabric on a high heat setting with steam to ensure the fabric is completely flat and wrinkle-free.
- Use the appropriate needle size for the type of fabric. A sharp needle is essential for a successful machine quilting project.
- Use a walking foot or free-motion quilting foot for quilting on a sewing machine.
- Increase the stitch length to 3.5mm or higher for a smoother quilting line.
- Secure the fabric layers with safety pins before quilting to avoid shifting or bunching.
- Always test the quilting stitch on a scrap of fabric before attempting it on the quilt top.
Following these simple steps will help you machine quilt a baby quilt quickly and efficiently. With the right materials and tools, you can create a beautiful quilt that will be cherished for years to come.
Assembling the Baby Quilt Top
- Fabric Selection: Decide on the fabric that you would like to use for the quilt top. Generally, cotton fabric is the best choice for baby quilts, as it is soft and comfortable for the baby.
- Cutting the Fabric: Cut the fabric into the desired shapes for the quilt top. You can either use a template or use a rotary cutter for the cutting.
- Arranging the Pieces: Place the pieces of fabric on a flat surface and arrange them in the pattern that you have chosen for the quilt top. The fabric pieces should be overlapping slightly to ensure accurate stitching.
- Stitching the Pieces: Stitch the fabric pieces together. Use matching thread or a contrasting thread to create a unique look. A zigzag stitch is generally used for this purpose.
- Pressing the Quilt Top: Iron the quilt top to remove any wrinkles. This will also help to ensure that the seams are properly pressed.
- Basting the Quilt Top: Baste the quilt top together by hand or with a machine. This will help to hold the fabric in place and ensure that the quilt stays together.
Preparing to Quilt the Baby Quilt
| Step | Details |
|---|---|
| 1 | Lay the quilt sandwich (top, batting, and backing) on a flat surface and pin it together. |
| 2 | Trim the batting and backing to the same size as the quilt top. |
| 3 | Cut pieces of tear-away stabilizer to fit the quilt top and pin in place. |
| 4 | Set up the machine with the proper quilting foot, thread, and needle. |
| 5 | Draw a line on the quilt top to indicate the quilting path. |
Position the quilt sandwich in the machine and begin quilting. Start at the center of the quilt and work outward. As you quilt, keep the quilt taut with your hands to avoid any puckers. When the first section is complete, reposition the quilt and quilt the next section in a similar manner. Continue quilting until the entire quilt is finished.
Quilting the Baby Quilt
Once the quilt top is complete, it’s time to move on to the quilting. This is where the quilt starts to come together. There are a few different ways to quilt the baby quilt, depending on the look you’re going for.
Hand Quilting
Hand quilting is a traditional method of quilting and is often used on baby quilts. This type of quilting requires a lot of patience and skill, but it can be very rewarding. The stitches should be even and consistent in order to create a beautiful quilt.
Machine Quilting
Machine quilting is the most popular method of quilting a baby quilt. It is much faster than hand quilting and allows for more intricate patterns and designs. When machine quilting, it is important to use a walking foot or free-motion foot in order to keep the fabric from shifting.
Tying the Quilt
Tying the quilt is a simple and fast way to quilt the baby quilt. This method requires only a few supplies and can be done in a relatively short amount of time. To tie the quilt, you will need a needle and thread, a ruler, and a pair of scissors. Begin by cutting four-inch-long strips of fabric. Make sure they are the same length and width. Then, use the ruler to mark an X on the quilt top, spacing the Xs four inches apart. Finally, tie the strips of fabric around the Xs to secure the quilt layers together.
Quilting the Borders
The last step in quilting the baby quilt is to quilt the borders. This can be done by hand or machine quilting. For a simple design, use a walking foot and stitch-in-the-ditch around the borders. For a more intricate design, use a free-motion foot and create a continuous line of quilting around the edges.
Once the quilting is complete, it’s time to bind the quilt and enjoy the finished product!
Finishing the Baby Quilt
- Choose the Right Fabric: Select a lightweight fabric, such as quilting cotton, to create the quilt’s backing. It should be wider than the quilt top, in order to accommodate the quilting.
- Layer the Quilt: Place the quilt top on top of the backing, with the wrong side of the top facing up. Pin the layers together. Place the batting on top of the quilt top.
- Baste the Quilt: Secure the layers together with safety pins or a basting spray. Make sure the layers are pulled taut and smooth.
- Quilt the Baby Quilt: Select a quilting pattern that suits the size and complexity of the quilt. Consider a free-motion quilt pattern, or a walking foot quilt pattern. For a more finished look, add a quilting border around the edge of the quilt.
- Bind the Baby Quilt: Cut strips of fabric and sew them together to create a binding strip. Attach the binding strip to the quilt edge and use a blind stitch to finish the binding.
- Enjoy: Congratulations! You have successfully completed your baby quilt.
Frequently Asked Questions
What Materials do I Need to Machine Quilt a Baby Quilt?
- Fabric: cotton fabric for the top, batting, and backing.
- Thread: quilting thread and thread for piecing the quilt top.
- Needles: quilting needles, needles for piecing, and hand sewing needles.
- Ruler: quilting ruler.
- Rotary Cutter: rotary cutter, mat, and cutting board.
- Sewing Machine: sewing machine with a walking foot.
- Pins: safety pins for basting.
- Scissors: fabric scissors and small embroidery scissors.
What are the basic steps for machine quilting a baby quilt?
-
1. Select the batting: Choose lightweight batting for a baby quilt. The batting should be thin and lightweight, so that the quilt is not too heavy for the baby.
2. Layer the quilt: Place the batting in the middle and the backing fabric on the bottom. Then place the quilt top on the batting layer. Secure the layers together by pinning the edges.
3. Quilting: Start quilting by stitching the edges of the quilt with a straight stitch. Then quilt the quilt in a design of your choice. Use free-motion quilting, stippling, or any other quilting design.
4. Binding: Bind the edges of the quilt with a binding fabric of your choice. Sew the binding fabric to the quilt and then hand stitch the binding fabric to the back of the quilt.
5. Finishing: Trim the excess batting and backing fabric from the edges of the quilt. Cut the threads from the quilt and add a label to the back of the quilt.
Do I need to use a special type of thread for machine quilting?
Yes, you should use a special type of thread for machine quilting. Here are some of the types of thread you can use for machine quilting a baby quilt:
- Polyester thread – Polyester thread is strong and durable, which makes it ideal for quilting. It is also less prone to breaking than other types of thread.
- Cotton thread – Cotton thread is a great choice for quilting baby quilts, as it is soft and gentle on delicate fabrics.
- Metallic thread – Metallic thread adds a bit of sparkle to your quilt and can be used to create interesting patterns.
- Wool thread – Wool thread is perfect for quilting thick fabrics, as it is strong and durable.
- Silk thread – Silk thread is soft and luxurious, and is perfect for quilting thin fabrics.
When choosing a thread for machine quilting, make sure to choose a thread that is strong and durable and that won’t damage the fabric.
How do I Make Sure My Stitches are Even When Machine Quilting?
Using a walking foot, feed dogs, and even-spaced pins can help ensure even stitches. When using a walking foot, stitch with the foot slightly raised, and be sure to adjust the tension settings accordingly. Additionally, use the feed dogs to move the quilt in the direction you want to stitch while pressing lightly on the quilt with your hands. Finally, use evenly-spaced pins along the edge of the quilt to help keep the quilt in place and guide the stitches.
How long does it usually take to machine quilt a baby quilt?
Preparing the Baby Quilt
- Choosing the fabric and batting – 30 minutes
- Cutting the fabric and batting – 10 minutes
- Layering and basting the quilt – 30 minutes
Machine Quilting
- Loading the quilt onto the machine – 10 minutes
- Quilting the quilt – 1-2 hours
- Removing the quilt from the machine – 10 minutes
Finishing the Quilt
- Trimming the batting and backing – 10 minutes
- Adding binding – 30 minutes
- Hand stitching binding to the back – 30 minutes
In total, it usually takes around 3-4 hours to machine quilt a baby quilt.
Conclusion
Machine quilting is a great way to make a beautiful, handmade baby quilt. With some practice, you can create a stunning quilt in no time. The steps outlined in this article will help you understand the basics of machine quilting and get you on your way to creating a beautiful baby quilt.
References
- How To Machine Quilt a Baby Quilt, YouTube, 2020
- How to Machine Quilt, All People Quilt, 2020
- Quilting, Wikipedia, 2020


