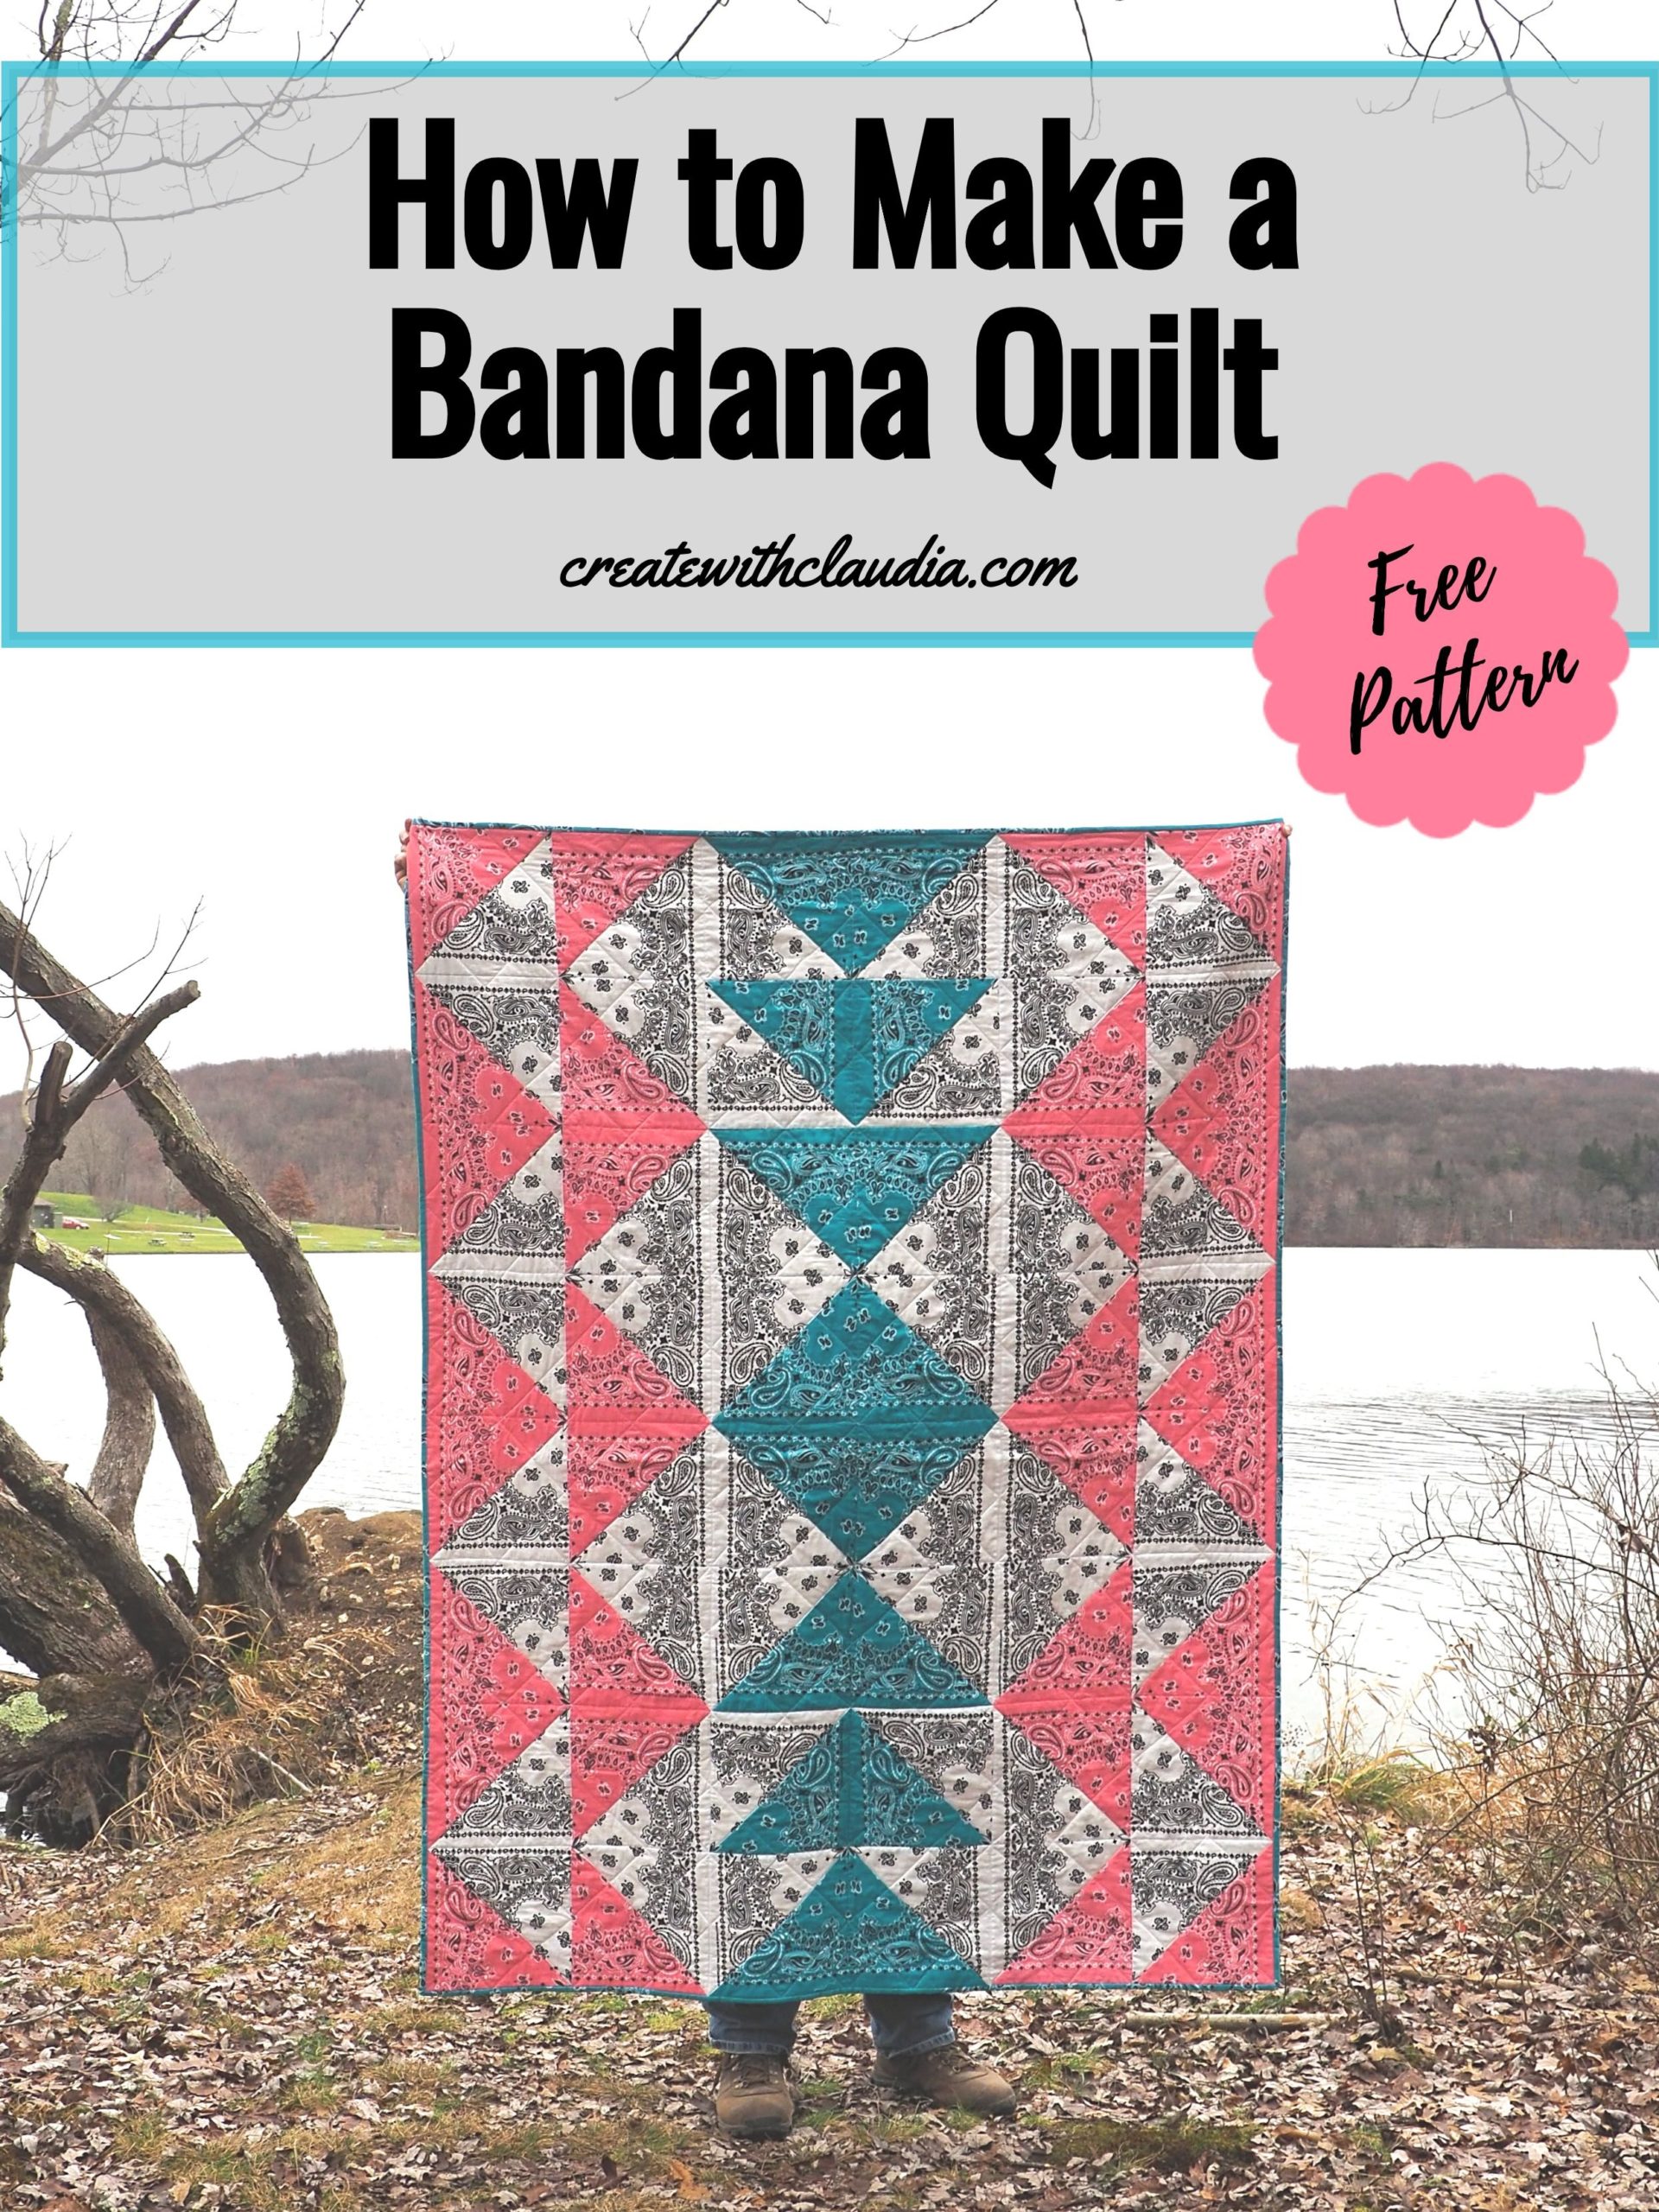
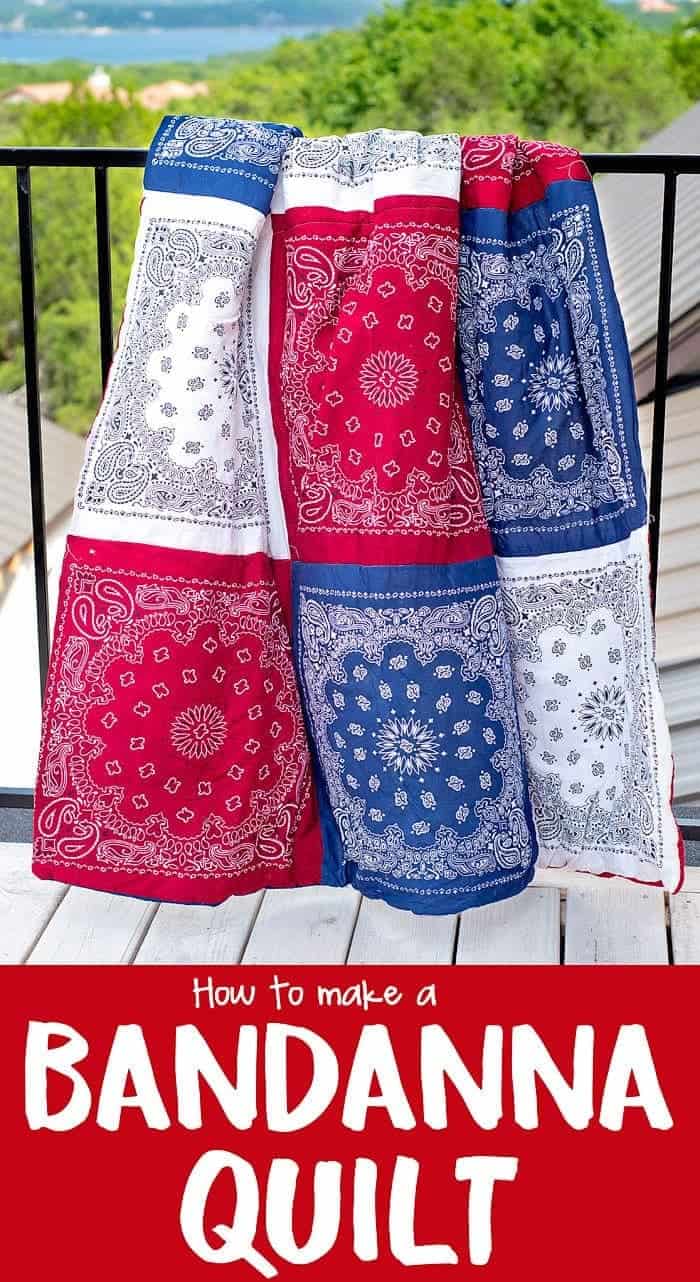
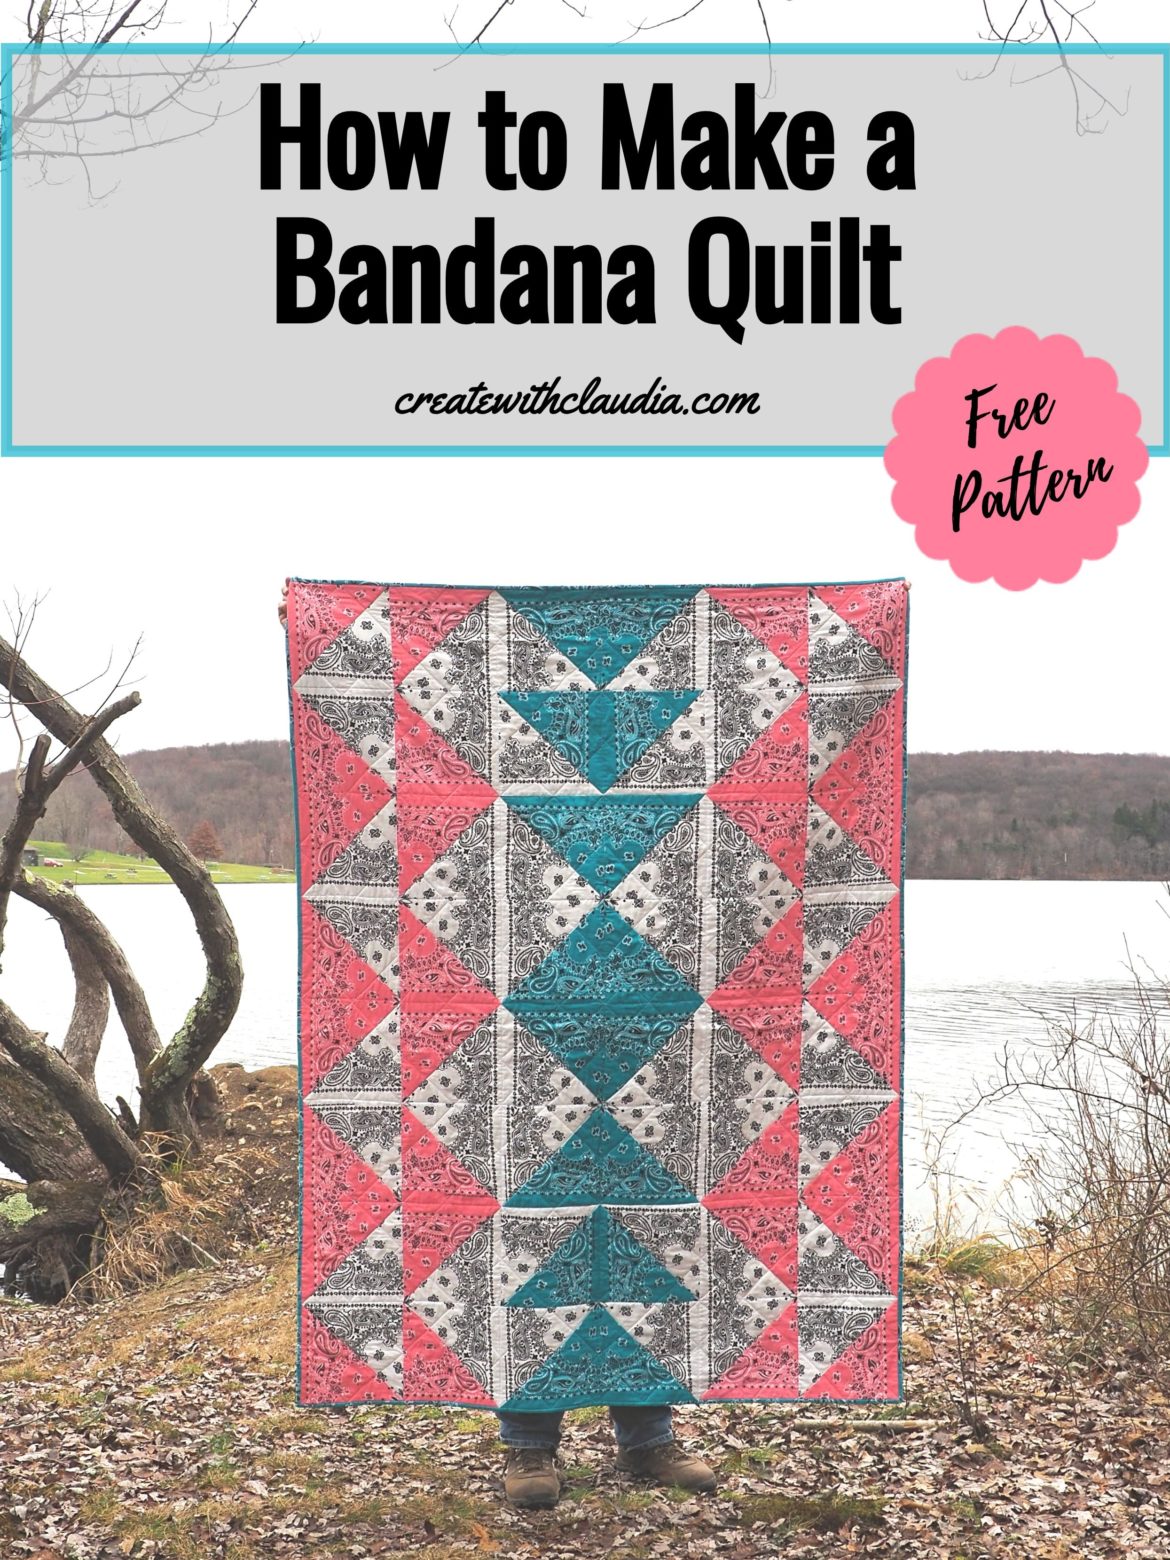
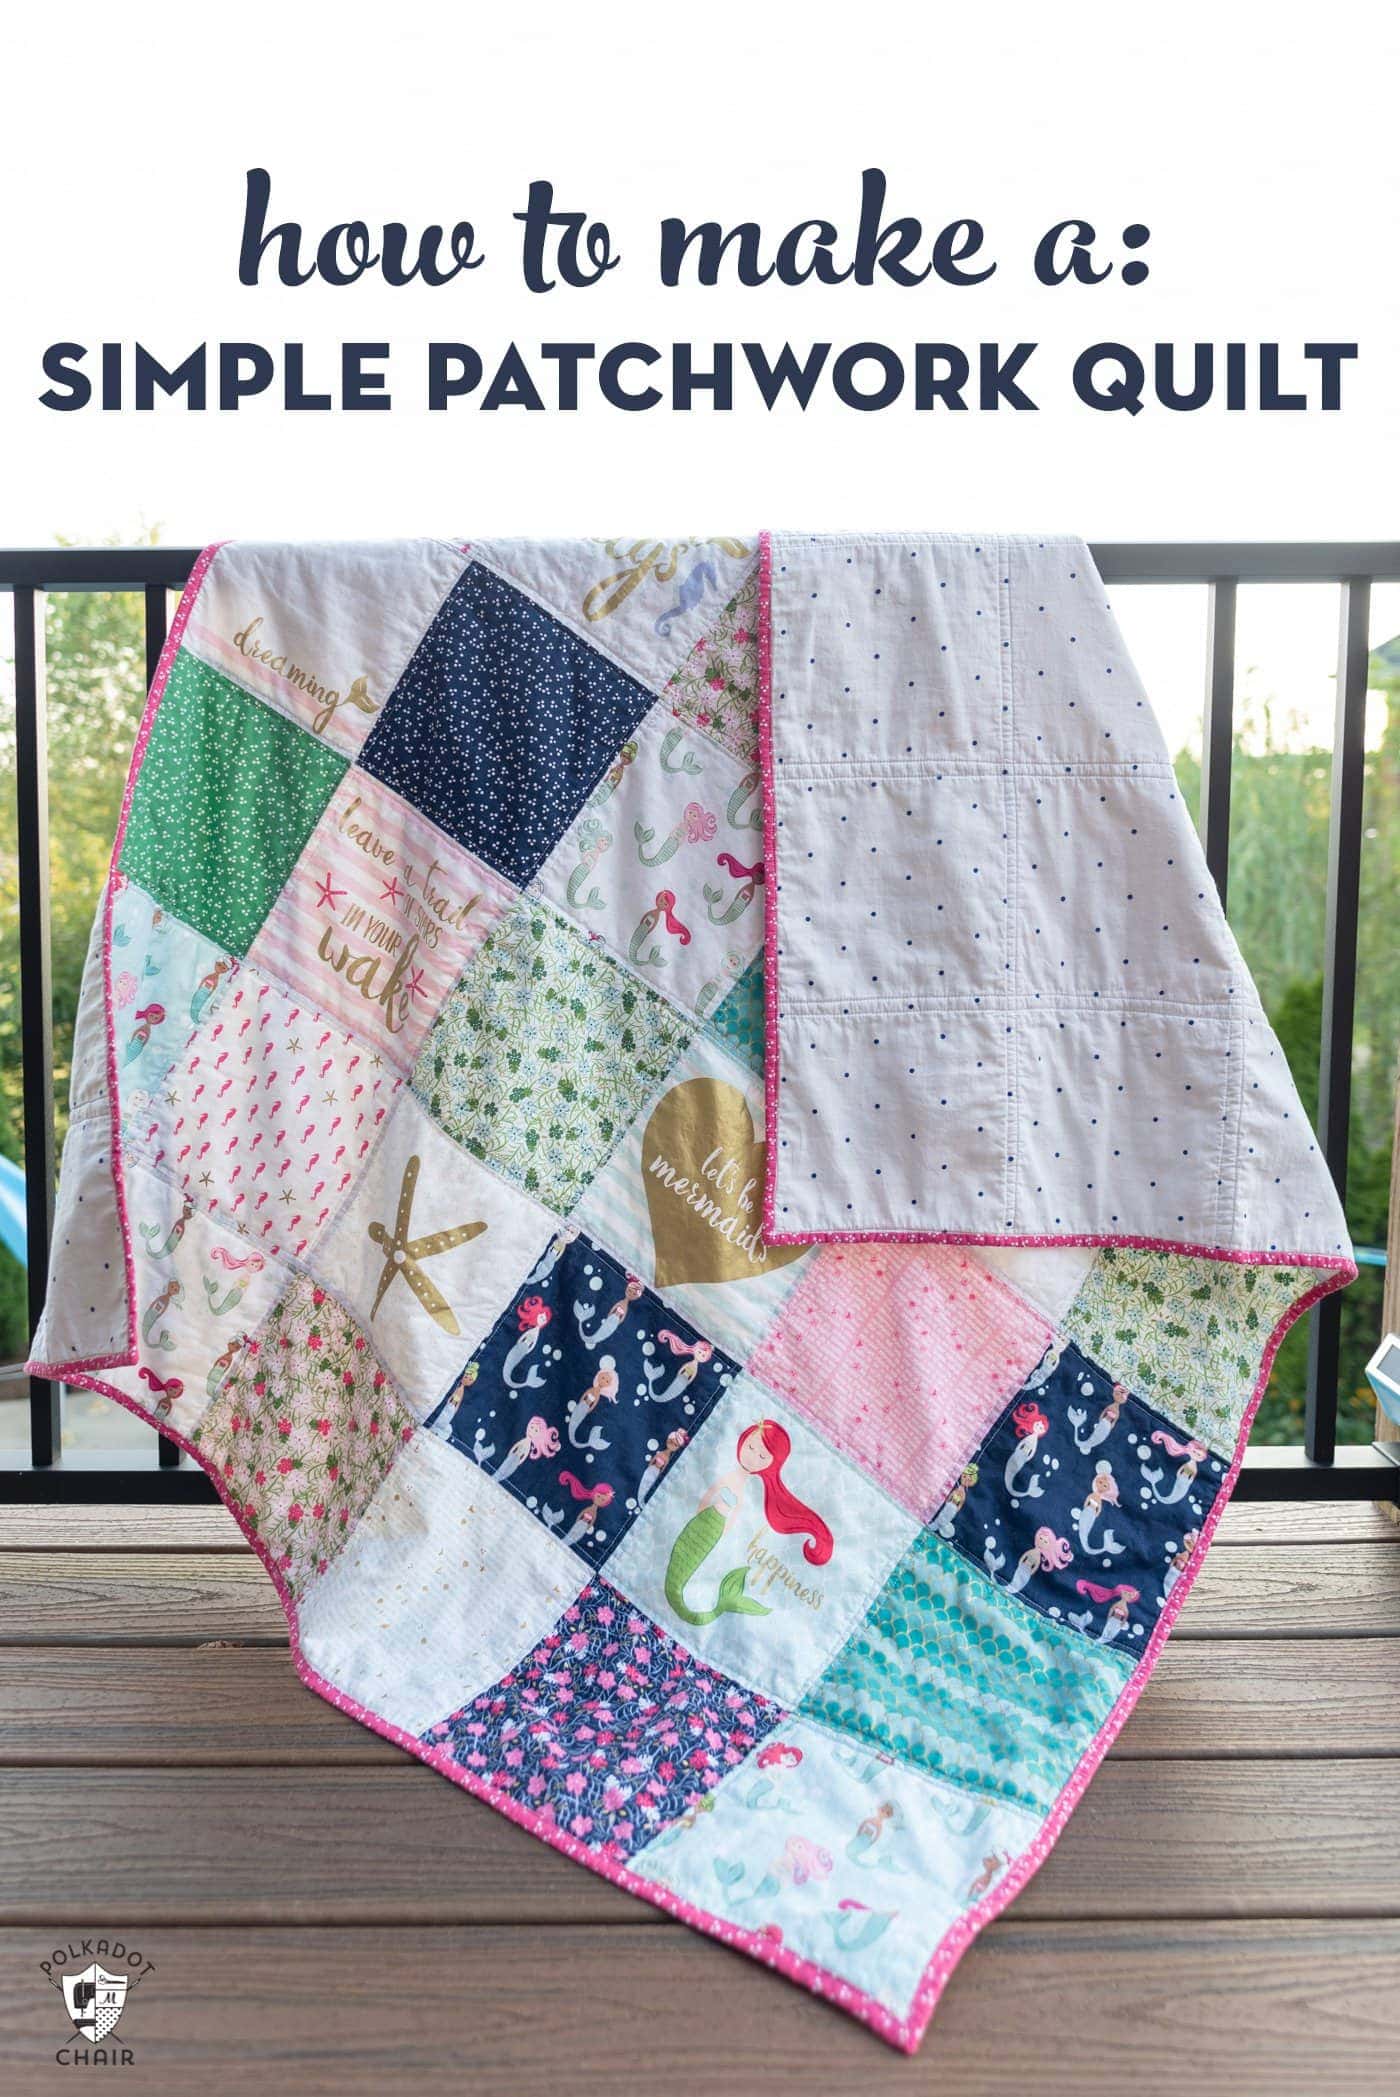
Do you have a collection of bandanas that you’re not sure what to do with? Creating a bandana quilt is a fun way to display your collection and make something unique and special. This step-by-step guide will show you how to make a bandana quilt that you’ll be proud to display for years to come.
What You Need for a Bandana Quilt
- Bandanas – to make a king size quilt, you will need about 40 bandanas.
- Fabric for the backing – you will need about 4–5 yards of fabric for the backing of your quilt.
- Batting – to make a king size quilt, you will need about 8–10 yards of batting.
- Thread – you will need a spool of thread to match the bandanas.
- Pins – you will need pins to hold the bandanas and the fabric in place.
- Iron – an iron is necessary to press the bandanas flat before you begin sewing.
- Scissors – you will need scissors to cut the bandanas and the fabric to the desired size.
- Sewing machine – you will need a sewing machine to sew the quilt together.
Bandanas
To make a bandana quilt, you will need multiple bandanas. The exact number of bandanas you will need will depend on the size of the quilt you plan to make. Generally speaking, a quilt made with 12 bandanas can be a good size for a twin bed. If you plan to make a larger quilt, you will need more bandanas. Consider the size of the quilt you want and how many bandanas you need to get the desired size.
* Thread
A key element of making a bandana quilt is thread. You need to choose the right type of thread for your project, as different types of fabrics require different types of threads. For a bandana quilt, use a strong, durable thread such as polyester or cotton-polyester blend. Make sure you use enough thread so that your quilt will not unravel or come apart easily.
When using a machine, use a universal needle size 80/12 and a stitch length of 2.5mm. If you are hand-sewing your quilt, use a size 10 needle.
How many squares to a bandana quilt queen size? The answer to this depends on the size of the bandanas you use, but typically you will need around 100-120 bandanas for a queen size quilt.
* Fabric for the Backing
- Choose a backing fabric that is larger than the quilt top. The average full size quilt requires 3 to 4 yards of fabric.
- For a quilt that uses how many bandanas for a full size quilt, choose a backing fabric that has a large pattern or a subtle color.
- Press the backing fabric and lay it on a flat surface.
- Place the quilt top on the backing fabric, right side up.
- Pin the quilt top to the backing fabric.
Quilt Batting
Quilt batting is the layer of insulation between the quilt top and the backing fabric. It is essential for warmth and drape, and it adds loft and strength to the quilt. When selecting batting, consider the size of the bandanas you are using to make your quilt. If your bandanas are large, choose a batting with a higher loft to give your quilt more body and warmth. If you are using small pieces, choose a batting with low loft to keep your quilt light and thin.
How Many Bandanas to Make a Quilt?
When making a bandana quilt, the number of bandanas you’ll need depends on the size you want your quilt to be. Generally, a quilt made with bandanas will require at least 24 bandanas. For a single-sized quilt, you will need 24 bandanas, for double-sized 60 bandanas, for queen-sized 72 bandanas and for king-sized 84 bandanas.
| Quilt Size | Number of Bandanas |
|---|---|
| Single | 24 |
| Double | 60 |
| Queen | 72 |
| King | 84 |
You can use any kind of fabric or material to make a bandana quilt, but the most popular fabric used is cotton. You can also choose to add batting to the quilt for extra warmth. If you are looking for an easy way for kids to make a bandana quilt, you can use a simple quilting technique that requires no sewing. Simply layer the bandanas and batting, and then tie the quilt together using yarn or ribbon.
* King size quilt
To make a king size quilt, start by gathering 6 yards of fabric for the top and 6 yards of fabric for the backing. Cut the top fabric into sixty-four 10” x 10” squares and the backing fabric into two 64” x 84” pieces. Lay out the squares into an 8×8 grid and stitch them together, making sure to use a ¼” seam allowance. Match the top and bottom fabrics together and stitch them together, again with a ¼” seam allowance. To finish the quilt, use a buttonhole stitch to sew the backing onto the quilt. For a complete tutorial on how to sew backing on bandana quilt, see the link provided below.
Queen Size Quilt
A Queen size quilt can be made using approximately twenty-five bandanas. The bandanas should be the same size, usually 18” X 18”. To make a quilt of this size, arrange the bandanas in a five by five pattern. The pattern can be laid out in a variety of ways depending on the desired look. Sew the bandanas together in rows, then sew the rows together. The backing should be a piece of fabric that is larger than the quilt top, so it can be folded over the edges. Add batting between the backing and the quilt top, to make it thicker and warmer. Sew the batting and backing together around the edges of the quilt top. Use decorative stitches to provide a unique finish.
* Full size quilt

Materials:
- Bandanas
- Fabric for quilt backing and binding
- Batting
- Thread
Instructions:
| Step | Instructions |
|---|---|
| 1 | Lay out the bandanas in a pattern that is pleasing to you. For a full size quilt, you will need 15 to 16 bandanas. |
| 2 | Sew the bandanas together in columns, with a quarter inch seam allowance. When sewing the columns together, press the seams in alternating directions. |
| 3 | Cut the batting and quilt backing about two inches larger than the size of the bandana quilt. |
| 4 | Layer the batting, the bandana quilt top, and the quilt backing. |
| 5 | Baste the three layers together. |
| 6 | Quilt the project in a pattern of your choice. |
| 7 | Cut the binding to the desired length. Bind the quilt with a quarter inch seam allowance. |
Finally, your full size bandana quilt is ready to display or give as a gift.
What Size of Bandanas to Use
- For a King Size quilt, you will need at least 16 bandanas.
- For a Queen Size quilt, you will need at least 12 bandanas.
- For a Full Size quilt, you will need at least 10 bandanas.
- Each bandana should measure at least 20″ by 20″ for a quilt that is the same size as the bandanas.
- If you want the quilt to be bigger than the bandanas, you will need to add fabric or fabric strips to the edges of the bandanas.
How to Sew a Bandana Quilt
To make a bandana quilt, you will need the following materials: a few yards of fabric for the backing, batting, and a wide variety of bandanas. The number of bandanas you need will depend on the size of the quilt. For a king size quilt, you’ll need approximately 48 bandanas, while a queen size will require 40. A full size quilt will take around 36 bandanas, and a twin size will use 24. To get the best look, try to use a variety of fabrics and colors.
Once you have your bandanas, you’ll need to cut them into squares. A twin size quilt will require each bandana to be cut into four 8-by-8-inch squares, while a king size will require each bandana to be cut into six 6-by-6-inch squares. After you have cut all the bandanas into squares, it’s time to assemble the quilt.
Lay out the squares on a flat surface in the pattern you want the quilt to have. Then, pin the squares together with safety pins, making sure to keep the edges even. Once the squares are pinned together, you can start sewing them. Using a zigzag stitch, sew the squares together, making sure to keep the edges even.
After the quilt top is complete, it’s time to add the batting and backing. Layer the batting and backing on the wrong side of the quilt top and pin it in place. Then, sew the three layers together using a straight stitch. Finally, hem the edges of the quilt with a serger or zigzag stitch, and your quilt is finished!
* Easy for Kids
Using a few simple steps, making a bandana quilt can be easy for kids. Depending on the size of quilt you want to make, the number of bandanas you need may vary. Generally, for a king size quilt, you will need 18-20 bandanas; for a queen size quilt, you will need 15-17 bandanas; for a full size quilt, you will need 12-14 bandanas. The bandanas should be of the same size, either 22×22 or 27×27 inches.
To make a bandana quilt, cut each bandana into two equal parts and then sew them together. Make sure that the pattern of the bandanas is in the same direction. The more bandanas you use, the bigger the quilt will become. The final step is to sew on the backing (a large piece of fabric to cover the back of the quilt).
To make the process of sewing a bandana quilt easy for kids, help them using sharp scissors, some colorful thread and a sewing machine. Additionally, use large needles to make it easier for them to thread the fabric. Show them how to put the fabric in the machine and how to turn the stitches around the edges.
Finally, make sure to allow your kids to be creative and to make the quilt their own. Let them choose the colors and the patterns they like, and help them to create a unique quilt they can be proud of.
* Sewing the Backing On
- Lay the backing fabric, right side down, on a flat surface.
- Lay the quilt top, right side up, on top of the backing fabric.
- Pin the backing fabric and quilt top together, using safety pins.
- Sew the backing fabric and quilt top together using a ¼ inch seam allowance.
- Trim the excess fabric from the edges of the quilt.
- Press the seam allowances towards the backing fabric.
- Turn the quilt right side out.
Now that the backing fabric is sewn on, you can continue with the remaining steps of your Bandana Quilt project, such as basting, quilting and binding.
Sewing the Bandana Blocks Together
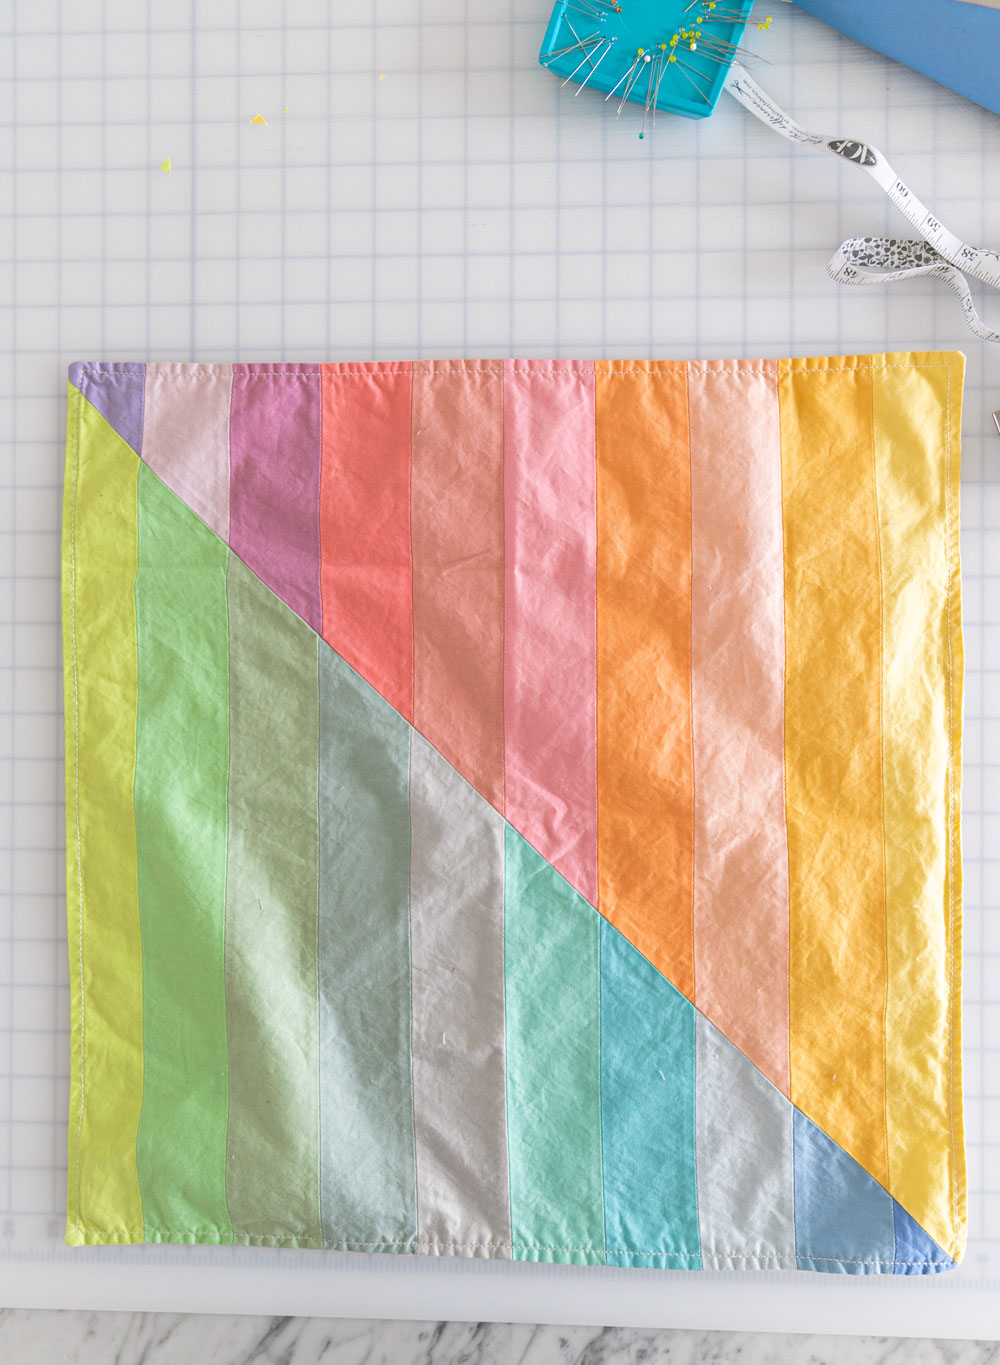
To assemble the bandana quilt, begin by laying out all of the blocks in alternating colors. Make sure that the points of each block line up with each other. Once the blocks are arranged, use a ¼” seam allowance to join them together. Start by sewing the first two blocks together, then add the next two blocks and continue until all of the blocks have been joined together. To ensure that the edges of the blocks are even, press each seam flat before sewing the next two blocks together.
Once all of the blocks have been sewn together, it is time for the quilt top to be quilted. To quilt the top, use a quilting stitch to stitch over the seams of the blocks. This will help keep the blocks in place and also add a decorative element to the quilt. Once the quilting is complete, it is time to add the backing fabric. Measure the quilt top and cut the backing fabric to the same size. Place the backing fabric on top of the quilt top, wrong side facing out, and pin the two pieces together. Finally, use a basic running stitch to sew the two pieces together and finish the quilt.
In conclusion, making a bandana quilt is a fairly simple process. All you need is your favorite bandanas, a sewing machine, and some basic sewing supplies. This project is perfect for those who are just starting out with quilting, as it requires very little knowledge of quilting techniques. With a little bit of patience, you can create a unique and beautiful bandana quilt.
Creating the Quilt Top
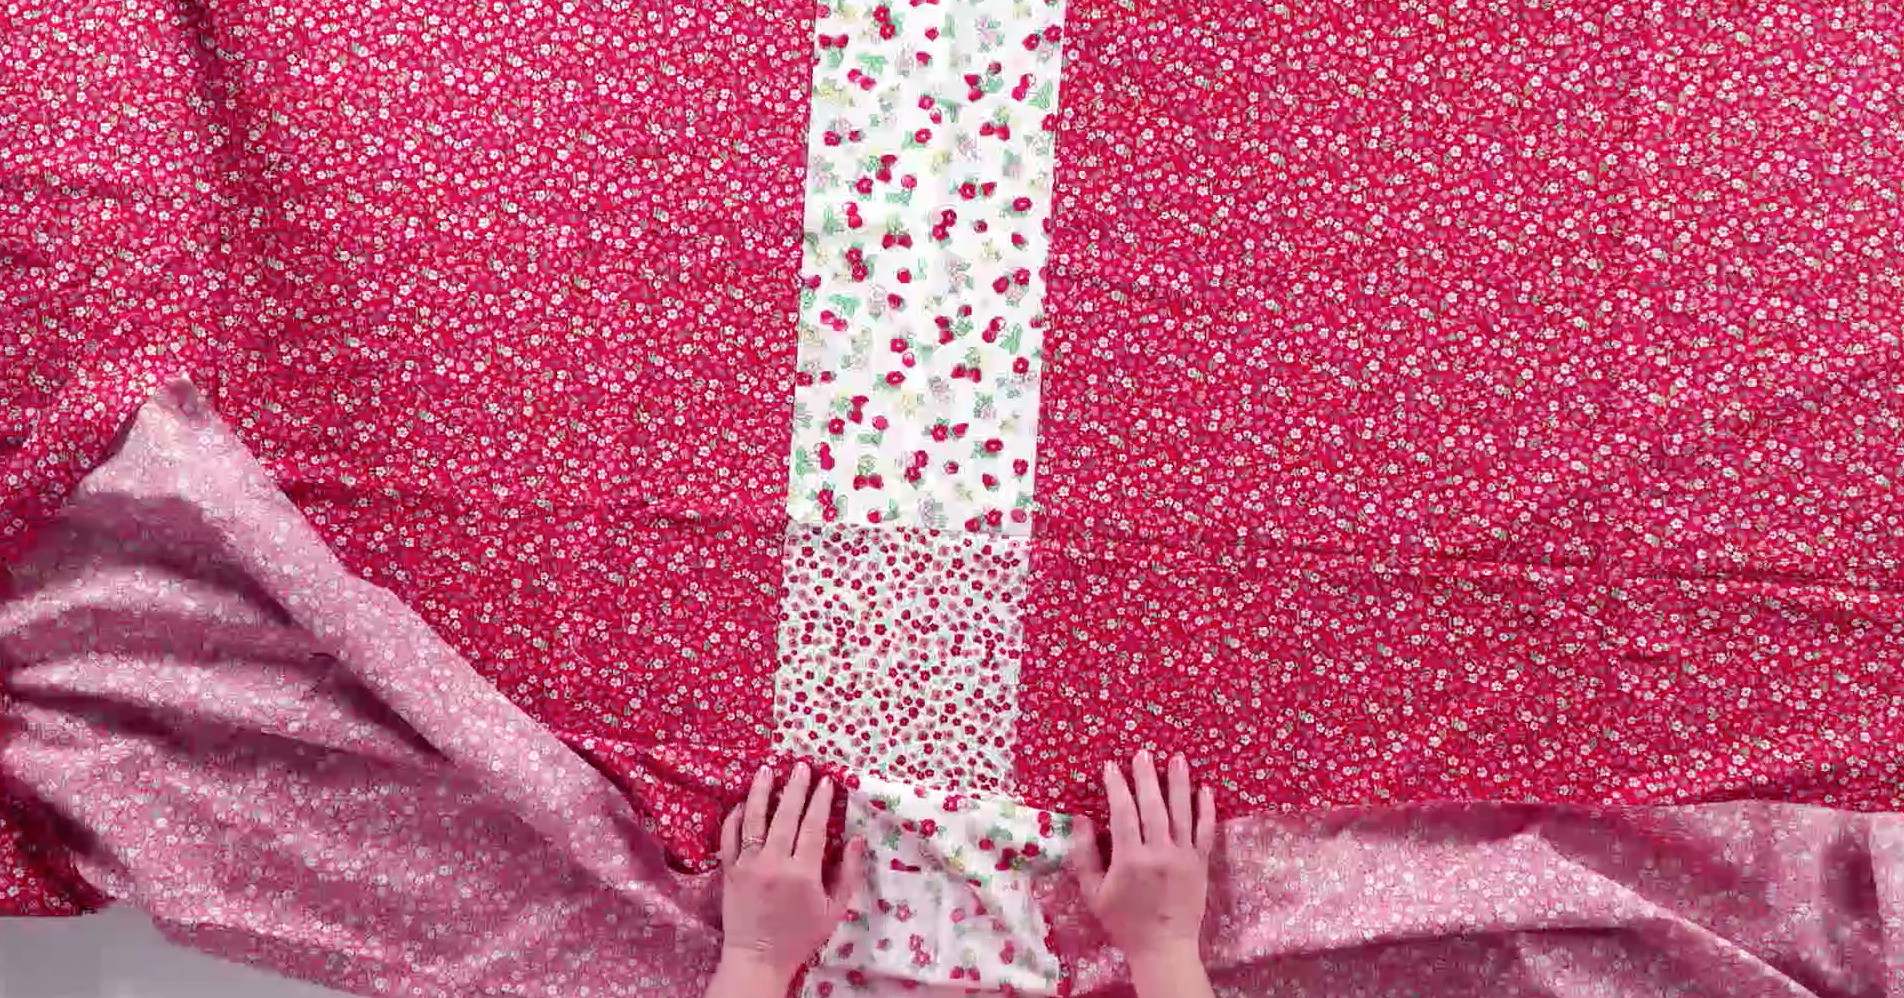
To create the quilt top, first lay out the bandanas in the desired pattern. Use the same number of bandanas as required for the size quilt you are making (e.g. twenty-four for a queen-size or thirty-six for a king-size). Arrange the bandanas in a pleasing pattern, alternating colors and patterns if desired.
After the pattern is complete, sew the bandanas together with a straight stitch. For a more secure quilt, use a zigzag stitch or small running stitch. Sew the bandanas together in rows, making sure that the right side of each bandana is facing out. When the rows are complete, sew the rows together to form the quilt top.
Once the quilt top is complete, press it with an iron to remove any wrinkles and make sure the stitches are secure. Now the quilt top is ready to be backed and quilted.
Preparing the Quilt Backing
To begin, you will need to measure your Queen Size Bandana quilt, which should be comprised of 64 Bandanas. Once you have taken the measurements, you will need to purchase fabric for the backing that is 1.5 times the width of the quilt and 1.5 times the length of the quilt. For example, if your quilt measures 64-inches wide and 80-inches long, you will need to purchase a backing that is 96-inches wide and 120-inches long.
If you plan to use a Full Size Bandana Quilt, you will need to use 56 Bandanas and purchase a backing that is 1.5 times the width and 1.5 times the length of the quilt.
When shopping for fabric, look for a large piece of fabric that will fit the quilt’s backing. You can also use several small pieces of fabric sewn together to make the backing. Just be sure that the fabric pieces match up and are cut in the same size.
Once you have purchased the fabric, you will need to prepare it for the quilt. Start by pre-washing the fabric to remove any chemicals or sizing that may be present. You can also pre-treat the fabric with a fabric stabilizer to help it resist stretching and fraying.
After pre-washing and pre-treating, iron the fabric and trim the edges for a clean finish. Now you are ready to begin assembling your Bandana Quilt.
Basting the Quilt
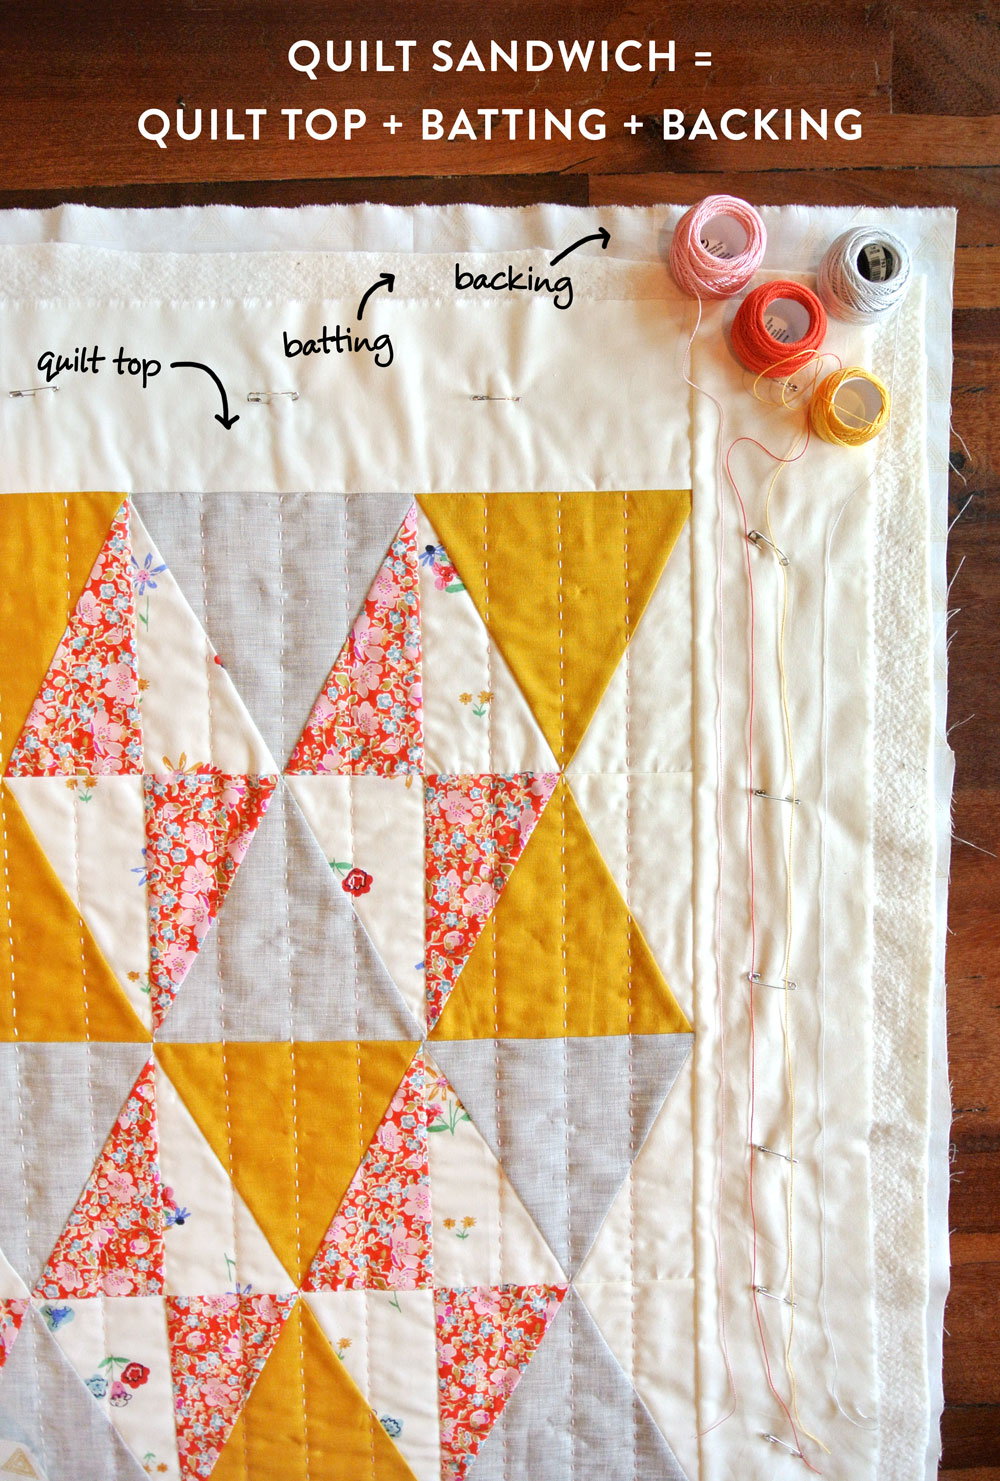
- Lay the backing fabric on a flat surface, right side down. Spread out the batting on top of the backing fabric and smooth it out. Trim the batting so it is the same size as the backing fabric.
- Lay the quilt top on the batting. Trim the quilt top so it is the same size as the backing fabric. Pin the quilt top to the batting.
- Pin the backing fabric to the batting. Starting at the center, use safety pins to secure the backing fabric to the batting. Pin around the edges and then in the middle. The pins should be spaced 6-8 inches apart.
- Trim away any excess batting and fabric. Make sure that the backing fabric and the quilt top are the same size.
Once basting is complete, you are ready to begin quilting your bandana quilt. Using a walking foot on your sewing machine, quilt in the ditch or use a free-motion quilting technique. When finished, bind the edges of the quilt with a decorative binding.
Quilting the Quilt
Once the bandanas are cut and sewn together, it’s time to quilt the quilt top. You can hand quilt, machine quilt, or tie the quilt.
Hand Quilting
Hand quilting is done with a needle and thread. It’s a great way to add a personal touch to the quilt. Start by threading the needle and knotting the end. Place the quilt top on a flat surface. Start quilting by making small stitches in a straight line. Continue quilting in this manner until the entire quilt top is quilted.
Machine Quilting
Machine quilting is the fastest way to quilt a quilt. First, layer the quilt top, batting and backing fabric. Pin the layers together. Thread the machine and use a walking foot or free-motion foot to quilt the quilt. Move the quilt through the machine slowly, making sure the layers stay together.
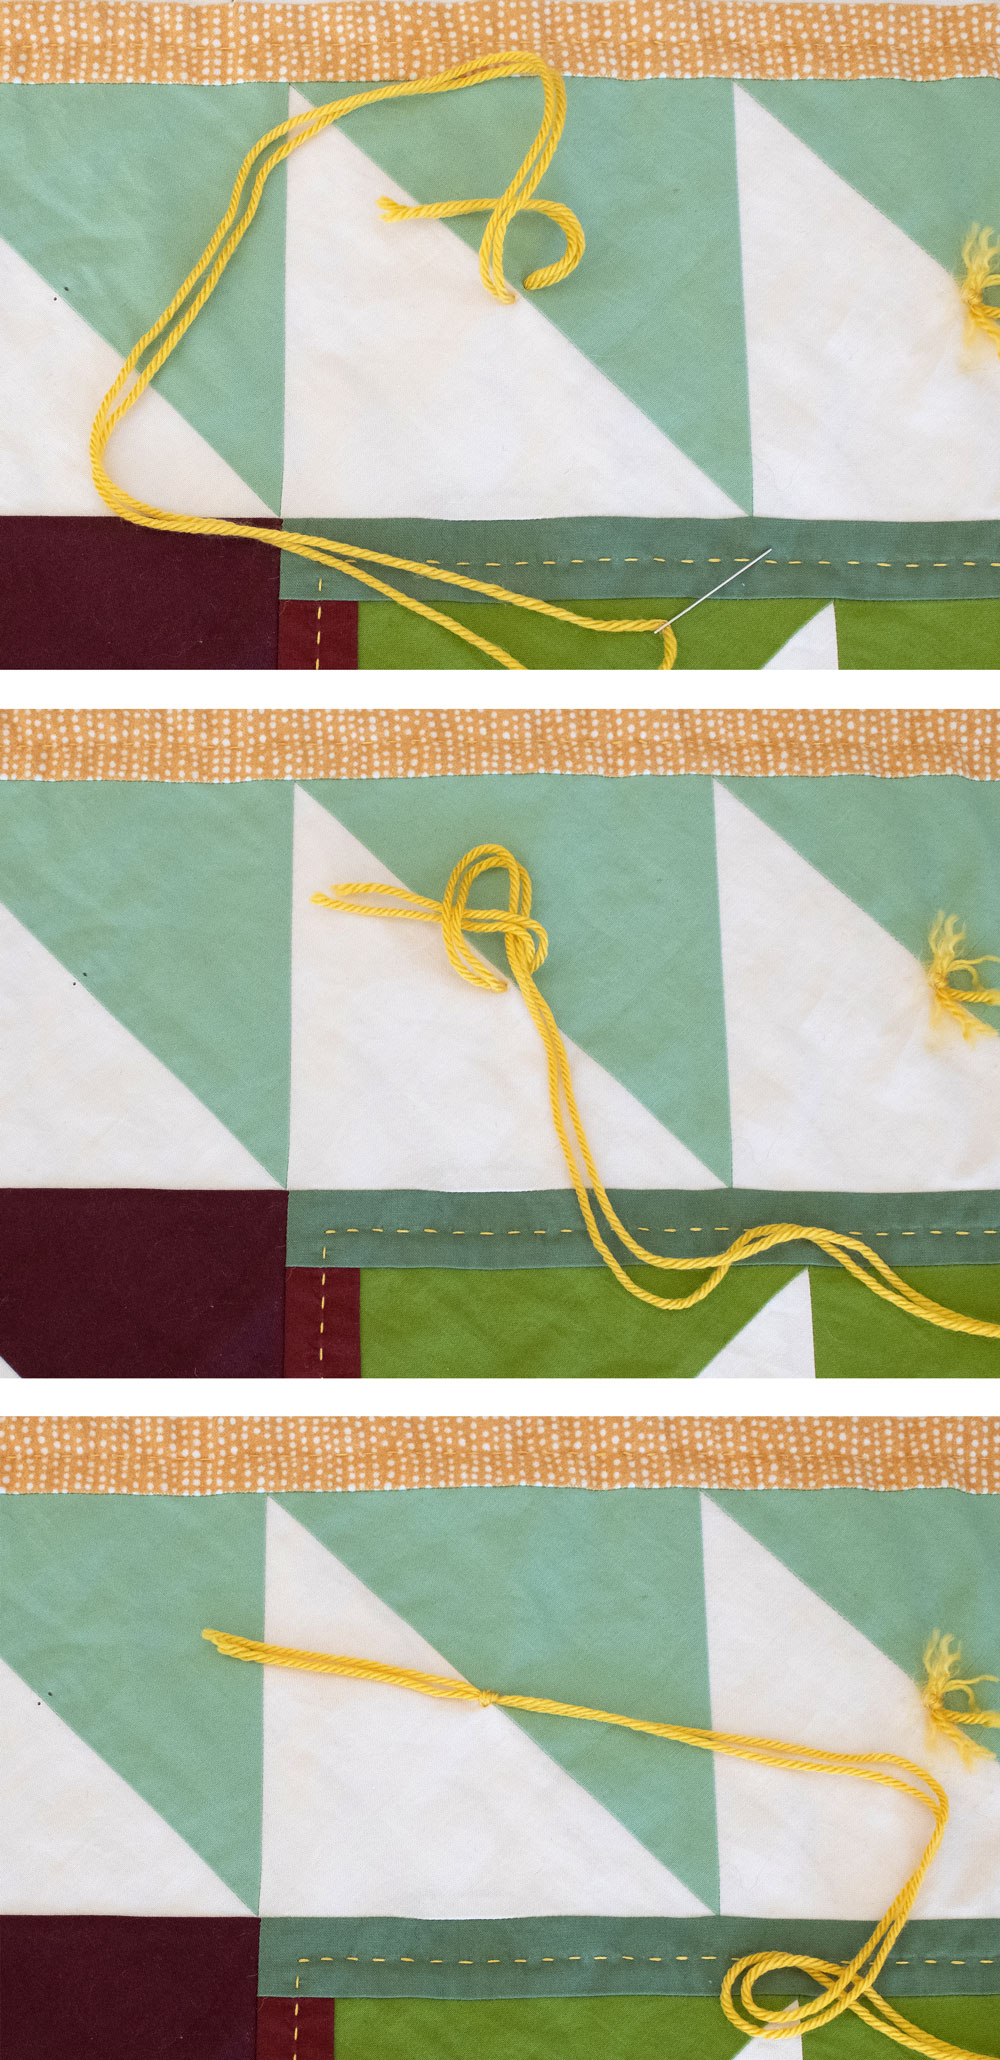
Tying the Quilt
Tying the quilt is a simpler way to quilt the quilt. You don’t need to use a needle and thread or a sewing machine. Simply tie the quilt with a thread or yarn in a criss-cross pattern. Start in the center of the quilt and move to the outside edges. Tie knots at each crossing point.
Once the quilt is quilted, it’s time to bind the edges. Cut strips of fabric and sew them together to create a binding. Attach the binding to the edges of the quilt and stitch it down. Trim the excess fabric and your bandana quilt is complete!
Finishing the Quilt
Lay Out the Quilt Top: Lay out the quilt top on a flat surface, making sure all edges are straight and the sides are even. Arrange the bandanas in the desired pattern and then sew the pieces together.
Add the Backing: Measure the quilt top and cut a piece of fabric that is larger than the quilt top by at least 3 inches on each side. Place the backing fabric wrong side up on the floor and place the quilt top on top, centering it. Pin the quilt top to the backing, making sure to secure the edges.
Quilting: Use a quilting needle and thread to sew the quilt top and backing together. Start in the center and work your way out, making sure to keep your stitches even. You can either use a simple straight stitch or create a quilting pattern of your own.
Bind the Edges: Cut a piece of fabric that is 2-3 inches wider than the quilt top on all sides. Place the binding fabric right side up on the floor and place the quilt top on top, centering it. Pin the quilt top to the binding, making sure to secure the edges. Sew the binding to the quilt top and then fold it over and sew it to the back of the quilt.
Finish: Trim away any excess fabric and tie off the thread. Your bandana quilt is now finished and ready to be enjoyed!
Table for Keyword:
| Keyword | Description |
|---|---|
| How to Make a Bandana Quilt | Lay out the quilt top, add the backing, quilt, and bind the edges. |
| How Many Bandanas to Make a King Size Quilt | You’ll need approximately 28-36 bandanas to make a king size quilt. |
| How Many Bandanas to Make a Quilt | The number of bandanas needed to make a quilt will vary depending on the size of the quilt. |
| How Many Squares to a Bandana Quilt Queen Size | A queen size bandana quilt typically requires 24-30 bandanas. |
| How Many Bandanas in a Full Size Quilt | A full size quilt typically requires 20-26 bandanas. |
| What Size of Bandanas to Use on Making a Quilt | Use 22″x22″ bandanas for a traditional bandana quilt. |
| How to Sew a Bandana Quilt Easy for Kids | Lay out the quilt top, add the backing, quilt, and bind the edges, keeping the steps simple. |
| How to Sew Backing on Bandana Quilt | Measure the quilt top and cut a piece of fabric that is larger than the quilt top by at least 3 inches on each side. Place the backing fabric wrong side up on the floor and place the quilt top on top, centering it. Pin the quilt top to the backing, making sure to secure the edges. |
Frequently Asked Questions
What Size Should I Make the Quilt?
The size of your quilt will depend on the size of the bandanas you are using and the desired finished size. Generally, the quilt should be two to three times the width of the bandanas. You can also decide on the finished size and then adjust the number of bandanas you use to fit the desired size. Consider the intended use of the quilt when deciding the size.
How much fabric do I need for the quilt?
- Bandanas: You will need 8-10 bandanas, depending on the size of the quilt you want to make.
- Backing: You will need 4-6 yards of backing fabric, depending on the size of the quilt.
- Binding: You will need 1/2 yard of binding fabric.
- Batting: You will need 4-6 yards of batting, depending on the size of the quilt.
You may need more or less fabric depending on the size and design of the quilt you are making. Once you have decided on what size quilt you want to make, you can measure the area of the quilt and calculate how much fabric you will need.
What is the Best Way to Secure the Bandanas Together?
- Use fabric glue or iron-on adhesive to attach the bandanas together.
- Tack or sew around the edges of the bandanas with thread to secure them together.
- Use safety pins to attach the bandanas together.
- Use a sewing machine to stitch the bandanas together.
- Secure the bandanas with a quilt binding.
Is There a Specific Order I Should Use When Piecing the Quilt?
- Layout: Begin by laying out the bandanas in the desired pattern. Consider the colors, shapes and sizes of the bandanas when deciding the layout.
- Stitching: Start stitching the bandanas together following the layout you created. Use a 1/4 inch seam allowance to ensure a secure stitch.
- Ironing: Iron the seams in place. This will help ensure that the bandanas lay flat and the quilt is even.
- Backing: Place the backing fabric on the back side of the quilt. Stitch the backing to the quilt.
- Quilting: Quilt the quilt using your desired quilting pattern. Hand quilting is a beautiful choice for a bandana quilt.
- Binding: Use bias tape to bind the quilt.
How should I finish the edges when I’m finished with the quilt?
Binding
- Cut a 2.5-inch-wide strip of fabric to the length of the quilt’s perimeter.
- Fold the strip in half lengthwise and press with an iron.
- Pin the strip to the quilt top and sew with a ¼-inch seam allowance.
- Fold the binding over the quilt edge and hand stitch it to the back of the quilt.
Facing
- Cut a 3-inch-wide strip of fabric to the length of the quilt’s perimeter.
- Fold the strip in half lengthwise and press with an iron.
- Pin the strip to the quilt top and sew with a ½-inch seam allowance.
- Fold the facing over the quilt edge, press and stitch it to the back of the quilt.
Blanket Stitch
- Use a contrasting thread and take a stitch at the corner of the quilt.
- Bring the needle up from the back of the quilt and bring it down at the edge.
- Bring the needle up and take a stitch in the same direction.
- Continue all around the quilt, making sure to keep the stitches even.
Conclusion
Creating a bandana quilt is a fun and easy way to upcycle your old bandanas into a useful and beautiful quilt. With the right materials, a few simple steps and a little creativity, you can create a one-of-a-kind quilt that will be treasured for years to come.


