
Are you wondering how to make a beautiful Christmas quilt that will be the perfect addition to your holiday decorations? If so, you have come to the right place! This step-by-step guide will provide you with all the information you need to create a stunning Christmas quilt that you can enjoy for many years to come. From selecting the perfect fabric to piecing the quilt top, this guide will walk you through each step of the process so that you can make your own beautiful Christmas quilt. So, let’s get started on how to make a Christmas quilt!
Materials Needed
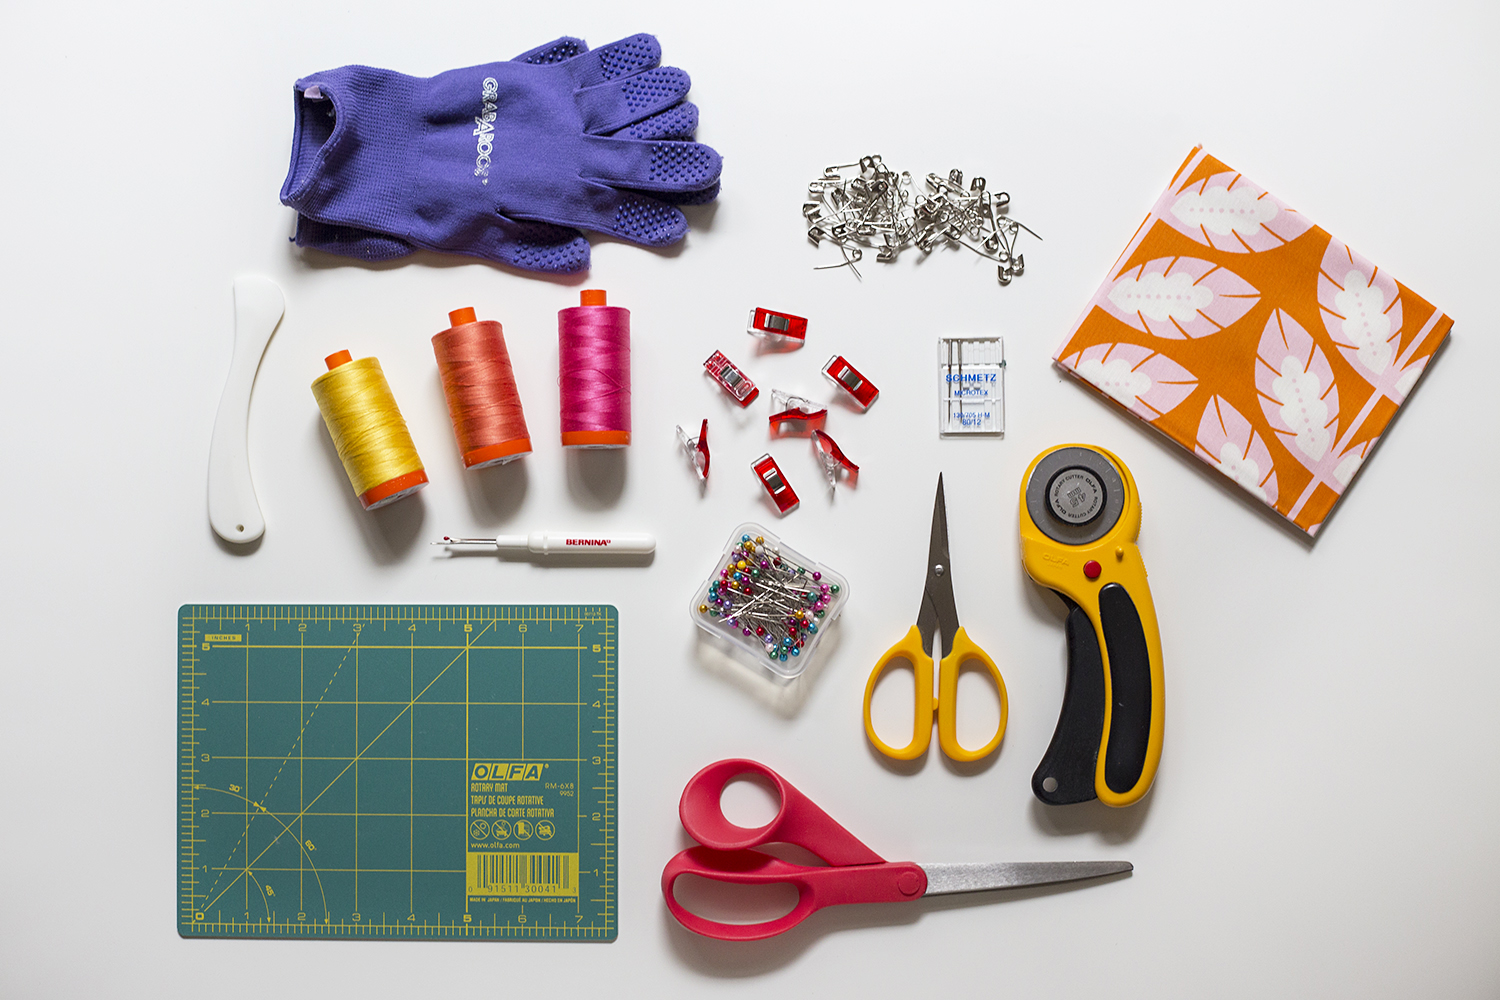
- Fabric of your choice
- Quilt batting
- Thread
- Sewing machine
- Scissors
- Ruler
- Pins
To create a beautiful Christmas quilt, you’ll need the above materials. Make sure you have enough fabric to complete your project. Quilting batting is important for the quilt to maintain its shape and warmth. Thread should match the color of the fabric, and it’s important to use a strong thread so that it doesn’t break during the quilting process. You’ll also need a ruler to measure the fabric and the quilt batting before cutting. Finally, you’ll need a sewing machine, scissors, and pins to complete the project.
Preparing the Fabric

- Wash the fabric – Before beginning to create the quilt, the fabric should be pre-washed. This will prevent bleeding of colors, shrinking and puckering of the fabric while making the quilt.
- Iron the fabric – Ironing is essential as it allows the fabric to be easier to cut, fold and sew. It is advisable to use a press cloth while ironing the fabric as it prevents the fabric from scorching.
- Cut the fabric into desired shapes – After the fabric is ironed, it can be cut into desired shapes. For a Christmas quilt, shapes like stars, snowflakes, trees, and snowmen can be used. It is recommend to use a rotary cutter, ruler, and mat for accurate cutting.
- Fuse interfacing to the fabric – interfacing can be used to stabilize the fabric. It should be fused to the wrong side of the fabric according to the manufacturer’s instructions and helps to add strength and integrity to the quilt.
Cutting the Fabric
- Iron the fabric to remove any wrinkles and make it easier to cut.
- Lay the fabric out on a flat surface.
- Measure and mark the pieces that need to be cut.
- Cut out the pieces using a rotary cutter or scissors.
- Trim any loose threads or fabric.
Piecing the Quilt Top
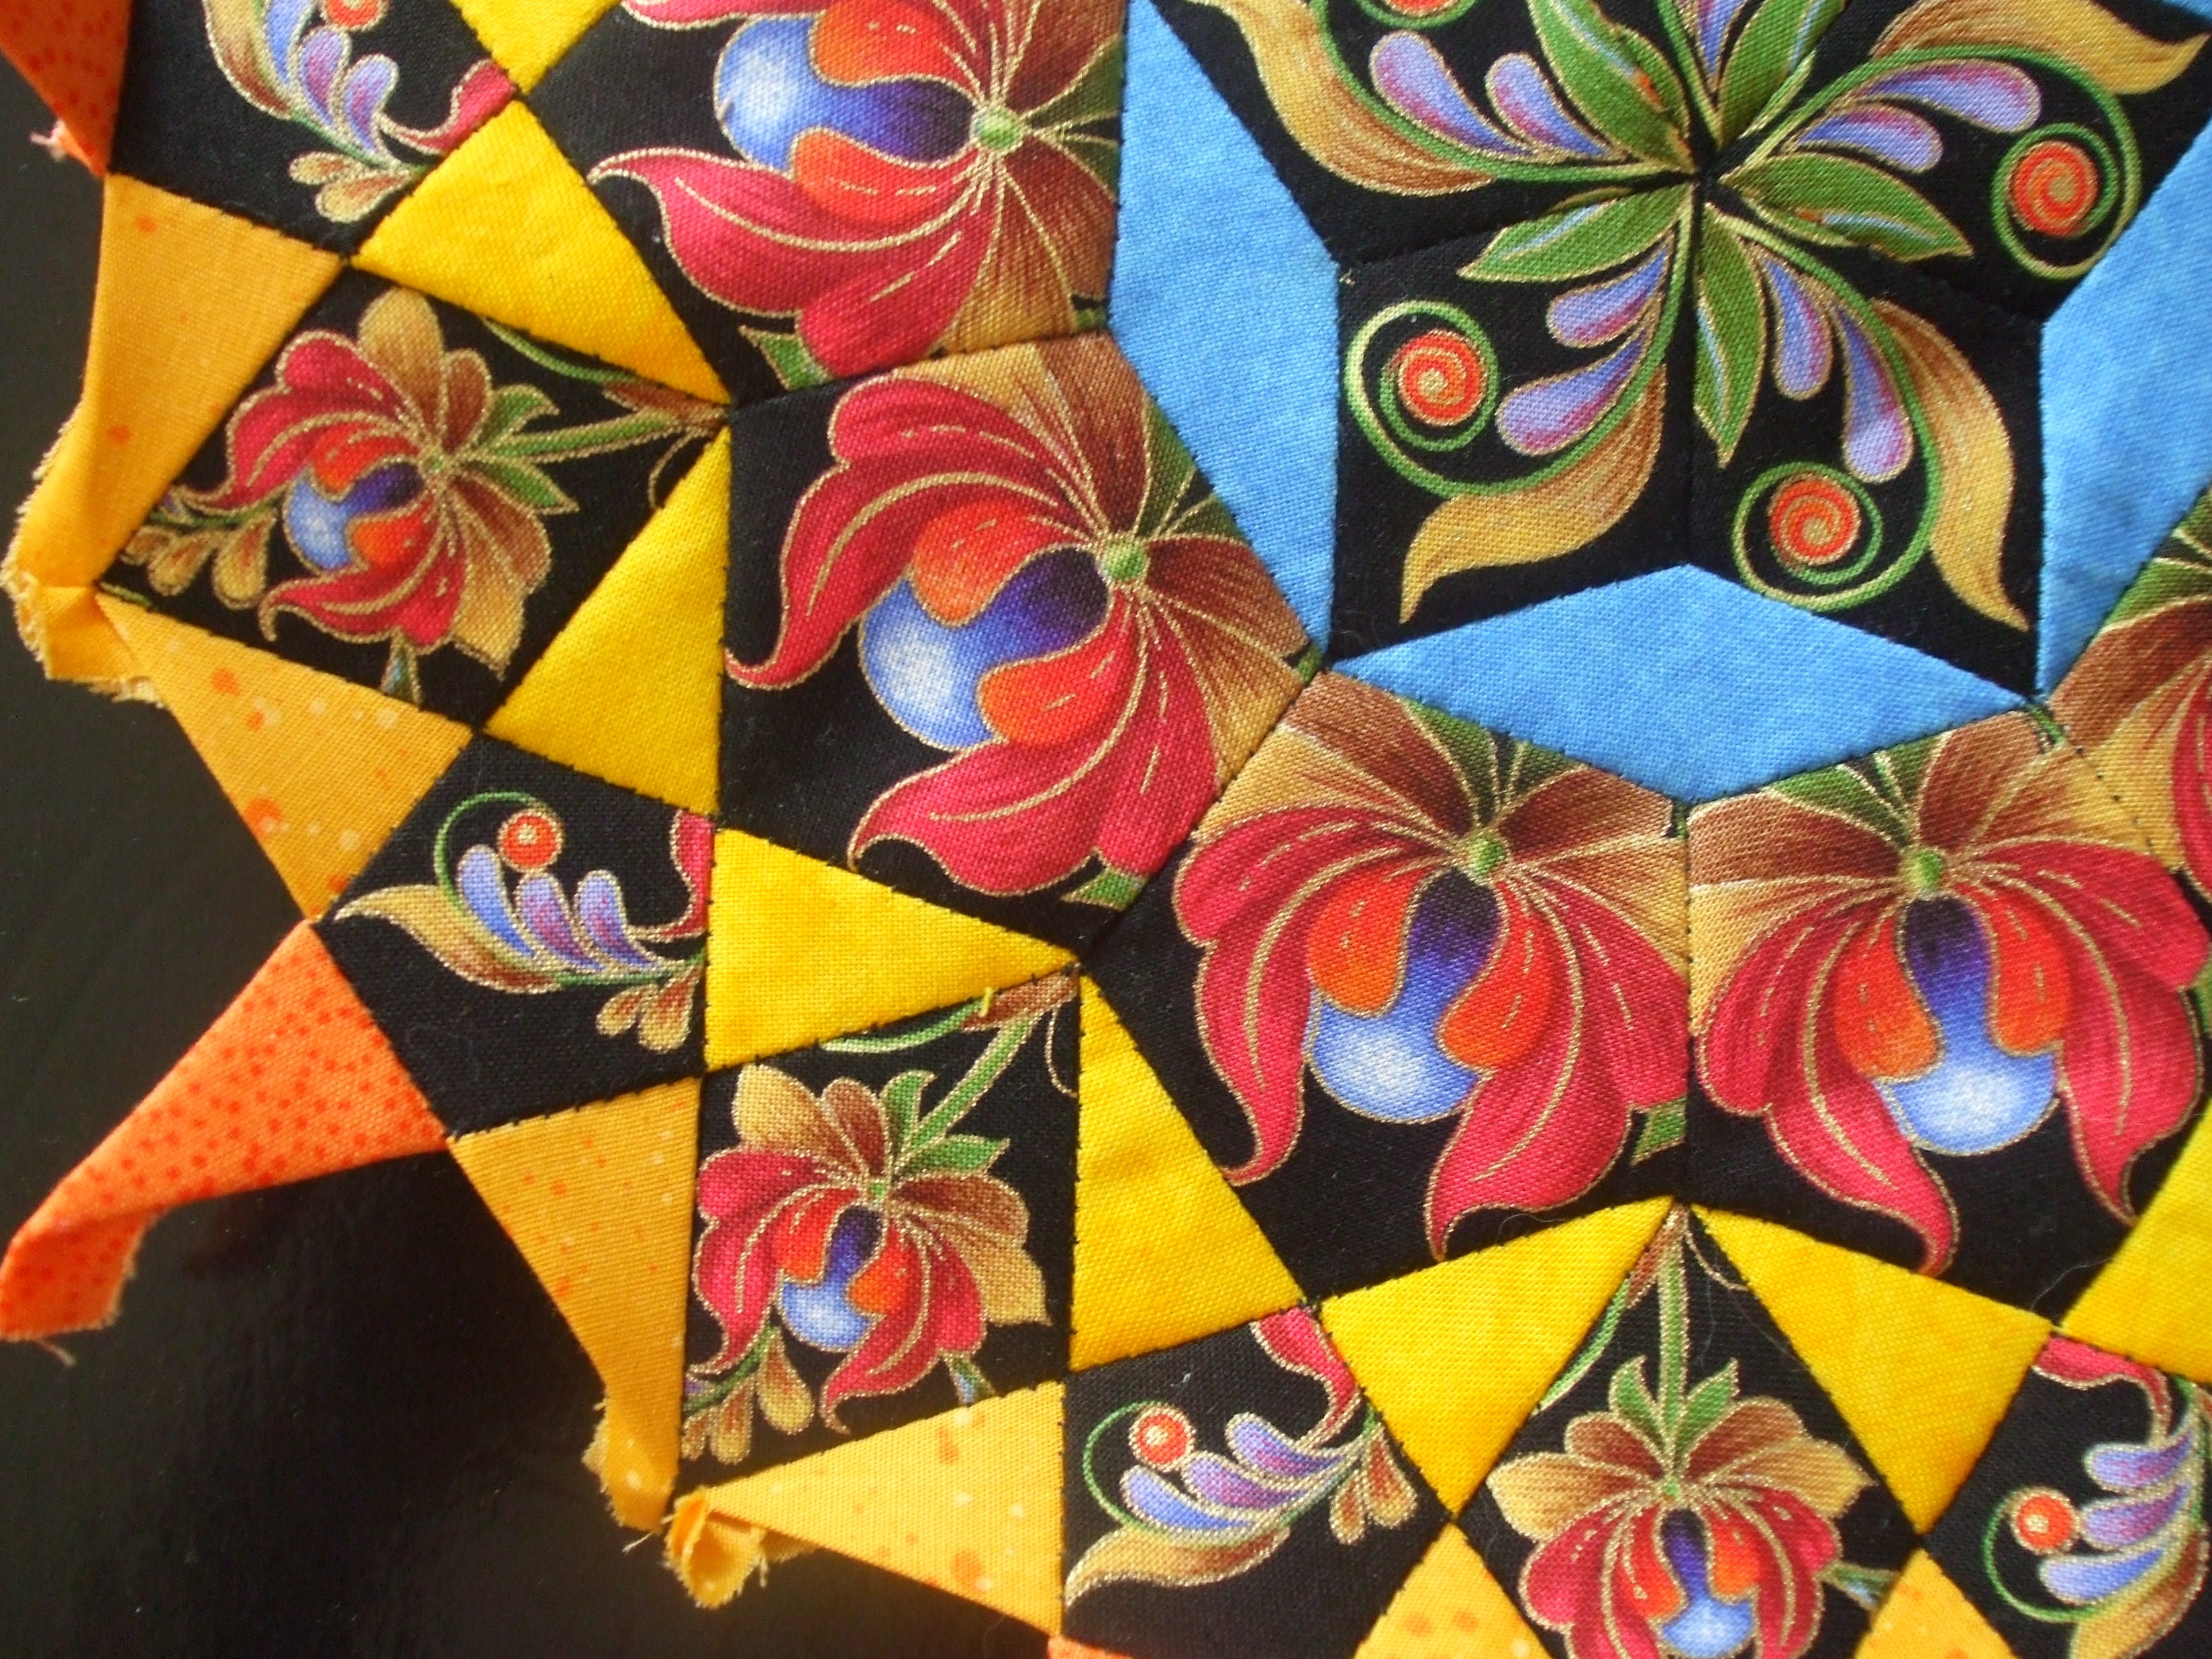
- Fabric Selection: Choose fabrics with vibrant colors and patterns to create a beautiful Christmas quilt top. Consider using traditional holiday colors such as red, green, and white.
- Layout: Arrange the fabric in a festive pattern before beginning the piecing process. This will help you visualize the finished quilt top.
- Piecing Technique: Begin piecing the quilt top by sewing one fabric square to the next. Use a ¼ inch seam allowance and press seams open.
- Border: To finish off the quilt top, add a border. Choose a coordinating fabric that will help bring the quilt top together.
Adding Borders
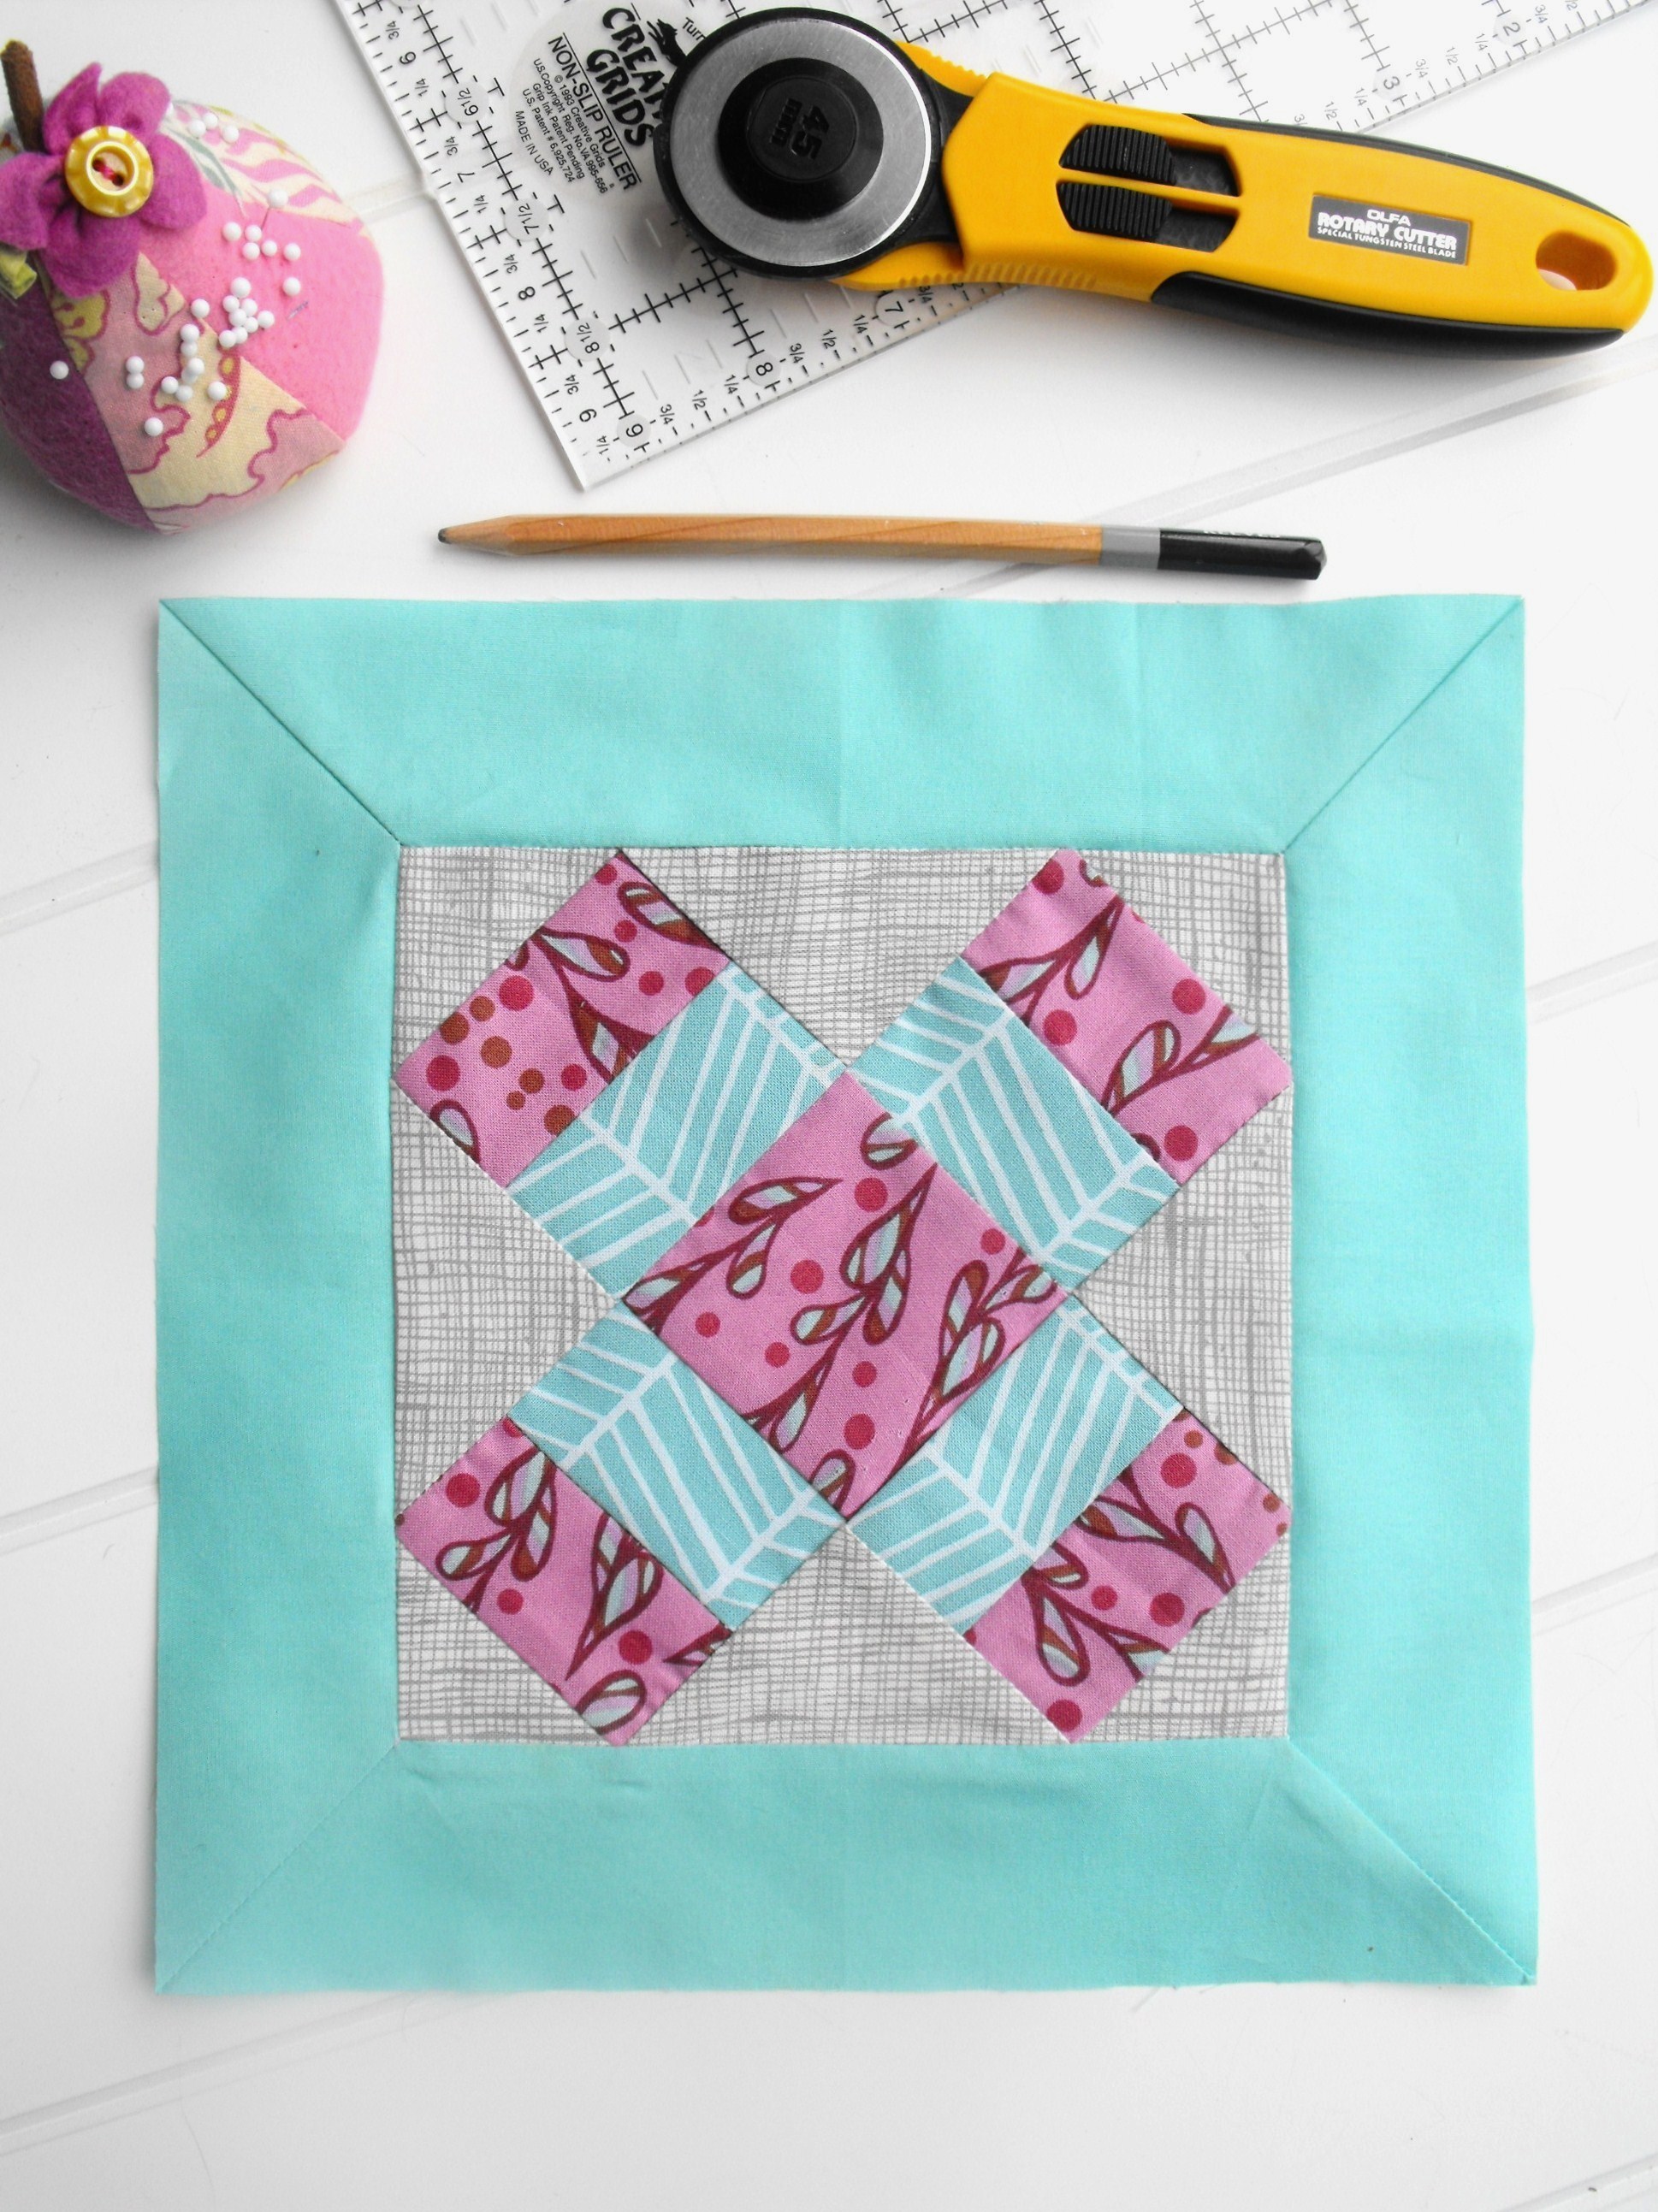
Once the quilt top is complete, the next step is to add the borders. Measure the quilt to determine how much fabric is needed for the borders. Cut the fabric to size and lay it out around the quilt. Pin the fabric in place and sew the borders on. Press the borders with a warm iron.
If the quilt is too large to sew in one piece, sew the borders in two or three parts and attach them together. Take extra care to line up the seams and corners when sewing the borders together.
For a finishing touch, add additional fabric to the back of the quilt in the same way the borders were added to the top. This will give the quilt a professional look and will make it look finished.
Quilting the Quilt Top
- Lay the quilt top onto the quilt batting. Make sure the quilt top is centered on the batting.
- Pin the quilt top to the batting. Use straight pins to secure the quilt top to the batting.
- Start quilting. Begin on the center and work your way out. Quilt in a continuous line.
- Check for puckers. Smooth out any wrinkles or puckers as you quilt.
- Trim and bind the quilt. After quilting, trim off any extra batting and bind the quilt.
Finishing the Quilt Top
Prepare the Backing: Lay out your backing fabric on a flat surface and smooth out any wrinkles. Make sure the backing is slightly larger than the quilt top.
Lay Out the Quilt Top and Backing: Put the quilt top face up on the backing fabric, ensuring the backing fabric is larger than the quilt top. Smooth the quilt top out and pin the two fabrics together.
Baste: Baste the quilt top and backing together by hand or with a sewing machine.
Quilt: Quilt the top by stitching in the ditch or using a decorative stitch.
Bind: Cut 2 ½ inch strips of fabric and sew them in a continuous circle around the quilt.
Finish: Trim the excess backing fabric and press the binding. Congrats! You have finished your quilt top.
Basting and Quilting the Quilt
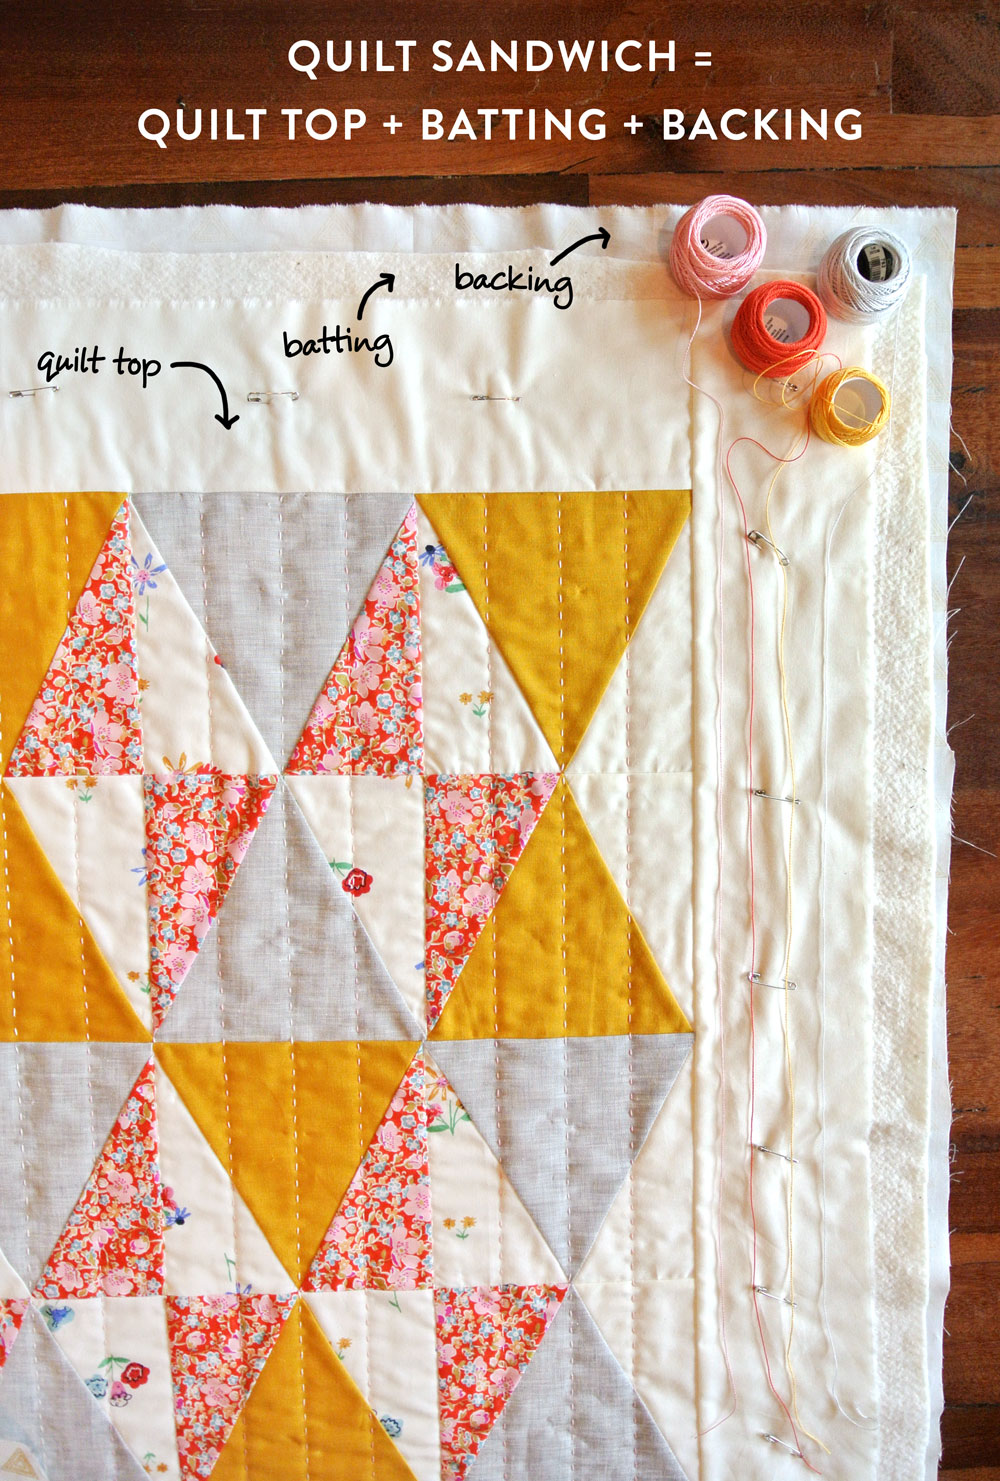
- Secure the layers: Use safety pins or basting spray to secure the three layers of your quilt (fabric top, batting, fabric bottom) together.
- Choose a quilting pattern: Choose a quilting design that is suitable for your Christmas quilt, such as a snowflake or Christmas tree.
- Mark the quilting design: Mark the quilting design on the top layer of your quilt using a fabric marker or chalk.
- Sew the quilting design: Start sewing the quilting design from the center of the quilt and work your way out. Use a walking foot or free-motion quilting foot for best results.
- Baste the quilt: Baste the quilt using a hand sewing needle and a long thread to keep the quilt layers together.
- Trim the excess fabric: Trim the excess fabric from the edges of the quilt to make it look neat.
- Bind the quilt: Bind the quilt with a fabric binding strip or use a decorative stitch to finish off the edges of the quilt.
Binding the Quilt
- Press the edges of the quilt to ensure flatness.
- Cut the binding fabric into 2.5 inch wide strips.
- Fold the strips in half lengthwise and press.
- Pin the binding strips to the perimeter of the quilt.
- Sew the strips to the quilt along the fold line.
- Fold the binding strips over the edges and pin in place.
- Sew binding strips to the quilt in a line close to the edge.
- Press the binding fabric to the back side of the quilt.
- Hand stitch the binding to the back of the quilt.
Once the binding is securely stitched in place, your Christmas quilt is ready! You can use a variety of fabrics, colors, and designs to create a unique quilt for the holiday season.
Frequently Asked Questions
What Type of Fabric Should I Use for My Christmas Quilt?
For the best results, choose a high-quality 100% cotton fabric for your Christmas quilt, as this is the most durable and comfortable option. Look for fabrics with a festive holiday theme, such as snowflakes, poinsettias, and traditional Christmas colors like red and green. Make sure to prewash the fabric before you begin to give the quilt a softer feel and to avoid any shrinkage.
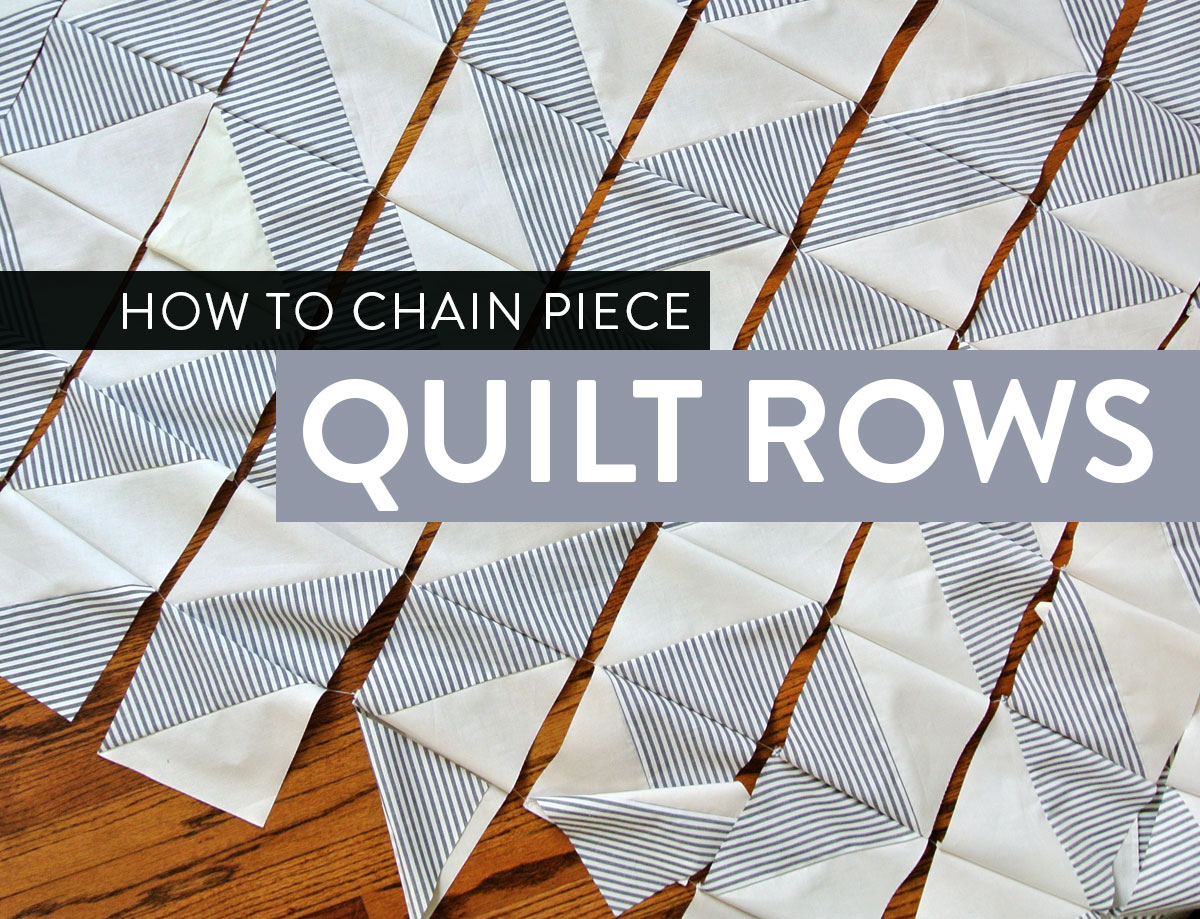
Are there any special techniques I need to use when piecing the quilt blocks?
Yes, there are several techniques that will help you piece your quilt blocks together properly:
- Pin the quilt blocks together before sewing them together. This will help keep the blocks in place while you sew.
- Use a quarter-inch seam allowance when sewing the blocks together. This will help ensure that the blocks stay together neatly.
- Press the seams after the blocks have been sewn together. This will help the seams lay flat and will give the quilt a finished look.
- Trim the corners of the quilt blocks after they have been sewn together. This will ensure that the blocks fit together neatly and will make the quilt look even.
By following these steps, you can ensure that your quilt will look neat and professionally pieced together.
What Kind of Batting Should I Use for My Quilt?
When making a quilt, the type of batting you use is essential to the final product. Generally, there are three types of batting: polyester, cotton, and wool. Polyester batting is lightweight, resilient, and durable, while cotton batting is more breathable and can be machine washed. Wool batting is warm and resilient, but is more expensive than the other two options. Ultimately, the type of batting you use will depend on your project and personal preferences.
What Thread Should I Use to Quilt the Layers Together?
- Cotton Thread – Cotton thread is a popular choice for quilting due to its durability, affordability and variety of colors. It is also an ideal choice for quilting due to its ability to blend into the quilt, making it less noticeable.
- Polyester Thread – Polyester thread is strong, durable and long-lasting, making it perfect for quilting. It is also easy to use and will not shrink or fade due to washing or sunlight.
- Nylon Thread – Nylon thread is lightweight and provides a good amount of stretch, making it great for quilting. It is also abrasion-resistant and will not break down easily.
- Metallic Thread – Metallic thread is a great option for adding a bit of sparkle and shine to your quilt. It is also strong, durable and will not stretch or fray.
What is the Best Way to Bind the Edges of My Quilt?
- Pinking Shears: Cut the edges of the quilt with pinking shears to prevent the fabric from fraying. This is an easy, quick solution.
- Stitching: Fold the edges of the quilt over and stitch by hand or machine to create a neat, finished edge.
- Binding with Fabric: Cut a strip of fabric that matches the quilt and fold it in half lengthwise. Sew the strip to the edge of the quilt, enclosing the raw edges, then fold the binding over to the back of the quilt and stitch it down.
- Fabric Tape: Apply fabric tape along the edges of the quilt, following the manufacturer’s instructions. This is a great option for beginners and is easy to apply.
Conclusion
Making a Christmas quilt is an enjoyable and rewarding project that can be completed by beginners. With the right materials, a bit of patience, and the step-by-step instructions provided in this article, anyone can create a beautiful quilt that can be cherished for years to come.


