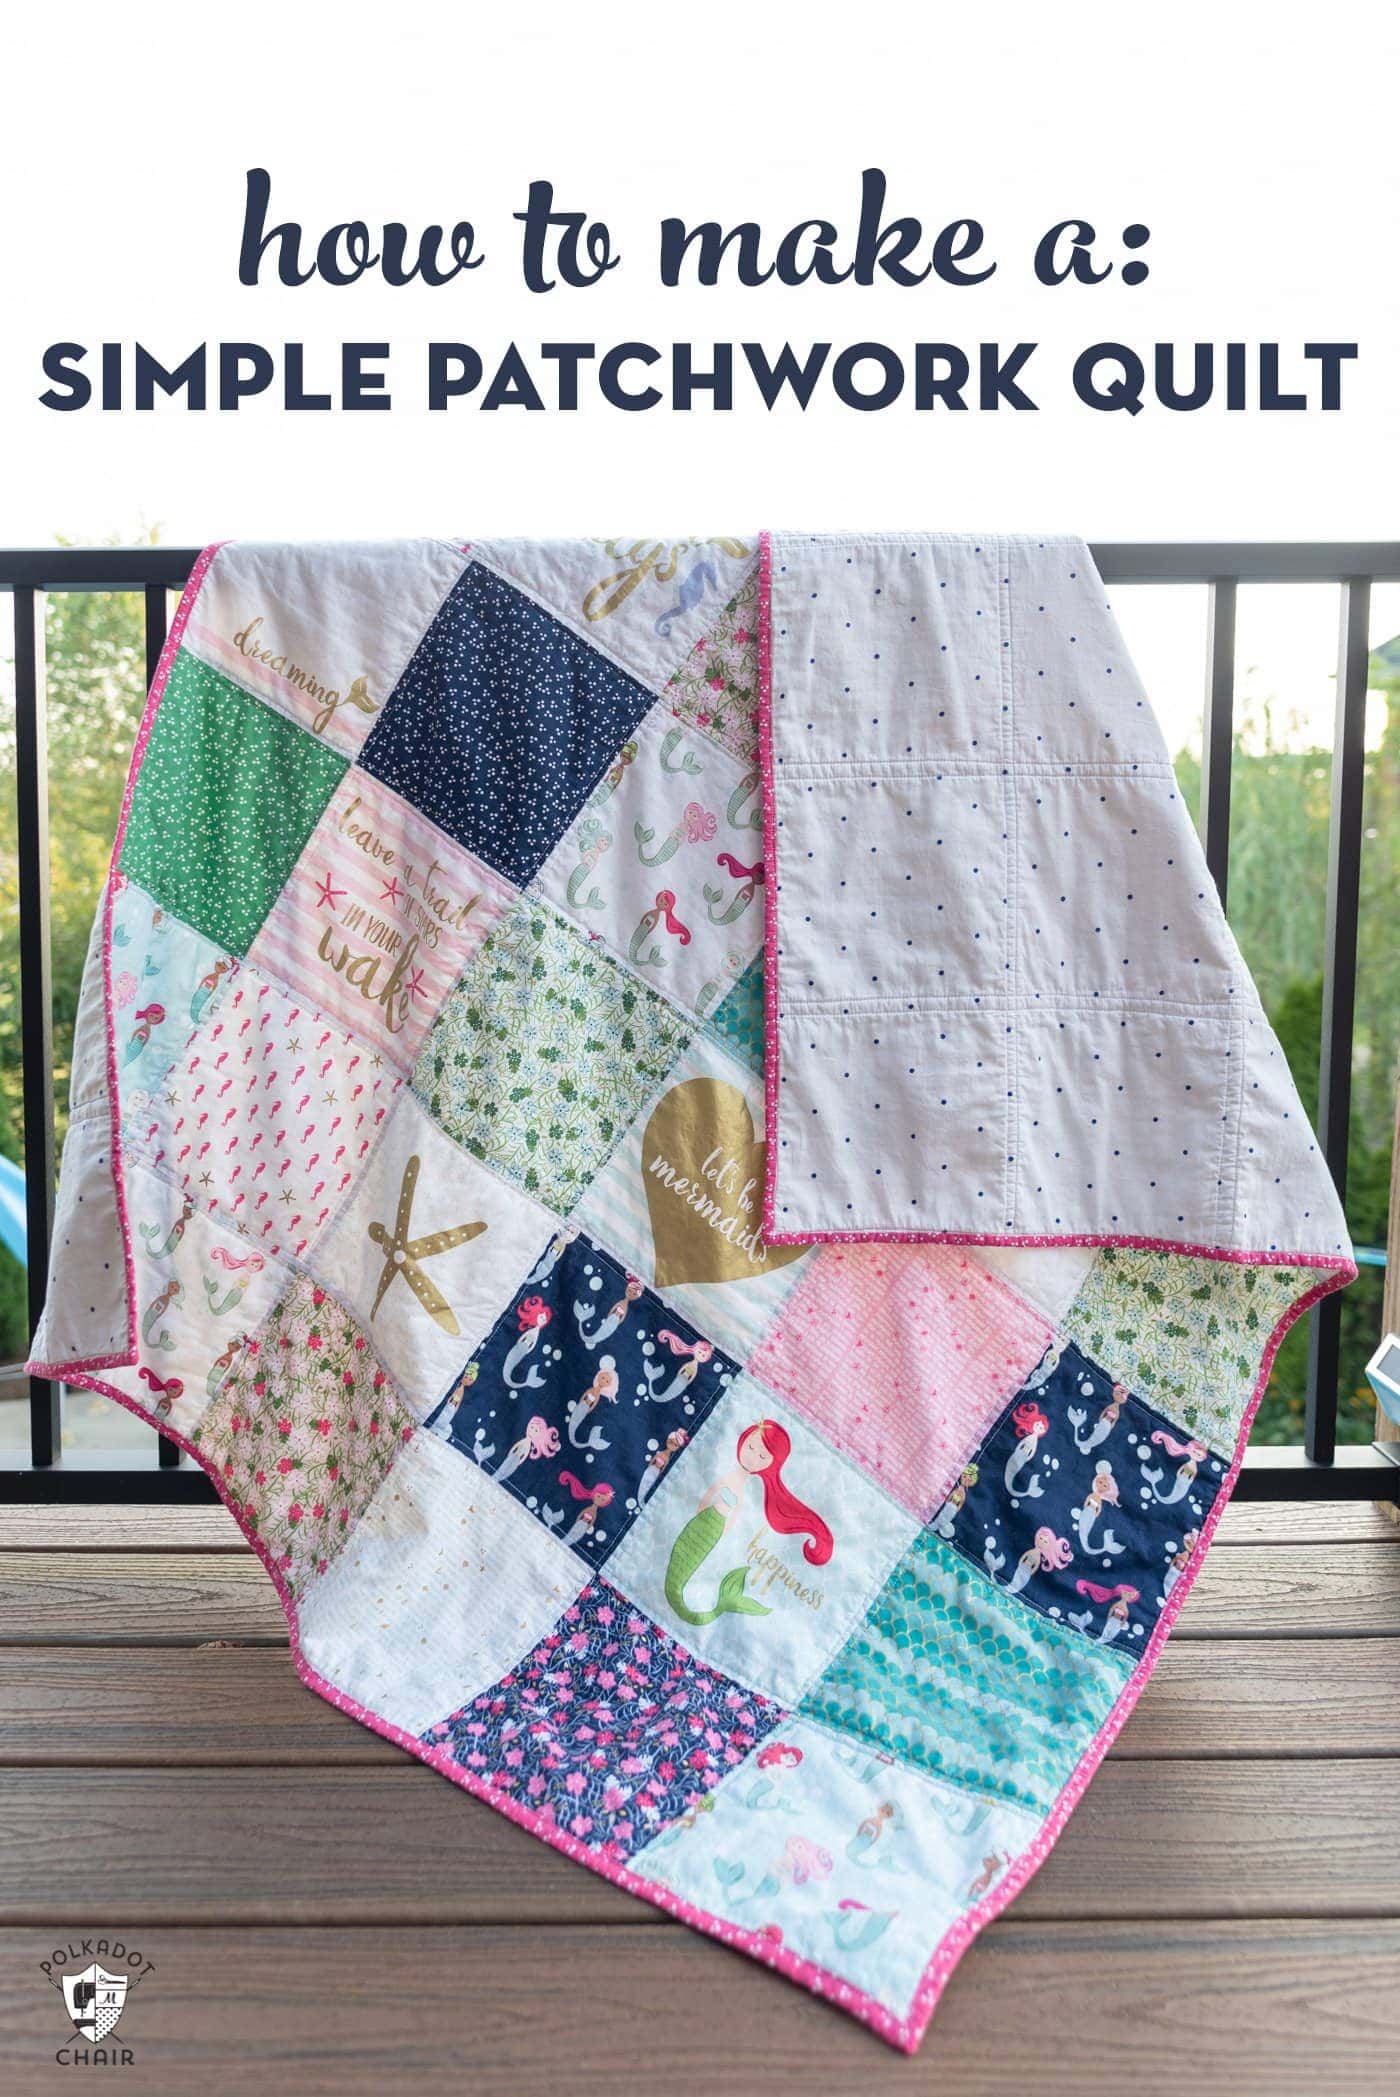
Are you looking for a fun and creative project to tackle? Have you ever considered making a king size quilt? If so, this article will show you how to make a king size quilt in easy steps. You’ll learn the materials you need, the cutting and piecing techniques, and even tips for quilting and binding. With a few simple steps, you can create a beautiful, one-of-a-kind king size quilt that is sure to be cherished for years to come.
Materials Needed
| Item | Quantity |
|---|---|
| Cotton Fabric | 8 yards |
| Backing Fabric | 8 yards |
| Quilt Batting | 8 yards |
| Thread | 1 spool |
| Scissors | 1 pair |
| Pins | 1 box |
| Sewing Machine | 1 |
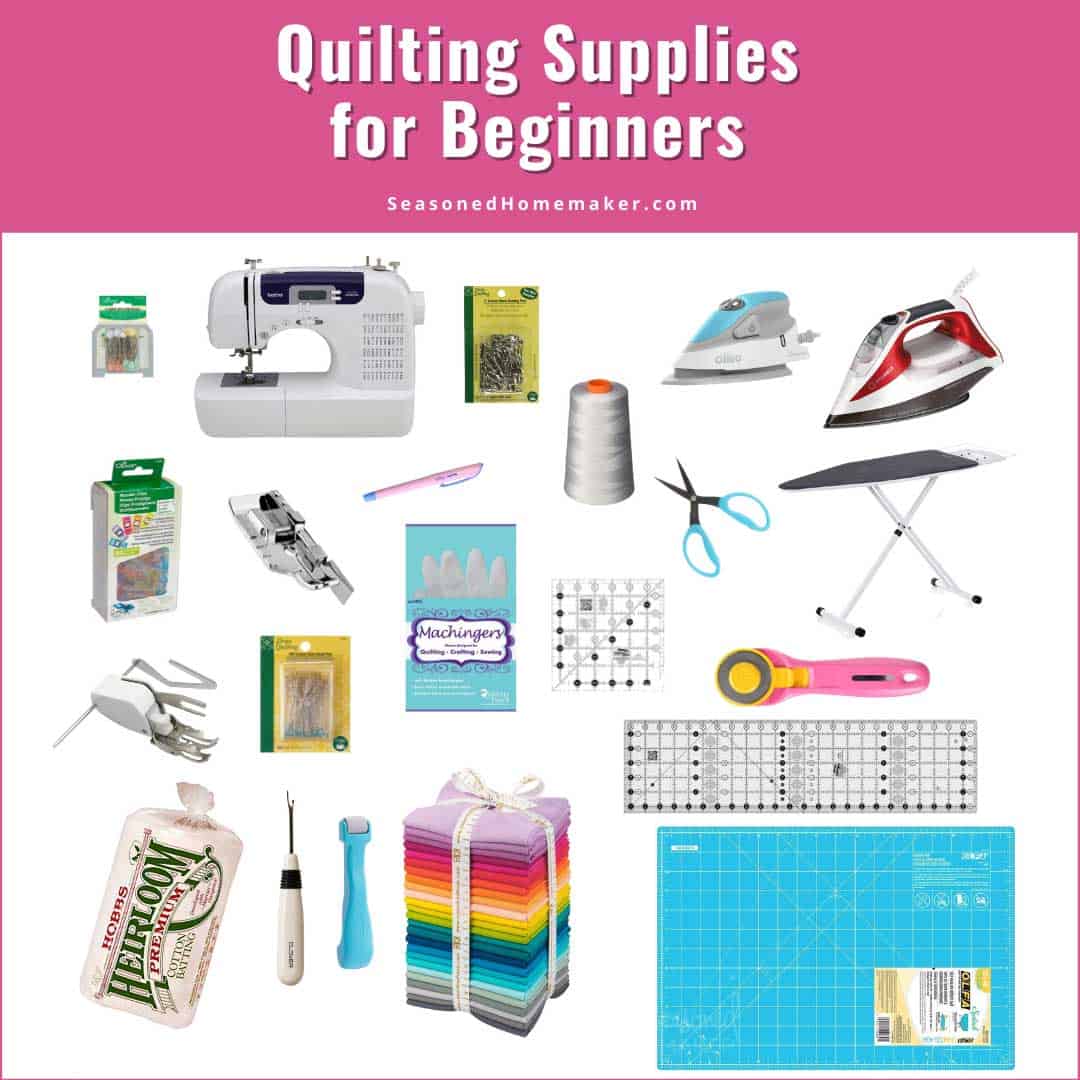
To create a king size quilt, you will need 8 yards of cotton fabric, 8 yards of backing fabric, 8 yards of quilt batting, 1 spool of thread, 1 pair of scissors, 1 box of pins and a sewing machine.
Measure & Cut Fabrics
Measure the fabrics you will be using to make your king size quilt. You will need four pieces of fabric for the quilt top, and four pieces for the backing. You will need these pieces to be the same size – a good size for a king size quilt is 110” (279 cm) x 110” (279 cm). You can decide if you want all of the pieces to be the same fabric, or if you want them to be four different fabrics.
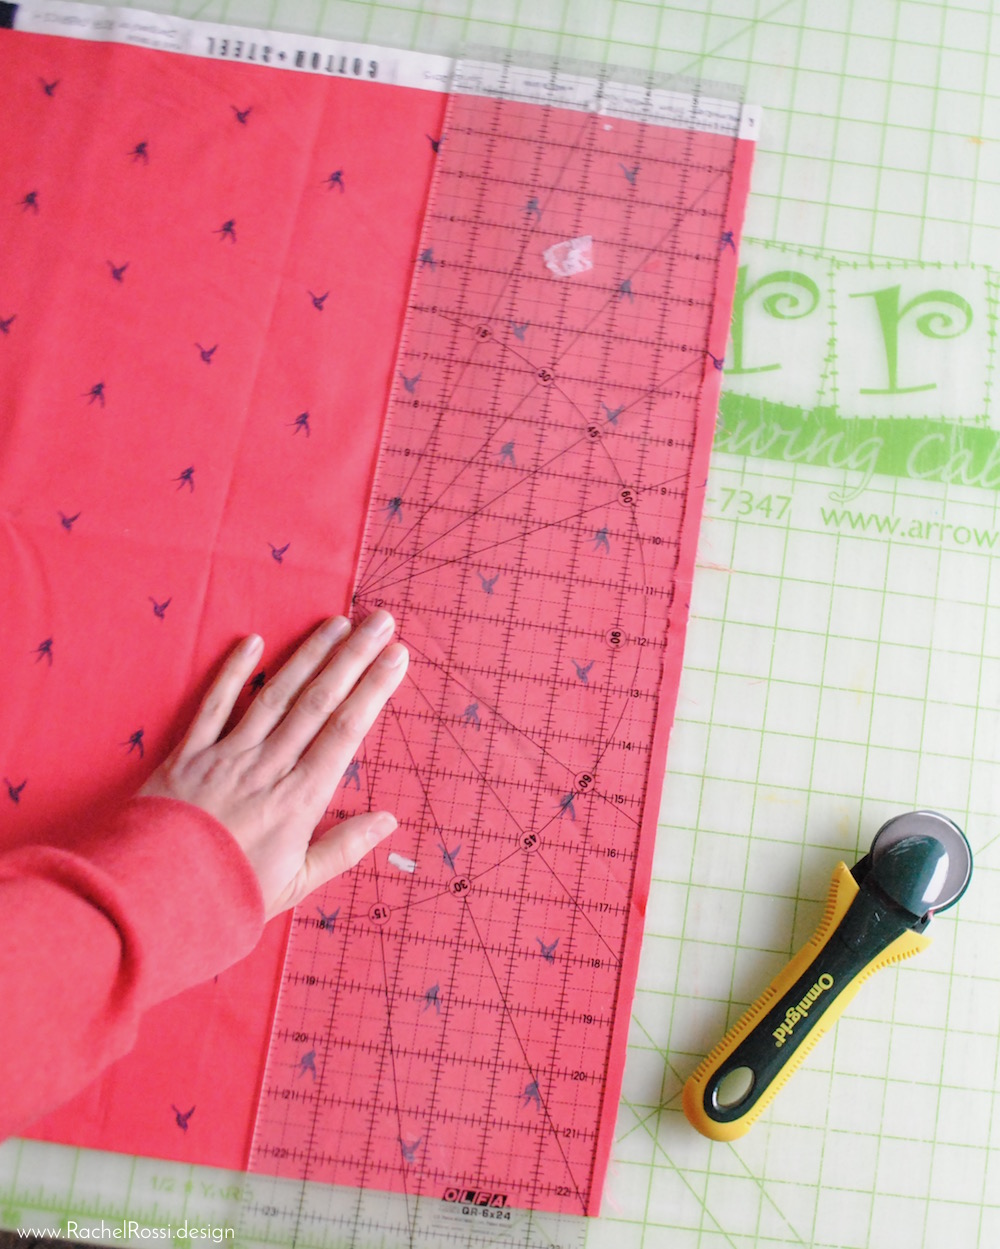
Once the fabric is measured, cut it to the correct size. Be sure to use sharp scissors or a rotary cutter for a precise cut. If you are using a rotary cutter, use a cutting mat and a ruler to ensure accuracy.
When cutting the fabric, add a ½” (1.25 cm) seam allowance to each side. This will give you extra fabric to make sure your quilt top and backing fit perfectly. Once all of the pieces are cut, you can move on to the next step of making your king size quilt.
Sew the Layers Together
Layer One
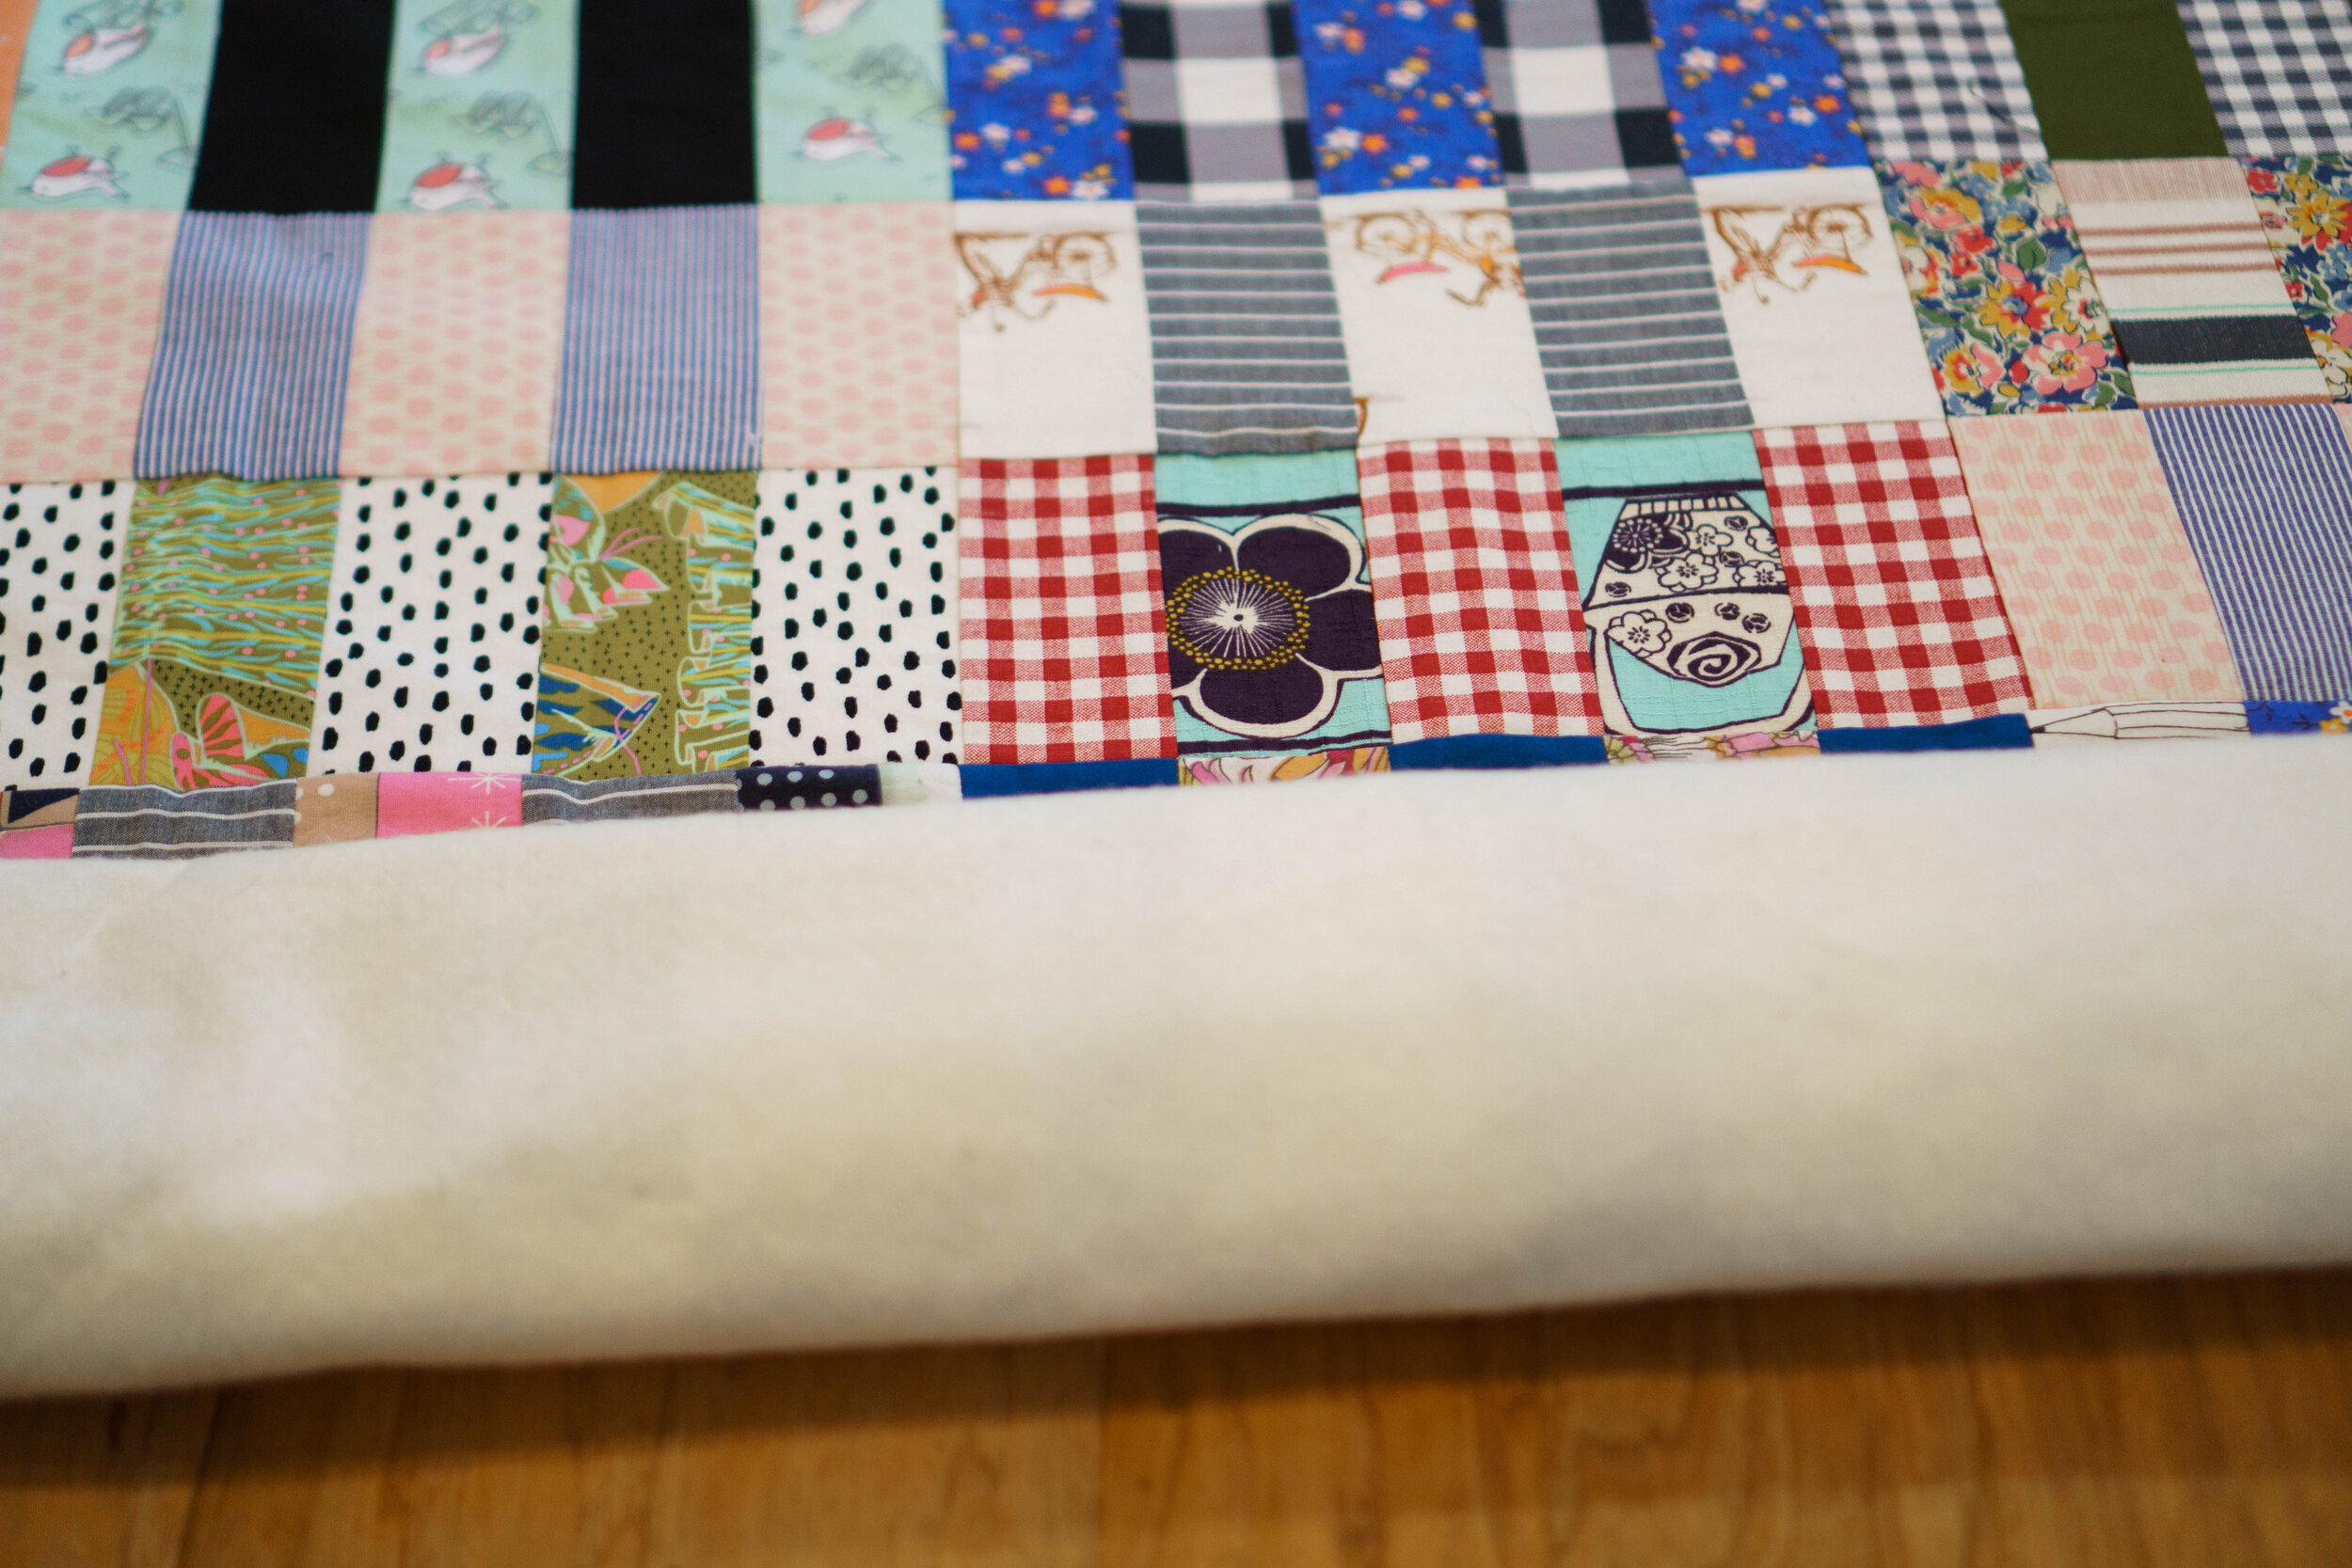
Start by laying out the quilt top fabric right side up on the floor. Place the batting on top of the quilt top fabric and spread it out evenly. Place the backing fabric right side down on top of the batting. Pin the layers together at several points to keep them from shifting.
Layer Two
Using a walking foot, begin in the center of the quilt and sew a 1/2 inch seam down the center. Sew all the way to one edge, pivot and sew the entire edge, pivot again and sew back up the other side of the quilt.
Layer Three
Now stitch in the ditch along the seam line of the center. Continue all the way to the end. Stitch in the ditch along the edge of the quilt and then pivot and sew back up the other side.
Optional Steps for Design
- Choose a Pattern: Select a quilt pattern that you like, such as a traditional patchwork pattern, an appliqué pattern, or a modern quilt design. You can also come up with your own unique pattern.
- Picking a Color Scheme: Select fabrics in colors that will work with your quilt pattern. You can also use multiple colors to create a vibrant quilt.
- Select the Materials: Choose materials such as batting, backing fabric, binding fabric, and thread to complement your quilt.
- Cutting the Pieces: Cut the fabrics into pieces according to the pattern requirements. Make sure to use a rotary cutter to get precise cuts.
- Assembling the Top Layer: Sew the pieces together to create the top layer of the quilt. Use a ¼ inch seam allowance for an even finish.
- Quilting: Quilt the top layer of the quilt by stitching the layers together. Use a walking foot quilting attachment to get even stitches.
- Adding the Binding: Sew the binding fabric to the quilt to finish the edges. Use a double-fold binding technique for a professional-looking finish.
Quilting
Layering the quilt is the first step to quilting. Put the quilt backing on a flat surface, then add the batting, and finally the quilt top. Pin the layers together at regular intervals.
Quilting can be done in various ways such as hand quilting, machine quilting, tying, and even long-arm quilting. Select the method of quilting that best suits your project and skill set.
Hand Quilting is the oldest form of quilting and can be done with a hoop to help guide the quilter. Use a quilting needle and thread to stitch the quilt pieces together.
Machine Quilting is the most common form of quilting and can be done with a home sewing machine. Choose a presser foot that is specifically designed for quilting and use a walking foot if the quilt is large.
Tying is a simple way to quilt a project and can be done with a sewing machine or by hand. Place small knots at regular intervals either by hand or machine and then tie the knots together.
Long-arm Quilting is a professional machine quilting method that requires specialized equipment and a great deal of practice. Use a quilting machine to stitch large quilts quickly and accurately.
Binding
| Step | Description |
|---|---|
| 1 | Measure a strip of binding fabric that is 2.5 inches wide and long enough to go all the way around the quilt. |
| 2 | Fold the strip in half lengthwise and press with an iron. |
| 3 | Open the binding strip and center it on the right side of the quilt edge. |
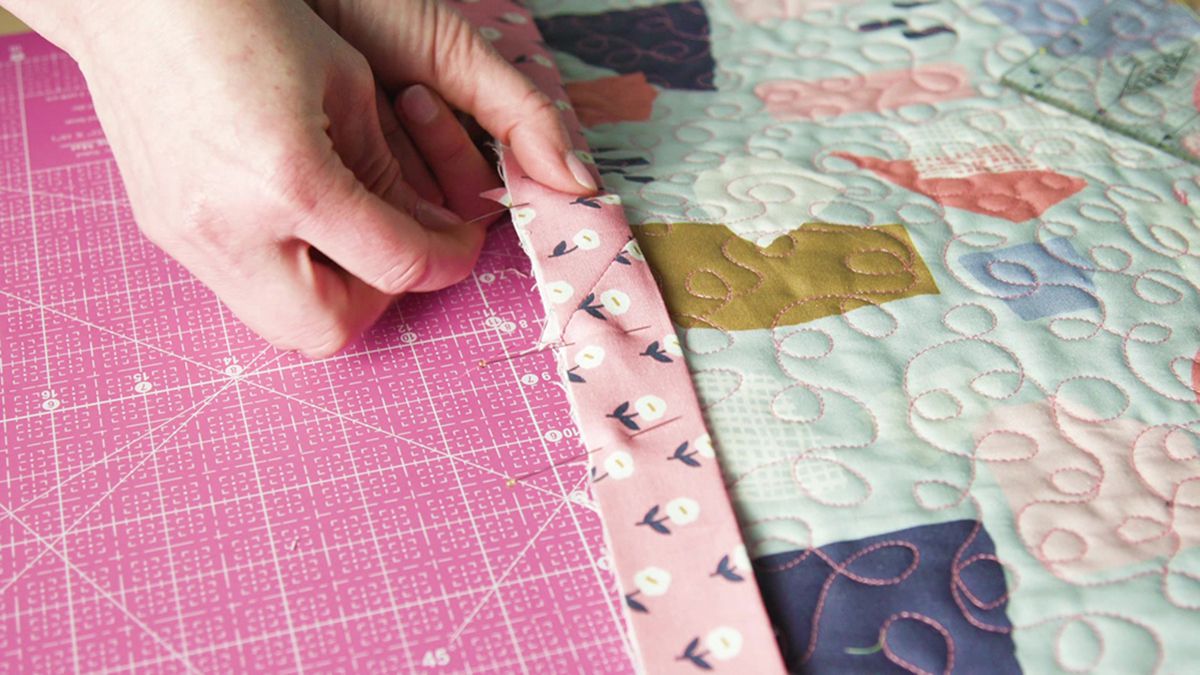
| 4 | Starting in the middle of one side, pin the binding to the quilt. |
| 5 | Using a ¼ inch seam allowance, stitch the binding to the quilt. Stop and start with a backstitch. |
| 6 | Fold the binding over the edge of the quilt, covering the seam. |
| 7 | Pin in place and edgestitch the binding. |
| 8 | Repeat steps 3-7 for the remaining edges. |
Finishing Touches
| Step | Description |
|---|---|
| 1 | Press the quilt top, batting and backing fabric, to remove any wrinkles. |
| 2 | Lay the batting and backing fabric on the floor, wrong sides together. |
| 3 | Center the quilt top on the batting and backing fabric. |
| 4 | Tack the layers together using safety pins. |
| 5 | Thread the machine with matching thread and quilt the layers together. |
| 6 | Trim the excess batting and backing fabric to the size of the quilt. |
| 7 | Fold the binding fabric in half lengthwise and press. |
| 8 | Attach the binding fabric to the quilt using a ¼ inch seam allowance. |
| 9 | Fold the binding fabric over the edge of the quilt and hand stitch it in place. |
Frequently Asked Questions
What materials will I need to make a king size quilt?
-
Fabric:
- 7 yards of backing fabric
- 7 yards of batting
- 7 yards of quilt top fabric
-
Tools:
- Sewing machine
- Rotary cutter
- Cutting mat
- Iron
- Thread
- Quilting ruler
How long will it take to complete a King Size Quilt?
Time and effort: The time it takes to complete a King Size quilt depends on the complexity of the quilt pattern and the skill of the quilter. A highly experienced quilter with the right tools and materials could complete a basic King Size quilt in as little as one week. On the other hand, an inexperienced quilter with access to limited resources and tools may take several weeks or even months to finish a King Size quilt.
Factors:
- Complexity of the quilt pattern
- Experience of the quilter
- Tools and materials available
- Amount of time devoted to the project
Conclusion: A King Size quilt can take anywhere from one week to several months to complete depending on the experience of the quilter, the complexity of the quilt pattern and the resources available.
What Type of Fabric Should I Use for My King Size Quilt?
When selecting the fabric for your king size quilt, the best option is to use 100% cotton quilting fabric. Quilting fabric is lightweight and often pre-washed to prevent shrinkage and fraying. Cotton quilting fabric is also breathable, which will keep you comfortable while sleeping. Additionally, cotton quilting fabric is easy to sew, which is important when piecing together the quilt.
Are There Any Special Tools I Will Need To Make A King Size Quilt?
Yes, there are a few special tools you should have to make a king size quilt:
- A large cutting mat.
- A rotary cutter.
- A quilting ruler.
- A walking foot sewing machine.
- A quilting frame.
- A large iron and ironing board.
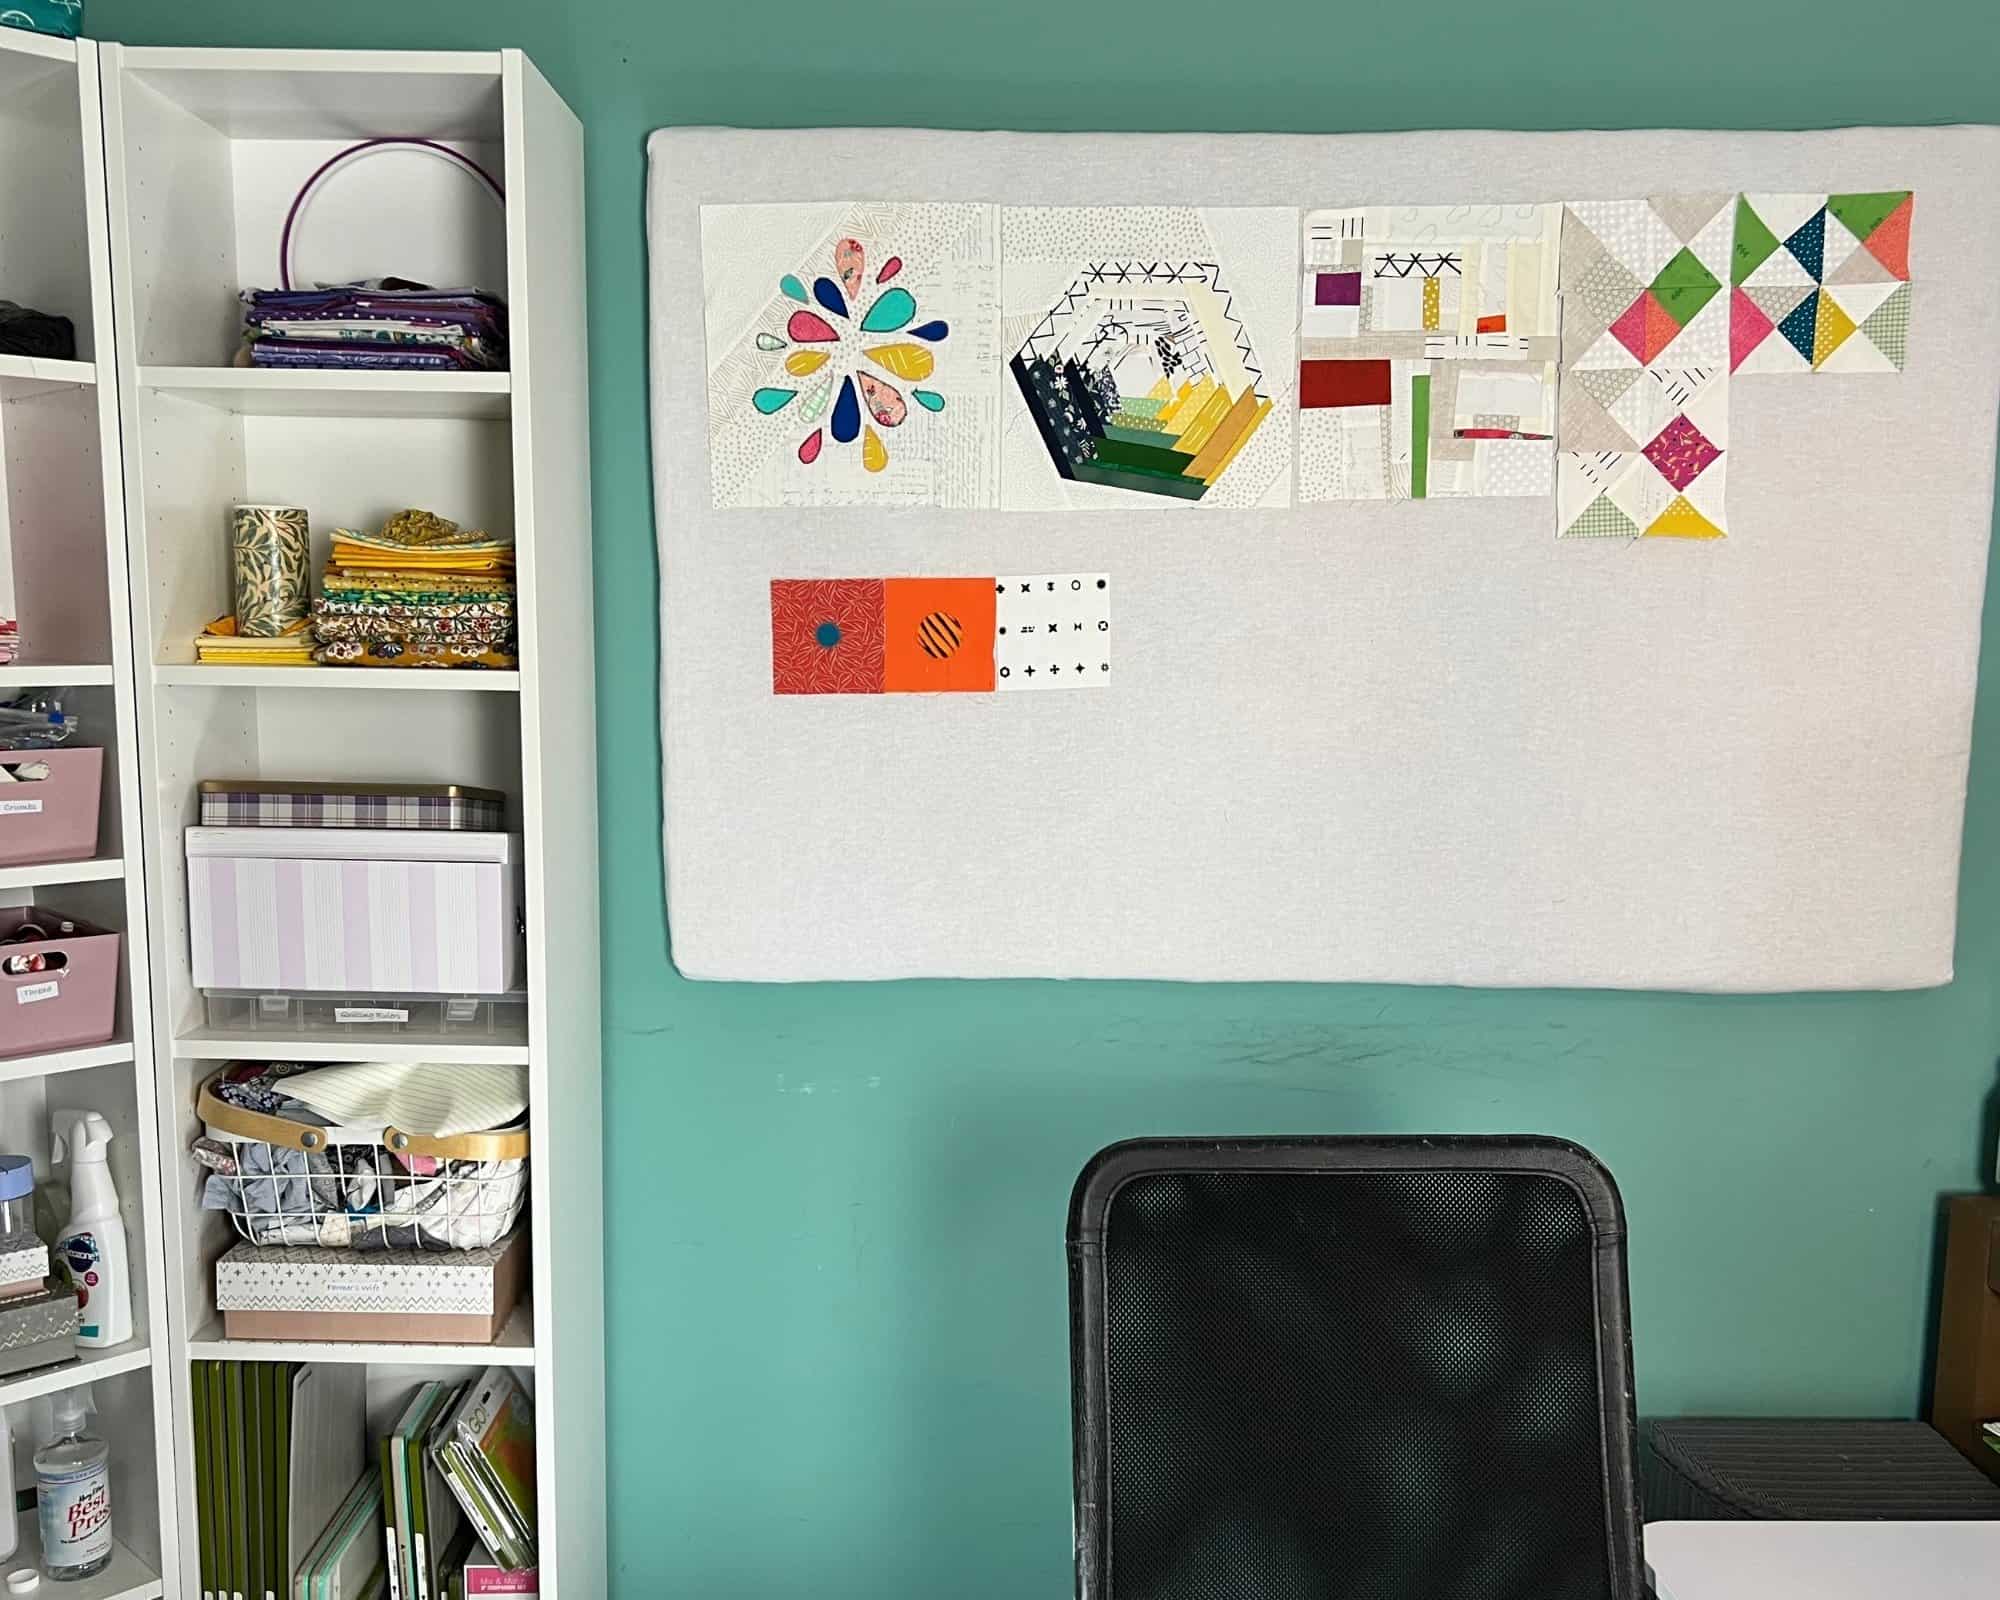
- A quilting design wall.
Having these tools is essential for making a king size quilt. They will help you measure, cut, and sew the quilt correctly, as well as make it easier for you to work on a large quilt project. Additionally, having a quilting design wall is helpful for laying out quilt blocks before you begin sewing.
Are There Any Tips for Making a King Size Quilt Easier?
Allow yourself enough time: Making a king size quilt takes time, so make sure to plan ahead and leave plenty of time to work on it.
Choose the right batting: Use a batting that is appropriate for the quilt’s size and weight.
Select a pattern: Choose a quilt pattern that suits your skill level and the size of the quilt.
Use a walking foot: A walking foot will help to ensure the quilt layers are evenly sewn together.
Cut strips accurately: Accurate cutting is essential for a successful quilt. Invest in a rotary cutter and mat to make the cutting process easier.
Take your time with piecing: Piecing is the most time-consuming part of making a quilt. Take your time and be patient.
Quilt with an even tension: Use even tension when quilting to ensure the quilt is strong and won’t pull apart.
Bind the quilt: Binding the quilt will give it a finished look and make it last longer.
Conclusion
Making a king size quilt is an achievable goal for anyone with a bit of patience and the right tools. With a bit of practice and dedication, anyone can learn how to make a beautiful quilt that makes a perfect addition to any bedroom.


