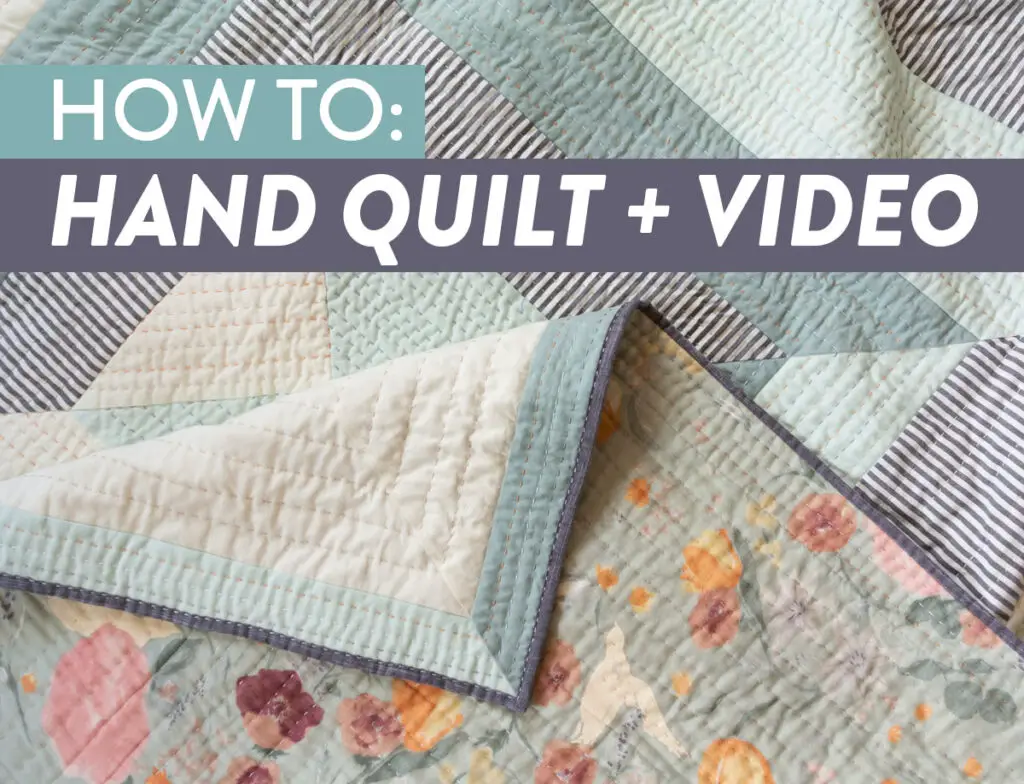
Are you looking for a step-by-step guide on how to make a patchwork quilt by hand for beginners? If so, you have come to the right place! In this article, we will provide you with a detailed guide on how to make a patchwork quilt by hand. We will cover everything from selecting your fabric, cutting the pieces, and sewing your quilt together. By the end of this article, you will have all the knowledge necessary to create a beautiful patchwork quilt that you can love and cherish for years to come!
Materials Needed
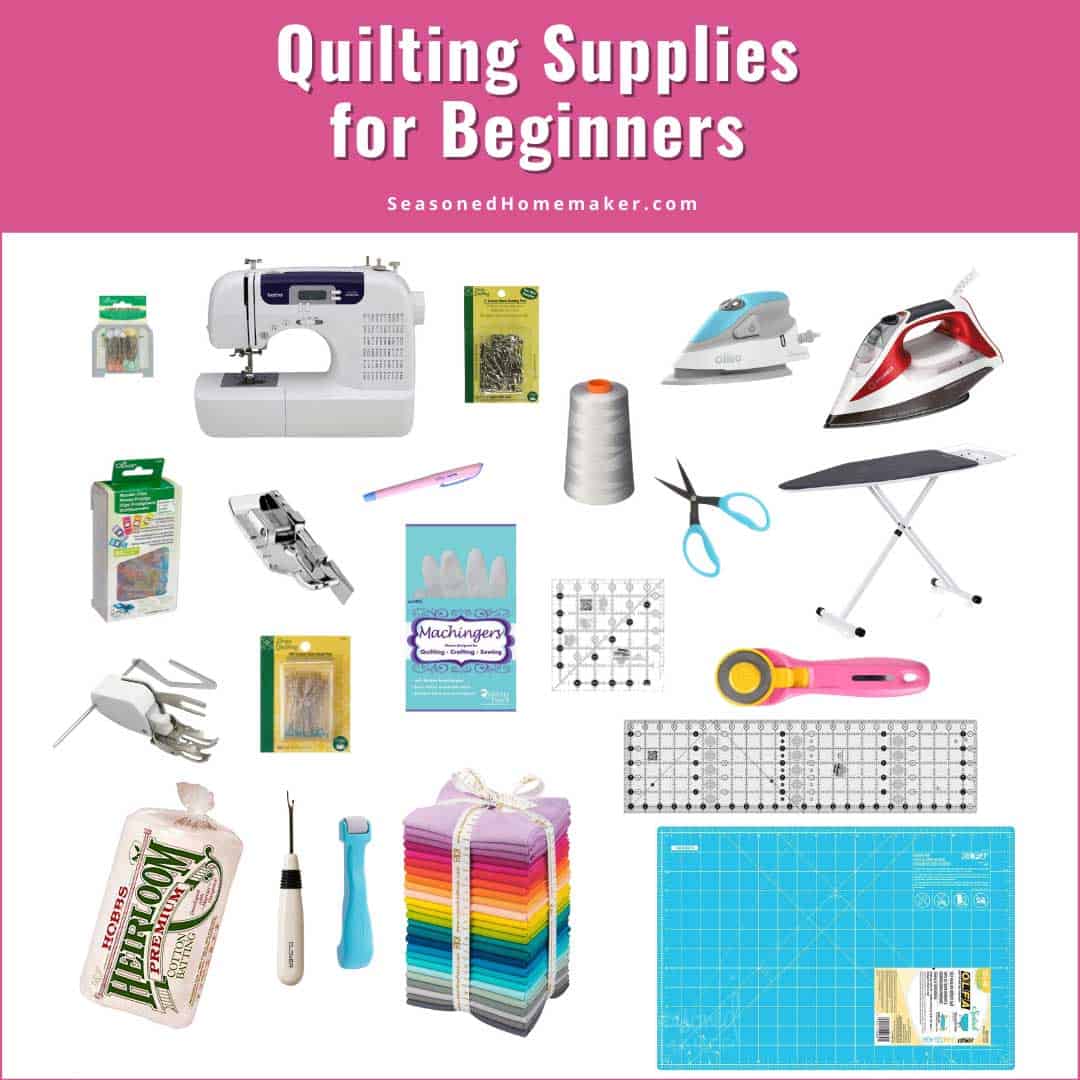
- Fabric- You will need fabric in a variety of colors and patterns. Depending on the size of your quilt you may need several yards. Cotton fabric works best for patchwork quilts.
- Thread- You will need thread that matches the colors of your fabric. This will help keep your patchwork quilt looking neat and tidy.
- Scissors- You will need sharp scissors to cut your fabric into the shapes necessary for your patchwork quilt.
- Pins- You will need enough pins to secure each piece of fabric in place while you sew them together.
- Needle- You will need a needle to hand stitch your patchwork quilt together.
- Batting- You will need batting to add a layer of cushioning to your quilt.
- Backing Fabric- You will need a piece of fabric to cover the back of your quilt.
Make sure you have all these materials before you start your hand stitched patchwork quilt project.
Choosing a Pattern
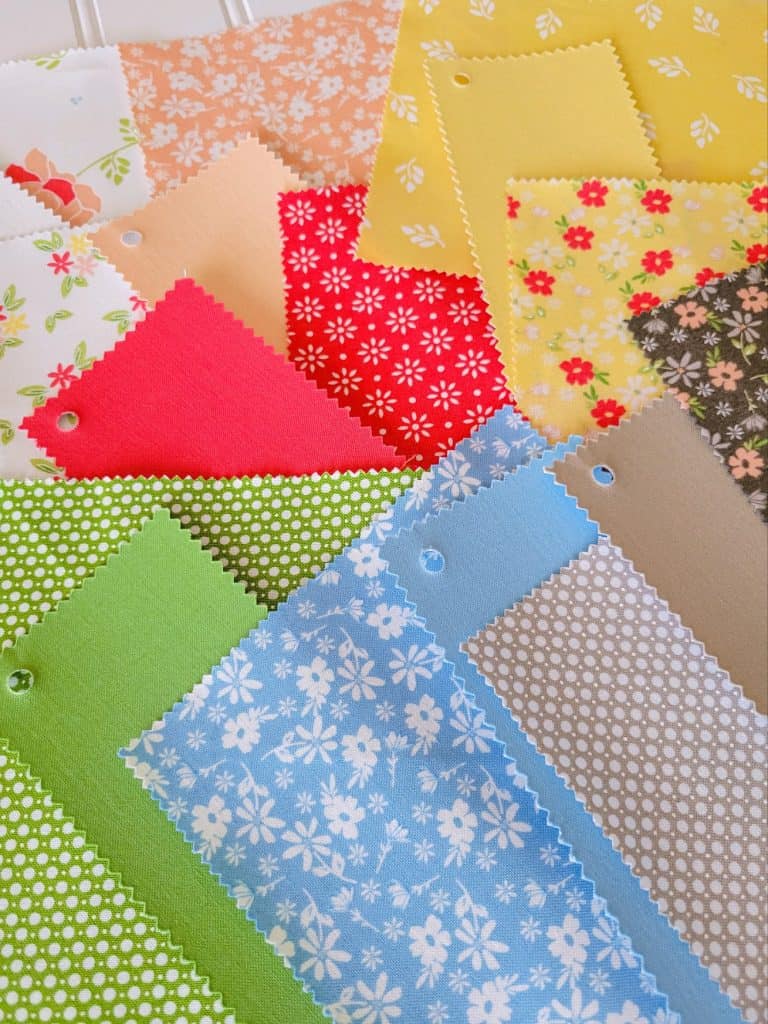
To make a patchwork quilt by hand, you will need to decide on a pattern for the quilt. You can use a simple block pattern or a more complicated free-form pattern.
Block Pattern
A block pattern is composed of individual blocks that are arranged in a repeating pattern. This type of quilt design is the easiest to make and can be pieced together quickly.
Free-form Pattern
A free-form pattern is more complex and requires more time and effort to piece together. This type of pattern allows for more creativity and can result in a more unique quilt.
When selecting a pattern, consider your skill level and the amount of time you have available to make the quilt. A block pattern may be easier and faster to make, while a free-form pattern may be more challenging.
| Pattern | Skill Level | Time |
|---|---|---|
| Block Pattern | Beginner | Fast |
| Free-form Pattern | Intermediate | Longer |
If you are making a quilt without by hand, you may want to consider using a pre-made quilt block pattern. This will make it easier to piece together the quilt and ensure that all of the blocks are the same size.
Cutting the Fabric
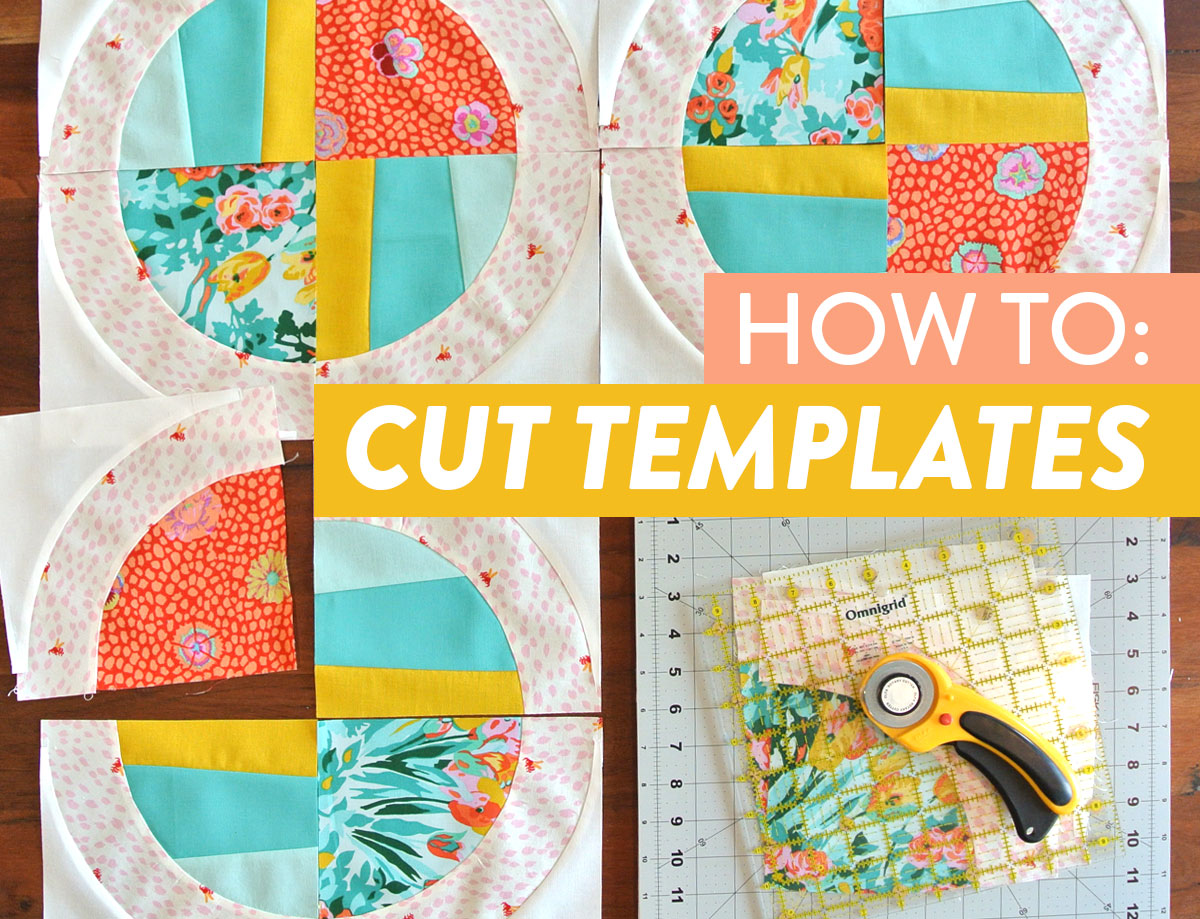
Cutting the fabric into the right shapes and sizes is the first step in making a patchwork quilt. To make sure that the pieces fit together properly, use a rotary cutter, ruler, and cutting mat. For best accuracy, use a ruler that has a 1/4-inch grid on it. Follow the instructions in the quilt pattern to determine the size and shape of the individual pieces that need to be cut and then begin cutting.
Tip: Use fabric-marking pens or tailor’s chalk to mark the pieces before cutting.
| Fabric Type | Cutting Tool |
|---|---|
| Cotton | Rotary cutter |
| Fleece | Scissors |
| Silk | Pinking Shears |
When cutting the fabric, keep in mind the various types of fabric and the best tool for cutting each type. For example, for cotton fabrics, use a rotary cutter, for fleece fabrics, use scissors, and for silk fabrics, use pinking shears.
Sewing the Pieces Together
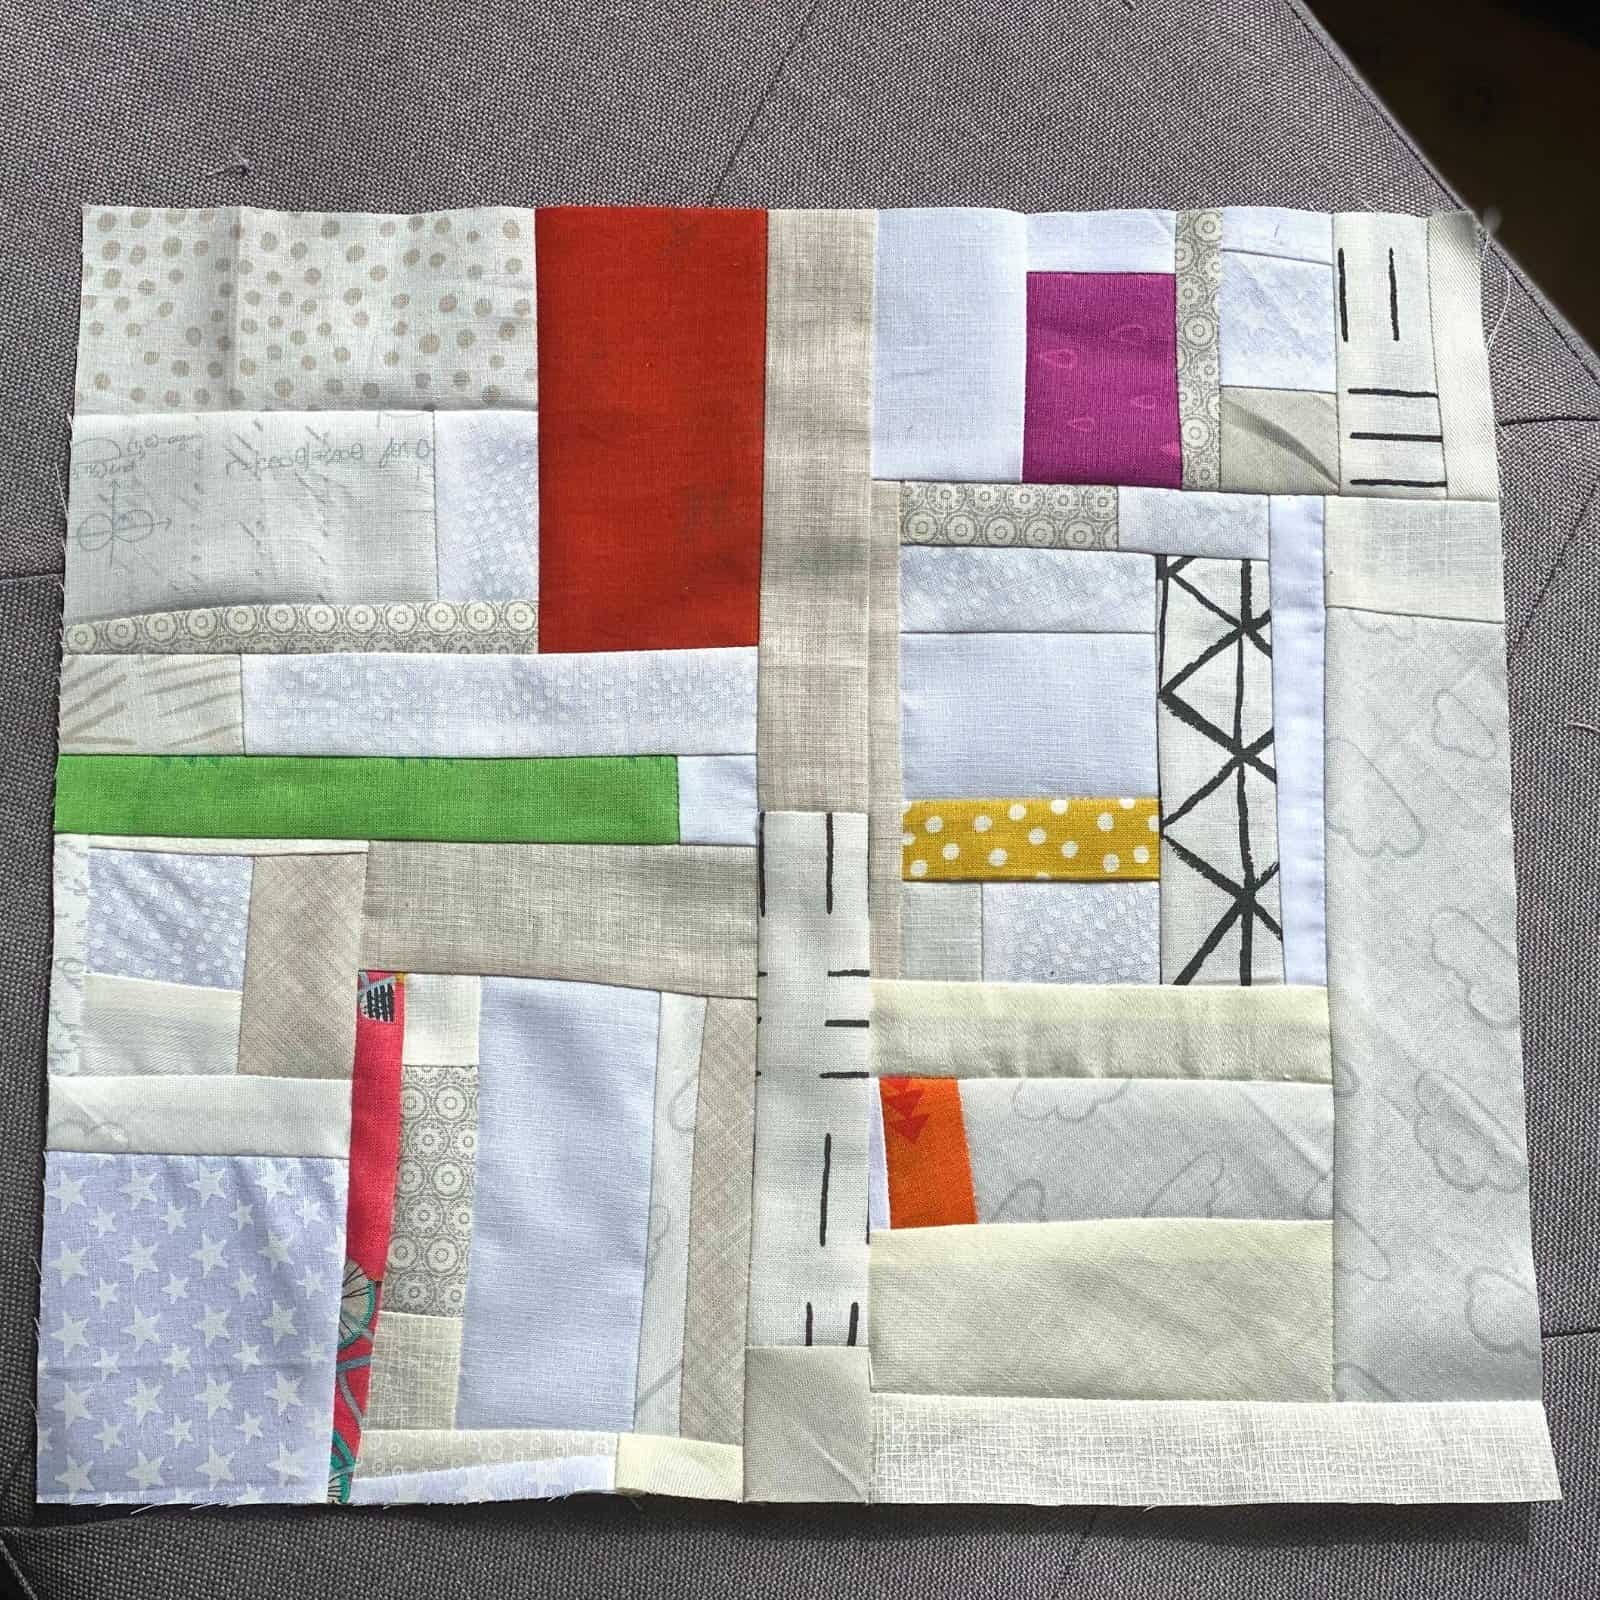
When your patchwork pieces are cut, it’s time to start putting them together. Take two pieces and lay them right sides together, matching the seams and edges. Pin them together, then sew them together with a ⅜-inch seam allowance.
To ensure that your seams stay in place, press each one. After pressing, open the seam and press again from the wrong side.
Continue this process until all the pieces are sewn together. You can use a quarter-inch seam allowance for a tighter quilt, or a ½-inch seam allowance for a looser quilt. The larger the seam allowance, the looser the quilt will be.
Once all the pieces are sewn together, arrange them in rows and pin them together. Sew the rows together and press the seams. When all the rows are sewn and pressed, your patchwork quilt is ready for quilting.
Quilting the Quilt
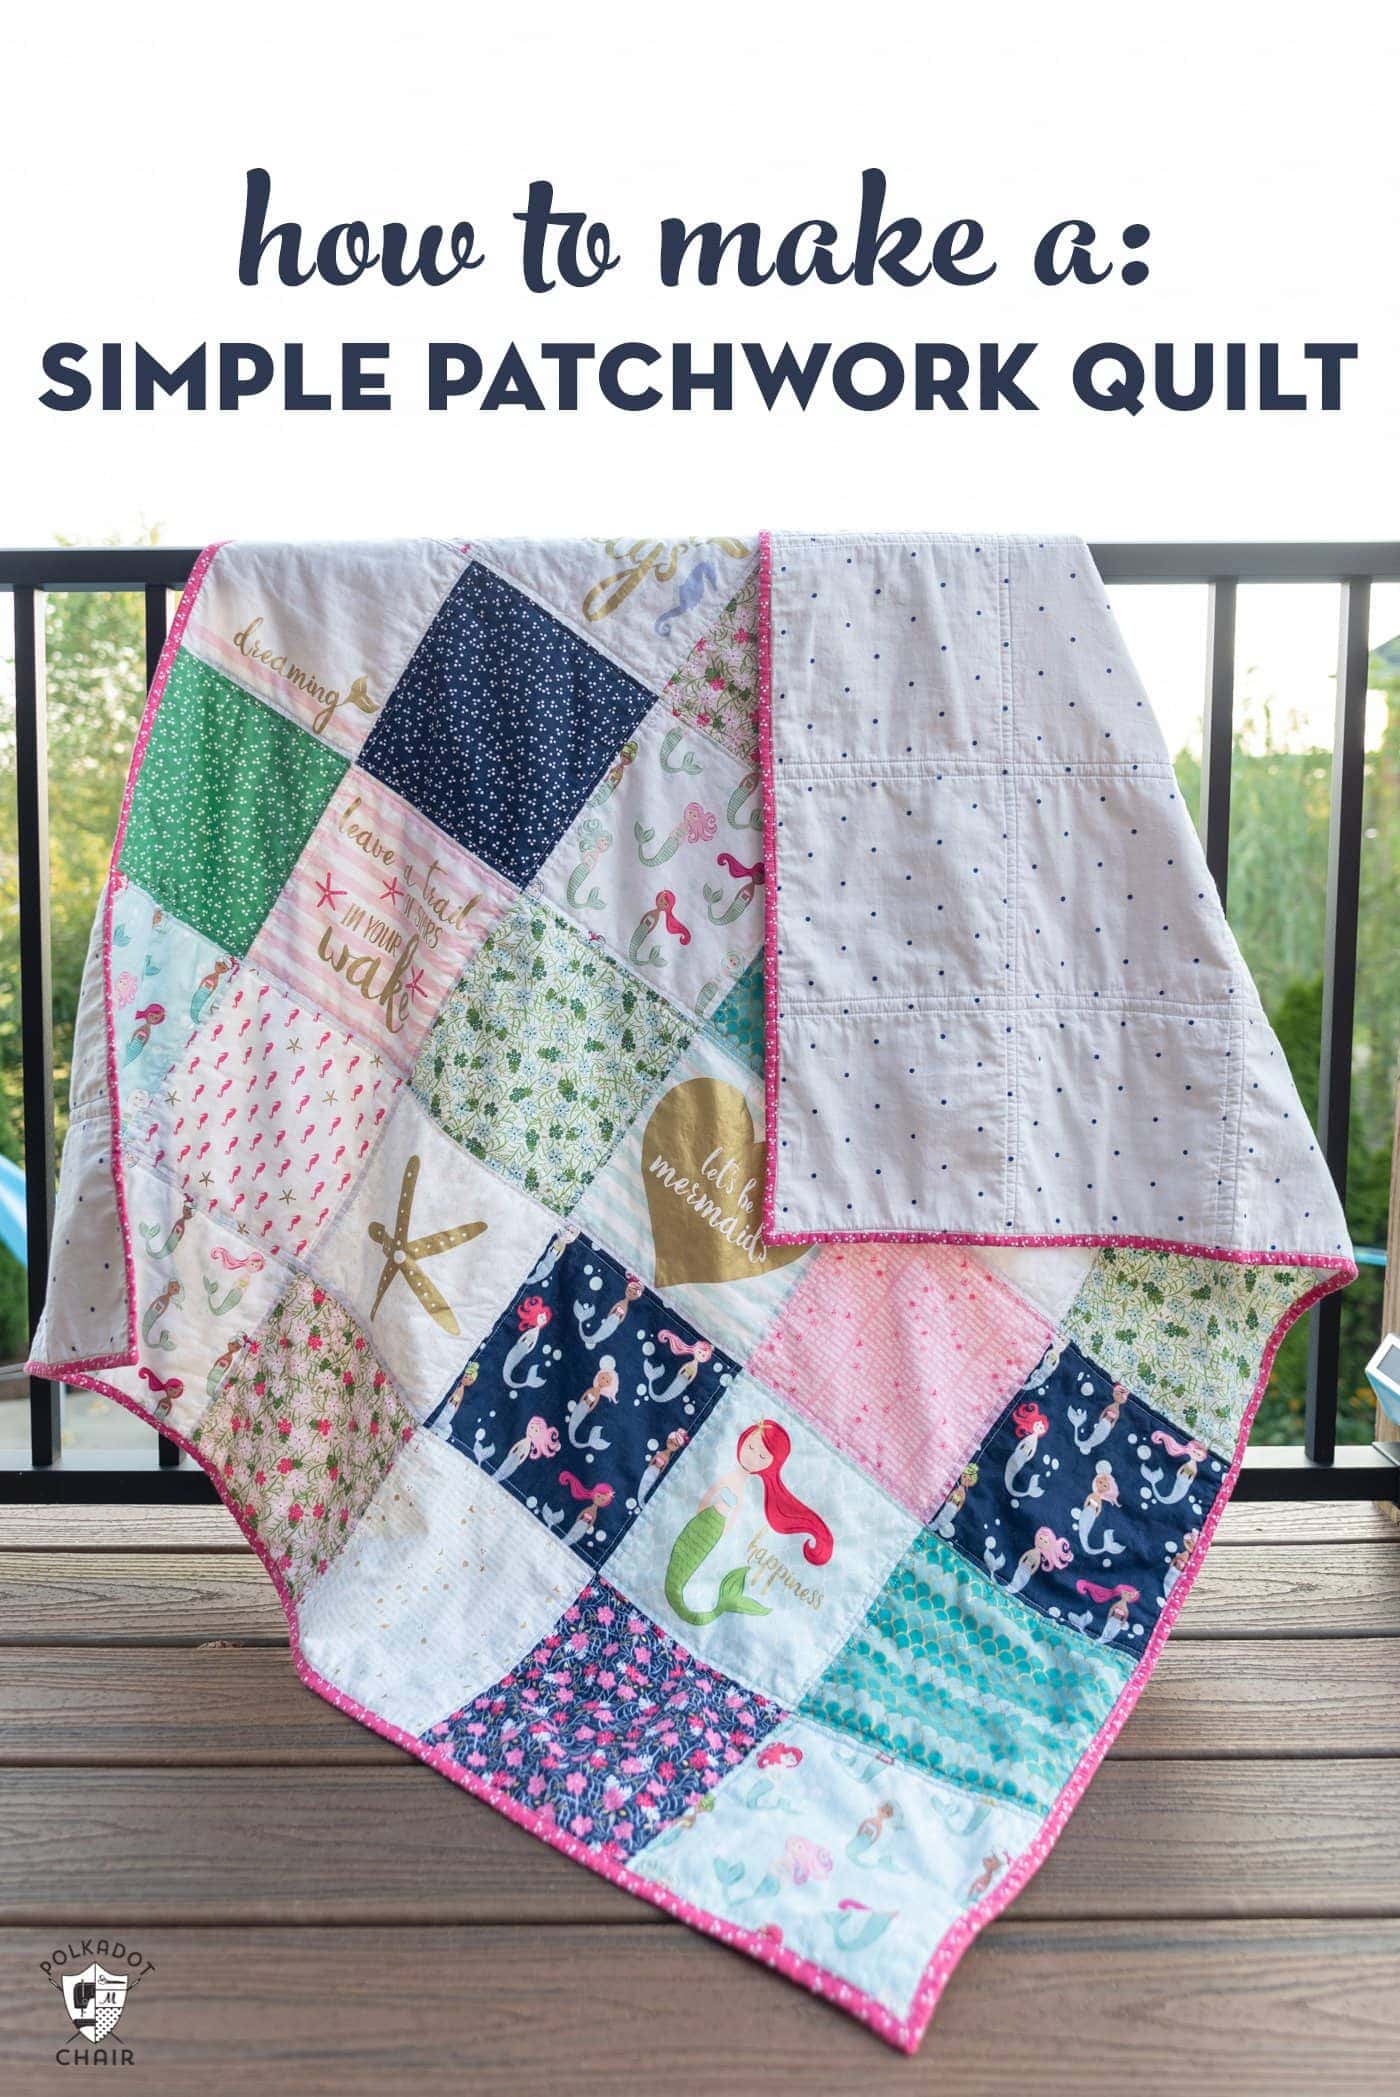
- Basting the quilt – Before you start quilting your quilt, you need to baste the layers together. This can be done by hand with safety pins, or with a machine using basting spray.
- Choosing the quilting pattern – You can choose from a variety of quilting patterns, such as straight lines, circles, curves, and swirls. Choose one that you like and that will work best with your quilt.
- Preparing the quilting area – Make sure your quilting area is clear of any obstacles and the quilt is flat and taut. You may need to use weights to keep the quilt in place while you are working on it.
- Quilting – When you start quilting, use a hand-guided quilting needle to sew the quilting stitches through the layers of the quilt. Start in the middle and work your way outwards. Use even pressure as you quilt to ensure the stitches lie flat.
- Finishing the quilt – Once you are done quilting, trim the excess threads and turn the quilt over to check for any loose threads. Make sure the quilt is properly secured before you move on to binding it.
Adding the Binding
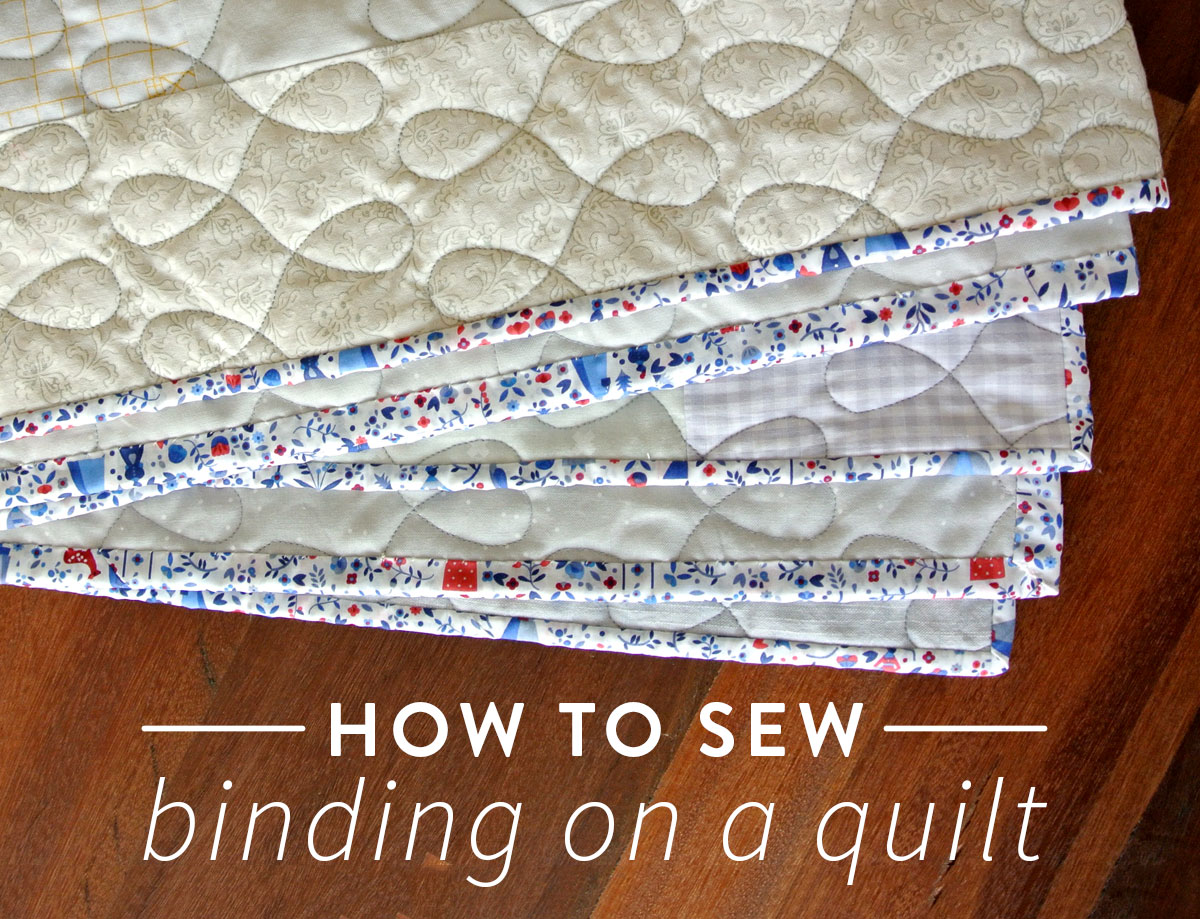
Using a sewing machine, sew the binding around the quilt. Start by folding over one side of the binding and pinning in place. Sew the binding in place, making sure to leave a generous gap of approximately 2 inches at the start. When you reach the corner, stop sewing, leaving the needle in the fabric. Lift the presser foot and turn the quilt so that the next side of binding is lined up. Put the presser foot back down and continue sewing. Continue this process until all four sides of the quilt are bound. When you reach the beginning of the binding, overlap the binding by 1 inch and sew in place. Trim off any excess binding and press with an iron.
Your patchwork quilt is now finished and ready to use!
Finishing Touches
Backing: Cut a piece of backing fabric that is a few inches larger than the top piece. Layer the backing fabric on the floor, wrong side up. Place the batting on top of the backing, smoothing out wrinkles. Place the quilt top on top of the batting, right side up. Pin the layers together.
Quilting: Sew the layers together by machine quilting or hand quilting through all the layers. Follow the quilt pattern lines or create a custom design.
Binding: Cut 2.5-inch strips from the fabric you wish to use for the binding. Sew the strips end to end to make one long strip. Fold the strip in half lengthwise and press. Attach the binding to the quilt by machine stitching or hand stitching close to the edge.
Label: Attach a fabric label to the quilt with the details of the quilt’s maker, pattern, and fabric.
Finishing: Trim away any loose threads and give the quilt a final pressing.
| Step | Description |
|---|---|
| Backing | Cut a piece of backing fabric that is a few inches larger than the top piece. |
| Quilting | Sew the layers together by machine quilting or hand quilting through all the layers. |
| Binding | Cut 2.5-inch strips from the fabric you wish to use for the binding. |
| Label | Attach a fabric label to the quilt with the details of the quilt’s maker, pattern, and fabric. |
| Finishing | Trim away any loose threads and give the quilt a final pressing. |
Frequently Asked Questions
What is the best type of fabric to use for a patchwork quilt?
When deciding what fabric to use for a patchwork quilt, cotton is often the best choice. Cotton is strong and durable, making it an ideal fabric for quilting. Additionally, it is easy to use and can come in various colors and prints. Cotton is also a breathable fabric, which is important for comfort. Other fabric choices include flannel, which is great for a softer quilt, and synthetic fabrics, which are more lightweight and often more cost effective.
How long does it usually take to make a patchwork quilt by hand?
Making a patchwork quilt by hand depends on the size, complexity, and the fabric used. Generally, it takes:
- Small size quilts (up to a twin size) – 4-6 weeks
- Medium size quilts (up to a queen size) – 6-8 weeks
- Large size quilts (king size and bigger) – 8-12 weeks
The timeline may vary based on the skill level of the quilter and the availability of the fabric. All patchwork quilting is done by hand and involves a lot of time and patience.
Are there any special tools needed to make a patchwork quilt by hand?
Yes, there are a few tools required to make a patchwork quilt by hand.
- Sewing machine: A sewing machine is necessary for quilting that requires precision stitching. You can use a regular sewing machine or an embroidery machine for this purpose.
- Rotary cutter and ruler: A rotary cutter and ruler are essential for cutting the fabric pieces for the patchwork. The rotary cutter helps to achieve precise and clean-cut edges.
- Pins and needles: You need pins and needles of different sizes to secure the fabric pieces while sewing them together.
- Fabric scissors: Fabric scissors are required to trim the excess threads and cut the fabric pieces accurately.
- Marking pencil: A marking pencil helps to draw the pattern on the fabric pieces before cutting them.
- Iron and ironing board: Iron and ironing board are necessary for pressing the fabric and giving it a neat finish.
How do I choose the right pattern for my patchwork quilt?
- Consider the Size: Before you choose a pattern, consider the size of the quilt you’re hoping to make. Some patterns may be too complex for a smaller quilt, while a larger quilt may require more fabric and a different pattern.
- Choose a Design: Once you have the size figured out, it’s time to decide on a pattern. There are a wide range of quilt patterns available, from classic patchwork to intricate geometric designs. Think about the look you’re hoping to achieve and browse through quilt pattern books or online to find something that interests you.
- Think About Color: Once you’ve chosen the pattern, consider the colors you’ll use. You can use a variety of colors in the same fabric to create a visually interesting quilt, or go with a single color scheme for a more subtle look. Choose colors that complement each other and that will create a pleasing overall effect.
- Make a Sample Block: Once you’ve chosen the pattern and colors, it’s a good idea to make a sample block to ensure that the colors and pattern look good together. This will help you make sure that the quilt will look the way you want it to before you start the entire project.
What are some tips for making sure my patchwork quilt turns out great?
-
1. Choose high quality fabrics: When selecting fabrics for your quilt, make sure to choose high quality, 100% cotton fabrics, as these will be more durable and longer lasting. Avoid using fabrics with a blend of materials, as they may not hold up as well over time.
2. Cut pieces accurately: Accurate cutting is key to making sure your quilt turns out looking neat and professional. Use a quilting ruler and rotary cutter to ensure that all of your pieces are cut to the same size and shape.
3. Use a machine to piece your quilt: Using a sewing machine to piece your quilt will make the process much faster and easier. This will also ensure that all of your pieces fit together perfectly.
4. Take your time: Making a patchwork quilt by hand can be a long and tedious process, so it is important to take your time and do it right. Don’t rush through the process, as this can lead to errors and mistakes.
5. Finish with binding: Once you have finished piecing your quilt top, be sure to finish it off with binding. This will give your quilt a professional and polished look.
6. Wash and dry your quilt: After you have finished your quilt, make sure to wash it and dry it to remove any loose threads or fabric residue. This will also help to soften the fabric and make it look even better.
Conclusion
Creating a patchwork quilt by hand is a rewarding experience. With the right tools and materials, following a step-by-step guide, and adding your own personal flair, you can make a unique quilt that you and your family will cherish. Have fun with it, and you’ll be amazed with the results.
