Creating your own quilt block is a great way to make a unique and beautiful quilt. Quilting is a craft that has been around for centuries, and quilt blocks are a great way to show off your creativity. In this article, we will provide a step-by-step guide on “How to Make a Quilt Block”, so that you can craft your own beautiful quilt block design.
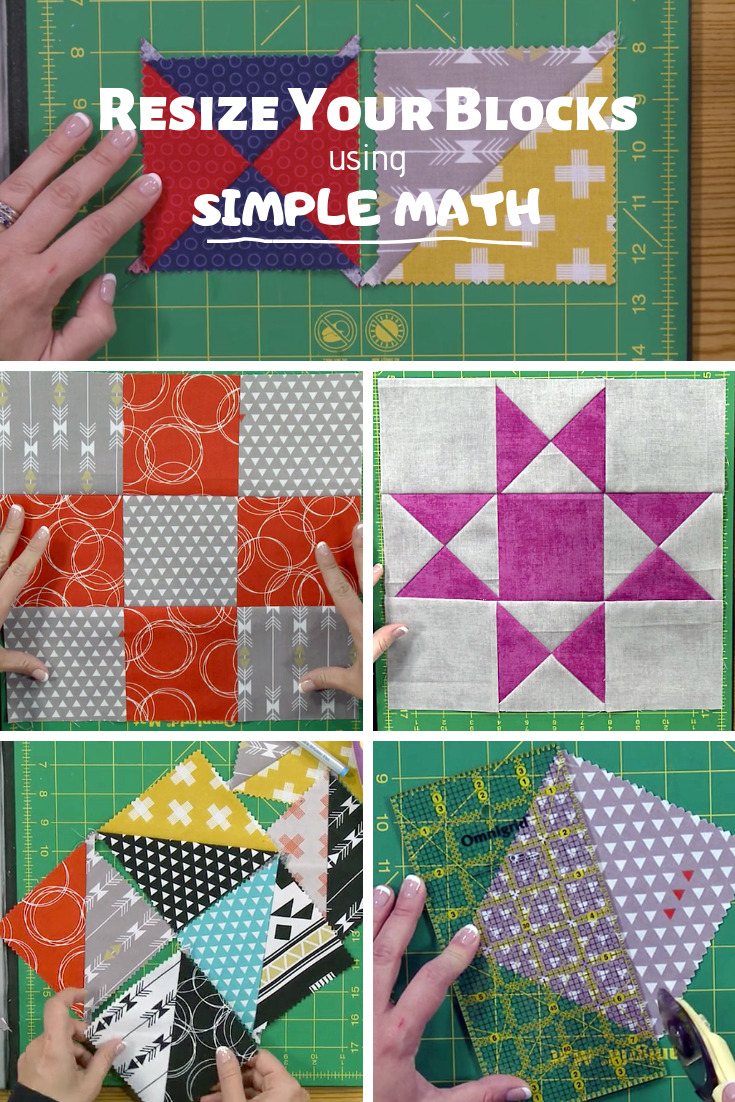
Types of Quilt Blocks
Quilt blocks are the individual components that, when sewn together, create a quilt top. There are many different types of quilt blocks, each with its own unique shape and design. Some of the most popular quilt blocks include:
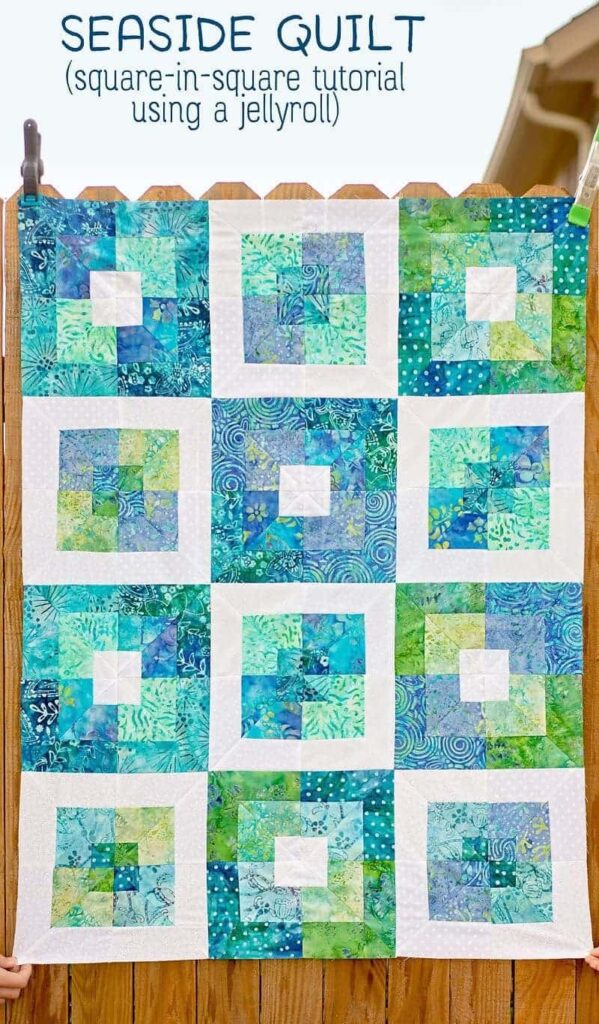
Square in a Square: This quilt block is composed of four squares that are sewn together to form one larger square.
Four Patch: This quilt block is composed of four smaller squares sewn together to form a larger square.
Nine Patch: This quilt block is made up of nine smaller squares sewn together to form a larger square.
Flying Geese: This quilt block is composed of two triangles sewn together to form a larger triangle.
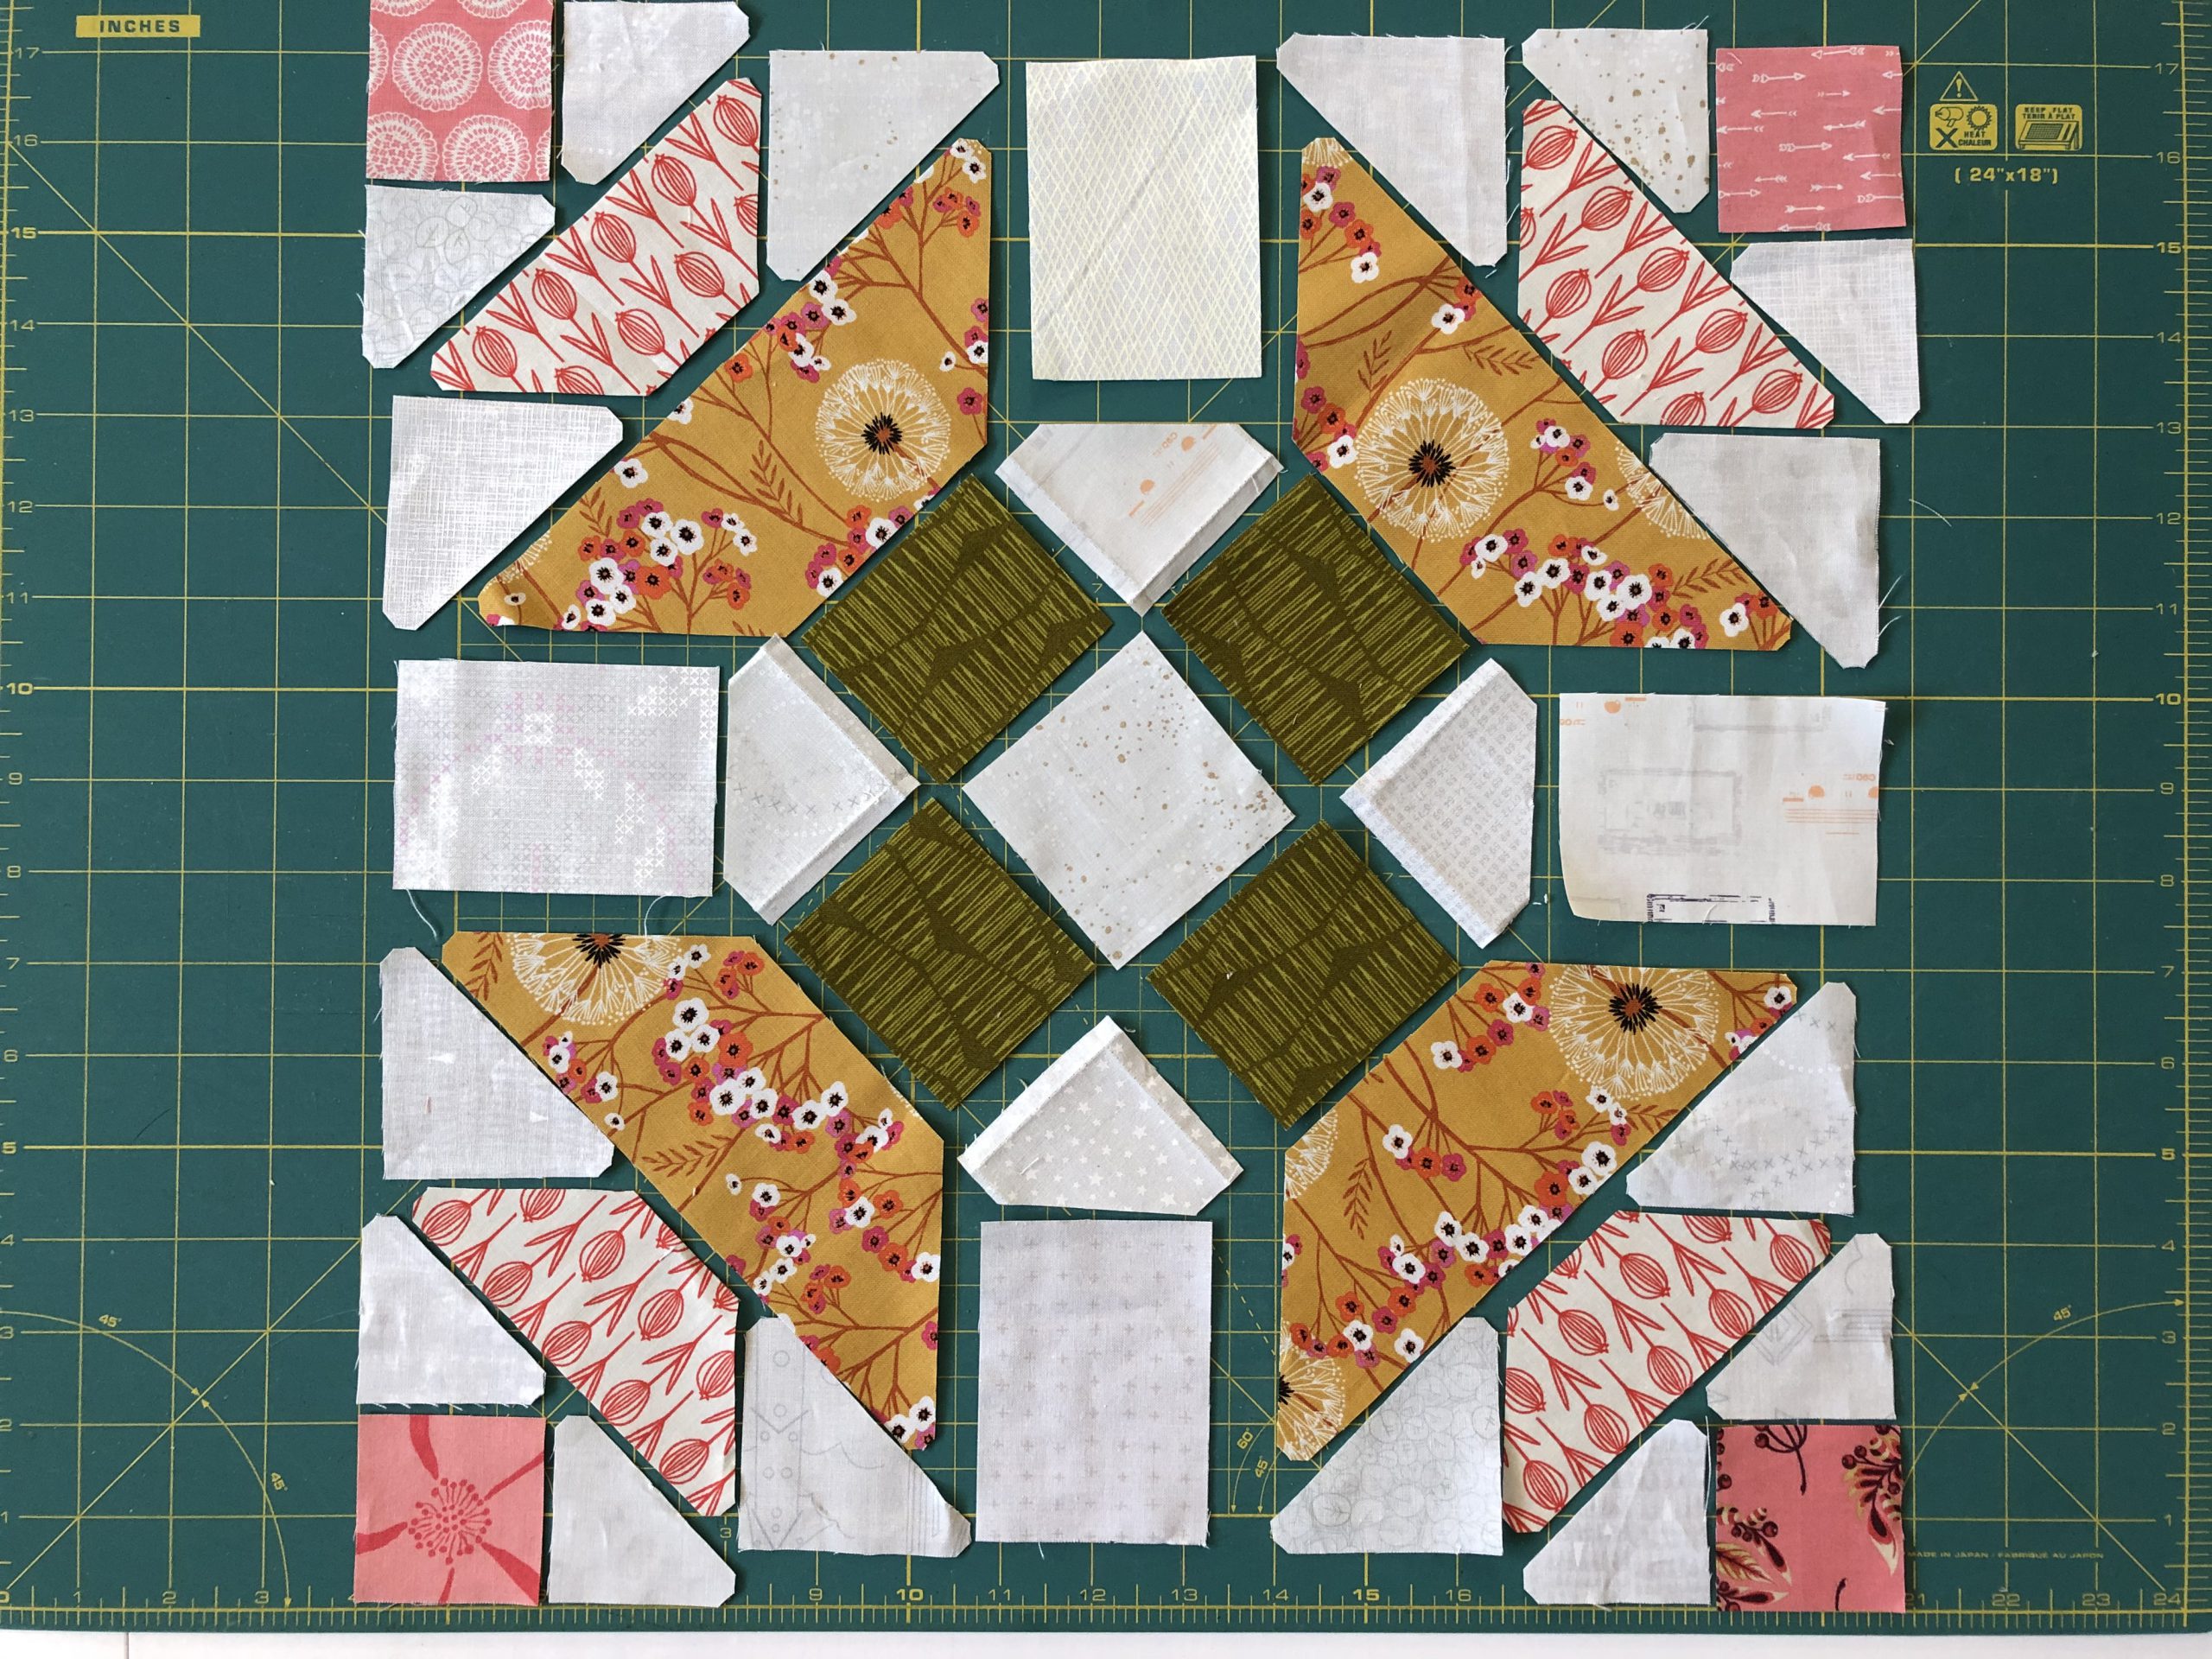
Crazy Quilt: This quilt block is a combination of different shapes and fabrics that are stitched together to form a unique design.
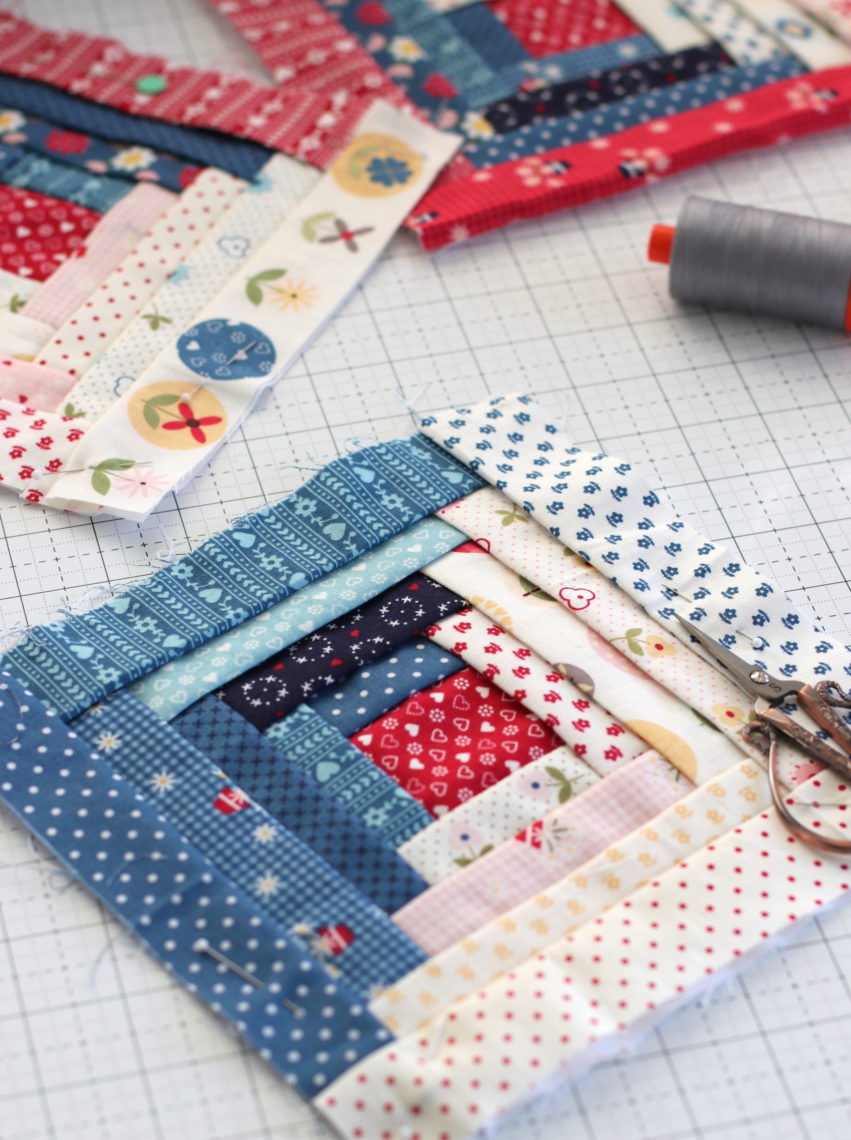
Log Cabin: This quilt block is made up of strips of fabric stitched together to form a log-cabin-style block.
Rail Fence: This quilt block is made up of alternating strips of fabric stitched together to create a rail-fence-style block.
These are just a few of the many quilt blocks available. With a little creativity and planning, you can create a unique quilt top. Understanding the basics of quilt block construction can help you create beautiful quilts with ease. To learn more about block quilt how to, please visit your local quilt shop or online quilt stores.
Preparing to Make a Quilt Block
Selecting Fabric
When selecting fabric for a quilt block, choose colors and prints that coordinate with each other. Consider the colors in the room where the quilt will be displayed and select shades that complement the space. When shopping for fabric, buy an extra 1/4 yard of each to allow for mistakes or to replace any fabric that may be damaged in the quilting process.
Cutting the Fabric
Cutting your fabric correctly is essential for the success of your quilt block. Use a rotary cutter, ruler and cutting mat to ensure accurate cuts. Measure twice, cut once to make sure each piece is the same size. Refer to a quilting pattern for exact measurements.
Gathering Supplies
In addition to fabric, you will also need thread, needles, scissors and a quilt batting. Choose a strong, tear-resistant thread to prevent any damage to the quilt. Select a needle that is appropriate for your fabric. Consider using a batting that is made with 100% cotton for a traditional quilt. For a lightweight quilt, try a polyester batting. With the right supplies, you can create a beautiful quilt block in no time.
Assembling the Quilt Block
Sewing Pieces Together
To begin assembling your quilt block, start by gathering your fabric pieces. Lay them out in a desired pattern on a flat surface. Begin sewing the pieces together in rows, using a ¼-inch seam allowance. When sewing, make sure to line up the edges of the pieces to ensure the block remains a perfect square. Use pins to hold the pieces in place if needed. Once all pieces are sewn together in rows, press the seams open with an iron.
Making the Block Unit
Next, sew the rows together to form the block unit. Place the rows right sides together and sew them together, using a ¼-inch seam allowance. Press the seams open.
Joining Block Units Together
Finally, join the block units together. Place two block units right sides together and sew along the edges, using a ¼-inch seam allowance. Press the seams open. Continue adding block units until the entire quilt top is completed.
Finishing the Block
Once the quilt block is sewn together, it is time to finish it. This is a very important step, as it ensures that the block is neat and tidy, and will fit into the quilt top.
Adding Borders
If the block is smaller than the desired size, borders can be added to make it larger. It is important to choose fabrics that are complementary to the block and that are the same width as the sides of the block, so that the finished block looks neat and even.
Ironing the Block
Once the borders are added, it is important to iron the block. This will help to set the seams and make sure that the block is flat and even. It is important to use a low heat setting and to press from the wrong side of the fabric, to prevent any damage.
Customizing the Block
Embroidery
Embroidery is a great way to add detail to a quilt block. A simple running stitch, backstitch, or French knots can add texture and interest. Choose a pattern or design and transfer it onto the fabric of the quilt block. Use embroidery floss or yarn to stitch the design, adjusting the size and shape of the design as needed.
Appliqué
Appliqué is another way to customize a quilt block. Use a fabric with an interesting design or color to create a shape, such as a flower or leaf. Cut out the shape and attach it to the fabric of the quilt block with fusible webbing or fabric glue. Appliqué can add texture and color to a quilt block.
Sewing Blocks Together
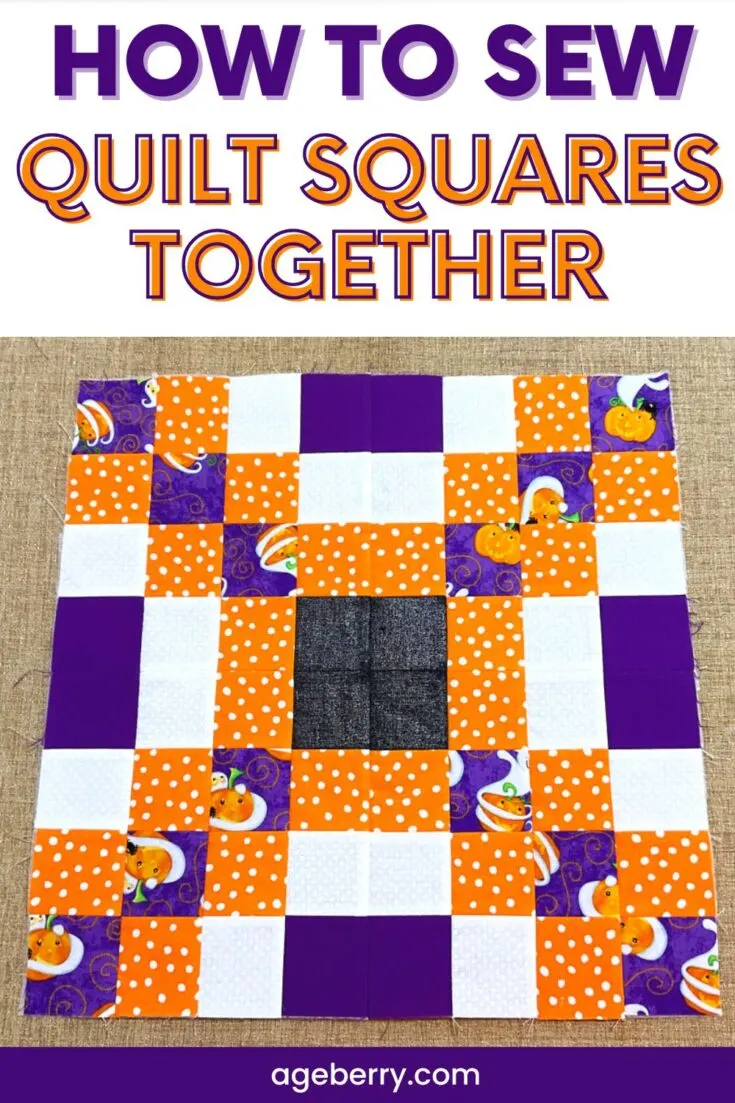
| Steps | Instructions |
|---|---|
| 1 | Lay two quilt blocks side by side, right sides together. |
| 2 | Pin the two pieces together along the sides that need to be sewn. |
| 3 | Sew the blocks together using a ¼-inch seam allowance. |
| 4 | Press the seam allowances open. |
| 5 | Repeat steps 1-4 until all the blocks have been sewn together. |
Adding a Quilt Back
| Steps | Description |
|---|---|
| 1. | Measure the dimensions of the quilt top. |
| 2. | Cut a quilt backing fabric that is 2 inches larger than the quilt top on all sides. |
| 3. | Place the quilt backing fabric on a flat surface, with the wrong side facing up. |
| 4. | Lay the quilt top on the backing fabric, with the right side facing up. |
| 5. | Pin the pieces together in the center and along the edges. |
| 6. | Sew the pieces together, using a ¼ inch seam allowance. |
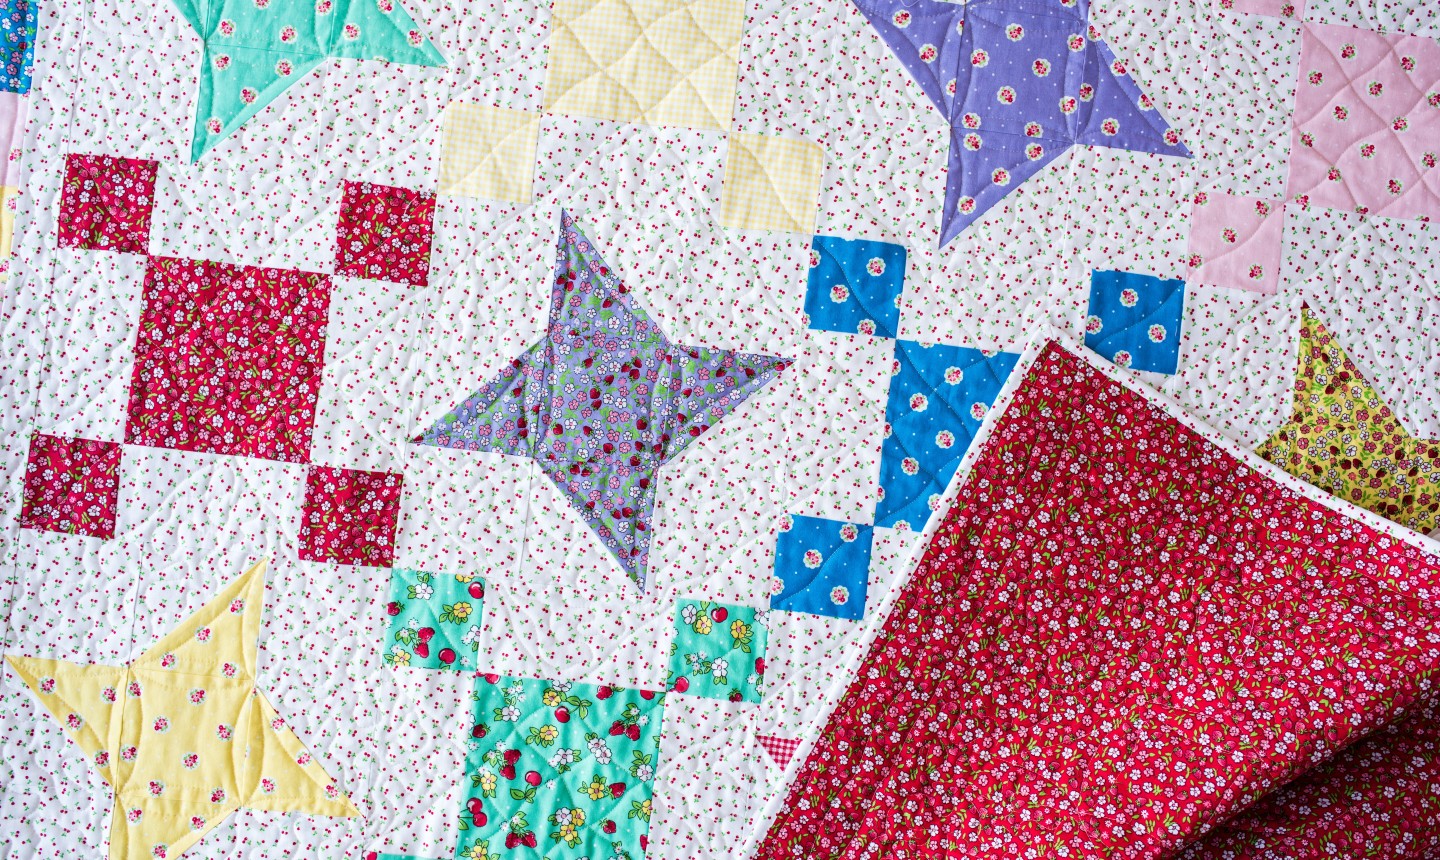
Quilting the Quilt
Once the quilt blocks are sewn together, the quilt top is ready to be quilted. To do this, you need to layer the quilt top, batting, and backing before stitching them together. Lay the backing fabric face down on the floor or table. Place the batting on top, followed by the quilt top face up. Smooth out all the layers.
Using a quilting ruler and a quilting pencil, mark quilting lines onto the quilt top. These lines can be as simple or as intricate as you like. Traditional quilting patterns include straight, diagonal, and curved lines, as well as stars and other shapes.
Once the quilting lines are marked, begin quilting. Start in the middle of the quilt, and quilt outwards. Use a walking foot for even quilting. Make sure the quilting lines are straight and consistent.
When the quilting is finished, trim the edges of the quilt, cut away any excess batting, and bind the edges. This can be done by machine or hand. Finally, press the finished quilt with a warm, steamy iron to flatten out any wrinkles.
Now your beautiful quilt block is complete!
Frequently Asked Questions
What type of fabric should I use when making the quilt block?
-
Cotton: Cotton fabric is the most popular choice for making quilt blocks. Cotton fabric is lightweight, soft, and durable, and it is widely available in a variety of colors and prints.
Linen: Linen fabric is a great choice for quilt blocks because it is strong and breathable. It is a bit more expensive than cotton and may require pre-washing before use.
Wool: Wool fabric is a great choice for quilt blocks because it is lightweight, warm, and durable. It is more expensive than cotton and linen, but it is also very soft and comes in a variety of colors and prints.
Synthetic: Synthetic fabrics such as polyester and nylon can be used to make quilt blocks, but they are not as durable as natural fibers and may not last as long.
What tools do I need to make a quilt block?
- Fabric – a variety of fabric scraps and/or fat quarters depending on the size and type of block.
- Rotary Cutter – a sharp rotary cutter and a cutting mat are essential for cutting fabric pieces accurately.
- Ruler – you will need a 6” x 24” ruler for cutting strips and a 12.5” square ruler for cutting squares.
- Pins – you need pins to hold fabric pieces together while you are sewing.
- Thread – choose a color of thread that coordinates with your fabrics.
- Sewing Machine – a basic sewing machine with a ¼” foot is all you need.
- Iron – a hot iron is used to press seams and fabric pieces.
How do I choose the right pattern for my quilt block?
- Consider the Size: The pattern should be appropriate for the size of the quilt block. Smaller blocks can make intricate patterns difficult to execute, while larger blocks are more suitable for complex designs.
- Think of the Layout: Choose the pattern according to the overall layout of the quilt. Consider the other blocks and the fabric colors and prints that you plan to use.
- Consider the Skill Level: Choose a pattern that is appropriate for your skill level. If you are just starting out, choose a simpler pattern that is easier to execute. As you gain experience, you can move on to more complex patterns.
- Choose a Unique Pattern: If you want your quilt to stand out, choose a unique pattern. Incorporating elements such as curves, points, and angles into your quilt block can add an interesting touch.
What steps do I need to take to ensure that my quilt block is square?
- Measure accurately: Before you begin sewing, measure each of your fabric pieces to ensure that they are the right size. This will help you avoid any problems later on.
- Check the corners: Once you have sewn your pieces together, check the corners of the quilt block to make sure that they are square.
- Trim the seams: Use a rotary cutter to trim the seams of the quilt block. This will help ensure that the block is square.
- Check the measurements: Using a ruler, measure the quilt block to make sure that all of the sides are the same length.
- Press the seams: Press the seams of the quilt block to help ensure that the block is square.
Finally, measure the quilt block again to make sure that it is square. If it isn’t, make the necessary adjustments until it is.
How do I attach the quilt block to the quilt top?
Once the quilt block is complete, it needs to be attached to the quilt top. To do this, use a sewing machine to stitch the quilt block in place. Start from the middle of each side and sew a straight line to the edge, then repeat for all four sides until the quilt block is securely attached.
For a more decorative look, use a zig-zag stitch instead. For a more secure bond, use a backstitch at the beginning and end of each seam.
Conclusion
Creating your own quilt blocks is a great way to show off your own unique style. With a few simple tools, some fabric, and a bit of patience, you can create beautiful quilt blocks to adorn your home. Follow the easy steps outlined in this guide to get started on creating your own quilt blocks today.


