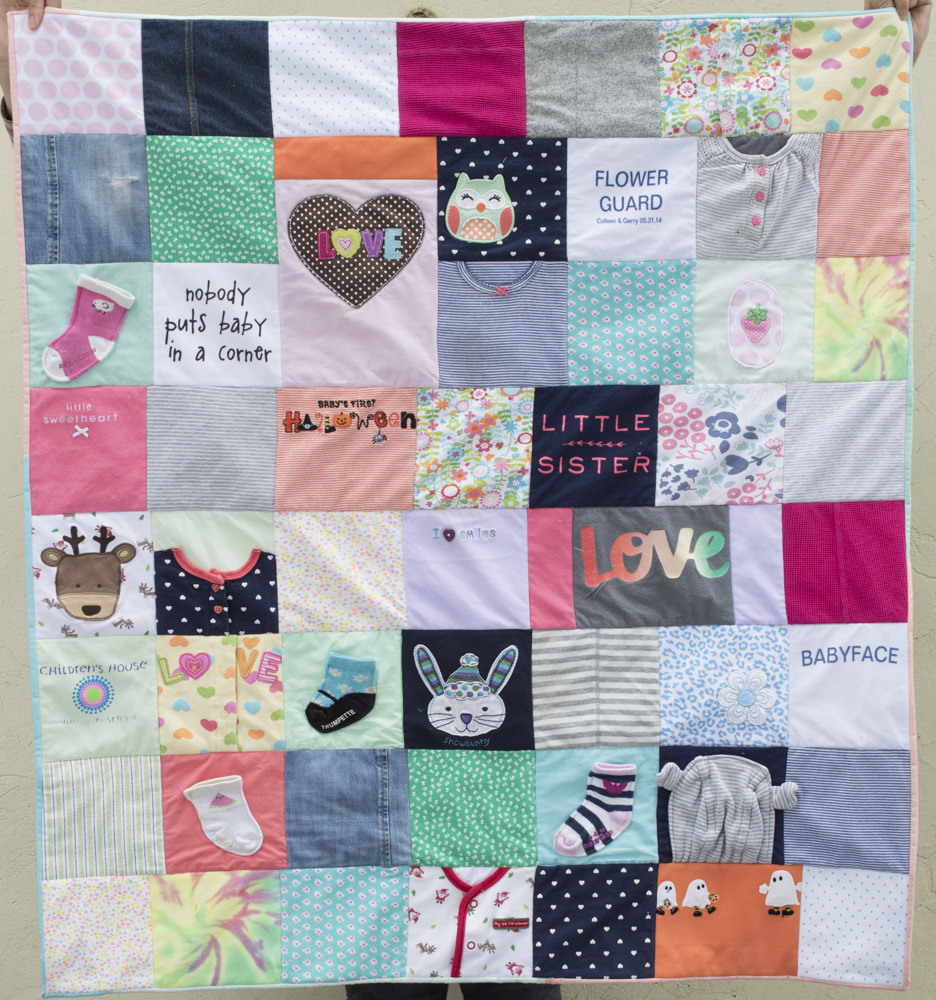
Creating a quilt out of your baby’s clothes is a great way to preserve memories and celebrate the special bond you have with your little one. With a few simple steps, you can make a sentimental quilt that will last a lifetime. In this article, we’ll be discussing how to make a quilt out of your baby’s clothes to keep those memories alive.
What You Need
Fabrics from Favorite Baby Outfits
Using baby clothes to make a quilt is a great way to preserve memories of your little one’s favorite outfits. Start by collecting the fabrics from the clothes that you would like to use.
Onesies
Onesies are perfect pieces to include in the quilt due to their size and the fabric they are made from. They are small enough to be used as one patch and the fabric is usually thicker than t-shirts.
Other Necessary Supplies
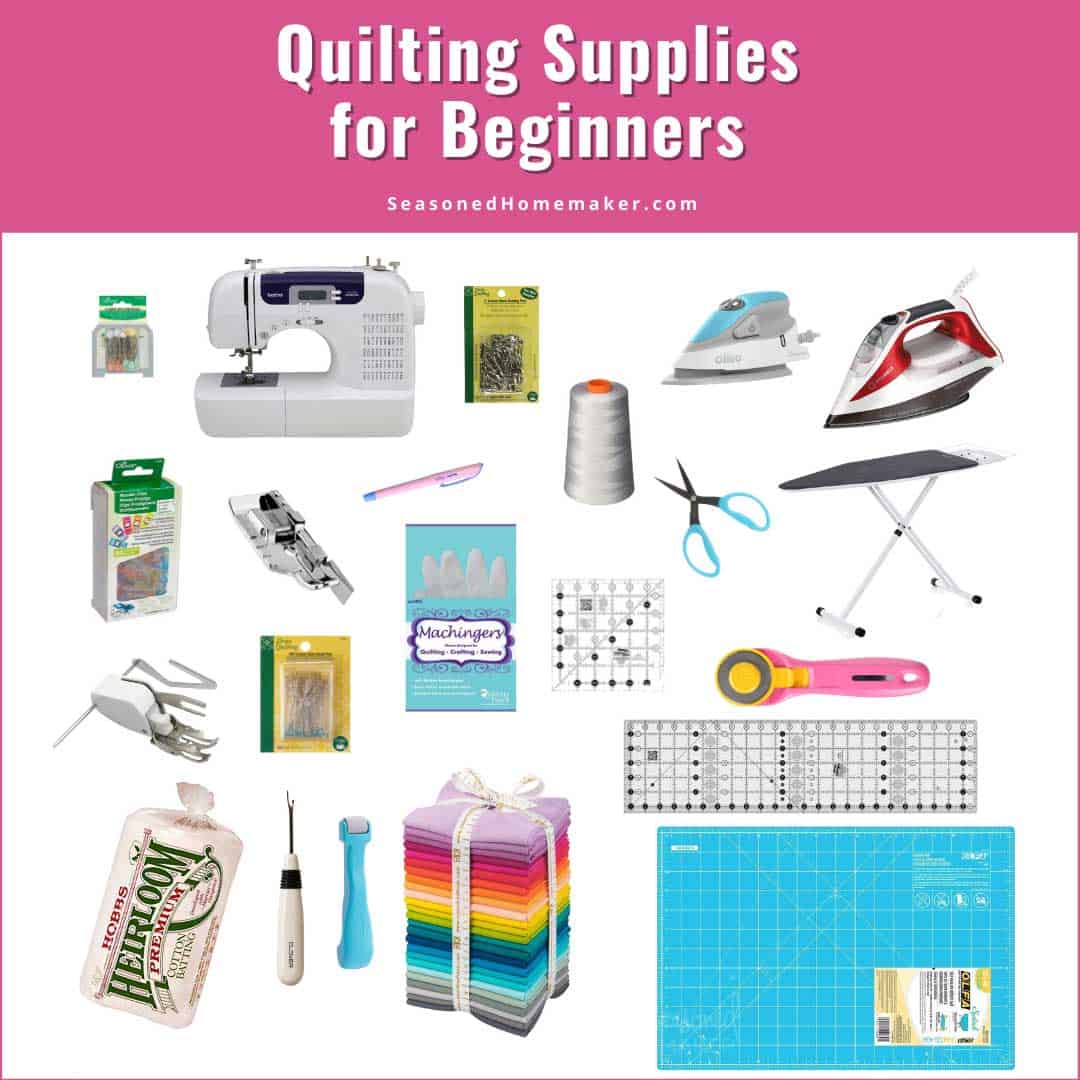
To make your quilt from old baby clothes, you will need some other supplies such as: a rotary cutter, mat, and ruler; batting; a sewing machine; and thread. You will also need a few yards of fabric for the backing, binding, and sashing of the quilt.
With all the supplies gathered, you are ready to start creating your patchwork quilt from old baby clothes.
How To Cut the Fabrics
- Lay out and flatten the baby clothes to be used for the quilt. You may need to iron or steam the clothes to get them to lay flat.
- Decide on the size of the quilt pieces. For a traditional quilt, five-inch squares are typically used, but if you’re looking for a larger quilt, you can use larger squares.
- Cut the clothes into the desired size pieces, using scissors or a rotary cutter. If using onesies or other clothing items, you may have to cut out any buttons, snaps, or zippers first.
- Lay out the squares and arrange them how you want them to look in the quilt. Depending on how many onesies you will need for your quilt, you can decide how many to dedicate to each square of the quilt.
What Size for the Quilt
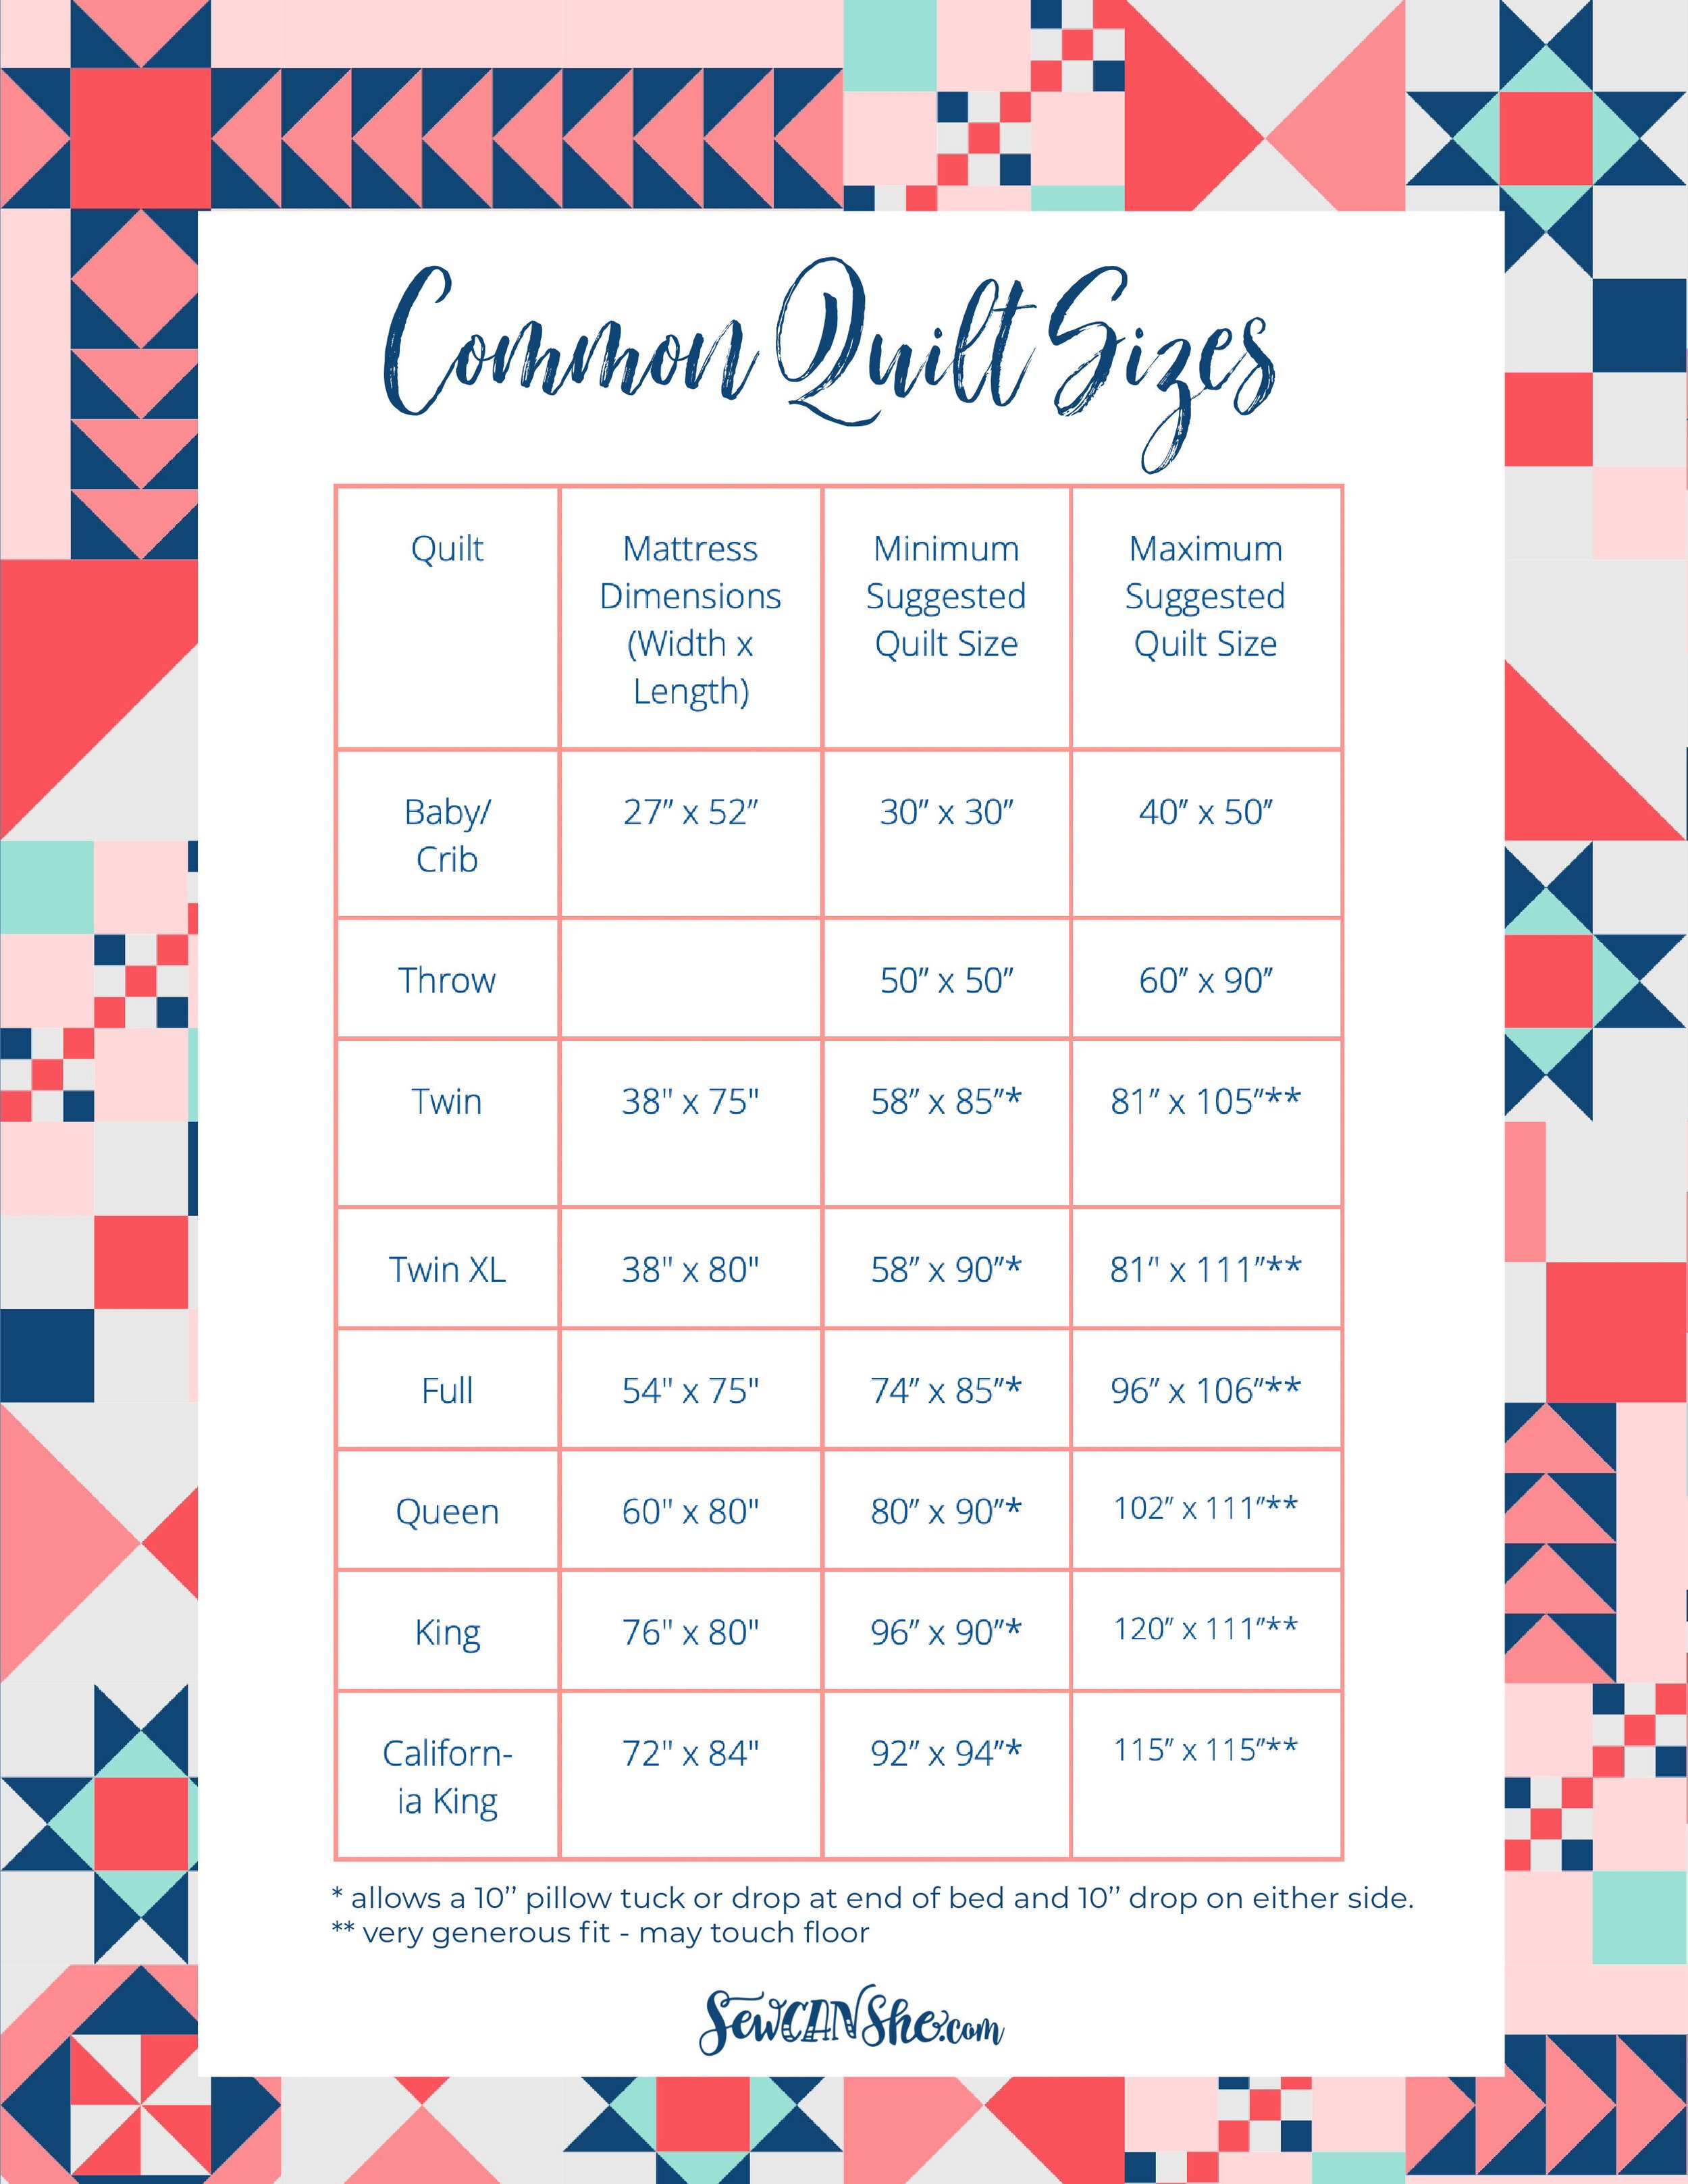
- A quilt made out of baby clothes should be large enough to cover a baby crib, a bassinet, or a toddler bed.
- For a crib-sized quilt, you’ll need 5-6 pairs of baby clothes in various sizes.
- For a bassinet-sized quilt, you’ll need 3-4 pairs of baby clothes.
- For a toddler-sized quilt, you’ll need 6-7 pairs of baby clothes.
- You can also use a variety of sizes for a memory baby quilt.
- For a memory baby quilt, you’ll need 1-2 pairs of baby clothes from each important event in the baby’s life.
How to Make a Patchwork Quilt
Cutting Fabrics from Favorite Baby Outfits
Start by selecting the fabric pieces from the baby outfits you want to use in the quilt. Cut each piece into a square or rectangle, depending on the design of the clothing. You may need to cut more than one piece for larger items, such as pants and shirts. Trim the seams off the fabric pieces and discard any buttons, zippers, or other items that won’t be part of the quilt.
Arranging the Pieces
Lay out the fabric pieces in the desired pattern on a flat surface. Then, pin them together to hold them in place. As you arrange the pieces, you may need to cut some of them to fit the pattern. When you are done, you should have a single quilt top that is ready to be sewn.
Sewing the Pieces Together
Use a sewing machine to sew the pieces together. Position the pieces so that the right sides are facing each other and sew a straight line along the edges. Make sure to back-stitch at the beginning and end of each seam. Once all the pieces are sewn together, press the seams open. This will ensure that the quilt top is even and the pieces stay in place.
Adding a Backing
Cut a piece of fabric for the backing of the quilt that is slightly larger than the quilt top. Place the quilt top face down on the backing and pin them together. Sew them together using a straight stitch, making sure to leave a few inches open so you can turn the quilt right-side out.
Quilting and Finishing the Quilt
Turn the quilt right-side out and press it flat. Then, quilt the quilt top by stitching along the seams. You can use a decorative stitch or a simple straight stitch. Finally, trim the edges of the quilt and bind them with bias tape or a strip of fabric. Your patchwork quilt is now complete!
How to Make a Memory Quilt
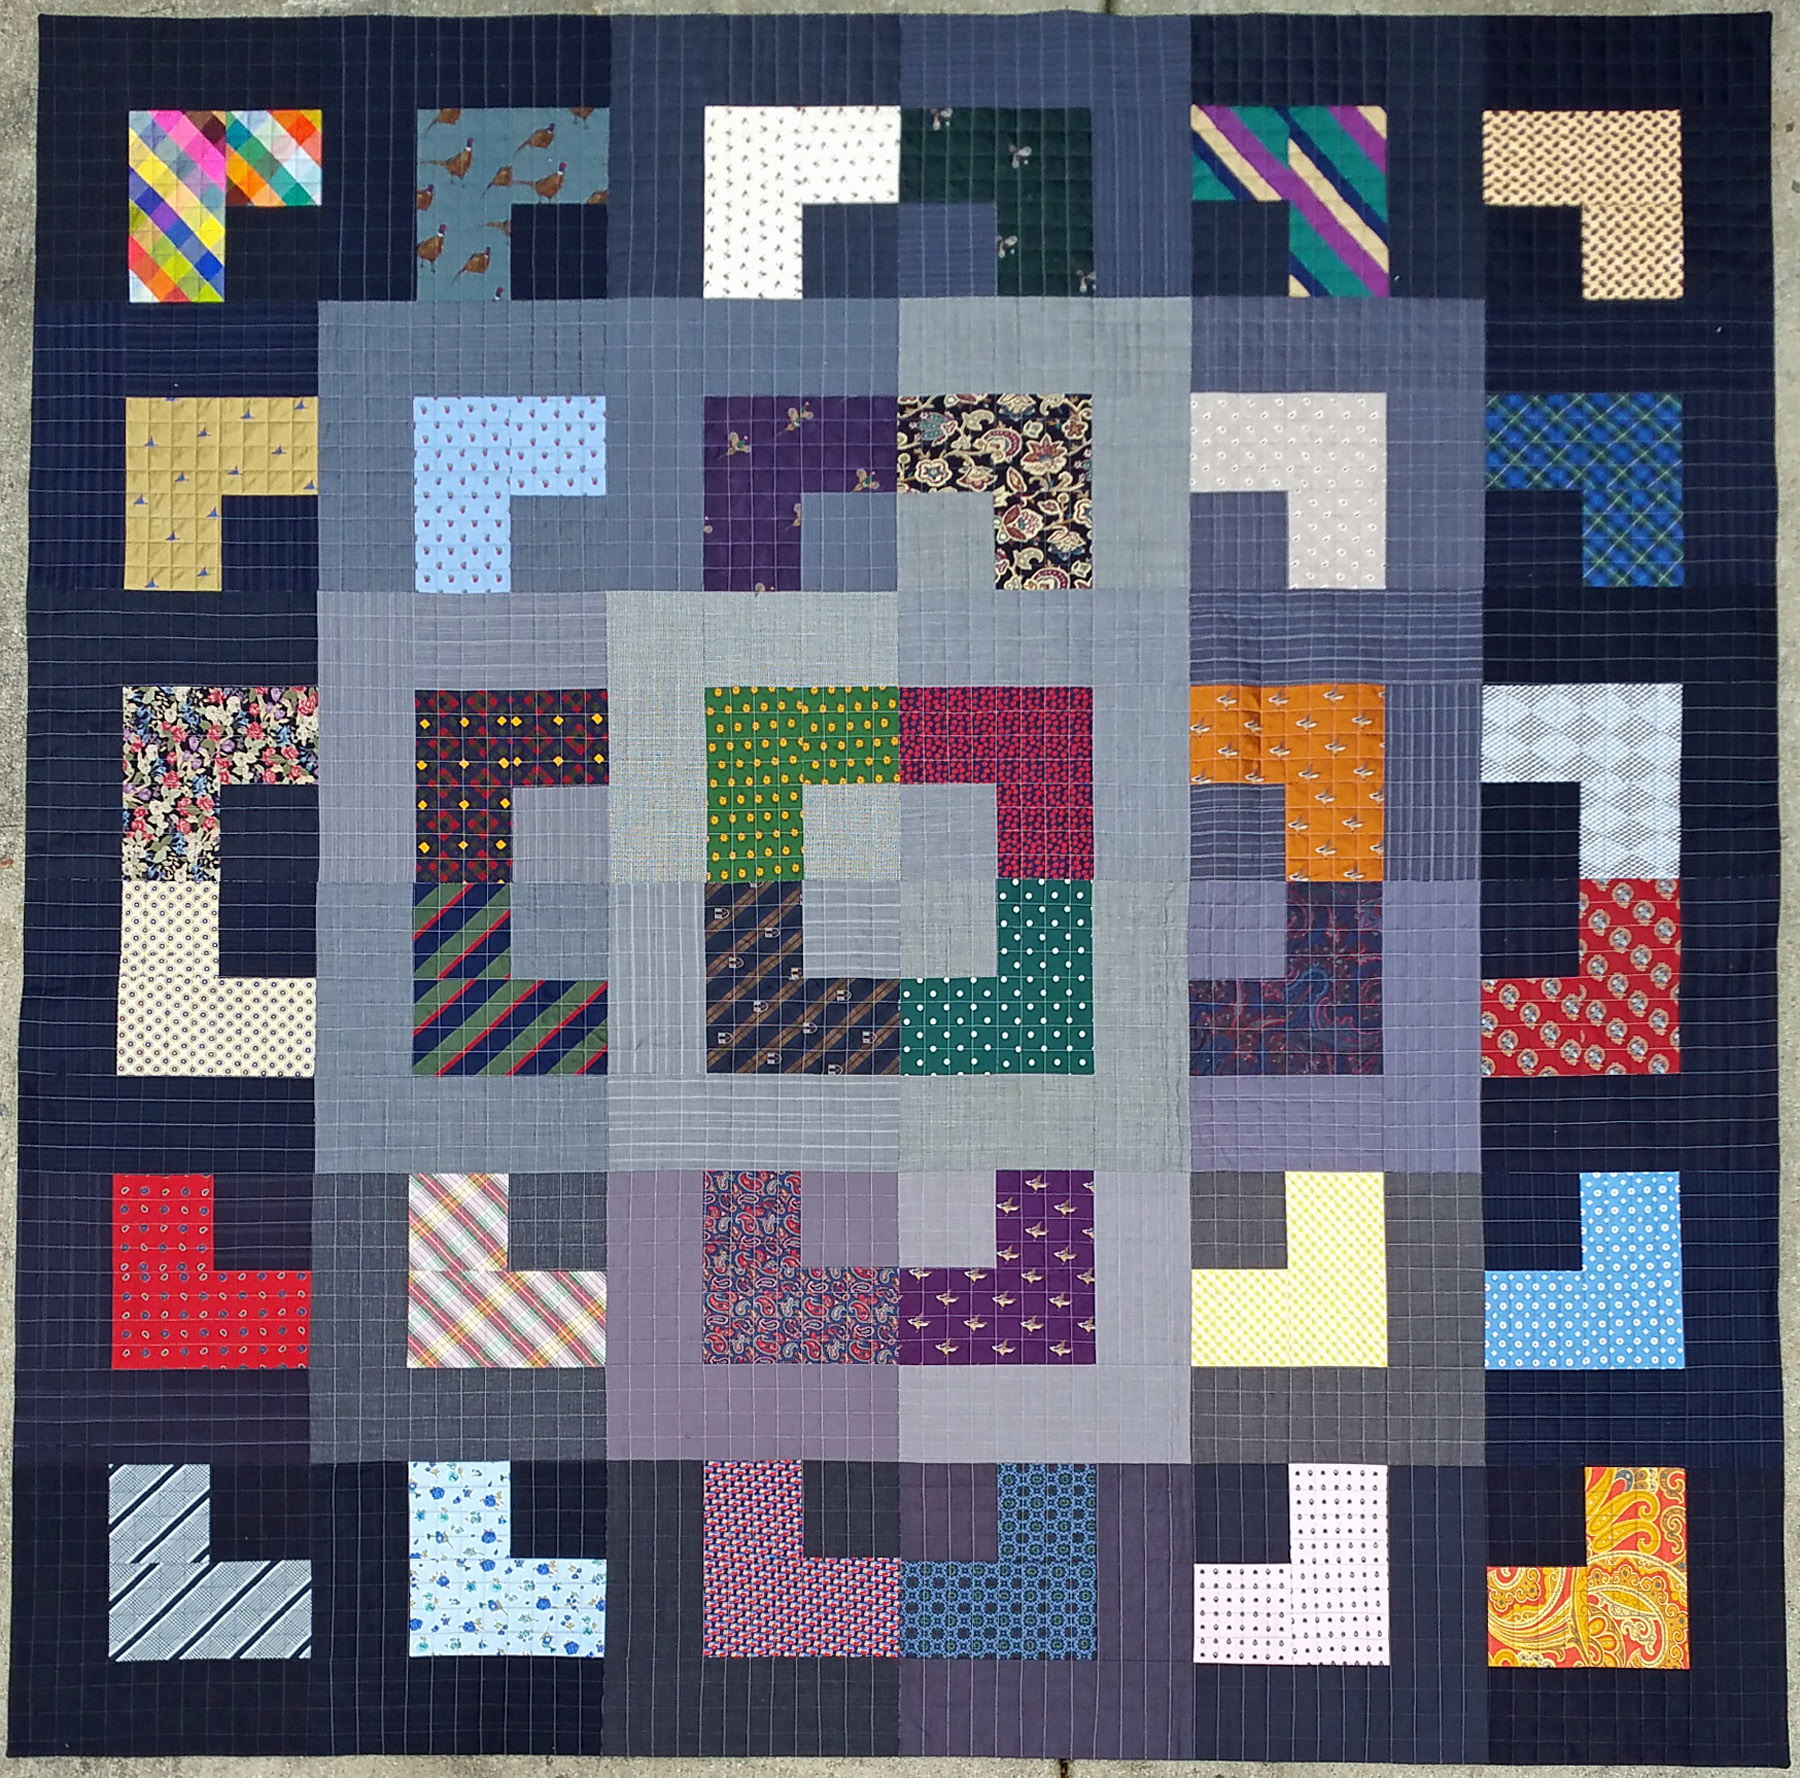
A memory quilt is a great way to preserve special baby clothes, such as the first pair of booties or a tiny dress. All you need to do is to gather the items and stitch them together to create a beautiful and unique quilt. Here is a step-by-step guide on how to make a memory quilt:
- Gather the items. Collect all the special baby clothes you want to include in the quilt. Decide on a theme, such as all the baby’s first outfits or special events throughout the year. Also, decide on what size you want your quilt to be. A baby-sized quilt usually uses clothes that are 2 feet x 2 feet or smaller.
- Iron the items. Iron the clothes to make them easier to work with. This will also help them keep their shape when placed on the quilt.
- Lay out the items. Lay out the clothes on a flat surface and arrange them in a pattern. You can use a ruler to keep everything even and measure the size of the quilt you want to make.
- Pin the clothes. Pin the clothes together to hold them in place. You can use safety pins or fabric pins to secure the clothes.
- Sew the clothes together. Sew the clothes together using a sewing machine and thread. Make sure to use a strong thread so the quilt will be durable. You can also use a zigzag stitch or a straight stitch.
- Add a border. Add a border to the quilt. You can use a different fabric or a contrasting fabric to give the quilt a framed look. Sew the border onto the quilt.
- Add a backing. Add a backing to the quilt. You can use a plain fabric or a patterned fabric. Sew the backing onto the quilt.
- Quilt it. Quilt the quilt using batting or another material to give it extra warmth and thickness. You can quilt it by hand or by machine.
- Bind the edges. Bind the edges of the quilt using bias tape or fabric strips. Sew the binding onto the quilt.
Your memory quilt is now complete! You can display it in your home or give it as a special gift. This quilt will be a cherished keepsake for years to come.
How to Assemble the Quilt
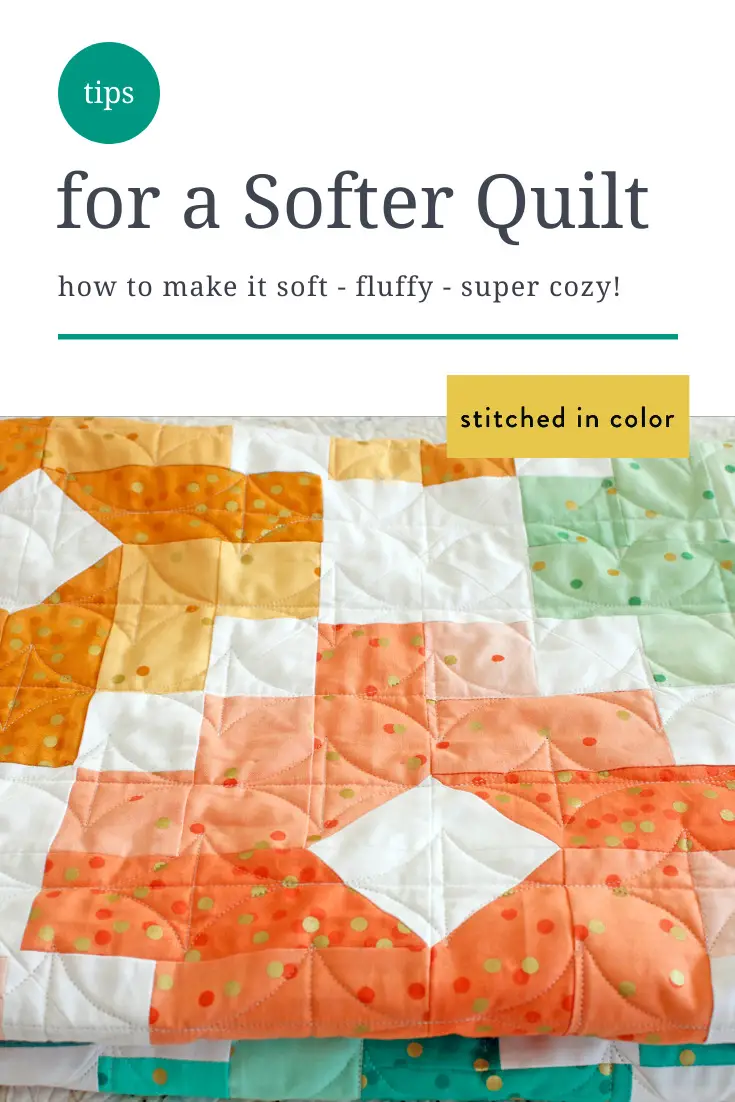
- Lay out the pieces: Begin by laying out all of the pieces of the baby clothes that you have chosen for your quilt. Arrange them in a way that you like, making sure to leave enough space between each piece for quilting.
- Pin the pieces together: Once you have the pieces arranged, you can begin pinning them together. Make sure to use pins specifically designed for quilting, as regular pins may not hold the fabric securely. Consider using coordinating thread to stitch the pieces together, as this will add a nice touch of color to the quilt.
- Mark the quilting lines: Using a ruler and a fabric marker, trace the lines of the quilt onto the fabric. You can mark the individual lines, or create a grid pattern if preferred. Ensure that the lines are even and straight.
- Quilt the pieces together: Once the quilting lines have been marked, you can begin quilting the pieces together. Use a quilting needle and coordinating thread to quilt along the marked lines. If desired, you can add additional quilting details, such as decorative stitches.
- Make the backing: Once the quilt top is finished, it is time to make the backing. Use cotton fabric that is soft and lightweight. Cut the fabric to the size of the quilt top, and then sew the two pieces together. Make sure that the seam allowance is wide enough to allow for the quilting.
- Add batting: Place the batting between the quilt top and the backing. Make sure that the batting is even and smooth, and secure it with pins.
- Sew the quilt top and backing together: Once the batting is in place, sew the quilt top and backing together. Use a quilting stitch, such as a zigzag, to sew the pieces together. You can also add additional decorative details, such as ribbon or lace.
- Finish the edges: Once the quilt top and backing are sewn together, finish the edges with bias tape or binding. This will help to protect the edges of the quilt and add a nice touch of color.
- Enjoy: Once the quilt is finished, you can proudly display your beautiful How to make a little girls memory quilt. Enjoy the compliments from your friends and family!
Finishing the Quilt
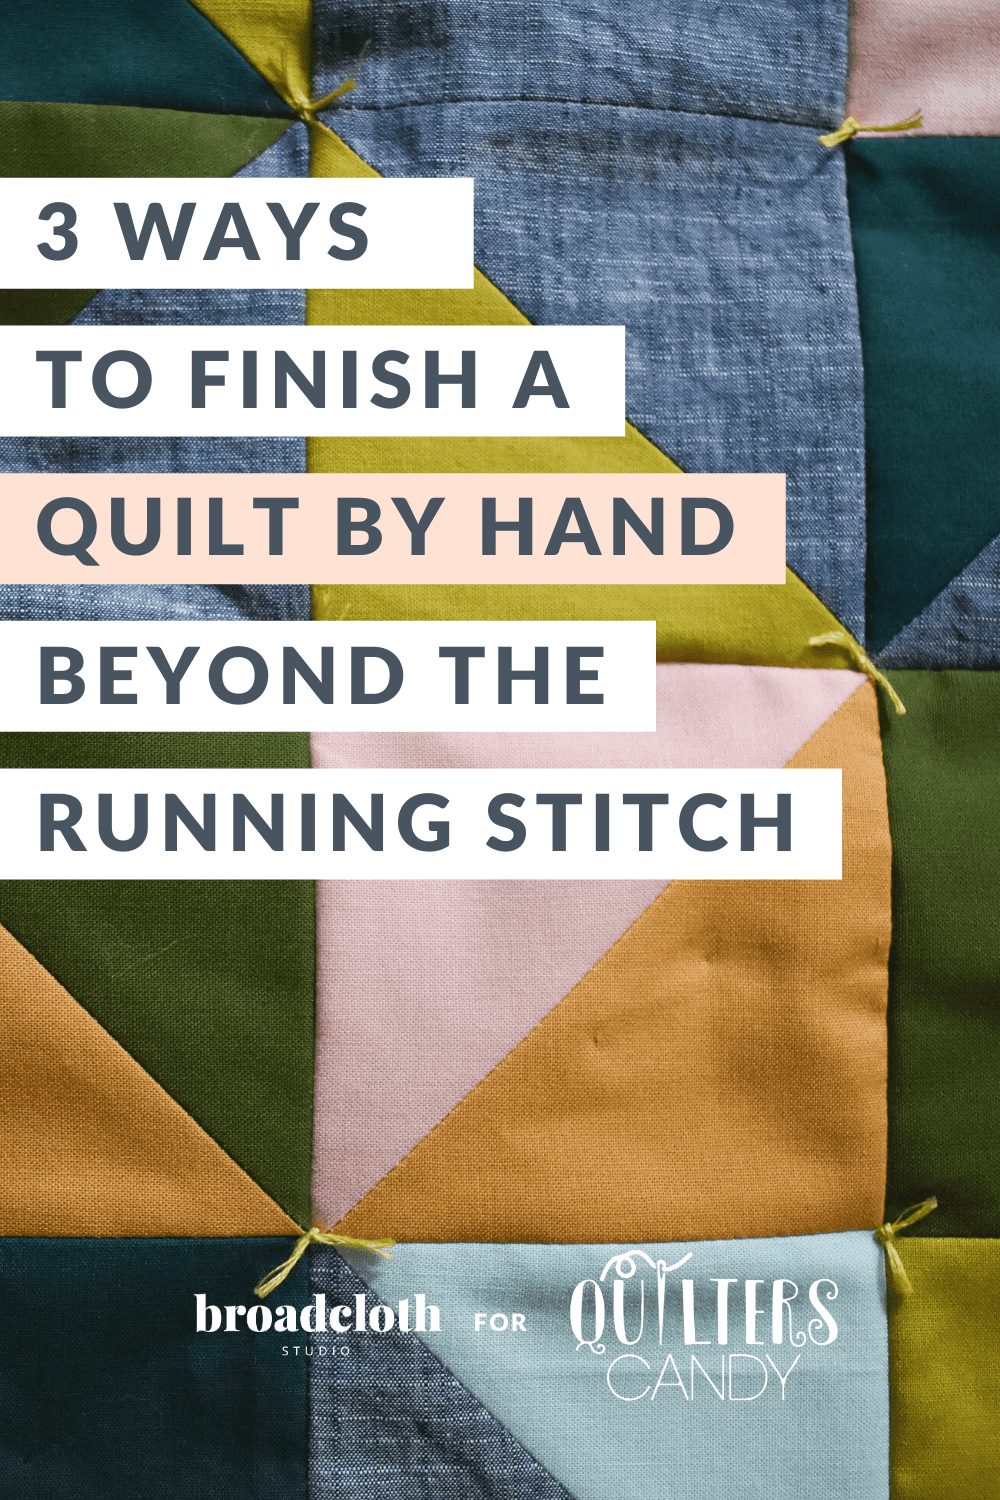
| Step | Description |
| 1 | Trim any excess batting and backing fabric. |
| 2 | Fold 2.5 cm of fabric around the edges and pin. |
| 3 | Sew around the edges with a straight stitch. |
| 4 | Turn the quilt over, right side up. |
| 5 | Press the edges with an iron. |
| 6 | Using a walking foot attach the binding to the edge of the quilt. |
| 7 | Fold the binding over the edge of the quilt and stitch in place. |
| 8 | Fold the binding in half and press with an iron. |
| 9 | Using a walking foot, attach the binding to the front of the quilt. |
| 10 | Finish with a hand stitch. |
Adding Embellishments
Once you have pieced together your patchwork quilt from old baby clothes, it is time to add embellishments. Depending on the look you are trying to achieve, you can use ribbons, lace, beads, sequins, buttons and other materials to give your quilt a special touch. Make sure to use the same number of onesies you used when you first started the quilt. If you are making a memory baby quilt, you can cut fabrics from your favorite baby outfits and add them to the quilt.
If you are making a little girls memory quilt, you can use ribbons, lace and sequins to create a beautiful work of art. If you are making a quilt for a boy, you can use buttons, beads and other materials. When deciding on a size for your baby clothes quilt, measure the size of the fabric pieces and add an additional two inches for seam allowances. When adding embellishments, be sure to use a needle and thread that will not bleed or fade when washed.
| Type of Quilt | Embellishments |
|---|---|
| Memory Baby Quilt | Ribbons, lace, beads, sequins, buttons |
| Little Girls Memory Quilt | Ribbons, lace, sequins |
| Baby Clothes Quilt (Boy) | Buttons, beads, other materials |
Frequently Asked Questions
What supplies will I need to make a sentimental quilt out of my baby’s clothes?
Fabric:
- Scrap fabric for the backing and binding
- Lightweight batting
Tools:
- Rotary cutter and mat
- Sewing machine with walking foot attachment
- Iron and ironing board
- Scissors
- Pins
- Measuring tape
- Thread
- Marker
Extras:
- Baby clothes
- Quilt designs
Is it difficult to make a quilt out of baby clothes?
Making a quilt out of baby clothes is a great way to preserve memories and create a unique, personalized memento. Though the process may seem daunting, it is not as difficult as it seems. With the right tools, supplies and a bit of patience, anyone can make a beautiful quilt out of baby clothes.
Are there any special techniques or tricks I should know before making the quilt?
- Choose A Quilt Pattern: Select a quilt pattern that best matches the colors and prints of the baby clothes. This will help you create a visually pleasing quilt.
- Choose A Sewing Machine: Select a sewing machine that is capable of handling multiple layers of fabric. This will make it easier to sew the pieces together.
- Gather Your Supplies: Gather the necessary supplies such as thread, fabric, batting, and quilt backing. It is important to have everything ready before you start sewing.
- Iron the Fabric: Be sure to iron all of the fabric before you start piecing it together. This will make it easier to sew the pieces together and ensure that the quilt top is flat and even.
- Cut the Pieces: Carefully cut out the pieces for the quilt top. You can use a rotary cutter and mat or scissors, whichever you are most comfortable with.
- Lay Out the Pieces: Before you start sewing, lay out the pieces on the floor or a large surface. This will give you an idea of the overall design and color layout for the quilt.
- Plan the Quilting: Before you start quilting, plan out where you will be stitching the quilt. This will help you create a visually pleasing quilt and give you an idea of where to start quilting.
How Long Will it Take for Me to Make the Quilt?
- Gather materials: The materials you need to make a quilt out of baby clothes will depend on the size of the quilt you plan to make, as well as the number of baby clothes you have. Gather these materials before you start and allow some time for shopping.
- Choose and cut fabric: Choose the fabric for the quilt and cut it into the right dimensions. This process can take some time, depending on the size of the quilt.
- Lay out baby clothes and fabric: Lay out the baby clothes and the fabric, being sure to arrange them in the way you want them to appear in the finished quilt.
- Sew pieces together: Sew the pieces together in the order you have laid them out.
- Add quilt batting and backing fabric: Add the quilt batting and backing fabric to the quilt, and sew the layers together.
- Stitch and quilt: Stitch and quilt the quilt top in the way you would like it to look.
- Bind edges: Bind the edges of the quilt to finish it off.
The time it takes to make a quilt out of baby clothes will vary based on the size of the quilt and the complexity of the design. On average, it can take several days or even weeks to complete a quilt.
How Should I Go About Measuring My Baby’s Clothes for the Quilt?
- Lay out the clothing pieces – Lay out the pieces of clothing you want to use for the quilt. Arrange them in a way that makes it easier to measure.
- Measure the clothing pieces – Using a measuring tape, measure the width and length of each clothing item. For example, if you are using a onesie, measure the width across the chest, and the length from the shoulder to the bottom hem.
- Note down the measurements – Record the measurements of each piece of clothing on a piece of paper. This will help you when you are ready to start cutting the pieces for the quilt.
- Take into account the seam allowance – You will need to add 1/4″ to the measurements of each piece of clothing for the seam allowance. This will ensure that you have enough fabric when you sew the pieces together.
Conclusion
Creating a sentimental quilt from your baby’s clothing is a special way to commemorate the memories of the special moments with your infant. With the right supplies and a few basic steps, you can make a quilt that will last for years and can be passed down as a family heirloom.
