Are you wondering how to make a quilt out of sheets? Quilting is a popular hobby and is a great way to upcycle old sheets into a cozy, comfortable quilt. With a few simple supplies and a few steps, you can turn your old sheets into a beautiful quilt that will last for years. In this guide, we’ll walk you through the process of making a quilt out of sheets, starting with gathering the materials and ending with the finished product. Read on to learn how to make a quilt out of sheets.
Gather Supplies
Making a quilt out of sheets requires a few supplies:
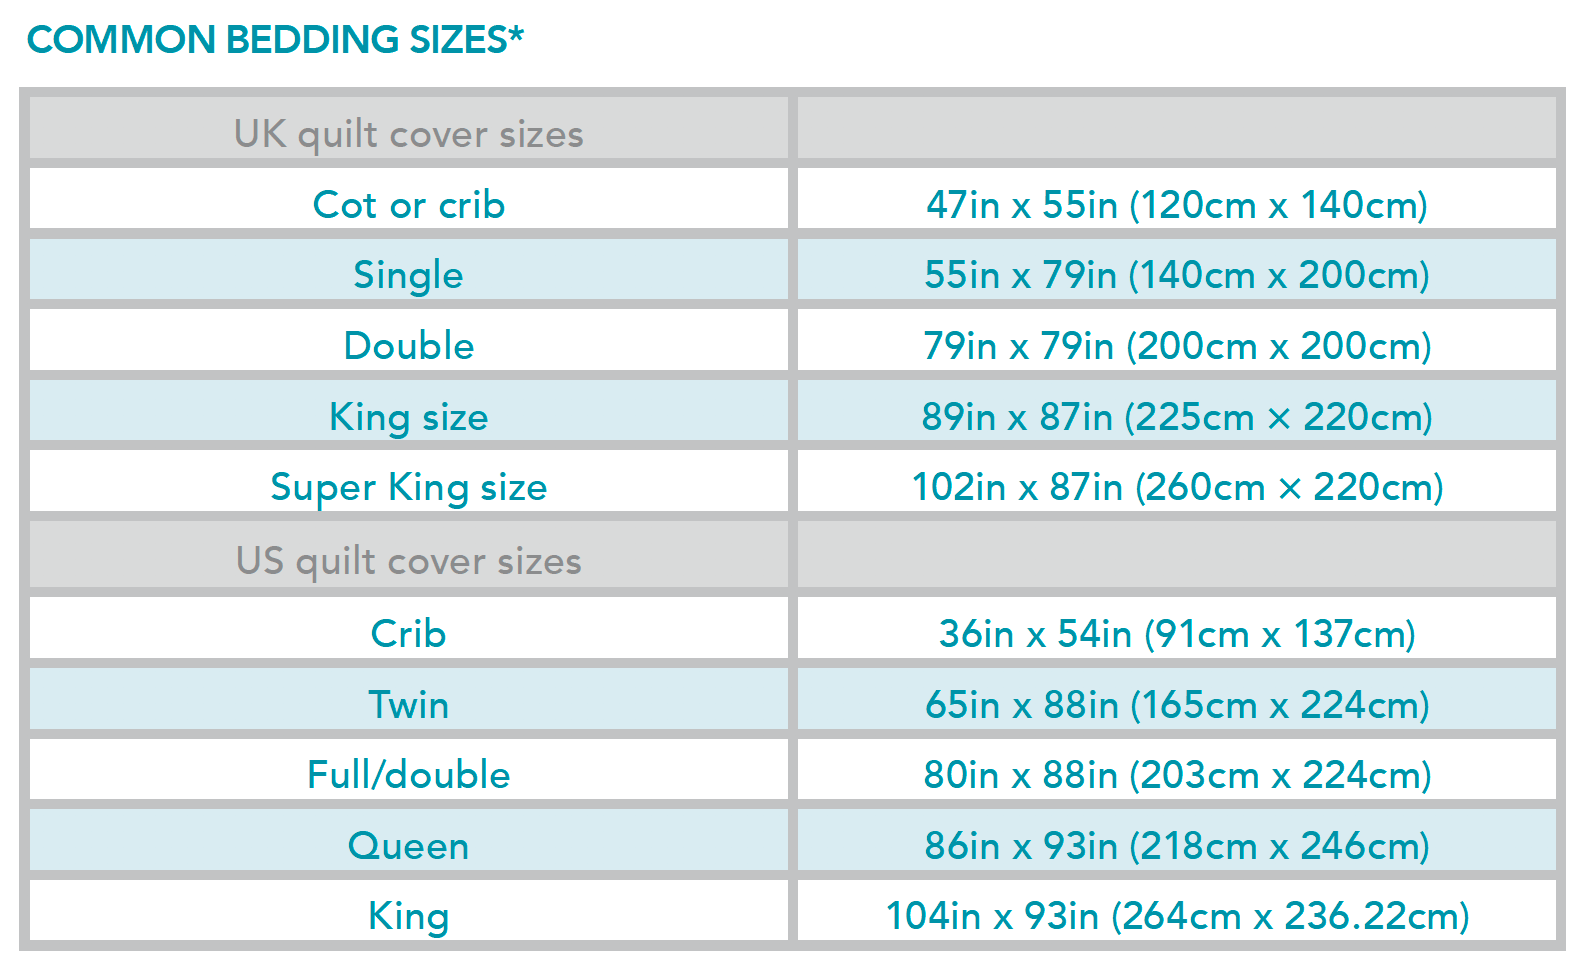
- Sheets – Choose sheets that are the same size, preferably full or queen size.
- Batting – Choose a batting that is the same size as the sheets.
- Fabric scissors
- Iron
- Sewing machine
- Pins
- Thread
Sewing sheets into a quilt requires a few additional supplies:
- Pressing board or spray bottle
- Seam ripper
- Measuring tape
- Rotary cutter and mat
Once you have all the supplies needed to sew sheets into a quilt, you can begin piecing the quilt together.
Cut Sheets into Required Sizes
To begin making a quilt with flat sheets, you need to cut the sheets into the sizes that you need for the quilt. Here is a quick guide on how to cut the sheets for each part of the quilt:
- Quilt Top: Cut the sheet into multiple squares or rectangles of the same size.
- Backing: Cut two pieces of the sheet that are the same width as the top and long enough to reach from one side of the quilt to the other.
- Binding: Cut strips of fabric in the desired width to use for binding the edges of the quilt.
To ensure that the pieces of fabric are cut accurately, use a rotary cutter, ruler, and cutting mat. If you are unfamiliar with these tools, you can watch tutorials online for a quick guide on how to make a quilt with flat sheets.
Sew Pieces Together
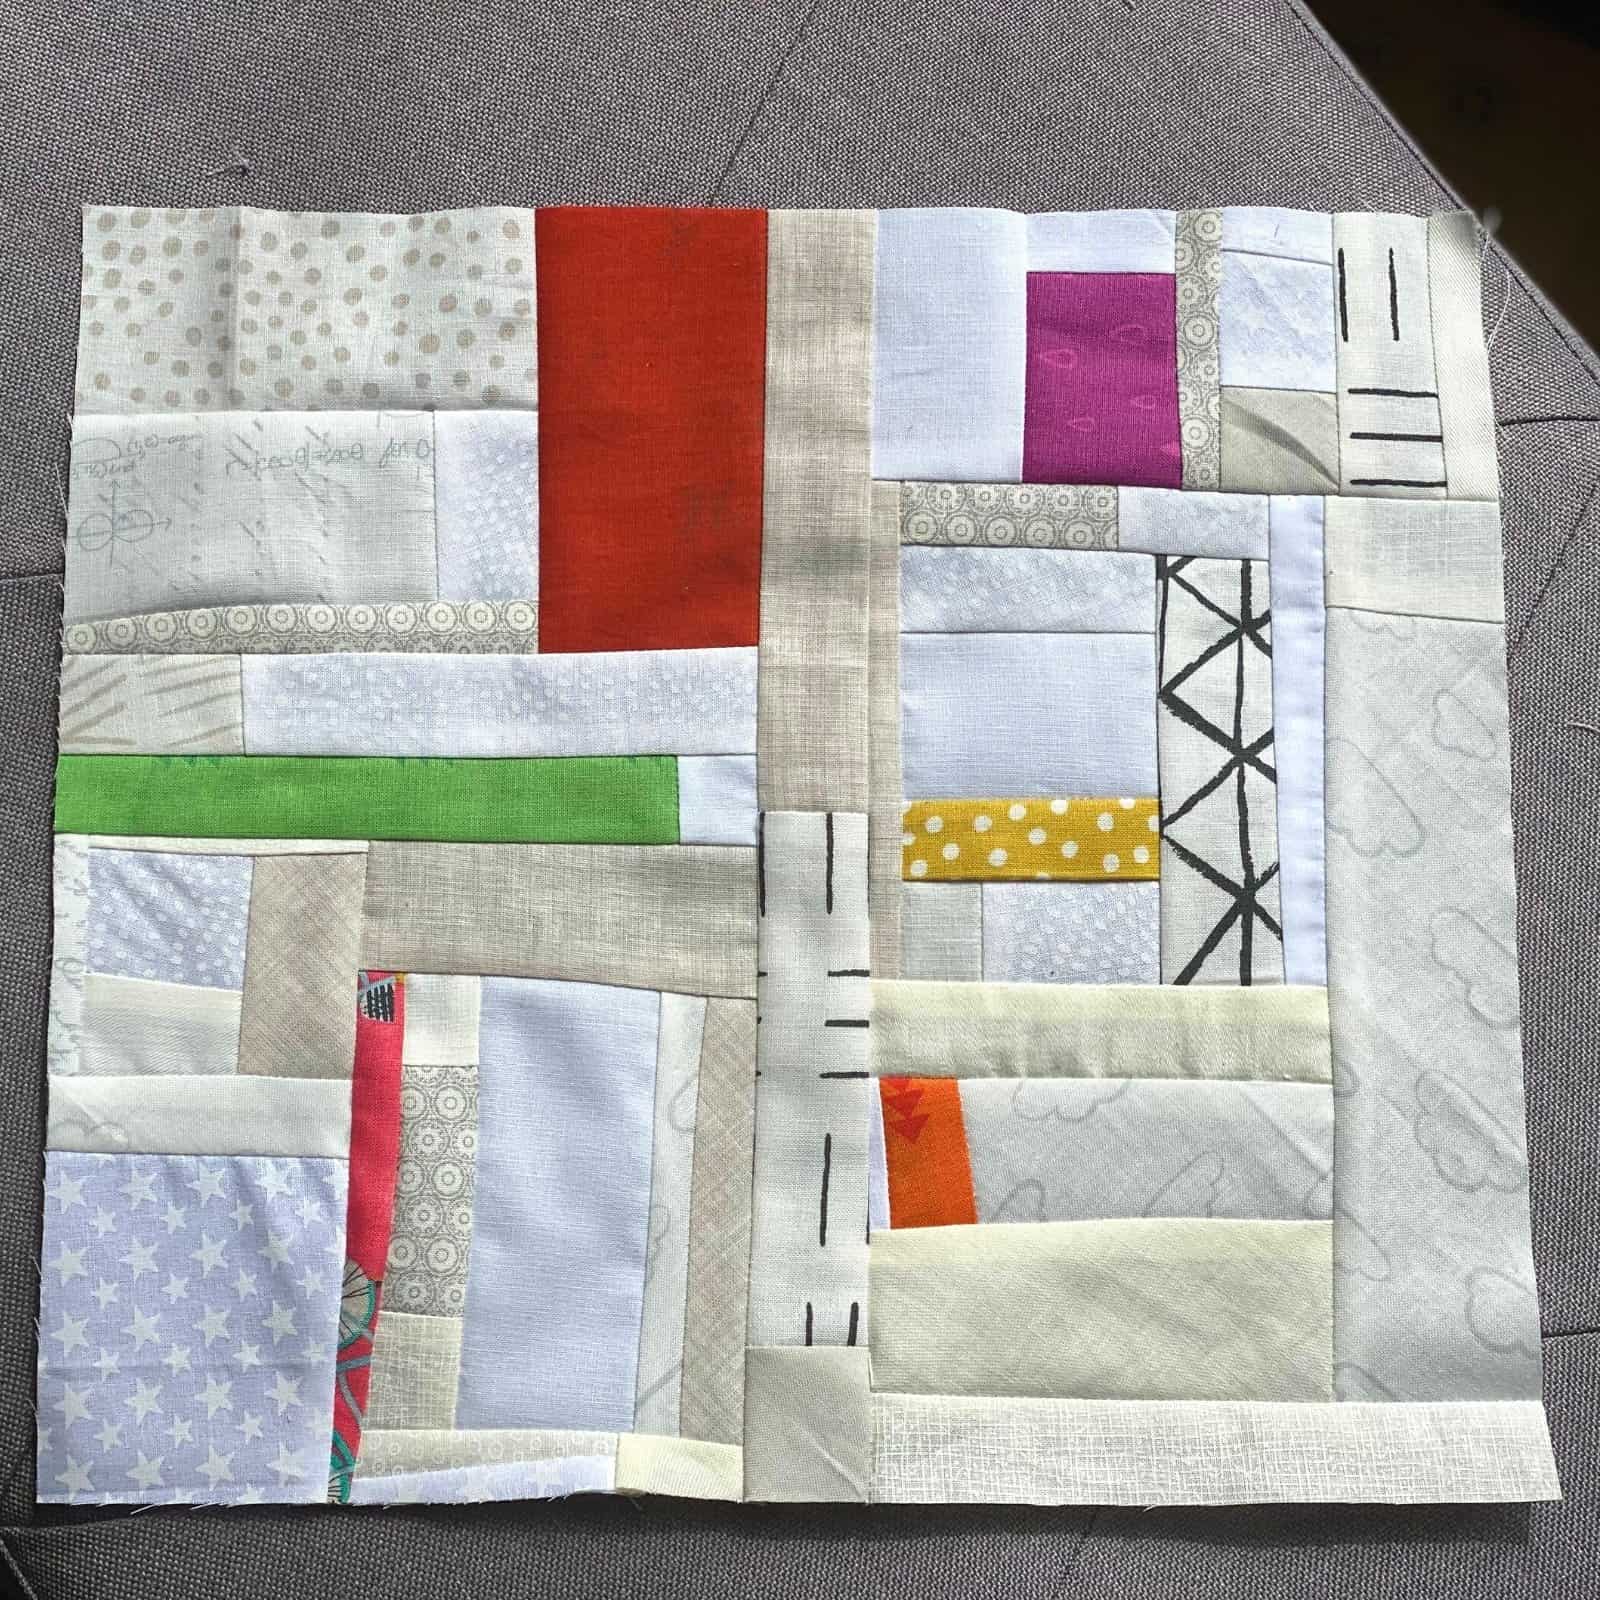
Layout the quilt top pieces in the desired pattern and pin them together. Using a sewing machine, sew the pieces together taking care to match the seams as closely as possible. Sew the rows together one by one, until the quilt top is complete.
Tip: To make sure the quilt top will remain square and the seams match, use a seam guide to keep the seam allowance consistent as you sew.
When all the pieces are sewn together, press the seams open. Make sure to press the seams in the same direction. This will help the quilt lay flat and look more professional.
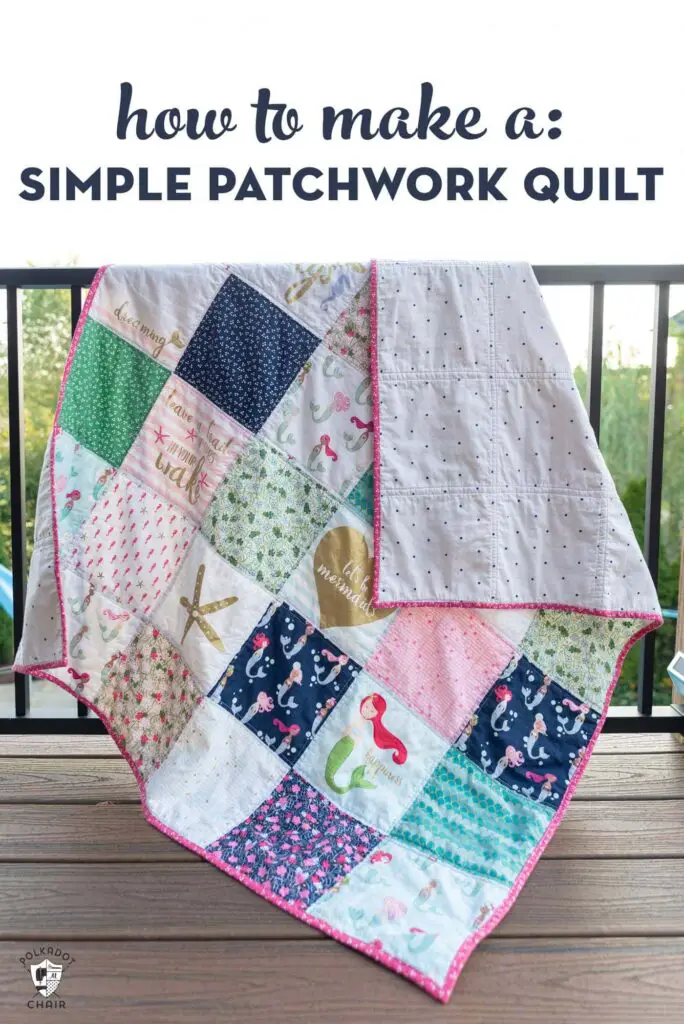
If you are making a patchwork quilt out of old sheets, you can use a rotary cutter and mat to cut the pieces and make sure they are all the same size. This will make it easier to sew the pieces together and make a nice looking quilt.
Make Quilt Top
Lay the two sheets out flat, one on top of the other. Make sure they are perfectly aligned. Cut each sheet in half lengthwise so that you now have four pieces of fabric. Arrange the pieces of fabric in a pleasing pattern. Pin each square, about an inch from the edge. Sew the squares together along the pinned lines. Make sure to backstitch at the beginning and end of each seam. This will make the quilt top strong and durable. To add an extra layer of protection, iron a piece of interfacing on the quilt top. This will help protect the quilt when you start quilting. To finish the quilt top, use a decorative stitch along the edge of the quilt to give it a finished look. You now have a quilt top made from two sheets, ready to be quilted and enjoyed.
Make Quilt Back
Cut the fabric to size. Measure the quilt top and add 6 inches to each side to determine the size of the fabric for the back. Cut two pieces of fabric to this size. Lay them on the floor or table right sides facing each other. Pin the pieces together, making sure that the edges are straight and overlap in the middle. Sew the pieces together, using a 1/2 inch seam allowance. Trim the edges of the seam allowance and clip the corners. Turn the fabric right side out, and press the seam flat. Quilt back is now ready.
Layer Quilt Top and Back
- Cut the sheets into the desired sizes for the quilt top and back. For a standard quilt, cut two pieces from each sheet, one for the top and one for the back.
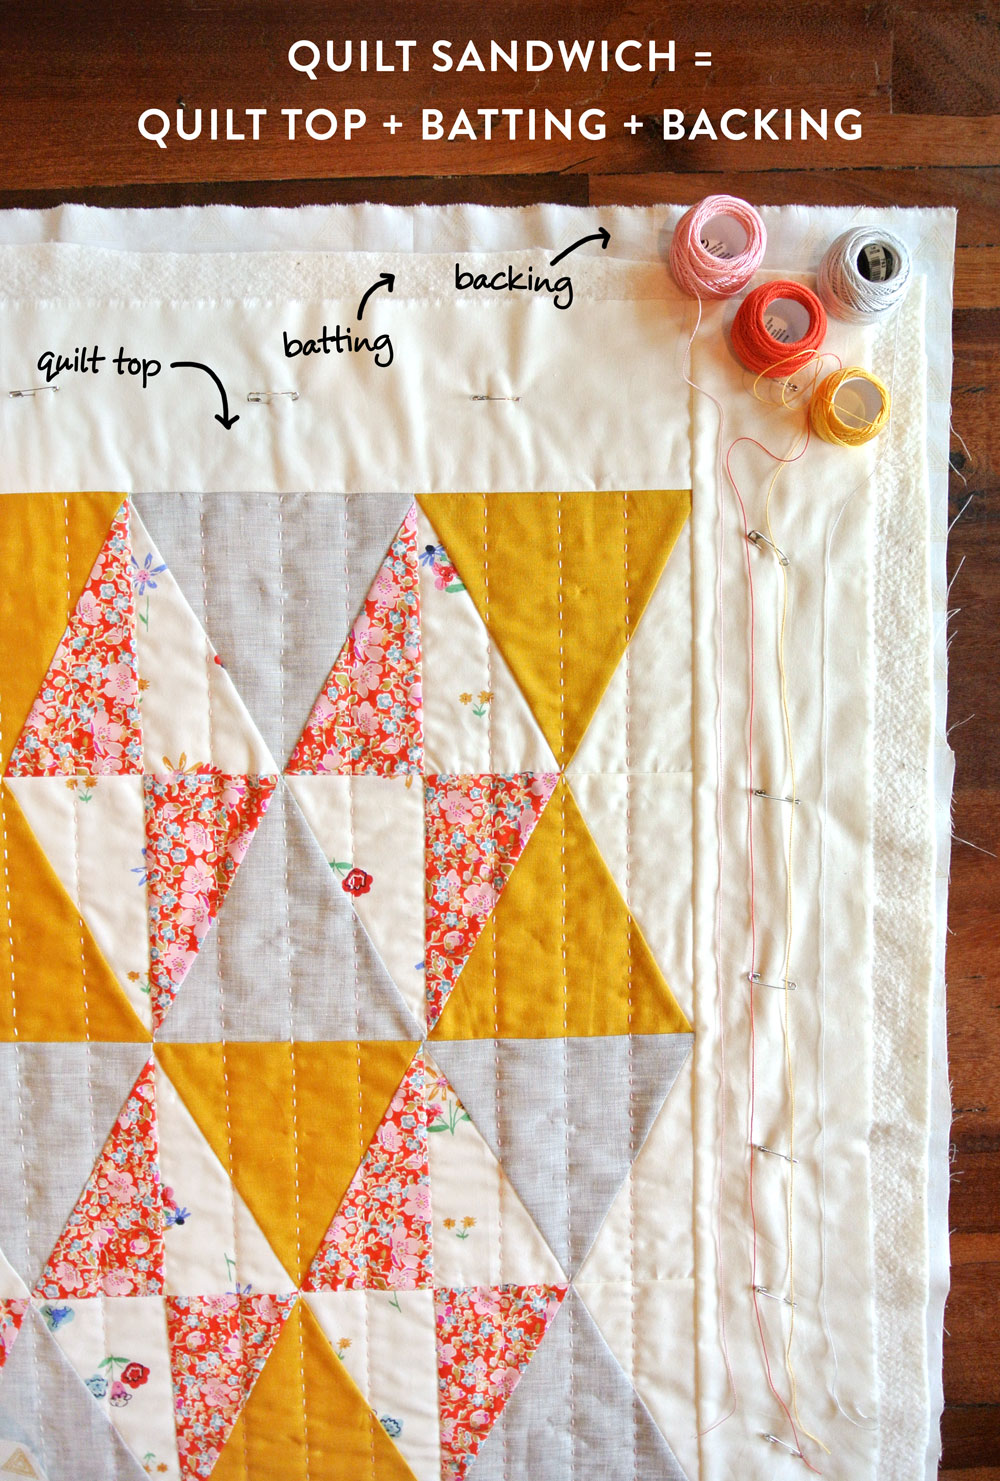
- Layer the backing fabric on the floor. Place the batting on top of the fabric, followed by the quilt top.
- Pin the layers together with quilting pins. This will help keep the three layers in place.
- Sew the layers together. Use a sewing machine to stitch the quilt together, making sure to keep the layers together as you sew.
- Trim the edges of the quilt to make sure they are even. Using a rotary cutter or scissors, trim away any excess fabric.
- Quilt the layers together. This can be done by hand or with a sewing machine, depending on the desired look of the quilt.
- Bind the edges of the quilt. Use a bias tape or other quilt binding material to finish the edges of the quilt.
Baste the Quilt Top and Back
| Step | Instructions |
|---|---|
| 1 | Lay the back of the quilt flat on the ironing board. |
| 2 | Fold the backing fabric in half and press the fold. |
| 3 | Lay the quilt top on the backing fabric, matching the raw edges. |
| 4 | Pin the three layers together along the raw edges. |
| 5 | Using a large running stitch, baste the three layers together. |
| 6 | Trim away the excess backing fabric, leaving a 1-inch seam allowance. |
Quilt and Bind the Quilt
Once the quilt top is completely sewn, you are ready to layer the quilt. It is made of three layers: the top, the batting, and the backing. Place the top layer on a large flat surface. Place the batting on top of the top layer. Use safety pins to secure the batting to the quilt top. Place the backing on top of the batting, right side down. Secure the backing with safety pins.
To quilt the quilt, use a walking foot on your sewing machine and stitch in the ditch, around the blocks, or in a free-motion pattern. Once the quilting is complete, use scissors to trim the batting and backing even with the top layer.
To bind the quilt, cut strips of fabric that measure 2-1/4 inches wide. Sew the strips together end-to-end to make one long continuous strip. Fold the strip in half lengthwise, wrong sides together, and press. Place the binding on the edge of the quilt, wrong side down, and stitch in place using a 1/4-inch seam allowance.
When the binding is completely sewn to the quilt, fold the binding to the back of the quilt. Hand stitch the binding in place. When finished, your quilt made out of sheets is complete!
Frequently Asked Questions
What supplies do I need to make a quilt out of sheets?
- 2-3 twin size sheets in your preferred pattern or color
- Rotary cutter and mat
- Ruler or quilt template
- Pins or fabric clips
- Sewing machine with an appropriate needle
- Thread in a coordinating color
- Scissors for trimming edges
- Batting of your choice
You may also need other items depending on the quilt design. These could include appliqués, ribbons, ruffles, lace, buttons, and other embellishments.
Is there a specific type of sheet I should use?
- Cotton is the most popular choice for quilting. It is lightweight, breathable, and soft. Additionally, it’s easy to sew, even for a beginner quilter.
- Flannel is a nice option if you are looking for a quilt that is relatively lightweight and provides warmth.
- Linen is a great choice for a quilt that is durable and long-lasting.
- Polyester is a less expensive option, and it is machine washable and wrinkle-resistant.
No matter what type of sheet you choose, make sure it is of good quality and free of any snags or frays.
How much time will it take to make a quilt out of sheets?
It depends. The amount of time it takes to make a quilt out of sheets depends on a variety of factors, including:
- The size of the quilt
- The complexity of the design
- The skill of the quilter
- The tools and materials being used
A quilter with advanced skills and the right tools could complete a basic quilt in a few hours, while a beginner or someone with limited tools could take several days. A complex quilt with intricate designs could take weeks or even months to complete.
Is it difficult to make a quilt out of sheets?
Yes, making a quilt out of sheets can be a challenging task, but it is not impossible. Here are the steps you need to take to make your own quilt from sheets:
- Gather your materials – sheets, batting, and backing fabric.
- Cut the sheets into squares or rectangles.
- Arrange the squares on top of the batting.
- Pin the squares in place.
- Sew the squares together.
- Layer the quilt top, batting, and backing fabric.
- Quilt the three layers together.
- Bind the edges of the quilt.
Follow these steps carefully and you will be able to make a beautiful quilt from sheets.
How should I prepare the sheets before I begin quilting?
- Wash the sheets – You should wash the sheets first in order to remove any dust or dirt. This will also pre-shrink them and get them ready for quilting.
- Iron the sheets – Ironing will remove any wrinkles in the sheets and make them easier to cut and sew. Be sure to use a low heat setting so you don’t damage the fabric.
- Cut the sheets – Measure and cut the sheets into the required shapes and sizes for your quilt. This can be done with scissors or a rotary cutter.
- Sew the pieces together – Using a sewing machine, stitch the pieces of the quilt together. If you are using a pattern, follow the directions for the best results.
Conclusion
Creating a quilt out of sheets is a simple and enjoyable project that can be completed in just a few hours. With the right supplies and a few basic techniques, you can create a beautiful, cozy quilt that will last for years. So gather your supplies and get started on your quilt today!


