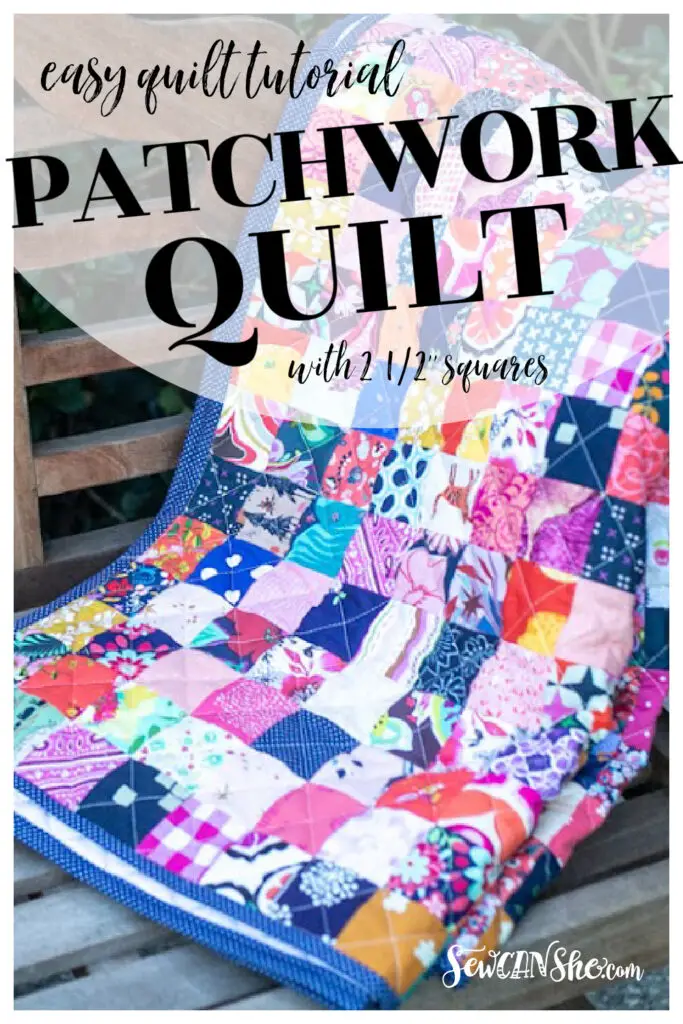
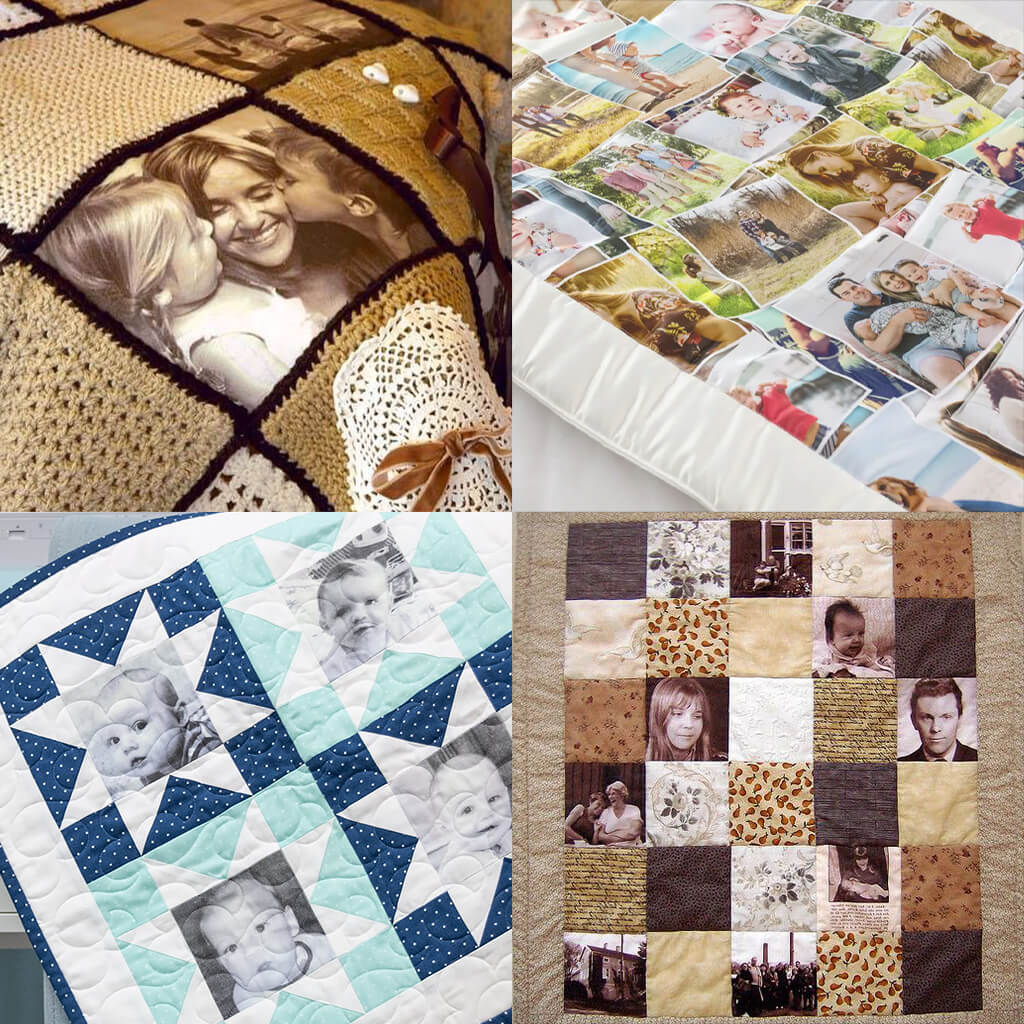
If you are looking for an easy and fun way to create an awesome quilt pattern from a photo, then you have come to the right place! This step-by-step guide will show you how to make a quilt pattern from a photo in no time. With just a few simple steps, you can turn any photo into a beautiful and unique quilt pattern. From choosing the right photo to deciding on the right materials, this guide will provide you with all the tips and tricks you need to make an amazing quilt pattern from a photo. So, let’s get started!
Choosing the Photo
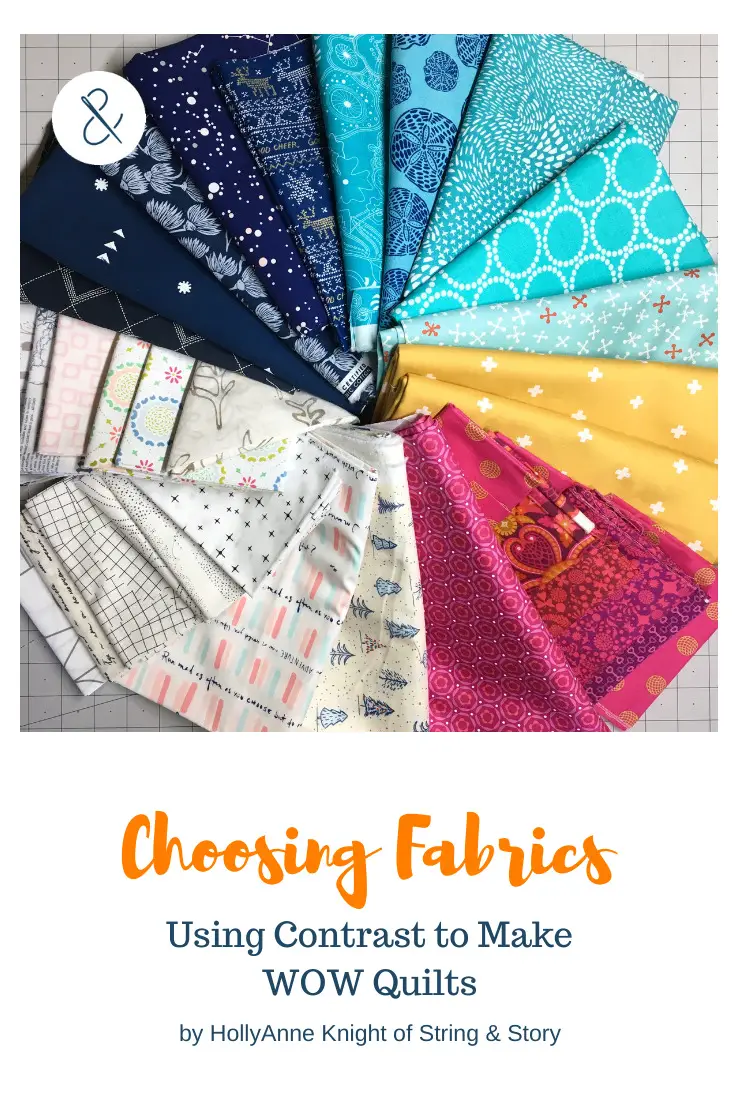
When making a quilt pattern from a photo, the most important step is selecting the right photo. The best photos for quilt patterns are those with a lot of contrast, as this will make the quilt look more vibrant. It is also important to choose a photo with clear details so that the pattern is easy to follow. If the photo is too blurry or has too much detail, it may be difficult to convert it into a quilt pattern. Once you have found the best photo to use, it’s time to get started with the process of how to convert photo to quilt pattern.
Preparing the Photo
- Choose a Photo: Select a photo that has clear details and colors.
- Print the Photo: Print the photo in a size that will fit your quilt.
- Trace the Photo: Trace the photo onto fabric interfacing using a pencil.
- Cut Out the Tracing: Cut out the tracing and place it onto the quilt fabric.
- Secure the Tracing: Secure the tracing to the quilt fabric using basting spray or pins.
- Trace the Photo Again: Trace the photo onto the quilt fabric with a pencil.
Measuring and Cutting the Fabric
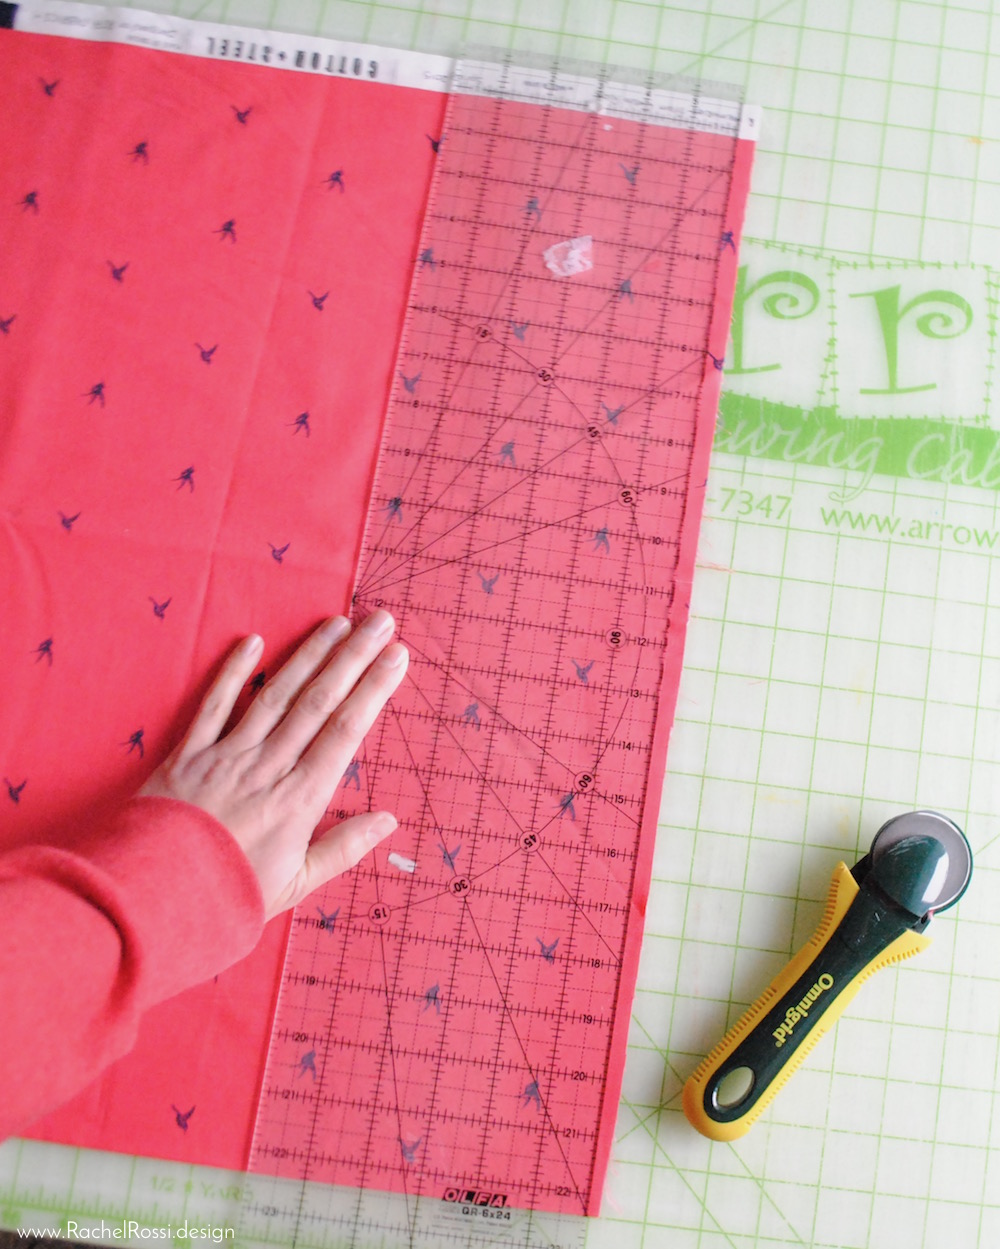
- Measure the photo you plan to use. Make sure to account for the extra fabric needed for seams and hems.
- Cut the fabric around the image, making sure to leave a 1/2 inch seam allowance.
- Cut the batting the same size as the fabric.
- Cut 3 to 4 inches of backing fabric that is slightly larger than the front fabric.
Piecing the Quilt Top
- Choose a quilting fabric that matches your chosen photo. The fabric should be of a weight and texture that will last for many years.
- Cut out the pieces of the quilt top. Using a rotary cutter, create strips of fabric that are the same width and length as the quilt top. Make sure to cut the strips on the grain of the fabric.
- Lay out the pieces. Place the pieces of fabric on a flat surface and arrange them in the pattern that you want your quilt to be. Consider using a quilting ruler to help you create a symmetrical design.
- Start sewing. Begin sewing the pieces of the quilt top together. Make sure to use a quarter-inch seam allowance. Sewing the pieces together in rows will make the quilt top easier to assemble.
- Iron the seams. Press the seam allowances flat with a hot iron. This will help to ensure that the quilt top is flat and even.
- Attach the quilt blocks. Assemble the quilt blocks and attach them to the quilt top. Make sure to use a quarter-inch seam allowance when sewing the blocks together.
- Attach the backing. Place the backing fabric on the back of the quilt top and baste it in place. Use a quilting ruler to ensure that the backing is even and flat.
Adding Borders and Finishing the Quilt Top
Once the quilt top is complete, it’s time to add the borders. Measure the quilt top and cut the borders to the desired length. Attach the borders one at a time, making sure they are straight and aligned. Once all the borders are attached, it’s time to finish the quilt.
Back of Quilt
Cut a piece of fabric for the back of the quilt that is larger than the quilt top. Layer the quilt top, batting and backing then baste together.
Quilting
Quilt the quilt together using a quilting machine or hand-quilting.
Binding
Cut 2 inch wide strips of fabric for the binding. Attach the binding to the quilt by machine or hand-stitch.
When the binding is complete, the quilt top is finished. You now have a beautiful quilt to enjoy.
Transferring the Photo to the Quilt Top
- Print the photo onto plain white copy paper.
- Cut the paper to the desired size of the quilt block.
- Position the paper onto the quilt top.
- Trace the outlines of the photo onto the quilt top using a water-soluble marking pen.
- Fuse the paper onto the quilt top using a dry iron. Follow the manufacturer’s instructions.
- Remove the paper by dampening it with a wet cloth. Rub the paper to loosen it and remove it.
- Outline the photo with thread using a backstitch or a running stitch.
- Fill in the photo area with a fabric of choice. This can be done with a variety of quilting stitches.
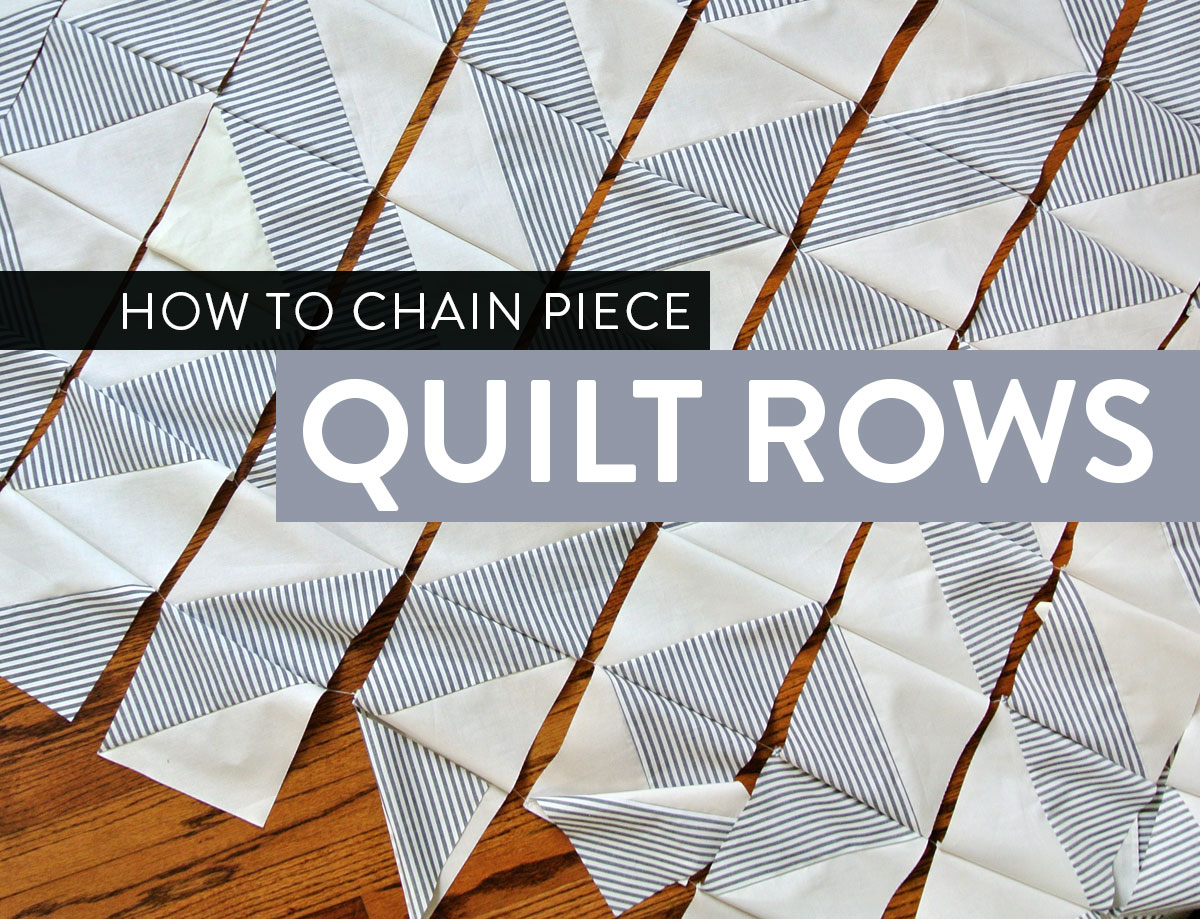
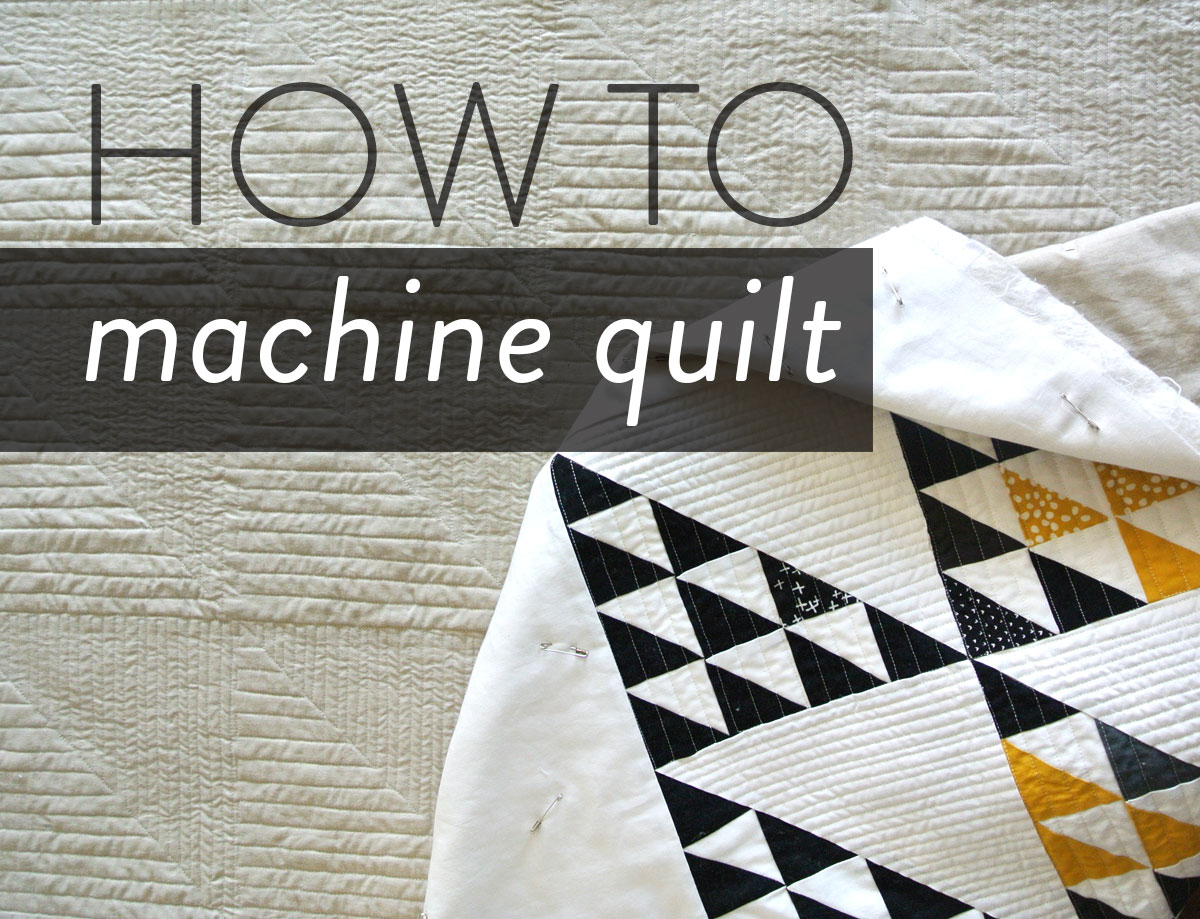
Quilting the Quilt
Once the quilt top is complete, it’s time to move on to quilting the quilt. Quilting is the process of attaching the three layers of a quilt together, the quilt top, batting, and backing. The batting is the middle layer of insulation and is what makes the quilt thick and soft.
First, pin the layers together. Place safety pins along the edges of the quilt, ensuring the batting and backing are secure. Once the quilt is pinned, start quilting along the lines of the pattern. When quilting, move the needle in and out of the quilt top and batting, making sure to go through the backing as well.
Once the quilt is finished being quilted, use a rotary cutter to trim off any excess batting and backing. This will ensure the quilt has clean edges and a neat finished look.
Finally, add a binding to the quilt. Use a bias tape or fabric strips to bind the edges of the quilt. First, pin the binding to the quilt and then using a sewing machine, sew the binding to the quilt top.
Once the binding is complete, the quilt is finished and ready to be enjoyed!
Binding the Quilt
Once you have finished piecing together the quilt top, use a rotary cutter and ruler to trim the edges and make sure they are even. Place the quilt batting on the floor and then the quilt top face up on top of it. Place the backing fabric face down on top of the quilt top. Pin the three layers together and quilt as desired. Once quilting is complete, trim the batting and backing fabric even with the quilt top, using the rotary cutter and ruler.
Bind the quilt by folding the binding strip in half lengthwise and pressing with an iron. Open the folded strip and place it around the edge of the quilt, right sides together. Sew the binding to the quilt top using a quarter-inch seam allowance, mitering the corners as you go. Once the binding is attached, fold it over to the back of the quilt and hand-stitch it in place.
This completes the process of how to make a quilt pattern from a photo. Your quilt is now ready to be enjoyed.
Frequently Asked Questions
What Type of Fabric Should I Use for My Quilt Pattern?
Cotton: Cotton is the most popular choice when it comes to quilting, as it is available in a wide variety of colors, prints, and textures. It is durable, soft, and easy to work with.
Linen: Linen is a luxurious fabric that is perfect for making quilts with a more traditional, antique look. It is lightweight, breathable, and drapes beautifully.
Wool: Wool is a great choice for quilts that need a bit of extra warmth. It is strong, yet soft, and it comes in a variety of colors.
Silk: Silk is a luxurious, lightweight option that is perfect for making quilts with a more delicate, elegant look.
Fleece: Fleece is a great option for quilts that need to be extra warm. It is soft, lightweight, and machine-washable.
Batting: Batting is a thin layer of material that is placed between the layers of fabric in a quilt. It adds warmth and softness.
What type of thread should I use to stitch the pieces together?
Coats & Clark Cotton Thread: This 100% cotton thread is strong and durable, making it a great choice for piecing quilts. It also comes in a variety of colors to match your quilt fabric.
Gütermann Polyester Thread: Polyester thread is ideal for machine quilting as it is strong and resistant to fading and stretching. It is also great for quilt binding.
Aurifil Cotton Thread: This is a lightweight, 100% cotton thread that is great for hand quilting and applique. It is also resistant to fading and stretching.
Metallic Thread: Metallic thread is great for adding sparkle to your quilt. It is available in a variety of colors and can be used for both machine and hand quilting.
Invisible Thread: Invisible thread is great for quilting, applique and other detailed work. It is strong and virtually invisible, making it perfect for intricate quilting designs.
Is there any specific software I should use to create the quilt pattern?
Creating a quilt pattern from a photo requires a special software to ensure the best results. Here are some of the best software to use:
- Electric Quilt
- Quilt-Pro
- QuiltAssistant
- QuiltDesigner
Electric Quilt is a powerful software designed for quilters. It offers a wide range of features such as the ability to design quilt blocks, create custom quilt layouts, and save and print quilt patterns.
Quilt-Pro is a well-designed software that allows users to create quilt patterns from photos. It has an intuitive user interface and provides a wide range of tools for manipulating quilt patterns.
QuiltAssistant is a powerful software for creating quilt patterns from photos. It has an easy-to-use interface and allows users to design quilt blocks, create custom quilt layouts, and save and print quilt patterns.
QuiltDesigner is a powerful software designed specifically for creating quilt patterns from photos. It has a simple user interface and offers a wide range of tools for manipulating quilt patterns.
These are some of the best software available for creating quilt patterns from photos. Each software has its own set of features and capabilities, so it’s important to choose the one that best suits your needs.
How do I ensure that my quilt pattern is symmetrical?
- Draw a grid – Depending on the size of your quilt project, draw a grid of equally-spaced lines over the photo. This will help keep the pattern symmetrical as you transfer the design.
- Mirror the pattern – Trace half of the pattern and then use a mirror to trace the other half. This ensures that the design is symmetrical.
- Check with a ruler – Once the pattern is traced, use a ruler to measure the two sides. If the measurements are the same, the pattern is symmetrical.
How do I decide what size my quilt pattern should be?
Size: The size of your quilt pattern is determined by the size of the quilt you plan to make. Consider the size of the quilt top and the amount of space between the pattern pieces. Fabric: Consider the type of fabric you plan to use for the quilt top, batting and backing. If you plan to use a thicker batting, you may need to add extra space between the quilt pieces. Quilting Stitches: Think about the quilting stitches you plan to use. If you plan to use a lot of intricate quilting stitches, you may need a larger quilt pattern. Finished Quilt: Lastly, think about the size of the finished quilt you want to make. This will help you determine the size of your quilt pattern.
Conclusion
Creating a quilt pattern from a photo can be a rewarding experience. With the right materials, tools and a little patience, you can make a beautiful quilt that is unique and special to you. If you follow the steps outlined in this article, you should have no trouble creating a quilt pattern from a photo.


