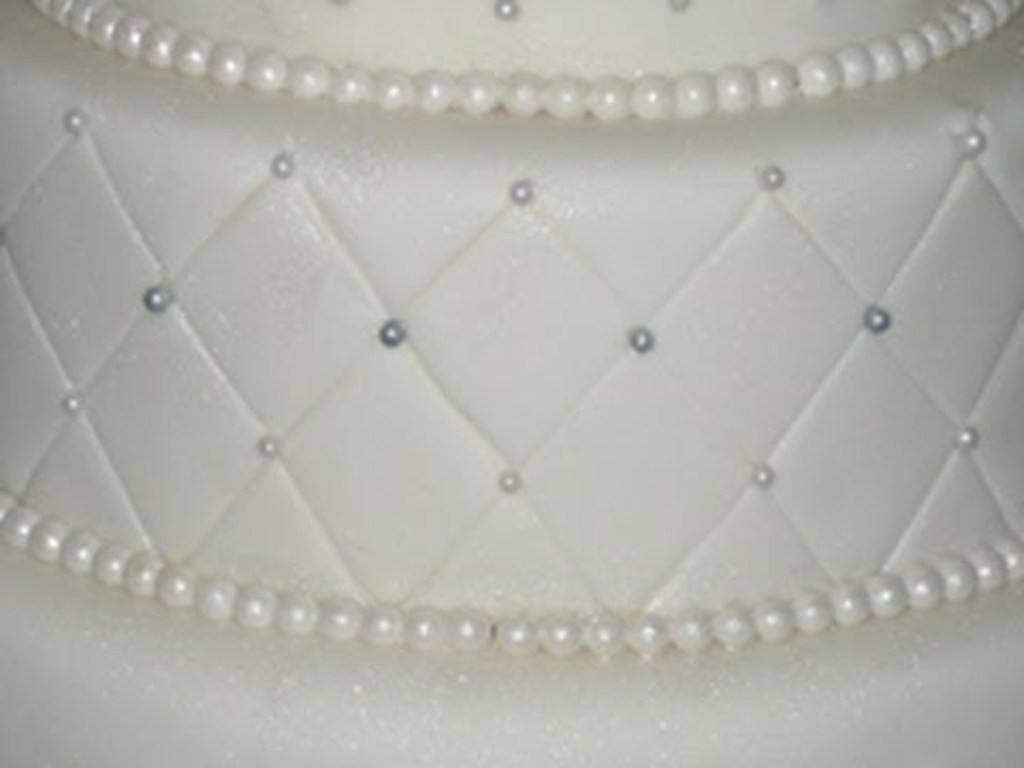
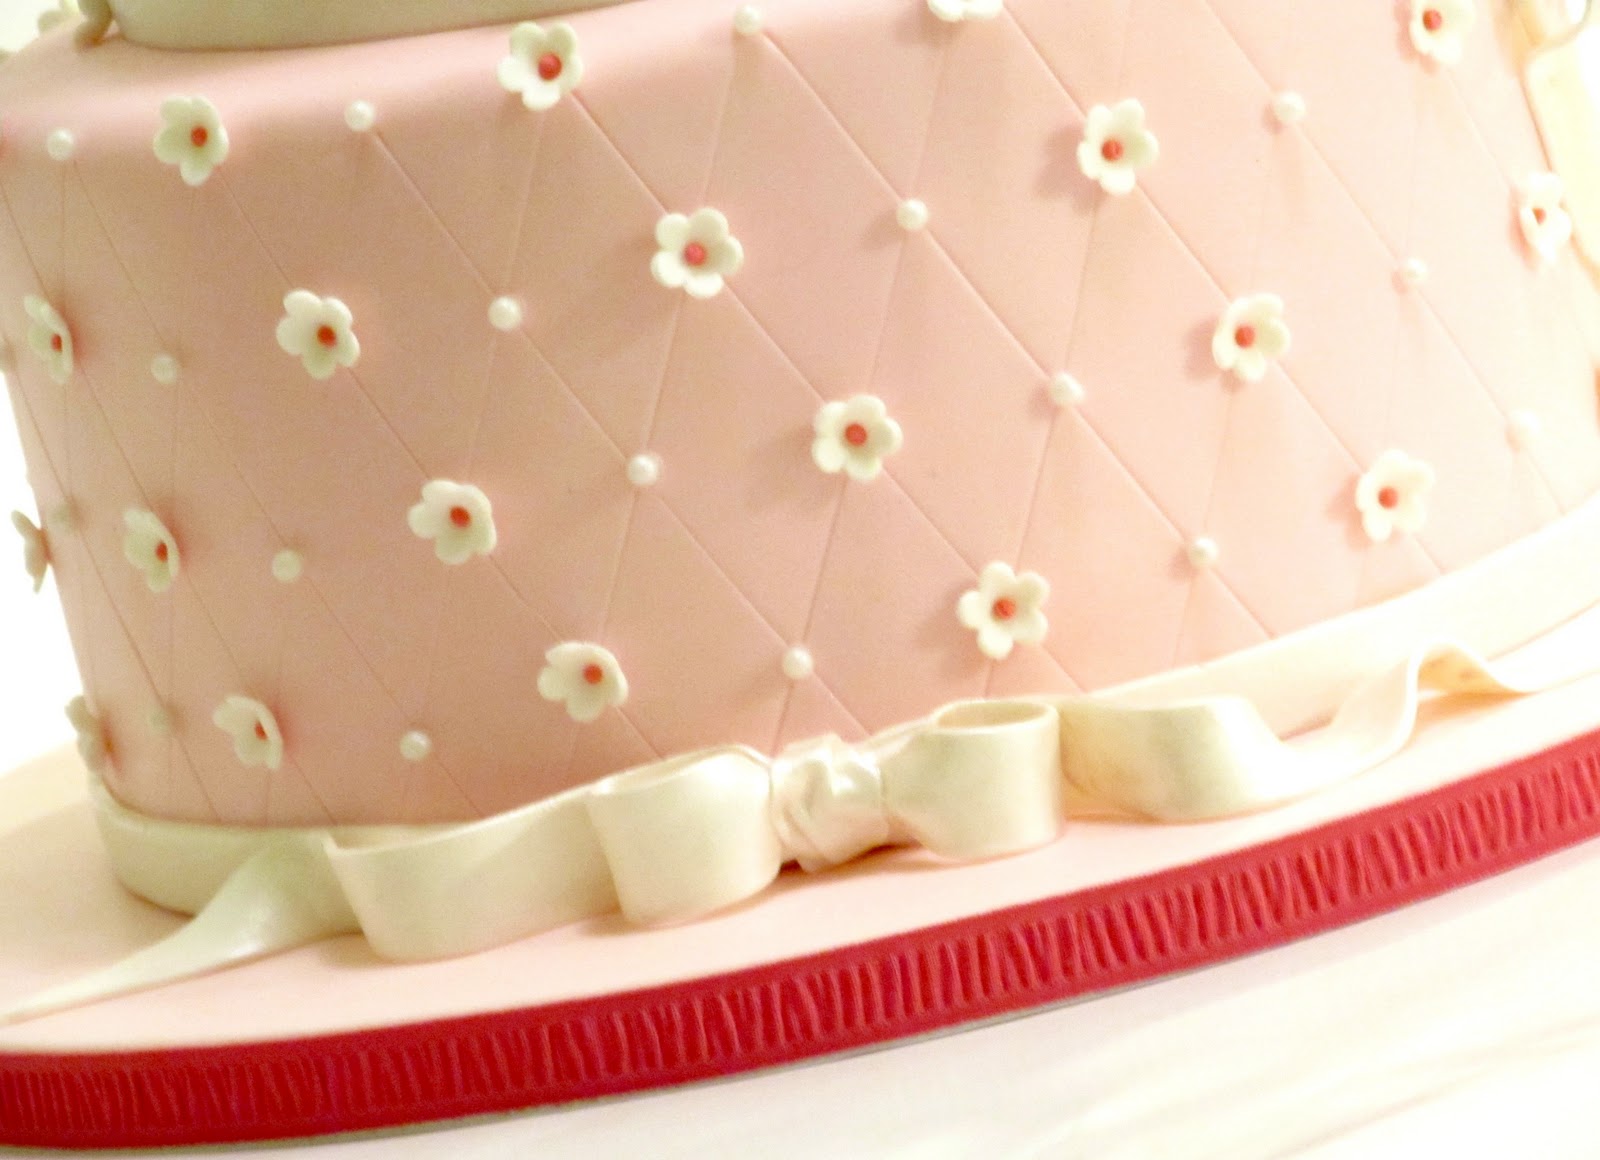
Are you looking for a unique way to decorate your cake? A quilt pattern on fondant is the perfect way to create a showstopping cake decoration. This step-by-step guide will show you how to make a quilt pattern on fondant for a truly stunning cake decoration. From measuring and cutting your fondant to achieving the perfect quilt pattern, this guide outlines everything you need to know to make a beautiful quilt pattern on fondant.
Materials Needed
- Fondant in a variety of colors
- Rolling pin or fondant roller
- Cookie cutters in various shapes
- Piping bag with a small round tip
- Edible glue or royal icing
- Parchment paper or wax paper
To make the simple fondant quilt pattern, these materials will be necessary.
Step-by-Step Guide
Step 1: Rolling the Fondant
Roll out the fondant to a 1/4″ thickness. Use a rolling pin and rolling guide to ensure the fondant is rolled evenly.
Step 2: Cutting the Squares
Cut the fondant into squares using a pastry wheel or pizza cutter. The squares should be the same size, so measure and mark the fondant before cutting.
Step 3: Folding the Squares
Fold each square in half diagonally to create a triangle. Make sure that the edges are lined up evenly.
Step 4: Creating the Pattern
Lay out the folded triangles in a pattern of your choice. Alternate the direction of the triangles to create a quilt pattern.
Step 5: Adding the Details
Use a small knife to add details such as lines and curves to the triangles. To add texture, use the back of a knife to create small indentations.
Tips & Tricks
- Choose a pattern: Select a quilt pattern to work with. Consider using a simple pattern for your first quilt. You can also find patterns online.
- Create a template: Trace the pattern onto a piece of cardstock or sturdy construction paper. Cut out the template and use it as a guide for creating your quilt.
- Roll the fondant: Roll out some white fondant to the desired thickness. Place the template on the fondant and use a sharp knife to cut it out.
- Cut the quilt pieces: Using the template as a guide, cut out the quilt pieces. Use a ruler to ensure that the pieces are equal in size.
- Assemble the quilt: Arrange the quilt pieces on a flat surface. Use edible glue to attach the pieces together.
- Decorate the quilt: Use icing to pipe intricate details onto the quilt. You can also add edible gems, sugar pearls, and other decorations.
Conclusion
- Quilting on fondant is a fun and creative way to add detail to your cakes and desserts.
- The process involves tracing the quilt pattern onto the fondant, then cutting and piecing the pattern together.
- Be sure to use a sharp knife and ruler to get the most precise cuts.
- A variety of tools can be used to create the quilting pattern, including a cake boarder, quilting wheel, and silicone mat.
- For best results, begin with a single color fondant and use a food coloring marker to add details.
- Using a variety of texture tools can help give the quilt pattern a realistic look.
Quilting on fondant is a great way to add a unique and beautiful touch to your cakes and desserts. With these tips, you will be able to create the perfect quilt pattern for your next project.
References
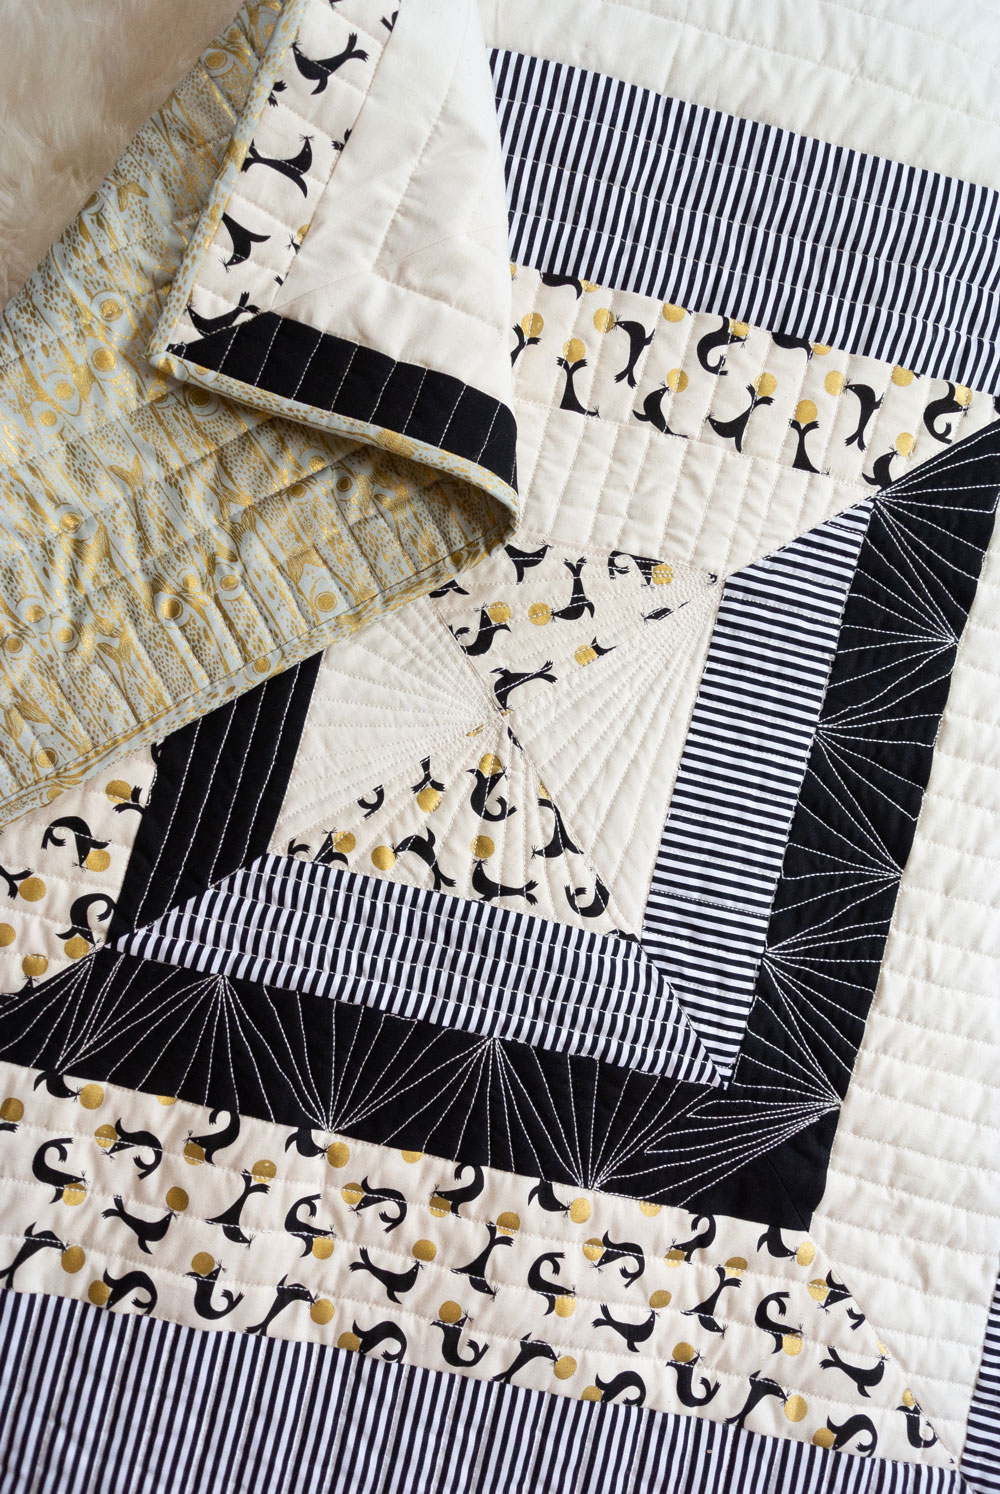
Quilting on Fondant: Beginners can use this tutorial to learn step-by-step instructions on how to quilt on fondant.
Quilt Patterns: Create your own quilt patterns with this pattern generator.
Fondant Quilt Tutorials: Get creative with quilted cake designs by watching this quilted cake tutorial on YouTube.
Rolling Out Fondant
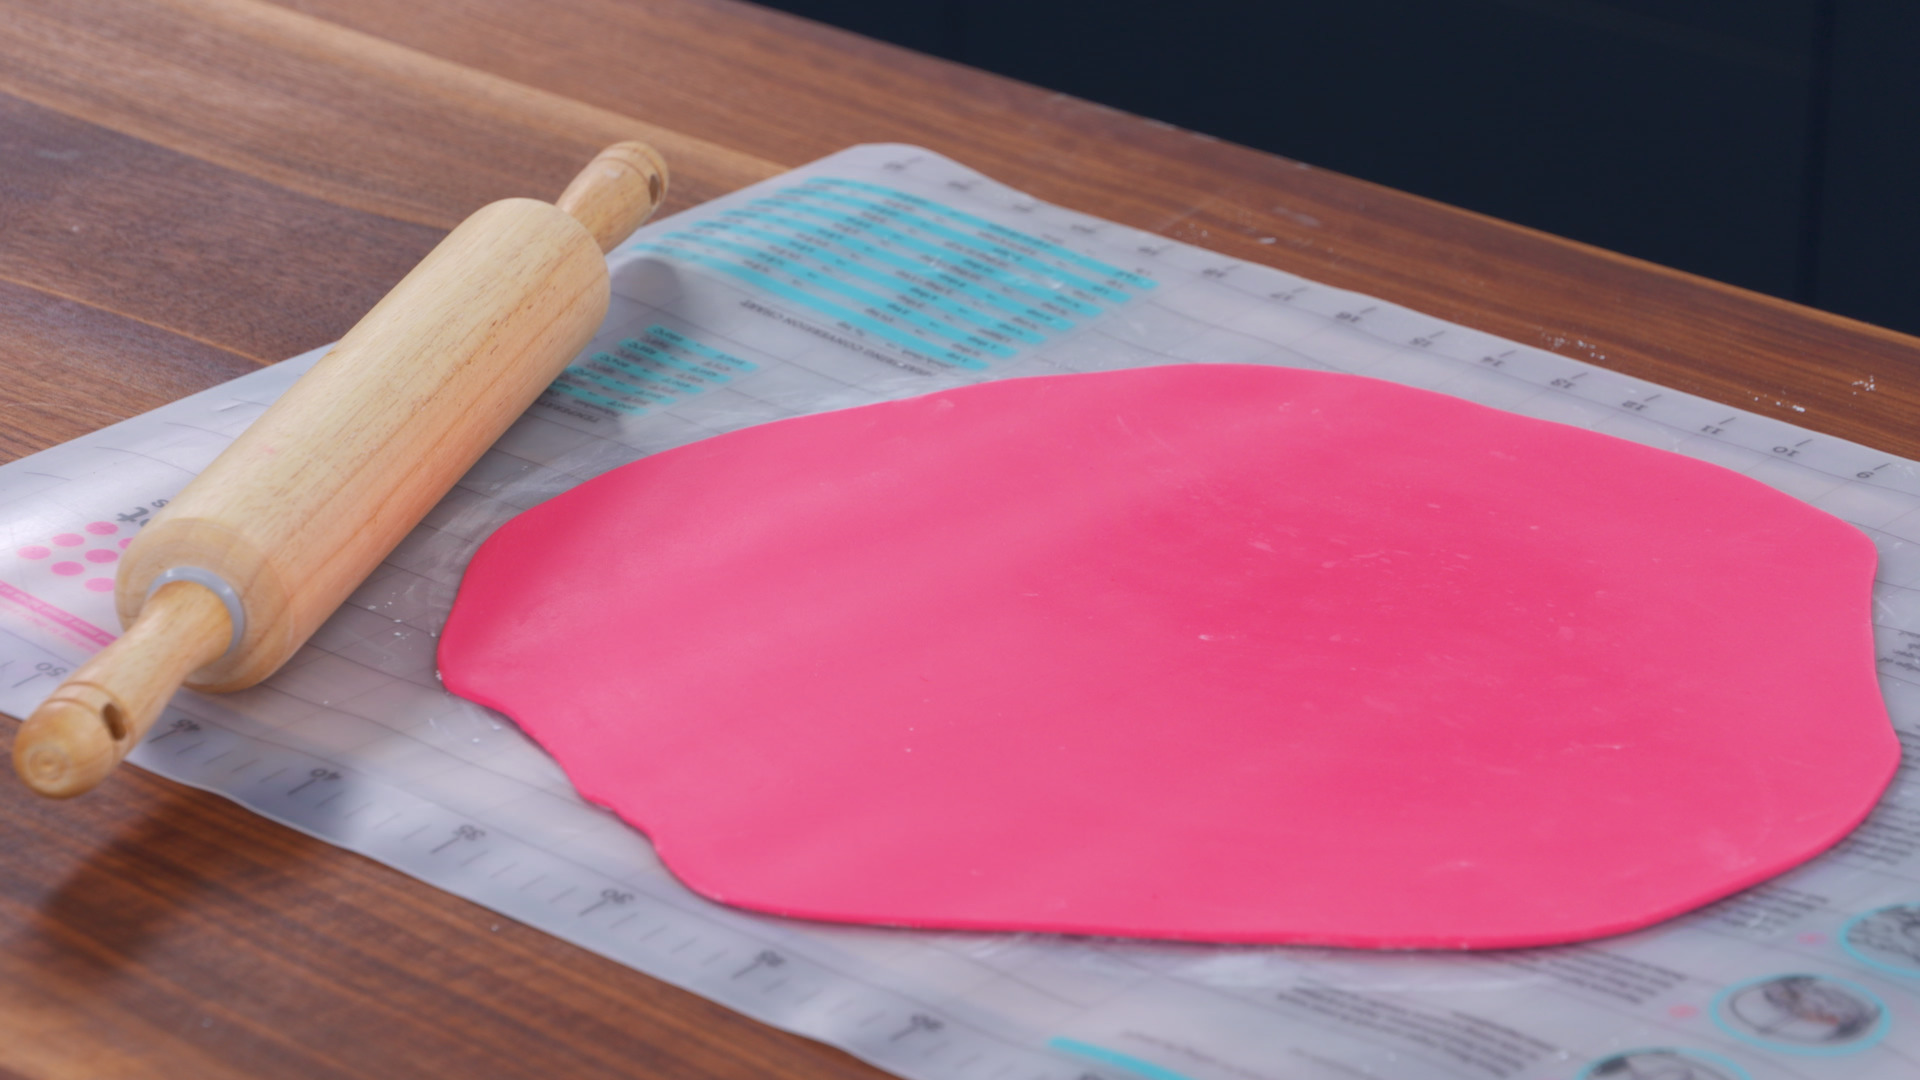
Roll out the fondant with a rolling pin on a surface lightly dusted with cornstarch. Roll the fondant out until it’s thin enough to create a quilt design. Make sure to roll the fondant in one direction to preserve the quilt pattern.
Creating the Quilt Pattern
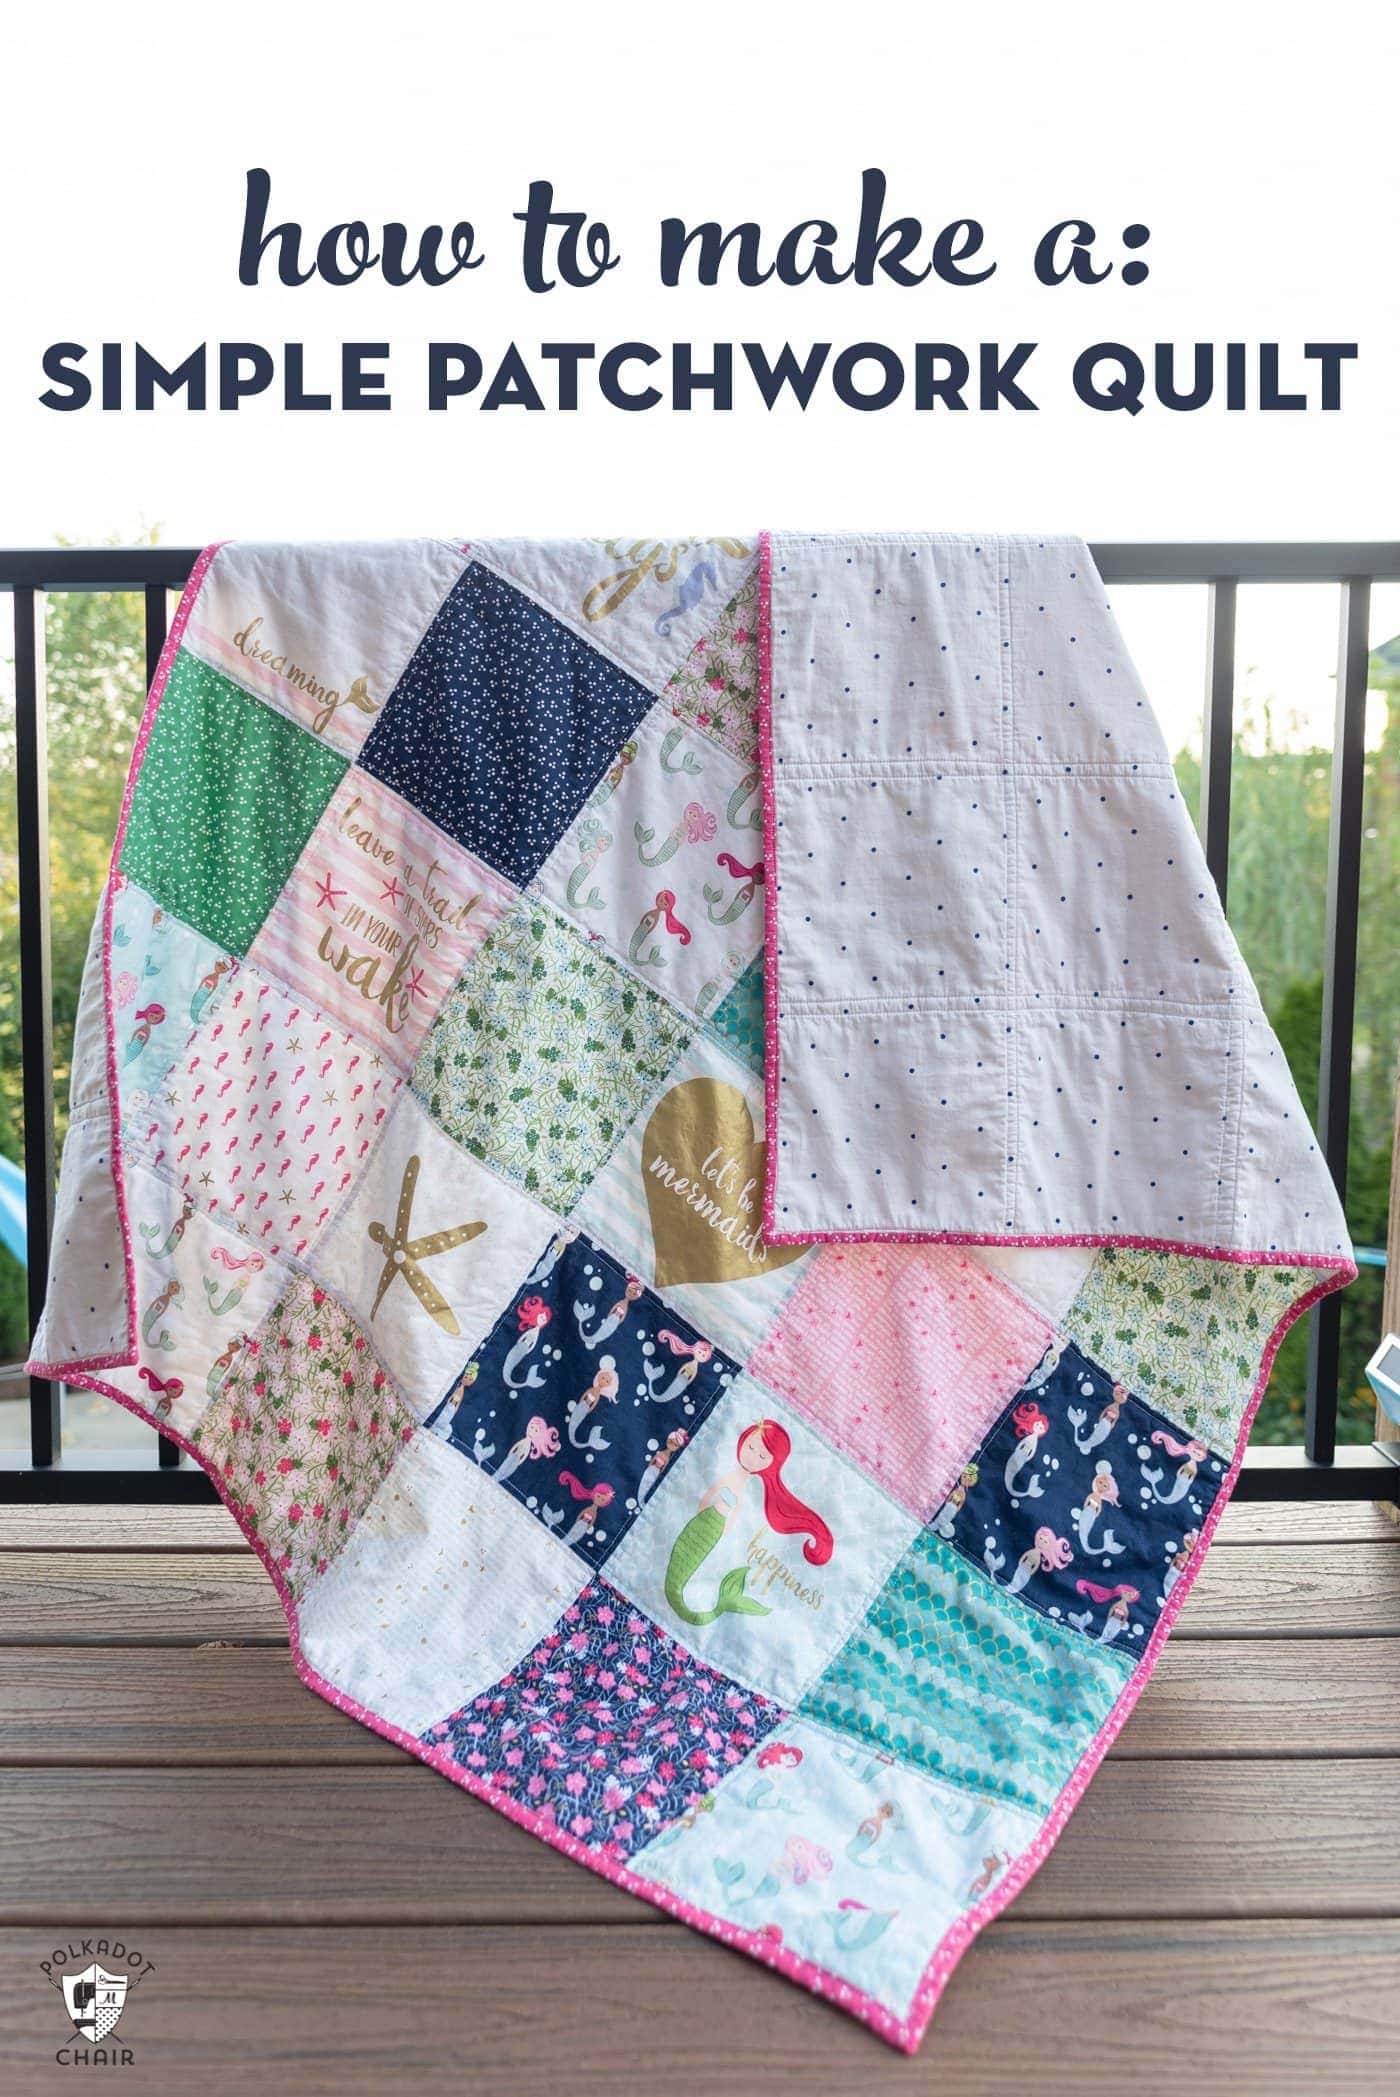
Using a quilting tool, create the quilt pattern by pressing the tool lightly into the rolled out fondant. It is important to move the tool in one direction only and make sure there is even pressure while pressing the quilting tool into the fondant. Repeat the process until the desired pattern is created.
Checking the Quilt Pattern
In order to check the pattern, turn the fondant over. If the pattern is even and the quilting tool has been pressed in one direction, the pattern should appear on both sides of the fondant.
Cutting the Fondant
Once the quilt pattern is created and checked, use a sharp knife to cut the fondant into the desired shape. For example, if the fondant needs to be made into a cake, cut the fondant into a cake-shaped form.
Conclusion:
- Gather the necessary tools and ingredients such as fondant, rolling pin, ruler, edible food markers and edible food colors.
- Roll out the fondant and cut it into the desired shape using a ruler.
- Draw the quilt pattern on the fondant with the edible food markers.
- Fill in the quilt pattern with the edible food colors.
- Allow the fondant to dry for a few hours before using it for decoration.
Creating a quilt pattern on fondant is a fun and easy way to decorate cakes and cupcakes. With the right tools and a little bit of creativity, anyone can make beautiful quilt patterns on fondant.
Gather Your Supplies
Fondant – Choose a color of fondant that will be the main color of your quilt pattern.
Rolling Pin – Use a rolling pin to roll out the fondant.
Cutting Tools – Choose cutting tools such as a pizza cutter or a sharp knife to create the quilt pattern.
Create the Quilt Pattern
Roll Out the Fondant
Using your rolling pin, roll out the fondant until it is thin but not too thin.
Cut Out the Shapes
Cut out small diamond, square, and triangle shapes from the fondant.
Arrange the Shapes
Using the cutting tools, arrange the shapes into a quilt pattern.
Apply the Quilt Pattern
Dampen the Surface
Dampen the surface where you plan to apply the quilt pattern with a damp cloth.
Apply the Quilt Pattern
Carefully apply the quilt pattern to the surface.
Smooth Out the Pattern
Smooth out the pattern with your fingers to ensure that the pattern is attached firmly.
Frequently Asked Questions
What kind of fondant should be used for a quilt pattern?
Rolled Fondant is the most common type of fondant used for creating quilt patterns. It is ideal for creating intricate designs and shapes, and its pliable texture makes it easy to work with. It is also available in a variety of colors, allowing for more creative freedom.
Gum Paste is another type of fondant that is often used for quilt patterns. It is more rigid than rolled fondant and dries quickly, making it a better choice for creating intricate details and shapes.
Fondant Icing is a type of fondant that is made with icing sugar, butter, and milk. It is softer and more pliable than rolled fondant and can be used to create a smoother finish.
Marshmallow Fondant is a type of fondant that is made with marshmallows and icing sugar. It is easy to work with and can be used to create a variety of shapes and designs.
- Rolled Fondant
- Gum Paste
- Fondant Icing
- Marshmallow Fondant
When choosing a fondant for a quilt pattern, it is important to consider the level of detail and complexity desired. For intricate designs and shapes, rolled fondant is the best choice. For a smoother finish, fondant icing or marshmallow fondant may be preferable.
Is it Possible to Make a Quilt Pattern with a 3D Printer?
Although a 3D printer can be used to create intricate patterns and shapes, it is not suitable for making a quilt pattern on fondant. 3D printing involves laying down successive layers of material until the desired shape is created. Fondant is a sugar-based dough, and cannot be printed in layers. Instead, quilt patterns must be hand-carved or embossed onto the fondant with special tools.
Is there a Specific Size the Fondant Pieces Should Be to Create a Quilt Pattern?
The size of the fondant pieces to create a quilt pattern depends on the size of the finished cake. However, the pieces should generally be no larger than 1.5-2 inches in size. Cutters of different shapes can be used to create the quilt pattern. For a more defined quilt pattern, use a quilt block cutter set.
What tools are necessary to create a quilt pattern on fondant?
- Rolling pin: To roll out the fondant onto a flat surface.
- Icing smoother: To give the fondant a smooth look.
- Fondant cutters: To create the quilt pattern from fondant.
- Paring knife: To cut fondant into the desired shape.
- Paintbrush: To apply food colouring to the fondant.
- Cake board: To place the fondant on top before cutting.
- Cake turntable: To make it easier to decorate the cake.
What is the Best Way to Clean Up After Making a Quilt Pattern on Fondant?
Wash your hands to remove any remaining fondant pieces, and then use a damp cloth to wipe down the surface and clean up any remaining fondant pieces. Be sure to use a light detergent if needed and avoid using any harsh chemicals. Finally, use a dry cloth to dry the surface before putting away the fondant and tools.
Conclusion

Creating a quilt pattern on fondant is an easy and fun way to decorate a cake. With a few simple steps and a few basic tools, you can create a showstopping cake decoration that will impress your guests. From rolling out the fondant to cutting the squares and assembling the pattern, creating a quilt pattern is a fun and rewarding process.
References

