Are you looking for a unique way to make a quilt? If so, then making a quilt with embroidered squares is a great option. This step-by-step guide will show you how to make a quilt with embroidered squares and create a truly special piece of art. From selecting the right fabrics to tying off the last quilting knot, you’ll be sure to have the perfect quilt in no time. Let’s get started on your quilting journey!
Materials Needed
- Fabric and batting for the quilt top, backing, and binding
- Embroidery thread and needle
- Iron-on transfer paper
- Designs of choice printed on transfer paper
- Scissors
- Iron
- Pins
- Sewing machine
For how to embroider quilt squares, you’ll also need:
- Embroidery hoop
- Embroidery needles
- Embroidery scissors
Preparing the Quilt Squares
Choosing the Right Fabric
When making a quilt with embroidered squares, it is important to choose the right fabric for the quilt. Cotton is a popular fabric choice for quilts due to its breathability and softness. When choosing which type of cotton to use, consider the weight of the fabric and the thread count. If the fabric is lightweight, it is best to use a higher thread count to ensure the quilt will be durable and last for years to come.
Cutting and Sewing the Squares
Once the fabric has been chosen, it is time to cut and sew the quilt squares. Use a rotary cutter and mat to cut the fabric into perfect squares. Once the fabric is cut into squares, sew each square together using a sewing machine and coordinating thread.
Adding the Embroidery
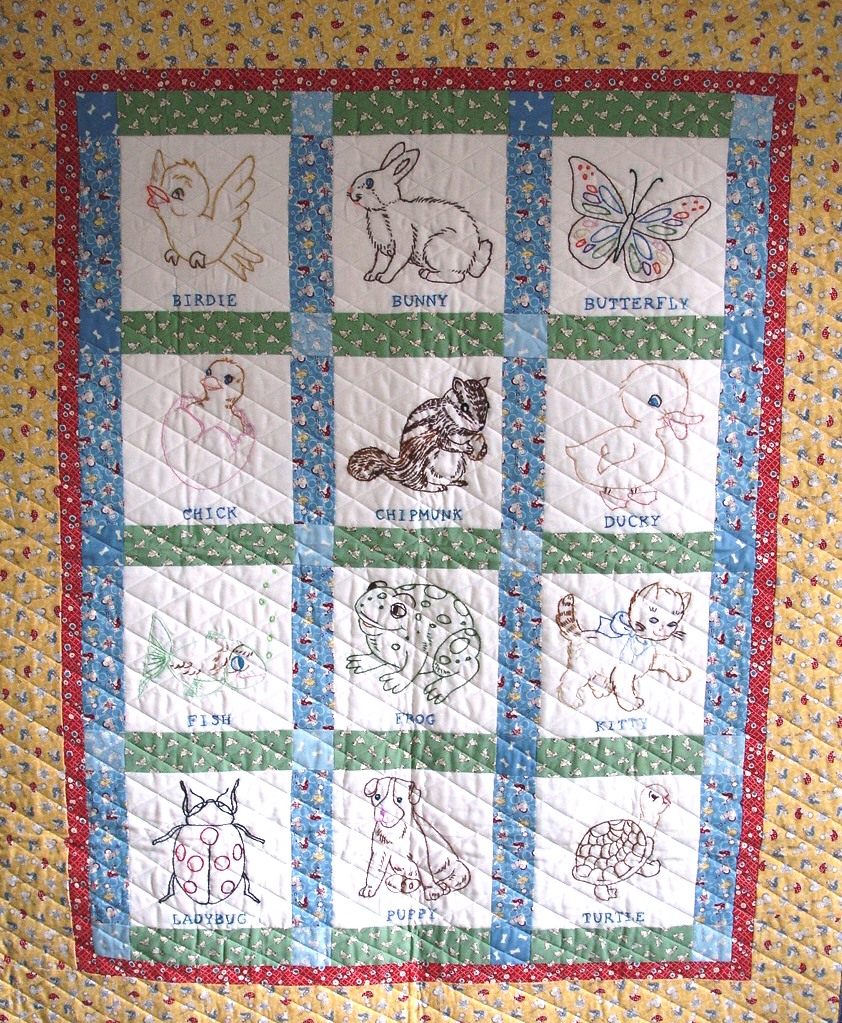
The final step in creating quilt blocks with embroidered squares is to add the embroidery. Embroidery designs can be chosen based on personal preference or the theme of the quilt. For best results, use a high-quality embroidery thread in a color that coordinates with the fabric. Embroidering each square can be done by hand or with an embroidery machine. Once all of the squares have been embroidered, they can be put together to form the quilt top.
Putting the Embroidery Quilt Blocks Together
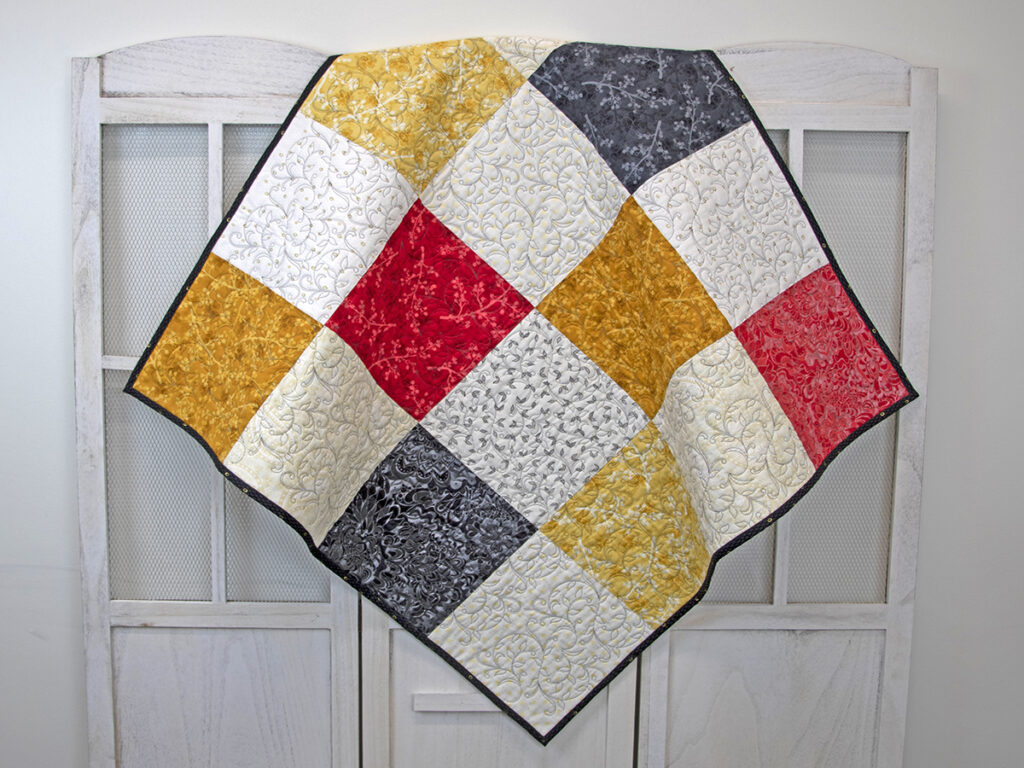
After each quilt block is embroidered, it is time to assemble the quilt. Begin by laying the quilt blocks out in the desired pattern. Sew each block together, making sure to line up the seams. Once all of the blocks are sewn together, the quilt top is complete. The quilt top can then be backed with batting and a backing fabric and quilted together.
Putting the Embroidered Blocks Together
Arranging the Blocks
To create the quilt, start by arranging the embroidered blocks in the desired pattern. Once the pattern is finalized, it is time to move on to the next step.
Joining the Blocks
The blocks can be joined together using either a sewing machine or by hand. If using a sewing machine, use a zigzag stitch to secure the blocks together. If joining by hand, use a whip stitch to achieve the same effect.
Adding Borders
Once the blocks are joined together, a border can be added to the quilt. The border can be made from fabric scraps or purchased fabric. To make the border, measure the length and width of the quilt and cut the border fabric to the desired length and width. Sew the border to the quilt and then press the fabric.
Finishing the Quilt
The last step in how do you quilt an embroidered blocks is to add a backing fabric. The backing fabric can be the same as the border fabric or a different fabric. Cut the backing fabric to the same size as the quilt and sew it to the quilt. The quilt is now ready to be quilted.
Finishing the Quilt
Quilting the Embroidered Blocks
Quilting the embroidered blocks together is the next step to complete the quilt. Start by laying out the embroidered blocks in the desired pattern. Then, pin them in place to keep them from shifting. Next, use a sewing machine to stitch the blocks together. Use a medium-length stitch for the best results. Finally, press the quilt with a hot iron to flatten any puckers.
Binding the Edges
For the final step, bind the edges of the quilt. Begin by cutting a bias strip of fabric twice the desired finished binding width. Then, sew the strip to the quilt, with the raw edges aligned. Fold the strip over the edge of the quilt and press. To finish, topstitch the binding to the quilt. This will give the quilt a neat, finished look.
By following these steps, you can easily create a beautiful quilt with embroidered blocks. With proper care, your quilt can last for years and become a cherished heirloom.
Using Embroidered Blocks in Quilts
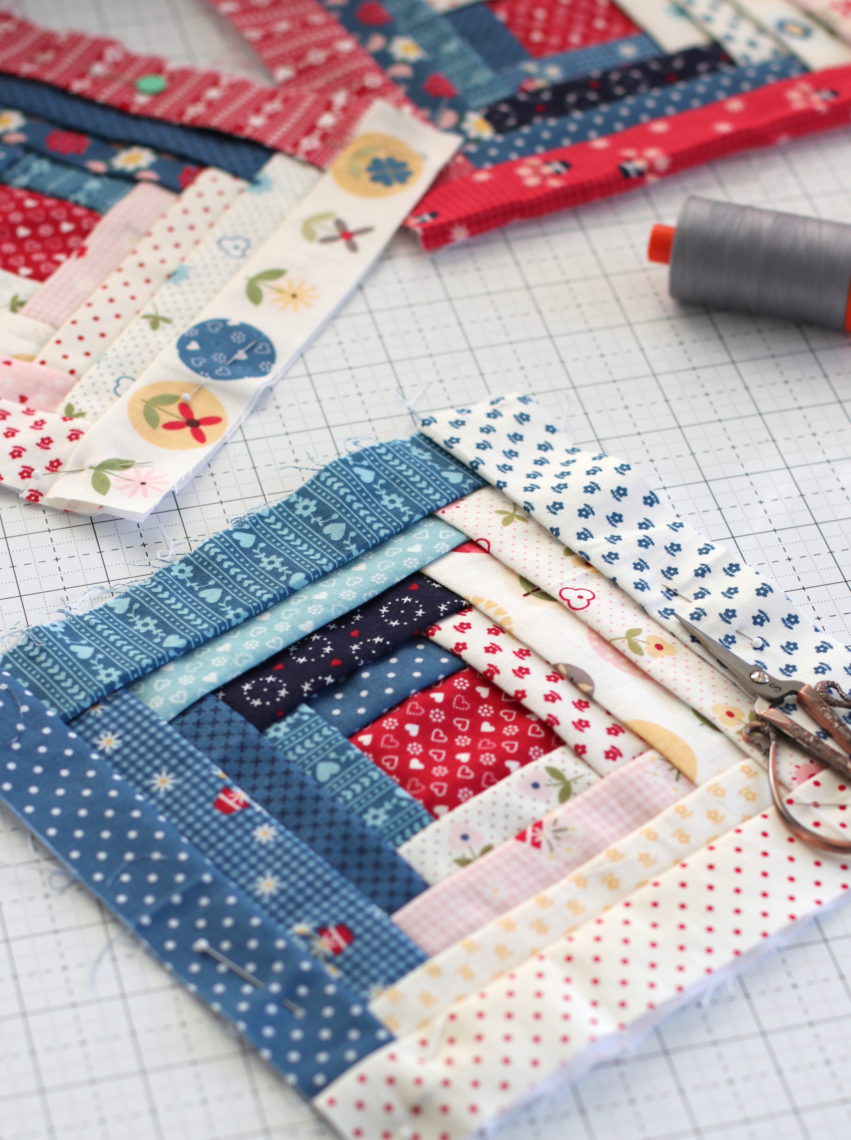
Patchwork Quilts
Patchwork quilts are the traditional style of quilt making and involve piecing together small pieces of fabric to create a larger design. Embroidered blocks can easily be used in this type of quilt. Start by cutting out the embroidered blocks and then use the blocks to create the quilt top. Once the quilt top is complete, layer it with a batting and backing fabric and then quilt as desired.
Appliqué Quilts
Appliqué quilts involve using embroidered blocks as appliqué pieces. Start by cutting out the embroidered blocks and then use a fusible interfacing to adhere the blocks to the quilt top. Once the blocks are in place, use a decorative stitch to secure the block to the quilt top. Then quilt as desired.
Pieced Quilts
Pieced quilts are a type of quilt that involve sewing together various shapes and sizes of fabric. Embroidered blocks can be used in this type of quilt as well. Start by cutting out the embroidered blocks and then use the blocks to create the quilt top. Once the quilt top is complete, layer it with a batting and backing fabric and then quilt as desired.
Frequently Asked Questions
What Type of Fabric is Best for Quilt Squares?
When choosing fabric for quilt squares, look for 100% cotton woven fabrics, as they are the most durable for quilting. Choose a variety of prints and colors to create a unique look. Consider pre-washing the fabric to remove any shrinkage and to prevent any color bleeding. Avoid using lightweight fabrics, such as silk or satin, as they are not durable enough for quilting.
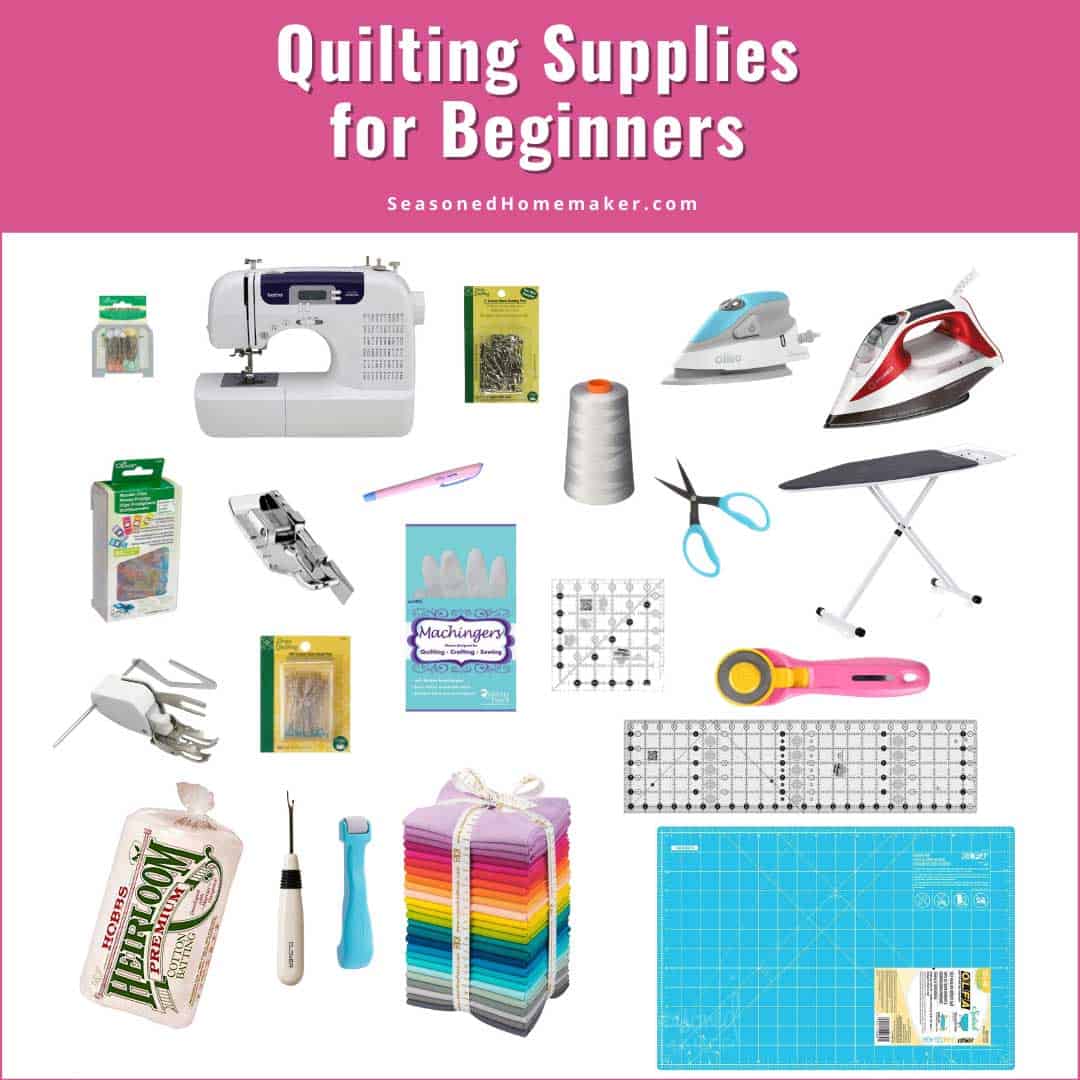
What basic supplies are needed to make a quilt with embroidered squares?
Fabric: Pre-washed fabric for the quilt top, batting, and backing, thread for piecing, and embroidery thread. Tools: A sewing machine, embroidery hoop, embroidery needles, scissors, a rotary cutter, rotary mat, and a quilting ruler. Notions: Embroidery floss, quilting clips, safety pins, and straight pins.
What is the Difference Between a Quilt and a Comforter?
A quilt is a bed covering composed of three layers that are stitched together. The top layer is usually made of a decorative fabric, while the bottom two layers are usually made of a cotton or polyester batting. The batting is also stitched together to create a quilted pattern. Quilts are usually lightweight and made to be used as a decorative accent, as well as a functional bed covering.
A comforter is a bed covering composed of a single layer of material, usually filled with a synthetic material such as down, feathers, or polyfill. Comforters are usually heavier and provide more insulation than quilts, making them ideal for colder climates. They are also easier to clean and maintain than quilts.
How long will it take to make a quilt with embroidered squares?
The amount of time needed to complete a quilt with embroidered squares will depend on the size and complexity of the quilt. Generally, for a simple, medium-sized quilt, it can take between 8-16 hours to hand-embroider all the squares. If the quilt is machine-embroidered, the time can be significantly reduced. Once all the embroidery is complete, it will take another 8-16 hours to piece together the quilt top, baste, and quilt the layers together and bind the edges.
Can I use hand embroidery instead of machine embroidery?
- Hand embroidery is a traditional way of adding decorative elements to a quilt. It is a time consuming and labor intensive process, but the results are worth it.
- Machine embroidery is a more modern and efficient way to add decorative elements to a quilt. It is faster and requires less effort, but the designs may not be as intricate or detailed as hand embroidery.
- Pros and cons of each should be taken into account when deciding which to use. Hand embroidery takes longer and is more labor intensive, but it can create more intricate designs. Machine embroidery is faster and requires less effort, but the designs may not be as detailed.
- Conclusion – Both hand and machine embroidery can be used to create beautiful quilt squares. The decision between the two will depend on the desired look and how much time and effort are available to devote to the project.
Conclusion
Creating a quilt from embroidered squares is a rewarding project. With the right tools, fabrics and designs, you can make a beautiful quilt that will be a cherished heirloom. Follow these steps to make a quilt with embroidered squares that you’ll be proud to have in your home.


