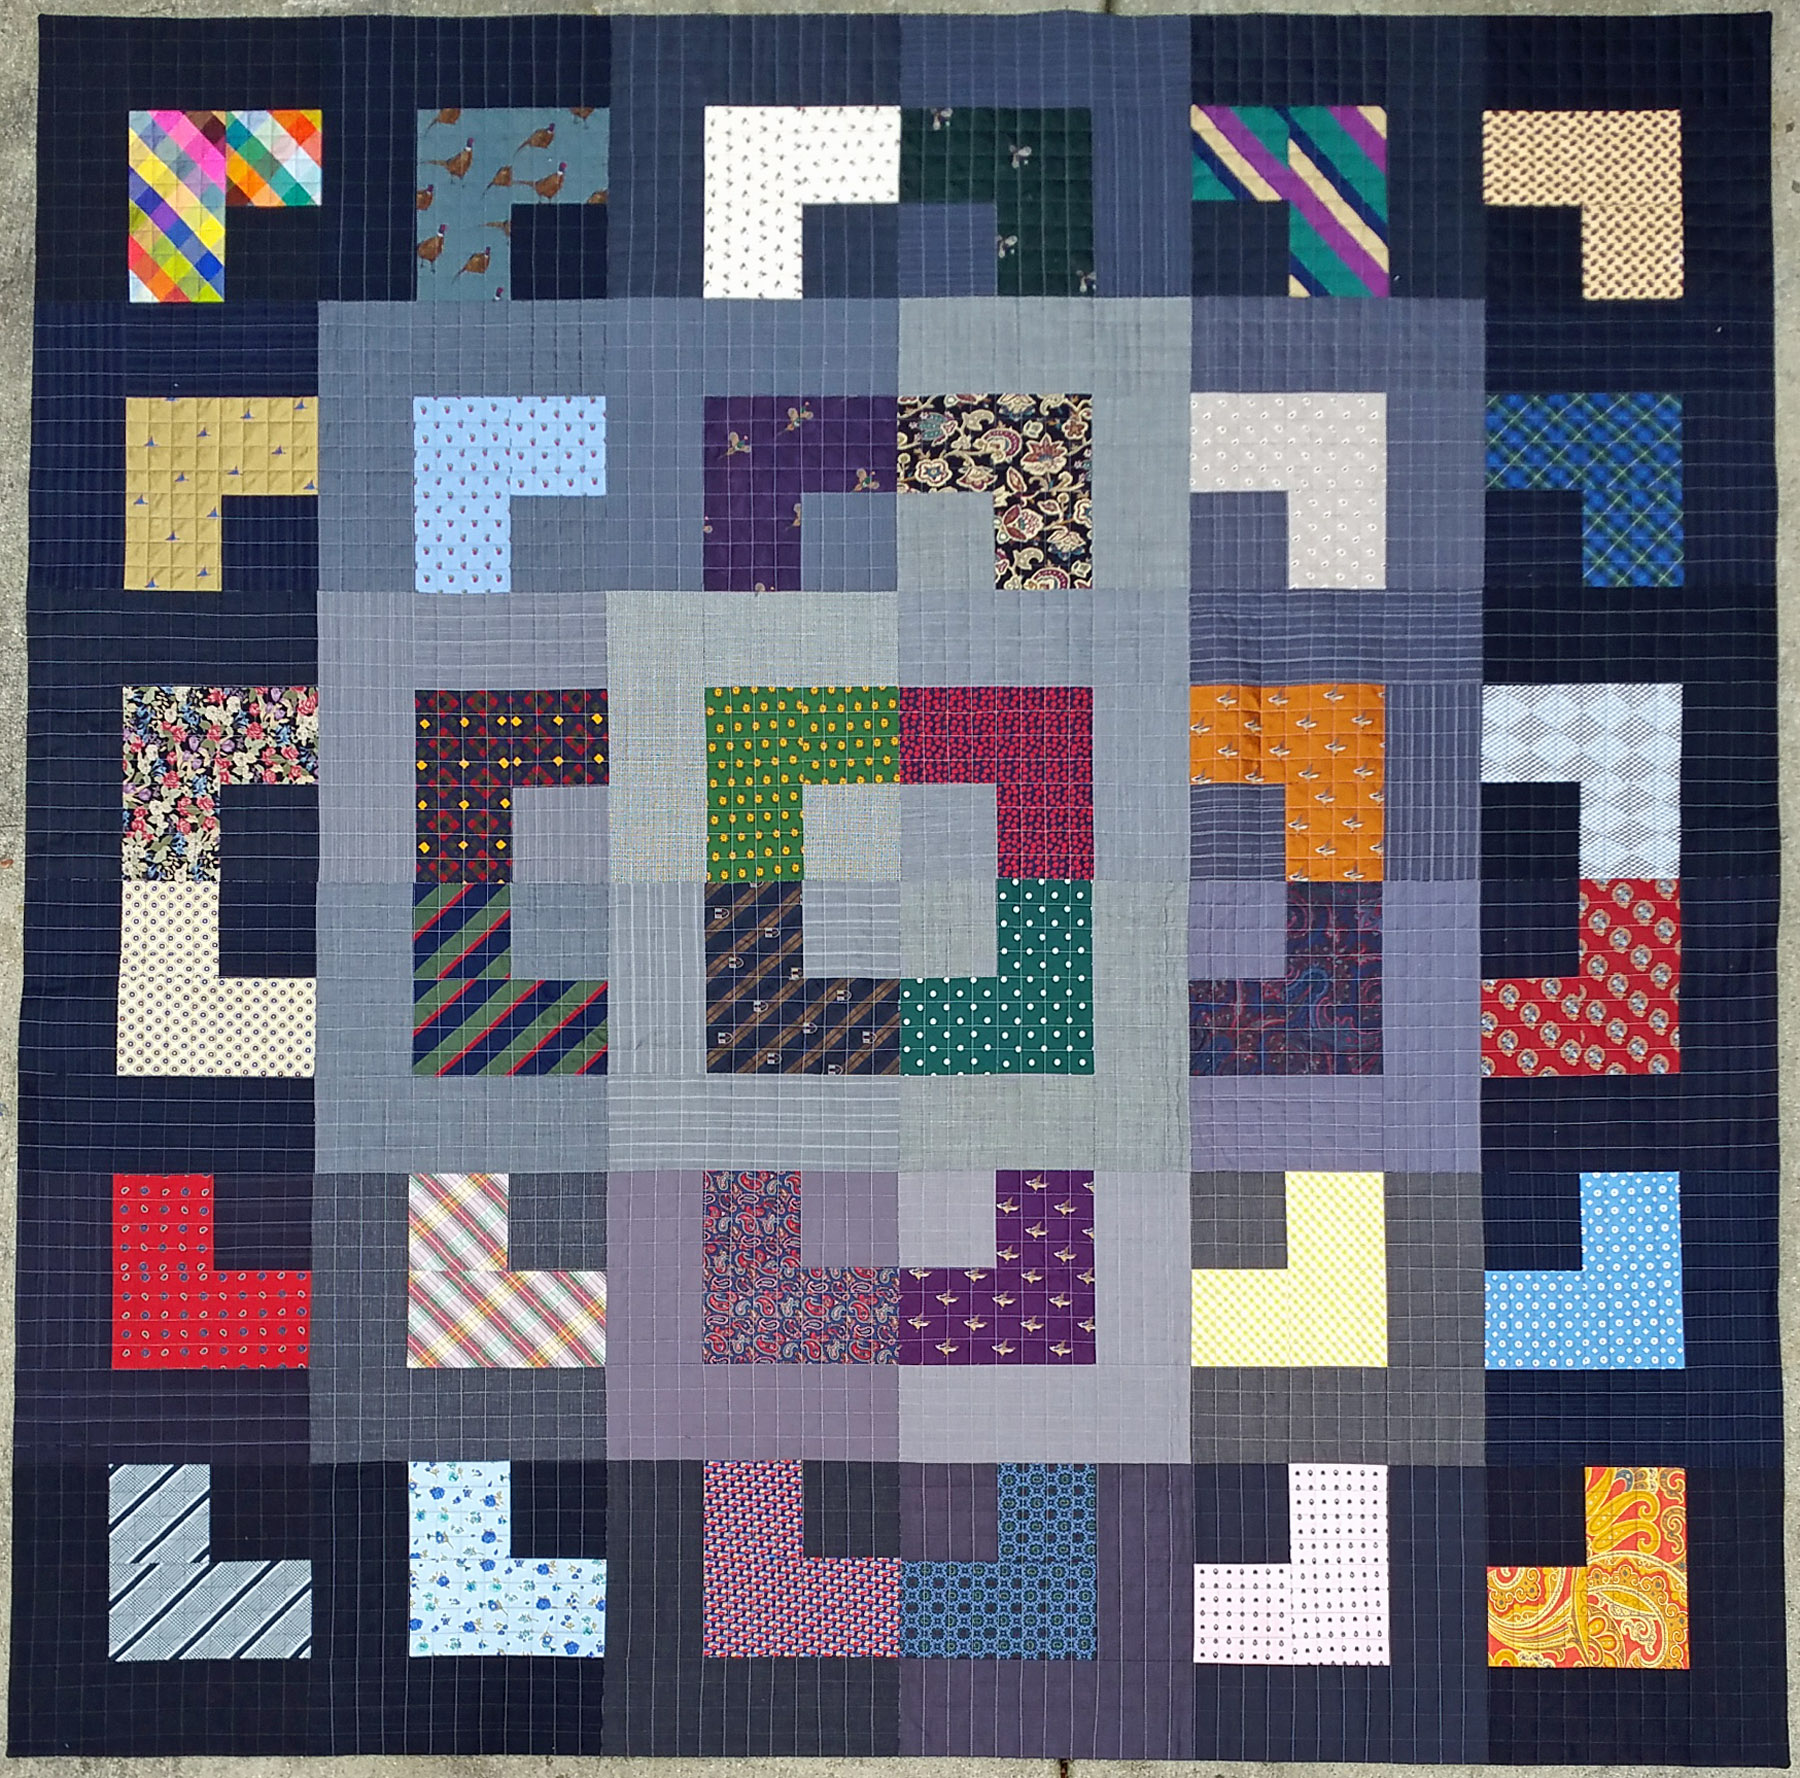
Are you looking for a creative way to use up all those fabric scraps from your sewing projects? A scrap quilt is the perfect project for turning those fabric remnants into something beautiful and useful. In this article, we will provide tips and techniques for making a scrap quilt that will be a stunning addition to any home. Learn how to make a scrap quilt that is both visually appealing and full of texture and color.
Preparing Your Fabric

Selecting Your Fabric
When making a scrap quilt, the fabric you choose is key. Choose fabrics from the same color family to create a cohesive look. Or, go bold and mix different colors and patterns. Whatever you decide, make sure the fabric is of good quality and will hold up during the quilting process.
Pre-washing
Before beginning your quilt, it is important to pre-wash all fabrics. This will remove any dirt, oil, sizing, and other contaminants that may have been applied during the manufacturing process. Pre-washing will also help to shrink the fabric and prevent any color bleeding that may occur after the quilt is finished.
Cutting Pieces
Once the fabric is pre-washed, it is time to cut the pieces. If you are using a pattern, follow the instructions for cutting and assembling the pieces. If you are making a scrap quilt, you can get creative and mix and match different sizes and shapes. Use a rotary cutter and a cutting mat for precise cuts. When cutting, be sure to leave a ⅛ inch seam allowance. This will give you room to work with when piecing the quilt together.
Remember, when making a scrap quilt, the possibilities are endless! Have fun and enjoy the process.
Constructing the Quilt Top

Layout
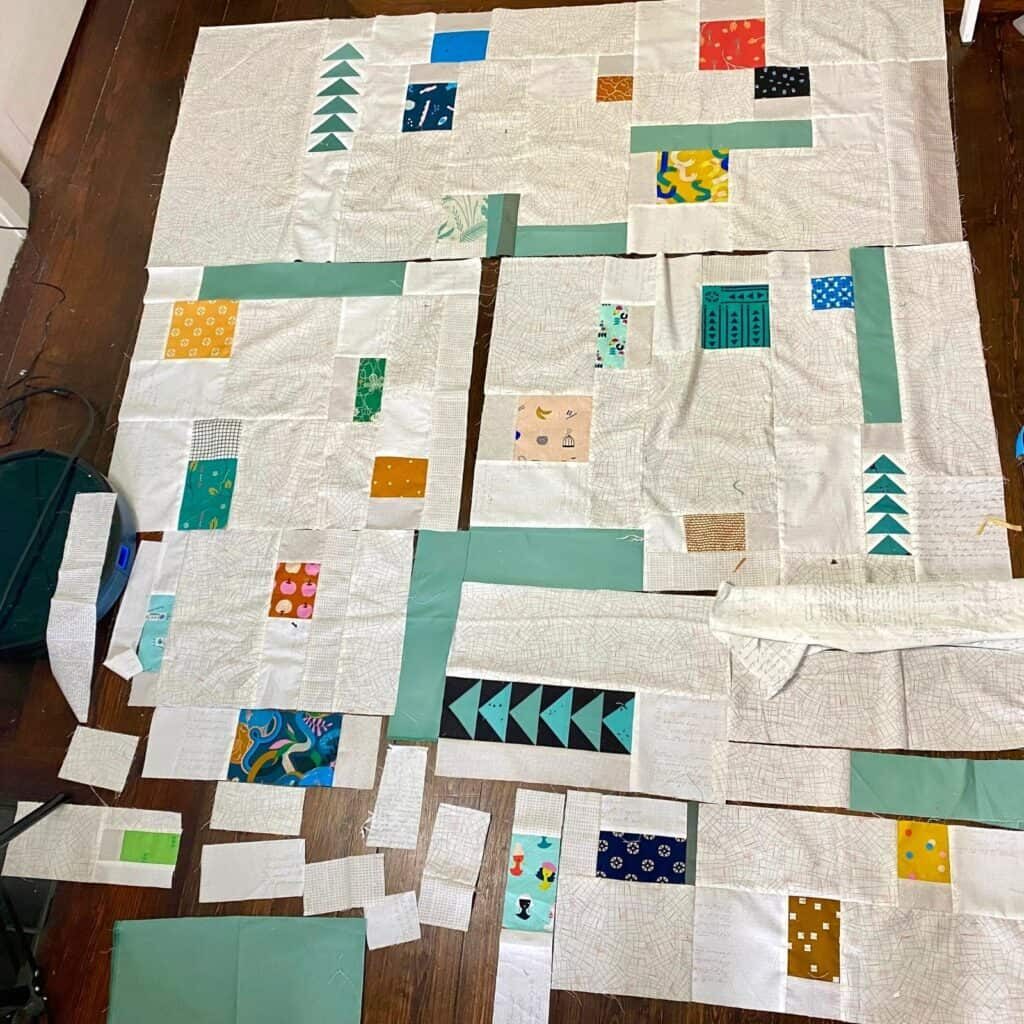
Choose a layout and arrange the scrap pieces into that layout. Depending on your design, you may want to group pieces by color, size, or fabric type. When you have your design plan in place, it’s time to start assembling the quilt top.
Piece Seams
To sew the pieces together, you will need to use a standard ¼” seam allowance. Pin the pieces together with the right sides facing each other. Sew them together using a regular straight stitch.
Press Seams
Once the seams are sewn, press the seam allowances open. Take care to press the quilt seams as this will help to prevent bunching and puckering in the finished quilt.
Tip: A junk quilt is a great way to use up leftover fabric scraps!
Adding a Batting

Choosing the Batting
When selecting batting for your scrap quilt, choose one that complements the quilt’s size and weight. For example, if your scrap quilt is lightweight, use a lightweight batting. Cotton batting is the most common batting used in quilting, as it is breathable and lightweight.
Basting the Batting
When basting the batting to the quilt, ensure that the batting is even and that there are no wrinkles. Pin the batting to the back of the quilt top, then use a quilting or walking foot on the sewing machine to secure the batting to the quilt.
Quilting
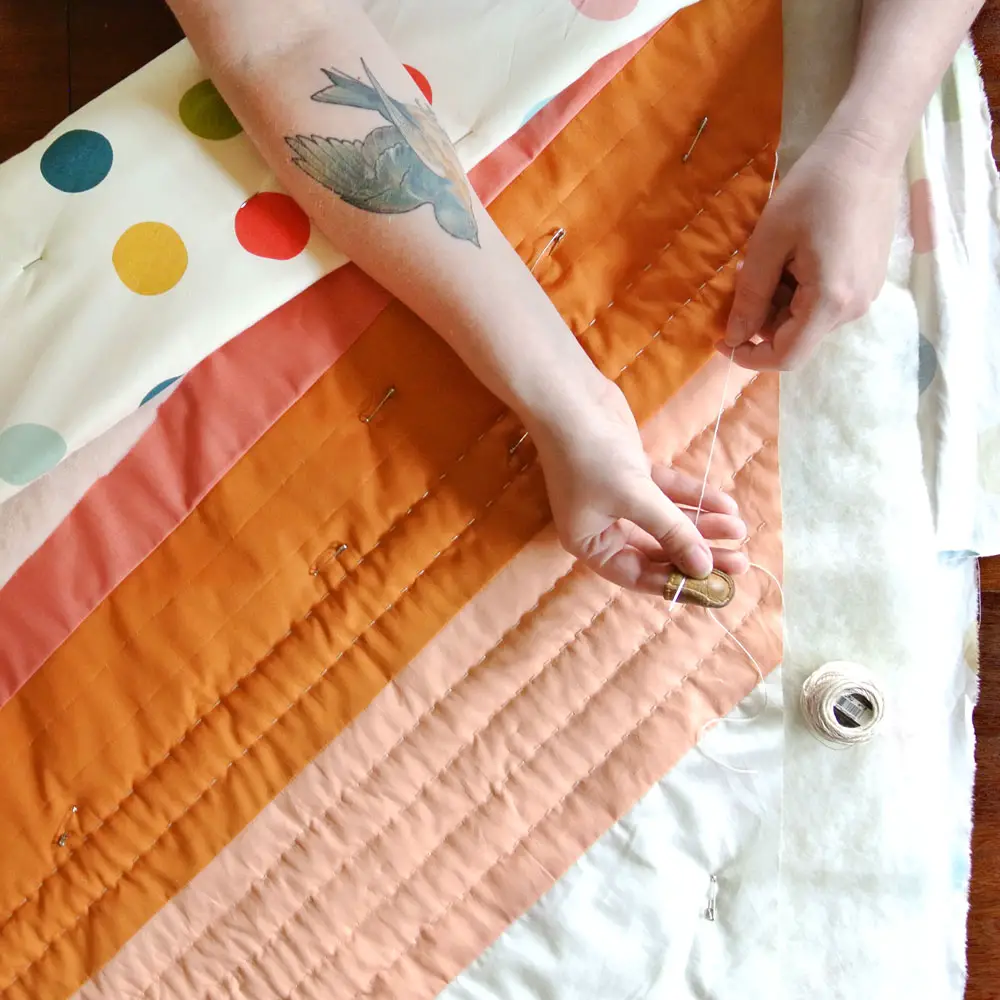
Once the batting is basted, it’s time to quilt. Quilting can be done by hand or machine. If you decide to machine quilt, use a walking foot to ensure that the quilt is evenly quilted. When quilting, you can use a quilting pattern or quilt in straight lines.
Finishing Touches
Adding Borders
Once your quilt top is complete, you may want to add a border. Measure the quilt top, and cut two strips of fabric the same width. The length should equal the width of the quilt top, plus twice the width of the border. Sew the strips to the sides first, and then the top and bottom. Press and trim the excess fabric.
Binding the Quilt
To finish off your quilt, you need to bind the edges. Cut 2.5-inch strips of fabric the same length as the quilt perimeter. Join the strips, right sides together, and press the seams open. Lay the binding on the quilt’s right side, and sew the binding in place. Turn the binding to the back of the quilt and hand stitch it in place. And that’s it, your scrap quilt is complete!
Frequently Asked Questions
What Materials Do I Need to Create a Scrap Quilt?
- Fabric: A variety of fabric scraps in assorted colors, textures, and prints.
- Backing Fabric: A large piece of fabric for the backing of the quilt.
- Batting: A thin layer of material that provides insulation, cushioning, and warmth.
- Thread: A sturdy thread that matches the colors of the fabric scraps.
- Needles: A variety of needles for hand stitching.
- Rotary Cutter and Mat: A sharp rotary cutter and cutting mat to accurately cut fabric.
- Ruler: A clear ruler to make precise measurements.
- Pins: Pins to hold fabric pieces in place.
How do I determine the size of my quilt?
Measure the bed size – Measure the width and length of the bed the quilt will be used on. Quilts should cover the entire bed with a few inches of overhang on each side.
Multiply the measurements – Multiply the width and length measurements to determine the size of the quilt in square inches.
Divide by 144 – Divide the number of square inches by 144, the number of inches in a square yard, to determine the number of square yards needed for the quilt.
Order fabric – Purchase fabric in the number of square yards determined in the previous step.
What Tips Can I Use to Ensure My Quilt Looks Cohesive?
Choose a color palette: Select a few colors that complement each other and use them repeatedly throughout the quilt.
Use the same fabric in multiple blocks: Repeating the same fabric in different blocks helps to unify the overall look of the quilt.
Use the same size and shape of blocks: Keeping the same size and shape of blocks throughout the quilt will create a more cohesive look.
Stick to a similar design: Utilize the same design element in each block, such as a common color, shape, or pattern.
What Techniques Can I Use to Piece Together Fabric Scraps?
Strip Piecing: This technique involves sewing together strips of fabric to create larger pieces of fabric. Start by sewing strips of fabric together along their long edges, then cut the sewn strip into smaller pieces to create the desired shapes.
English Paper Piecing: This is a hand-sewing technique which involves using paper templates to piece together fabric scraps. Cut out paper templates for the desired shapes and baste the fabric scraps to the paper templates with hand-stitching.
Half-Square Triangles: This technique is used to create triangle shapes from two squares of fabric. Place two squares of fabric right sides together, draw a line diagonally across, and sew a 1/4 inch seam along both sides of the line. Cut along the line and press the seams open.
Foundation Piecing: This technique involves sewing the pieces of fabric to a foundation fabric. Draw the desired shapes onto the foundation fabric and place the fabric scraps right sides together. Sew along the lines and press the seams open.
How do I finish my scrap quilt?
To finish your scrap quilt, start by pressing your quilt blocks and assembling them into the final layout. Sew all the quilt blocks together, then add a backing fabric, batting, and quilt top. Next, layer the quilt top, batting, and backing and baste them together. Quilt the layers together by hand or machine, then trim the excess batting and backing fabric. Finally, bind the quilt edges with a binding fabric to complete your scrap quilt.
Conclusion
Scrap quilts are a great way to use up fabric remnants, create beautiful designs, and practice your quilting skills. With patience, practice, and a bit of creativity, you can create a unique quilt that will last for years to come.


