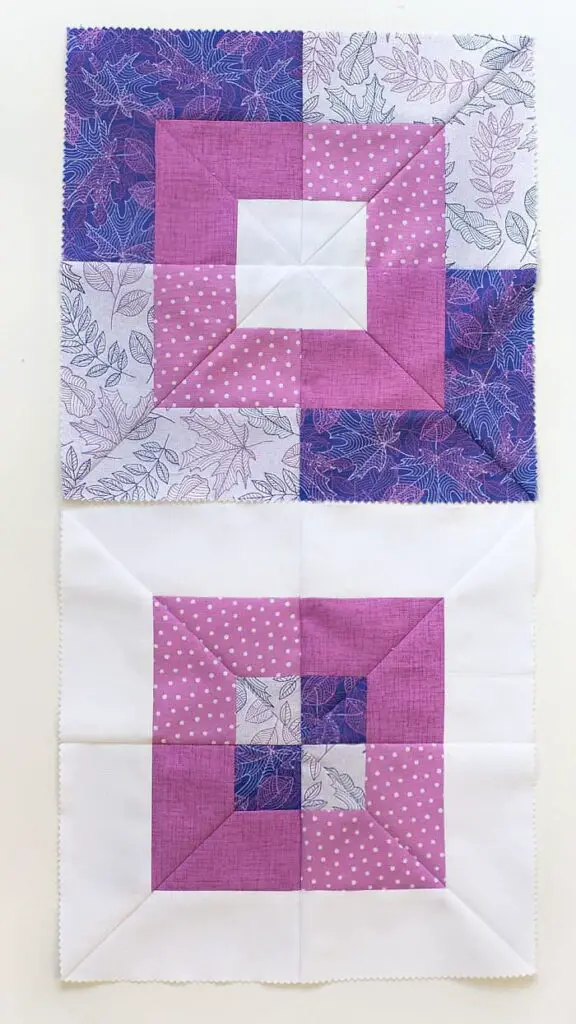
Are you looking for an easy way to make a perfectly formed square in a square quilt block? This article will provide you with a step-by-step guide on how to make a square in a square quilt block. We will cover the tools you need, the steps involved in creating the quilt block, and tips to help you get the perfect result. With this guide, you’ll be able to make a beautiful quilt block that is perfectly formed and sure to be admired.
Overview of Square in a Square Quilt Blocks
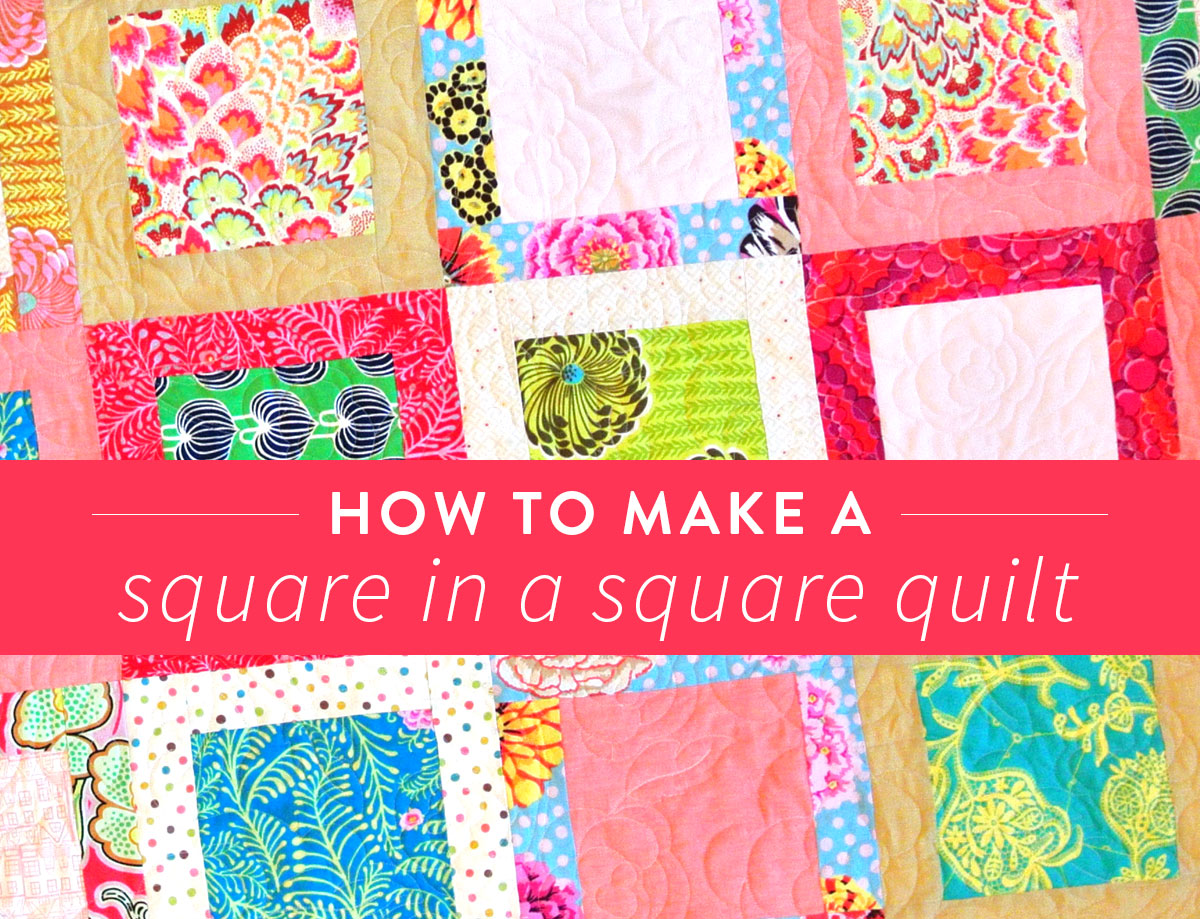
Square in a Square quilt blocks are a classic quilting pattern that is easy to make and looks great in any quilting project. This pattern consists of a large square with four smaller squares sewn into the corners. The four smaller squares can be the same size as each other or different sizes. The quilt block can be made with a variety of fabrics and colors to create a unique look. The Square in a Square quilt block is a versatile quilt block pattern that can be used in any quilting project. With the right fabrics and colors, it can create an amazing quilt. To create a beautiful Square in a Square quilt block, follow these steps to learn how to make a square for a quilt.
Preparing the Fabric for the Quilt Block
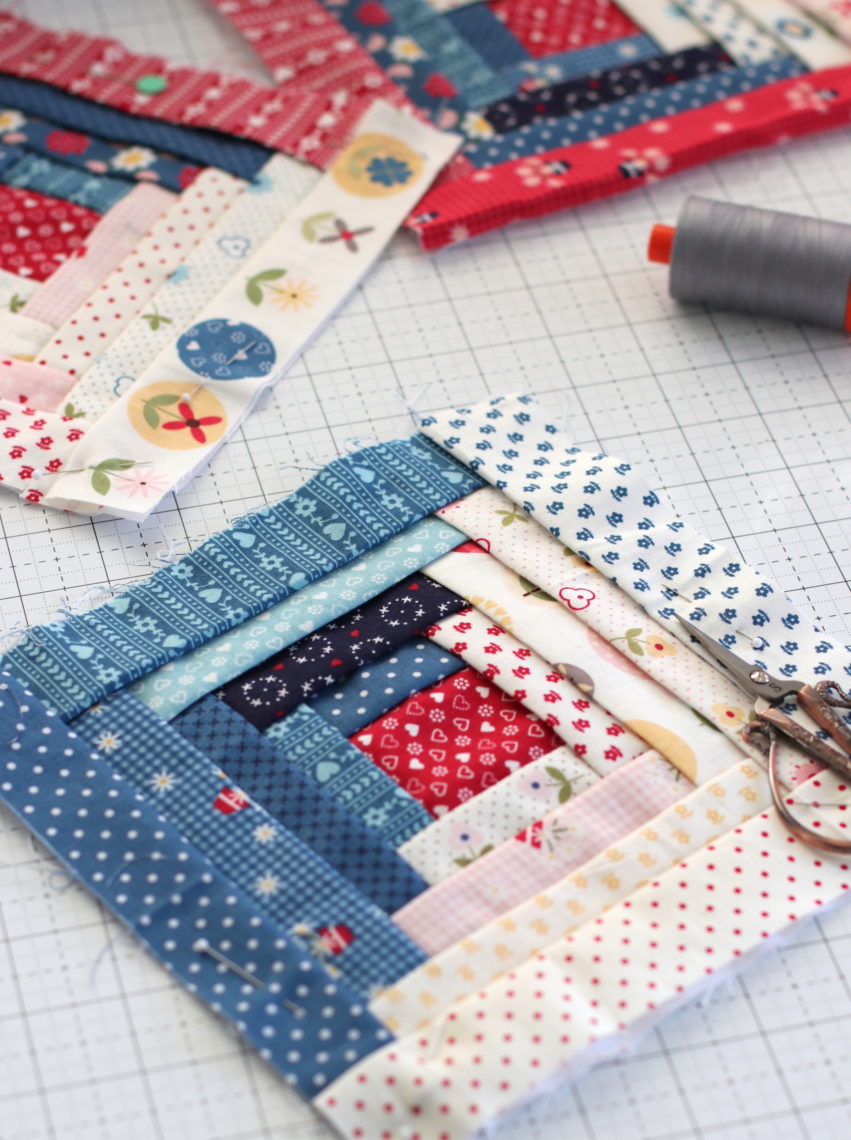
To begin making a square in a square quilt block, the fabric needs to be prepped. Start by gathering the fabric you will use for the block. You will need a center square fabric, a background fabric, and a corner fabric. Measure and cut the center square fabric into a 4.5” square. Cut four 4.5” squares from the background fabric, and four 4.5” squares from the corner fabric.
Use a sewing machine with a quarter-inch foot to sew the fabric pieces together. Lay two background fabric squares on top of each other and sew along one side. Press the seam open. Repeat this process until all four background fabric pieces are sewn together, creating one large piece.
Lay the corner fabric squares on top of each other and sew along one side. Press the seam open. Repeat this process until all four corner fabric pieces are sewn together, creating one large piece.
Lay the center square in the middle of the corner fabric piece, right sides together. Sew along three sides of the center square, leaving one side open. Turn the square right side out. Press the seam.
Lay the corner fabric piece with the center square in the middle of the background fabric piece, right sides together. Sew along three sides of the center square, leaving one side open. Turn the block right side out. Press the seams.
Your quilt square with center square is now ready to be completed by adding the remaining quilt pieces.
Cutting the Squares for the Quilt Block
In order to make a square in a square quilt block, you need to cut the squares for the quilt block. The size of the squares will depend on the type of block you are making. It is important to remember that the larger the squares, the larger the finished quilt block will be.
Step 1: Select the size of the squares you need for the quilt block.
Step 2: Cut four squares of the same size.
Step 3: Cut four more squares of the same size but make them slightly larger than the first four squares.
| Step | Number of Squares | Size |
|---|---|---|
| Step 1 | 4 | Same Size |
| Step 2 | 4 | Slightly Larger |
Once the squares have been cut, they are ready to be assembled into a square in a square quilt block.
Sewing the Squares Together
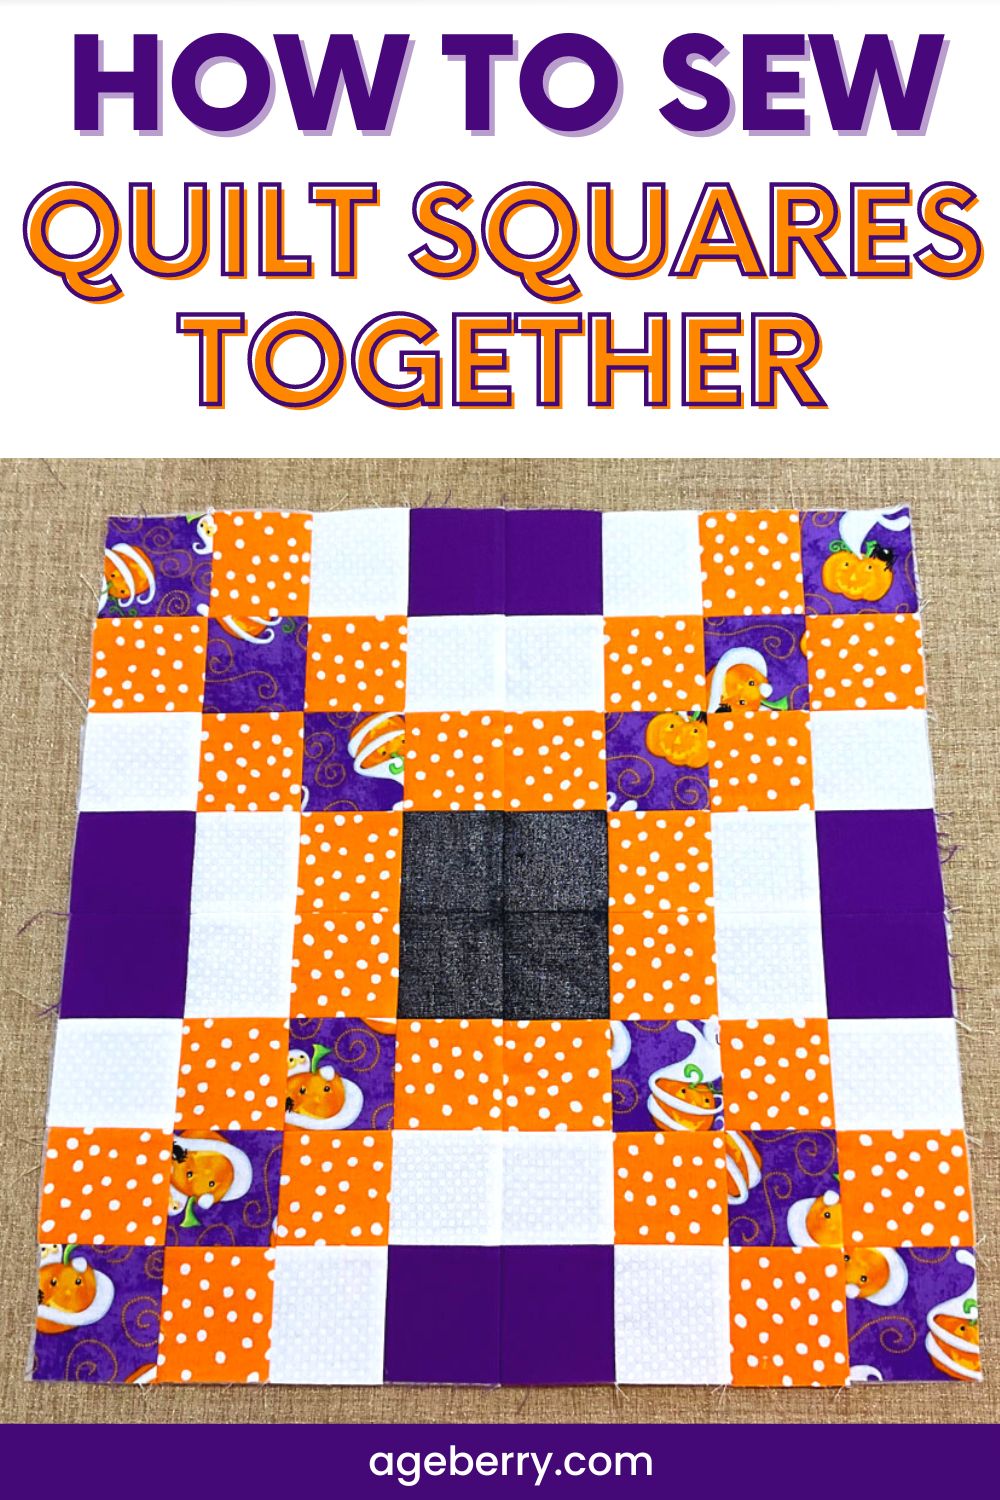
- Precision is key: When sewing the squares together for a square in a square quilt block, it is important to be precise to ensure that the quilt block is even and square.
- Using a ¼-inch seam allowance: When piecing together squares for a square in a square quilt block, it is important to use a ¼-inch seam allowance to ensure the quilt block remains even and square.
- Press seams open: When sewing the squares together, it is important to press the seams open as it will help to reduce bulk in the quilt block.
- Match seam allowances: When sewing the squares together, it is important to match up the seam allowances of the squares before sewing them together. This will help to ensure that the quilt block is even and square.
- Stitch in the ditch: To ensure that the quilt block stays even and square, it is important to stitch in the ditch after sewing the squares together. This will help to secure the seams and keep them from shifting.
Joining the Squares Together
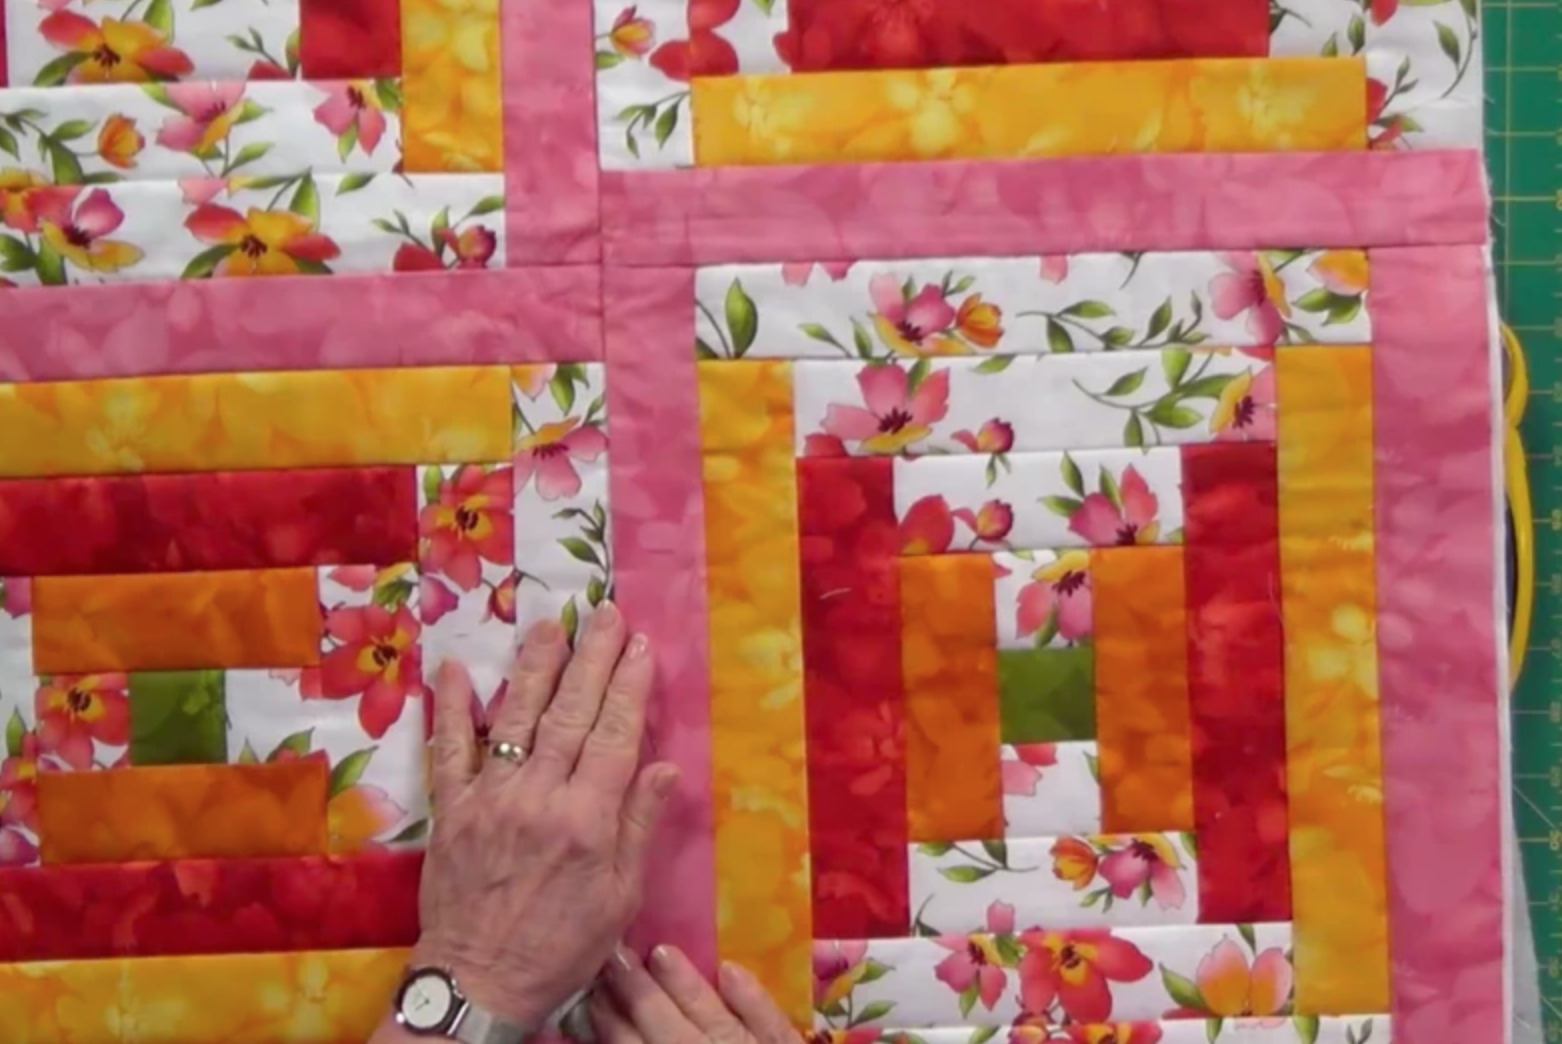
- Lay your quilt squares out in the order you want them to be stitched together. The order in which you place them will determine the pattern of your quilt block.
- Pin the quilt squares together to secure them in place. Make sure to position the pins in the seam allowances and not in the exact seam line.
- Stitch the squares together using a ¼ inch seam allowance. To ensure the edges stay even, use a walking or even-feed foot.
- Press each seam as you go. You can press the seams open or to the side, depending on what is recommended in your pattern instructions.
- Trim the seam allowances to reduce bulk in the quilt block. You can use pinking shears or a rotary cutter.
- Repeat the process for each row, until all the quilt blocks are joined together.
Adding the Center Square
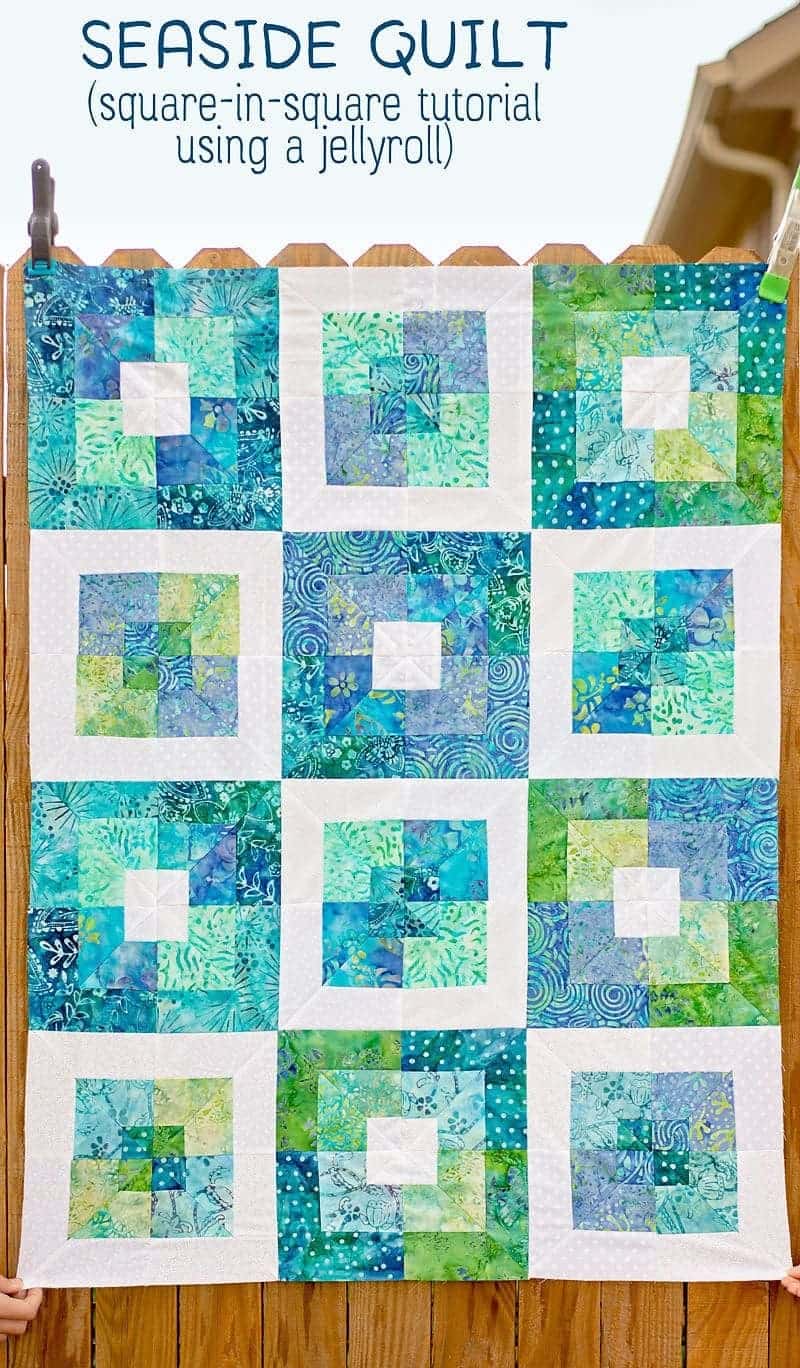
- Fabric Choice: The center square of a square in a square quilt block can be made from a single fabric, or from two contrasting fabrics.
- Size: The center square can be any size, as long as the four corner pieces match.
- Piecing: The center square is usually made from two triangles with the same angle, in order to create the three-dimensional look of the quilt block.
- Design: The center square can be used to create interesting designs, such as a star, pinwheel, or flower motif.
- Fabric Placement: The center square can also be used to create interesting effects, such as a ‘floating’ effect or a ‘starburst’ effect, by carefully arranging the fabric placement.
- Alternatives: Some quilters prefer to use a circle in place of the center square, or to use two smaller squares instead of one larger square.
Joining the Center Square to the Other Squares
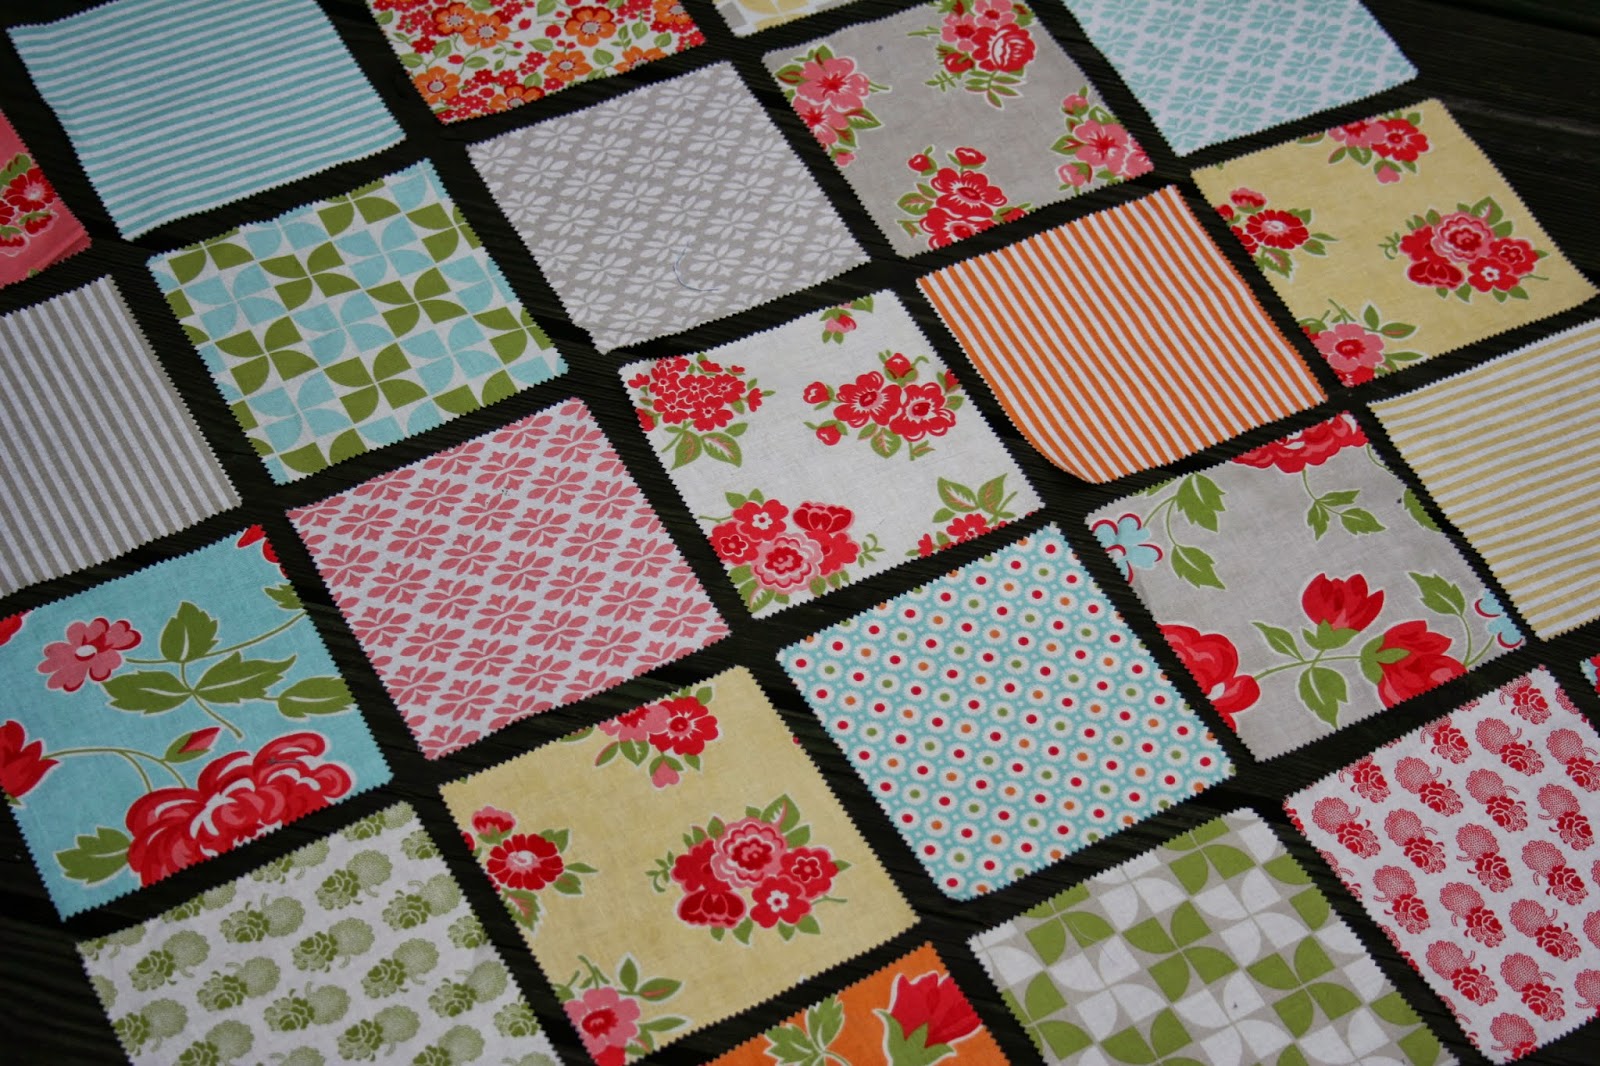
- Lay the square in the center of the quilt block and arrange the four corner pieces around it.
- Pin the corner pieces to the center square.
- Sew them together, starting with the top left corner piece.
- Press the seam allowance toward the corner piece.
- Continue sewing the remaining three corner pieces.
- Make sure to nest the seams as you sew.
- Press the seam allowances toward the corner pieces.
Finishing the Quilt Block
- Using a rotary cutter, cut the strips for the quilt block, following the size and pattern of the selected quilt block.
- Use a ruler and a pen to mark the center of each square.
- Pin the four squares together in a cross shape, matching the centers and the fabric pattern.
- Sew the four squares together, using a ¼ inch seam allowance.
- Press the seams open to reduce bulk.
- Place the center square right side down on the block.
- Pin the center square to the four outer squares.
- Sew the center square to the outer squares, using a ¼ inch seam allowance.
- Clip the corners of the quilt block, if necessary, to reduce bulk.
- Press the seams open.
- Trim the quilt block to the desired size.
Frequently Asked Questions
What kind of fabric do I need to use for a square in a square quilt block?
Cotton is the fabric of choice for most quilters when making a square in a square quilt block. Cotton is strong and durable, making it an ideal material to use in quilting. It also absorbs dye well, so it can be easily colored to match the other fabrics in the quilt.
Batik fabric is another option for a square in a square quilt block. Batik fabric is often patterned and dyed with a batik method, which makes it very unique and visually interesting.
Wool is also a good choice for a square in a square quilt block. Wool is warm and durable, which makes it a great fabric for quilting.
Linen is a great fabric for quilting, as it has a soft, smooth texture and is lightweight. It can also be dyed in a variety of colors, making it a great choice for a square in a square quilt block.
Fleece is a great fabric for a square in a square quilt block. Fleece is soft, warm, and lightweight, making it an ideal fabric for quilting.
- Cotton
- Batik fabric
- Wool
- Linen
- Fleece
How do I ensure that my quilt block is perfectly squared off?
To create a perfect square in a quilt block, it is important to make sure that the edges are perfectly squared off. To achieve this, use a ruler to measure and mark the fabric at each corner. Make sure to measure from the same points on each side. Then, using a rotary cutter, trim off the excess fabric to create a perfectly squared off quilt block.
When trimming, make sure to cut along the ruler’s edge and not on the fabric itself. Also, use a cutting mat to protect your work surface and ensure a clean, precise cut. Lastly, use starch spray or a similar product to keep the fabric from shifting as you work.
What is the Best Way to Measure and Cut the Fabric for the Quilt Block?
Accurate measurements are essential for proper quilt block assembly. Prior to cutting, use a measuring tape and ruler to measure the desired fabric dimensions. To ensure accuracy, use a marking pencil and ruler to draw a line on the wrong side of the fabric. Cut along the marked line, using sharp fabric scissors. To reduce fraying, use a rotary cutter and mat. Also, be sure to cut the fabric on a flat surface. Finally, scan the fabric for any imperfections before cutting.
What type of thread should I use when piecing the quilt block?
- Cotton Thread: Cotton is the most popular thread for piecing quilt blocks because it is strong, yet supple, and it is available in a wide range of colors. It is also a great choice for piecing quilts made with cotton fabrics.
- Polyester Thread: Polyester thread is also great for piecing quilt blocks because it is strong and provides excellent stitch quality. It is not as supple as cotton, so it is best used with cotton fabric.
- Silk Thread: Silk thread is much finer than cotton or polyester thread and is great for piecing quilt blocks made with delicate fabrics. It is also great for hand-piecing quilt blocks.
- Metallic Thread: Metallic thread can be used to piece quilt blocks, but it is best used as an embellishment or decorative thread to add a bit of sparkle and shine to a quilt block.
It is important to choose a thread that is the same color as the quilt fabric to ensure that it blends in and does not detract from the design of the quilt block.
How can I make sure my quilt block corners are sharp and crisp?
To ensure sharp, crisp corners in a square in a square quilt block, begin by pressing all seams open. This will help minimize lumpy seams and ensure the block lays flat. Use a ruler and rotary cutter to trim each seam allowance to a ¼”. Lastly, press the block again to set the seam allowances and achieve a professional finish.
Conclusion
Creating a perfect square in a square quilt block is easy and fun. With the right tools and materials, you can create a beautiful quilt block that you can be proud of. With a few simple steps, you can make a square in a square quilt block that will be the envy of your friends and family.
