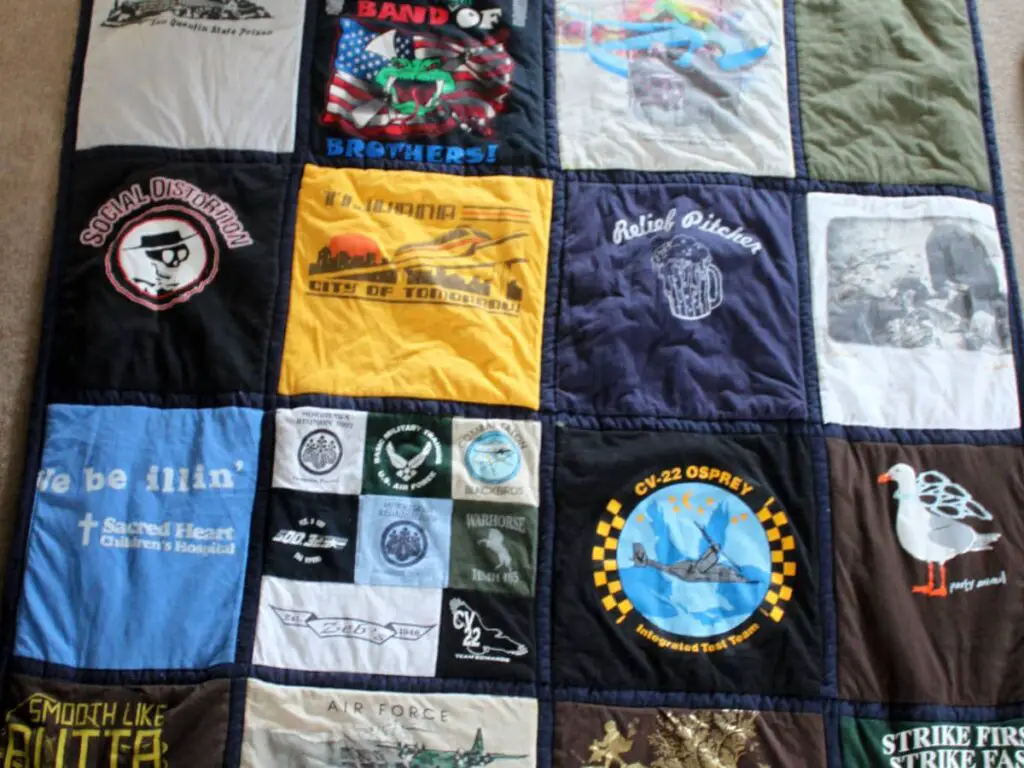
Are you looking for a creative way to preserve memories while also making something beautiful? Then look no further than this step-by-step guide to making a t-shirt quilt with borders. This comprehensive guide will help you create a lasting memory that can be cherished for years to come. With instructions on how to measure and cut the fabric, how to sew the quilt top, how to add borders and bindings, and how to quilt the t-shirt quilt, you’ll have everything you need to make the perfect project. So, let’s get started and learn how to make a t-shirt quilt with borders!
Materials Needed
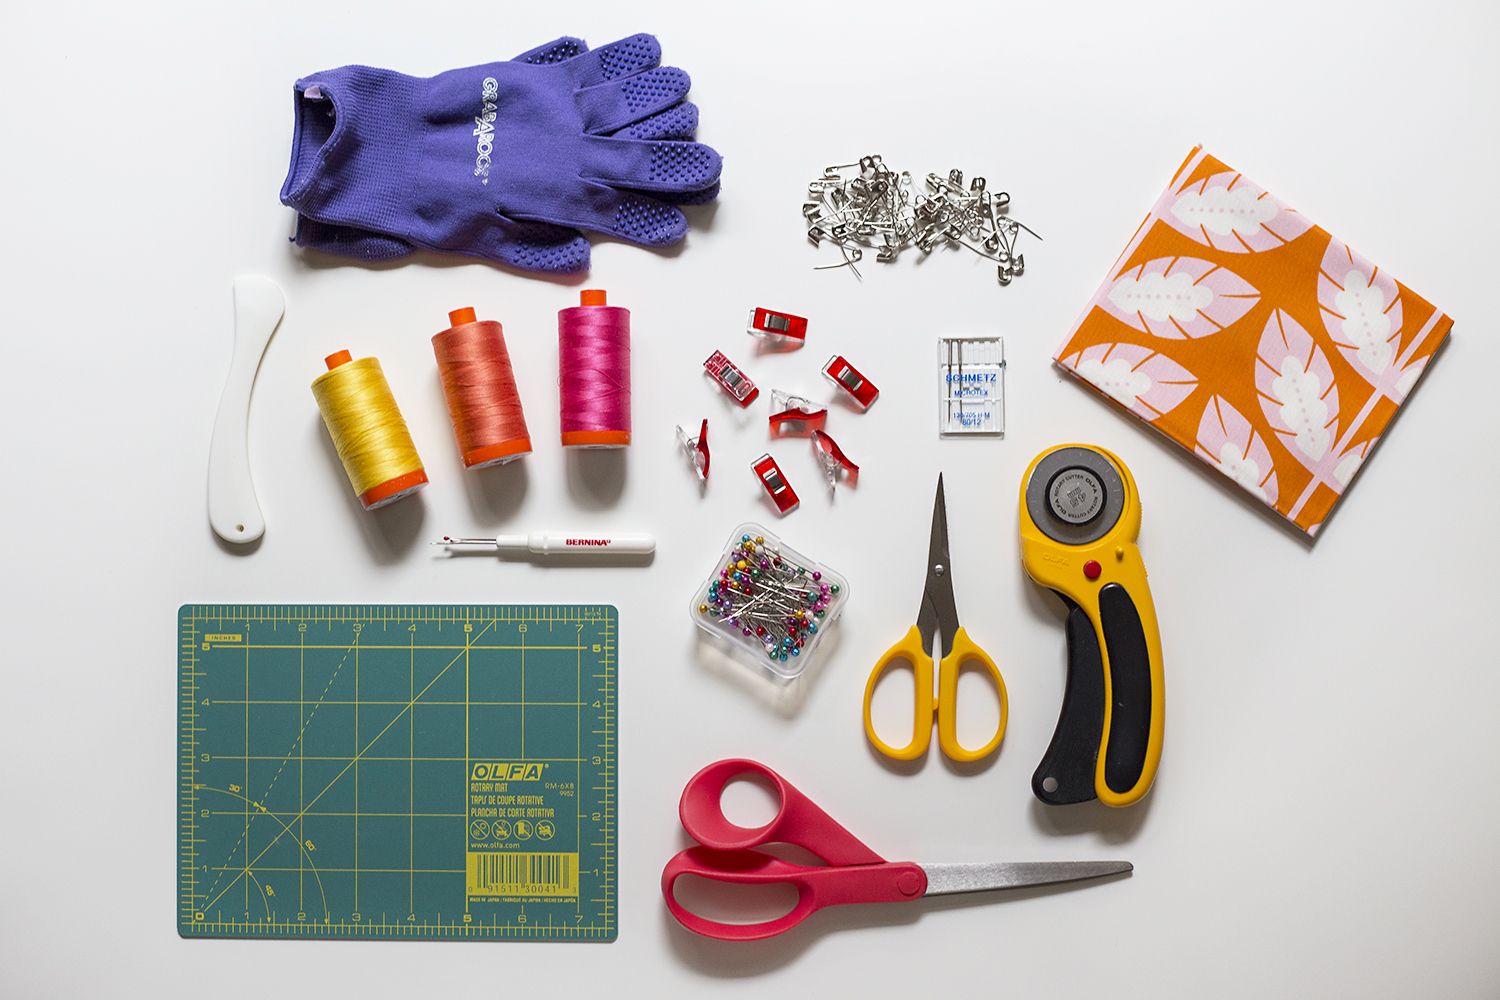
- 25 T-shirts: Choose t-shirt with interesting designs and colors to create a visually pleasing quilt.
- Fabric for Quilt Sashing: To further enhance the quilt, choose a contrasting color or print for the sashing.
- Fusible Web: This is used to attach the t-shirts to the backing fabric.
- Backing Fabric: Polyester fabric is recommended for durability.
- Binding Fabric: Choose a fabric that compliments the t-shirts and sashing.
- Thread: All-purpose thread is suitable for most projects.
- Batting: Choose a batting suitable for the size of the quilt.
- Rotary Cutter and Mat: This is optional but helpful for cutting the fabric.
To make a t-shirt quilt with sashing, you will need the above materials to create a beautiful quilt. It is important to choose materials that are well-suited for the project, such as a polyester backing fabric and a batting that is suitable for the size of the quilt. Be sure to also choose fabrics for the sashing and binding that compliment the t-shirts and create a visually pleasing quilt. Finally, a rotary cutter and mat are optional but helpful for cutting the fabric.
Choosing a Layout
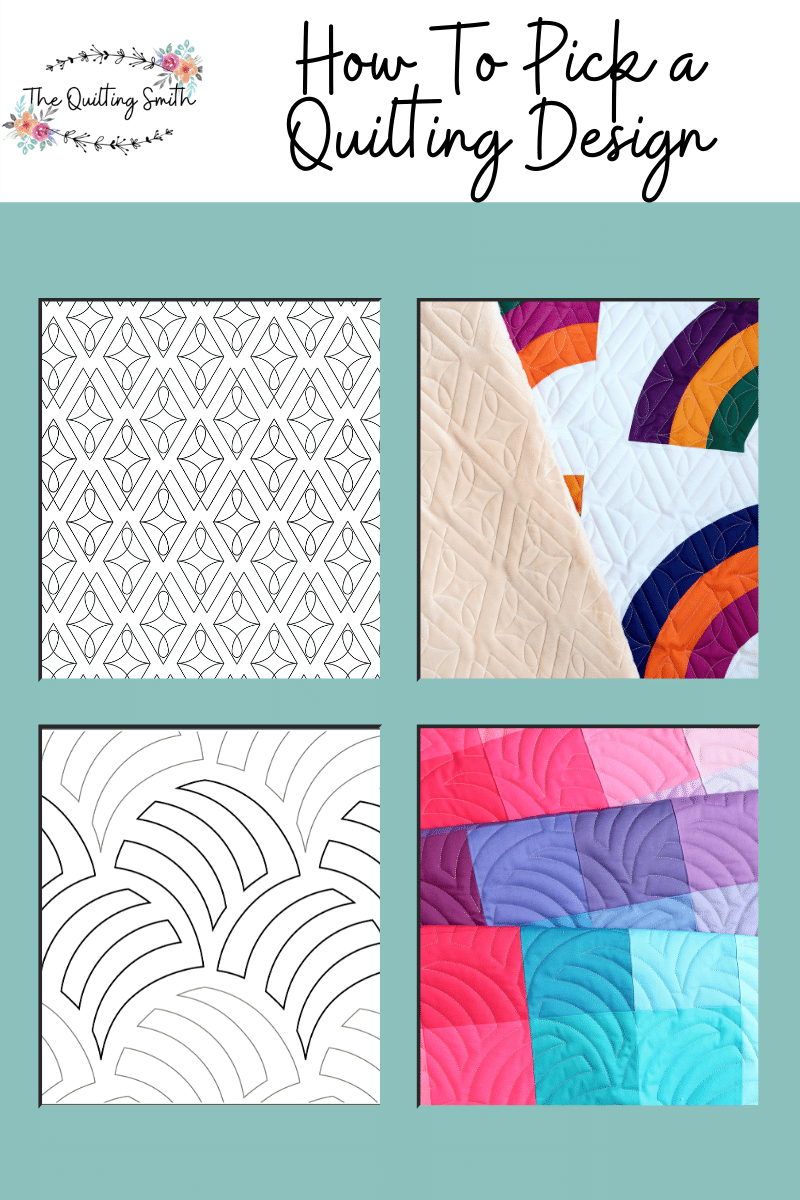
When deciding on the layout for your T-shirt quilt with borders, consider the size of the quilt and the size of the T-shirts. It is best to plan the quilt layout before you begin cutting. The layout should be an even grid of squares. For example, if you have nine T-shirts, the quilt could be 3×3, 4×2, or 2×4. How to make a T-shirt quilt without sashing is to piece the quilt in rows. If you are using a plain fabric as a background, cut squares of this fabric the same size as the T-shirts. Sew the rows together with the plain fabric squares between the T-shirt pieces. Finish with a border of plain fabric around the entire quilt.
Choosing a Size
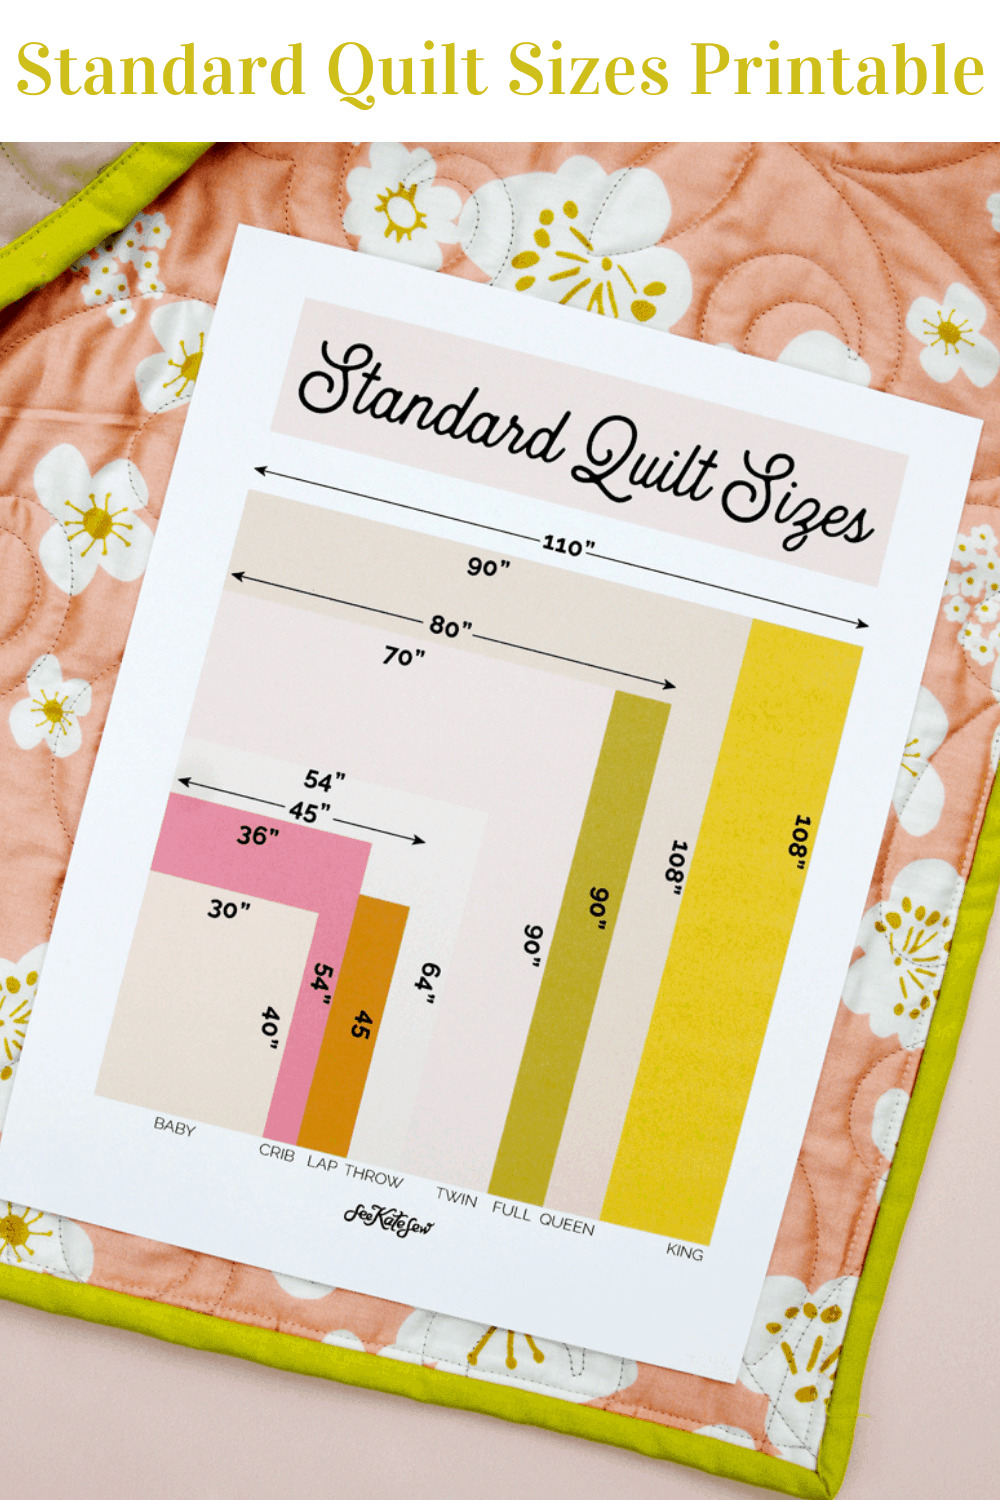
Before you get started, you’ll need to decide on the size of your t-shirt quilt. The size of the quilt will depend on the number of shirts you have, as well as the size of the shirts themselves. The size of the border is also important, so it’s important to consider what size border for t-shirt quilt will best compliment your quilt.
- Number of Shirts: If you have more than 10 shirts, a larger quilt size will be necessary.
- Size of Shirts: The larger the shirts, the larger the quilt size should be.
- Border Size: The border size should be proportionate to the quilt size.
Once you’ve determined the size of the quilt and the size of the border, you can begin assembling your quilt.
Prepping Your T-Shirts
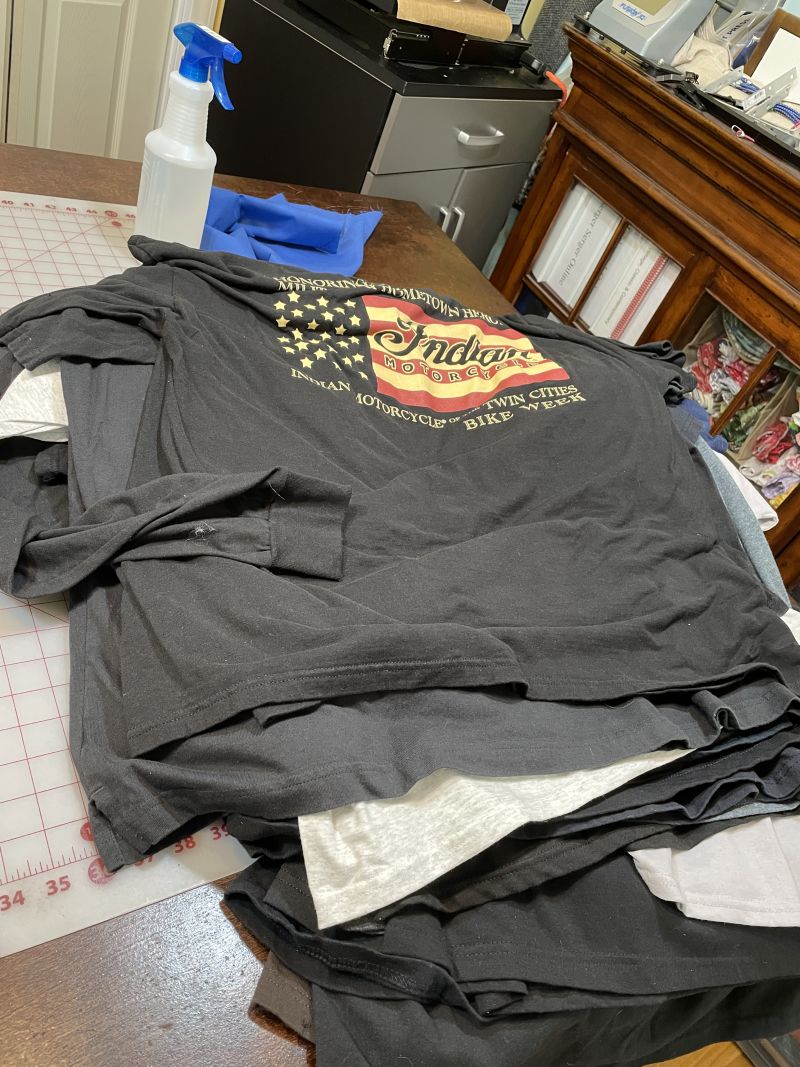
- Start by selecting the t-shirts that you wish to use for your quilt. Choose t-shirts that are in good condition, with no holes, stains, or fading.
- Iron the t-shirts to remove any wrinkles and make them easier to work with.
- Cut off the bottom of each t-shirt to get rid of the hem. Make sure to save the hemmed fabric to use as a border in the quilt.
- Cut the t-shirts into squares or rectangles, depending on the size of the quilt you wish to create. Make sure to leave some extra fabric around the design of the shirt. This will help to keep the design intact when stitching the t-shirt squares together.
- Lay the t-shirt squares out on your work surface with the designs facing up. Arrange them in the desired pattern for your quilt.
- Stitch the t-shirt squares together to form the quilt top. Use a straight stitch and make sure to backstitch at the beginning and end of each seam.
How to Add a Border to a T-Shirt Quilt
- Measure the quilt top to determine the size of the border needed.
- Cut strips of fabric (the hemmed fabric from the t-shirts works great) to the required length for the top, bottom, and side borders.
- Pin the border strips to the quilt top and stitch them in place with a straight stitch. Make sure to backstitch at the beginning and end of each seam.
- Trim the excess fabric from the edges, if necessary.
- Press the quilt top to remove any wrinkles.
Cutting Your T-Shirts
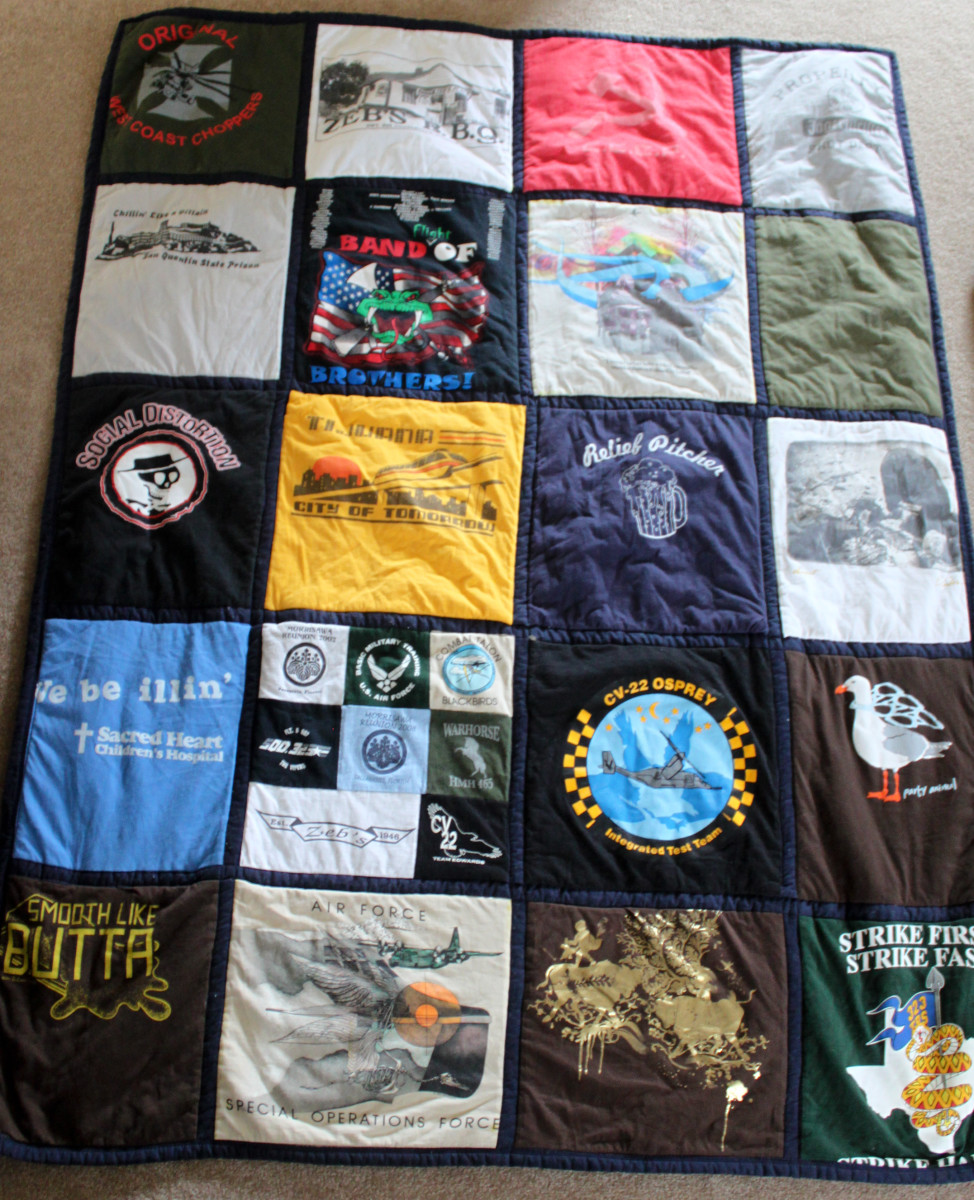
- Choose Shirt Patterns & Colors: Choose a variety of shirt patterns and colors for your quilt.
- Cut T-Shirts into Rectangles: Cut the t-shirts into rectangles of equal size. To make a quilt with borders, figure out what size border you want around the t-shirt rectangles. You can use a quilt calculator or refer to a quilt size chart to determine what size border for your t-shirt quilt.
- Cut Fabric for the Borders: Cut the fabric for the borders according to your chosen size. You can use contrasting colors or fabric prints to add interest to the quilt.
- Attach the Borders to the T-Shirt Rectangles: Attach the borders to the t-shirt rectangles using a sewing machine. Make sure to use a zigzag stitch for added durability.
- Assemble the Blocks: Arrange the blocks in the desired pattern and stitch them together using a sewing machine.
Arranging Your Blocks
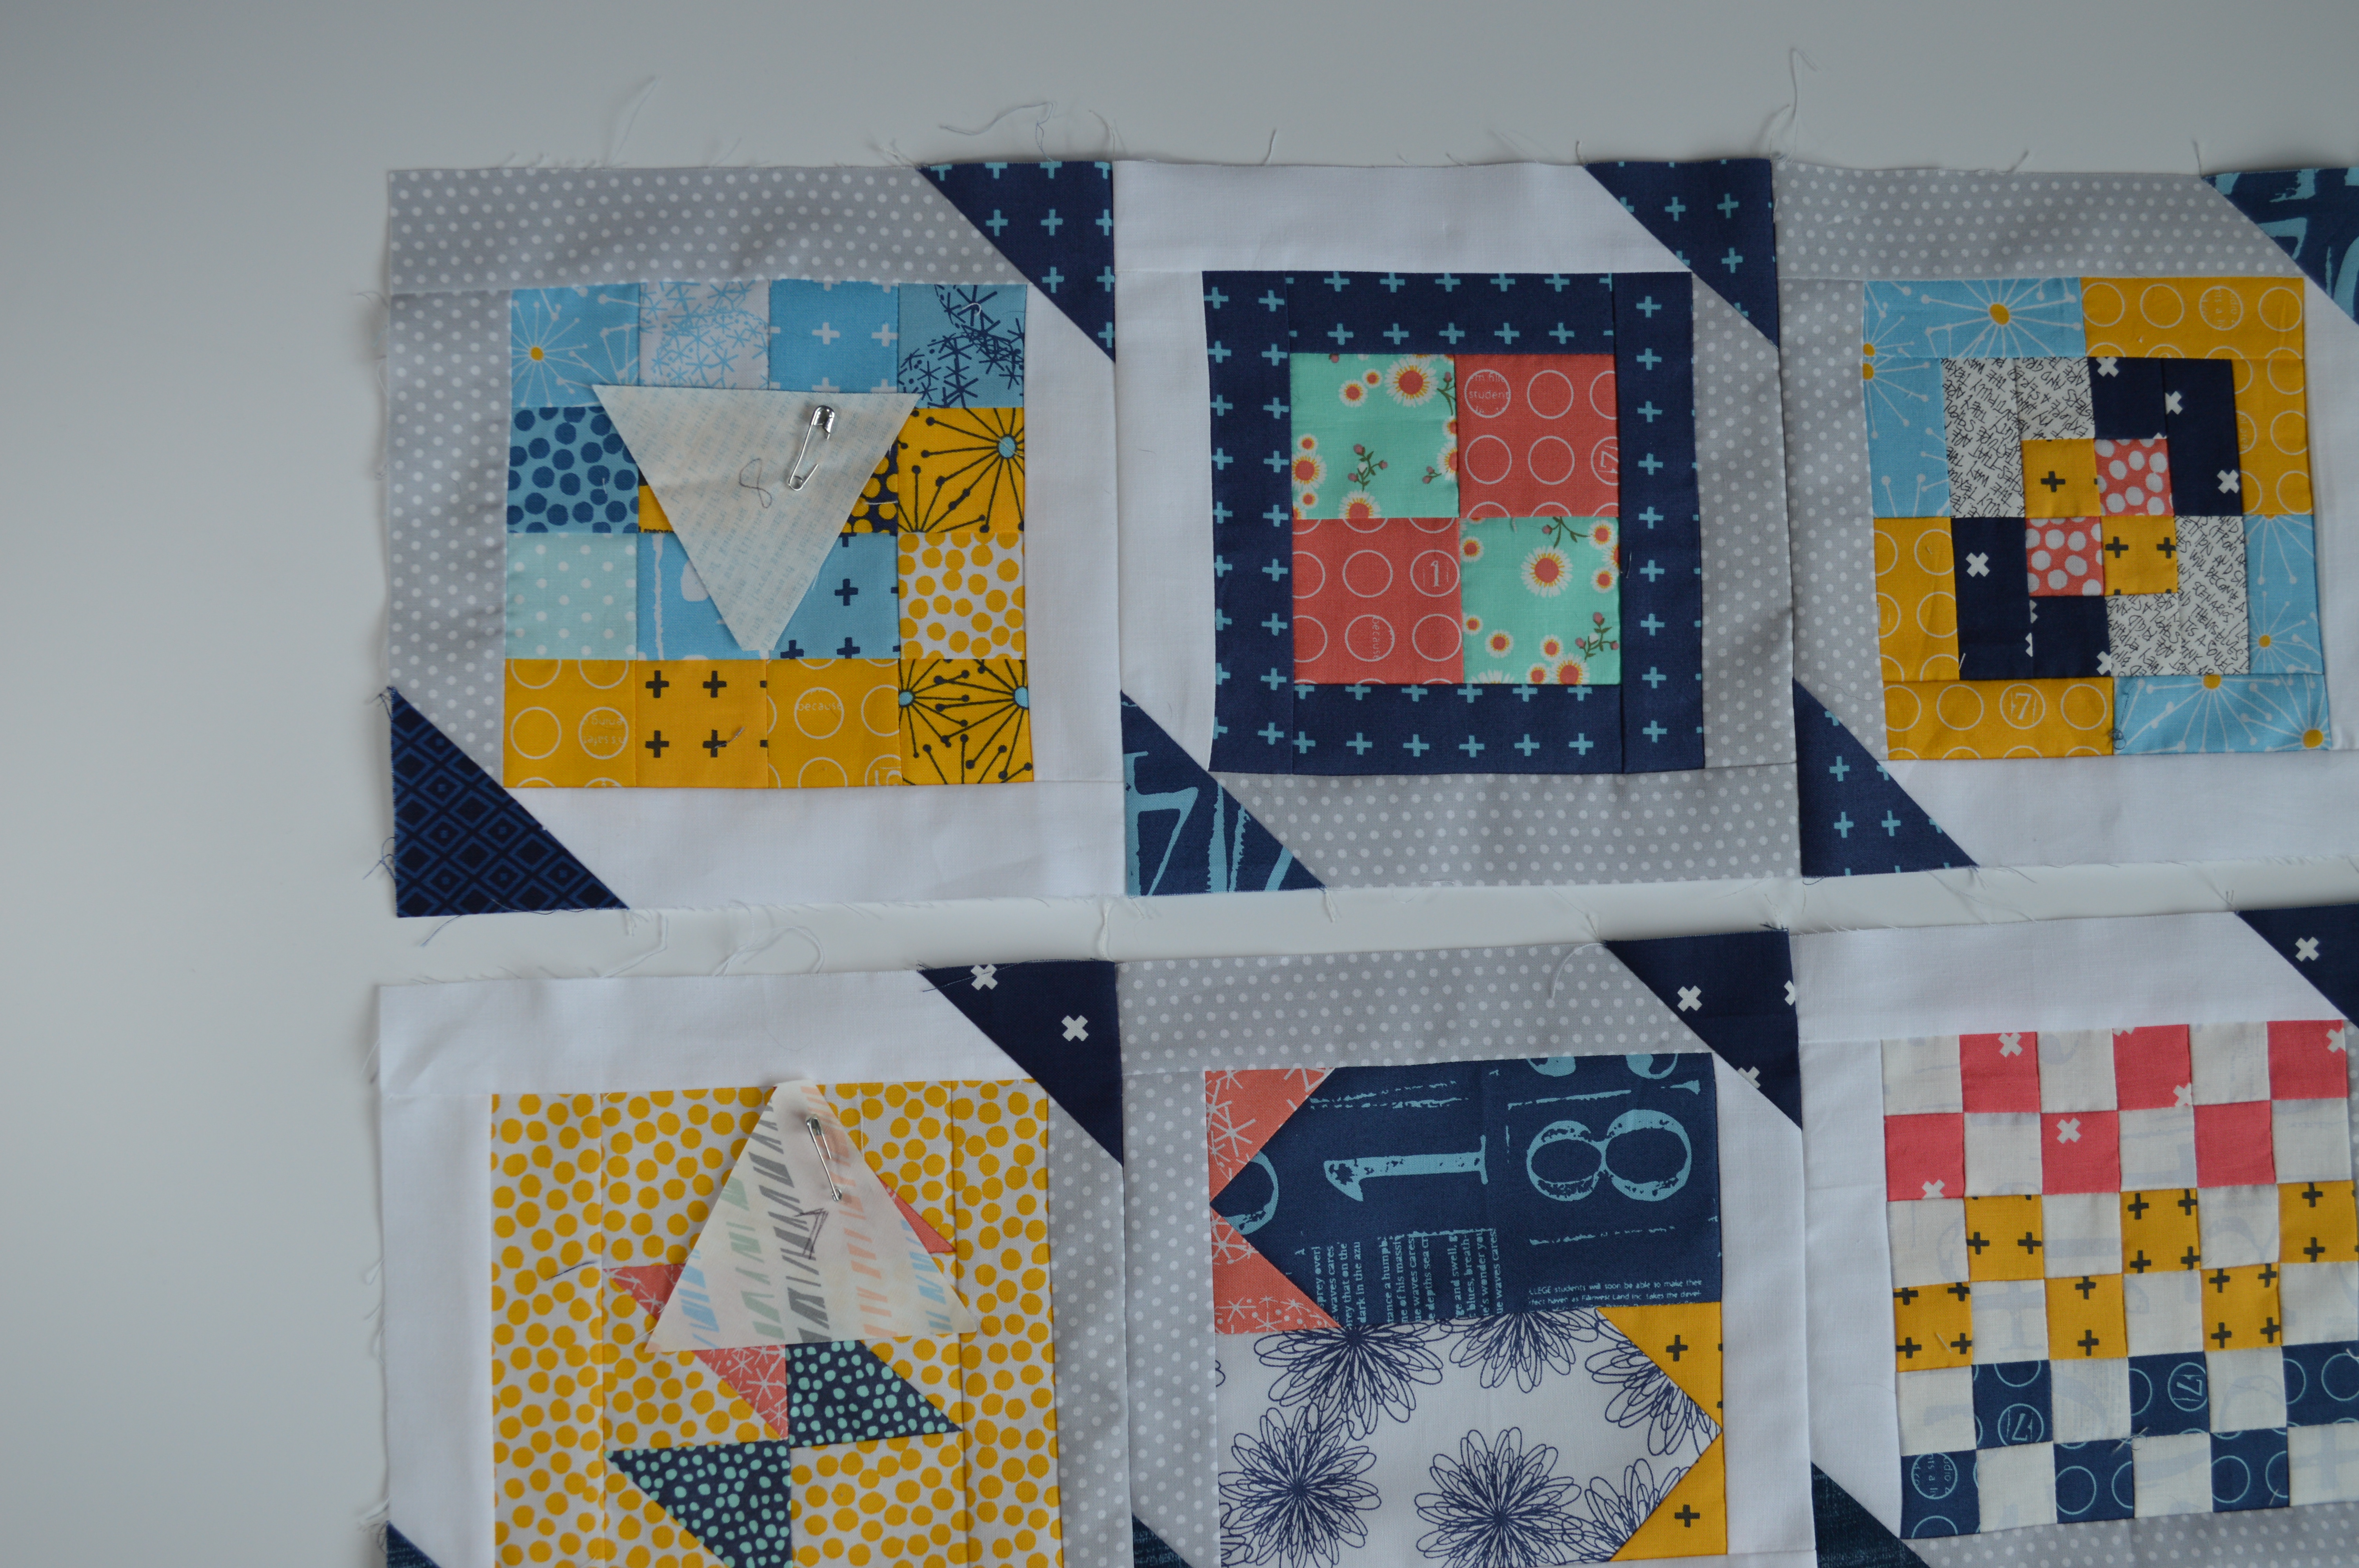
Start by laying the t-shirts out on a flat surface. Arrange them in an aesthetically pleasing manner according to size, shape, and color. If desired, you can add borders around each block for extra stability. Once you are satisfied with the arrangement, pin the t-shirts in place.
Tip: If you want to add sashing to your quilt, leave some extra space between the blocks to make room for the sashing. To learn how to sew sashing on a tshirt quilt, refer to our guide on sashing.
Once you have arranged and pinned the blocks, you can start sewing the quilt together. Sew the blocks together in rows, and then sew the rows together to make the quilt top. Make sure to use a generous seam allowance for extra stability.
Adding Borders
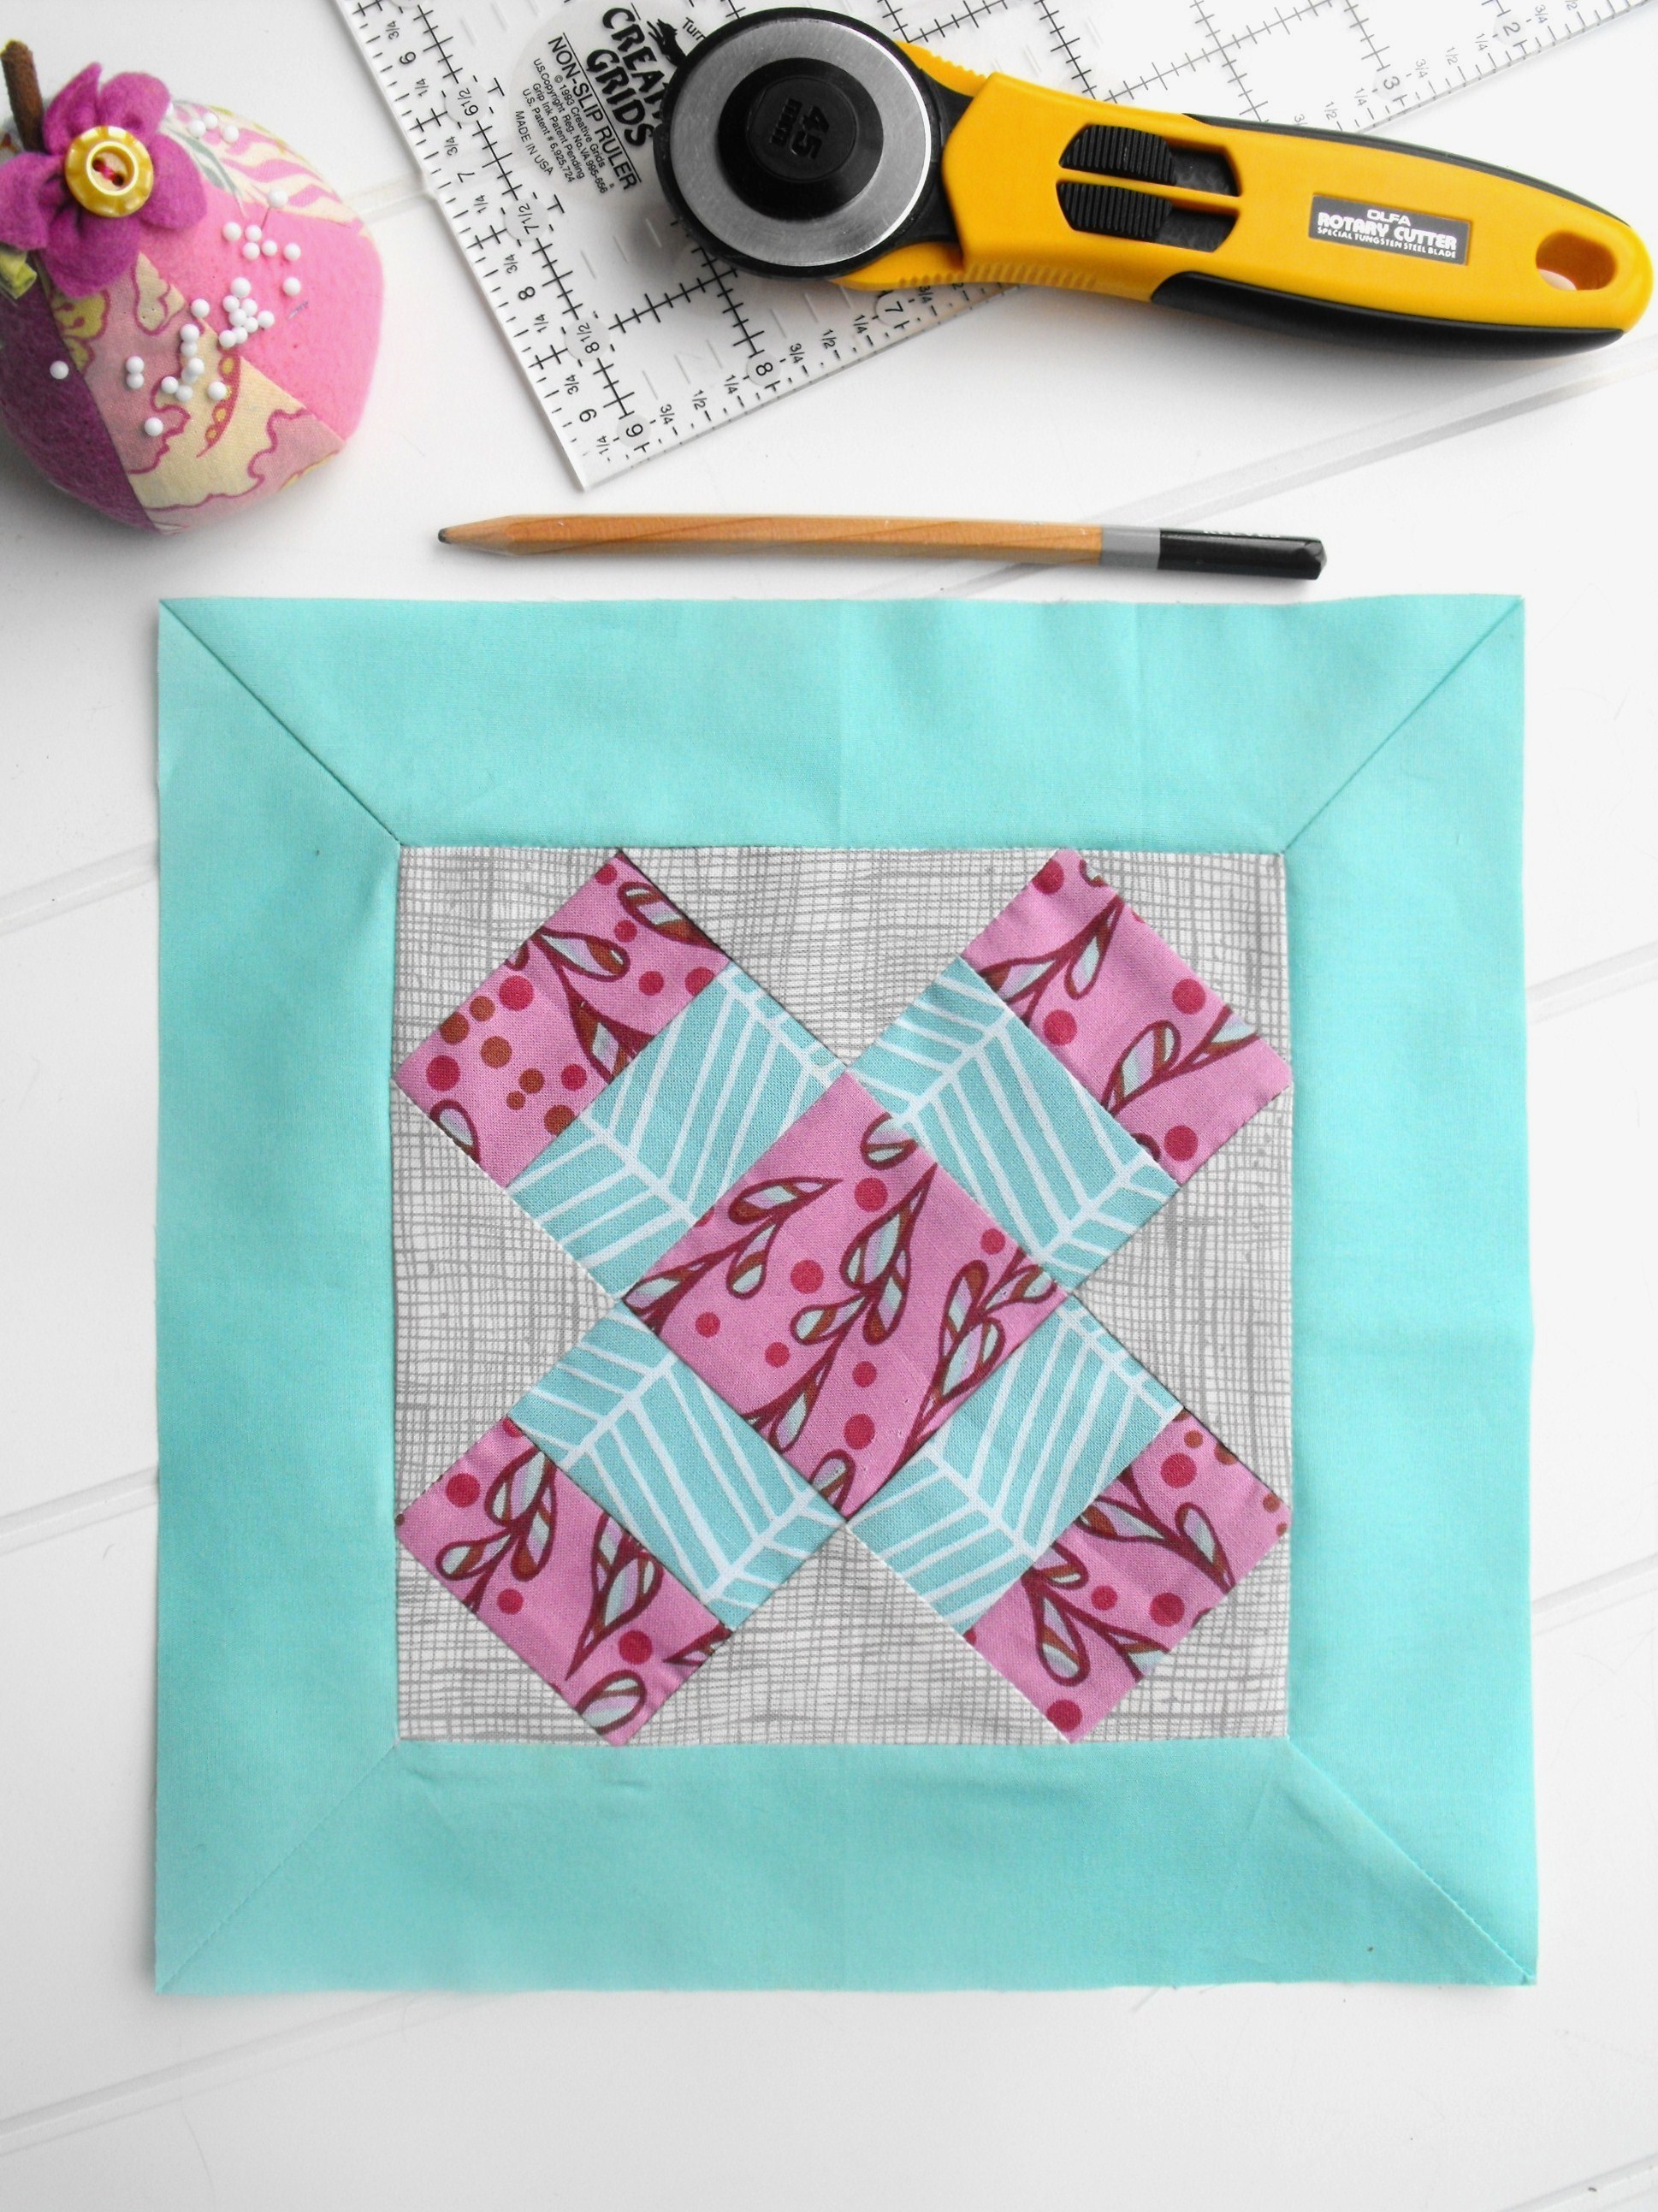
Once you have placed all the T-shirts on the quilt top, you can start adding borders. To do this, you need to cut strips of fabric that are slightly longer than the height of the quilt. You should measure the quilt before cutting the strips to make sure they are the right size. Once you have cut the strips, you can sew them around the edges of the quilt top.
If you want to add a sashing to the quilt, you will need to cut strips of fabric that are slightly longer than the width of the quilt. Then you need to sew the strips together to make one long piece of fabric. This will be the sashing. You can then sew the sashing onto the quilt top. This will give the quilt a cleaner and more finished look.
Once you have the sashing in place, you can start adding the borders. Cut strips of fabric that are slightly longer than the height of the quilt. Then sew the strips around the edges of the quilt top. This will give your quilt a professional look.
Tip: When you are sewing the sashing onto the quilt, use a walking foot on your sewing machine. This will help keep the fabric from bunching up or stretching out.
Once you have added the borders and sashing, your T-shirt quilt is finished. Congratulations on completing your quilt!
Adding Sashing
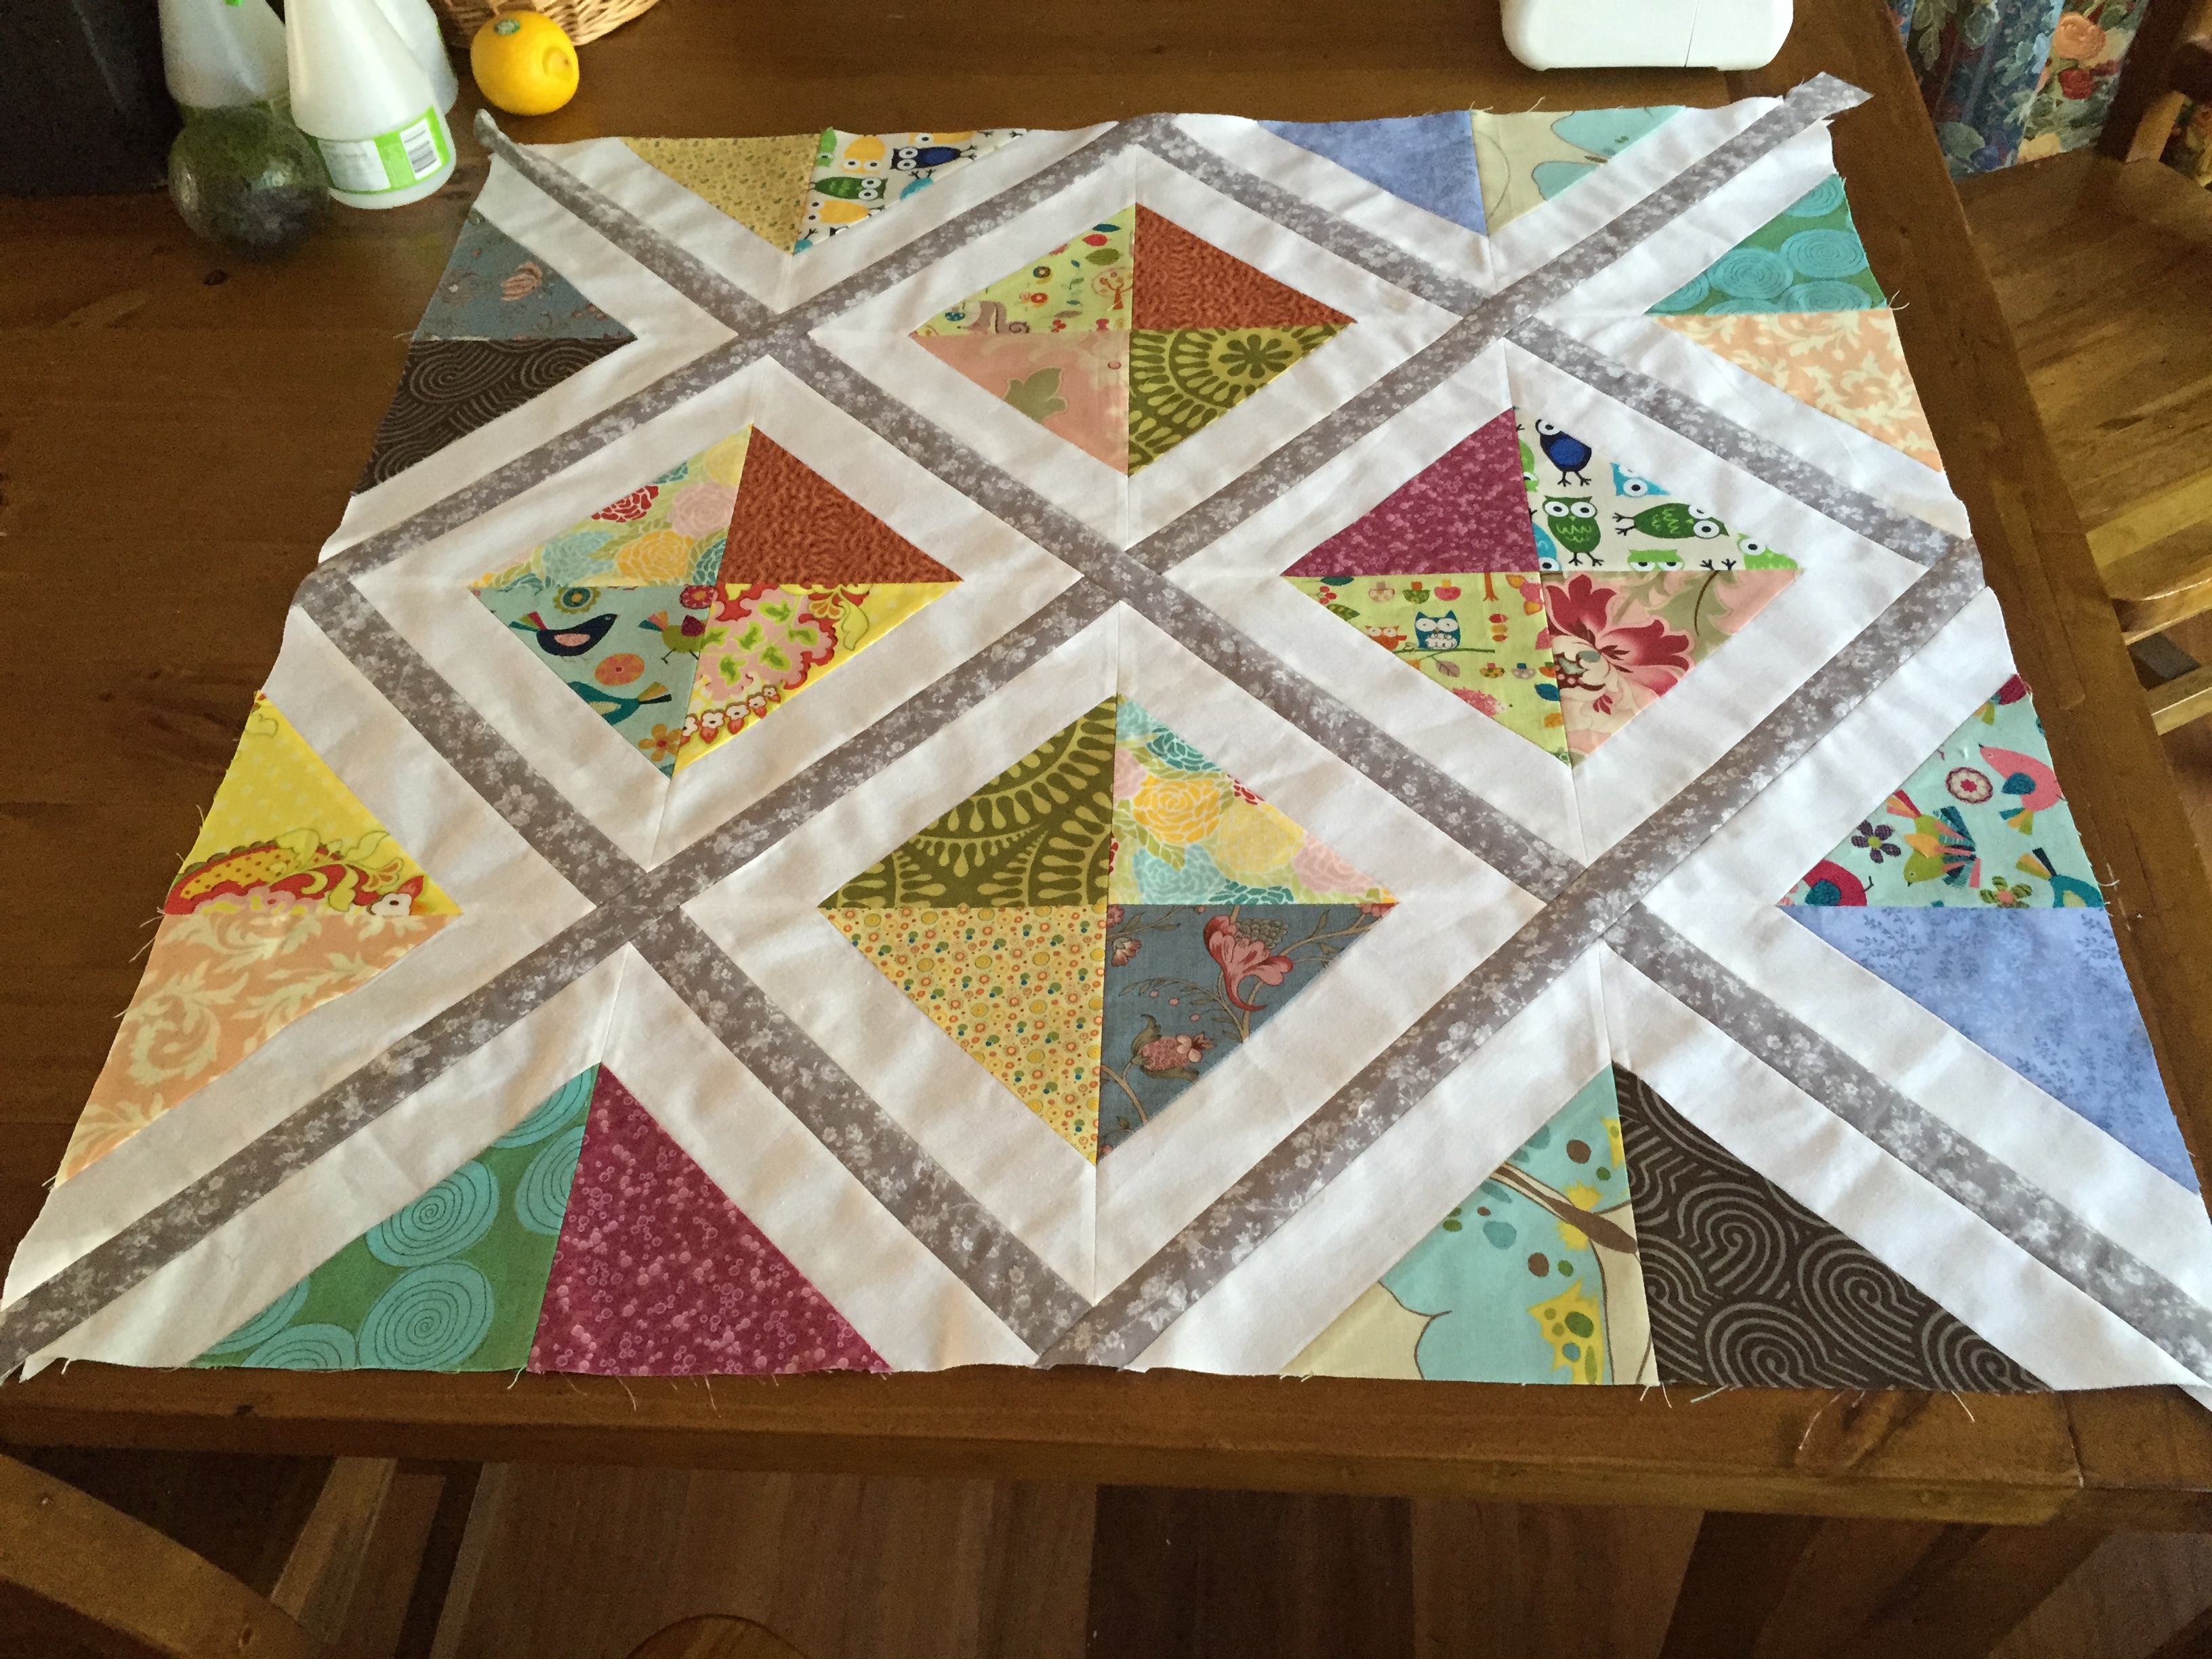
Sewing Short Sashing
Cut strips of sashing fabric that are the same width as the T-shirt blocks. Sew them between the T-shirt blocks, using a 1/4-inch seam allowance.
Sewing Long Sashing
Cut strips of sashing fabric that are twice the length of the T-shirt block. Sew them between the T-shirt blocks, using a 1/4-inch seam allowance. Make sure to line up the center of the sashing strip with the center of the block. Press the sashing seams open.
Finishing Your Quilt
Now that all the pieces have been placed and sashing has been added, you can now add the borders to your quilt. Measure the length and width of the quilt and calculate the dimensions of the borders. If you are using a fabric border, you can use a straight stitch to attach it to the edges of the quilt. If you want to add a contrasting color of fabric, use a zigzag stitch to attach it to the quilt. You can also use bias binding to give the quilt a finished look.
Once you have added the borders, use a quilt basting spray or pins to secure the quilt. Place the quilt on a flat surface and use quilting thread to start quilting the quilt. You can use any patterns or designs you like to quilt the quilt.
Once you have finished quilting, trim any excess fabric and then bind the quilt. You can either use bias binding or use a straight stitch to bind the quilt.
Your quilt is now ready to be enjoyed!
Frequently Asked Questions
What types of fabric work best for a T-shirt quilt?
Cotton is the best fabric for a T-shirt quilt as it is lightweight, durable, and easy to work with. Synthetic fabrics like polyester or nylon can also be used, but they may be more difficult to sew and may not hold up as well over time. Choose fabrics with a tight weave, as this will help to prevent fraying. Avoid fabrics with large logos or graphics, as these may be difficult to incorporate into the quilt design.
How much fabric do I need to make a T-shirt Quilt?
- T-shirts: Depending on the size of the quilt, the number of T-shirts needed will vary. You will need at least 12 shirts for a lap quilt and 24 shirts for a twin-size quilt.
- Fabric for Borders: You will need to purchase cotton fabric for the borders. The amount of fabric required depends on the size of the quilt and the desired width of the border. For a lap quilt with a 1-inch border, you will need 1/2 yard of fabric for the top and bottom borders, and 1/4 yard for the side borders. For a twin-size quilt with a 1-inch border, you will need 1 yard for the top and bottom borders, and 1/2 yard for the side borders.
- Batting: You will need to purchase quilt batting to make the quilt. The amount of batting needed depends on the size of the quilt. For a lap quilt, you will need 1 1/2 yards of batting, and for a twin-size quilt, you will need 3 yards of batting.
- Backing Fabric: You will need to purchase cotton fabric for the back of the quilt. The amount of fabric required depends on the size of the quilt. For a lap quilt, you will need 2 yards of backing fabric, and for a twin-size quilt, you will need 3 yards of backing fabric.
What Supplies are Needed to Make a T-Shirt Quilt?
Fabric: T-shirts, backing fabric, batting, and borders.
Tools: Sewing machine, scissors, rotary cutter, and quilt ruler.
Notions: Thread, pins, and sewing needles.
Adhesives: Heat-n-bond lite, fusible web, spray adhesive, and fabric glue.
What Kind of Batting Should I Use for a T-Shirt Quilt?
When selecting batting for a t-shirt quilt, look for a lightweight batting that will drape nicely and add minimal bulk to the quilt. Cotton batting is a great option since it is lightweight, soft, and drapes well. Polyester batting is also an option and is less likely to shrink or stretch. Avoid using wool batting because it is heavier and not ideal for a t-shirt quilt.
What is the Best Way to Attach the Border to My Quilt?
The best way to attach the border to your quilt is to use a fabric adhesive. This will ensure that the edges of the border are attached securely and won’t come undone. You can also use sewing pins to attach the border, however make sure to remove them once the adhesive has been applied. If using fabric glue, make sure to give it enough time to dry before beginning the quilting process.
Conclusion
Creating a t-shirt quilt with borders is a great way to preserve memories and tell stories with a quilt that will last for generations. With careful cutting, pressing and sewing, a beautiful quilt can be created quickly and easily. With the right materials, a beginner quilter can make a beautiful quilt in a few hours.
