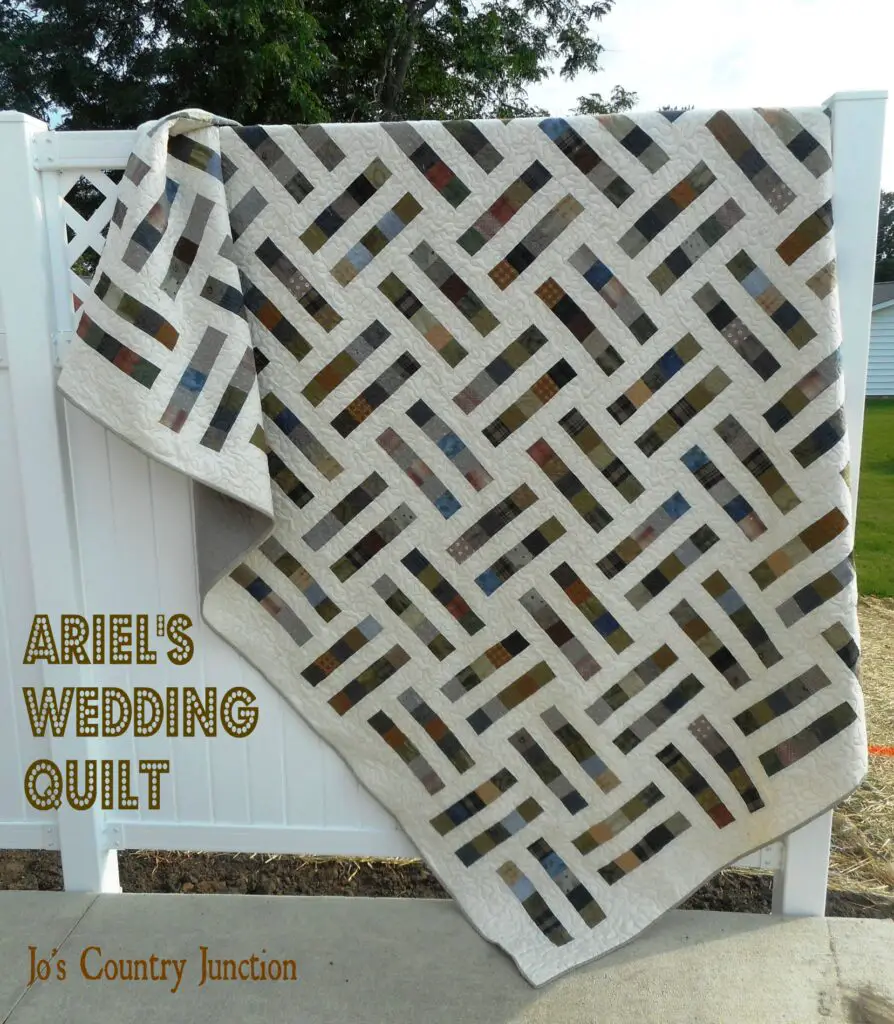
Are you looking for a creative and unique way to commemorate your special day? If so, why not make a magical wedding quilt? This step-by-step guide will help you create a beautiful quilt that will be a cherished wedding keepsake. With some fabrics, batting, and a few hours of your time, you can create a unique and meaningful quilt that you and your loved one will cherish for years to come.
Materials Needed
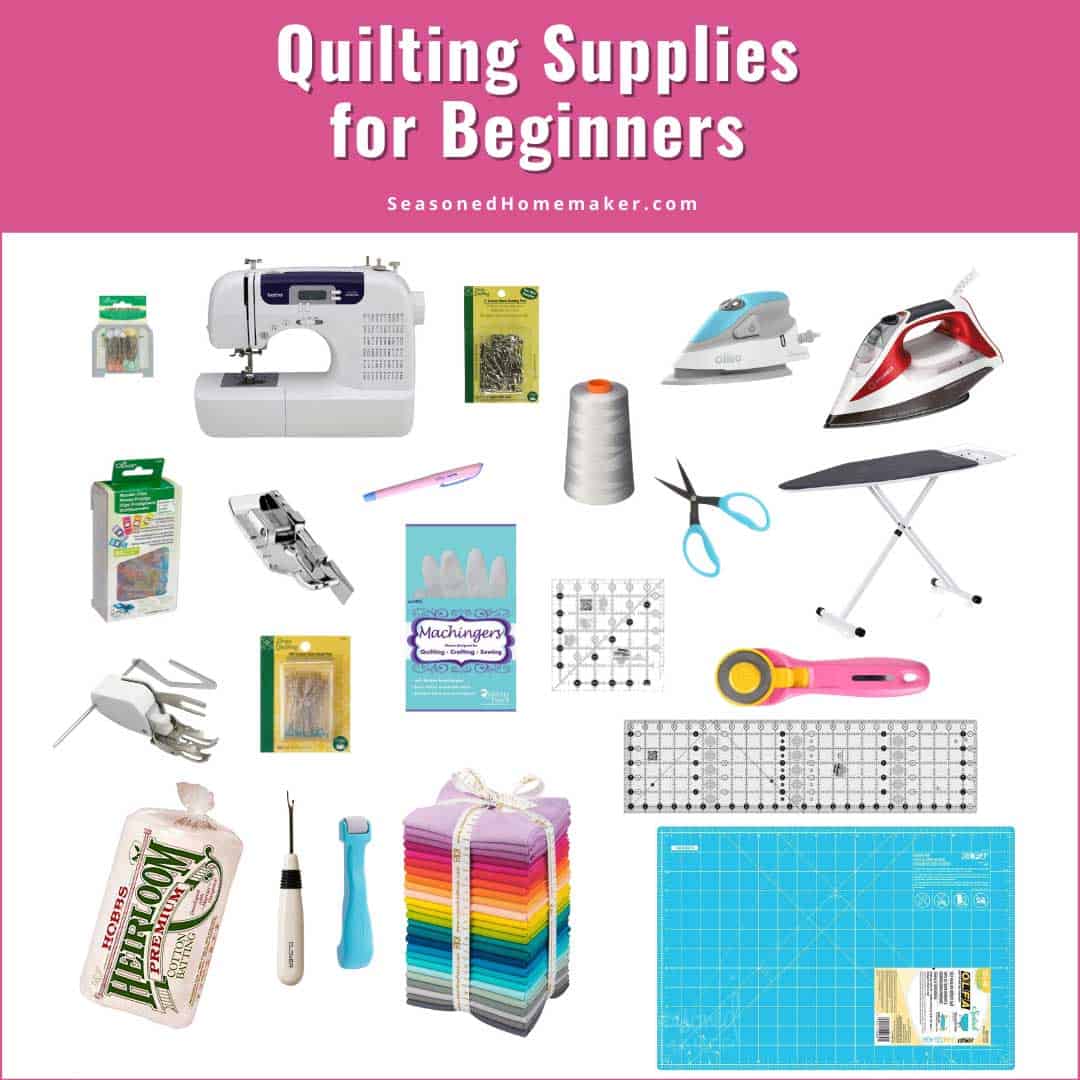
- Quilting Fabric: You will need a range of quilting fabrics, such as cotton, polycotton, satin, and velvet for the quilt top, batting, and backing.
- Thread: Select thread in a variety of colors to coordinate with the fabrics in the quilt.
- Rotary Cutter: A rotary cutter is a very helpful tool when making a quilt, allowing you to quickly and accurately cut fabric in straight lines.
- Ruler: A ruler is a must-have item for making accurate cuts. It is also useful for squaring up blocks and creating even quilt borders.
- Iron: You will need an iron to press seams and blocks as you sew to ensure that the quilt top is neat and accurate.
- Quilting Pins: Quilting pins are necessary for basting the quilt layers together before quilting.
- Sewing Machine: A sewing machine is needed for piecing the quilt top together and for quilting the quilt layers together.
These are the basic materials that you will need to make a simple wedding quilt. As you become more experienced in quilting, you may choose to invest in other tools such as template plastic, marking pens, and specialty quilting needles.
Preparation
- Gather Materials: To make a wedding quilt, you will need quilting fabric, fabric scissors, quilting pins, a quilting ruler, a quilting hoop, and quilting thread.
- Measure and Cut Fabric: Measure and cut the quilting fabric in the desired size of the quilt (for example, a queen-sized quilt is usually about 90” x 90”).
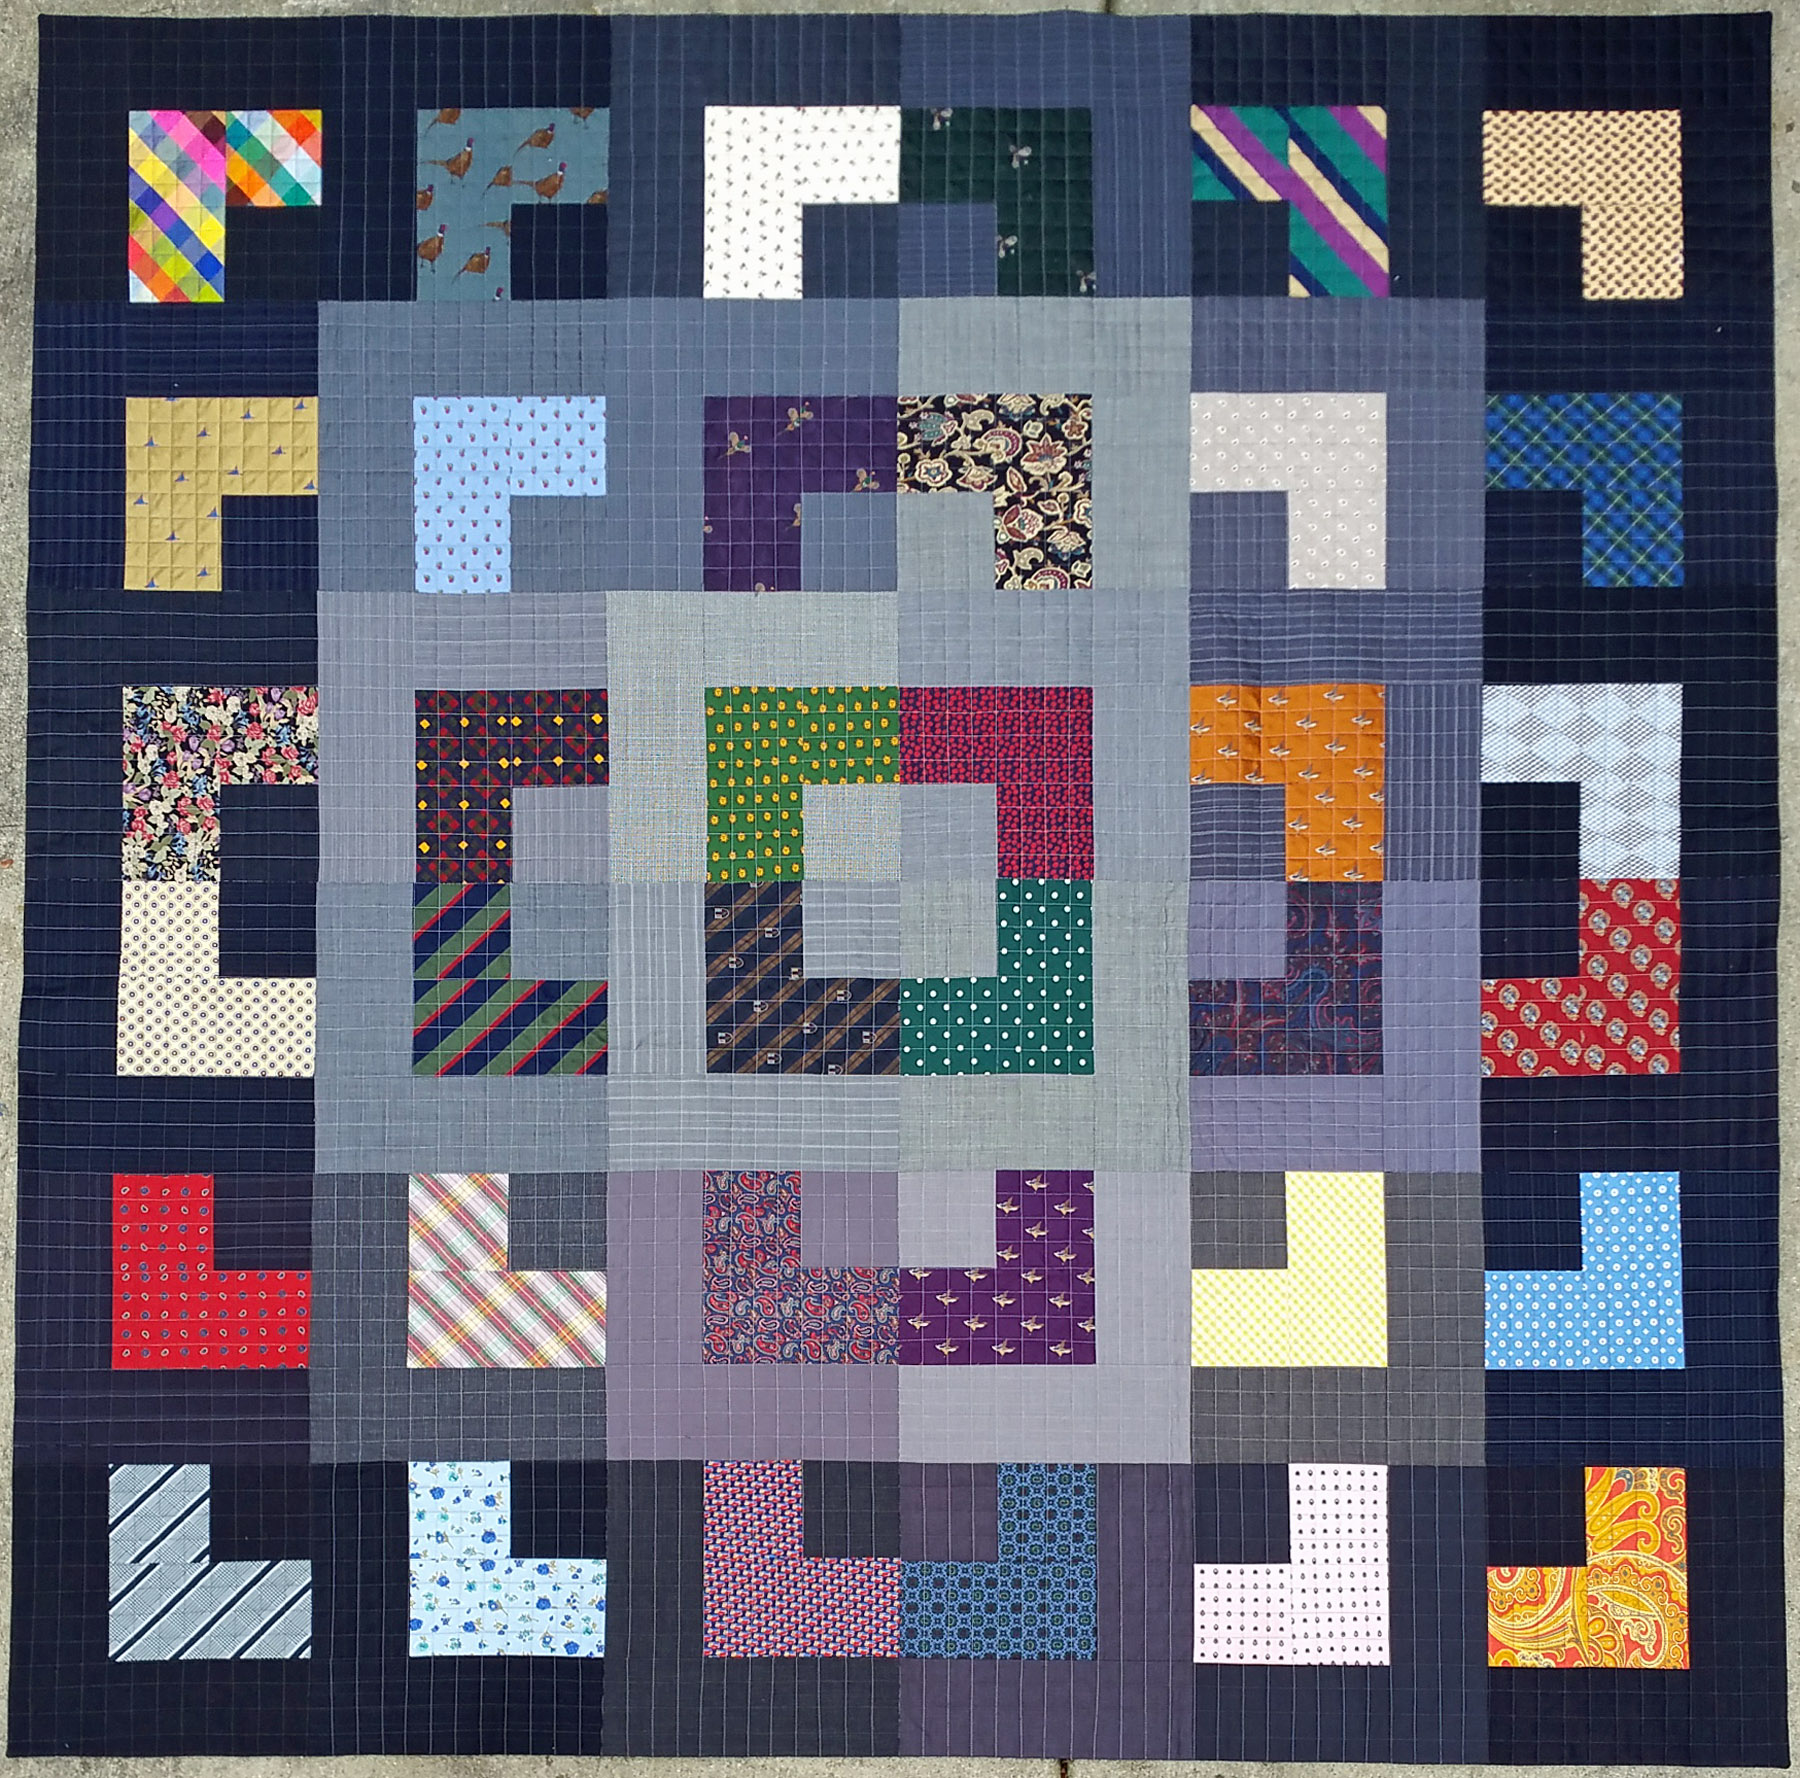
- Design the Quilt: Design the quilt layout by arranging the pieces of fabric into a pattern or drawing out a pattern on a piece of paper.
- Draw the Quilt Square: Once you have a pattern, draw the quilt square on the fabric using a quilting ruler and quilting pins.
Drawing the Quilt Square
Step 1
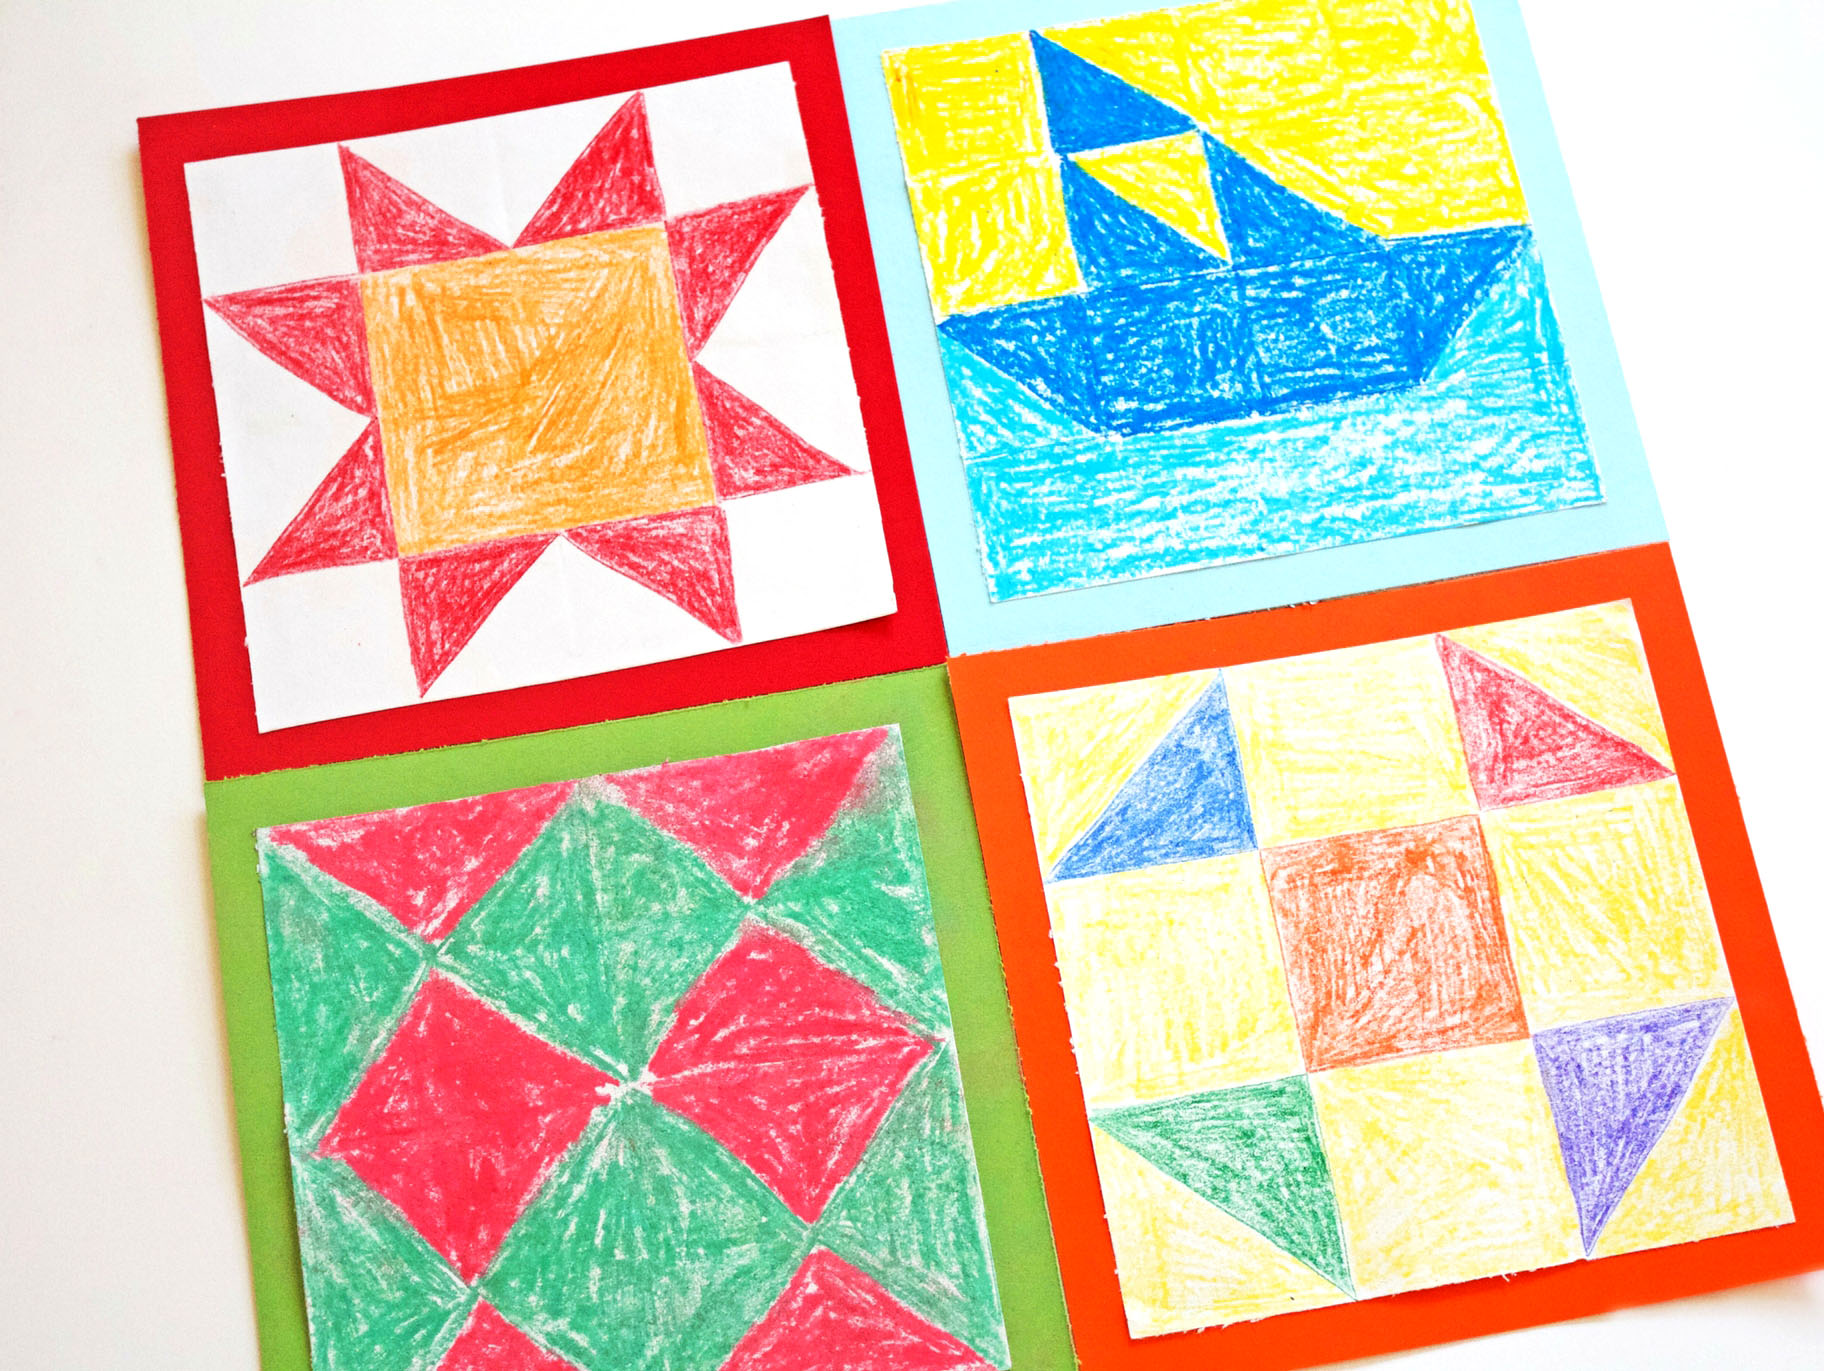
Decide on the design of the quilt. This could be a simple block pattern like nine patch or a more intricate pattern like the log cabin. Consider the size of the quilt and the number of squares needed.
Step 2
Draw the quilt square. Trace the pattern onto a piece of paper and then cut out the quilt square using scissors.
Step 3
Transfer the pattern to the fabric. Trace the pattern onto the fabric and then cut out the quilt square.
Sewing the Quilt Square
Step 1
Cut out fabric for the quilt square. Cut out one piece of fabric for the front of the quilt square, and one piece for the back. The fabric should be the same size and shape.
Step 2
Place the fabric pieces together. Place the two fabric pieces with the right sides of the fabric facing each other. Pin the fabric together around the edges.
Step 3
Sew the quilt square. Sew around the edges of the quilt square using a straight stitch, leaving a half-inch seam allowance. Trim the excess fabric and turn the quilt square right side out.
Finishing the Quilt
Step 1
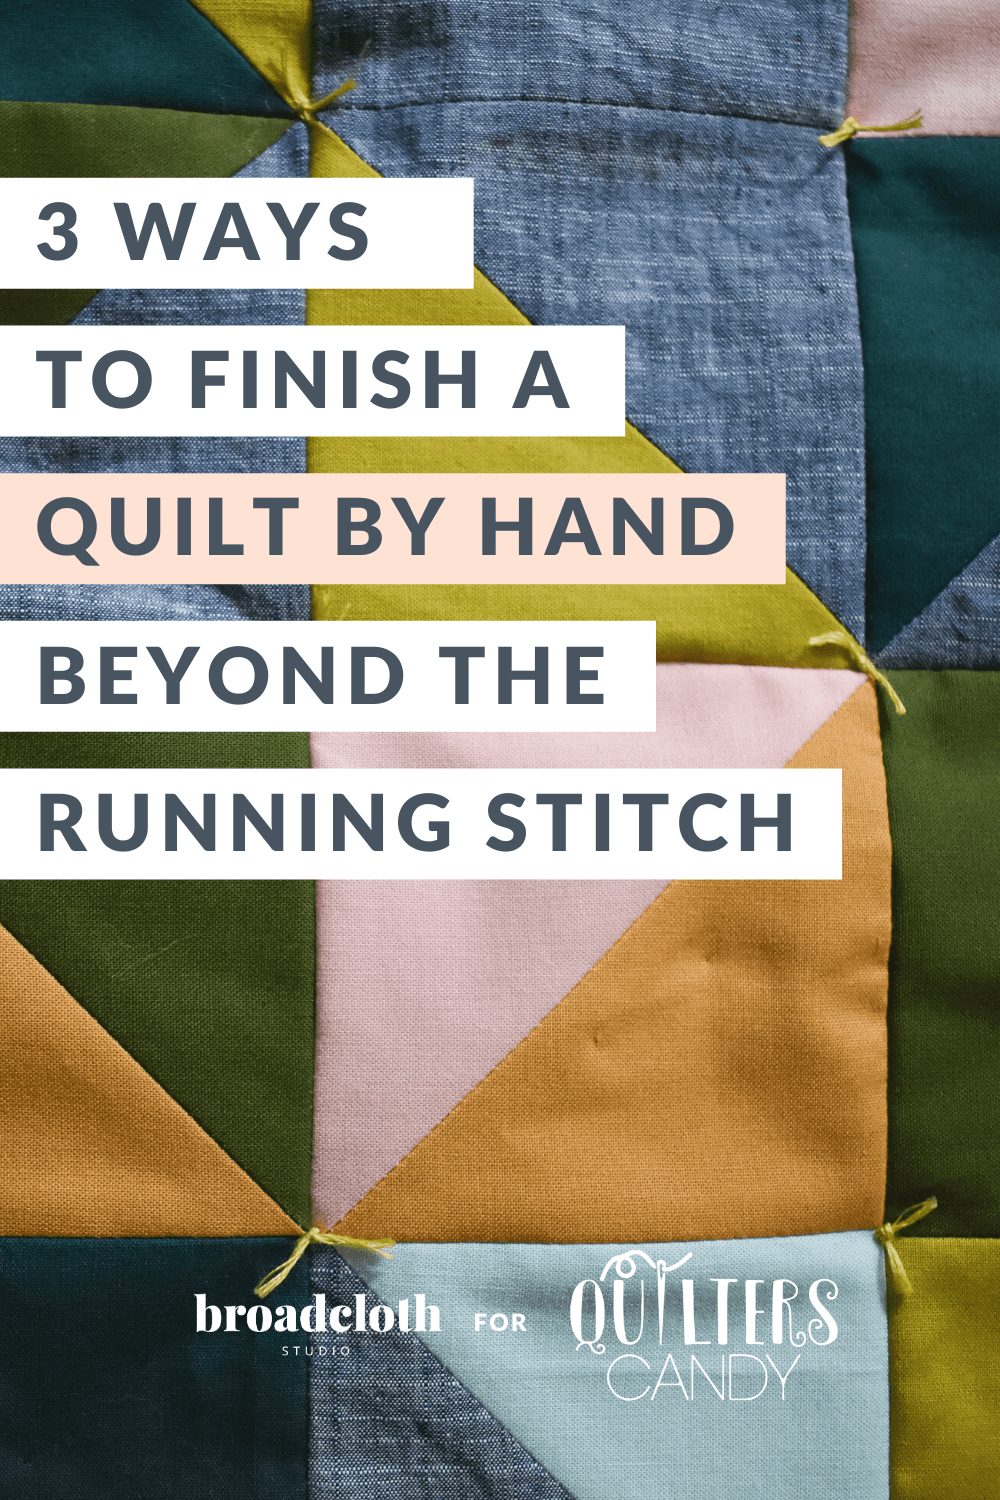
Sew the quilt pieces together by laying two pieces of fabric together, right sides together, and stitching along the edges. Use a sewing machine or hand-sew the pieces together, using a basic running stitch.
Step 2
Once the quilt pieces have been sewn together, layer the quilt top, batting, and backing together. Pin the three layers together and quilt them together by sewing a quilting stitch through all the layers of the quilt.
Step 3
Bind the quilt by attaching a piece of binding fabric to the edges of the quilt and stitching it in place. Trim off any excess fabric, and then hand-sew the binding in place.
Adding Embellishments
Step 1
Start by selecting the fabric for the quilt. Choose a lightweight fabric for the backing and a heavier fabric for the top. It is best to use fabrics that are machine washable and dryable.
Step 2
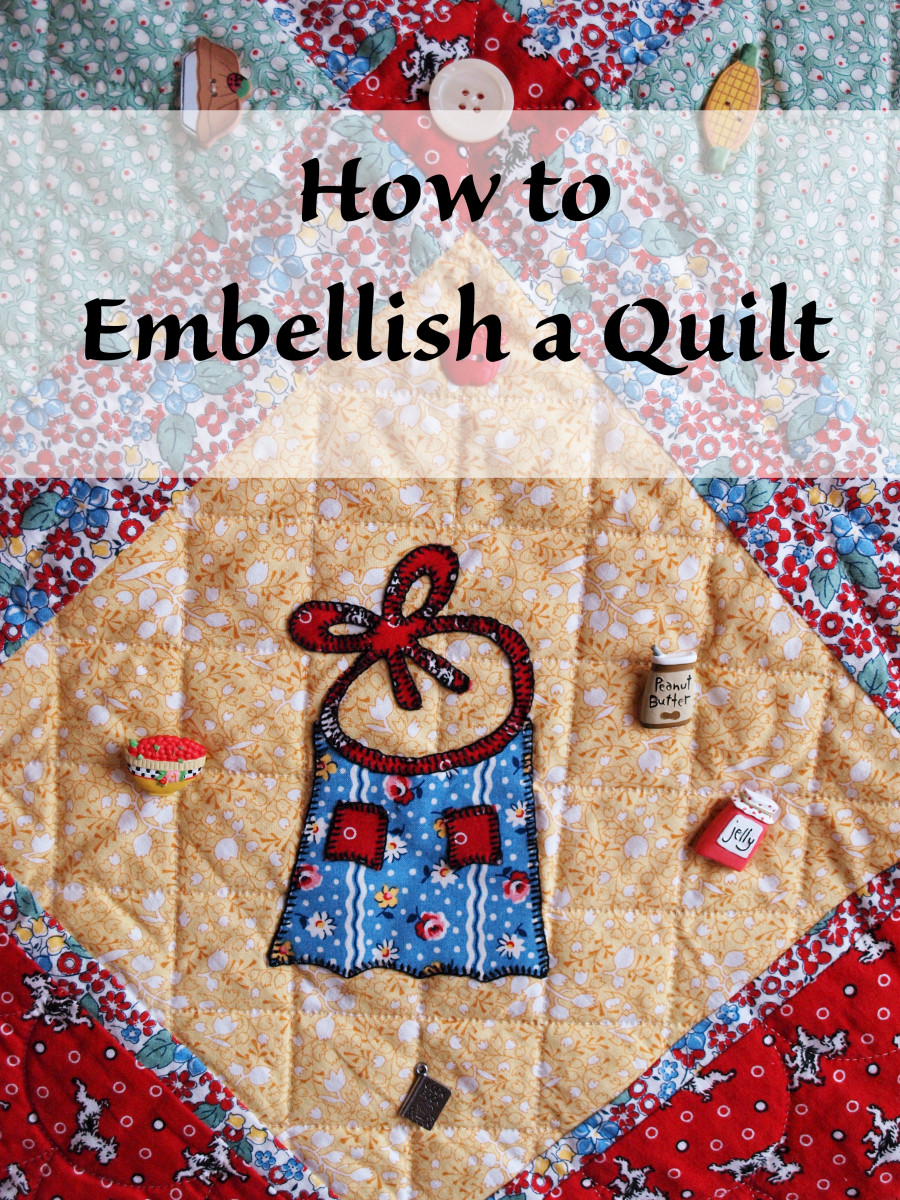
Cut the fabric into small squares or rectangles. The size and shape of the pieces you choose will depend on the pattern of the quilt. You can also use appliqué, lace, and other decorative fabrics to embellish the quilt.
Step 3
Finally, sew the pieces together with a sewing machine. Then, layer the top and backing fabric, with the batting in between, and quilt the layers together. This will create the finished quilt. Be sure to use a strong thread and stitch with even tension to ensure the quilt is secure.
Assembling the Quilt
Step 1
Choose a pattern – Start by selecting a quilt pattern that fits the wedding theme. Consider the size of the quilt, the colors, and the complexity of the design.
Step 2
Gather materials – Purchase fabric, batting, and thread that coordinates with the quilt pattern. Make sure to buy extra fabric to account for mistakes and any additional pieces you may need.
Step 3
Cut and sew fabric – Cut the fabric pieces according to the pattern and sew them together to form the quilt top. After the top is complete, layer the top, batting, and backing fabric, and quilt the layers together.
Binding the Quilt
Step 1
Measure the edges of the quilt and cut a length of binding fabric at least 3 inches longer than the measurement.
Step 2
Fold the binding fabric right sides together lengthwise and press. Use a ¼ inch seam allowance to stitch the two sides together. Press open the seam allowances and press the binding in half lengthwise.
Step 3
Starting at one of the quilt’s corners, pin the binding to the right side of the quilt, keeping the raw edges of the binding and quilt even. Stitch the binding to the quilt using a ¼ inch seam allowance. Stop ¼ inch away from the corner and remove the quilt from the machine. Fold the binding over at a 90 degree angle and press with your fingers. Continue to stitch and fold the binding around all sides of the quilt. When the binding is complete, join the ends of the binding by folding it over at a 45 degree angle. Stitch the ends together and press the seam open.
Frequently Asked Questions
What Type of Fabric is Best for Making a Wedding Quilt?
Cotton Fabric: Cotton fabric is a great choice for making a wedding quilt as it is soft, durable, and easy to work with. Cotton fabric also comes in a wide variety of colors, patterns, and textures, making it perfect for creating unique quilt designs.
Silk Fabric: Silk fabric is a luxurious choice for a wedding quilt and will look beautiful when finished. It is lightweight, durable, and has a subtle sheen that will look stunning when quilted.
Linen Fabric: Linen fabric is a strong, lightweight option for a wedding quilt. It is highly absorbent and will retain its shape over time. It also comes in a variety of colors, making it a great choice for creating a unique quilt design.
Polyester Fabric: Polyester fabric is a great choice for making a wedding quilt as it is easy to work with and is resistant to wrinkles and creases. It also comes in a variety of colors and patterns, making it perfect for creating unique quilt designs.
Wool Fabric: Wool fabric is a great choice for making a wedding quilt as it is durable and will retain its shape over time. It is also available in a variety of colors and textures, making it perfect for creating unique quilt designs.
What types of embellishments can be used to customize the quilt?
- Ribbons – Ribbons can be used to tie the quilt together and create a special design. Ribbons can be knotted, tied in bows, or even used to make patterns.
- Buttons – Buttons can be used to provide a unique look to the quilt. Buttons can be used to add a special touch to the design or to add a pop of color.
- Embroidery – Embroidery can be used to create intricate designs on the quilt. This is a great way to add a personal touch to the quilt.
- Fabric Paint – Fabric paint can be used to add photos or designs to the quilt. This is an easy way to add a special touch to the quilt.
- Sequins – Sequins can be used to create a sparkly design on the quilt. This is a great way to make the quilt really stand out.
How Long Does It Take to Make a Wedding Quilt?
Time Required:
- Planning & Gathering Materials: 1-2 weeks
- Designing & Cutting Fabric: 2-3 days
- Piecing the Quilt Top: 4-5 days
- Assembling & Finishing the Quilt: 1-2 days
- Quilting & Binding: 2-3 days
- Total: 10-15 days
The time required to make a wedding quilt can vary greatly depending on the size and complexity of the quilt. Generally, it can take 10-15 days to complete the entire process. The first step is to plan the quilt, source the materials and cut the fabric. This can take 1-2 weeks. Next, the pieces must be arranged and sewn together to form the quilt top. This usually takes 4-5 days. After the quilt top is completed, it must be assembled, layered and quilted. This process takes 1-2 days. Finally, the quilt must be bound to complete the project. This takes 2-3 days.
Is it possible to machine-quilt a wedding quilt?
- Choose the right machine – Quilting requires an industrial-grade machine, with a long arm and the ability to handle thick layers of fabric.
- Prepare the fabric – Make sure the fabric is well-pressed and cut to the desired size.
- Baste the quilt – Use safety pins or basting thread to secure the quilt layers together.
- Load the machine – Place the quilt on the machine, ensuring the quilt is properly aligned and tensioned.
- Select a quilting pattern – Choose a quilting design, such as straight lines, loops, or floral patterns.
- Begin quilting – Start the machine and quilt the design onto the quilt.
- Finish the quilt – Remove the quilt from the machine, trim the edges, and bind the quilt.
Yes, it is possible to machine-quilt a wedding quilt. After selecting the right machine, preparing the fabric, and basting the quilt, the quilt can be loaded onto the machine. Then, a quilting pattern should be chosen and the quilting process can begin. Finally, the quilt should be finished by removing it from the machine, trimming the edges, and binding the quilt.
What are some tips for layering the quilt top and batting for a wedding quilt?
Choose quality batting: Select a batting that is soft, breathable, and lightweight to ensure maximum comfort. Avoid polyester batting, as it can be abrasive and lumpy.
Cut the quilt top and batting: Cut the quilt top and batting to the same size to ensure the quilt top lies flat.
Pin the layers together: Pin the quilt top and batting together to prevent shifting while you quilt.
Trim the edges: After quilting, trim any excess batting from the edges of the quilt.
Conclusion
Creating a magical wedding quilt is a fun and special way to commemorate a wedding. With the right materials, a step-by-step guide, and some creativity, anyone can make a beautiful quilt to last a lifetime.
